Expounding on my idea a bit, throw one of these into the body with its own on/off switch (to avoid parasitic drain) :
Then you could measure charging / discharging currents and have some idea of the state of the battery charge.
If you were car camping at night, and the battery circuit dipped below 12V, you could plug it into the car’s cigarette lighter, and the car’s battery would run the light and charge its batteries (assuming car battery had voltage >12.0V).
Thanks, Barry, I already bought 6V solar panels, chargers, batteries and 3V LEDs with matching MCPCBs (see first post).
The Cree XPLAWT-00-0000-000UU30E7, 3000K, 320lm, CRI 90, Vtyp: 2,95V DC, Ityp: 1050mA is just at the sweet spot for a single LED 3V lantern.
If USPS weren’t so slow, I would have tested that set-up already and posted some pictures and running times : (
Edit 1: That looks like a practical little meter… The idea expanding the lantern to solar would mean to use the solar panel itself as the darkness trigger, meaning that once the solar panel delivers 0V, a MOSFET switches the charger/battery <-> LED driver path on.
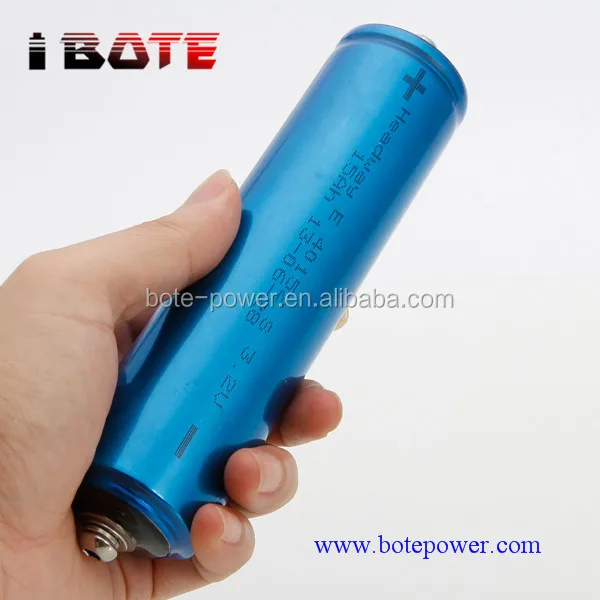
What do you think about, as a next project, a 4S LiFePo4 12V setup with on-board voltmeter/ammeter and 12V jack to connect solar panel or cigarette lighter lead?
And if you want it to be really boss , have it accept:
(Enough juice to start your car with appropriate cabling)
Once the pan is hot enough, you just drop in one MCPCB in after the other : )
With over 12 hours full lumens from the 11.1V set-up, it’s now going to be interesting to see what the 3.7V setup with the flat 4500mAh Li-Po battery will yield, and how the Cree’s CRI of 95 will make a difference.
Actually, you want to have a much slower ramp-up to temperature to minimise thermal stresses. Otherwise the mcpcb heats up, the solder melts, the LED sticks to it but is still relatively cool while everything else is still hot, then when you remove it the mcpcb shrinks somewhat while the LED is just starting to equalise in temperature.
When everything cools back down to room-temperature, the LED could be “squeezed” under constant compression.
My IKEA two-plate cooker has a great heat-curve profile - settings off to 6, ha!
Maybe I was just lucky with around 175°C ; )
But these Crees do their thing at 1050mA and the heat-sink reads 55°C, which is quite ok, over-dimensioned as it is. I really don’t like that Cree does not provide the usual figures for heat-sink sizing simulation : (
So, for a long-lasting balcony/terrace/garden lantern, the 11.1V solution with the CITIZEN LED is the clear winner, also because it outputs around 500lm compared to the 3.7V Cree based variant.
That 11.1v looks really good on run time. 11 hours at 500 lumens , definitely will get the job done. That’d pretty much last me on a long weekend without a charge .