Astrolux K01 Quad
Nichia 319AT D440 5000K
10621 Carclo Quad Spot with DIY Frosting
17mm - MTN-17DDm Bistro
Solid Copper spacer soldered directly into the head.
Poor little Battery!!!
Astrolux K01 Quad
Nichia 319AT D440 5000K
10621 Carclo Quad Spot with DIY Frosting
17mm - MTN-17DDm Bistro
Solid Copper spacer soldered directly into the head.
Poor little Battery!!!
I like how in the time I’m considering what to mod next, CRX builds 20 new flashlights.
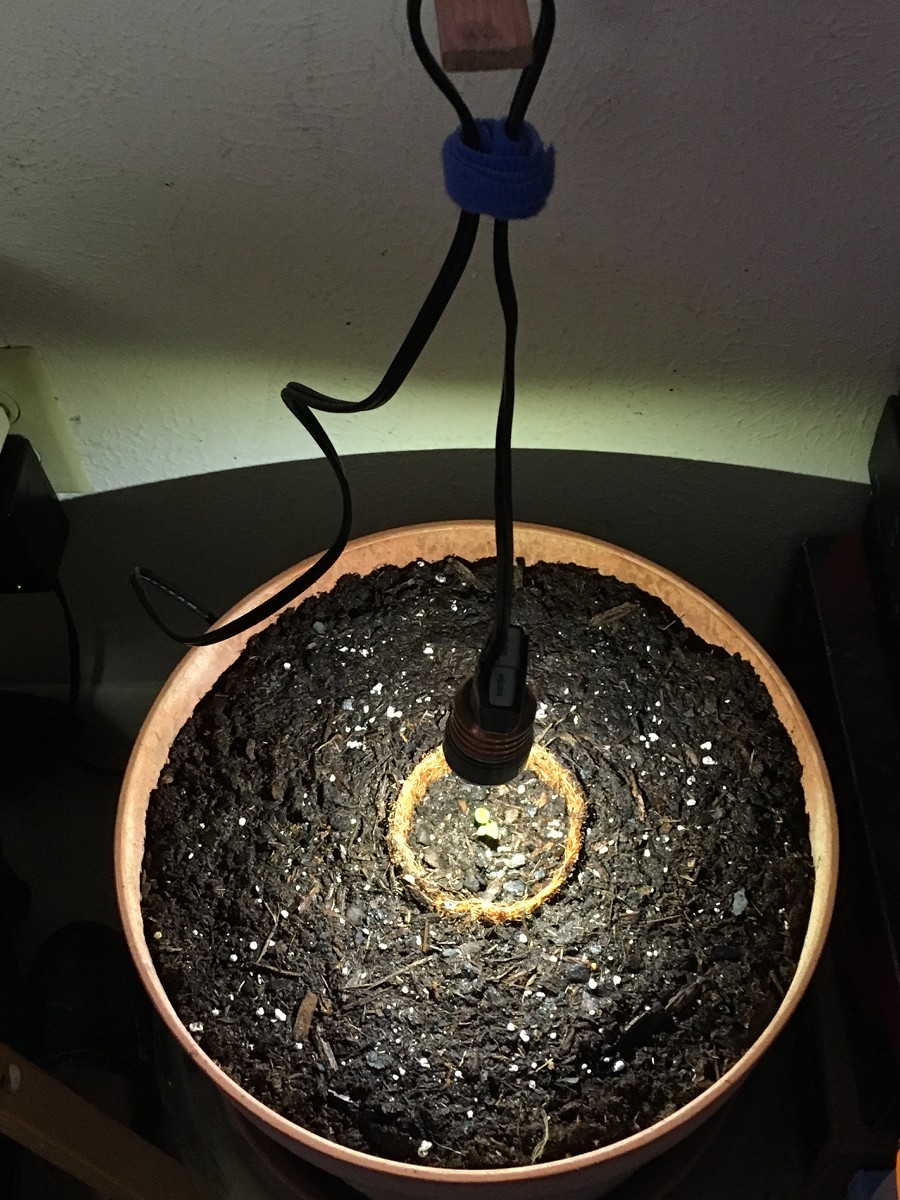
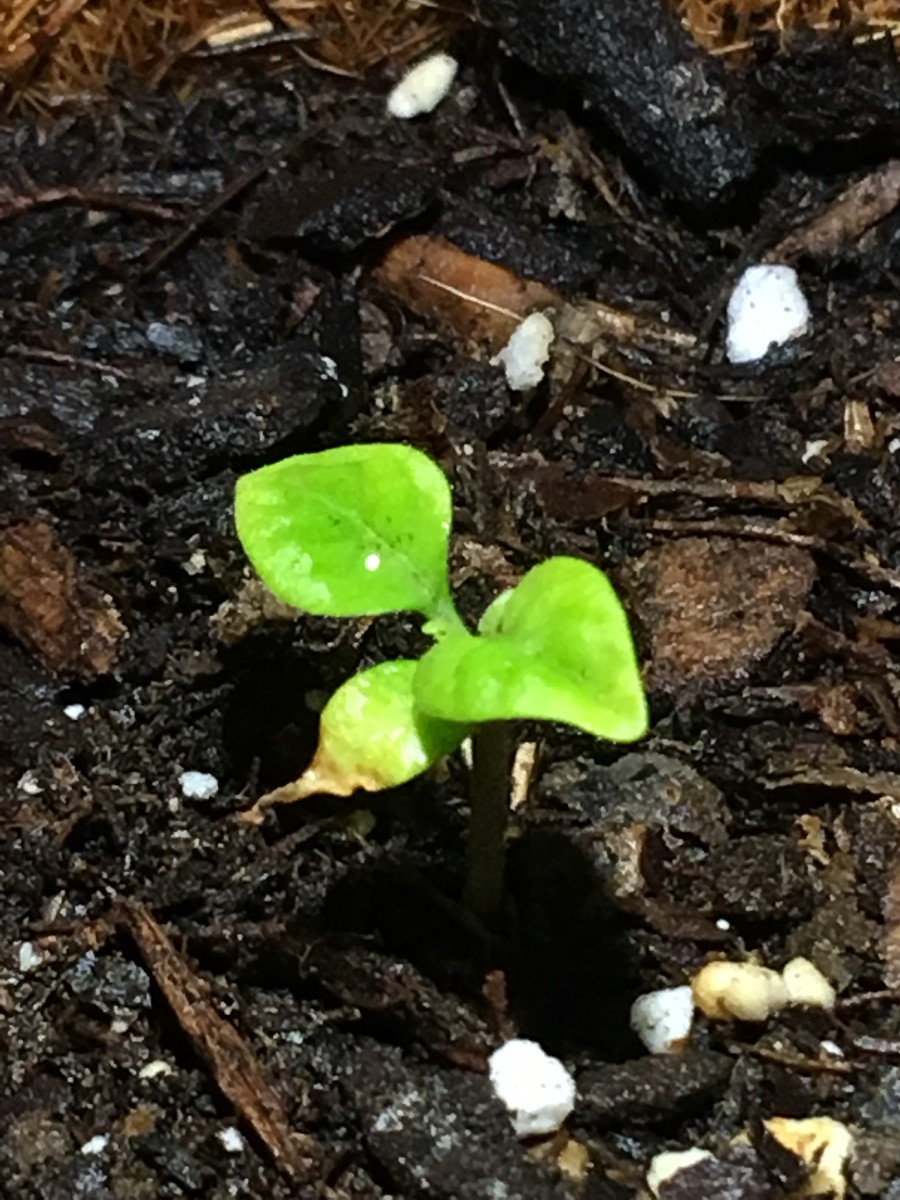
I’ve been trying to grow a Carolina Reaper pepper plant, but it took so long for the seed to germinate that it’s now far too hot for the young plant to grow outside. So I got to looking around and found the copper pill section, finned, and the aluminum bezel that fits it, on my work table… this the early DBC-03 that I made in aluminum before I made my Ti/Cu EDC I now carry. Anyway, with a fat MT-G2 sitting on the table doing nothing, I set out to find a wall wart that would drive it. Ultimately found a 5V 2.6A power supply and wired it up. Nice! It’s bright without being a major heat source.
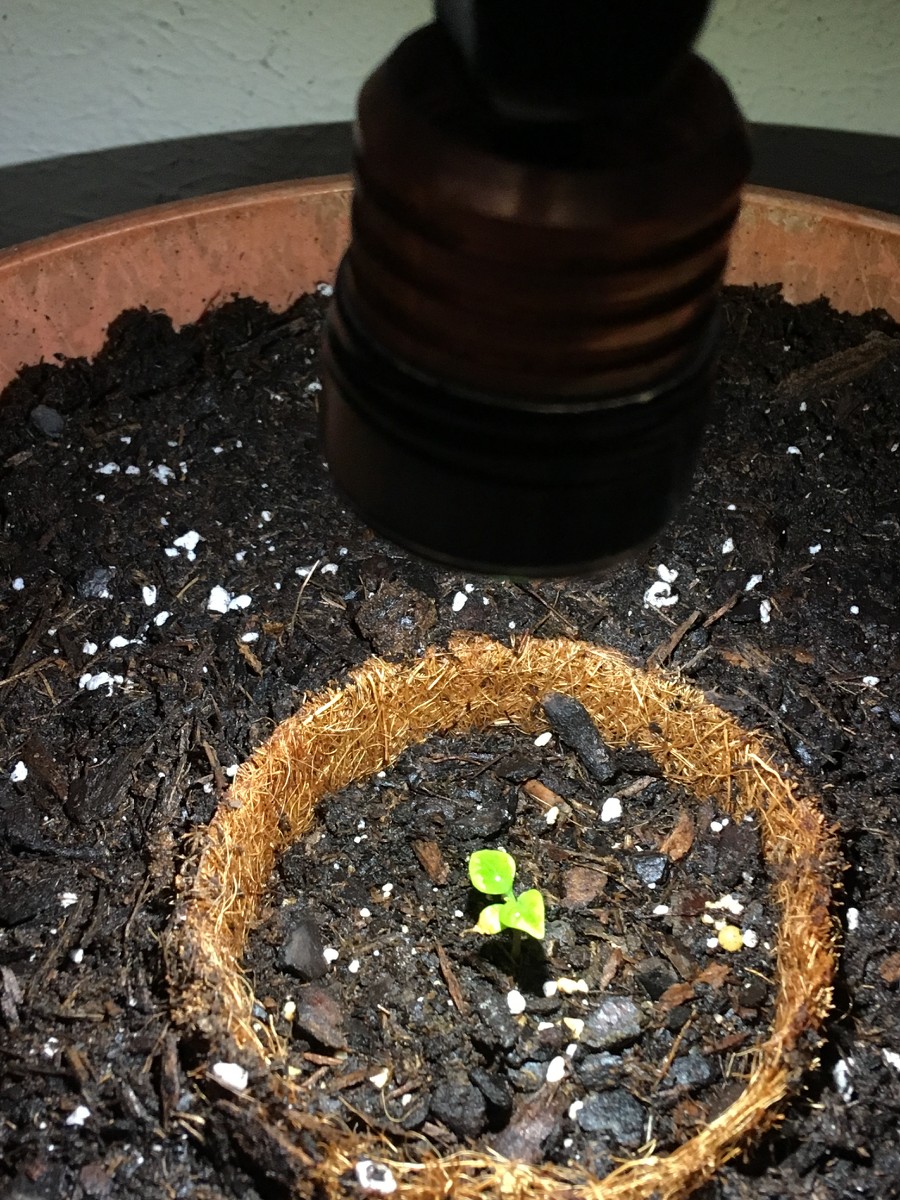
So this morning I brought the potted mini pepper plant inside where it stays right close to 80F and suspended the MT-G2 over it about 3 inches. Hopefully it’ll grow now and when it’s too big for my bedroom I can take it back outside. ![]()

I also just made the leap from my old flip phone to an iPhone SE, so these are among my first pics with the smart phone. lol
The 32mm copper mcpcb is Arctic Silver glued to the aluminum bezel which is in turn screwed down snug onto the finned copper pill. 18ga wires are covered by black electrical tape while the MT-G2 is left open, optimized as a mule for close illumination as it’s not running real hard. I used connectors to join the supply cord to the leads and taped them together. By weighting a 1/4” thick 3/4” x 12” piece of oak I’ve had sitting around like a ruler for ages I anchored this stick to the window sill and made a loop in the supply cord to suspend the light over the little pepper plant. As the plant grows, I’ll raise the assembly.
Have no idea if it’ll work or not, but it was something to do. The wife’ll skin me if my kid tells her about me moving these pots of dirt around, still not supposed to lift over 10 pounds.
The roach that scurried up out of the potting soil bag almost got away! I tried to swat it with my bad left arm and about fell out! I got him, a few feet away but I got him…… paying a price for all this now…. meds! Nurse! I need meds! Doesn’t help, she’s at work….
Edit: The weight used is a 4x4x4 block of steel I’ve had for about 13 years, sitting around as a door stop. See what you can do by searching the bits and pieces you have laying around the house? ![]() (yes, the block of still far exceeds my 10 pound weight limit. Shhhhhh!)
(yes, the block of still far exceeds my 10 pound weight limit. Shhhhhh!)
Made myself some lanyard

Today I finished my Elbow Grease Trilogy (directors cut) by reaming the tube of my trusted Jetbeam RRT-0.
Using an adjustable handreamer (upper object in picture).
It consists of a shaft with 6 parallel HHS blades in tapered grooves that are lengthwise adjustable between two nuts. The act of tightening and loosening the restraining nuts at each end varies the size that may be cut.

The object of my exercize has a head that is big enough to accomodate an 18350, but the tube is not big enoough.
Problem is that there is no tailcap. The switch rests on a ledge (shelf with a big hole) at the backside of the tube.

I can stick the reamer in till it hits the ledge, but I have to widen the bore all the way up until I reach the ledge.
So I took a reamer for which I only had to widen the hole in the shelf a tiny bit in order for the top nut to pass it.
Now the blades of the reamer can do their job all the way up to the ledge.
Then the next problem knocked at the door: the reamer I used could not expand to the necessary 18.65mm.
So I used a bench grinder to take away a piece of the shaft that holds the HSS blades in place.
That way both restraining nuts can be moved a bit closer to the base of the shaft, allowing the blades to expand further.

See the red square in the blurry picture. That did the trick. Now my RRT-0 is upgraded from 16340 to 18350!
Nice, Henk. Modding a tool to get the mod done :+1:
That reamer is a cool tool! My tapered reamer never makes straight holes and this one does!
Nice work Henk! Interesting to see how you did it, that gives inspiration!
Don’t be afraid to kill something, it is just part of the learning curve.
And if it comes out as expected, a next mod will be easy ![]()
I got my some of my lights back from getting them cerakoted by n10sivern. Here’s the Ultrafire F13 in sniper grey, triple xpl-hi 5000k v2 70cri, 22mm bistro otsm driver (thanks Lexel), kiriba-ru copper triple spacer, kaidomain triple reflector and orange/yellow tail light switch.
!
!
!
!
!
!
I’ve been looking for a gray Lumzoo GH10 for a while and BLF member charles lin happened to have one that wasn’t working and sent it to me for the cost of shipping, since he’d already replaced it with a newer model. Thanks again, I really appreciate the light!!
The driver no longer worked so I replaced it with a mtn fet with moppydrv…also had to replace the e-switch…used one of those from mtn as well. I also replaced the led with a XP-L V6 3D. On a fresh flat top 30Q it pulls .06a on moon light and 5.26a on turbo. On a fresh flat top VTC6 it pulls .05a on moon light and 5.89a on turbo. She puts out a lot of lumens.


Very nice… is this light take 26650 too?
I decided to swap the led on my HM50R from an xm-l2 to a beatifull 219c 4000k 9050. Had to cut down an MCPCB, since the stock is a custom shape, and the 219c has a different footprint anyways.

Thanks, yes it does. I have the light running on a liitokala 26650.
I couldn’t pass up a Novatac Classic 2xAA on eBay for $23 shipped. It has the same driver as all the rest, just requires the 250 click crack to unlock features.
Replaced P4 with XP-L HI 5000k and it’s a nice little utility light.
Sad to say it is brighter and has a better beam than my Zebralight SC62d!
The 18650 in the SC62 will win in the end and the driver is probably much more efficient but the Nova will certainly get some use.
Downside is that it didn’t come with a clip and they’re hard to find.

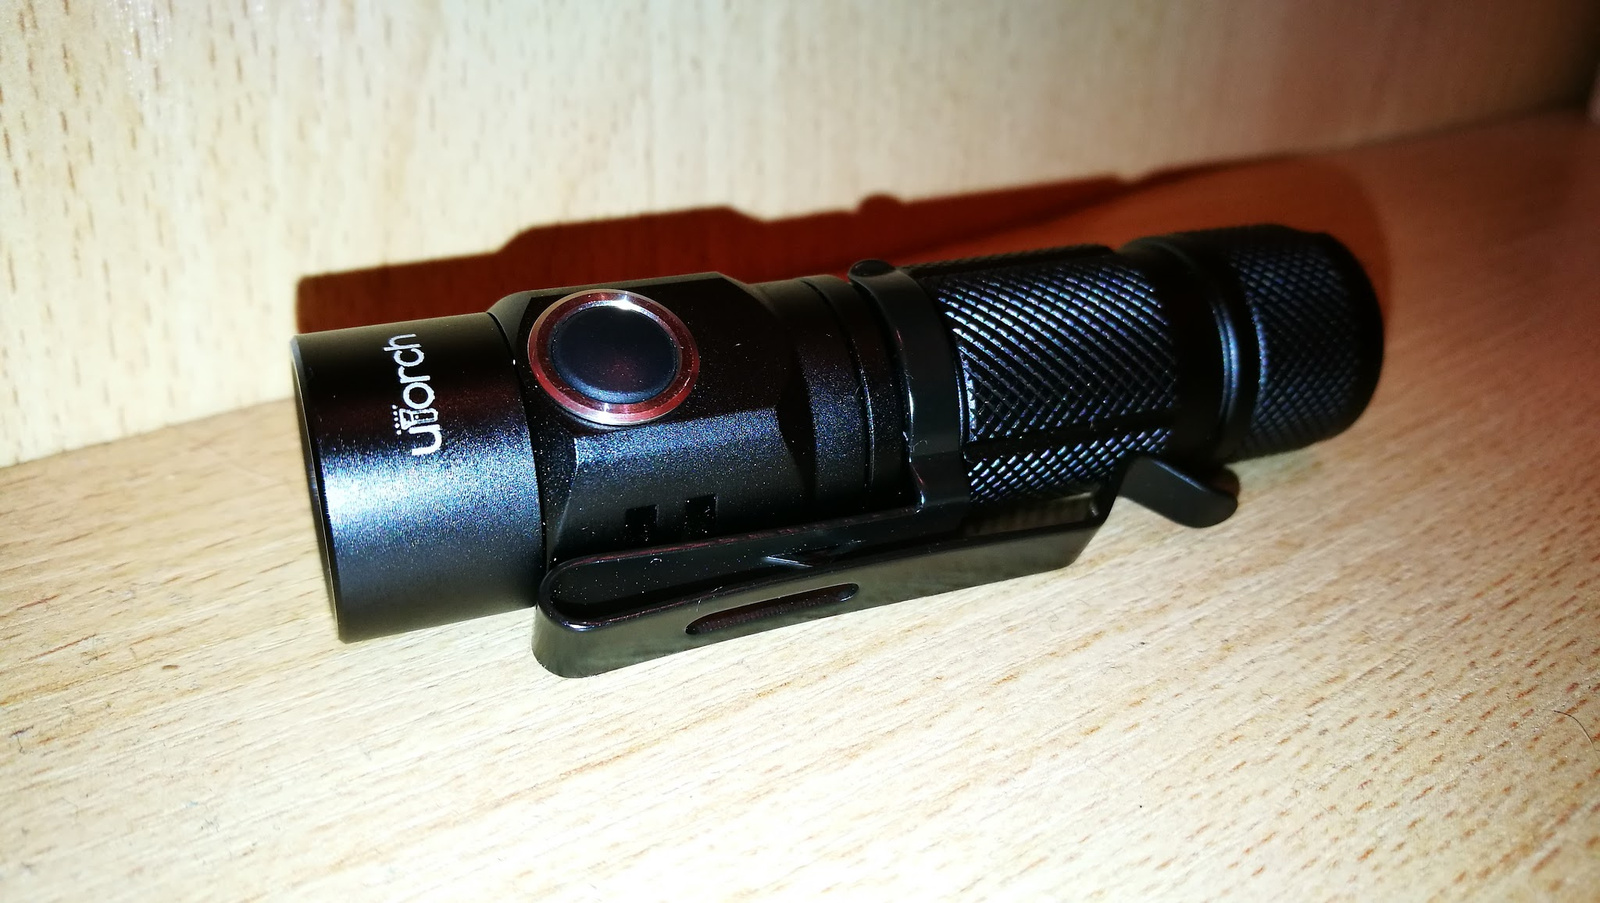
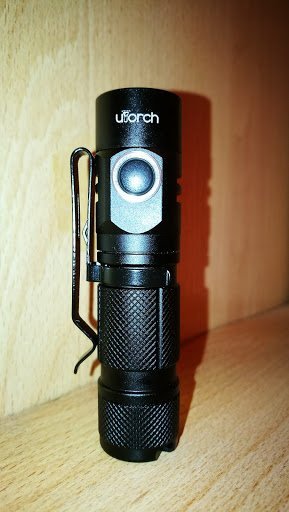
Not really a mod. Just putted a Skilhunt H03 pocket clip on my newly repaired Utorch UT01. I hated the original one because it rubbed the tailcap and in the way to untwist it. I needed to press the clip legs a little smaller but it fits very nice.
Cool light. I have an F13 with CUTE 3 TIR. Yours is pretty unique with the traditional reflector. Does that fit with the XP32 triple MCPCB or what MCPCB setup are you running? Also can you link to the reflector? Thanks.
The Kaidomain triple reflector does not fit xp32 mcpcb. Here’s the link, http://kaidomain.com/p/S025177.36mm(D)-x-14mm(H)~~SMO-Aluminum-Reflector-for-3-x-Cree-XM-L~~(1-pc). I believe fasttech also has a similar triple reflector. Here’s a link discussing the reflector Triple REFLECTOR for X6 or C8 . I used 3 x 10mm sink pads and wired them up together. The bean is a lot more focused than the tir, it produces a very tight hotspot but I haven’t had a chance to take it outside to compare yet.
Edit: You also have to file or dremmel under the lip of the reflector to have it fit into the f13.
Thanks, is the height the same as the CUTE 3? I think the spacer from kiriba-ru was designed for the CUTE 3, so it fits without modification?
Edit: I apologize if this info is in the discussion you linked. Have not read that yet.
I didn’t have to do any mods to the spacer, however I did use use a different o-ring (a black o-ring from the o-ring store) and changed out the lens to a coated lens (from Kaidomain as well). I’m not sure if that changed the height any. I think the new lens were 2mm thick but I’m not sure what the stock lens thickness is and the o-rings were similar thickness. At the end of the day everything ended up fitting nice and snug.
If I have time I can measure it but I think the dimensions for the reflector is on Kaidomain and you can reference the BLF link as well.
Assembled 3 pieces of TA17 OTSM drivers. One going in to my Jaxman triple XPL HI, one going in to my Convoy C8 XP-L2. And one for something future project.


