Yikes!
How many Amps does that 10440 put out on high?
Just over 3A on high mode, nearly untouchable after 30s even with the 5s rampdown to 50% so i have it set up to 2 mode - 10% & 100%.
10% is very usable and the 100% is for briefly being silly ![]()
Today I built an S2 shorty with a triple XP-E2.
I’m finding that XP-E2 is best for smaller cell lights such as 18350 and 14500 because of their lower current draw and more manageable heat output compared to XPG, XPL and 219C. Maybe not a walking the dog light, but for handy illumination tasks such as searching under things and poking around in a dark corner, the XP-E2 can’t be beat.
Because of their better heat management, XP-E2 triples can be run longer without getting smoking hot in 30 seconds, so I don’t bother with modes. Direct drive is perfectly suited to this set up.
Since I won’t be needing room for a driver, I just fill the pill with copper. Extra thermal mass is always good.

I got solder in the threads for the retaining ring, so I’ll just be soldering the contact board in place.

Here’s my thermal management set up.
Brass pill filled with copper
Aluminum spacer.
Copper disc. (I tried 2 discs, but impeded body tube from completely screwing in to the head)
Copper triple noctigon board with 3 x XP-E2 0D and
Carlco optic.

Z

Z

Soldered the neg. 20AWG teflon wire directly to the pill and brought the pos. through the contact board to connect with the spring.

Z

With a high drain purple Efest 18350 I’m getting 4.2A at the tail which is exactly the same reading I get from my 14500 light with triple XP-E2 “Torch” emitters. I can easily run it for 2 minutes without scorching heat issues. Two minutes is a lot of time to look for whatever your looking for, and 4.2A is a pretty conservative draw.
Don’t be fooled though. This set up puts out a lot of light.

Since I’m running this torch DD, I modified the tail to accept a fwd. clicky switch. Having the option of a soft momentary on is really nice.

Should be a nice little floody thrower with those XPE2 leds. I love these Leds in small lights at low currents. I’m building a quad myself at the moment with four XPE2 Torch Leds. Its only running a single NiMH though.
Sorry. 4.2A.
I accidentally hit post before I was finished. I meant to hit preview.
I compared these “0D” emitters against my “Torch” triple, and could see no difference at all. The tints were indistinguishable from each other, as were the beam profiles. I believe XP-E2 have the best beam profile of all in the Carlco triple optic. Beautiful!
Yes, great for small lights. I’m waiting to see your Quad. I’m searching for other optics and hosts to work with as I have 50 XP-E2 0D emitters I got from Mitko.
I’m going to change my user name to short. Every light I build these days seems to have a short that only appears when the lights assembled. I’m at the stage I’m going scream.
With 50 leds in hand you’ll have to try the Cutter quad boards. You have enough for 12 lights. Not that many when you think about it. ![]() PM me if you want any.
PM me if you want any.
I swapped my S1’s emitter for a nice T4 7A3 3000K :sunglasses:


Nice swap, X3!
I'm still waiting for a good deal on the S1 (preferrably in copper), and the prospect of being able to swap the led makes me even more want one :-)
i did this tonight, finally…
wasnt trying to make a light that generates sunburn… just using what i had on hand, light that needed a driver… had a driver left over from replacing another one… just a case of waste not, want not… silly to have a light kicking around in the dust on the shelf without a driver, when i have a left over driver laying around unloved on the OTHER shelf… so,
shrugs at least i did something, i guess. This might tide me over till my headlight and cheap zoomie get here from china… on the other hand, it might not if the boat is extra slow, LMAO. I might well get bored by then one more time, LMAO
Look at that nice warm tint :
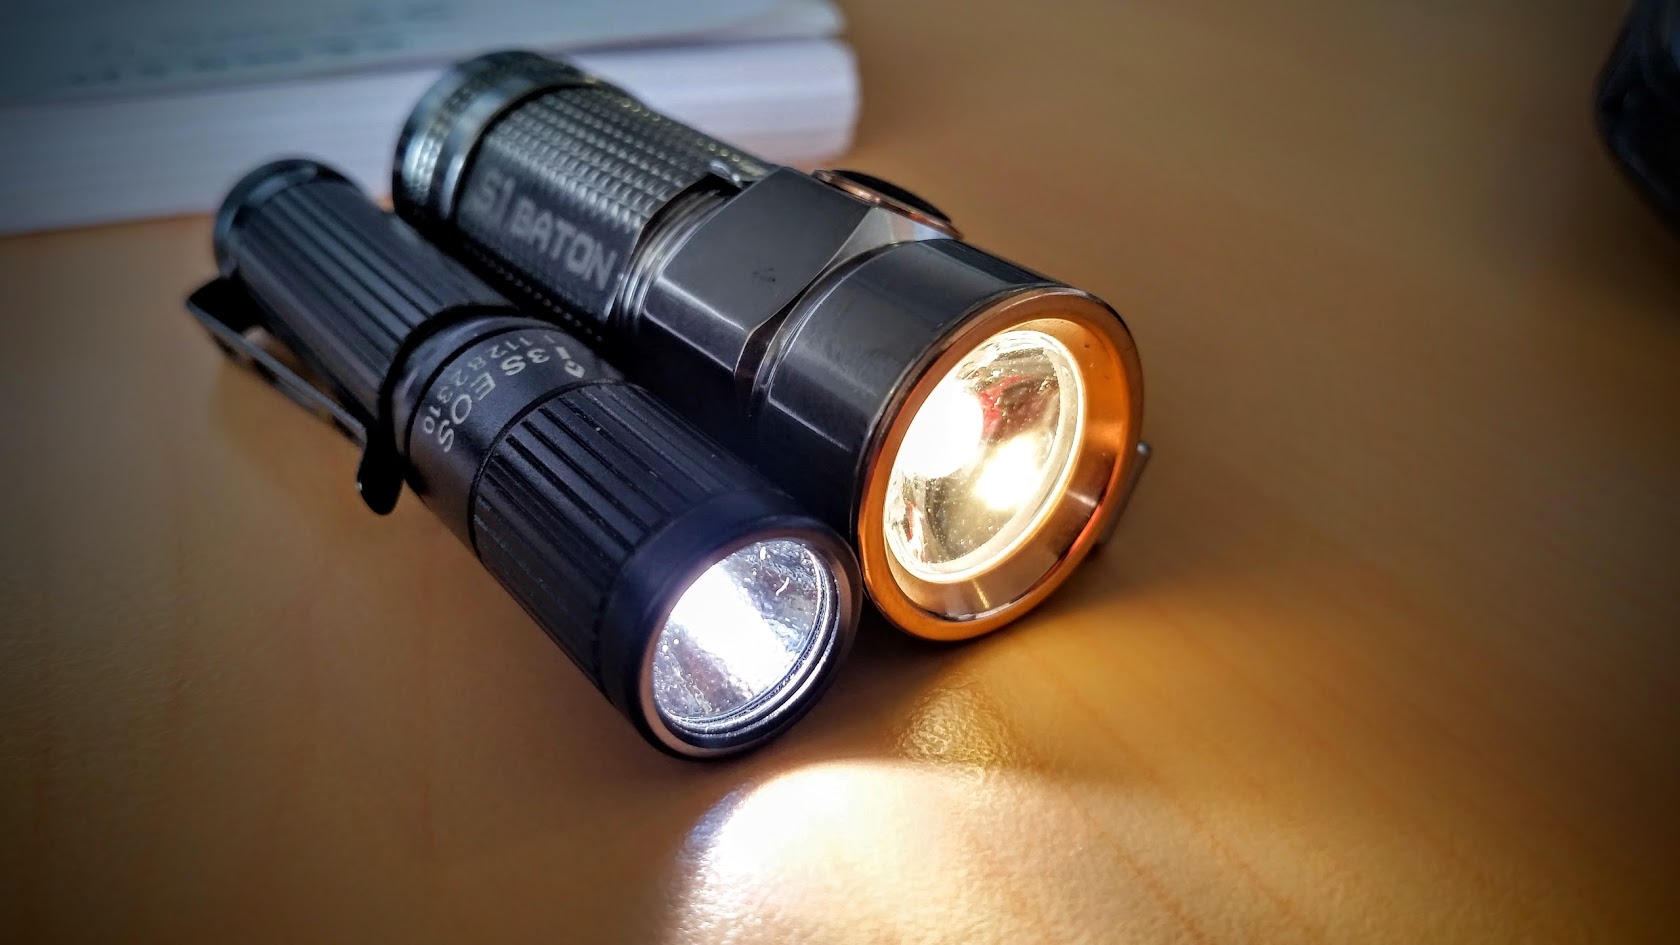
Left : I3S Nichia 219b
For those who are interested, here is a video of “turkeylord” member of CPF which shows how to swap an S1 emitter.
My dad bought a variation this light on a whim at a store: http://www.gearbest.com/led-flashlights/pp_175450.html
It’s absolute garbage. VERY hollow pill with a fake LB emitter. There is literally no heat transfer. The threads are awful and already peeling apart. The oring got cut in half the first time the tailcap was unscrewed. There’s no o-ring on the front lens. The ano is the worst i’ve seen and looks like cheap paint.
I thought I’d try to polish up this turd.
A penny was the perfect diameter for the inside of the pill, so I soldered two pennies together, filed and polished one side, and inserted it in the pill to use as the shelf. All I had on hand was hot glue, so I squirted glue into the pill to hold the pennies in place. Then I added a spare driver I had from a thorfire C8, an XP-L HI, and some thermal paste. I also had to use hot glue to hold the driver in place since the cavity was so big. I soldered a wire to the ground ring and hot glued the wire against the side of the pill to make ground contact.
It’s honestly very, very rough/ugly, but I didn’t want to put so much time into such a badly made light. But even then, I put about 6 hours of work into the dumb light. Worst of all, I feel attached to it since I made it, so I actually like it now lol. It’s the first zoomie iv’e used and its fun to play with.


If anyone has better ideas on how to do any of this more efficiently, please let me know! I’d love ideas in case another situation like this comes up.
well… on some other flashlight sites? the “big members” have big wallets… a typical review goes something like:
“oh well, heres my review of the ”SEARING-Hawk 996… Mr Hawk Searing personally engraved my name and this site name in real 24K gold on the side, its a nice touch. Look how wonderful this light is! You can buy one for only 359 dollars, its a really good deal, and, you have something QUALITY now. Note the high quality Ha-9 anodizing, Mr Hawk ships them out to NASA for the same coating they use on the space shuttle. Its not the brightest light i own at 750 lumens? But, the quality of the workmanship and the Uranium-cured Neodymium coated reflector more than make up for that… blah blah blah…”
Here at BLF? someone will get a 10 or 20 dollar light? and work on it… and end up with the same 750 lumens… many times, with a little work, you end up with a light just as reliable and bright, for a fraction of the cost.
And? as you noted? You NOW feel “connected” to THIS light… not this BRAND of light? this light right HERE you worked on yourself… its personal.
Its the difference between spending 300 dollars on an expensive walking stick? Or… selecting your own branch, then carving it, shaping it, sanding it, coating it… it is now UNIQUELY YOURS, and to many people? its somehow better.
after a few times? you begin to appreciate a good light, on more than just cost or name brand, or, on having a light that impresses everyone. You begin to appreciate a light for what it “actually” is, not just a reputation.
after a while? you DESERVE an expensive light you buy yourself, as your no longer just a “trust fund baby” showing off your expensive toy…
==
erm, actually either that same light, or, one that looks just like it? is ON ITS WAY from china, lol… i expressely wanted one, just so i could show people what a SCAM the “x700 shadowhawk” really is… and? i have a small shoebox full of mostly cheap zoomies, i dont know, i just like them. I like fiddling with them. If i LOSE one? i dont cry i could care less.
a FEW of them? i end up actually liking them… they work fine, and, they end up in a jacket pocket for weeks at a time every time i leave the house.
i actually bought a few “better” zoomies by now. I actually finally own one or two “half decent” lights. And? you know WHAT? i find i actually M-I-S-S working on my pathetic “cheap beater zoomies”. Thats another reason i bought this exact light? I MISS my tiny zoomies, and, this looks no WORSE than any of the china-tastic cheap zoomies i already have? but… it will take 26650 for long run time.
heck, you telling me that pennies fit in almost perfectly? THANK you, THANK you, THANK you… i am very happy now…
theres even a part of me? that WONDERS how ugly a de-domed lattice bright gets, LMAO… I mean, blue? purple? green? “bring it on, it will be fun to use it for a week or two, till i get a replacement cree in”, you know?
I just… i cant have this much “fun” simply BUYING an expensive light, that i cant play with it and fiddle with it, you know?
hi all todays little mod was to build a short convoy s2,18350 with 2mode driver dedomed xpg2
shortend reflector tried a optic but didn’t like the beam.thanks to mrsdnf for shortening the tube.
it came in 13mm shorter than a normal 18350 s2 it is on the left next to the 18500 triple,
second from right is a s4 (comes with vents and clip)

There sure isn’t much of a battery tube on the shorty. Today I modded my single AA quad light with a second battery tube so now it will run on either 1 or 2 AA NiMh batteries.
Picture of your 1 X AA quad or it doesn’t exist.
I just done a spring bypass on my Thorfire S70 i used thick cable capable of handling 10 amps….
Did some more work on my xeno cube, it already has an XP-L HI triple with copper spacer, bored out battery tube to accept a 16500 cell and a FET driver as you may have seen earlier.
Today i worked on the switch as it was a small reverse clicky that i wanted to upgrade to a more current capable forward clicky, i keep this light as a simple two mode. (10% & 100%)
I also wanted to create a lock-out function for this light so i did away with the switch spring and replaced it with a brass stud (there is no spring on the driver side either).

Original switch and larger F/C replacement

Original switch boot and replacement to maintain water resistance

The steel switch plunger had to be filed down due to the much larger switch

Switch casing parts, very well made but i had to leave out the two inner cores

New forward clicky with one contact directly soldered onto copper plate which is epoxied in place, the other tab soldered onto some copper braid

Switch screwed into housing (the corners catch the internal threading)
The copper braiding is jammed into the side space with some solder paste then very quicky melted and pushed in some more to try and make a good contact with the steel threads

Soldered a brass stud onto the pre-tinned copper plate, filled other side gaps with silicone cubes and cut & drilled a kydex cover epoxied in place semi permanently

The stud was longer than required so it could be fine tuned to the correct length with a file, then lightly polished

Ready for the moment of truth…

All Good! :sunglasses:
That is such a cool light! I’d like to see a picture of the front end with the triple optic.