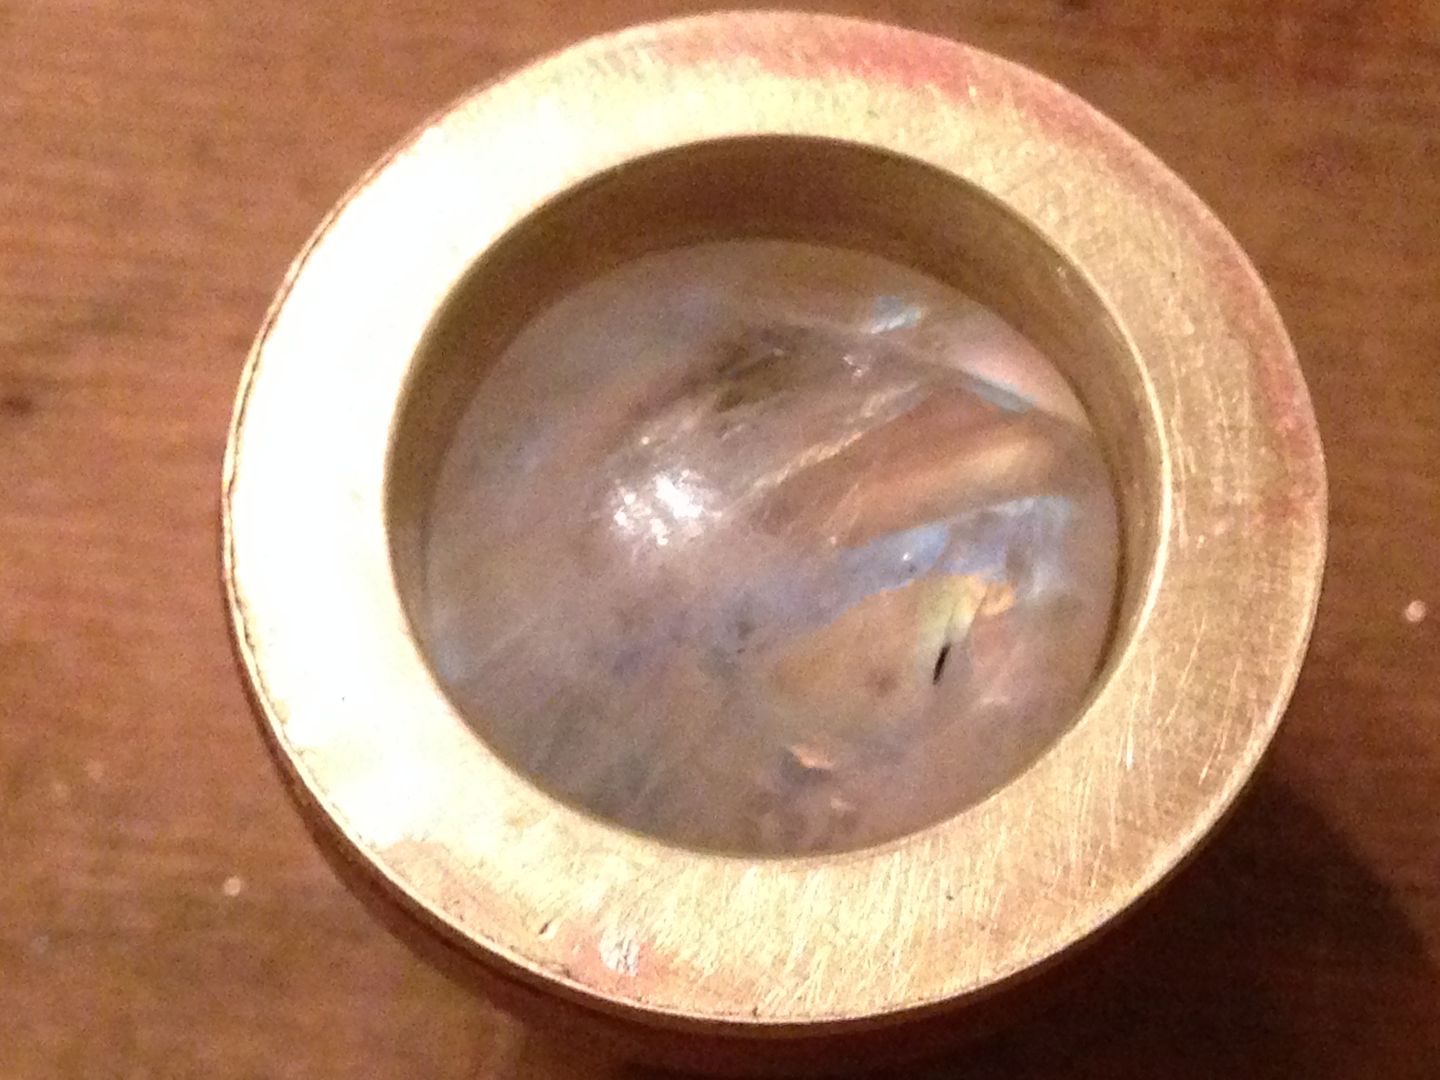
On the other side of the trits is a 16.5 mm moonstone cabochon which is backlit by the trits. The shear planes in the stone break up the trits into a less distinct pattern and give it a very faint glow which is still easily visible to darkness adjusted eyes. I’d need a timed exposure to show it properly and I’ll try and get one that also show the trit under the switch as well.
Edit-note that the brass plate under the spring has a hole. This allows the trits to sit up past the plate so the stone doesn’t protrude. The negative end of the battery can’t compress the spring past the tail cap threads so there’s no chance of the trits being crunched from either side.
Zoomies have the same pros/cons of dedoming as usual - almost double the kcd, some drop in lumens, maybe 15-20% think'n? But I always like the tint shift better in zoomies than in reflector lights, but specially for a 0D tint - 0D's dedome to a really nice white/off white tint, never greens - it's really the best tint to dedome, though don't trust FastTech 0D's, but this one seems a legit 0D, maybe not V6 bin though, but I can't tell/test for sure.
This one went from 7.1 kcd on the stock XM-L2 to 35.7 kcd, so dedoming really helped in throw big time (amps and DTP copper MCPCB also contributed of course). You can clearly see the full zoomed in square of the dye is much smaller, and since XPL dye is the same size as XM-L2, only reason why it's smaller is from dedoming. I think dedoming is best with zoomies - you still get a nice area lit up in full flood mode but zoomed in is where it really does much better.
The hardest part was trying to find some 1500 grit in this little podunk town. Other than that, you instructions worked very well. I’ve got a very beautiful light on the way that I’m going to want to keep so I want the optic to look nice. Now Dale…I’m always full of questions…how do I polish the X6 TI? Dremel or sandpaper?
I wouldn’t use a Dremel, far to easy to get horrid swirl marks and chatter. I would gut the light, use washers and nuts on allthread and mount the end of the all thread in in a variable speed drill. Then spin it as fast as you’re comfortable with while polishing it with newspaper and Mother’s polish. You’ll be surprised how quickly it shines up.
Clean it up with an old cotton T shirt, assemble the light.
Edit: If you use the inside of the head as a stop point for the outer washer and leave some all thread sticking out, you can seat this all thread end into a hole in a verticle exposed stud, or a door keeper in the jamb, almost anything that will hold it steady, this will make it easier to spin it true and make the polishing much easier.
Yea, totally agree - love the contiguous spread of light - and this BD04 is a nice size pocket light. I pocketed it in my jeans tonight going out. Both Birthday, and celebrating drop'n 30 lbs since August , just 15-20 to go, hoping by the spring, then all the other health issues go away or get easier.
I'm get'n to like Biscotti, w/no memory , but might change the first set to 4 main modes rather than 5 modes - bout the only thing I would change. Once I realized the stupid BD04 stock board used the wrong cap value (1.1 uF) and replaced it with a 10 uF, the timing for mode changing is great!
Auto parts stores have high grit w/d paper for rubbing out paint jobs. Also, some head light lens repair kits have high grits and the polishing compound is made for plastics.
Ok - literally for years I sanded down my finger nails, blistered up my fingers, get'n blood all over, cramping up my fingers, etc... All until someone (wish I could remember who) describe or posted a pic on a very simple trick - solder on a heavy gauge wire across the +/- pad and use it as a handle. While slapping my head, I realized this is the holy grail! No more blisters or blood, works great, fast, almost too fast - I can actually generate enough heat from sanding that I have to pause. I'll use 220 GRIT paper, maybe 2" by 4" or so for doing the bulk of material removal, than only switch to finer grades for softening out the lines and getting a polish like finish.
Got some pics from a Manker T01 mod:
Don't have to use wire this thick - point is to have something to hold on to - makes the job much easier and much quicker.
it's one of those frustrating things - was I that stupid not to realize this for so long? I get stupid sometimes - not think'n. You always have to be think'n, always ways to improve the process.
I hit it on the belt sander a couple of times, drop it in a bowl of water when it gets hot. Done in minutes. Solder to the thermal pad, it’s the copper that you’re working on. I’ve had the electrical pads rip off the star before.
Probably better - I've had the wire come off the pads before but no damage, but I'm sure it's a risk and would happen eventually. How to you hold it on the belt sander?
Sink two screws into a piece of wood, screwing it down upside down essentially. Sand off the heads and the screw body still holds it on. Doesn’t matter a whole lot how hot it gets, its held onto the wood. I don’t thin one down often, I’d rather go the other direction and space out the head accordingly. I don’t do zoomies much.
I find it easier to fir out the lens instead of removing copper.
The other option is to lower the emitter shelf. Take off as much of the shelf as you would take off the star.
Was that a 10 degree to begin with? Did you fit and operate the light before the clearing of the optic? Does the sanding/clearing of the pattern make the optic more of a spot, a narrower beam and how much?
For what my experience is worth, I always like more throw in a light, but I still prefer the “unpolished” optic in this case. The polished looks cooler, but the beam from the honeycomb is nicer imo. I tried the polished and went back to stock in my X6R. ymmv
I have a 19 & a 24 degree and have been wondering about polishing one. I guess I really need to assemble first and see what they look like. Then decide which one to polish and see what happens.
 I’d need a timed exposure to show it properly and I’ll try and get one that also show the trit under the switch as well.

 , just 15-20 to go, hoping by the spring, then all the other health issues go away or get easier.


