It’s raining cats ‘n’ dogs. Too wet to be outside and do what I am supposed to be doing. 
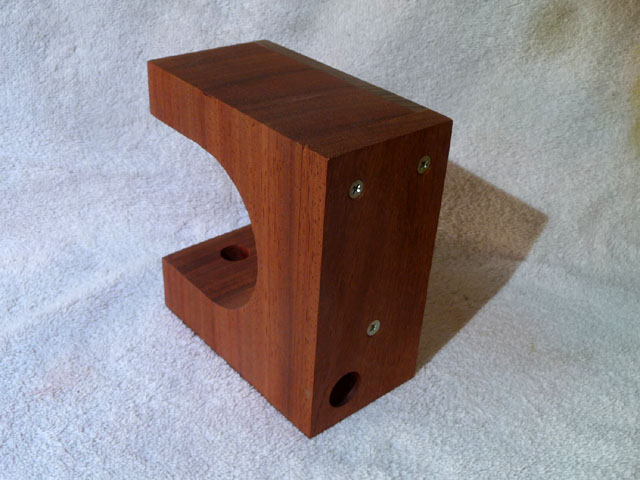
A little more work on this light. I have to come up with a name for it, something catchy? :laughing:
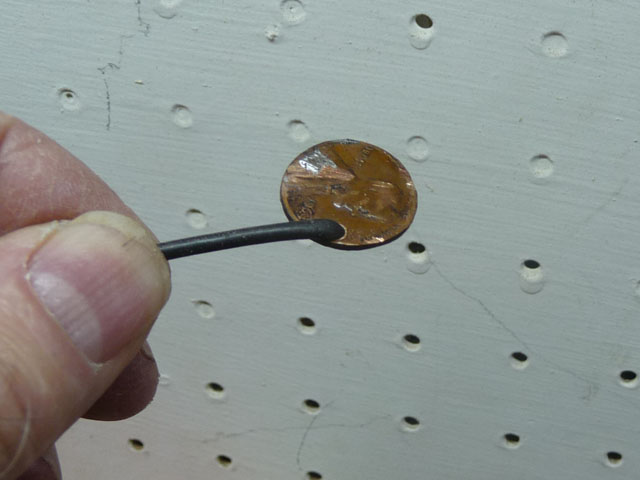
I soldered the switch wires.
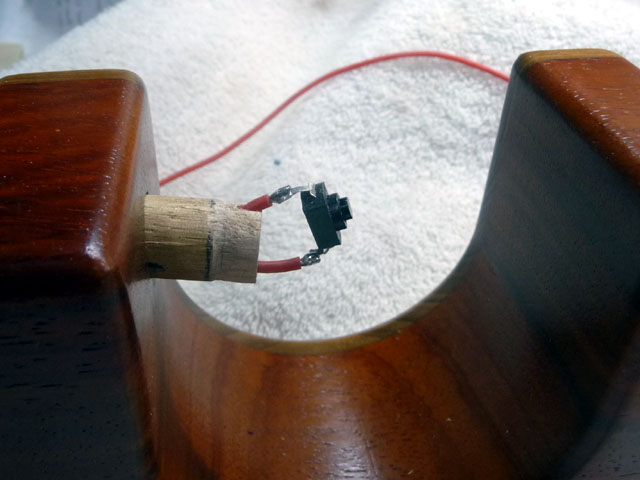
Switch mounted to the top of the dowel insert with a dab of instant grab Loctite construction adhesive
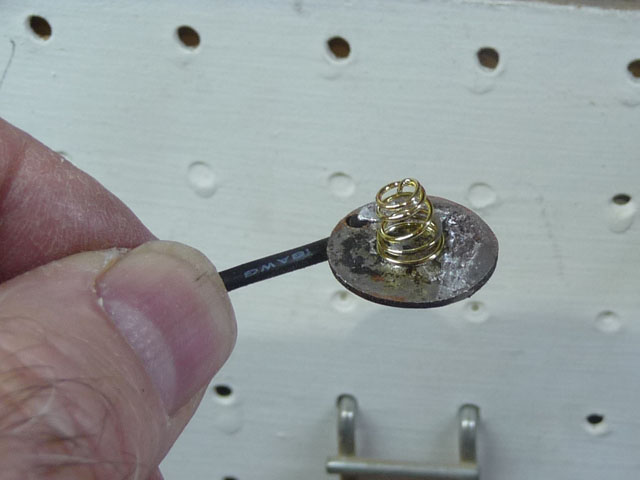
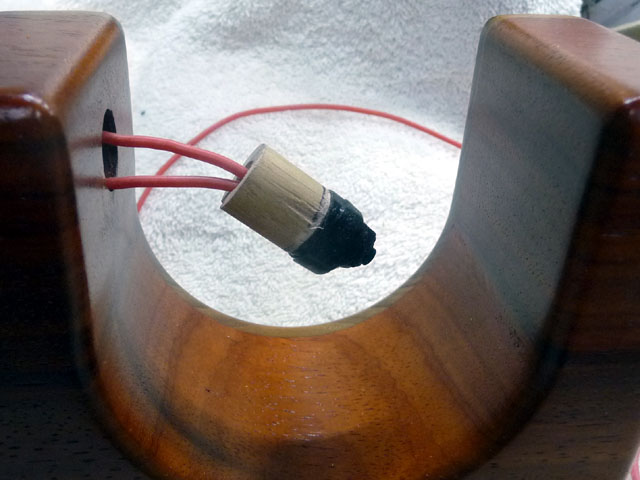
The upper section of the dowel rod was filed and sanded to reduce the diamter a little. You’ll see why next.
The copper pipe cap with the switch boot slips over the dowel top and switch. Being conductive copper there is a need to insulate the soldered switch wires from that copper cap. I achieved that with self fusing silicone tape. The dowel diameter needed reducing to allow a couple of tape layers and still let the copper cap fit over. Here’s the wrapped switch.
I checked the switch operation and that the wires/connections were electrically isolated. All good!
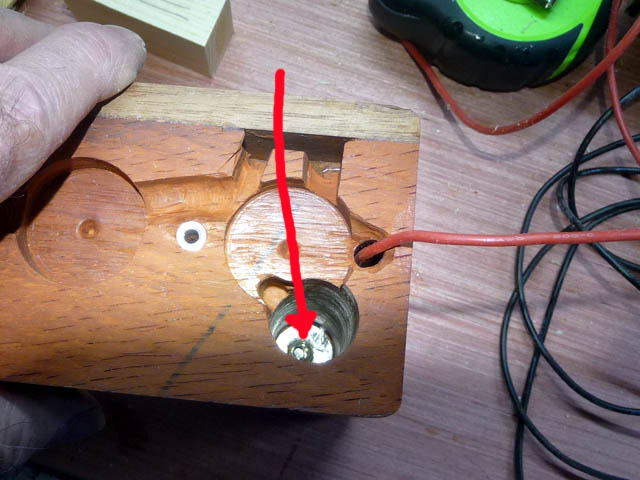
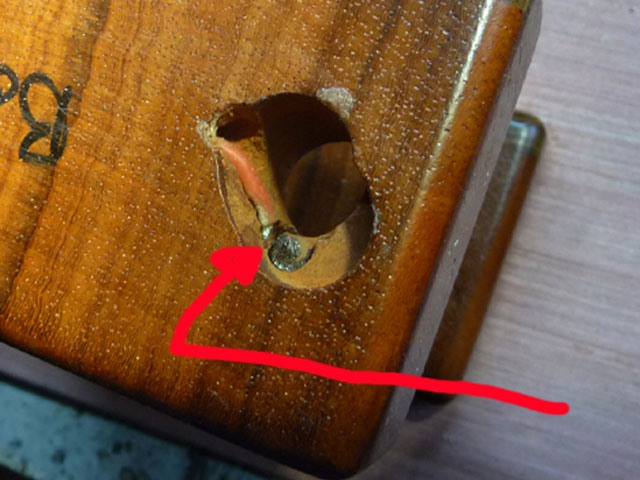
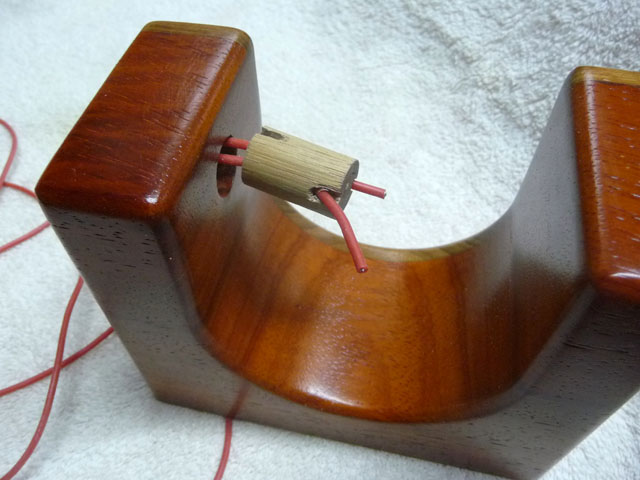
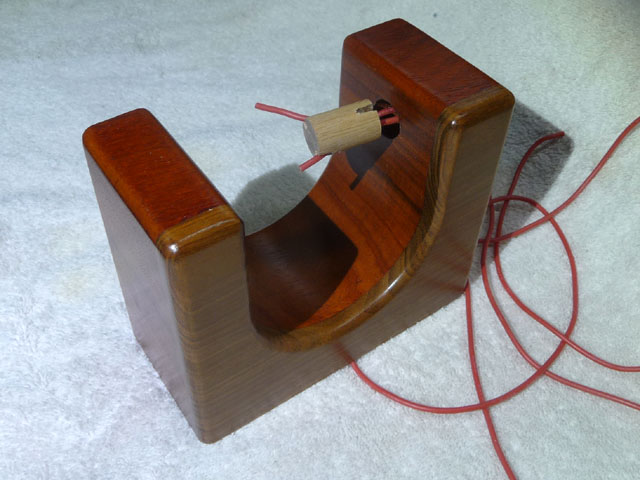
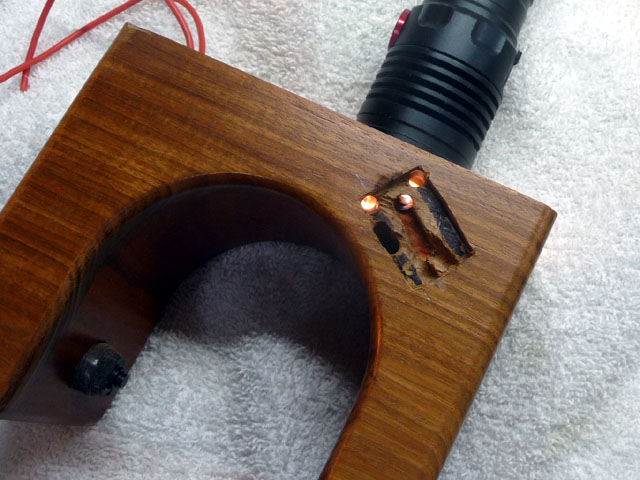
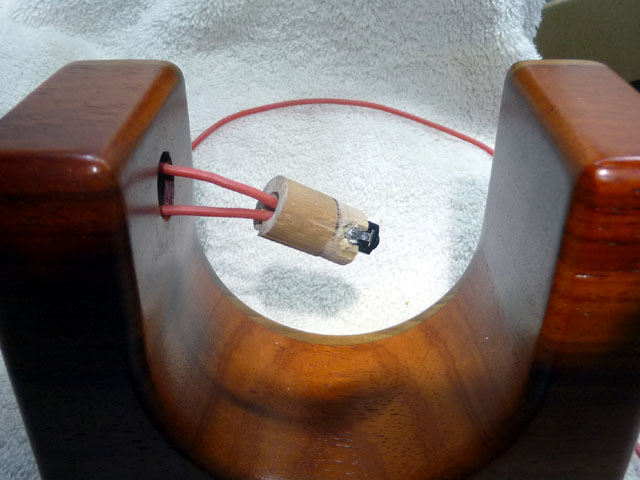
Here’s what the switch looks like with the dowel rod inserted into the body of the light, but without the copper cap and the switch boot. That will go on later as it is a tight fit over the silicone tape. I’d rather install it and leave it at the end.
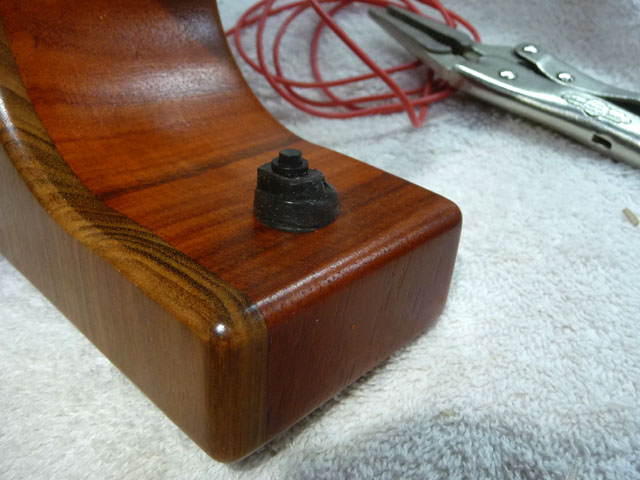
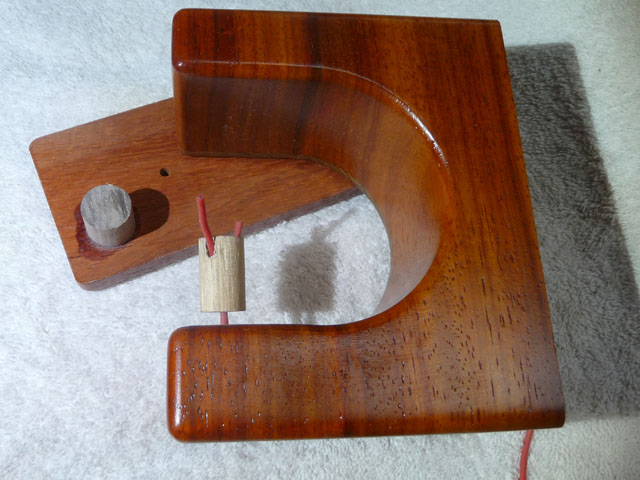
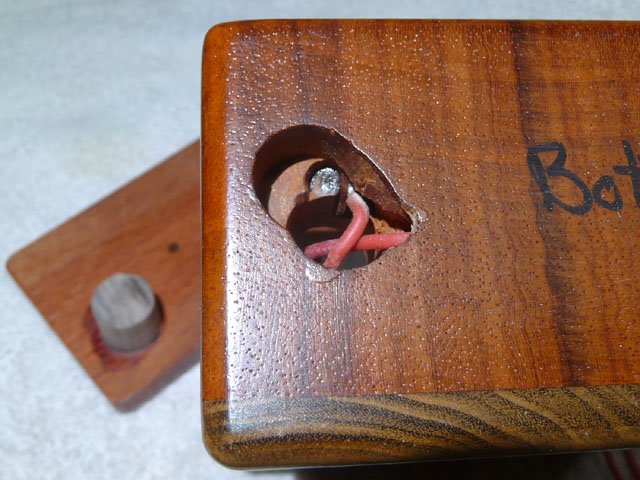
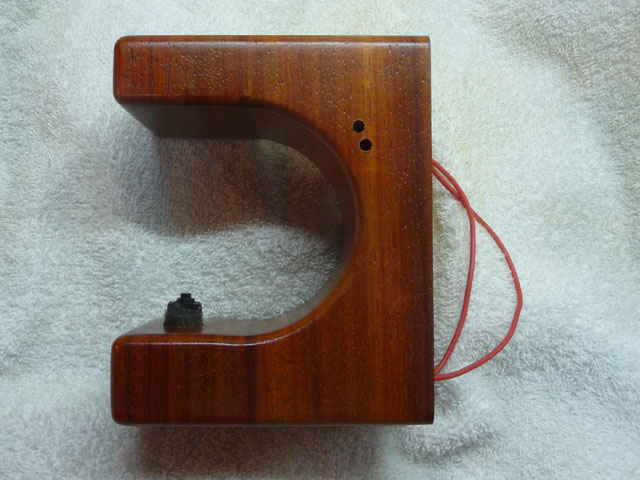
Here’s a shot of the underside with the switch wires looped in the access bay.

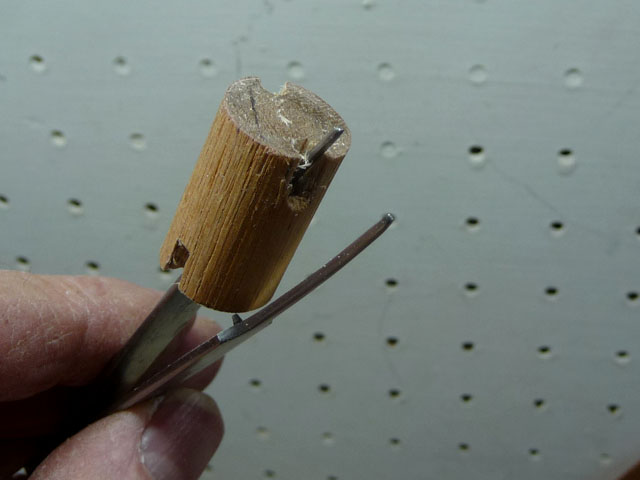
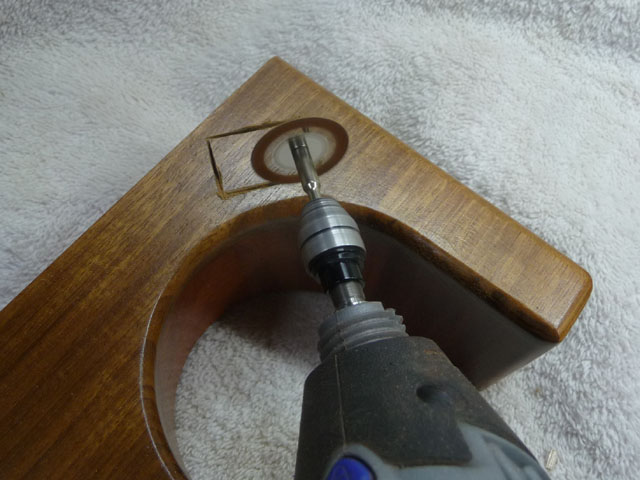
What am I up to now, with the cheap Chinese copy of a Dremel cutting wheel?
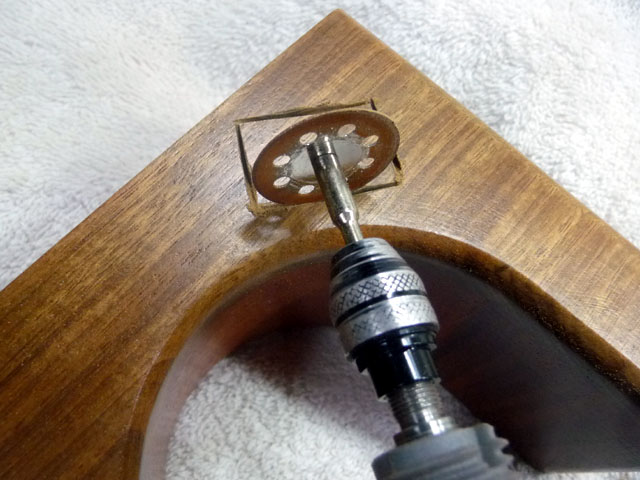
Yes, cutting a narrow slot! But for what? …an action shot…
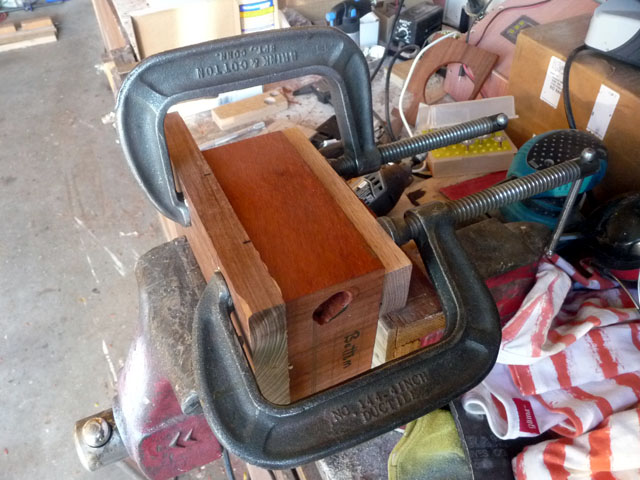
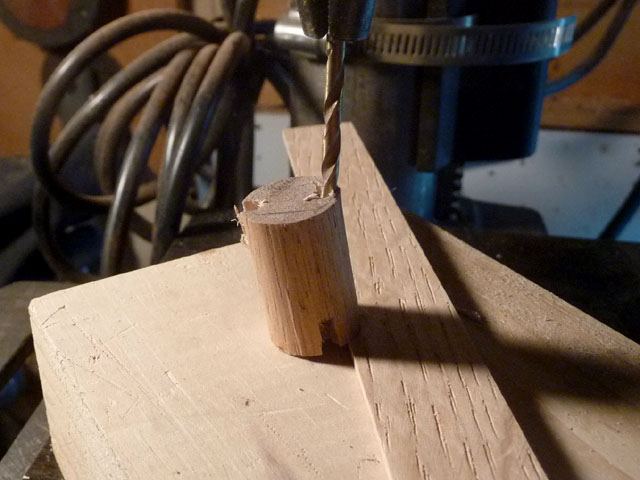
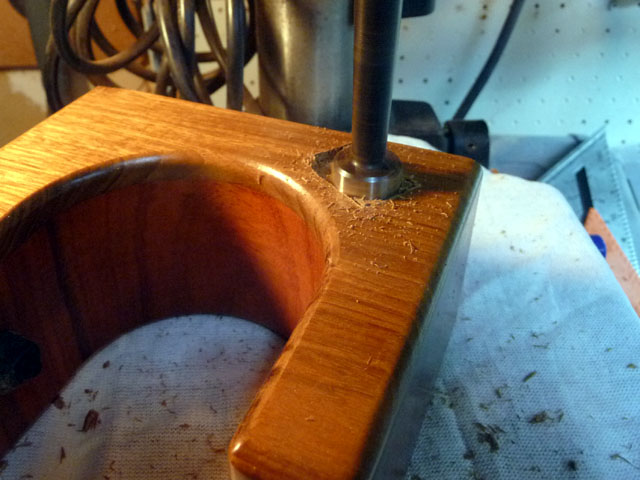
After cutting the perimeter slots, a 7/8” forstner bit cleans out most of the cavity. (The drill press light is much more yellow than the general shop lighting.)
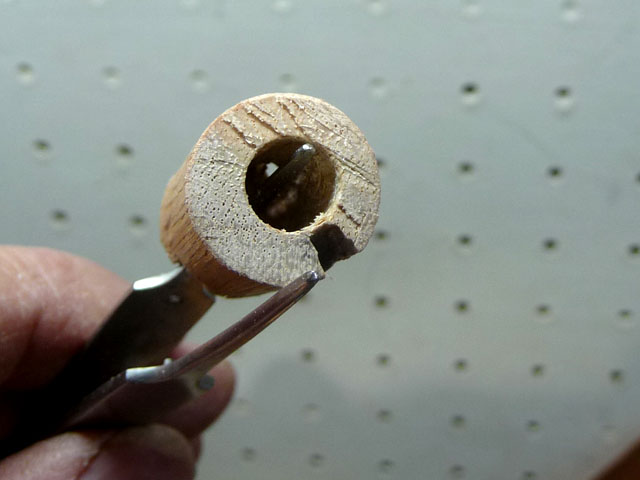
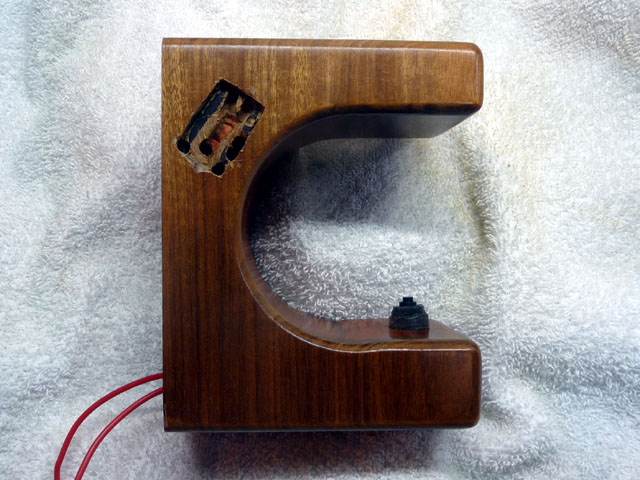
After cleaning out the corners with a chisel, here is what we have.

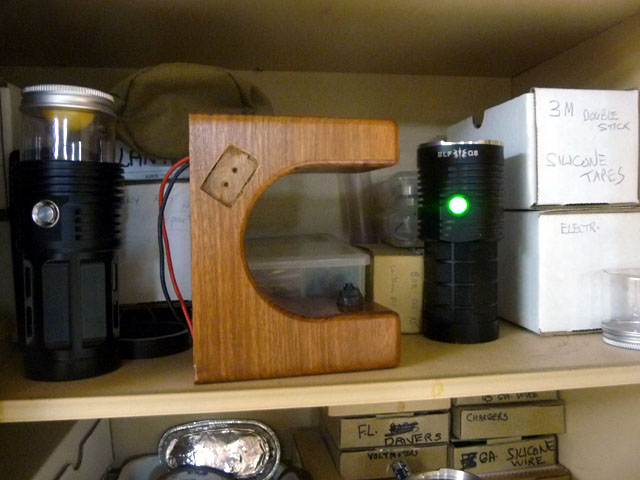
With that recess cut it is time for a recess. :person_facepalming: That’s it for today. I put the project away in the cupboard with a Q8 for good company along with the someday-to-be-completed SRK-clone camping lantern.