skill + good equipment (which runs as hot as the knob/display says) → WIN
no skill + good equipment → often WIN but also Fails
Skill -> bad equipment + knowing how to handle it → mostly WIN
no skill + bad equipment → FAIL
skill → trusting the temperature knob on iron running way too hot → often FAIL
no skill → trusting the temperature knob on iron running way too hot → guaranteed FAIL
good equipment can compensate skill quite often as well as skill can compensate bad equipment
On newer drivers I have put into the solder pads a plated through hole so its way harder to rip them off even when the glue is killed
I also enlarged pads as much as possible on later driver builds balanced with pad spacing to make it easier to handle them with less skill or less good equipment
The S42 design is from 2017 so pardon its not as good as recent ones, I know the pads are pretty small and narrow together so there is some at lest some skill and/or good equipment needed to get them soldered
So there has to be used quite thin wire and with unregulated hot irons the solder time needs to be like <0.5son the pad
In my opinion the best solution is always tinning the wire and pad separately then connecting them <0.5s with an iron you know is very hot, with a station and below 300°C you have not to worry to kill the glue
P.S.
Usually solder wire manufacturers have recommended temperature setting of like 320-380°C for example for Kester.
This is usually to compensate bad soldering gear so that enough heat gets on the solder connection to form a reliable connection, the problem is that on PCB´s the glue is the weak link at such high temperatures.
In my solder experience with a good clean tip that fits in size and shape the solder job to do you can go easily down to 295°C with a quality solder wire, the risk of lifting a pad is almost 0.
You can solder really a very long time with a tip temperature of 285-295°C on a pad without doing any harm to it if no mechanical force is applied to shear the softened glue, when you remove the heat the glue gets back to original strength.
Of course, you need a good iron and tip so that at the low temperature the heat can flow quickly enough to make a good solder connection.
The tip geometry plays also a big role, I use a tip that is flat and round, so it can touch the Pad on the whole thickness of the tip not just a single tiny spot like a needle shape tip can
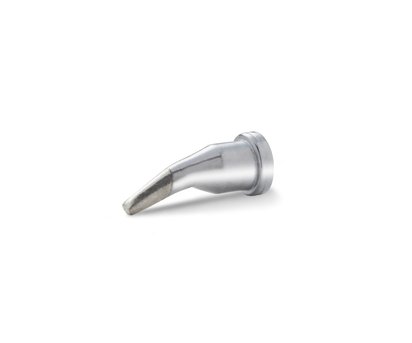
I use in 98% of the solder jobs this tip for Weller, www.weller-tools.com/professional
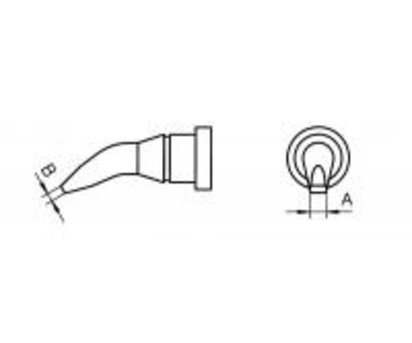
you can put it on a pad with a flat small end or twisting it 180° and have a really big surface
If you don’t tin the pad and/or lead before connecting both its easy to make a too long solder duration,
always follow the right procedure:
I can only support to twist the cable before applying tin, so it does stick together when put on the pad.
1. you use a 3. Hand to hold the lead on top of the pad (which I can’t really support from my solder behavior, setting up a 3. hand takes longer than tinning lead and/or pad)
- heating the pad and lead simultaneously
- add solder wire with flux
- remove tip as quickly as possible
2. you tin both pad and lead
- tin the pad this can be really quick like 0.5s is possible, but always stay below 1 second
- tin the lead, not too short (tin does not fully wet) and not too long (tin creeps too far into the strands)
- now heat up the pad, put the lead on the pad quickly and release the heat
3. you tin either the lead with a blob or the pad with a blob
- tin the lead or Pad with enough solder to wet both parts and is making a nice meniscus
- apply flux to the other part
- place the lead near the pad heat it up and connect both
Even having good soldering skills from many years and professional gear, I do still use the 2. technique, it takes a bit longer but the results are great and the risk damaging the pad is the lowest.
