Ok, I’ve been procrastinating about this for too long, so with a short day at work and an empty house, I decided to get on it.
I fitted this driver
And a u3 1c emitter from intl outdoor, the driver was out of stock last time I looked, but they are supposed to be getting more, might be time for an email bombardment as these drivers rock! 8)
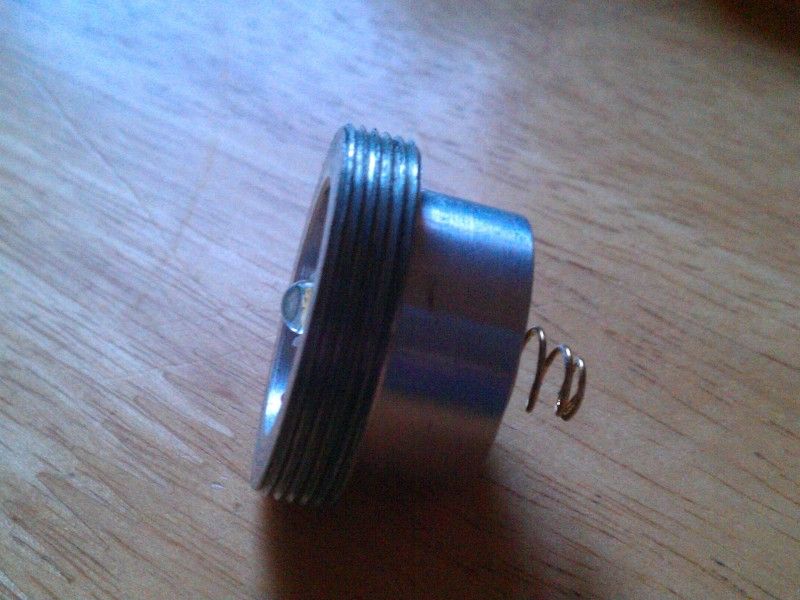
First strip the light down and get the pill out.
<a href=http://s185.photobucket.com/albums/x48/gords1001/?action=view¤t=IMAG0510.jpg target=_blank><img src=http://i185.photobucket.com/albums/x48/gords1001/IMAG0510.jpg border=0 alt=>
Notice the nice amount of threads, and this threads a long way into the head, if you want a c8 sized light with a good smooth beam that’ll take plenty of current and is easy to mod, get one of these.
<a href=Photo Storage target=_blank><img src=http://i185.photobucket.com/albums/x48/gords1001/IMAG0511.jpg border=0 alt=>
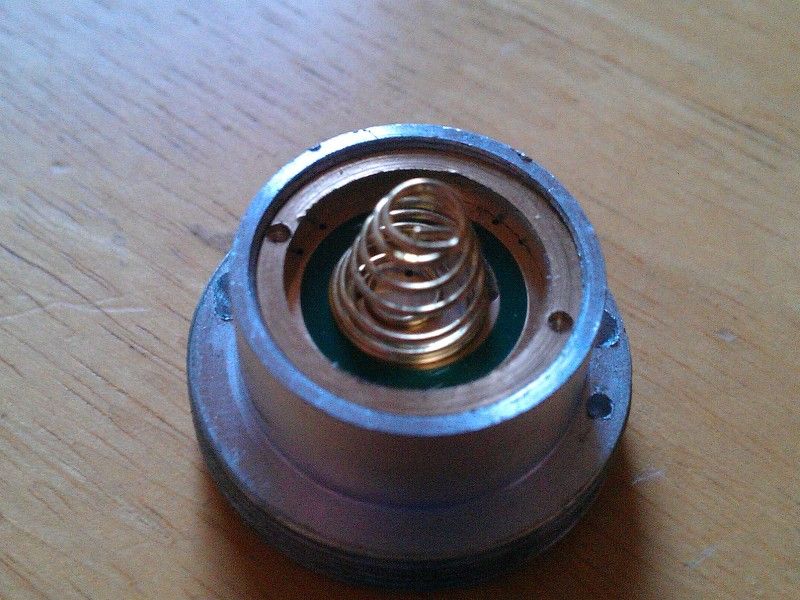
Notice the brass driver retaining ring? That is important, 1:- it makes the stock 20mm driver easy to remove, 2:- the id of that ring is close to 17mm………
<a href=Photo Storage target=_blank><img src=http://i185.photobucket.com/albums/x48/gords1001/IMAG0513.jpg border=0 alt=>
That’s the new driver, just but not quite fitting in the ring, so out with the driver and ring, deburr the ring so it has a nice smooth edge, then lightly sand the edge of the driver, working and checking till its a light interference fit in the ring.
Poke the led wires through the holes, then fit the driver in the ring and solder the negative connection to the ring, if your driver needs it, solder on the positive spring.
<a href=Photo Storage target=_blank><img src=http://i185.photobucket.com/albums/x48/gords1001/IMAG0514.jpg border=0 alt=>
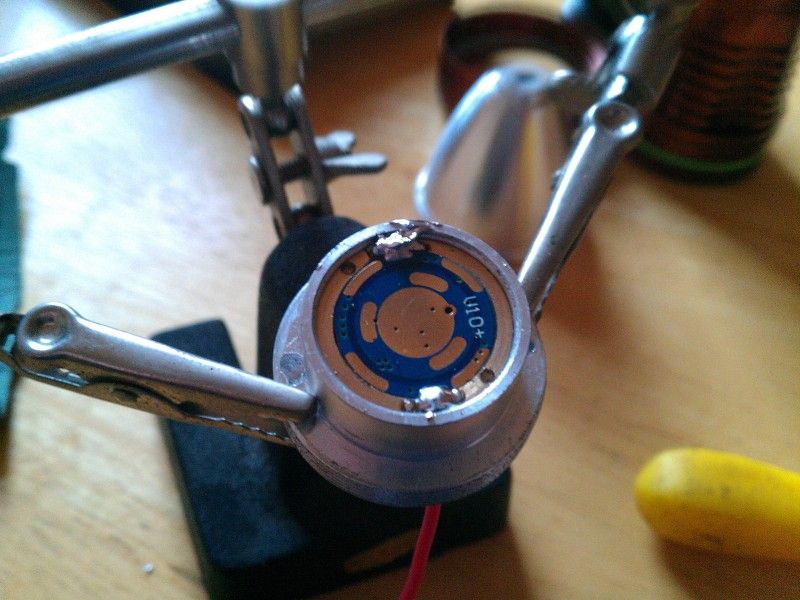
Now, I mentioned a u3 1c… You can use either a 16mm board like me, or the 20mm board the pill is designed for, it doesn’t matter. The pill has a plastic centering piece that fits around the led die, there’s enough clearance for the wires on a 17mm board.
<a href=Photo Storage target=_blank><img src=http://i185.photobucket.com/albums/x48/gords1001/IMAG0512.jpg border=0 alt=>
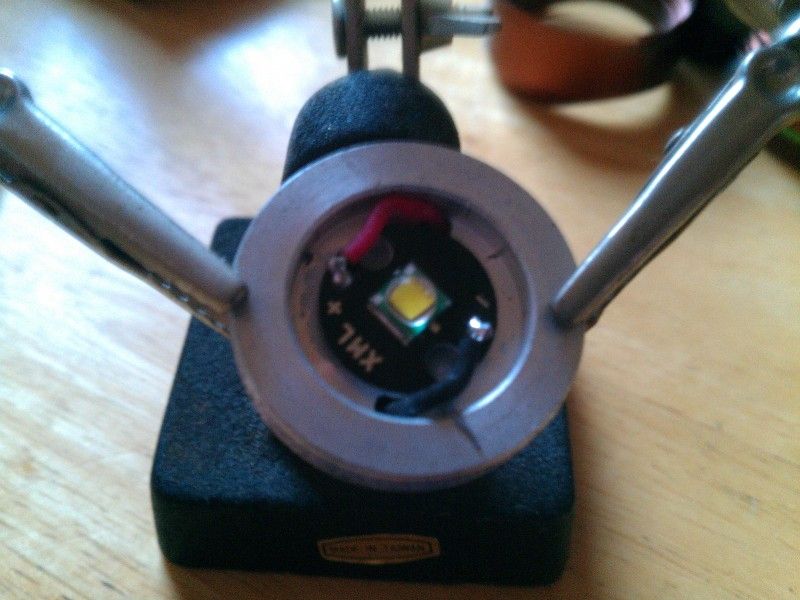
So wire in your led, stick a bit of thermal paste (i used diamond paste from maplin) and the pills prepped.
<a href=Photo Storage target=_blank><img src=http://i185.photobucket.com/albums/x48/gords1001/IMAG0515.jpg border=0 alt=>
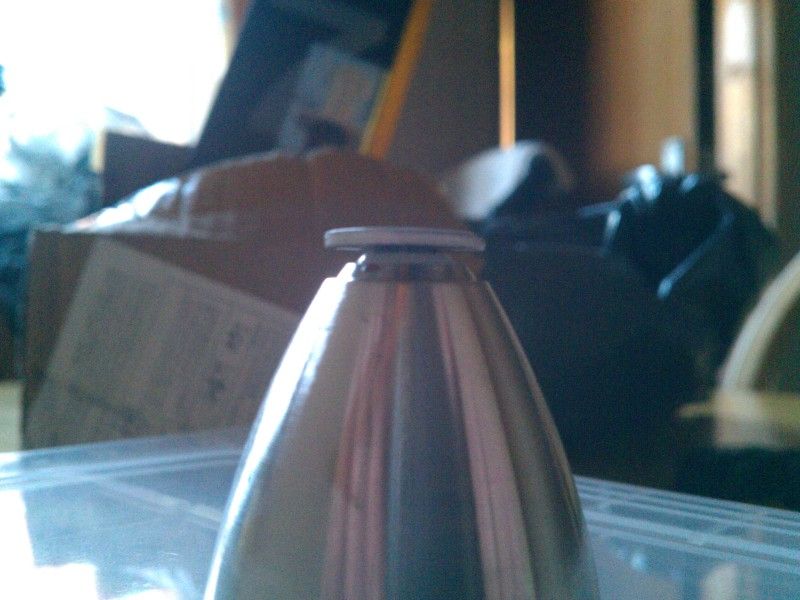
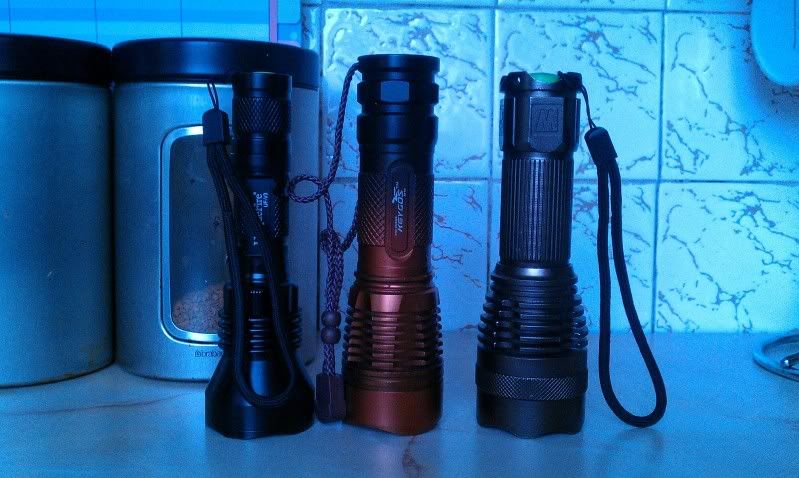
Reassemble the light and your ready to test.
The keygos cell I had in didn’t want to give more than 2.5a, but its quite run down, with a charged king Kong and the driver set to ramping, I can go from no reading up to 3.67a 8) (did I mention I love this driver? Well I do)
What’s noticeable is at mid way through the ramping, the beam looks light a stock m10, as it ramps to full the hotspot seems to increase in size and intensity with the spill brightening up some, this was all checked in day light. I now can’t wait for half four when it’ll be dark.
So there you go, any 17mm driver cam be fitted with a bit of care and some sand paper.
And the m10 driver? That went in my uf-v3 for a bit of a kick in the pants, took about ten minutes, so, two modded lights in an hour and a half including playing, not bad for a noob. :cowboy_hat_face: