I was so excited about this project that the timeline looked like this: opened OSHPark packages 5pm Wednesday, LED board and main board populated by 8pm, woke up at 5am to build daughter board and assemble, light finished by 7:45am when I had to leave for work. Yes I’m insane
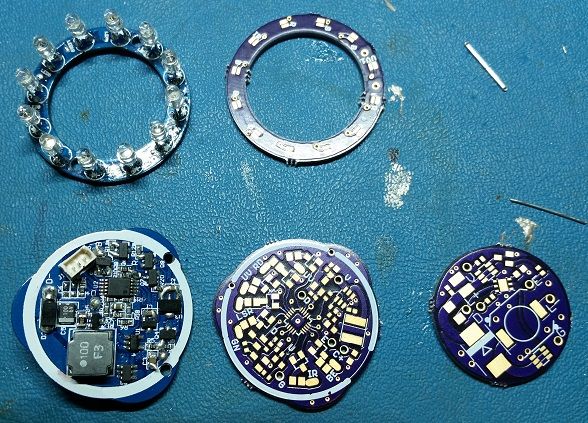
The build went very smoothly. Here are all my bare boards compared to the stock boards:
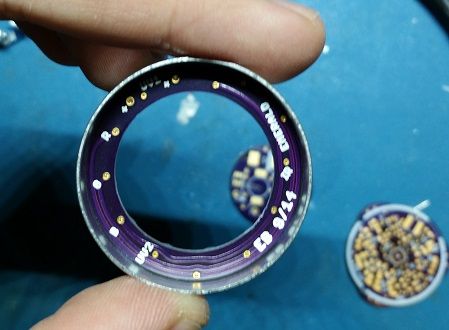
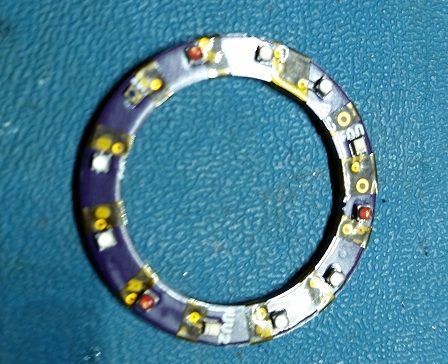
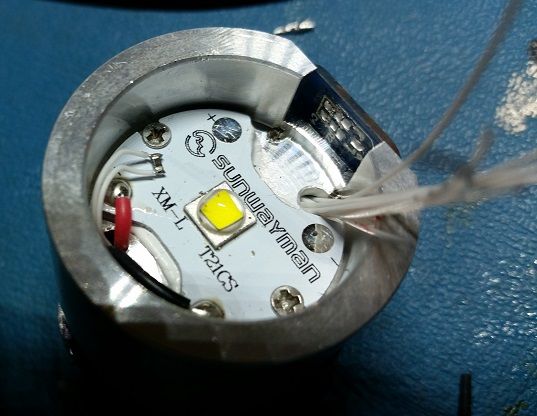
My measurements were good and the LED board fit right into the ring:
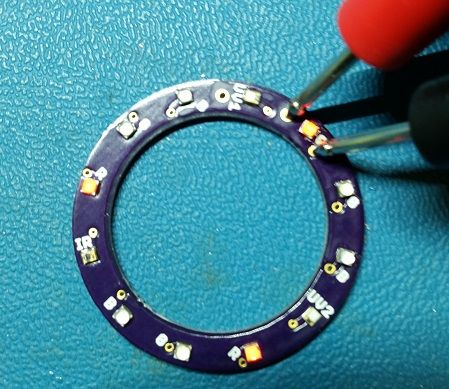
I populated the LED board first. Here’s a shot of the reds under test:
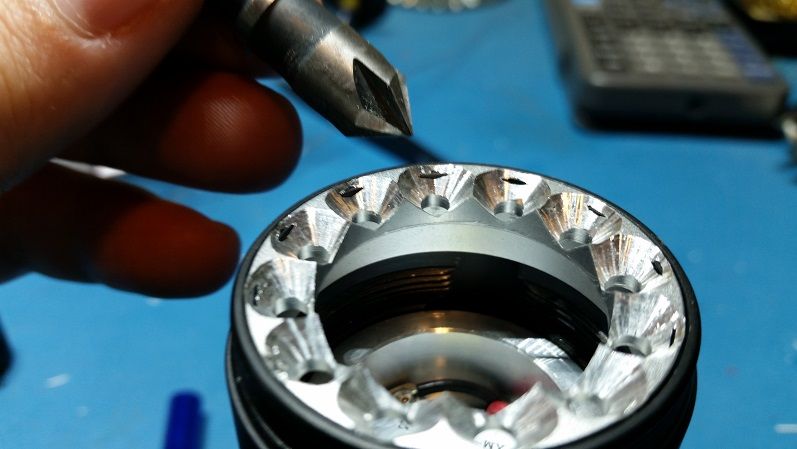
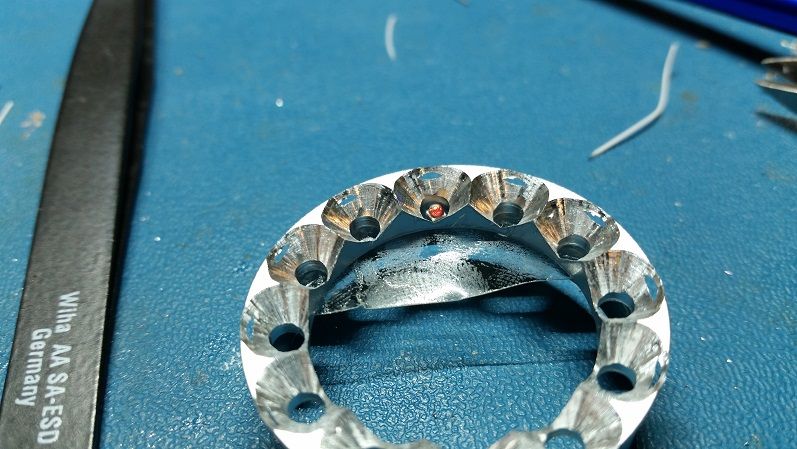
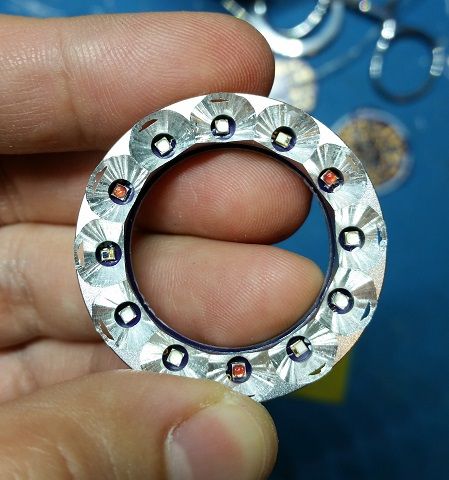
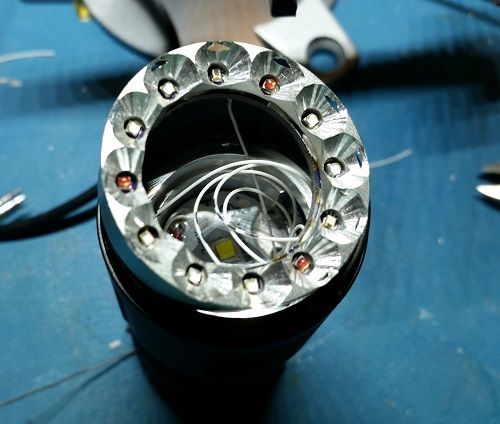
Checking the fit of the LEDs in the “reflectors” formed by drilling out the holes with a countersink bit:
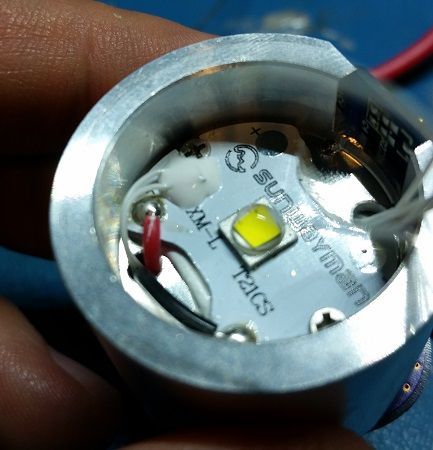
To prevent any shorts against the aluminum, I put kapton over all exposed holes on the top of the LED board:
And then very carefully epoxied it to the ring with arctic silver. It gets pretty good thermal contact since the entire top surface is a fill plane connected to the anode of all the LEDs, and then that top surface is thermal epoxied to the aluminum ring.
On to the real boards. The only parts I transplanted from the stock boards were the battery contacts:
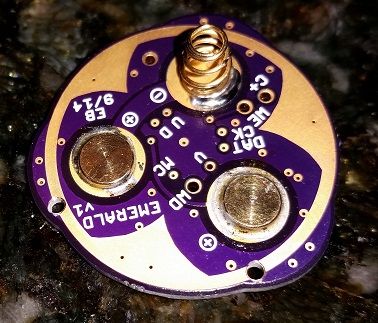
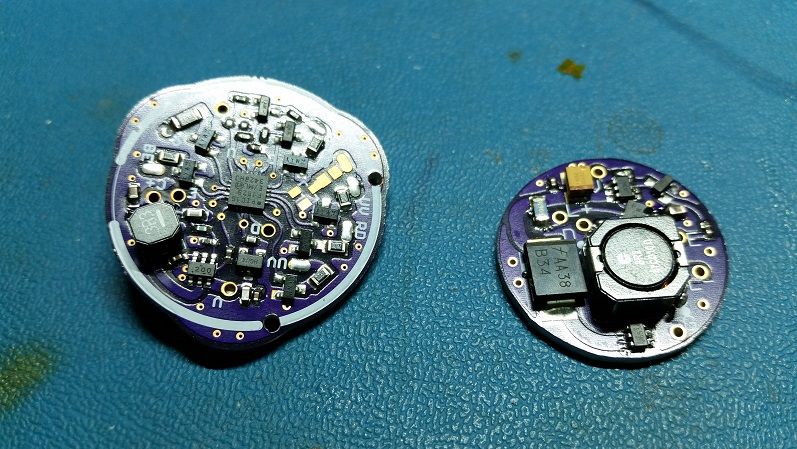
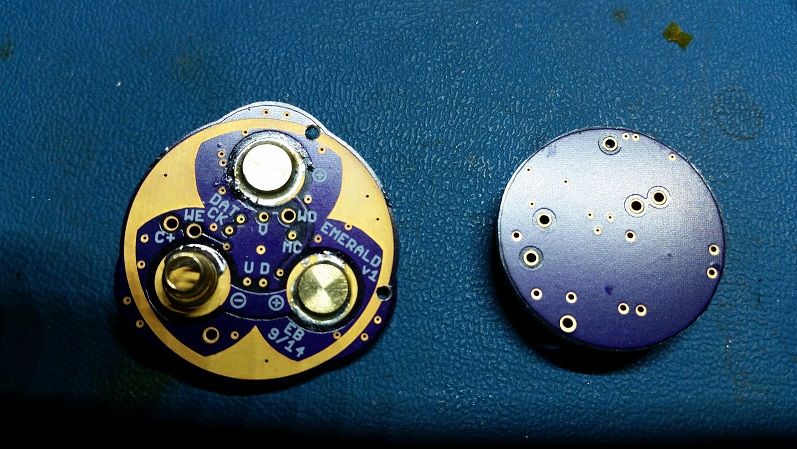
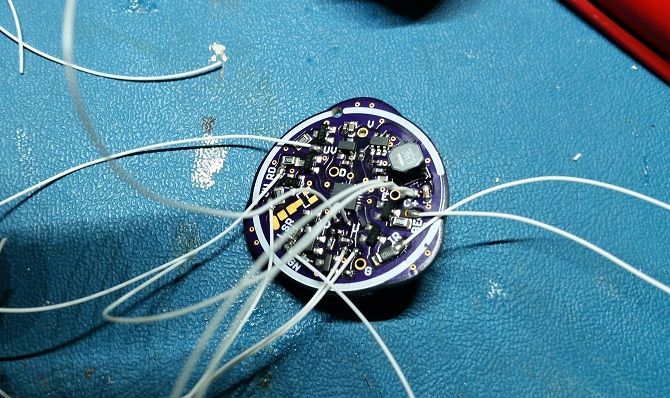
Here are my two boards front and back after assembly:
Before mating the two I added all the wires in for everything that connects straight to the main board:
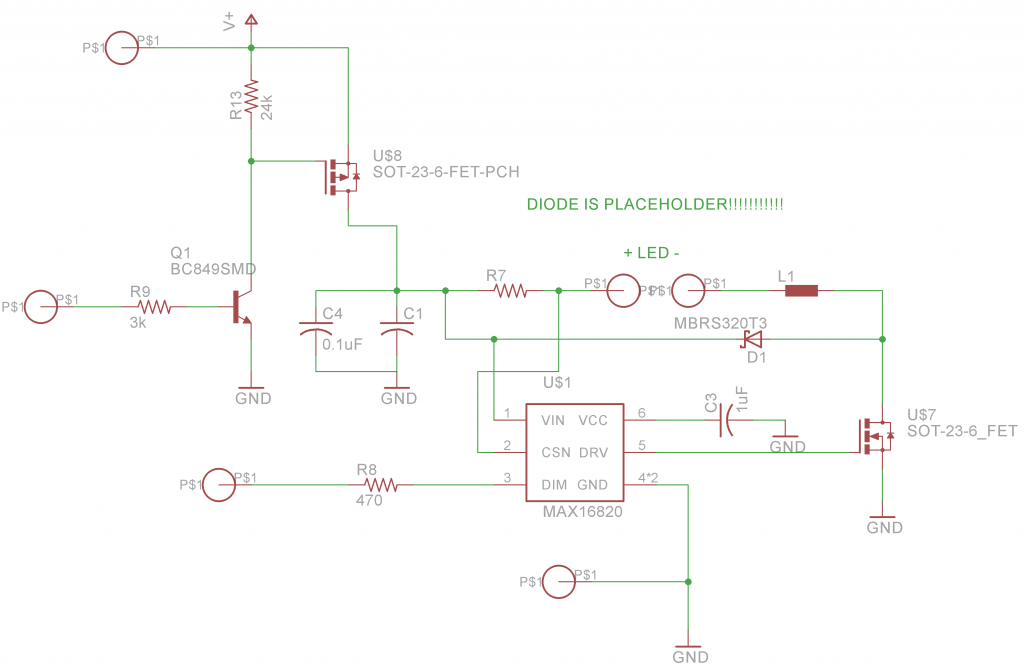
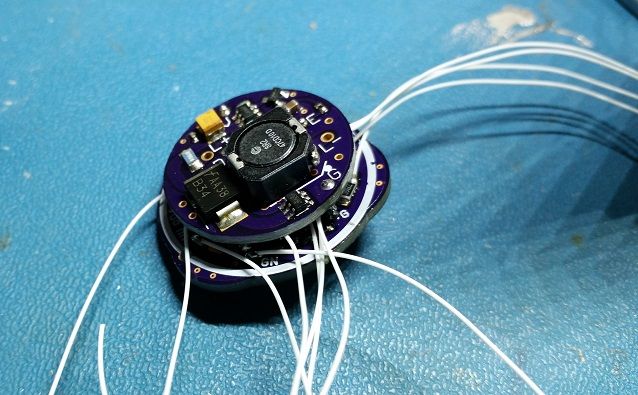
And then I attached the daugher board via its four interconnects (Vin, Gnd, Dim, Enable):
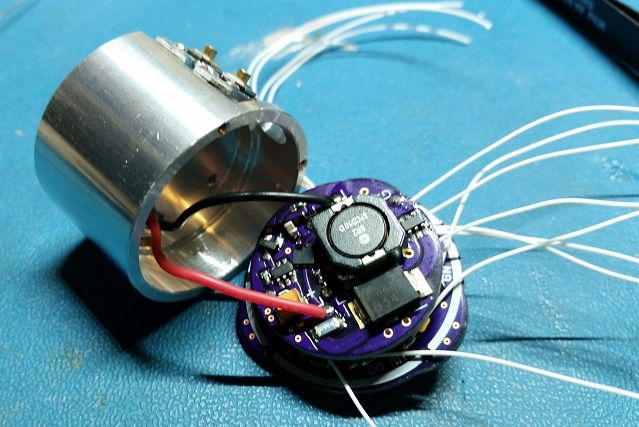
I preserved the original wires, LED, and star board from the stock light, and connected it up to my white channel buck driver on the daughter board:
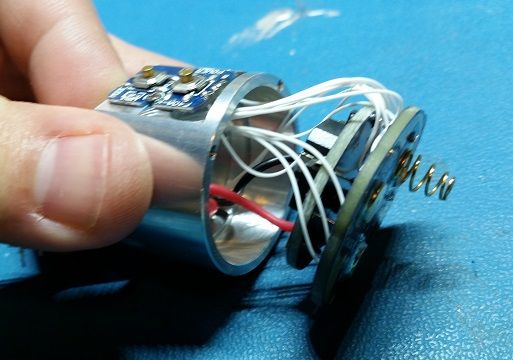
I kept the original switch board and wired it in, and started feeding all my wires up to the LED area:
The thermistor I used for temperature monitoring is an 0603; I tweaked the wires until it sat down on the LED star:
And then tacked it down with arctic alumina:
Then came the fun step of connecting all the wires up to the LED ring:
And done!
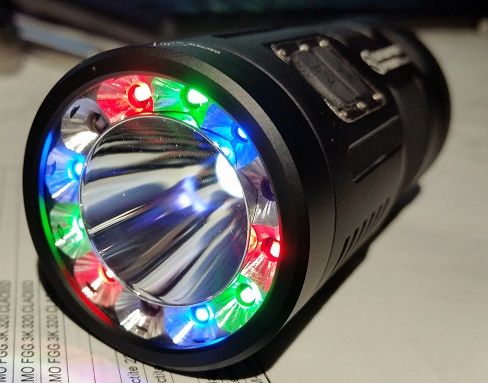
I’ll do a writeup of the software updates soon. Suffice to say the up/down button configuration makes the user interface so much better