This X5R was sent to me by Gearbest for review. They contacted me and I agreed to do a review in exchange for this light. Now that the formalities are over, on to the review.
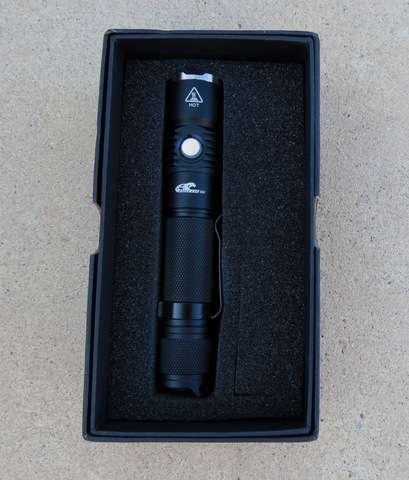

I like tube lights for their portability and ease of storage. The same width tube and fairly slim proportions make an easy to carry light compared to something like a C8 which has a larger head than body. This is a tube light and after about 10 days of using this, I would rate it a light to buy. I have come to like e-switch lights as well during my time here on BLF, but originally did not... This light has a tail switch for on and off, as well as the side e-switch for changing modes.

I feel this is a good, but somewhat clunky interface for a slim light with a side switch. The good: The rear switch is a forward clicky, so you can blink it on and off like you want to search for stuff. The bad: whatever level you were on is what the rear switch blinks on for you. To change modes, you have to click fully or hold the rear switch down and cycle the side e-switch. So the clunky part is really just my opinion about the having to use both switches to change modes. In use, it is not really an issue and the software in our heads can adapt to most anything if we get out of the way and let it… The great thing about having the rear switch is the light will not come on from the e-switch accidentally and there are no 8 clicks to lock out/open the light or some other funky UI tricks that e-switch only lights have to prevent accidental operation.
Speaking of UI, this one is simple. On via tail switch, then four modes going up in power. Low, medium, high and turbo. All done from the e-switch to change modes. There is a hidden strobe, press and hold the e-switch from any level for about 1 second. The strobe is a two mode about 10hz and 3hz or so, scrolling between the levels when on. The good thing here is mode memory, NOT including strobe. If you turn off the light with the tail switch, the mode is remembered. When you turn the light on again, that level is the one that starts, then cycle up through the modes again to change levels if you want. I am ok with a well hidden strobe, and this one is that. The dual level strobe is also an attention getter. So, all in all, a well executed strobe mode that cannot be activated accidentally when changing modes. I think this simple and efficient UI is a nice change from so many modes you have to keep a cheat sheet wrapped around the light to remember them all.
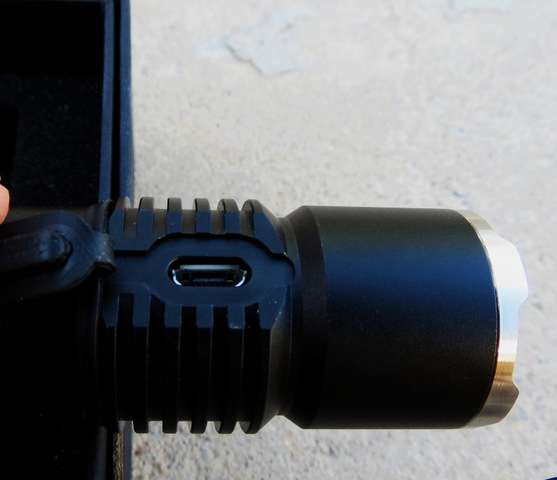
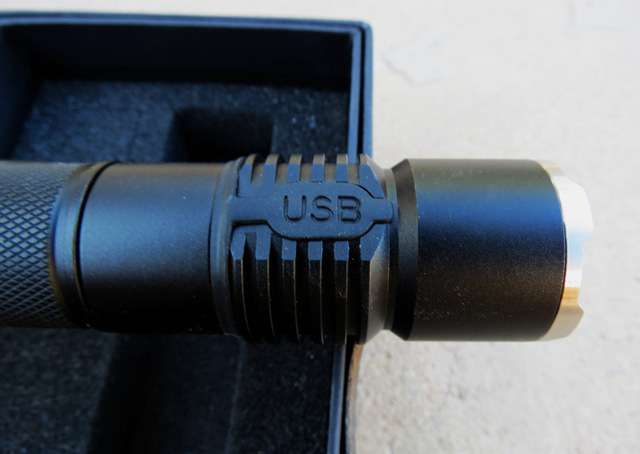
The built in charger in this light seems to be less than the advertised 2A. I could not get more than 850ma when testing with a clamp on meter at work, but did not have a 2A capable wall wart… At home with the Blitzwolf wall charger, I got 1.3A charging with skinny multimeter leads, so it is a fast charger, I just could not verify 2A... The level after charging for a while settled at around 500ma, so count on 3+ hours of charging from a depleted 2000ma battery and a 1A wall charger. Less time with a better wall charger, maybe 1.5 hours, not too bad at all if you need the light... I am impressed and would not mind even a 1A charger, but this 2A is fast… My sample did not have an instruction manual and so I exchanged some emails with the Gearbest Rep and found that to charge the light, you plug it in, then turn it on with the tail switch. This turns on the LED, and starts the charging, indicated by the e-switch red charging light. Then you can turn the light off with the side switch or use It, should you need to, while charging. This could be handy if you were needing the light and it was charging at the same time… The charging port cover is a silicone deal that fits tightly into the charging port, but you have to make sure it is fully in to ensure the water resistance is met. It lies flat against the body and once fully in, takes some fingernail work to get open, this is good. My sample did not come with an extra port cover, but it looks easy to replace and the Gearbest rep said she would ask Eagle Eye about including another one for a spare. Stuff happens, without a port cover, the light is subject to water intrusion fairly easily, though a good bit of duct tape would work in a pinch…
The built in charging kind of makes this light for me. First off, no need to carry a charger when traveling, and it can charge pretty fast if neede. I have a Manker U11 that is my go to light for travel right now due to the built in charger, I think the Eagle Eye X5R will give it a run for my next trip... The driver/charger board seems very strong and well set up, so that helps alieve any hesitation to fragility of this system. The charger board presses down onto a wide and fully supported PCB, opposite of the e switch. This means that should you push the charger in too far, or drop the light while the cable is attached, you would be aware of any damage as the switch would also not be aligned and you should be able to feel the difference.

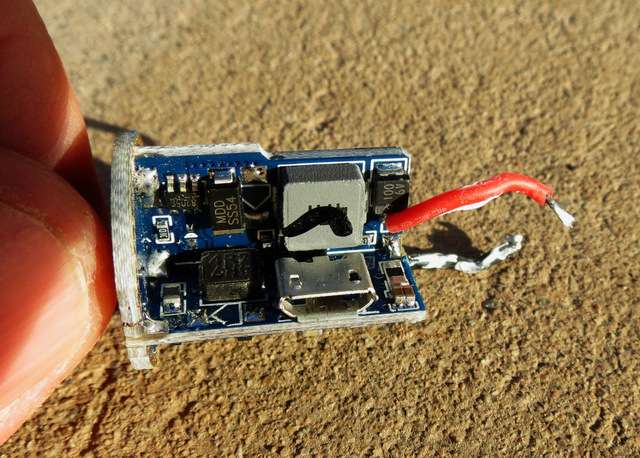

The stoutness of the PCB inside makes me think you would have to be Hulk angry to push in the tiny USB too hard with this light…. This seems well built and should hold up well over time.

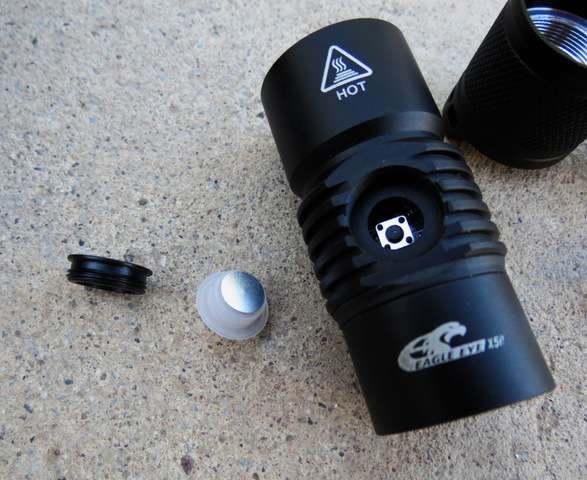
The switch is better centered, the angle makes it look out of alignment.
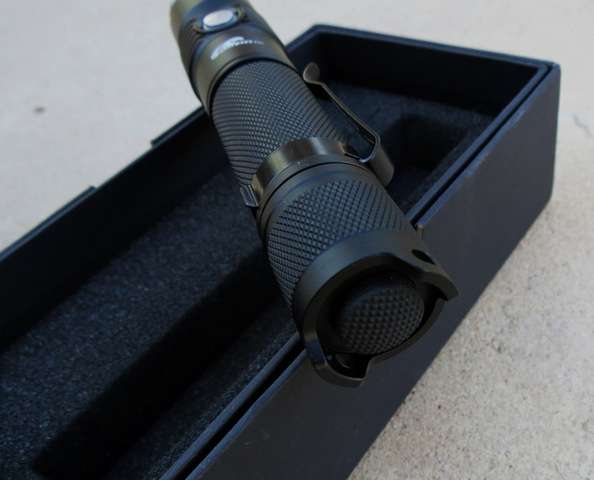
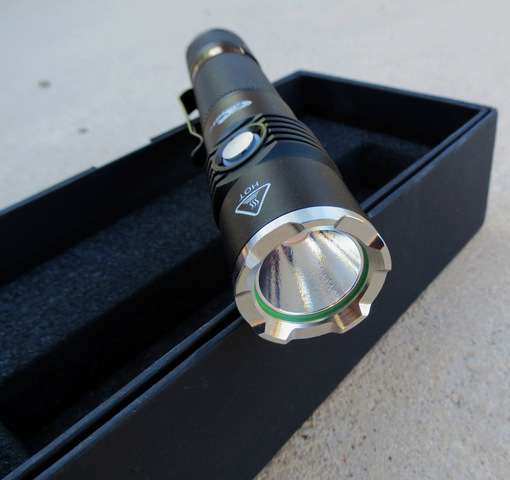
The body of this light is well done, typical Eagle Eye quality for anodizing and fit and finish. Very good overall. The front bezel is stainless steel and crenulated. The crenulations could be removed by filing, I believe this is called a "Foy" bezel when done well. They could use some toning down in my opinion (I would Foy the heck out of it), but are well finished enough to not eat a hole in your pocket for the first ten or twenty times you wear it…. Not really sharp in actuality, but if you needed to use it to strike something, I would not want to be the something. If I was, there would be a DNA transfer from me to the bezel for sure….

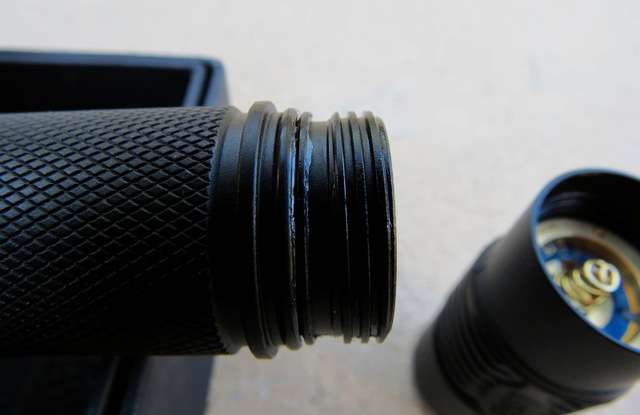
Nice threads and plenty of lube at both ends...
The light is longer than a Convoy S2 or equivalent, so a good amount of it will stick out of your fist should you need to jab something, an advantage to a longer tube light like this. The body is slightly longer than an equivalent Convoy S2 or A6 tube style light, as I said. While remaining about the same width, this gives a nice slim look to the light. The slight recess behind the head (fits the new Convoy clip for those that like bezel up carry), and in front of the switch lends to this as well. I suppose it would be a good point to tie off a lanyard or something, but otherwise it seems to be for aesthetics. The clip is a very good one, while not deep carry, it holds well to the light body and typical pockets from work and dress pants to jeans and cargo shorts. This is a nice thing to have a decent clip from the factory, and Eagle Eye has done it well. The one on this model is blacked out, and I imagine will show some wear, but the other models also show silver finish clips, so I am not sure if this is a preproduction test sample clip or what. Regardless, it is a good clip no matter the color. The light carries well and has enough stick out that you will be able to grab it out of a pocket easily. The down side is it will have some stick out and not be as low profile as some will want… Other 18650 clips will fit this if you need a deeper one, I tried the new convoy clip and it seemed to be good enough if you want this option…
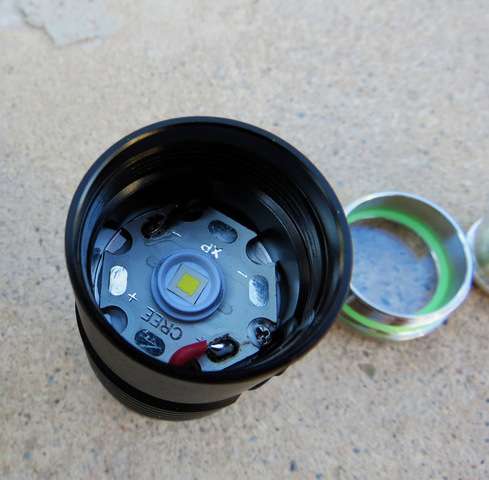
This sample light has a 1A XPL HI emitter, and the light has 1A and 3B XPL HI options as well as 1A and 3C XM-L2 options. I like a more neutral tint for general purpose, so this tint would not be my favorite, but is a good Cool White, not too blue. Being an XPL HI means when white wall hunting, you can see some yellowish discoloration in the center of the hot spot. Outdoors, totally unnoticeable. This throws a nice tight beam from the reflector coupled with the XPL HI. Tighter than my BLF A6 with an XPL HI, but the OP reflector in this gives some good spill too. I think the XM-L2 in this light would be an awesome amount of flood to spot ratio. It is easy to change out if you want a different emitter.
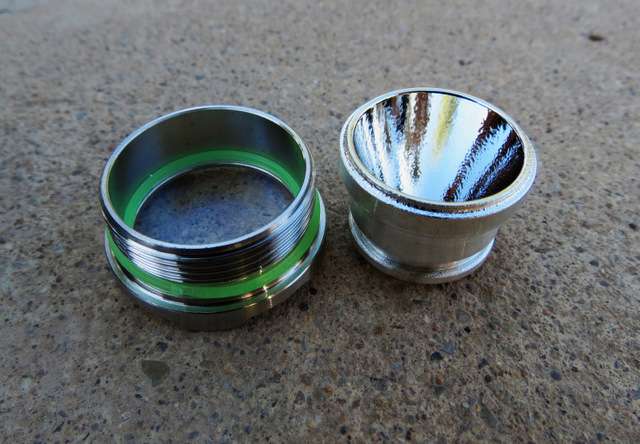
The front bezel comes off easily with the crenulations and desolder the wires to remove the old emitter. There is a screw, but it is only there to keep the star from turning when screwing the bezel/reflector back in. The bezel presses the 20mm star onto the solid shelf, so the spacing may need to be checked if you use another centering ring on the XM-L2. Just buy the emitter you want on a 20mm star and two solders later, you have the new emitter installed.
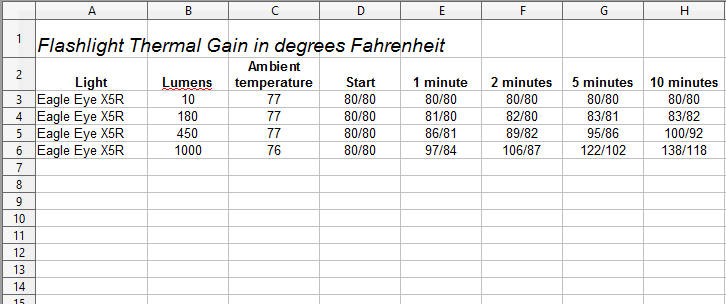
The rest of the light is easily gotten into, but will take an advanced modder to keep the charger and change the driver… I have no idea how to do that, but it does seem possible to do something with a 10mm fet driver as a piggyback into the available space. The amps on the stock version were as follows on a 2000mah Efest 18650: 90ma Low, 280ma Medium, 850ma High and 2.2A on turbo.
These are respectable levels and if you check out the spacing, they are almost evenly spaced with 3x the ma at each level from the previous level. What does this mean, you ask? Well, the levels are roughly double the brightness of the previous level for all the levels. Medium is twice as bright as Low, High is twice as bright as Medium and Turbo is almost twice as bright as High… Low is pretty kick butt, as it is infinitely brighter than pure darkness... Pretty good levels, even with no Moon level, this is about right for good using levels, very well done in my opinion.
This is not a crazy driven light, but is a very usable light that will have plenty of run time if needed. The max amps stuff that members do here is awesome and awe inspiring, but I have come to the conclusion that 800-900 lumen is all I want from a "normal" stock light. Think about the fact that in order to seem twice as bright visually, you need almost three times the output, as the eye does not perceive light in a fully linear fashion. This means about 2400-2700 lumen is visually twice as bright as the 800-900 lumen "typical" light I am talking about, like this X5R. This theoretical next level is a bear, so the 2.2A turbo is fine by me… I for one would not limit anyone, by any means, and say we only "need" 900 lumen in a light, but I think it is a good area to look for an upper limit and have decent run times too.

As shown above, the levels here are well spaced and all of them are useful. The levels are about comparable to my Manker U11's top four levels, except for turbo, the U11 beats it with almost 70% more amps, but visually not by a lot. There is no moonlight level on this light, and for some that is a drawback. I like a moonlight level myself, but this would not stop me from buying the X5R if I wanted a very well priced light with built in charging… The indicator light behind the button works on low voltage for warning and stepdown. It does indeed blink red at around 3.1V and the light shuts off at 2.6V on the battery (old laptop pull) I was using to find this out. Turbo goes away below about 3.5V on my model when I was running the battery down, at least visibly, you can still click to a fourth level, but there is no real apparent change. I kept the light tail standing and bumping turbo up when the step down occurred. It got hot, but not threateningly hot during this LVP testing. The turbo quit sometime around 3.5V, like I said, and I kept it on the rather cool running high for another hour or so to get the indicator light to blink. Very good run times if needed, and this is "only" a 2000mah battery…
Overall, this light is a good value in my opinion. Two choices of tint and two kinds of emitters available, as well as fairly easy to swap the emitter for those that like other tints. The built in charger makes this a convenient light for travel or even work. The charger is fast and seems to do a good job without any issues… It is slim and easy to carry, if you do not like the stock clip, other ones fit, or attach a lanyard. I would rate it a solid buy… Thanks for reading!