From 489 lumens zoomed to 945 lumens, without a power increase.
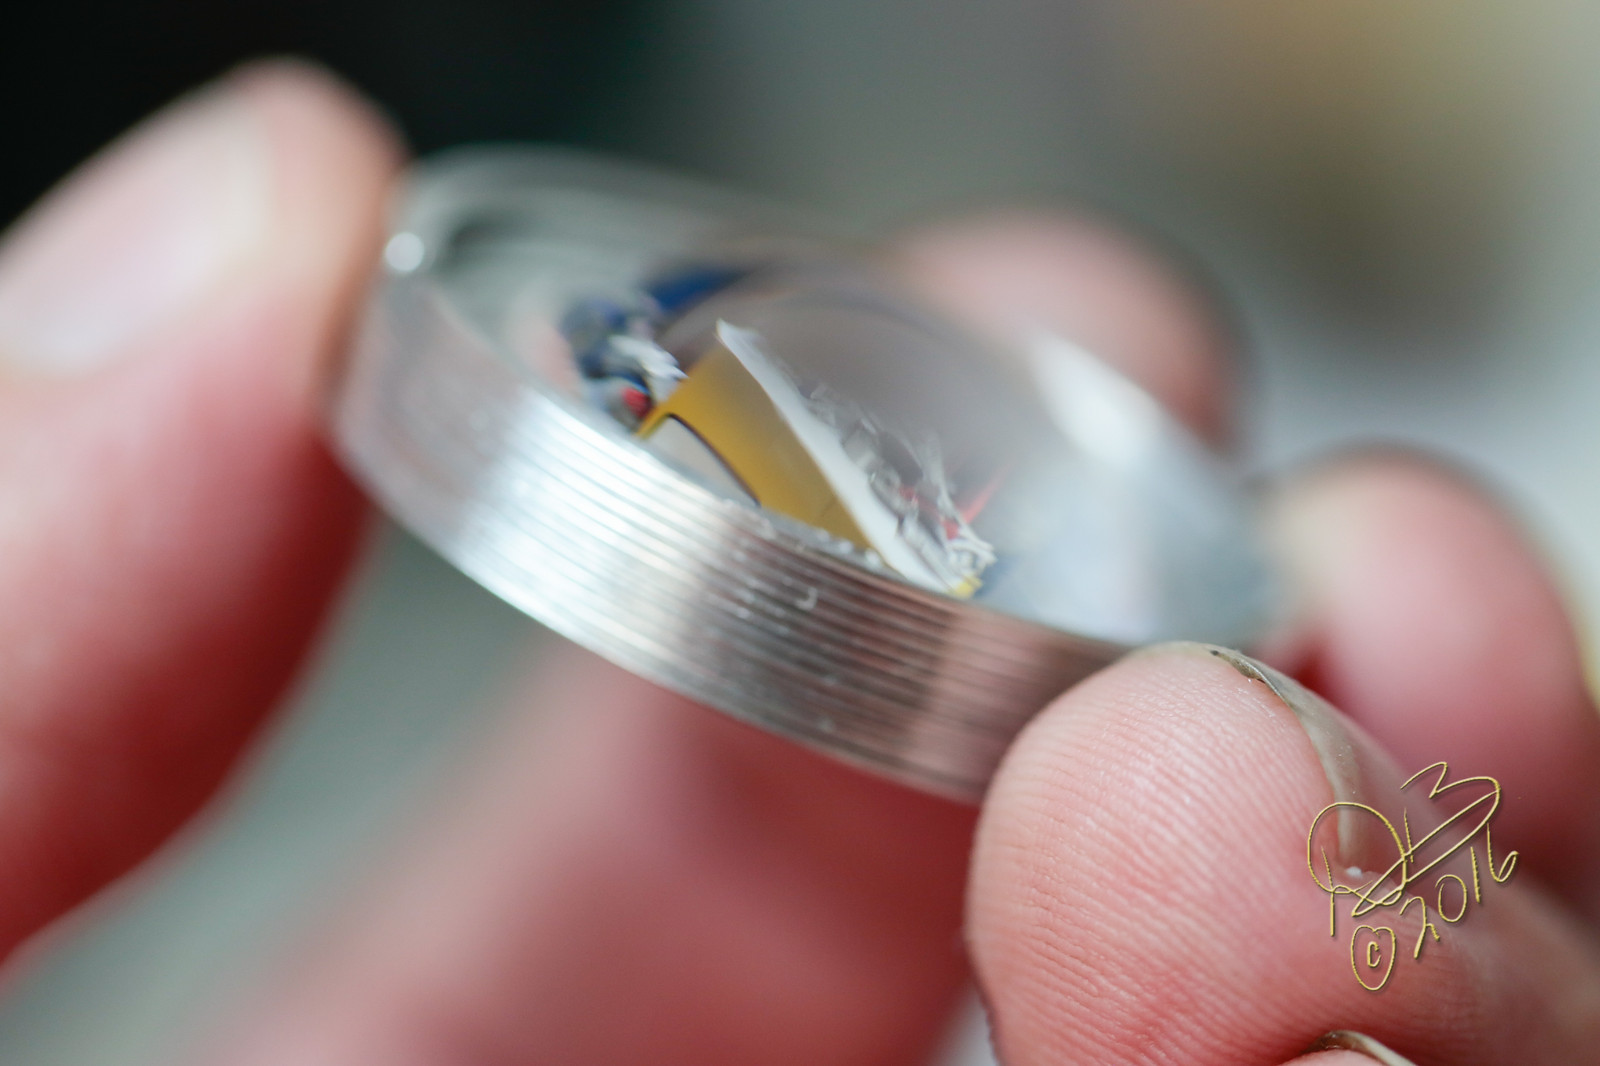
I figured I’d give a dual lens set-up a try like MEM does, being as how I had a 28mm aspheric sitting around doing nothing. So I’ve spent a good portion of the day making a holder for a second lens such that light would be focused into the larger aspheric. This does and doesn’t work, it gives a larger hot spot and effectively doubles the lumens output in Turbo/zoom but it really decreases the range of flood.
I’ll get some pics of what I did and show ya, it’s been quite a day… 101 in the shade where I work at the lathe, no air flow at all as the neighbor, once again, has blocked all the South windows with round bales of hay. Ugh. I’m soaked and tired. lol
Most of what makes something like this truly successful is knowing what you’re doing, like MEM. Me, not so much. MEM researches the characteristics of the two lenses, matches their outputs and very carefull makes the holder within a thousandth such that everything is working together in an optimized fashion. I used what I had at hand, the two lenses are probably nowhere near being right for each other, but in the end the lumens is higher, the hot spot larger, and it kept me busy for half a day.
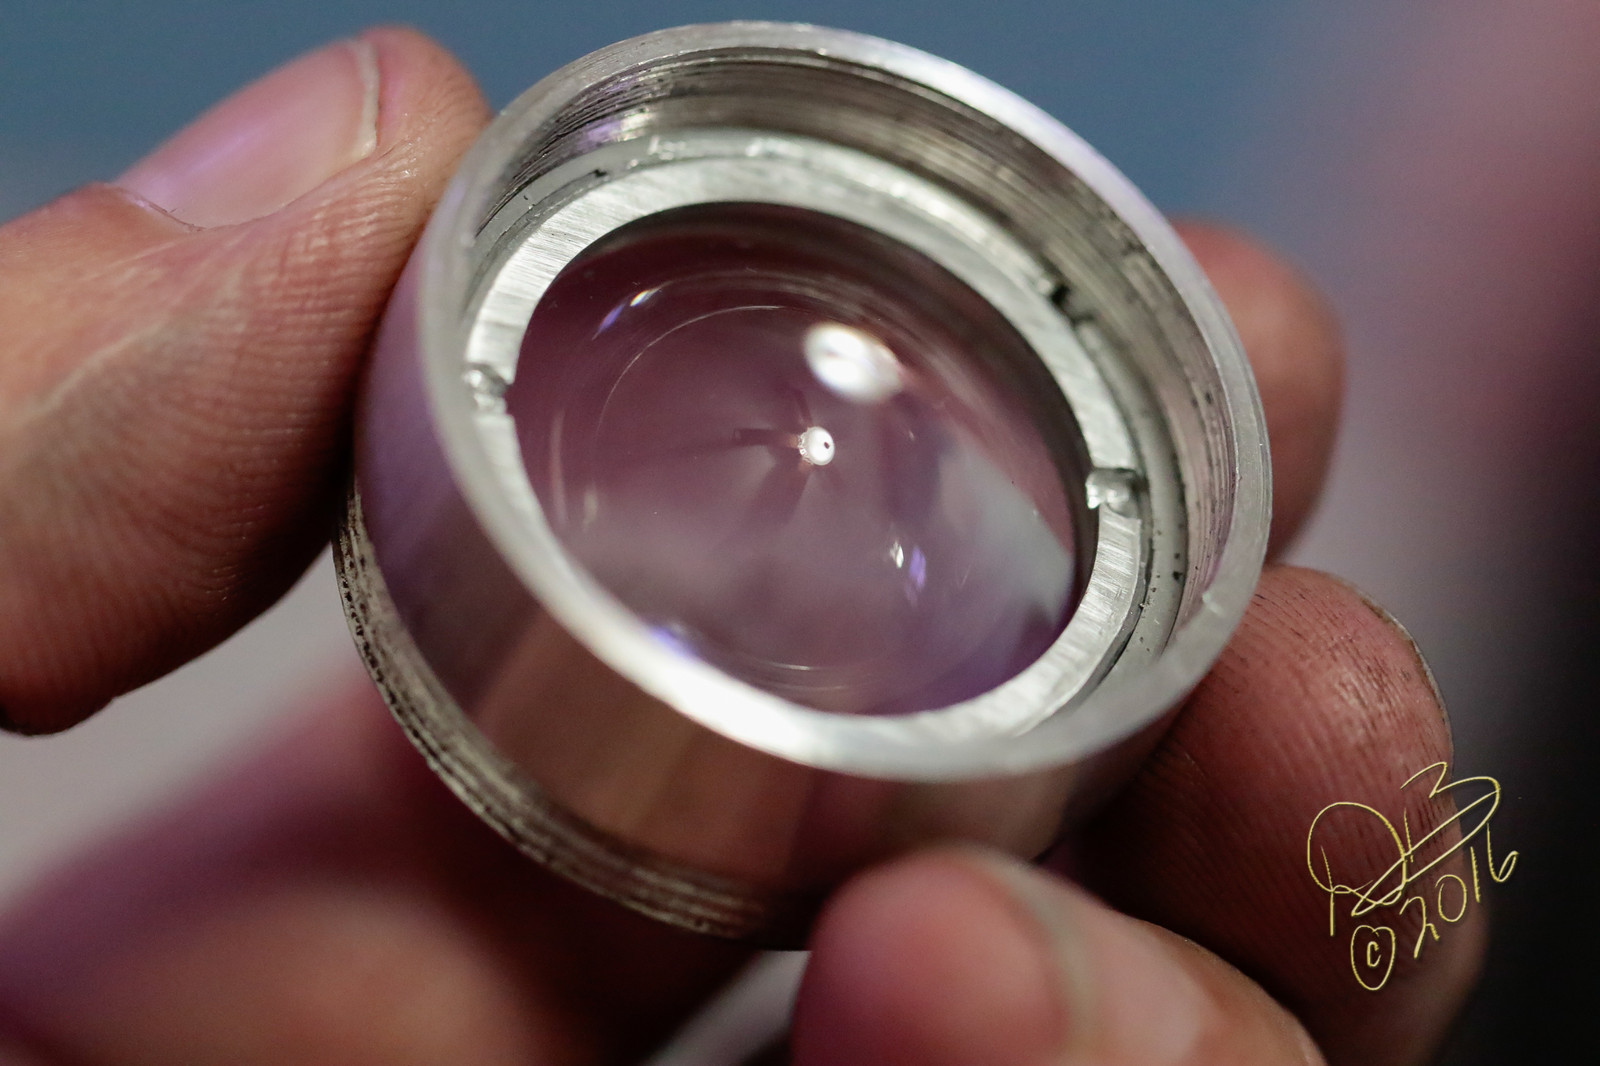
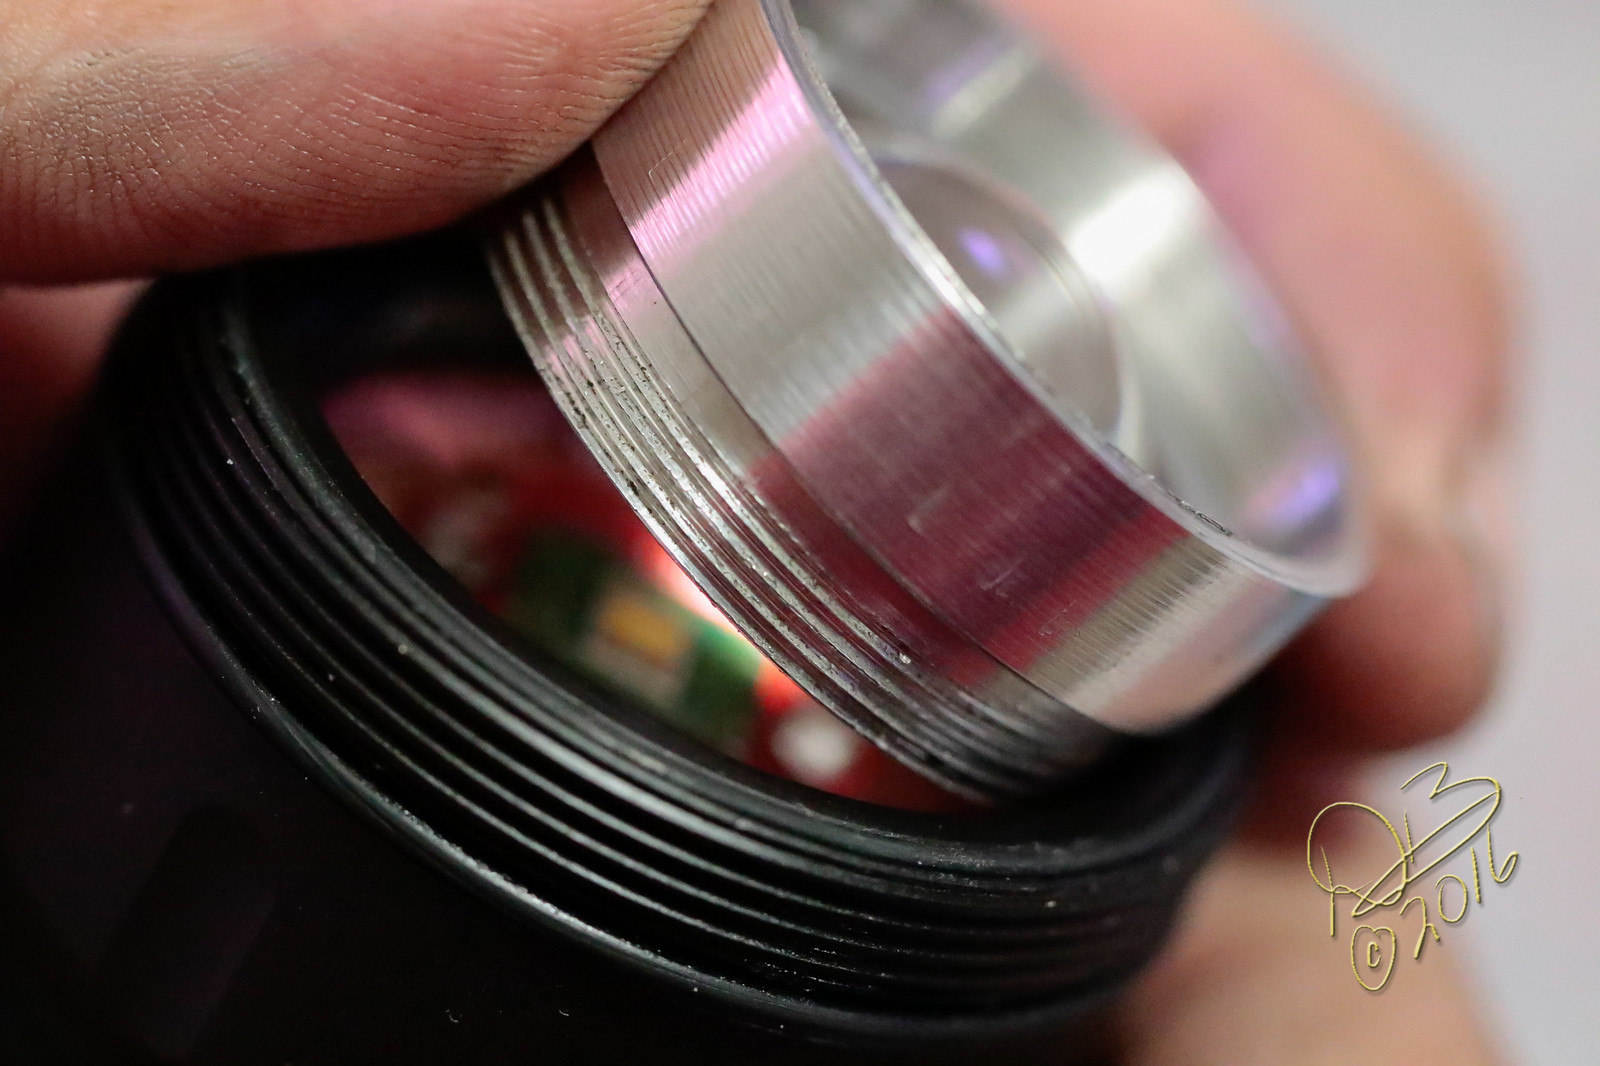
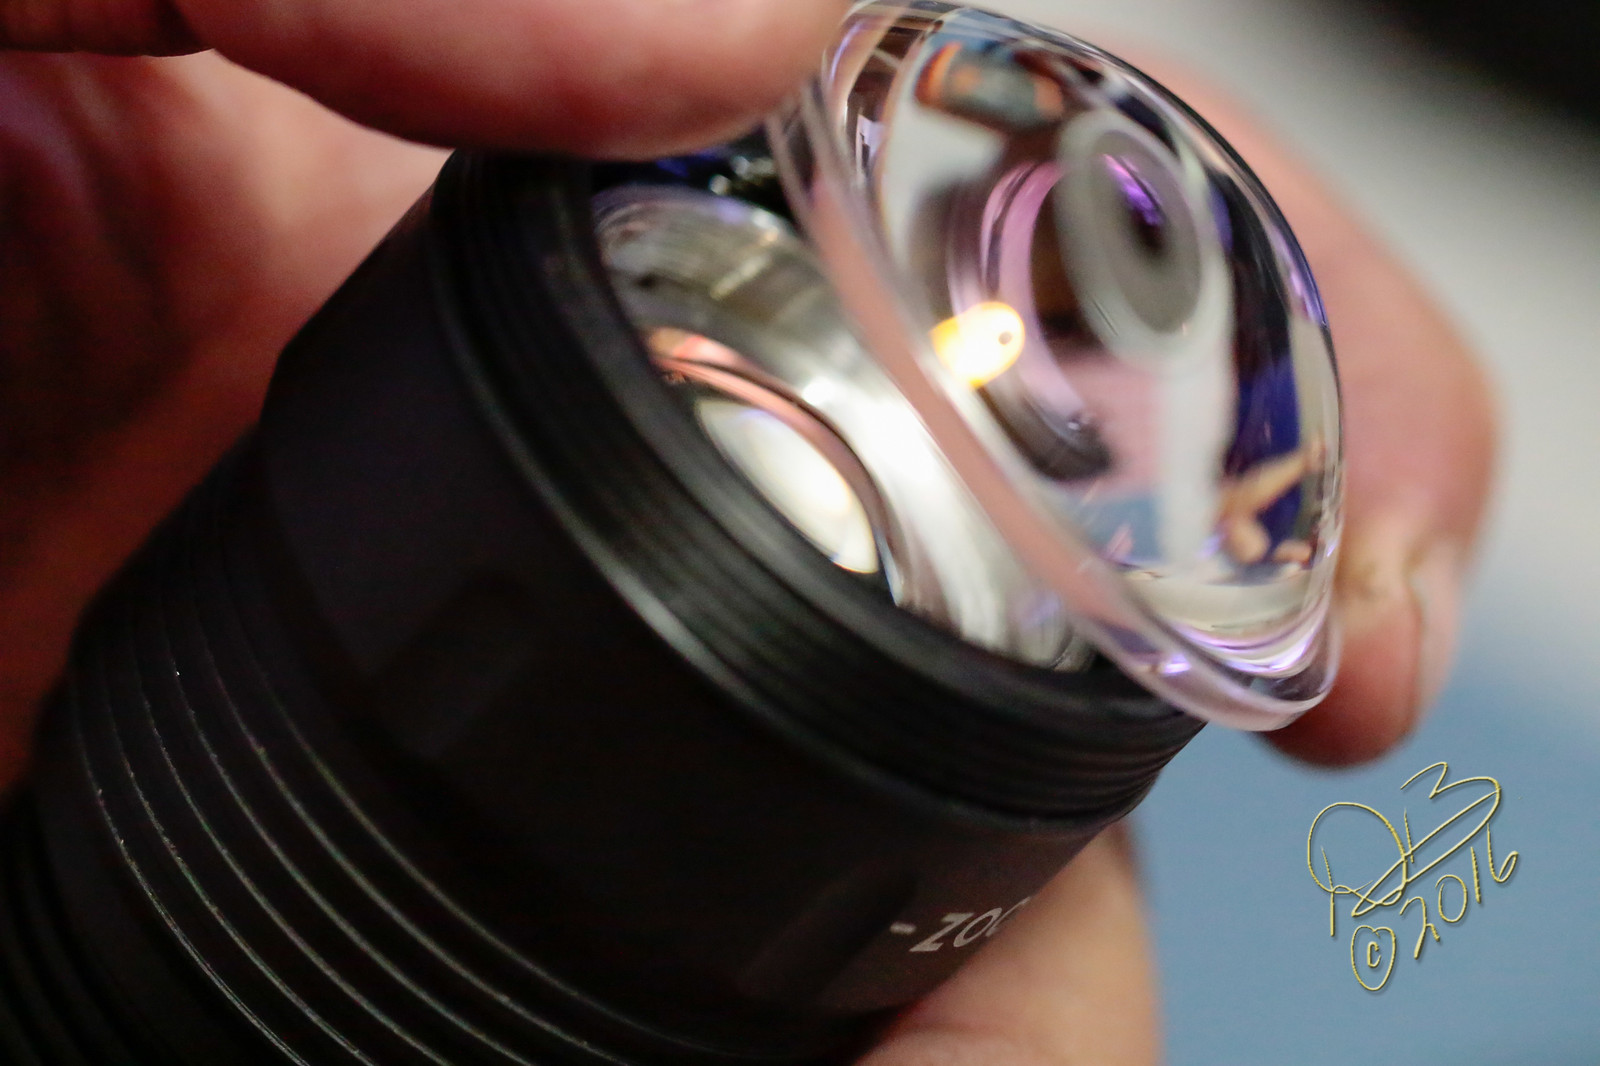
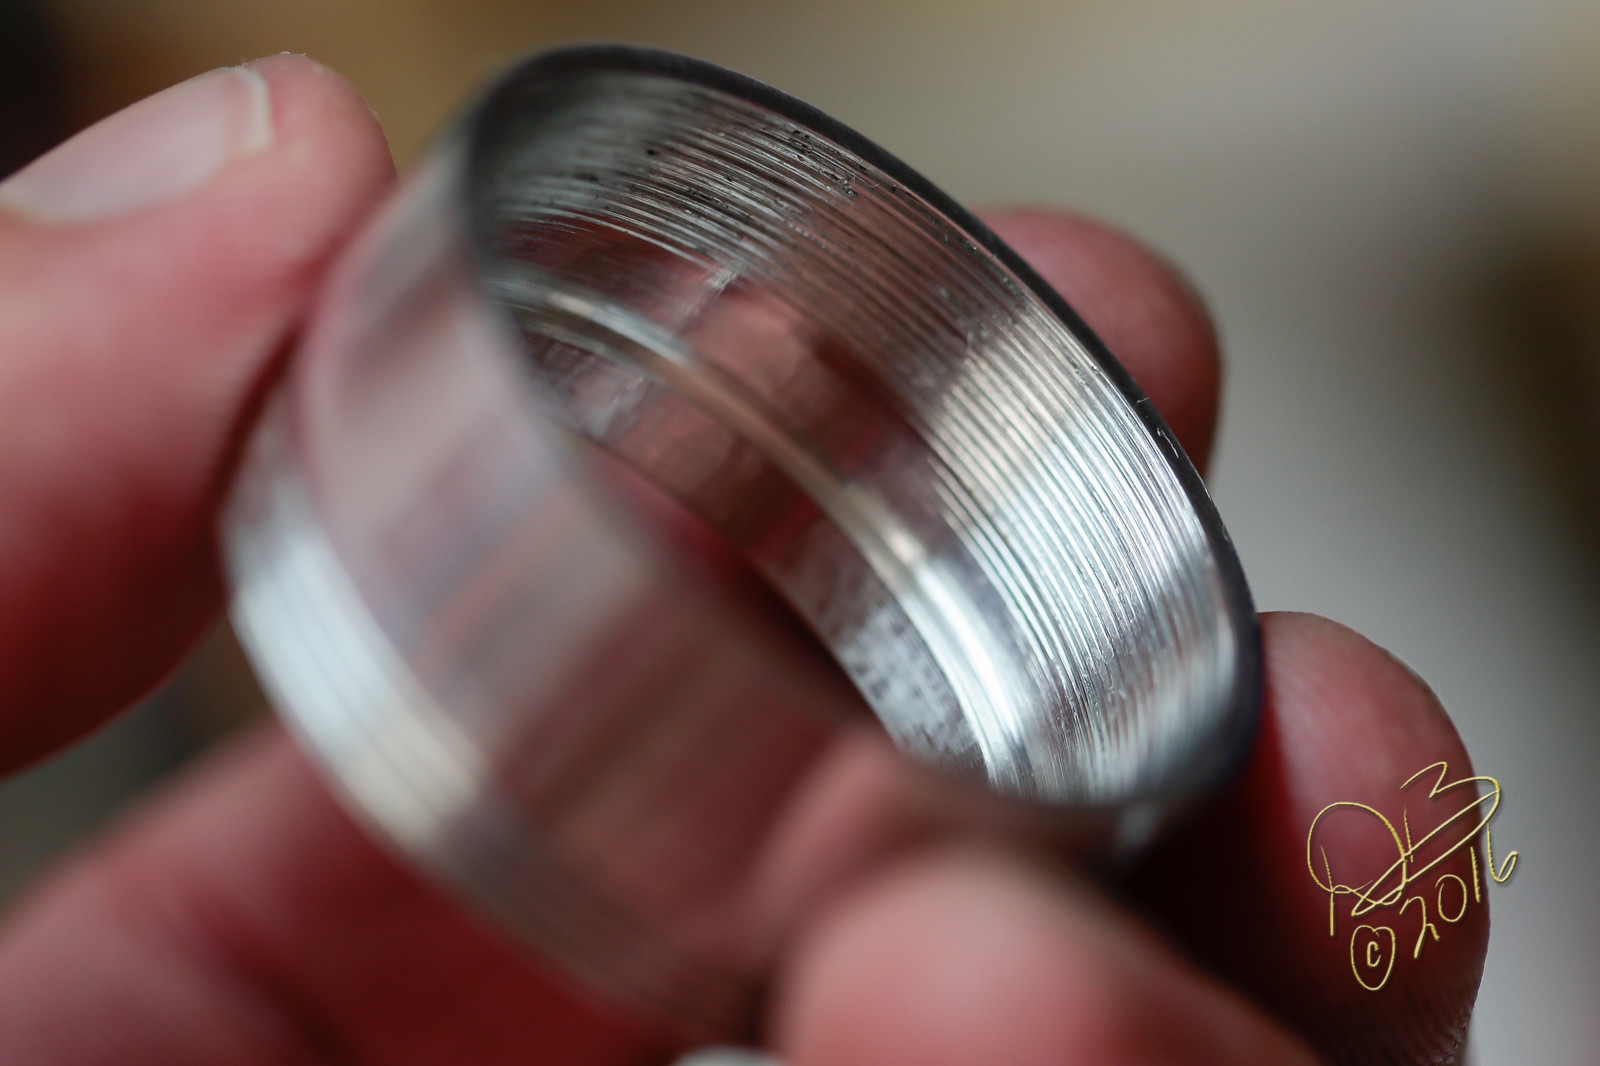
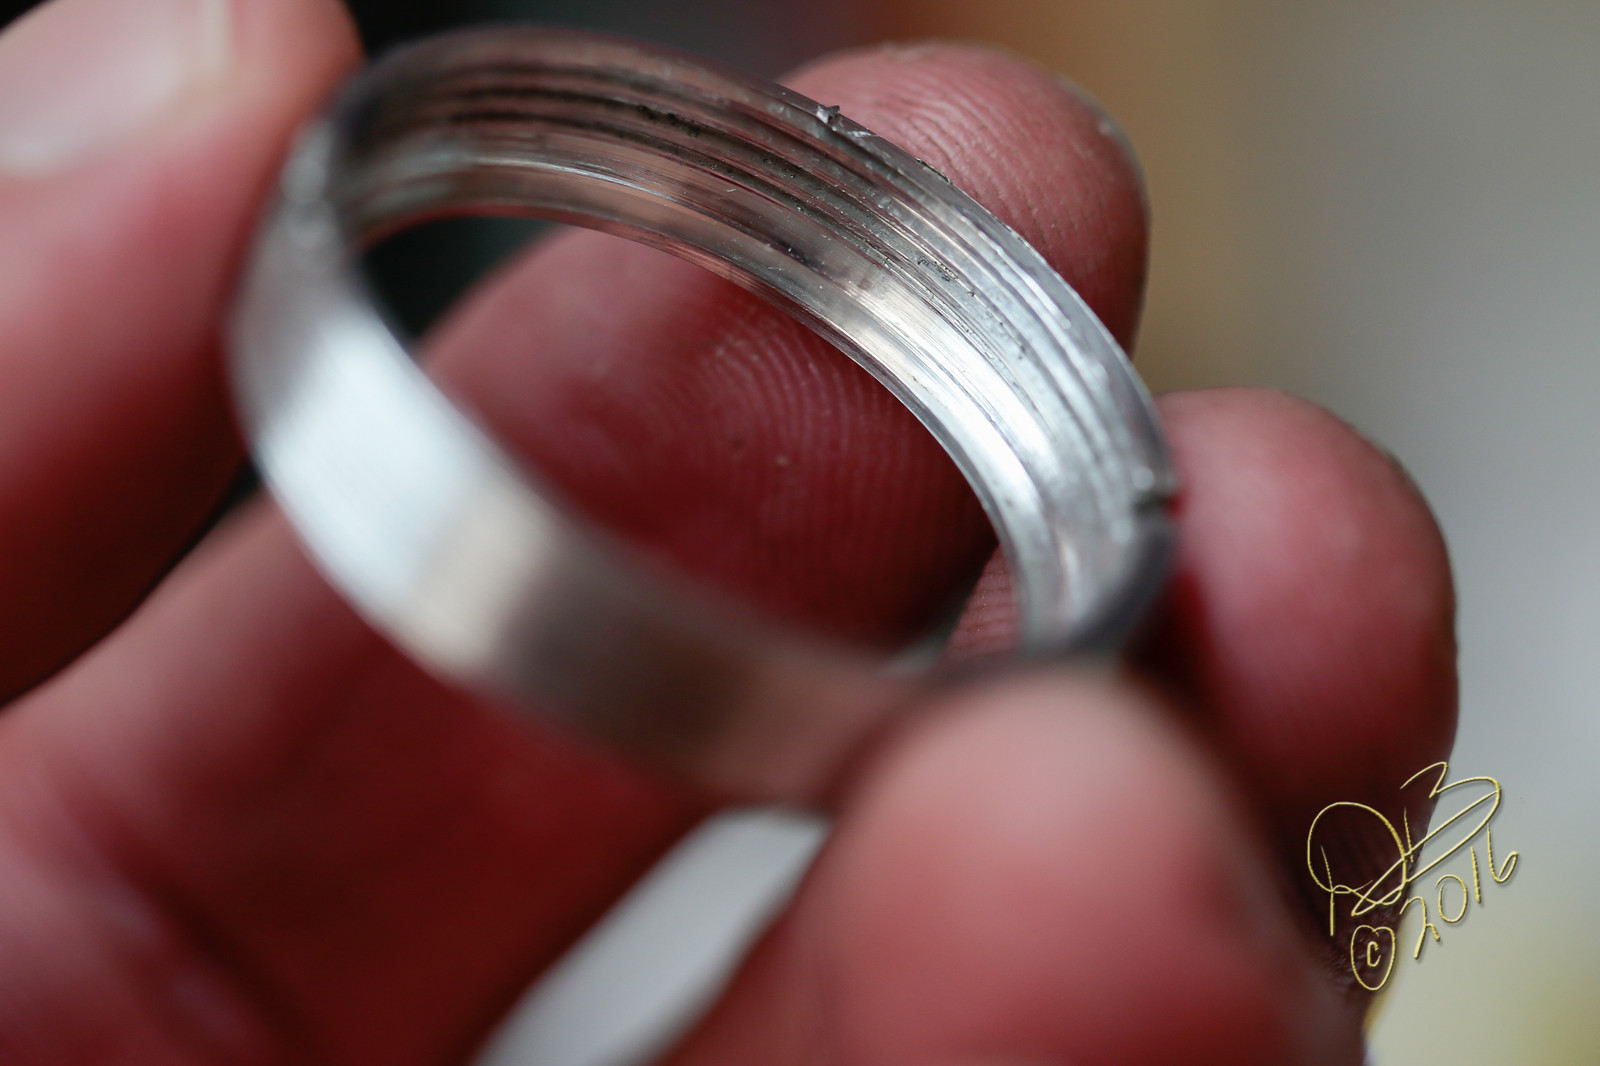
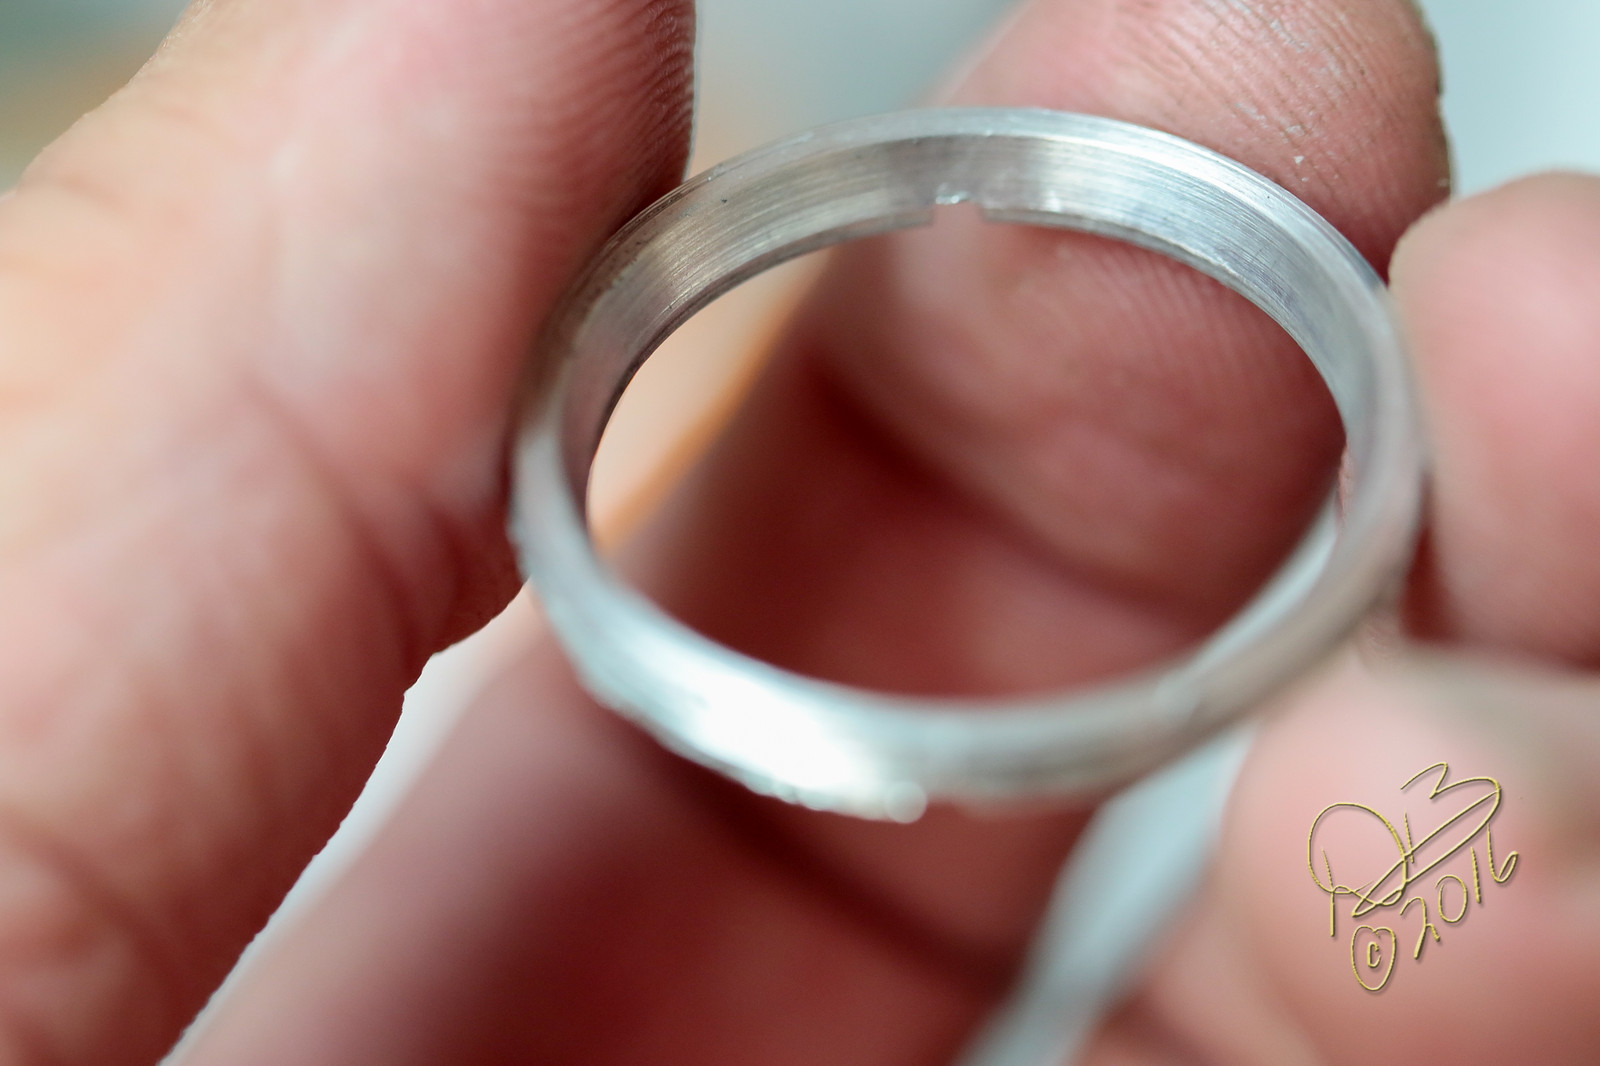
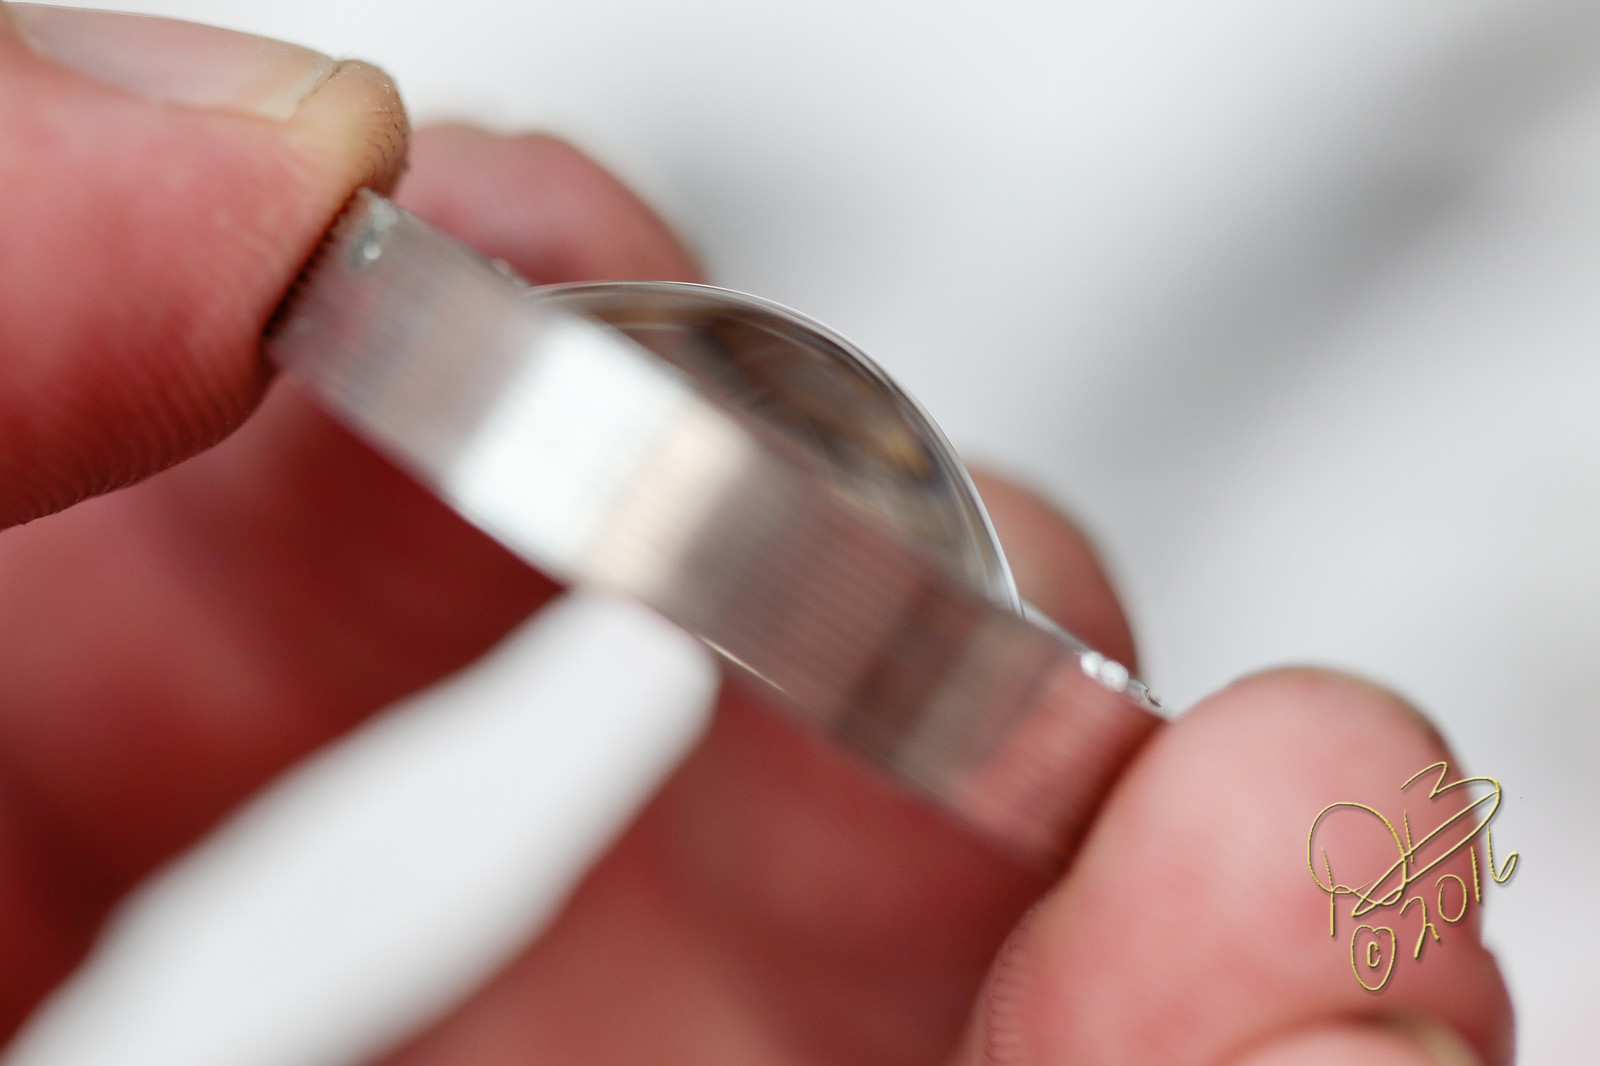
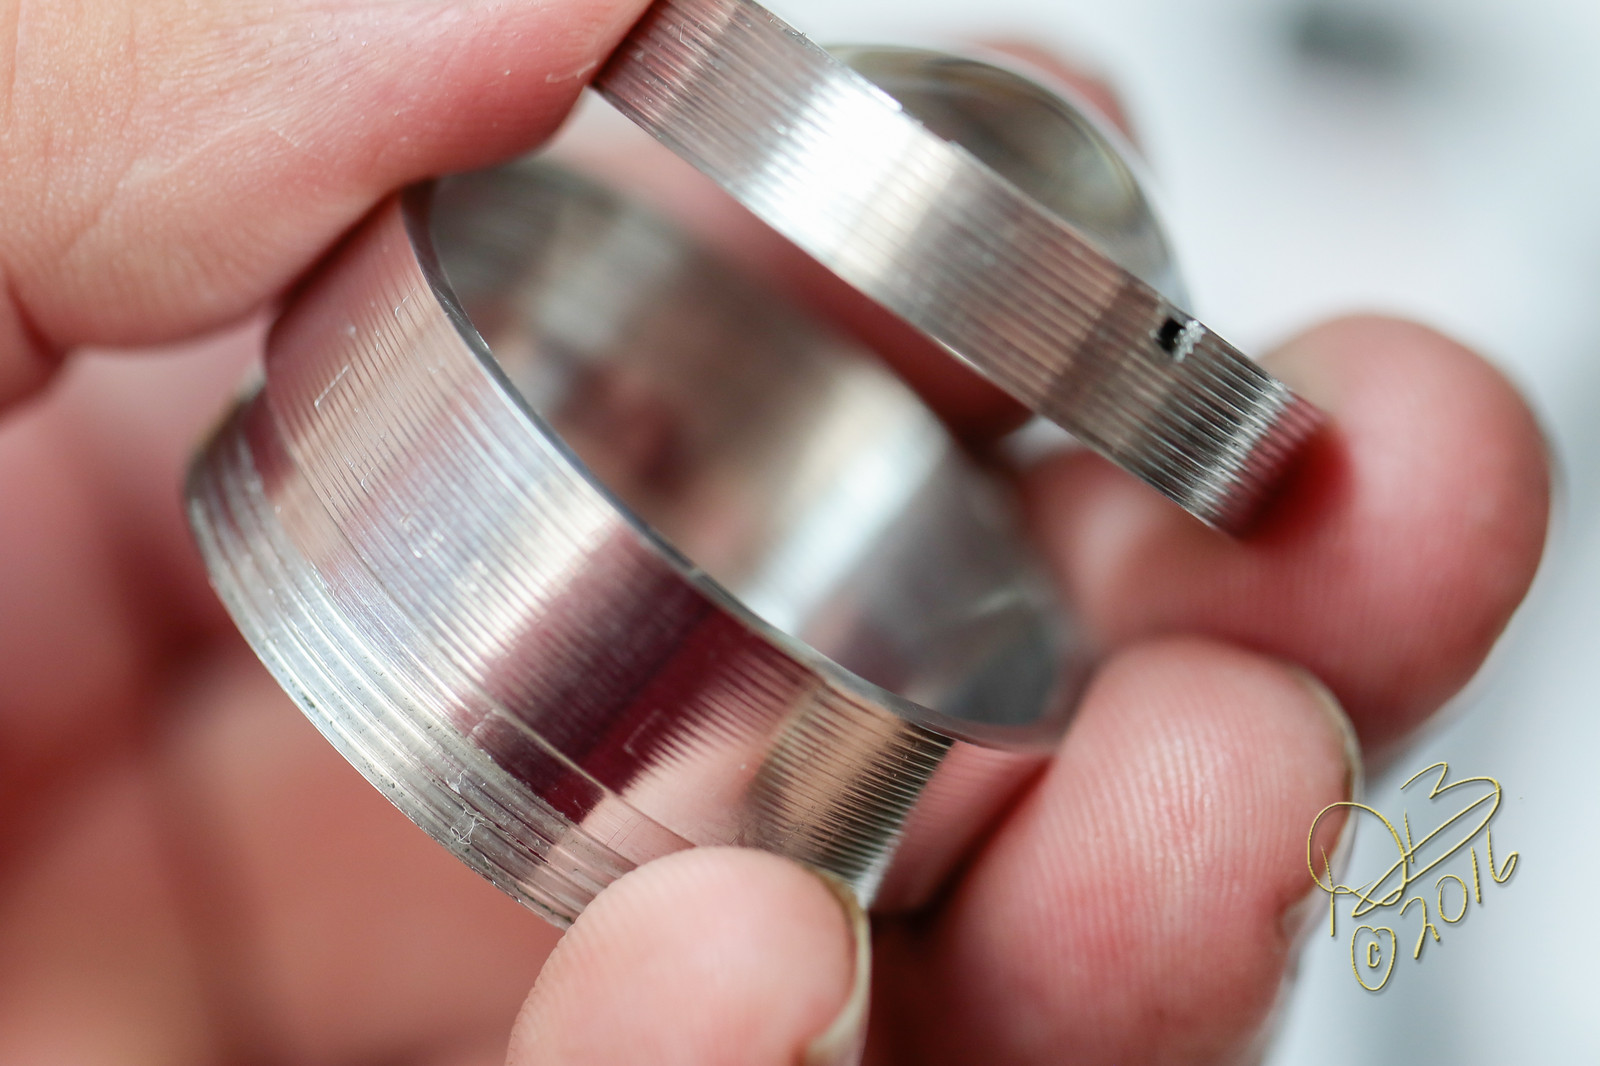
My idea was to make an aluminum tube, threaded to fit where the cover plate goes, and threaded inside to accommodate a secondary holder for the optic itself. This would let me thread the smaller aspheric up or down to fine tune focus. I planned to have the threaded tube long enough to cover the smaller optic so the two glass lenses would not crash into each other. This proved a worthy goal, a difficult one, and I had to return to the lathe 3 times to get it right. My initial judgement on the focal point of the 28mm aspheric was pretty close and ultimately I got em working together. Now maybe I’ll look for a better choice for the secondary lens.
My copper pill was made with a broader shoulder to fill the available space without causing issues on the movement…
The smaller aspheric in it’s holder can thread up/down but as it turns out, is more ideally placed at the bottom of it’s travel, so a good deal of the work I did to make it adjustable was for naught. Perhaps a more appropriate lens will make more use of this feature. I had to thread the base of the secondary adapter at 1mm to match inside the head, I used this to place the retaining ring over the small aspheric as well, then I turned to 0.5mm threads for the finer adjustment inside the adapter tube and outside the optic holder. Lot of threading, much of which I did by turning the chuck by hand. Exhausting stuff in this heat! Short runs I don’t like engaging the motor as it’s too easy to crash it.
I intended to put a groove in the face of the holder for a thin o-ring, so there wouldn’t be metal to glass when the light is pulled all the way in. But I’ve got it sanded pretty smooth so it should be all right.
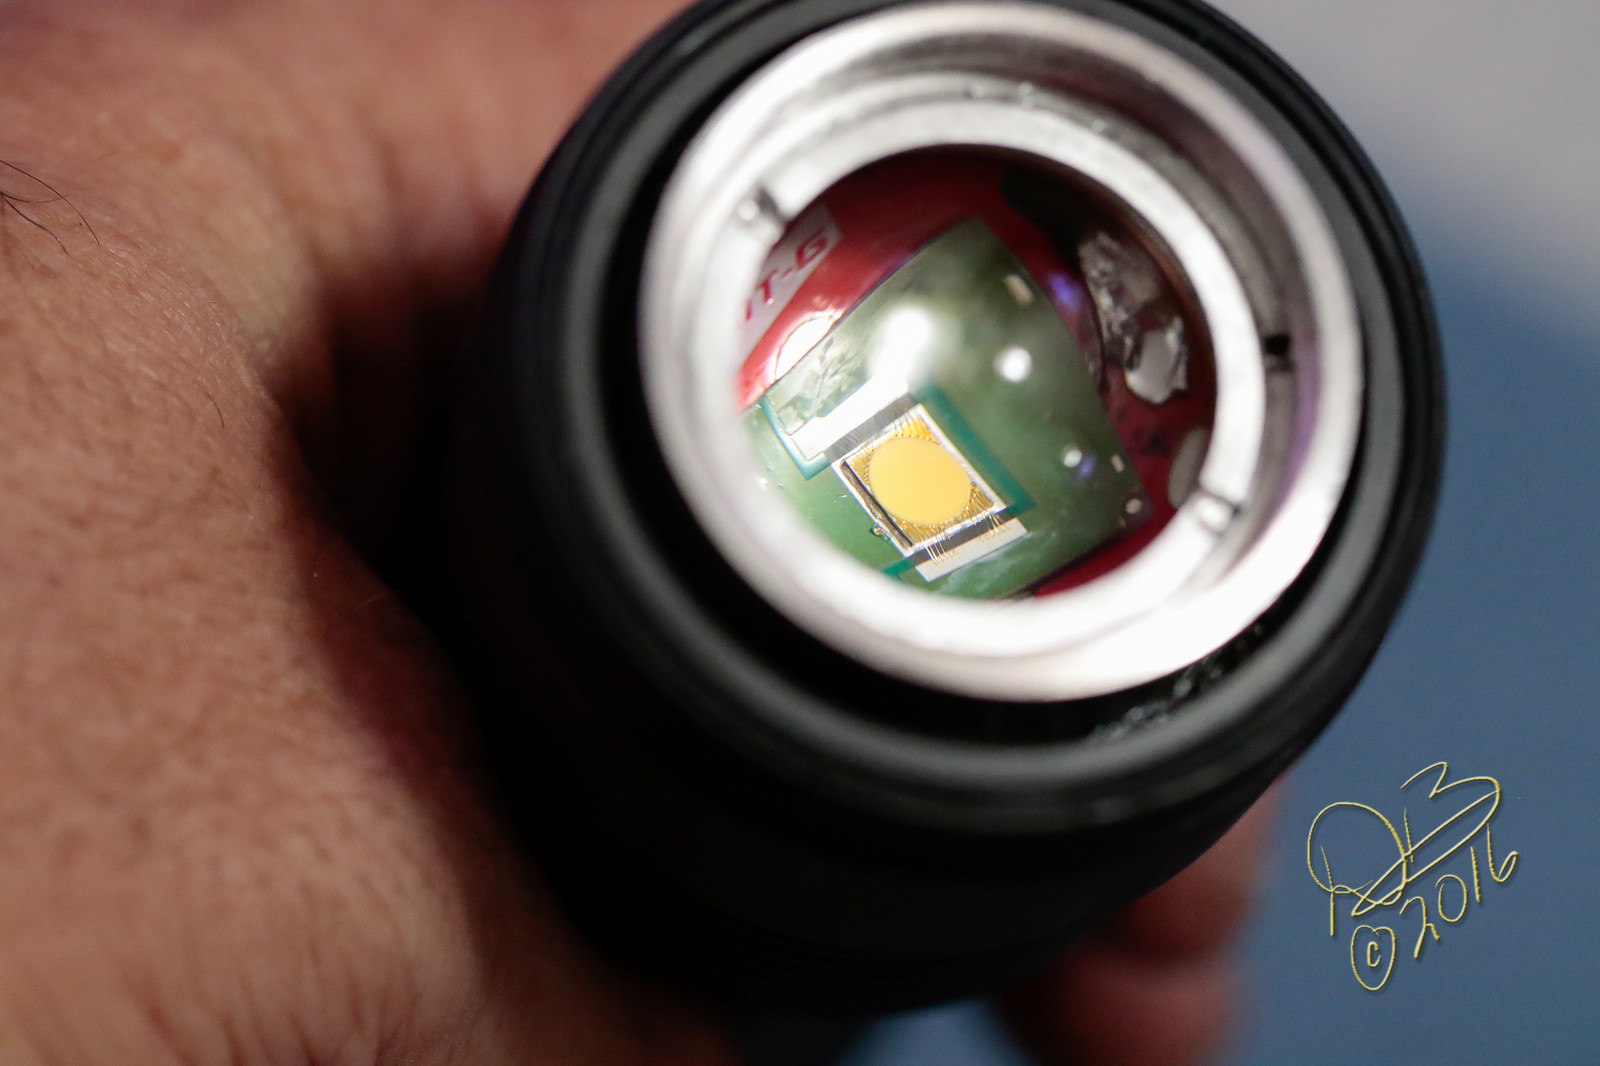
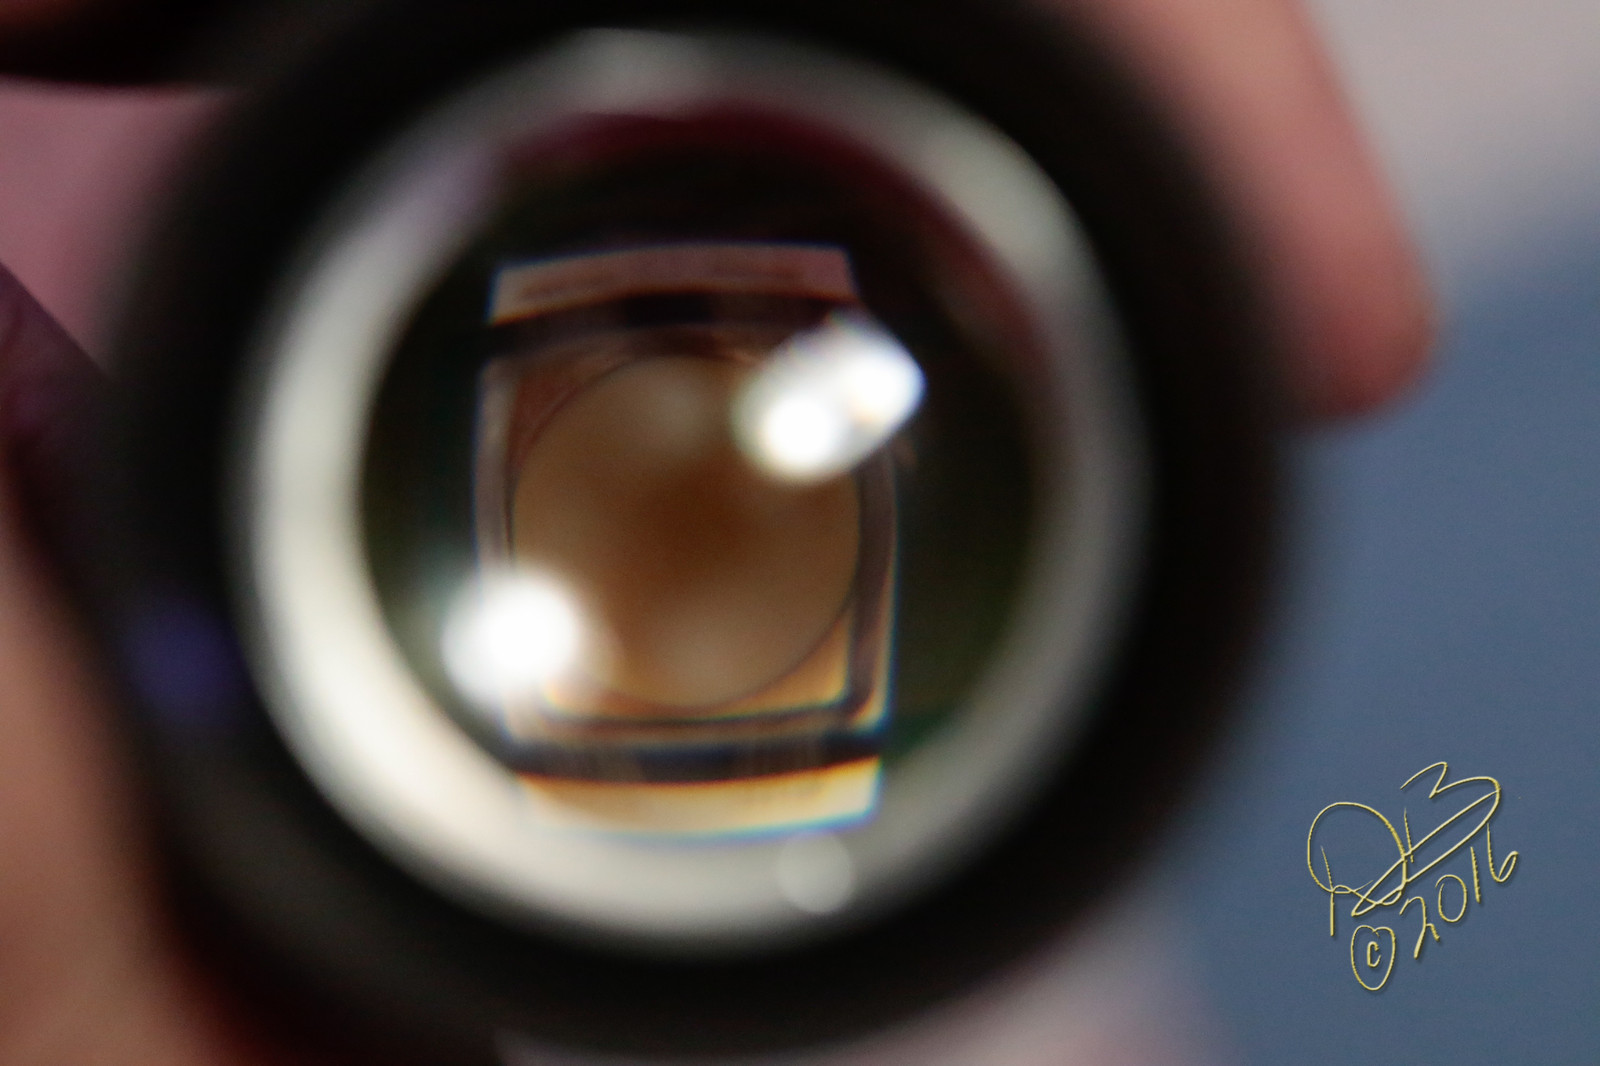
The small aspheric is only mm’s away from the die face, like 5-6mm. The larger primary ends up maybe 18-20mm from the secondary when zoomed, it’s not much and goes out of focus if zoomed the length of the thread travel.
I’ll show MEM how horribly I screwed this up and he’ll take pity on me and help me find the right secondary optic. lol
COOL!
And you can play with the placing of the inner lens, WAUWIE!
This was a very nicebuild light wth that LED and now you managed to up that!
All looks great! the threads, the holder, and above all the idea of doing it adjustable for better focus or other lens NICE!
Well, I can’t take credit, I was just going to glue it in with Sugru and call it a day and in fact, did glue it in last night. But the stuff MEM has been talking about must’ve percolated while I slept and I woke up around 3AM with this idea on the soggy noodle. So this morning I got up, pulled the Sugru out, and by about 8:30AM I was out in the shop.
It was then that I discovered while ideas are all well and good, execution is another story. I’m still new on the lathe, it’s work, especially with the heat, but in the end I think it’s worth it.
This is 3 pieces, with 5 areas of threading, might have bit off more than I could chew.
For someone like me, coming from hacking stuff together with a cordless drill and a Sears Rotary tool with a few files and some sandpaper, this is really flippin cool to be able to do! For folks like Hoop and TexasLumens and MRsDNF, it’s probably painful to look at. Sorry guys, but I’m plugging away at it! (Honestly, how many machinists got started so out of the blue? No experience with a lathe whatsover, to making lights, it’s quite the transition and I’m probably doing it all wrong, but doing it at all is fun to accomplish!)
That’s actually quite fantastic, threading on the lathe is a pita, i turn the spindle by hand without starting the motor for most intricate threading like that.
One thing I like about this is that the secondary optic holder simply screws in to replace the black aluminum cover piece, so it’s easy to put it back into a tighter beam be simply swapping the two pieces.
I’ll probably get a nicer optic and see what that brings to the table. $35 for one I found at Edmunds. This little budget host has gotten expensive!
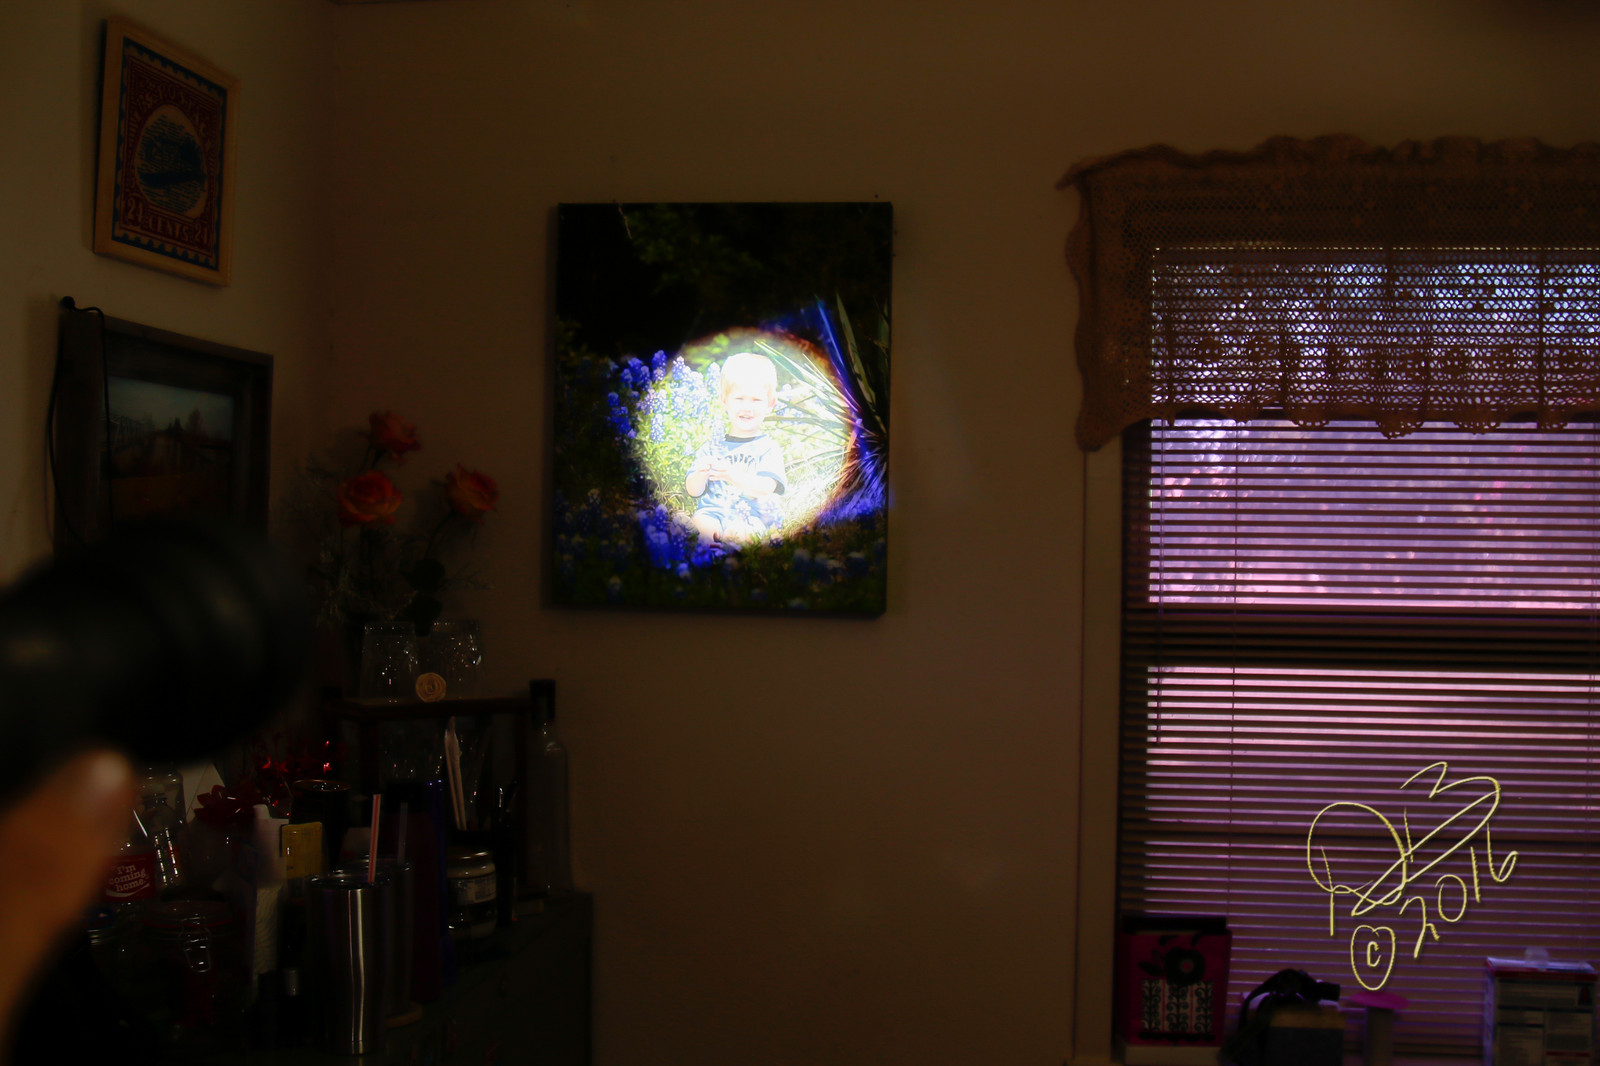
I’m now only seeing 57.25Kcd, down from the 92Kcd previously. So while the larger hot spot is brighter overall in lumens, it doesn’t throw as far. Ugh.
Or how can dimmer throw further? It’s about losses and efficiencies.
By pre-focusing the light with the first aspheric, the second aspheric isn’t bending the light as much, so it has a bigger brighter hot spot. But due to this spot being larger, it doesn’t have the specific intensity that a smaller more gathered spot would have. More lumens overall, as more of the light is captured and dispered, but less intensity due in part, no doubt, to an improper mating of optics.
The best throwers have been the smaller dies, a de-domed XP-G2 or even XP-E2, making relatively little lumens put putting it all downrange in a tight beam.
If you have a 12” water pipe, it’s really difficult to get high water pressure. But if you have a 1/2” water pipe, high water pressure is pretty easy. The small die surface acts similarly in that it’s more easily collimated to throw all it’s light output downrange. This is what the aspheric is doing, concentrating all the available light in a small column.
I’m working on my copper Z1 heatsinks today. Would y’all prefer a copper heatsink with a driver pocket that accommodates the stock 22mm driver, and so requires a brass adapter ring to use smaller ones such as 17mm drivers, or would it be ok if the heatsink is only be compatible with 17mm drivers? I figure most people will want to use 17mm drivers but the option to use 22mm MTN buck drivers and such might be appealing to some. Using a 17mm retaining ring would allow me to use the ones I’ve already got made for the s2+ heatsinks, which would be convenient for me, and also I wouldn’t have to make adapter rings either, but I’m willing to do it if people want 22mm driver compatibility.
A blank 22mm driver or adapter would work easy to install a 17mm driver right?
We know a 26650 cell with big button or big + contact point is not an happy combo on this size pill with a default 17mm driver and retainer ring