Fantastic : You make me want to go out and spend a grand on a lathe ... [ Maybe next year ]
I am soo happy to see you are putting the lathe to good use.
And I love your idea with this light. I'll stay tuned :)
this is AWESOME!
Thanks for confirming this!
Can't wait to see the beamshots!
GREAT!!! Beamshots
Hehheh… I might take you up on that if I’m ever out that way.
VERY nice job.
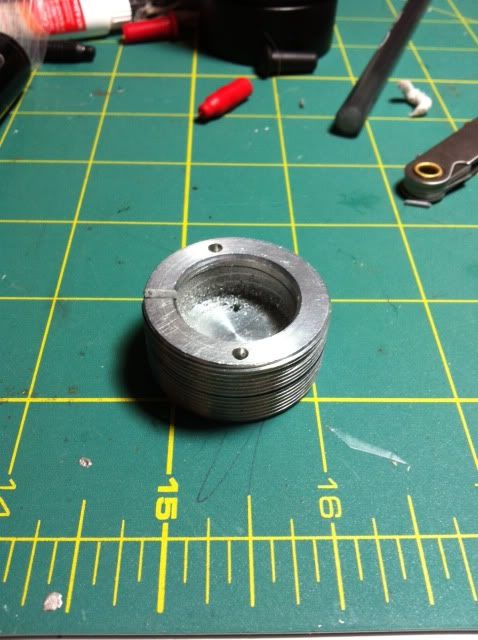
do you suppose you could measure the OD of the threads on the body, head side, and the tpi? I have a head I'm hoping will screw right onto this body.
edit: i'm assuming you have a thread gauge, since you've got a lathe! if not, somehow I've ended up w/ 3 and I'll send you one just for doing me the favor. I know it is a slim chance, but I'm REALLY hoping I get lucky w/ this lol
20 TPI, the measurement is below:
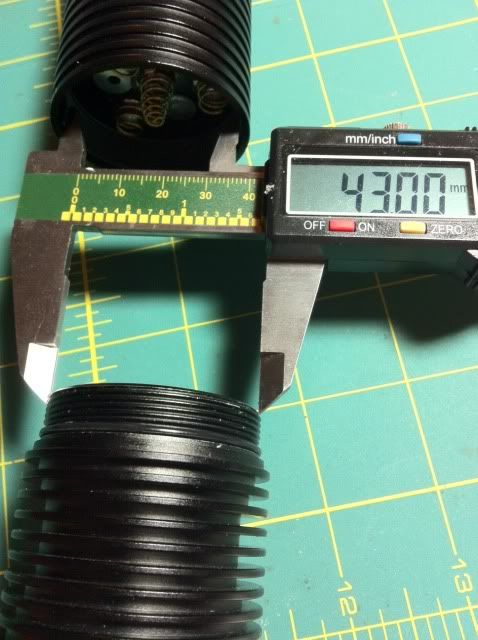
fiddlesticks - ~4mm too small
thanks
No problem, glad to help.
I planned on putting up pics of the battery holder tonight, but there was a short and some springs melted.
Seriously. I probably should use protected cells instead of IMRs next time for testing.....
I'll try again tomorrow with some Old-Lumens styled homemade copper springs.
Here are the details of the battery holder mods.
Overview: Converting a 3x18650 battery holder from parallel to series operation.
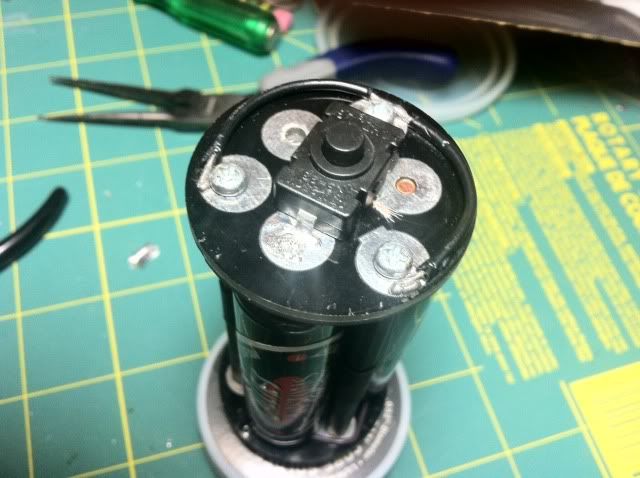
Here are a few pics of the stock battery holder:
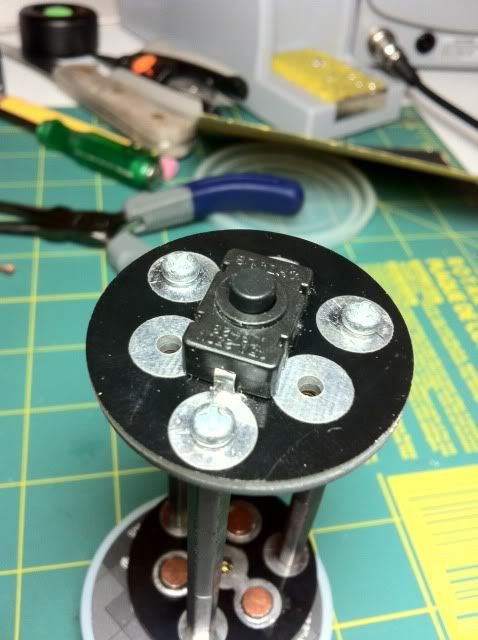

As you can see, the holder needs to bring both + and - to the top end, as the body does not have a ground path...it's entirely anodized.
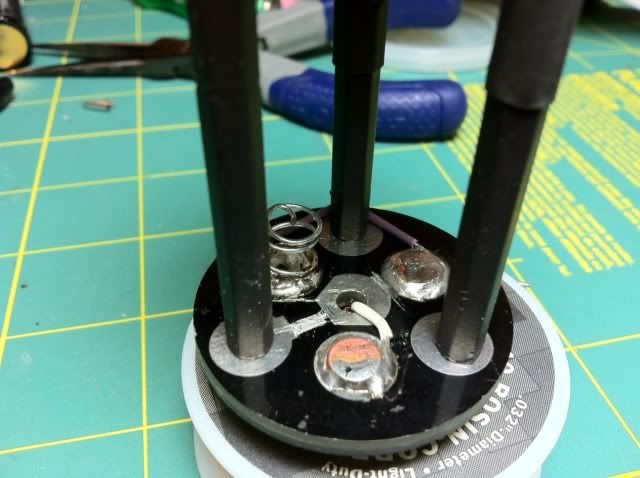
The first modification was to cut the trace on the PCB, linking two spots on each one. I failed to notice these initially, and this led to a short (and melted springs.)
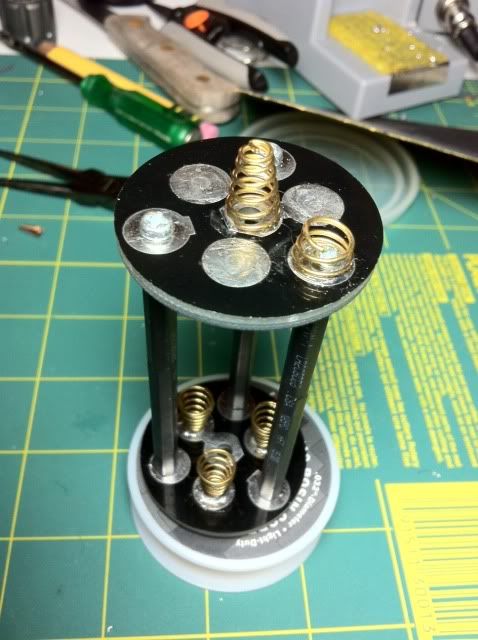
Working from the switch to the top spring, linking + and -, requires a bit of wire:
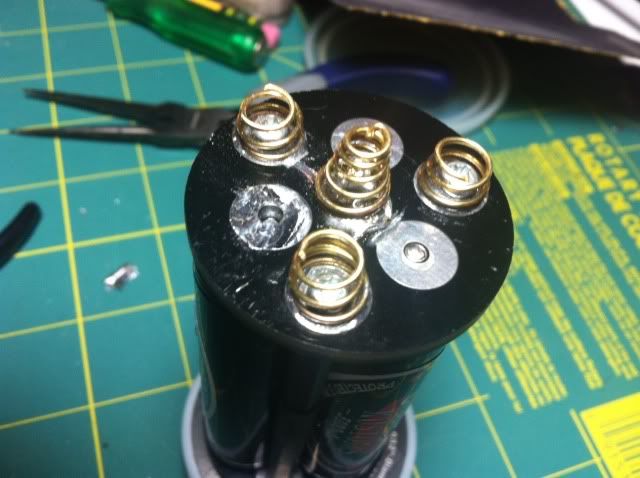
The extra wires are used to make for a better negative pathway:
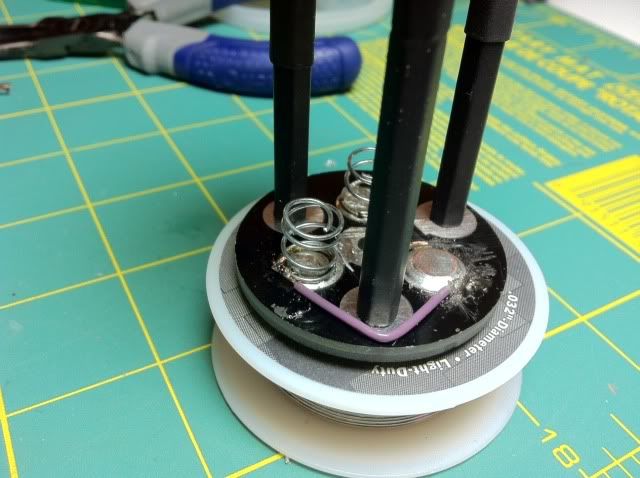
Here you can see the addition of 2 contact points to the negative (ground) ends:
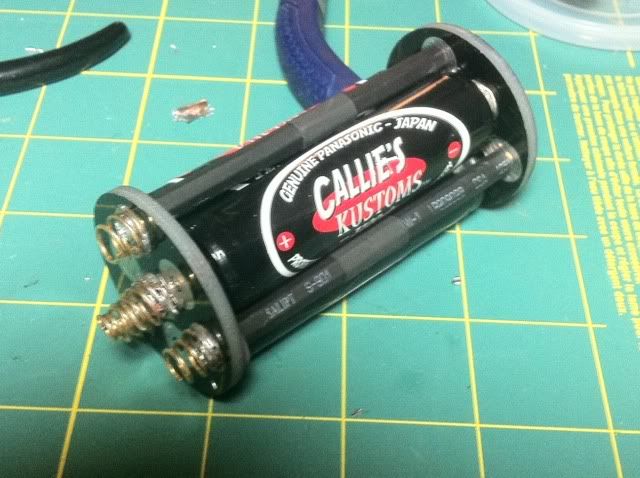
Here's a look at the modded holder, reading 12.61 volts:
Next round will be the assembly/wiring of the Light Engine.
I mean, since the plastic legs are stuck right on the heatsink, that they could get warped from the heatsink temps. Obviously they don’t since so many use them. I was just asking, since the stock puropse is for indoor/outdoor lighting where the heatsinks are usually finned for cooling.
That stock battery holder sure is a lot better looking than the plastic junk ones I'm used to. Looks like it's going to be a great light when you're done!
WTG - Chicago
Chicago-X,
Excellent work so far sir! I like the work you've done on the battery holder.
If you'd like to see a spoiler of the beamshots, take a look at this build I did back in April using the same emitters/optic combo comparing it to a zebra SC60 and everyone's favorite MF 3 mode XM-L drop-in :)
Despite the narrow specs on the optics, prepare for a huge wall of light!
p.s. - yup, machining copper can be a pita... :)
Thanks Old-Lumens and Match for the kind words.
Nice beamshots, Match. It looks like the 'wall of light' of legends yore. 
There is also an individually-addressable 3-up board available for those not wanting to mod the battery holder.
It would, however, require a different driver (or sandwich)
Update:
I broke my lathe machining the stubbornness out of some heatsinks for Old-Lumens. The repair parts just landed, and I should be up and running tomorrow if all goes well.
The driver pictured above is now listed on the cnqualitygoods.com website.
Please stay tuned for more updates and pics to follow.
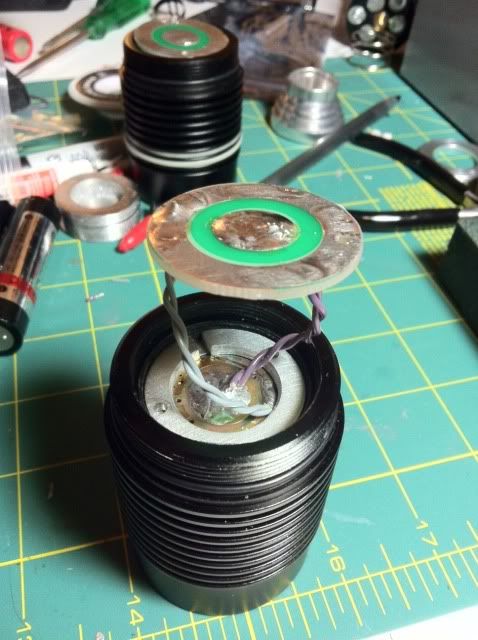
The 3-up board has been soldered to the driver:
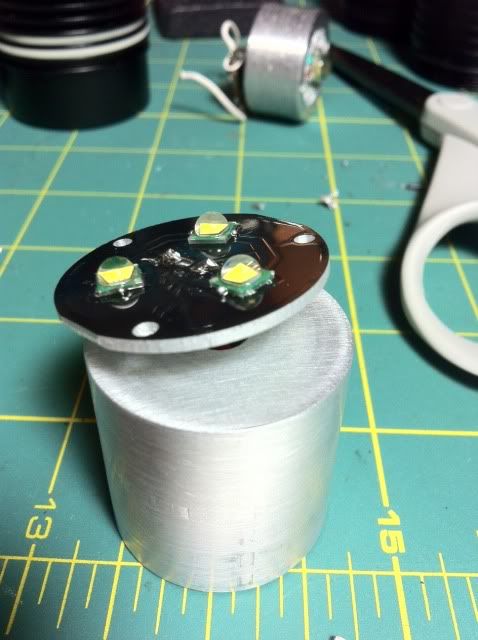

A thin film of Arctic Silver adhesive was placed under the board, then the optic placed on the board, then the whole assembly put under light pressure. The AS should hold the optic in place, obviating the need for CA glue.
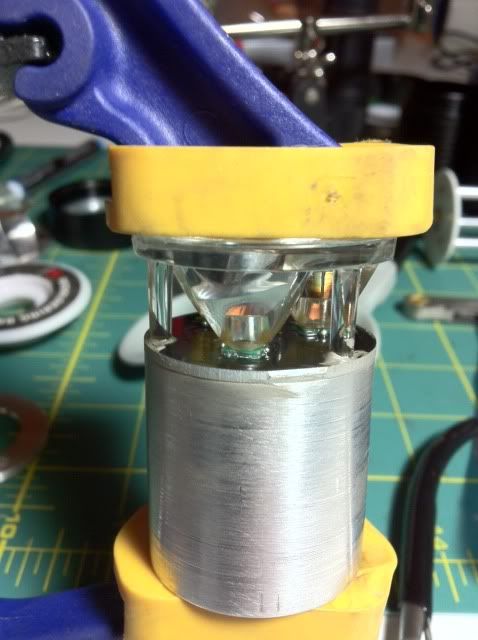
Next will be affixing the driver to the light engine.
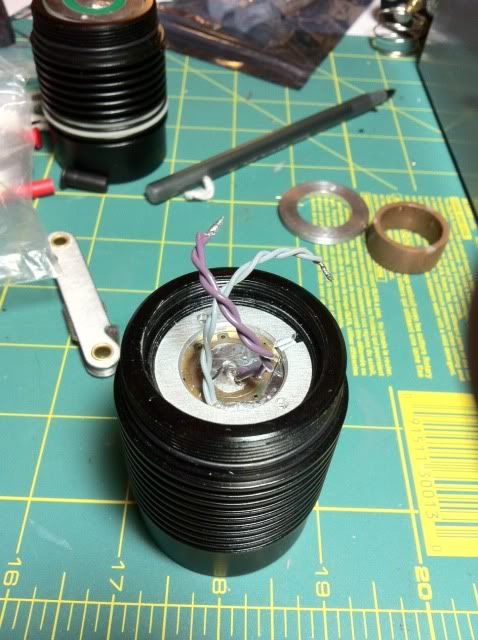
Since this thing is going to pull 4-5 amps at 12.6v, I wanted to upgrade the wiring I had on-hand. I used some silver plated copper Teflon-coated wire:
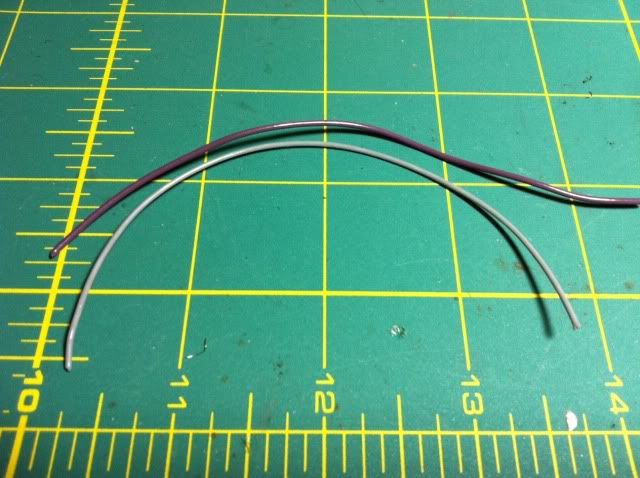
Here's the upgrade:
Some heatsink stuff from another light was placed in the driver pocket:

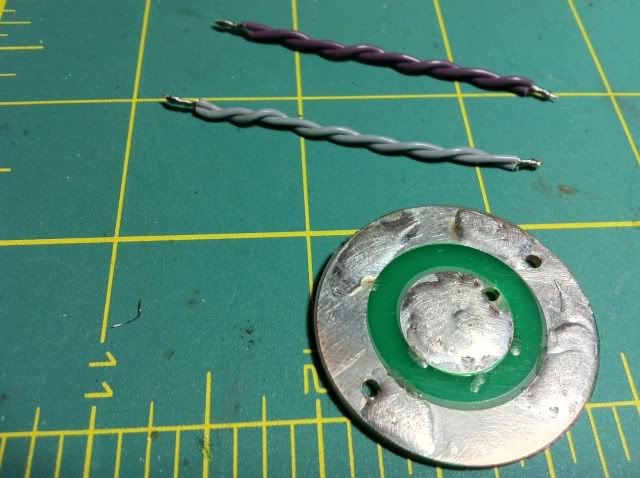
The modified wiring was then soldered:

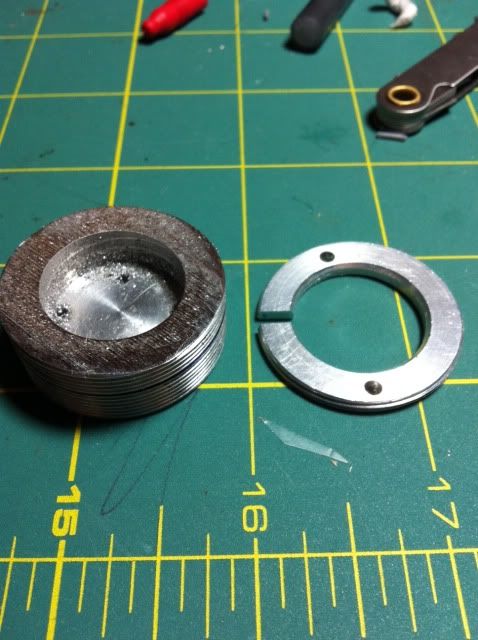
Since the original pill screwed into the head, I needed a way to provide positive pressure to the bottom of the new light engine. The original pill was used:
I cut a ring from the heatsink, then notched it for wire clearance. I may want to upgrade some day. :)
Here's the battery plate soldered on:
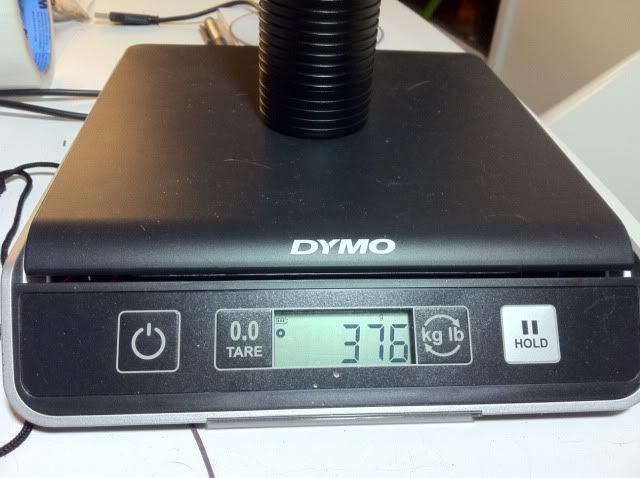
Buttoned up, stock and modded:
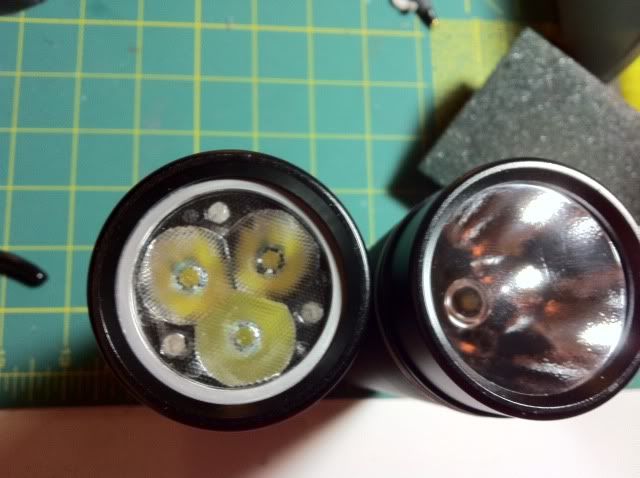
Before, without cells:
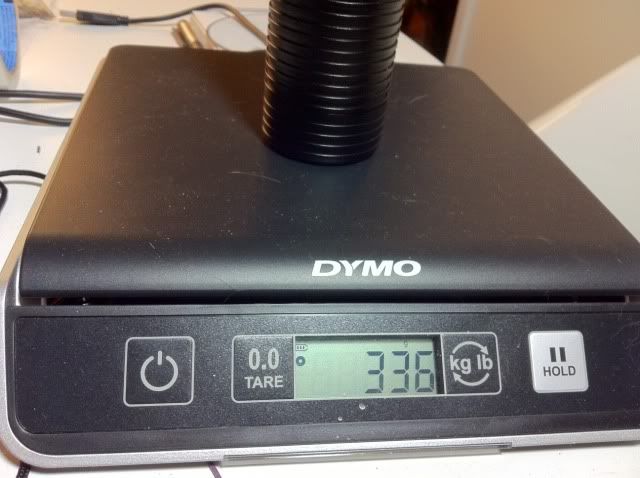
After, no cells:
Testing.......IT'S ALIVE !!!!!
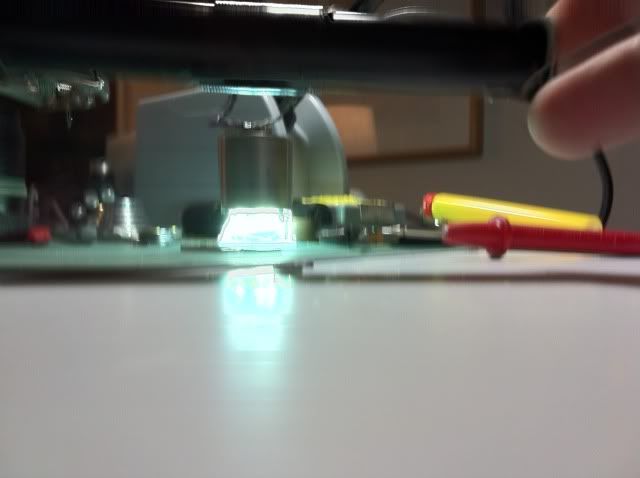
Next come the night-ending beamshots.