P60 *reflectors* and the things you can put them in

Ooh, a big pile of shiny!

Grab the tin snips, get rid of the threaded part

Gone, two of them trimmed off clean with a little end mill in the poor man's vertical mill (a.k.a. $129 drill press).

Crap! Still don't fit. Now what?

More power tools, that's what. You'll want to have a bowl of water nearby for dunking, they get HOT. When the water from the last dunking starts to boil, dunk again.

The plating on this batch doesn't survive the heat, it's all been scraped off. It wouldn't have made it through this level of abuse without scratches anyway. Final polish will be the last step, after they're all made into one unit.

Here's what you get after the first facet is cut. The only critical dimension here is the total depth, and even that's not critical-critical, as there will be lots of filing and fiddling before this is complete.

The stars are glued down just to have a fixed reference to get the critical-critical angle of that second facet marked, see poor man's machinist dye (a.k.a. red sharpie).

More later, this uploading pics one at a time thing is annoying...

I like modifying P60 pills and/or reflectors for various stuff. But this is a is a big step beyond with I have been doing! “slow-clap”

I like this project! :slight_smile:
Looking forward for future update!

Bolting them together in pairs makes matching the angles easier. I already have plans to figure out a rig to bolt all 3 together, and cut all 6 facets in one go. This is too much of a PITA to do this too many times.

Voila, mostly done with the cutting.

If the angles and/or depth of the cuts don't match, they won't line up at the outer corners and at the center point. This takes some fine tuning to get right.

After fixturing them onto a flat surface and a little JB Weld...

You can see above the final spacing between the stars has moved in tighter. In a light like this where the stars don't have to fit into a specific location but just sit on a flat plate and land wherever the reflectors put them, it's not critical.

It fits!

Now that I have the dimensions of the reflector total height, and the thickness of the stars + centering rings, I can cut a step on the backside of the big .200" thick copper base to set the internal height to let the bezel screw down to just short of flush, so that it applies max pressure to keep all the parts mashed together tight.

This is stunning work, nice job! :slight_smile:

wow, nice work!
are you going to polish those reflectors or are you going to get them chrome plated or something?

Just polished. Lots of boring time with the Dremel. If I were to send it out to be plated, I'd have to 1) be willing to send it out, and 2) TIG them together (which I can do) instead of the epoxy.

Darn that’s some mighty fine work. Hope they polish up good.

nice… the first SRK with XM-L2s? awesome… can’t wait to see the beamshots :slight_smile:

Nice work! I wanted to do something like that for a 5xXM-L project. Too much grinding though.
Maybe try wet grinding next time; it might save the reflective coating.
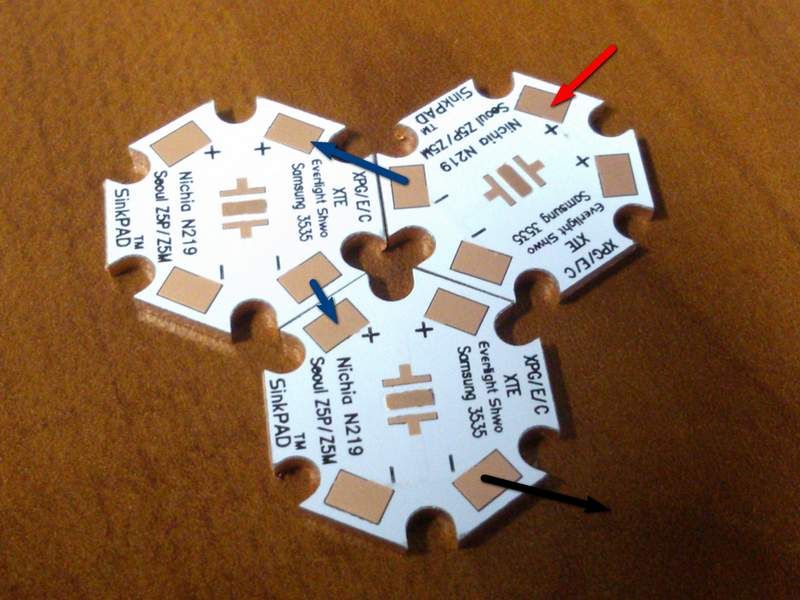
Depending on how you plan to wire the emitters, for series, turn the stars like this:

It will make series wiring sooo much easier. :wink:

Woah. Very cool, and very uniform.

I am just conscerned about the reflective properties the polished aluminum. Seems like efficiency will be down from chrome or vapor deposition.

This XM-L2 version will be using a modded SRK driver so no series wiring. One hole in the center for the 3 + leads, and 3 for the - out at the outside. The MT-G2 version will be in series but those Cutter boards have goofy pad locations.

As for polishing, I'm unfortunately getting pretty good at it. It probably isn't as good if you had measuring equipment to measure whatever they check when evaluating optics, but it's hard to tell which is plated and which is polished just by looking at them. The hardest part is getting rid of the scratches without just adding more scratches going in a different direction. Best method I've found is buffing with wads of green scotchbrite cut up and affixed to a home-made mandrel in the Dremel, then straight to a felt buffing pad, finishing off with balls of DuraGloss turned by a drill (Dremel is way too fast for the last stage, it just burns the surface and you have to start over again).

VERY IMPRESSIVE! 8) You Sir, are one very determined person to build such an intricate reflector. 1000 then 1500 grit wet-sand, then power buff with a rouge wheel (dremel) and standard white bar compound, then finish power-polish with mothers aluminum mag polish. Keep your rpm speed low, use light pressure and let the tool do the work. Dont allow the work to get hot or the compounds will stick and burn into the AL. Once completed, it will have a deeper luster than the best chrome plating and the mothers also seals it from oxidation (as long as the AL is of a descent alloy). Ive done several very expensive aircraft props this way for friends, and they are all mounted on high dollar show planes.

Totally orsm. Your a very creative stubborn person. To get the facets that good would be nigh impossible. Some reflectors are more hardy than others on the reflective surfaces. I swear some of them scratch by just looking at them. Looking forward to see this progress to the finish. Cheers.

Nice work you’re doing there

that’s some fantastic precision work with hand tools, well done. I’m really impressed at how well they all fit together, that stuff isn’t easy to get right. Looking forward to the polishing, always happy to pick up different ideas on how to do it :slight_smile:

Wow, great job matching all 3 curves.

The curves match up automagically when you bolt them together face-to-face, and make a flat cut. As long as the wall thickness/geometry of the reflectors is consistent, that is. :p

My brain is now hung up on how much easier this will be with all 3 pieces bolted onto one spindle, I just need to make up some AL washers to maintain the alignment and keep the base of one reflector from seating inside and scratching up the reflector behind it... doing them in pairs and then trying to get all 3 to come out the same SUCKS. That's the hard part.

+1

and another +1

I use ice cubes :slight_smile:

but a serious word of warning - cleanup when you’re done, especially if you also grind steel.

Steel powder, Aluminum powder and water (turns the steel to rust) are a crude recipe for thermite. I learned this the hard way.

There you go, separate wheels for steel and aluminum it is :wink:

I used separate wheels, mostly because aluminum smears into the wheel - the fire started below the grinder. Good thing I’d moved my blast cabinet into that room because there was a 5 gallon pail of fine sand next to it…