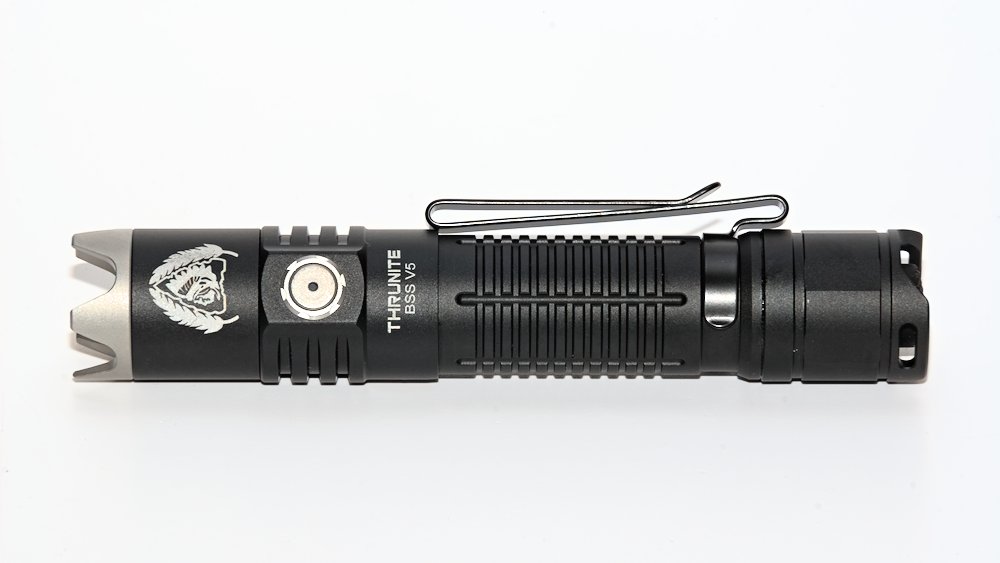
Recently I’ve got another flashlight from ThruNite, which was provided by the manufacturer for review. It’s the ThruNite BSS V5, a tactical flashlight with side and rear switch and “Strike Bezel”.
This review is also available in German on my website: SammysHP Blog › ThruNite BSS V5
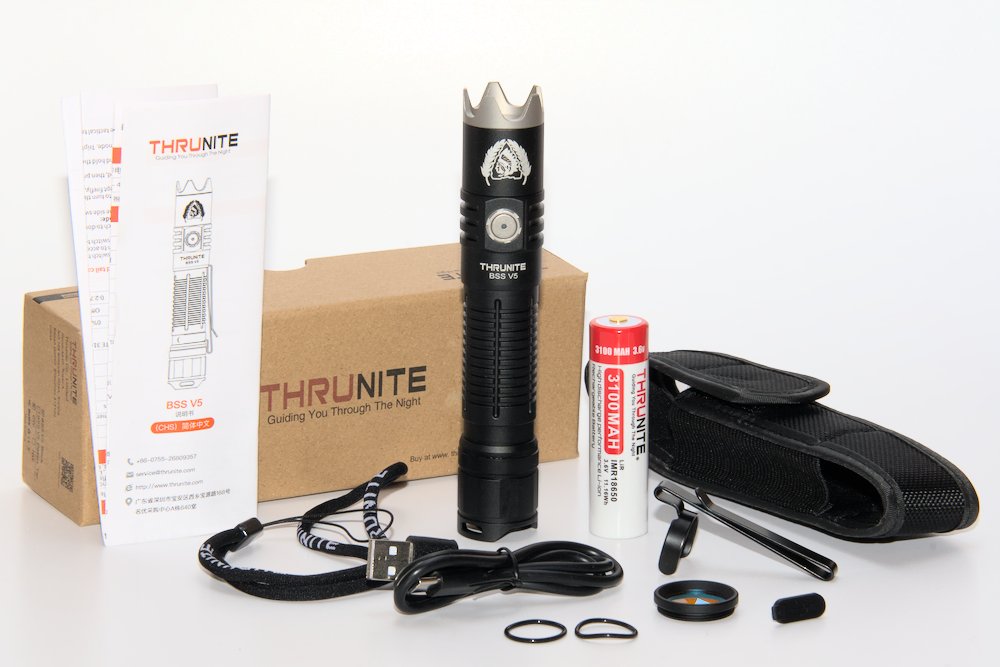
Supplied parts and hardware
Together with the flashlight you’ll get a whole bunch of extras. All delivered in a recycled cardboard box.
- 18650 Li-ion battery with 3100 mAh (protected, button-top, 3.6 V on delivery)
- Dual-way clip (not attached)
- Lanyard
- USB-C charging cable
- Holster
- Red filter
- “Strike Bezel”
- Replacement cover for charging port
- 2x replacement o-ring
- Manual (CN, EN, JP, DE)
The flashlight comes ready for duty without sticker on the battery for isolation and everything is screwed together tightly. Just unlock it by a long button press.
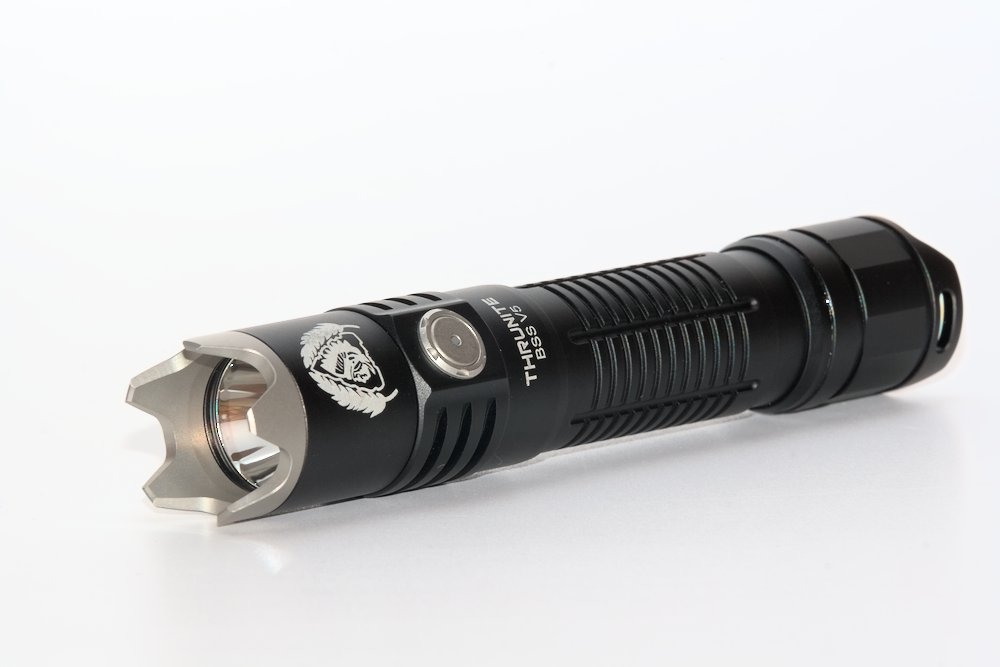
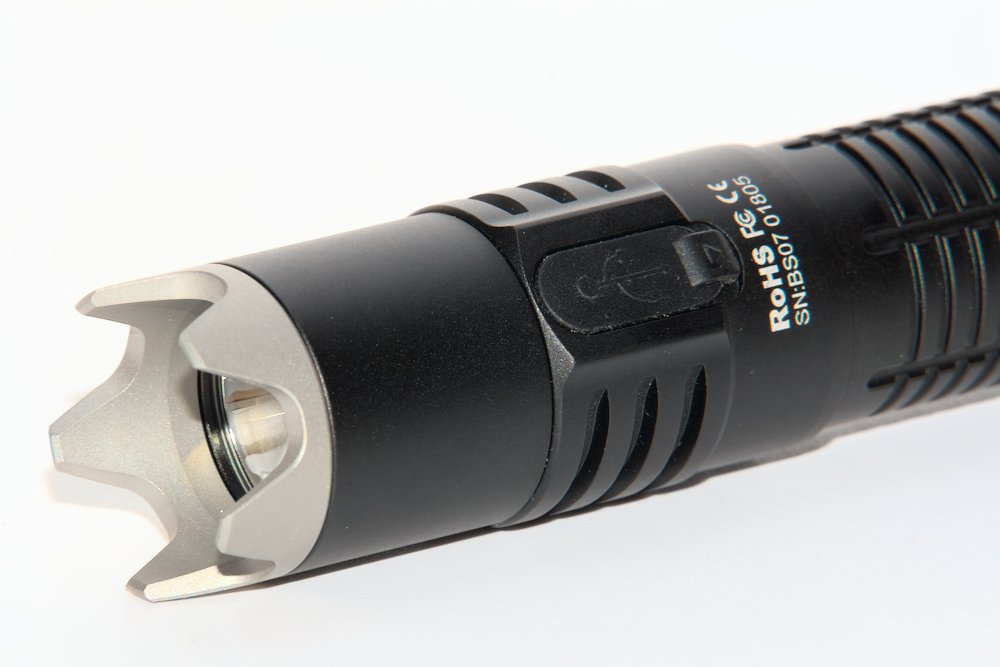
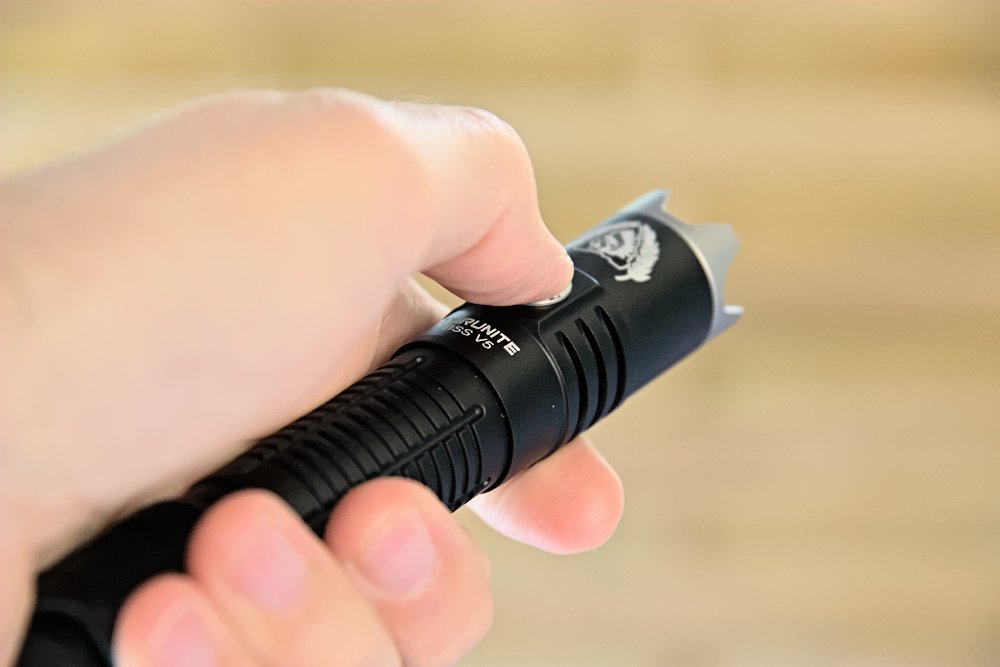
The aluminum body is type III anodized in matt black. This should provide better durability and together with the ribbed surface it allows for a comfortable and secure grip.
With a length of 143 mm (or 138 mm without strike bezel) and a diameter of the head of 25.5 mm (28.5 mm thickest part) it’s more on the longer side for a 18650 flashlight. With battery it weights 138 g (or 87 g without battery).
Both length and weight might become handy when you intend to use the flashlight for self defense. The spiky stainless-steel “strike bezel” should support your arguments.
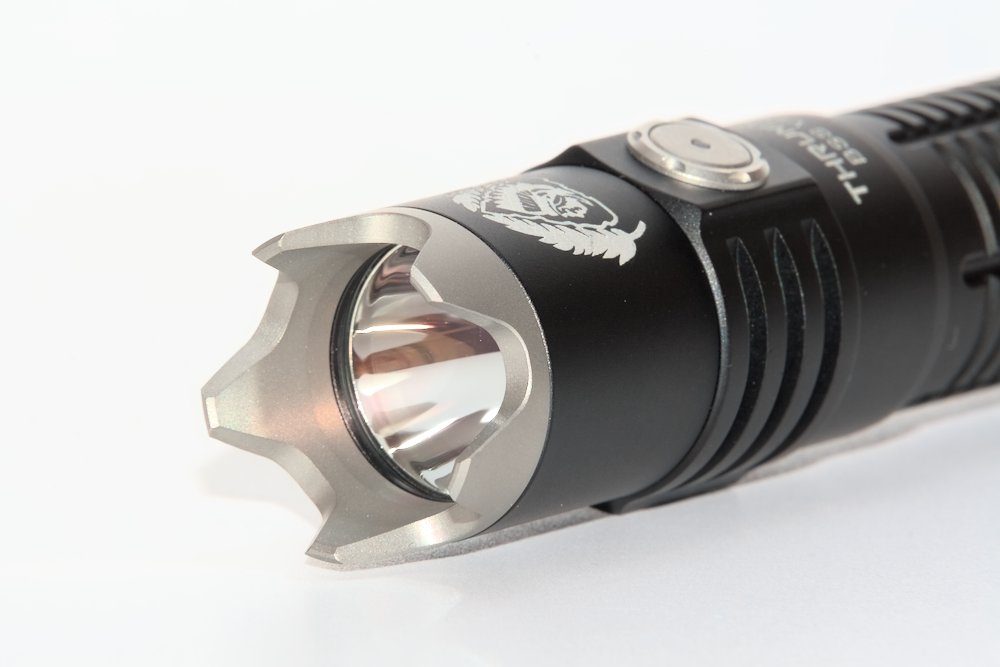
The bezel is screwed in and can be removed easily. But without it the BSS V5 looks slightly naked. ThruNite doesn’t provide a normal bezel.
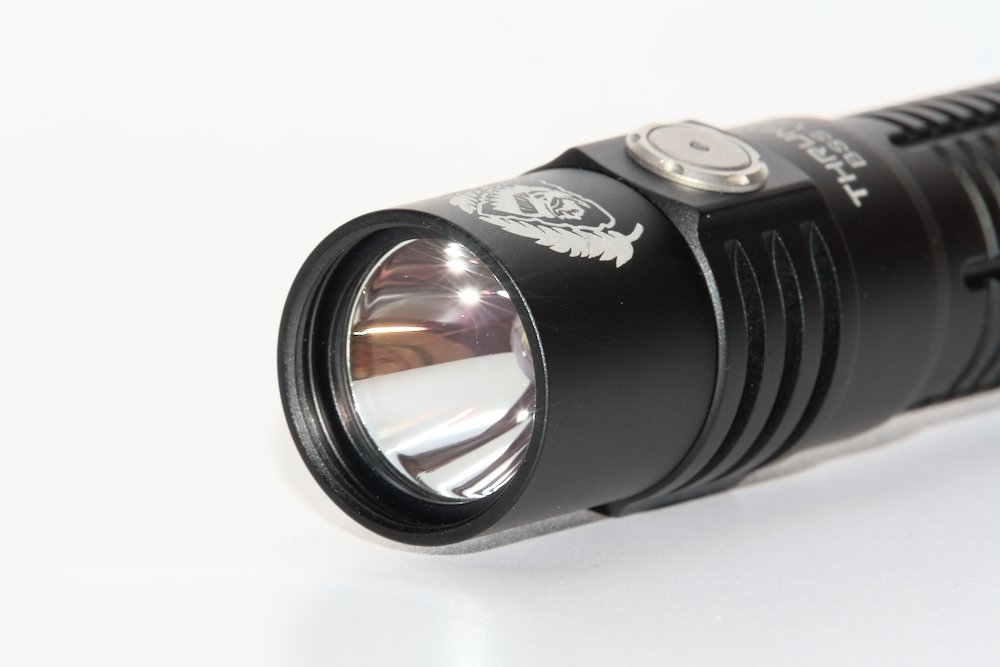
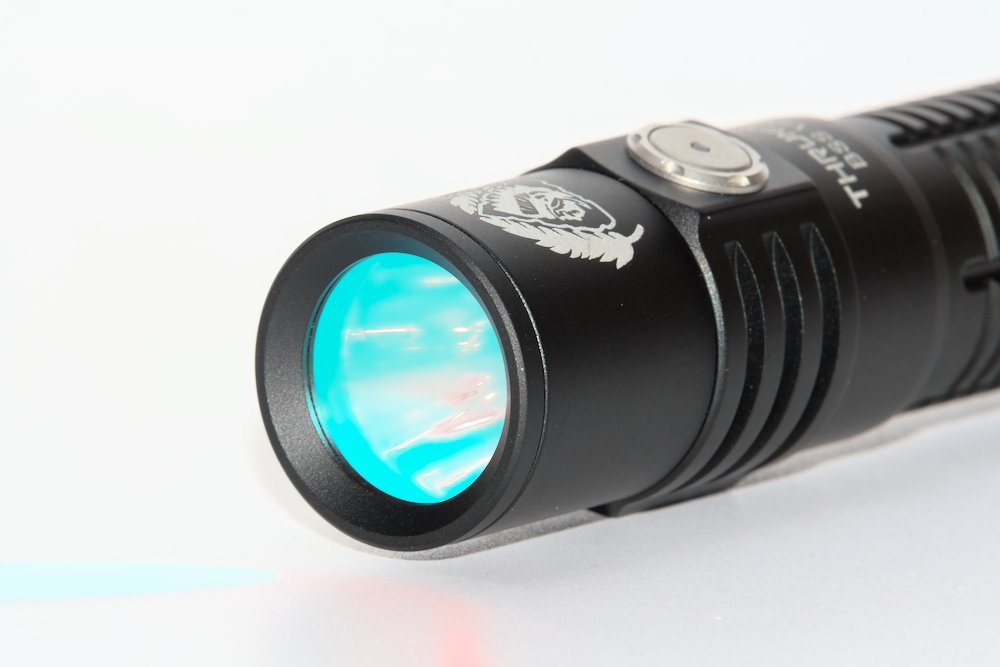
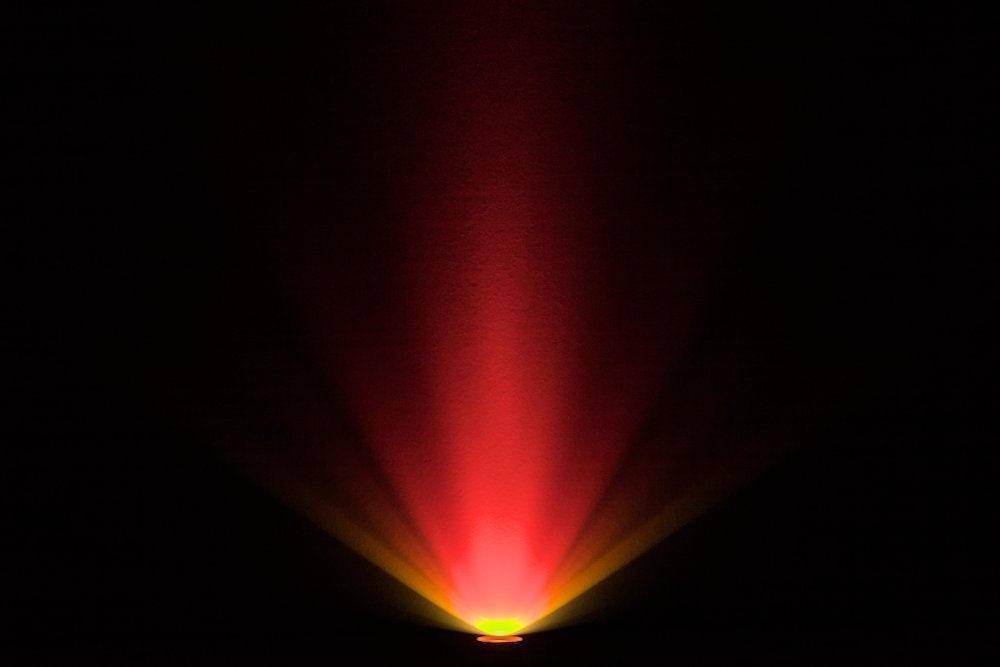
But they’ve added a red dichroic filter that can be used instead of the strike bezel. At first glance it doesn’t look red at all, but that’s because it reflects all light that is not red.
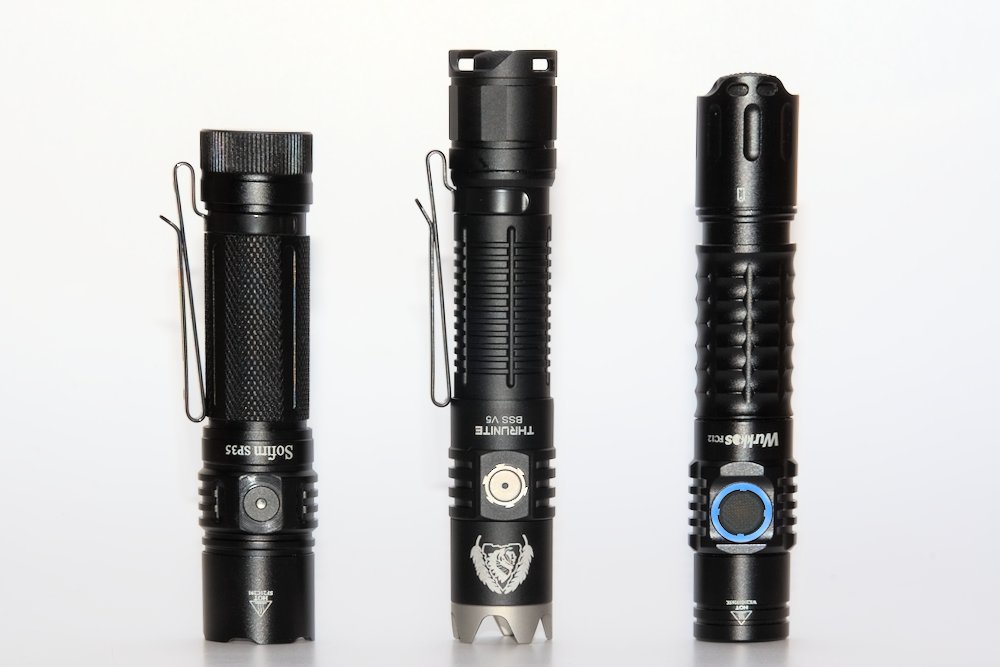
The strike bezel immediately reminded me of the Wurkkos TS30S.
To attach the flashlight you can use the included dual-way clip. It’s not deep-carry and hard to use without opening it first. I wonder what you should do with a dual-way clip on such a large and heavy flashlight. Why not include a simple, but easier to use one-way clip?
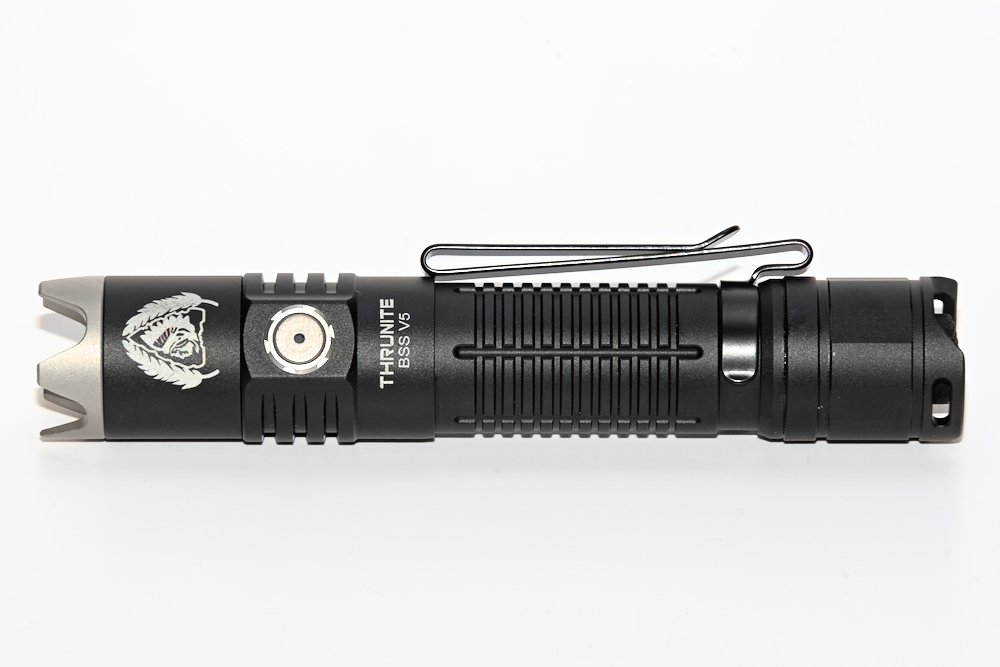
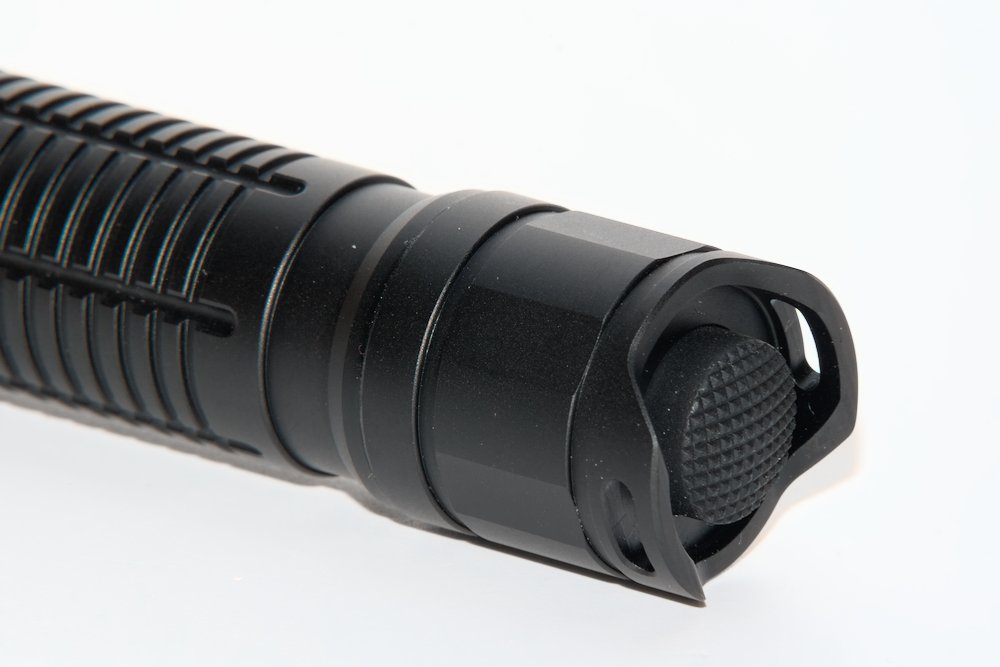
The tailcap has two slots to attach a lanyard. This makes tailstanding even harder. An alternative would have been to use two holes per side.
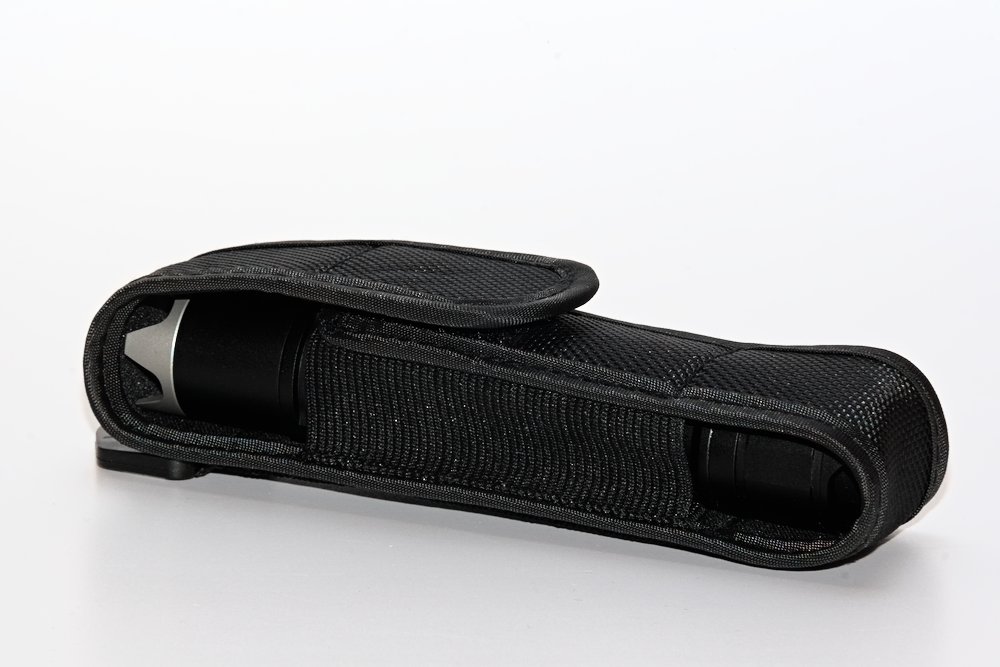
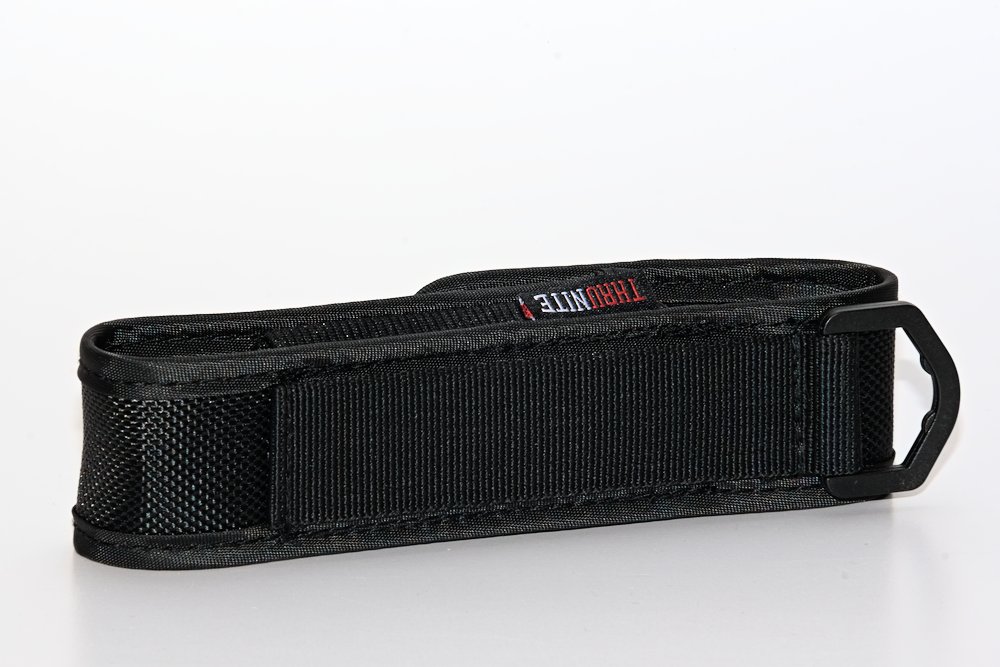
You’ll also get a simple holster with D-ring and a fixed loop for attachment. It is closed with velcro and works with and without the strike bezel.
The battery can be charged via a USB-C port. In my tests the maximum current was 2.1 A and it terminates rather early at 4.1 V after about two hours. During charging you can only use the levels firefly and low. When the charging is finished, the LED in the side switch changes from red to blue.
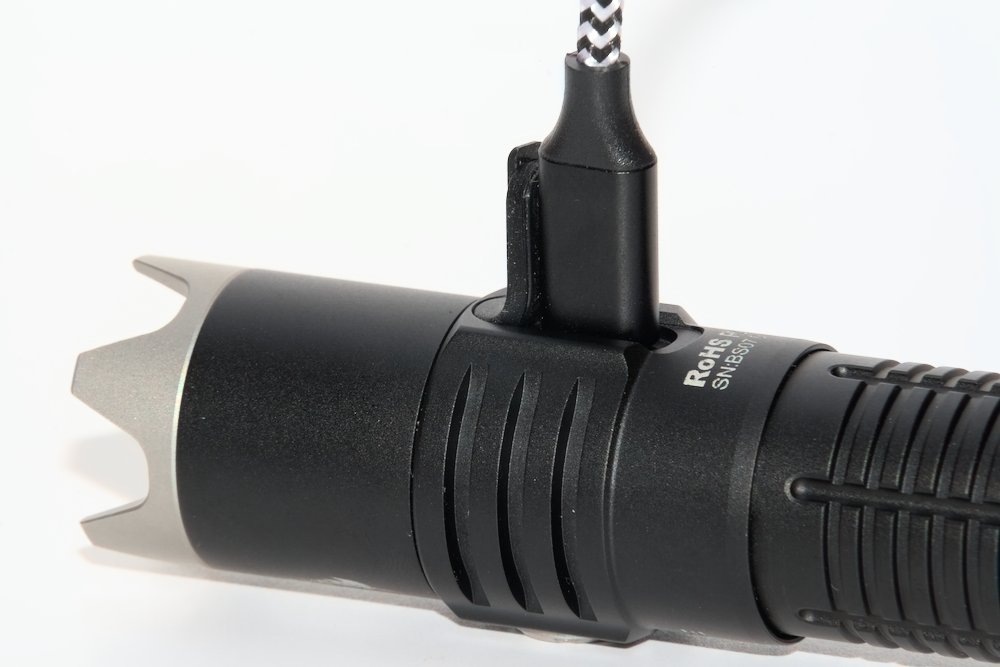
The charging port is protected by a silicone cover. This flashlight should be IPX8 rated, but only if the cover is completely closed. Sadly it can be opened too easily, happens regularly by accident. For a tactical flashlight this is absolutely inappropriate.
It should be possible to use the BSS V5 with any high drain 18650 battery. The included battery has a length of 70 mm. Shorter batteries might rattle or lose contact, because there are only (double) springs in the tailcap (brass button at the driver side).
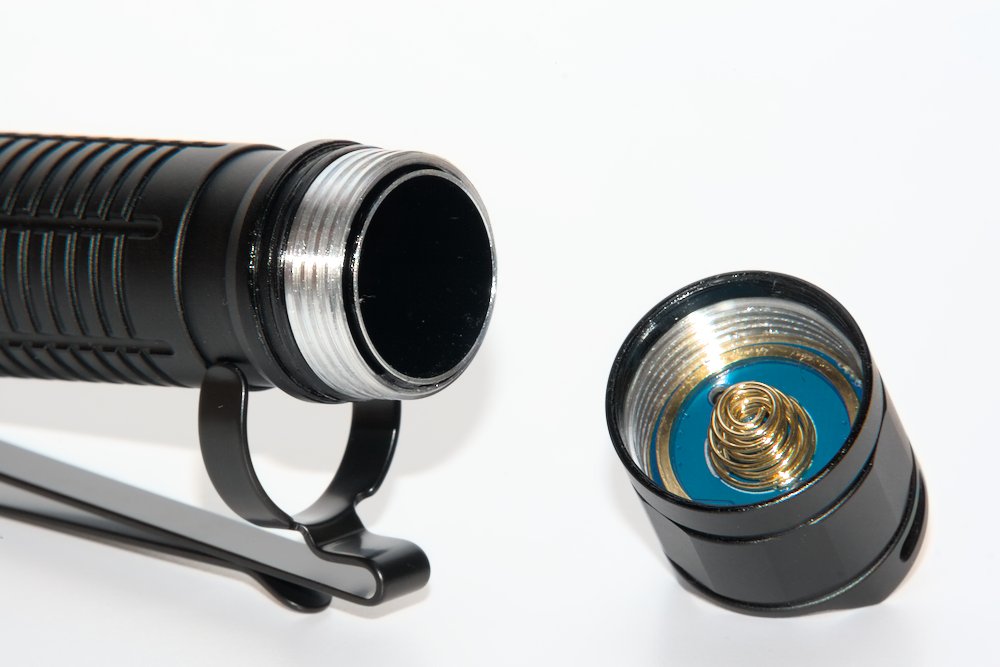
A mechanical lockout is not completely possible because the threads are not anodized. The inner tube transmits the signal of the rear switch to the driver. So when you unscrew the tailcap by at least one turn, you can disconnect the tailswitch.
User interface and features
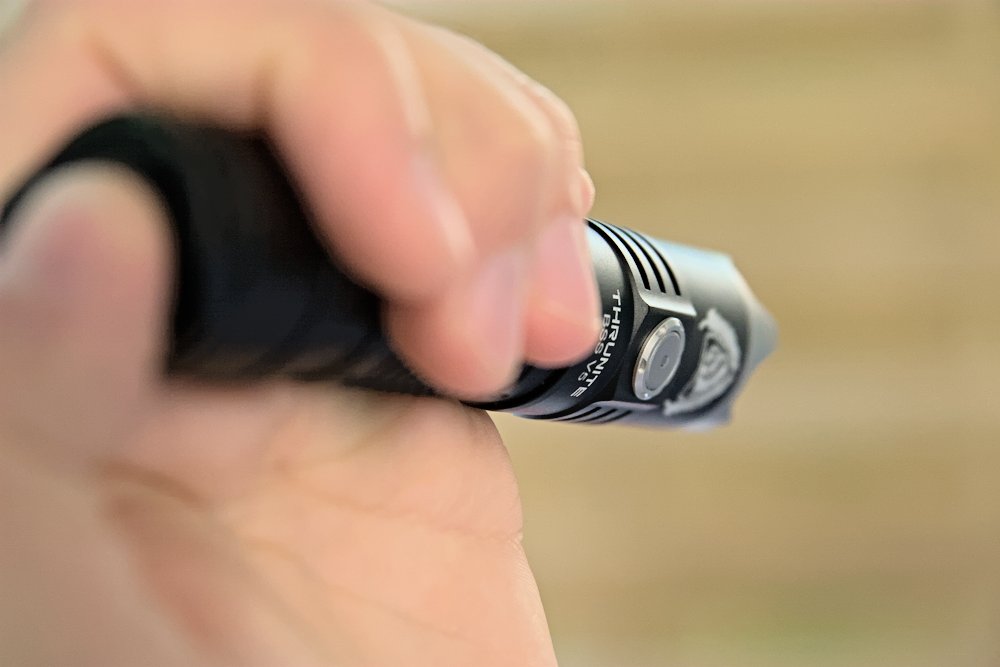
The flashlight is controlled by two buttons: First you have the electronic side switch that can control all functions. It’s flat with the switch bezel and has to be pressed hard until it responds with a nice, audible and firm CLICK.

| State | Action | Function |
| off | 1C | on (last used level: low, medium, high) |
| off | 1H | firefly |
| off/on | 2C | turbo |
| off/on | 3C | strobe |
| on | 1C | off |
| on | 1H | change brightness (low, medium, high) |
| firefly | 1H | lockout |
| lockout | 1H | unlock, low |
The mechanical rear switch has just one function: it enables turbo. It’s a forward clicky, so you can use it momentarily or fully press it for permanent turbo (until the flashlight throttles the output). When you switch it off / release it the flashlight will be off, independent of which mode you’ve used previously.
Lockout with 1H from firefly is annoying, because you have to 1H two times and because it prevents you from increasing the brightness from firefly. I think 4C is the preferred method nowadays.
Illumination
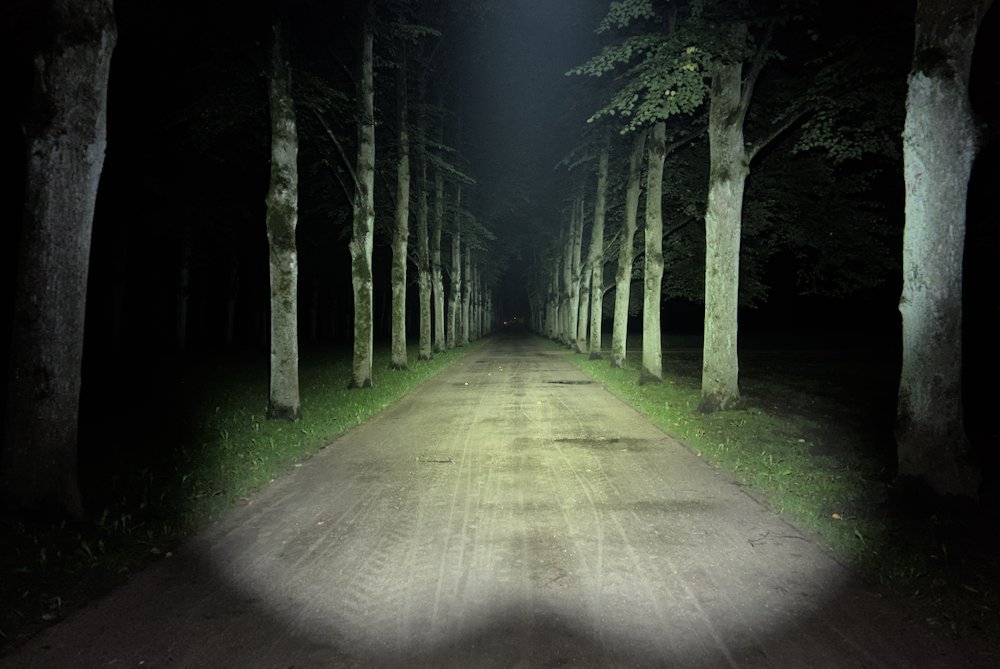
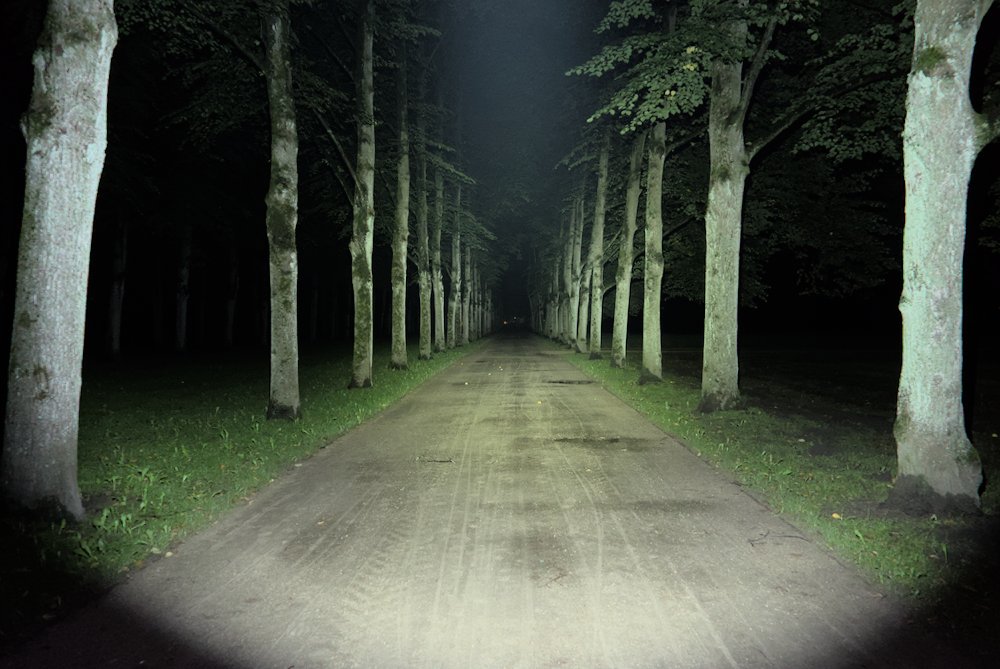
The ThruNite BSS V5 comes with a “cold white” (maybe 5500 K?) Luminus SST-70 in a smooth reflector. Claimed to be up to 2676 lm in turbo. Of course it has the green tint and low CRI.
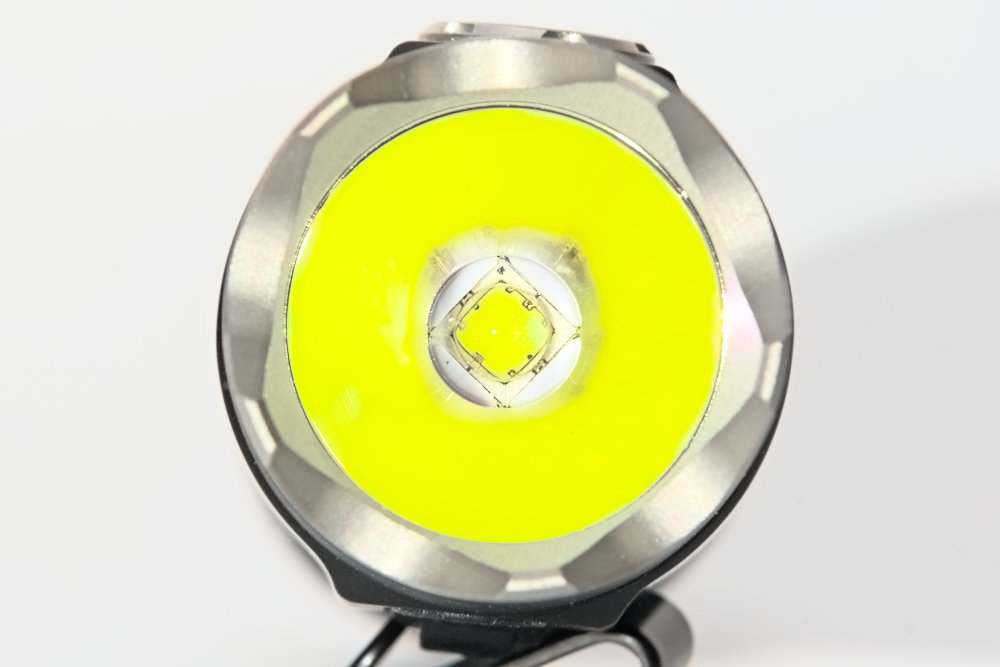
The spot has a soft gradient into the bright spill. I’d call it floody.

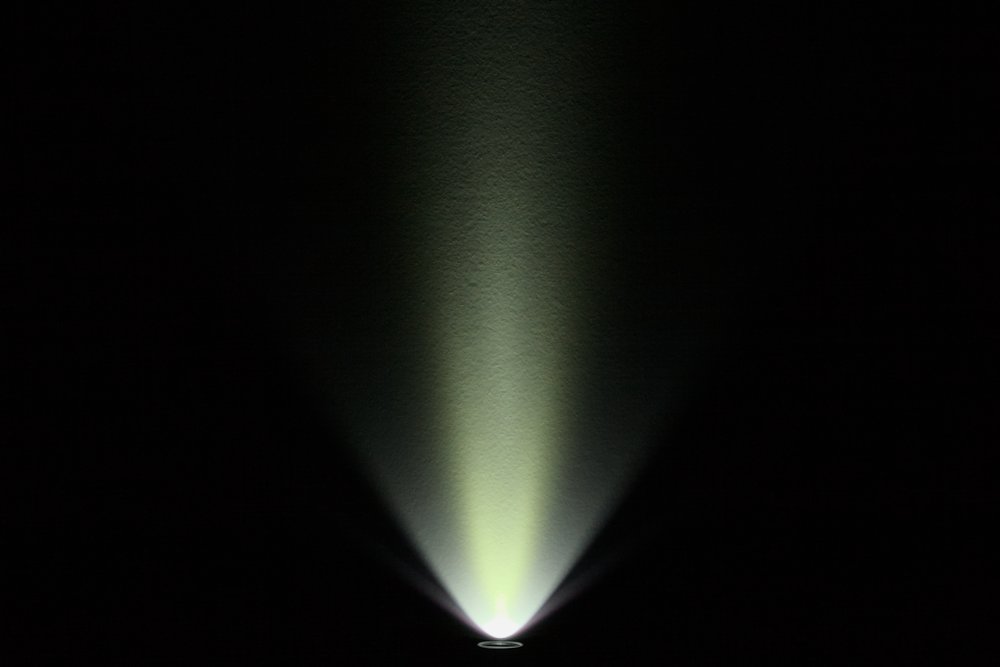
The strike bezel casts shadows and removes most of the spill.

With the red filter you get red light (what a surprise, right?), but of course very inefficient. Most of the light is blocked and heat up the flashlight. In the past with incandescent lights it would have made sense, but now we have red LEDs. Due to the physics of the dichroic filter you’ll also get some nice colors around the edge.
Driver and runtime
Not what I had expected. The ThruNite BSS V5 doesn’t even come close to the claimed runtime. Turbo throttles almost immediately, not the advertised 120 seconds. And the overall runtime is about half of the advertised time. This is what was claimed:
| Mode | Brightness | Runtime | Intensity |
| firefly | 0.3 lm | 50 d | |
| low | 29 lm | 53 h | |
| medium | 355 lm | 4.5 h | |
| high | 1433 / 605 lm | 145 s + 140 min | |
| turbo | 2676 / 610 lm | 120 s + 133 min | 16200 cd (255 m) |
| strobe | 1200 lm | 220 min |
And these are my measurements:
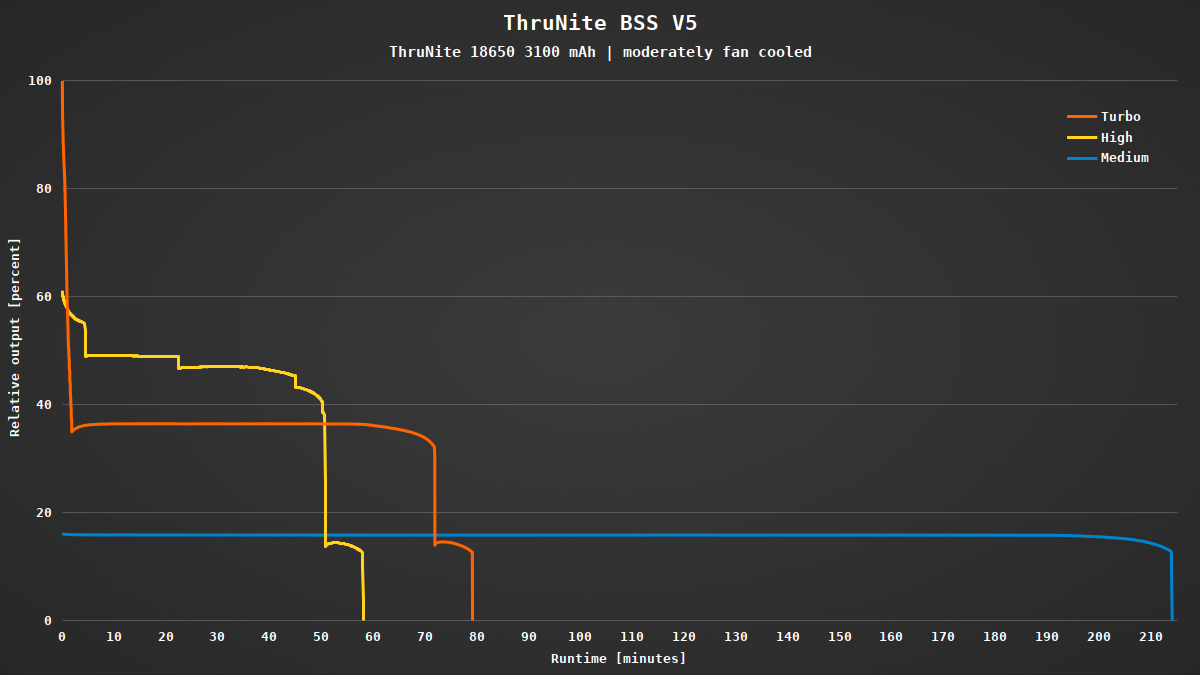

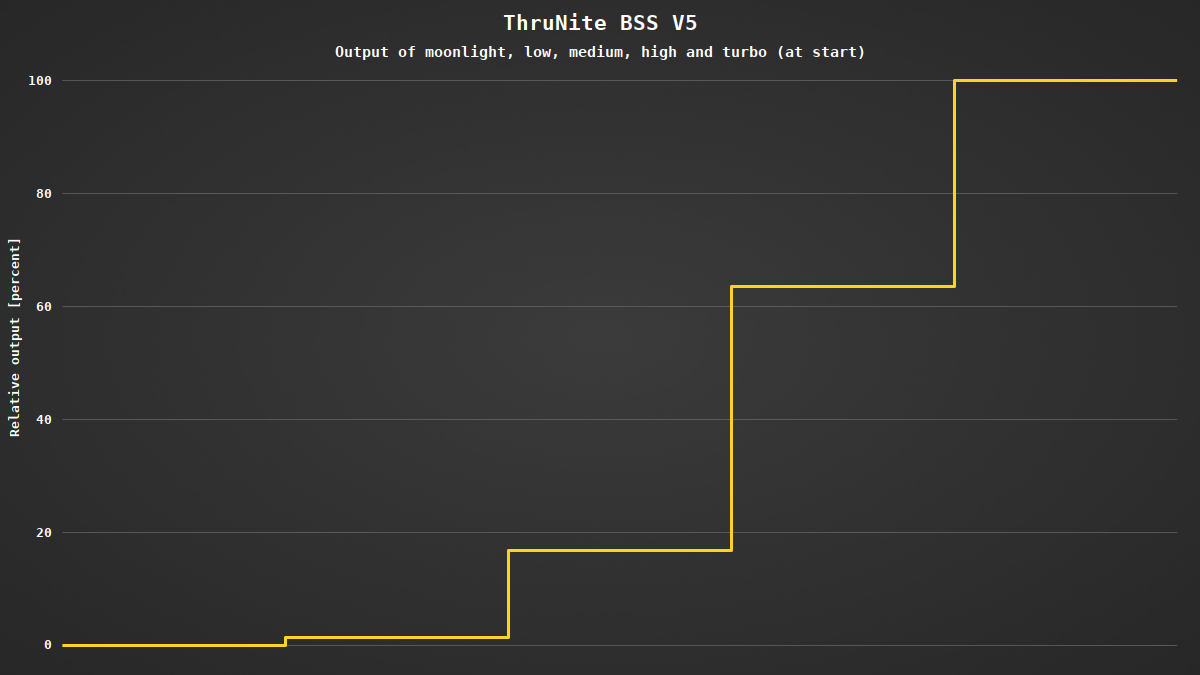
Most levels have reasonable spacing. Only the difference between high and turbo is very small and can be seen only with a full battery. The boost driver doesn’t need PWM.
Here are my current measurements, directly after turning it on:
| Mode | Current |
| off | 80 µA |
| firefly | ––– |
| low | 0.05 A |
| medium | 0.65 A |
| high | 3.7 A |
| turbo | 12.5 A |
An LED in the side switch shows the approximate state of charge of the battery all the time when the light is on:
| LED | State of charge |
| blue | > 20% |
| red | 10% – 20% |
| blinking red | < 10% |
LVP kicks in at about 2.7 V and switches the light off. When the battery has recovered a bit you can use it again in low modes, but you have to disconnect power first.
Conclusion
Nice design, very good machining and feels good in your hands. The dual switch interface allows a mostly intuitive usage. Some people might like the strike bezel, but I’d like to see a normal bezel in the bundle.
For my taste the LED is too green, there are better alternatives on the market. The clip could be replaced by simple one. Also the charging port cover must be improved. And please fix the runtimes in the manual.


