I got tired of messing with the lathe and qtc's so I decided to take a break and do a few simple emitter upgrades.
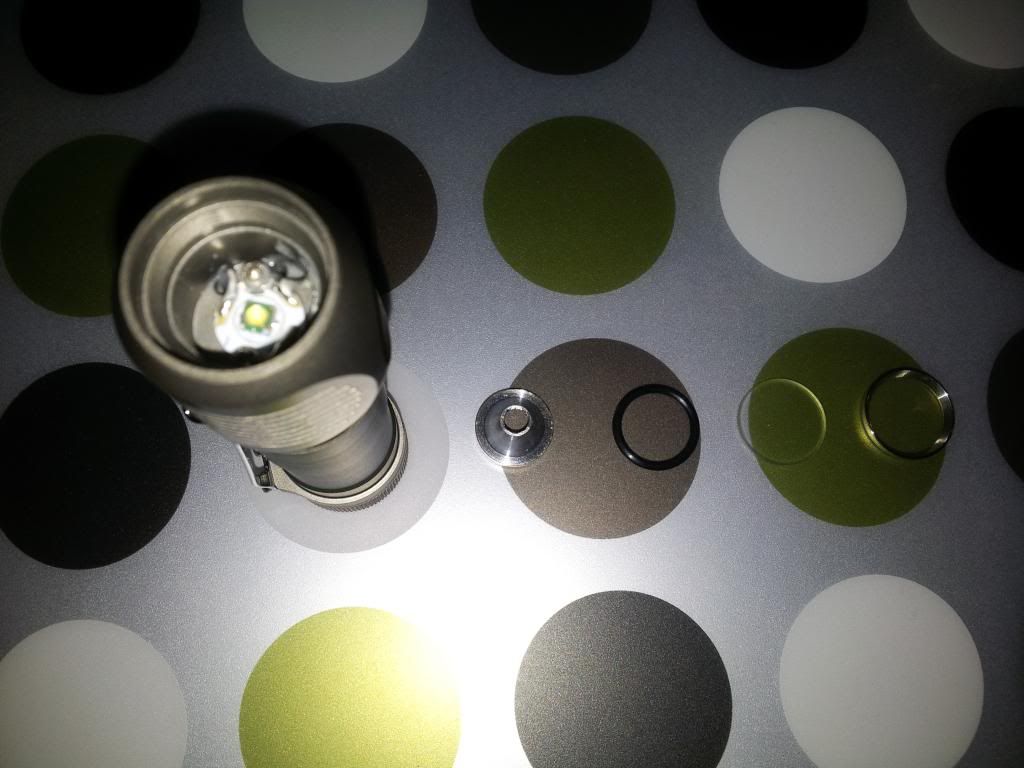
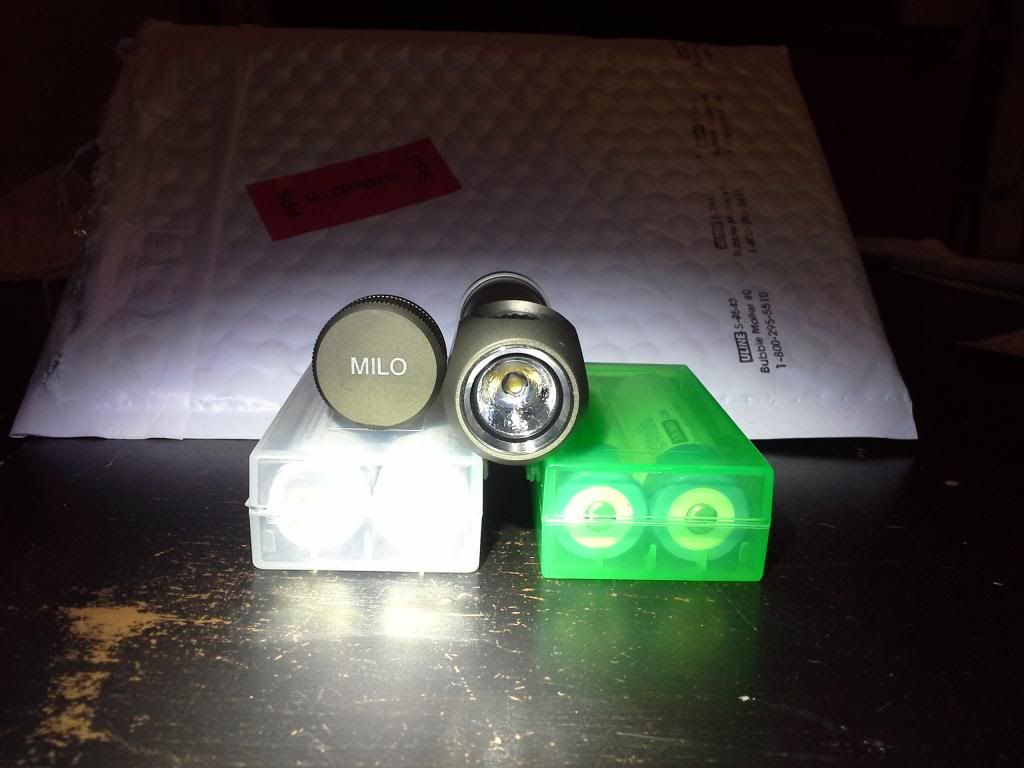
First up is the Quark AA2 Turbo xpg.
Here's the tools needed to remove the head:
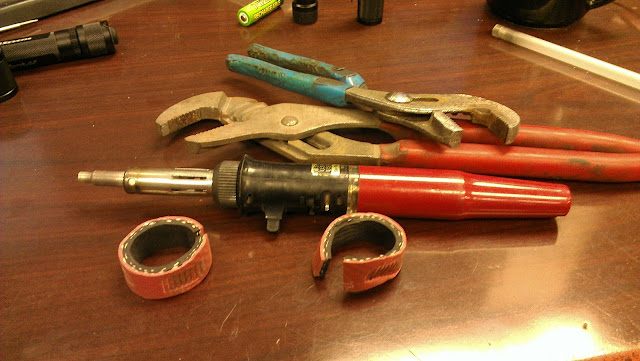
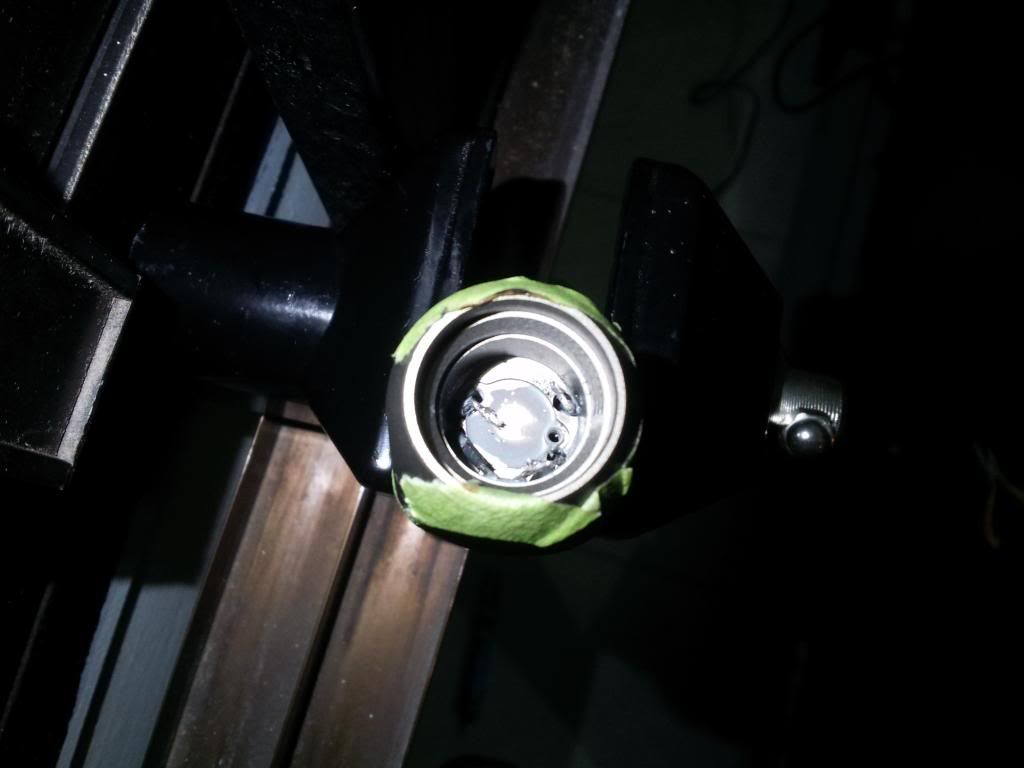
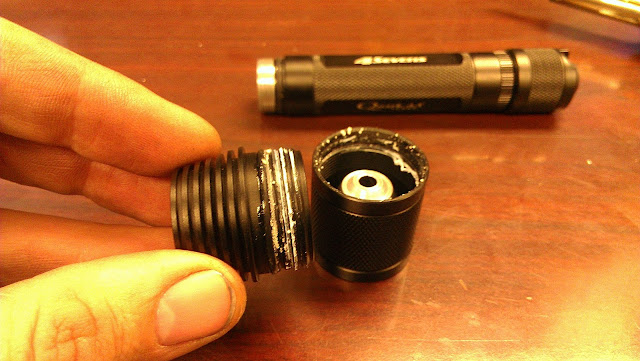
Mmm...look at all that delicious threadlocker...
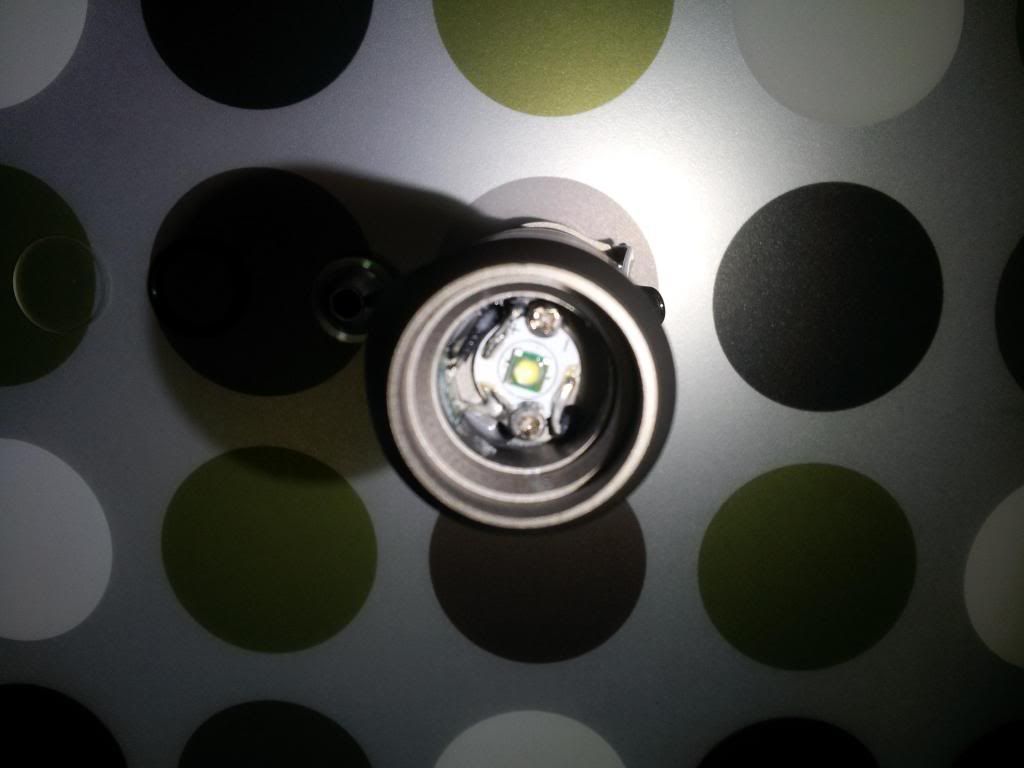
And all back together with the new emitter...

In sticking with the "pocket thrower" theme of the quark turbo, I decided to forgo the ever popular nichia and even the xpg2 and instead used a Cree xp-e2 (2B). My emitter testing led me to believe this would be a better fit for this little double AA... and it is. Here are the results:
Lux before = 8,250cd
Lux after = 16,000cd
Lumens before = 241
Lumens after = 215
For a minor hit in overall lumen output, lux almost doubled! I was hoping to get some beamshots up with this post, but it's been rainy/cold/miserable the last few nights. I'll update later when I have a chance. Suffice to say, I'm very happy with this emitter choice.
Next up was a Naithawk M.1 emitter swap. Simple xp-g to nichia219. This one was so straight forward that I didn't even bother with pictures. High output was never the naithawk's strongpoint to begin with, and things didn't get better post mod....however the combination of the beautiful tint and well spaced rotary U.I. makes it an outstanding little light.
Last but not least, a very simple mod!  My used and very much abused zebralight H51. Please note that all damage to the light was due to its owner subjecting it to a very harsh working life, and not caused by the mod. Here again, I went from an xp-g to a nichia219:
Opening shot:

Post emitter reflow and partial assembly:

Fully assembled H51 but now with more CRI goodness (bad phone photo, the lens/reflector are not cloudy):

A few things to note:
- The bezel is press fit, and not threaded.
- The stock emitter pcb is screwed down to the head - hence great heatsinking!
- The reflector is also press fit, but comes out easily enough with a few gentle taps.
- The lens dimensions are 18mm x 1mm
- The nichia219 was reflowed onto the stock pcb.
As with most xpg to nichia mods, the hotspot is now slightly more diffuse - which most may find that to be a good thing in a headlamp. Lumen output is less but of course the color rendition and tint speak for themselves.
Play time is over...now back to quad xpg2's and mt-g2s....
-Match