Since Sirius9 asked to see some of my some of my lathe projects, I thought it best to post here rather than in the 18650 Flashlights Forum. First, let me say that I am not a trained machinist, and don’t claim to be, so please be kind ![]() . Most of what I have learned has been self taught, and relates to my hobby (well, one of my hobbies :bigsmile: ).
. Most of what I have learned has been self taught, and relates to my hobby (well, one of my hobbies :bigsmile: ).
That hobby is precision Benchrest Rifle competition shooting, I build some of my competition rifles, using custom actions and stocks. The most critical part of building a precision rifle is the chambering and threading of the barrel, and tolerances must be held in the low ten thousandths of an inch.
Some of the tooling necessary for this level of precision is not available commercially, or is prohibitively expensive, so many gunsmiths make their own if they have the skill and equipment (no, I am not a gunsmith either ![]() ).
).
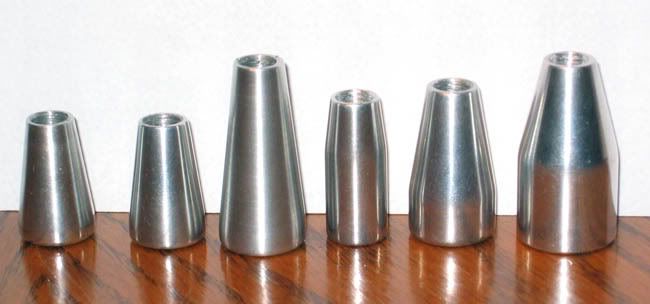
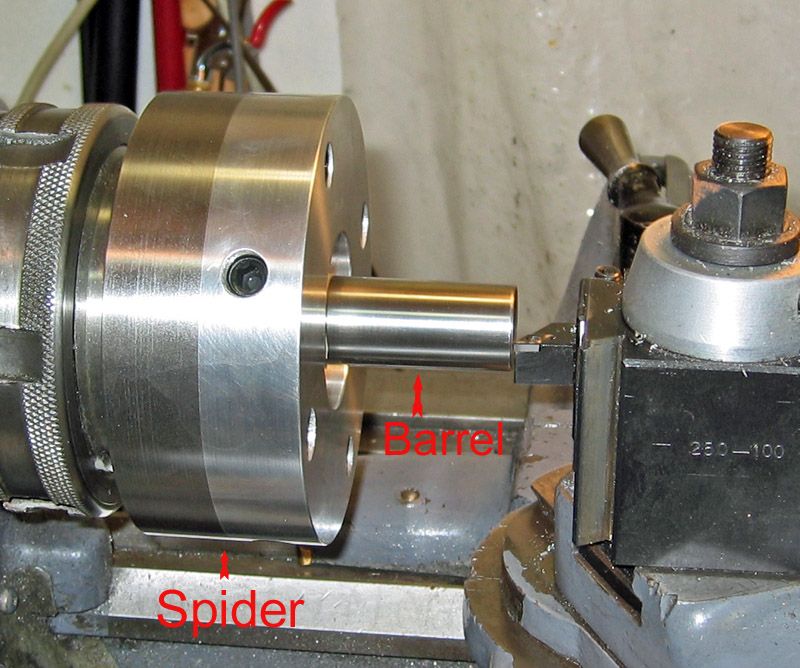
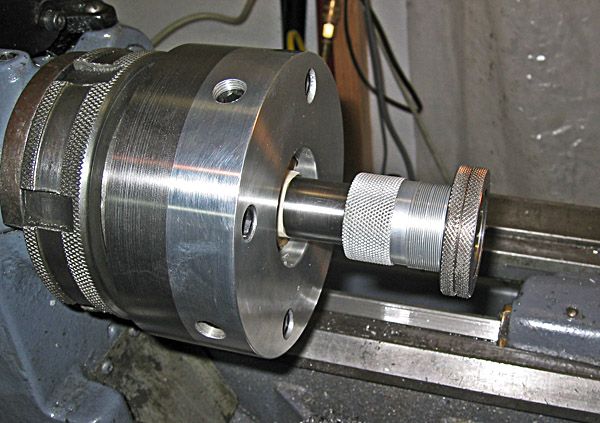
In these photos I will show a project where I installed a barrel tuner on a benchrest rifle barrel. In the first photo you can see one piece of tooling I made to allow precision centering of the barrel called a spider by some machinists.
The next photo shows the threads being cut after a parallel surface had been turned on the front of the barrel. The threads have not been cleaned here and still have the thick oil used for turning in them, so they look a bit dirty, but this is normal for this step of the threading process.

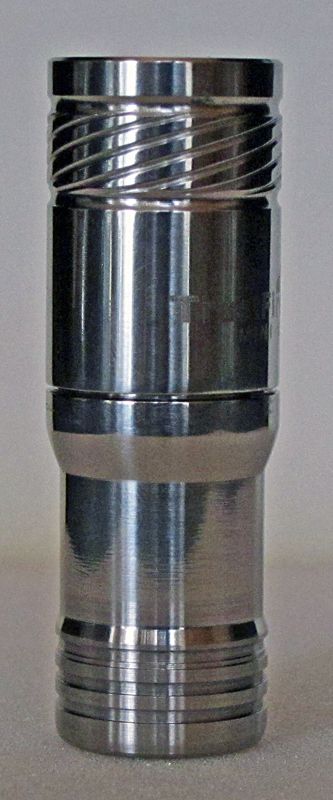
Here is the finished tuner on the barrel. Moving the two lock rings at the front of the tuner backward or forward on the outside tuner body threads serves to alter the harmonics of the barrel, allowing tuning for best group size. Matches are won at times by thousandths of an inch for an average of five groups, so any tiny improvement can mean the difference between winning and losing.
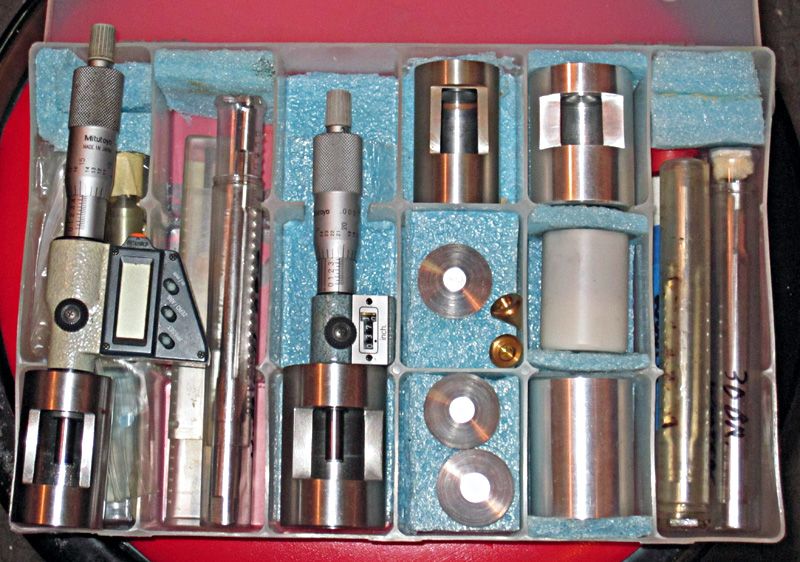
Here is a group of tooling used for chambering the barrel. Most of this tooling was made by myself, including the lower parts of the digital and the electronic chambering depth gages.
Here is an old facing cutter that I was experimenting with. I bought it used, and there were no bushings with it, so I made some from brass. I kept the tolerance between the mandrel on the cutter and the bushing to under .0002”, so that it turns freely, but holds the cutter in firm alignment with the axis of the barrel bore. The outside of the two bushings were cut .0001” different in diameter for use in two different barrels that I was using to experiment on. This was just a fun project, so using brass for the bushings rather than stainless steel did not matter. In reality, I use the lathe to crown (contour and finish) the end of the barrel.

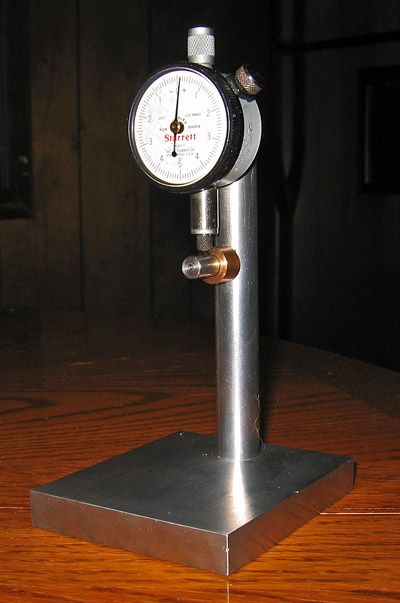
Here is a gage I designed and built that measures the thickness of the neck of the brass case that holds the powder in the loaded cartridge. It reads to .0001” to make sure the neck thickness is the same all the way around.
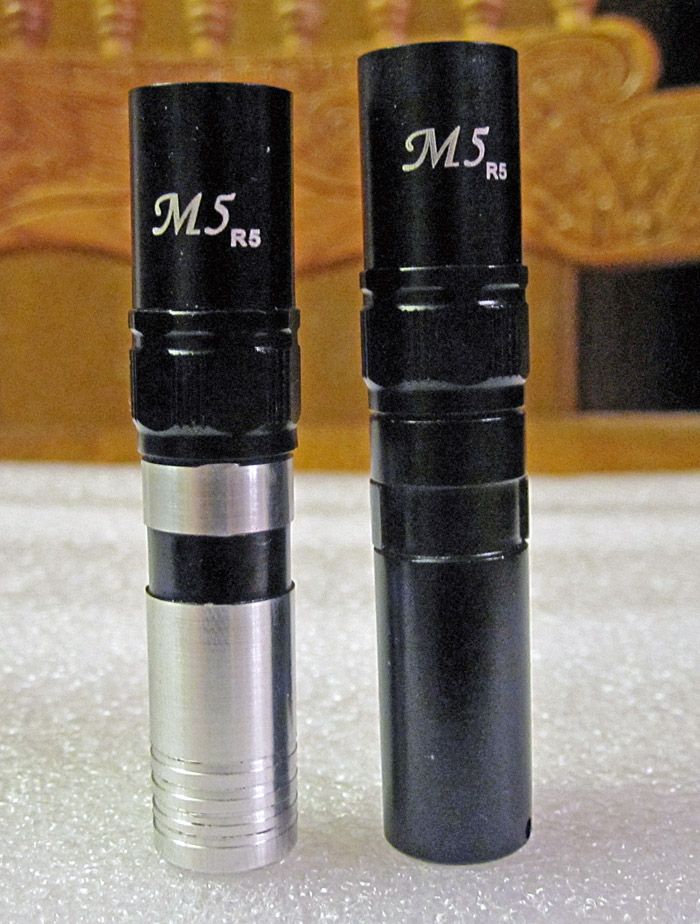
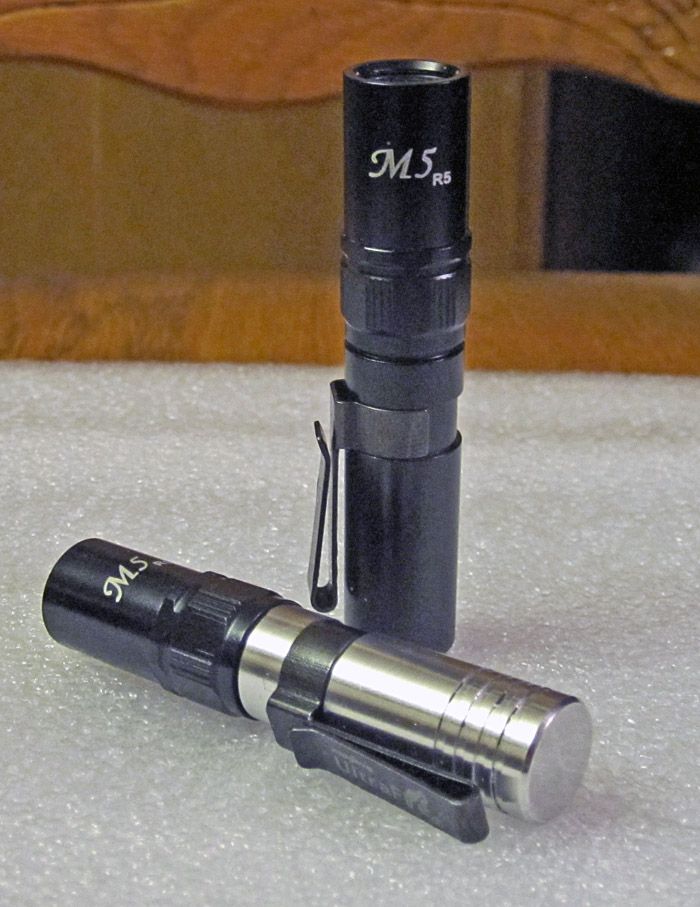
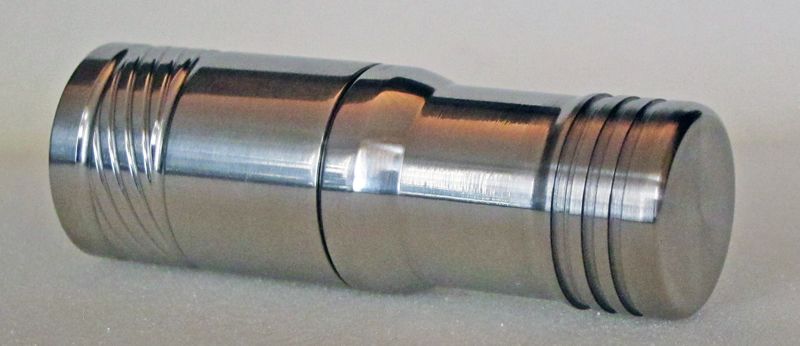
Now to get back to flashlight related photos ![]() , here is a Mini-01 that I worked on a bit. I never liked the look of the bulbous rear end or the keychain attachment point which prevented tailstanding of the light. With this in mind I turned the back of the light flat, and the sides parallel with the body. I then grooved the newly turned area for better grip. I thought it turned out pretty well.
, here is a Mini-01 that I worked on a bit. I never liked the look of the bulbous rear end or the keychain attachment point which prevented tailstanding of the light. With this in mind I turned the back of the light flat, and the sides parallel with the body. I then grooved the newly turned area for better grip. I thought it turned out pretty well.
Jim