New Build. 18650 TIR XPG-2.

I promise this will be the last new build for the year. Having a conversation the other day with a member here it was decided one more light had to be built. All Blame goes to member ________r who may pop his head up at the appropriate time. If he doesn't I will dob him in anyway. As we speak this light is on board with Santa heading north to its new home. Well not quite but will be tomorrow. Its Sunday here.

There's not a lot new in this light. I just haven't built one like it. I have another light similar to this one with an XML in it driven at the same level so will take some beam shots tonight if possible for a comparison.

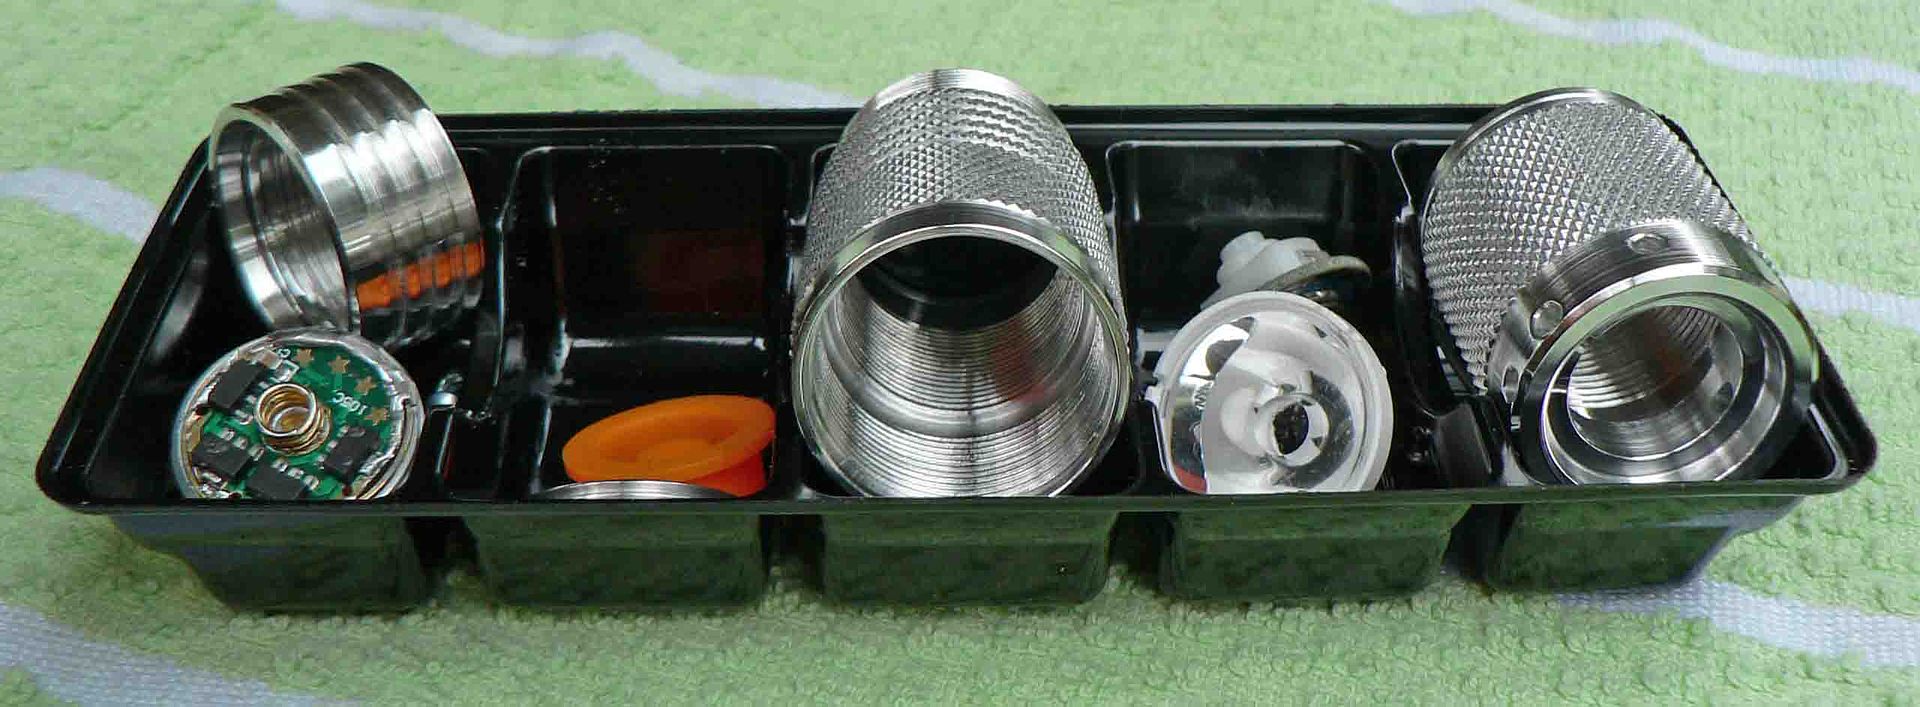
Firstly I'd like to show you my new parts tray. I wonder if the person that gave it to me recognises it? Its a biscuit tray and is the second light I've used it for storing it's components.

Firstly is the bezel. This holds the TIR in which is a press fit into the head.

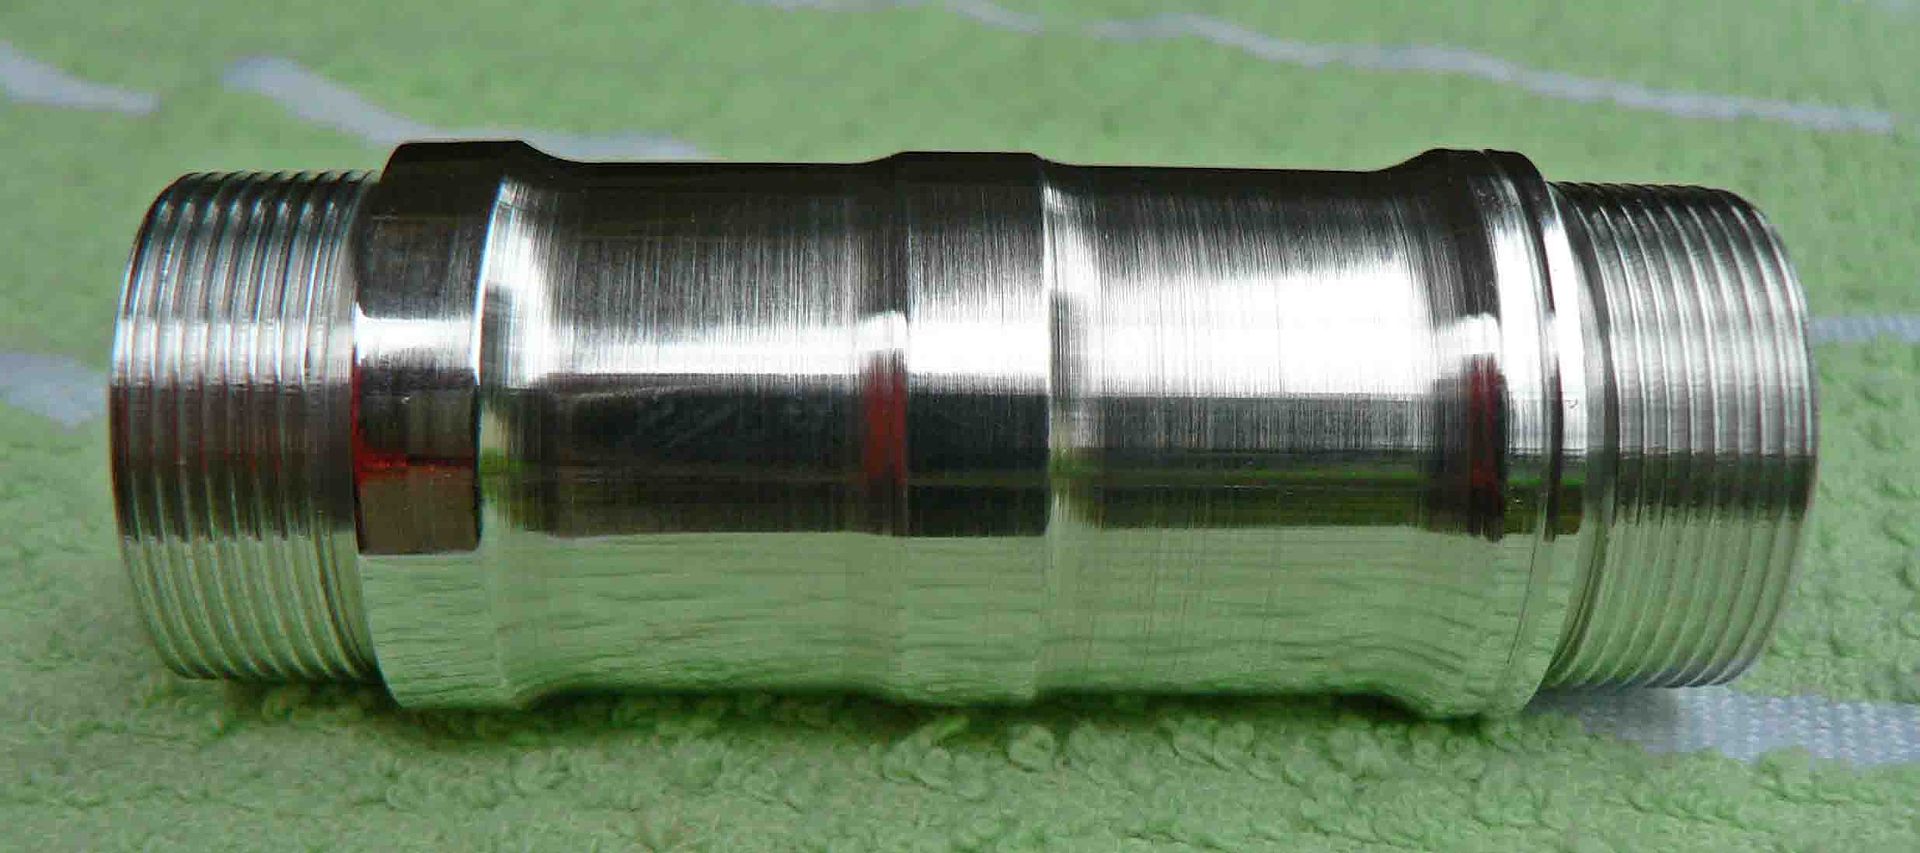
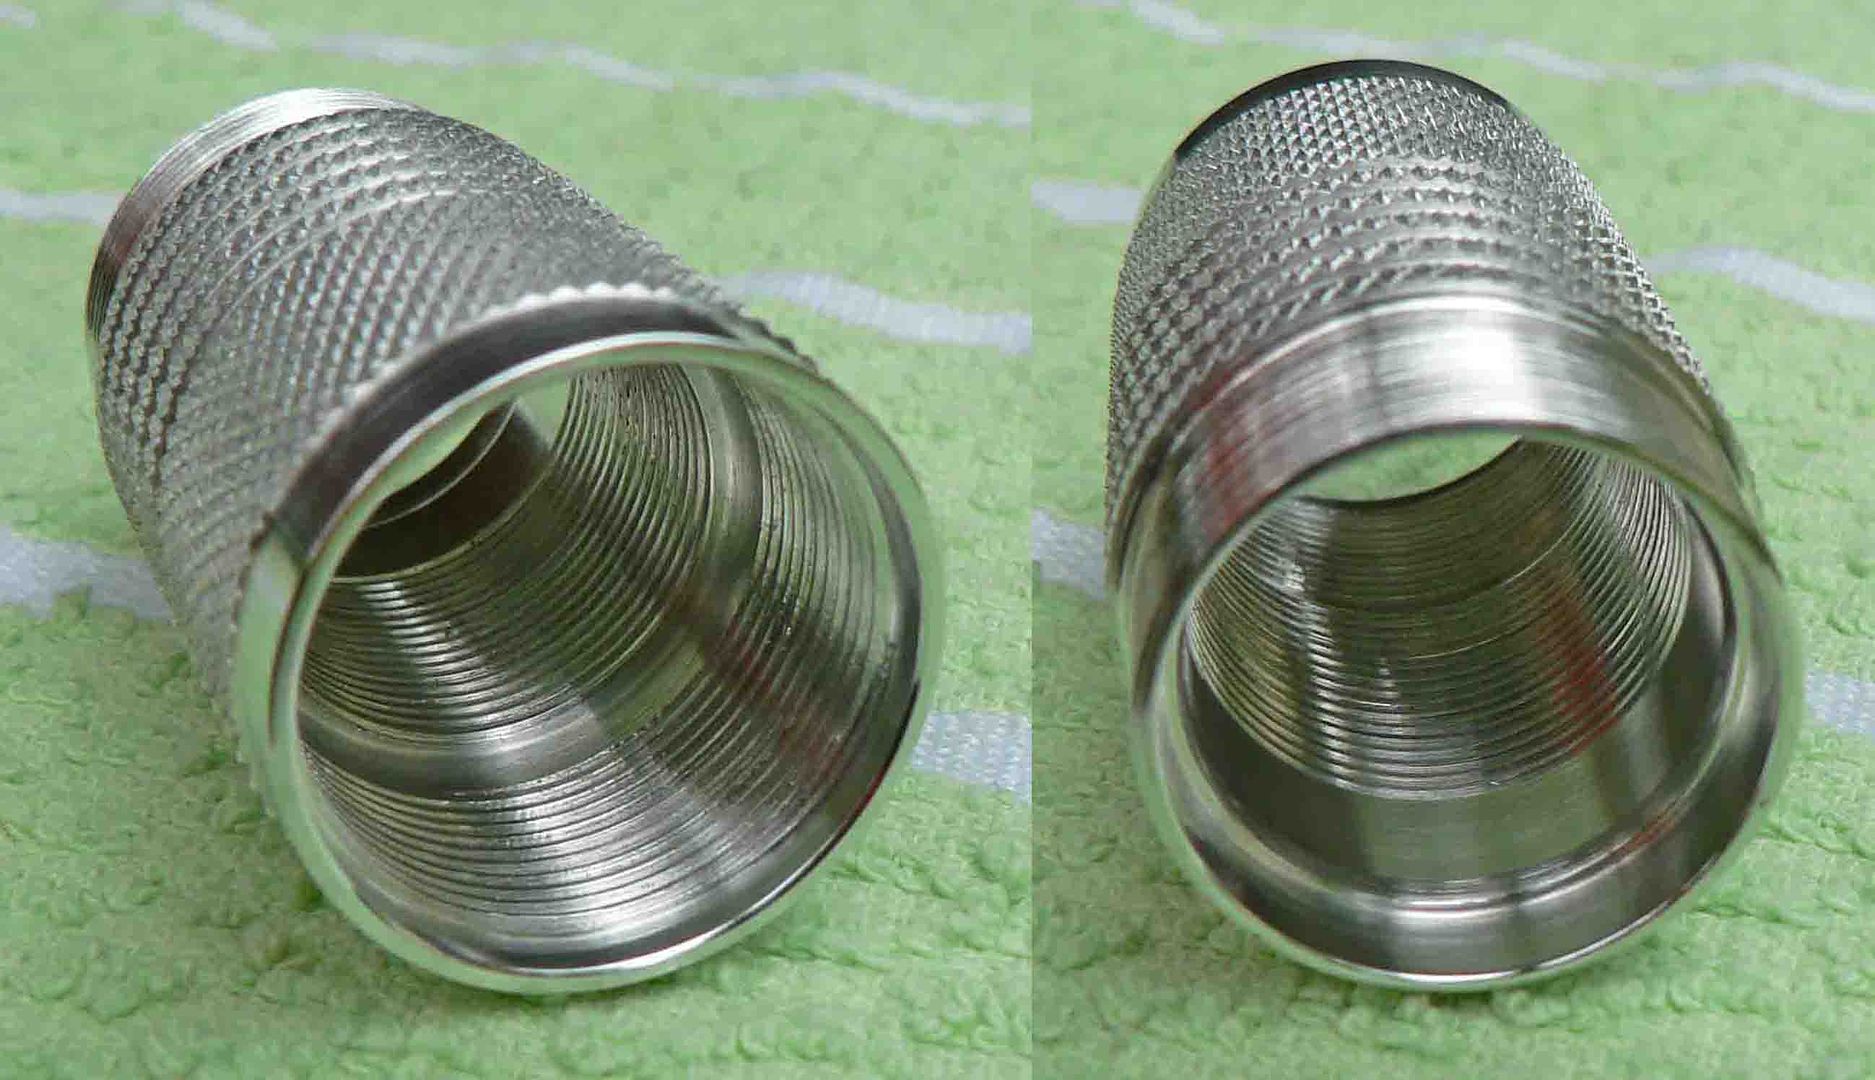
The battery tube has been machined out in the centre for gripping with the second and third fingers during normal operation.

The tailcap has three anti roll drive screws which are yet to be fitted and drilled for a lanyard if one is to be fitted.

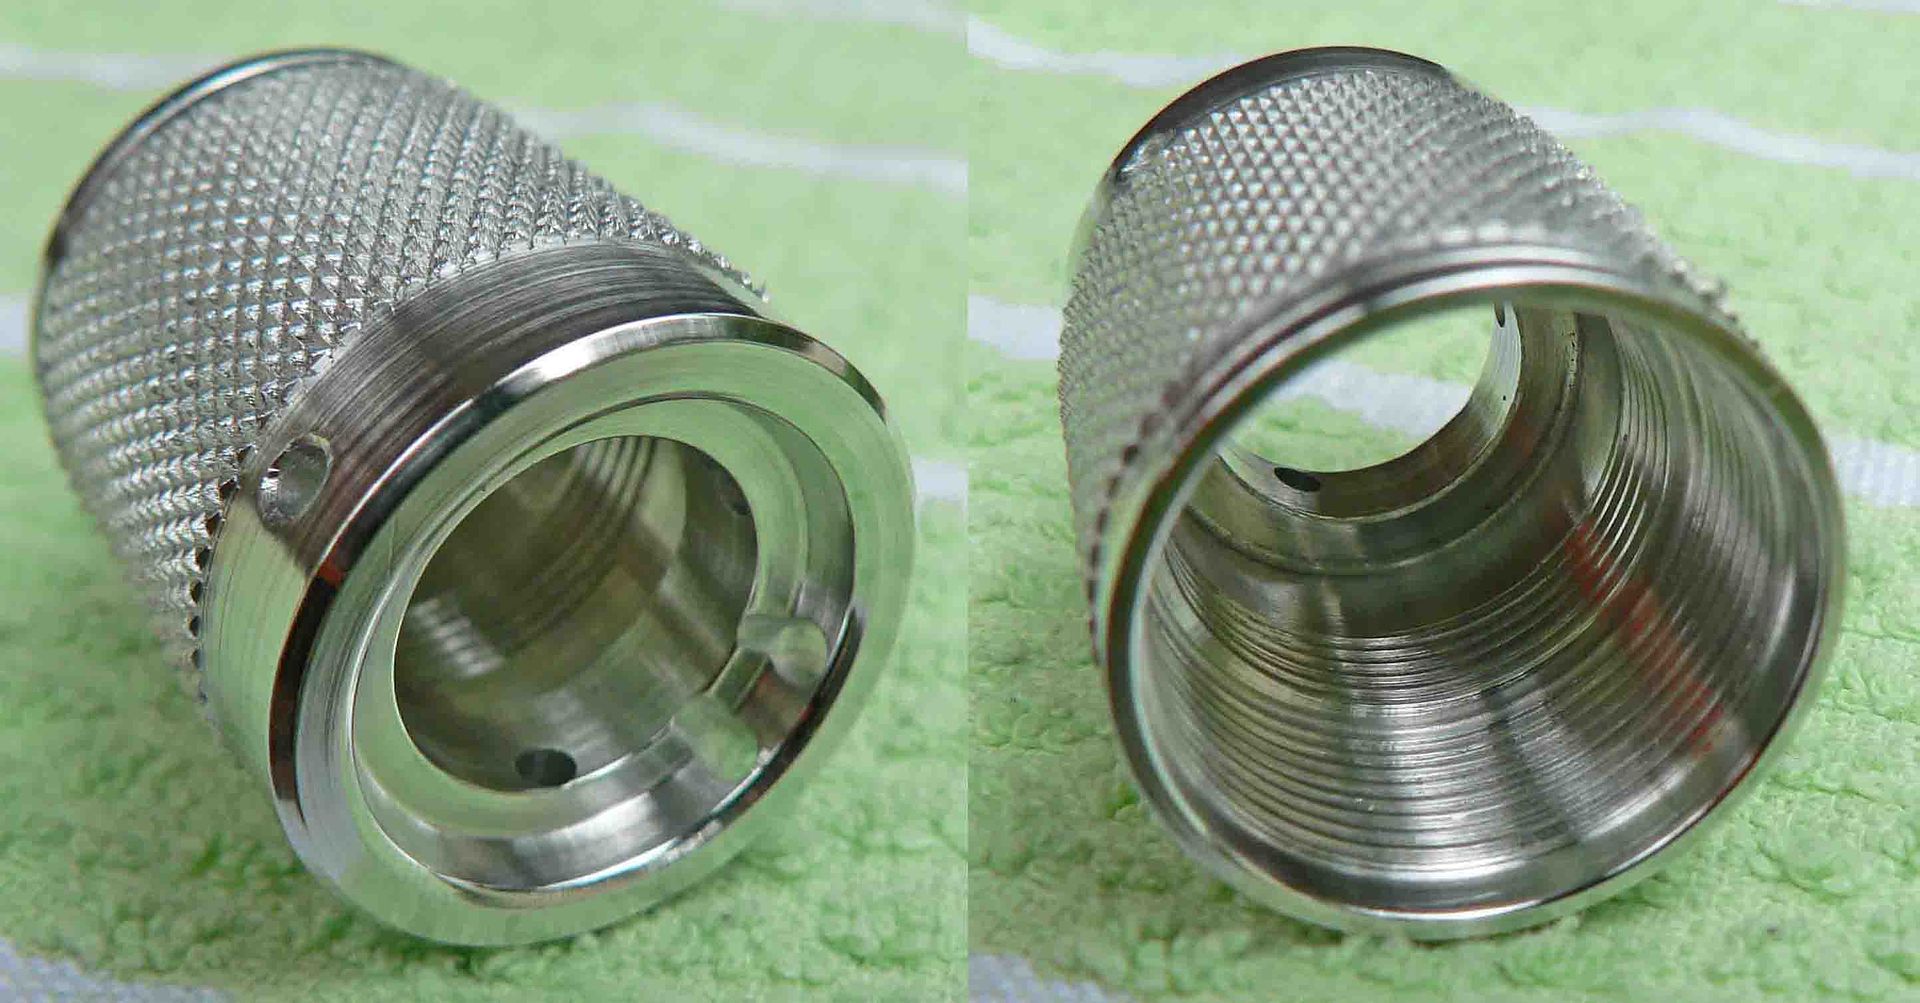
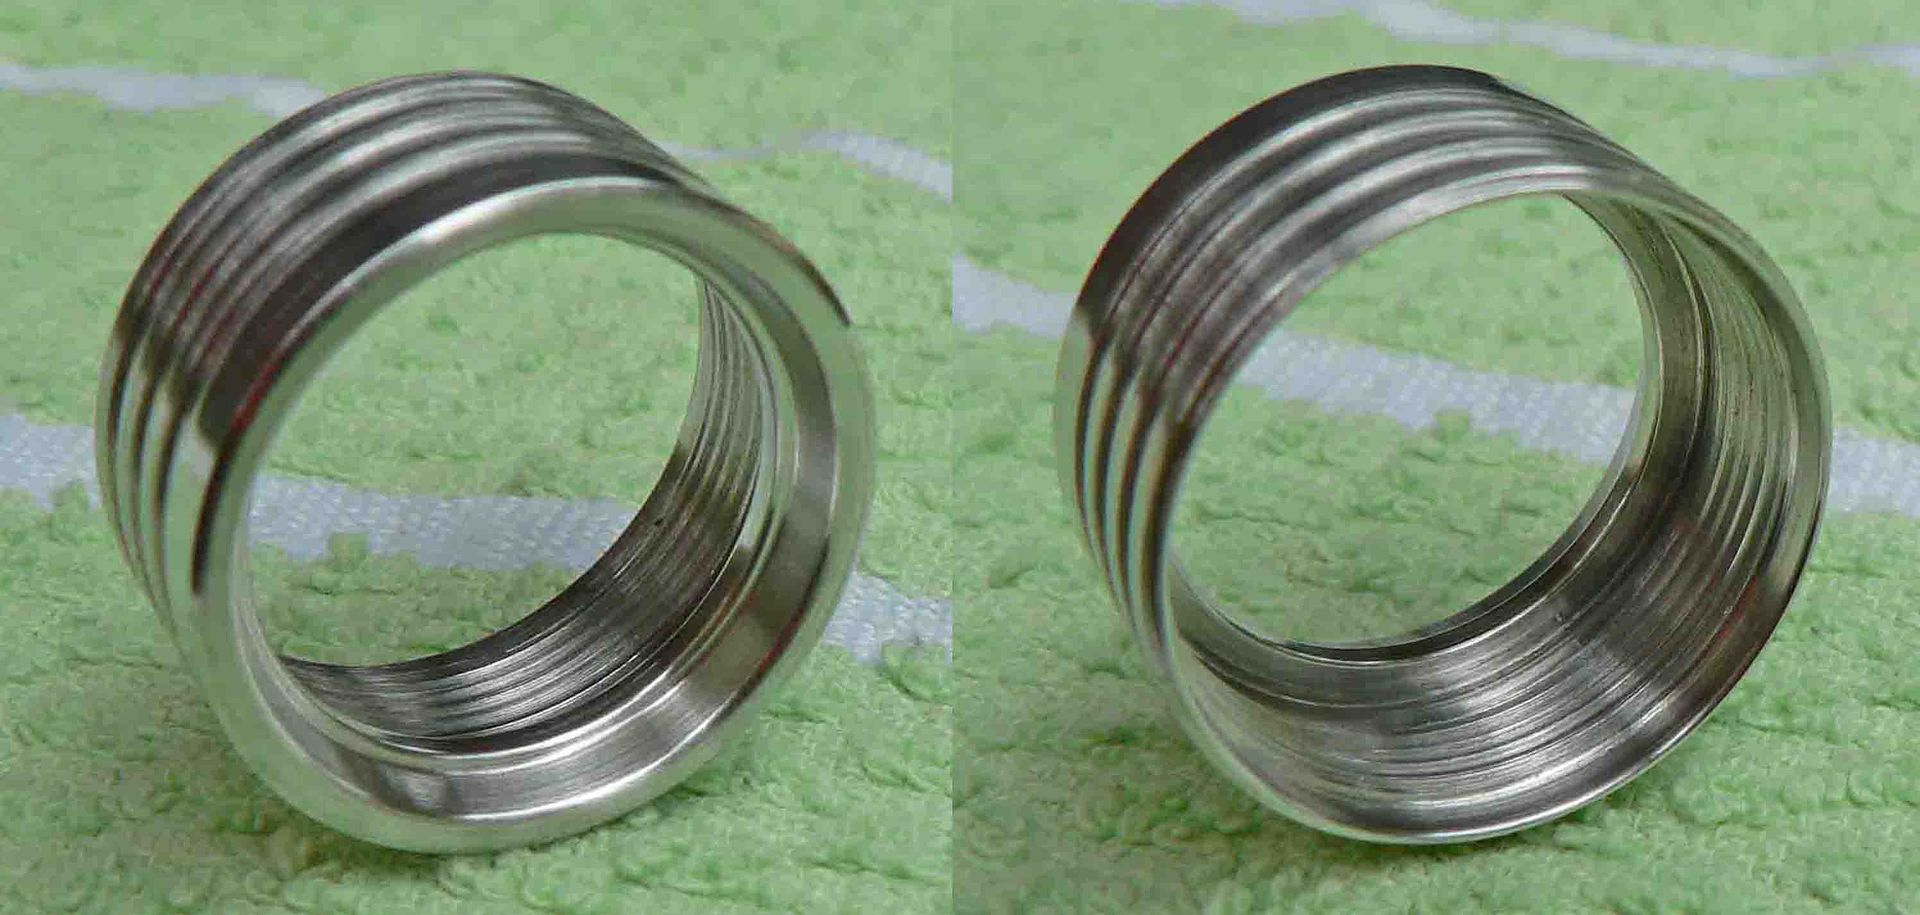
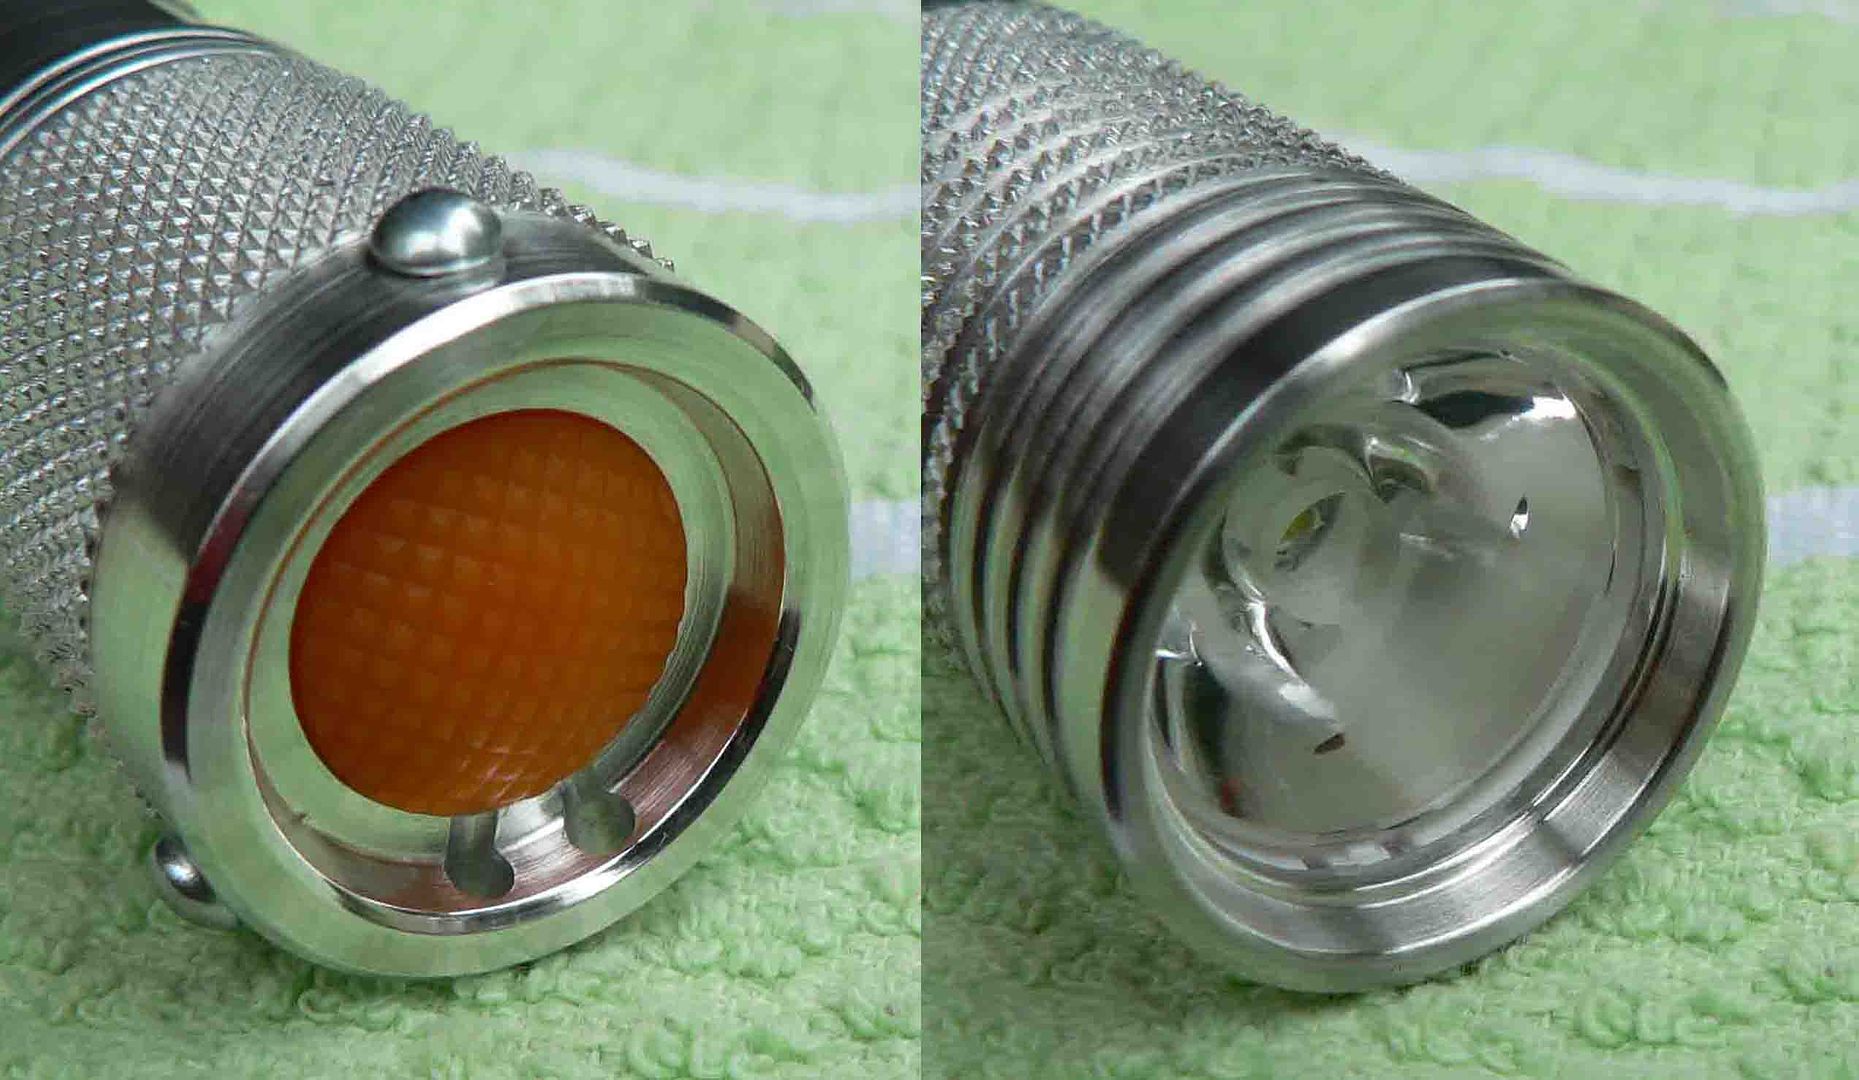
The head has small tiny fins that may but probably will do nothing for cooling. On high this light will get hot. The right picture is the TIR end.

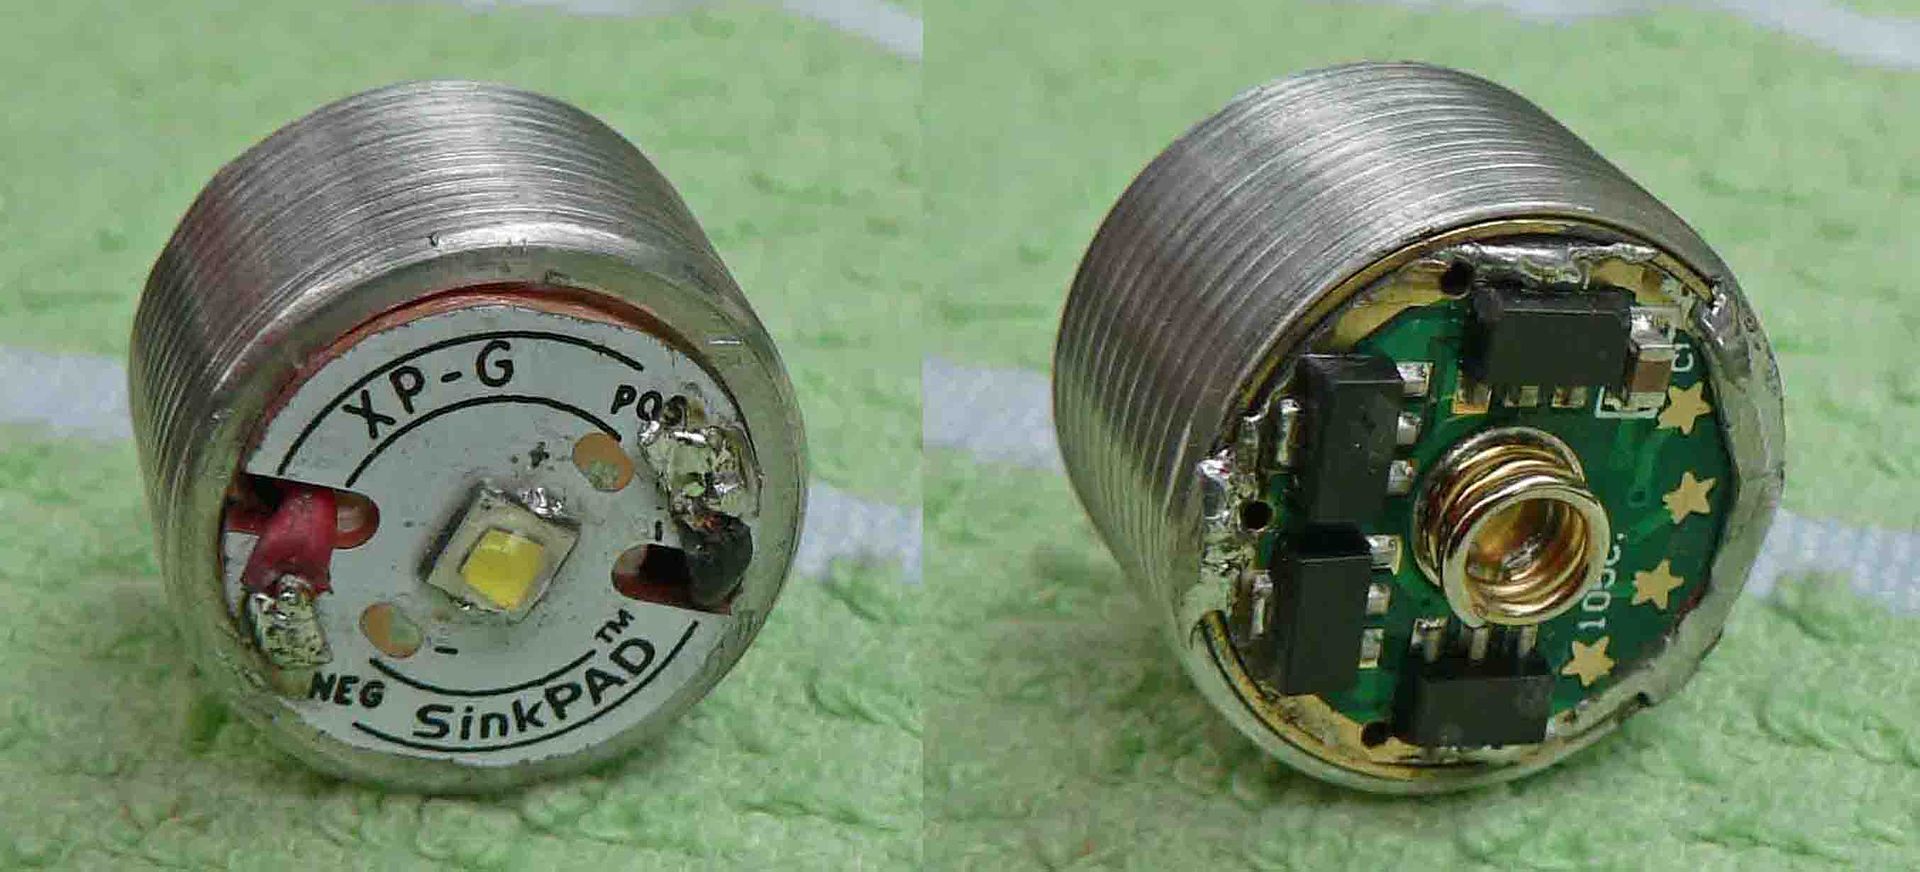
The pill is the usual 20mm threaded one I use being 12mm long. LED is a cool white XPG-2 on a copper Sinkpad driven by a 3 mode 7135 driver at 3 amps on high. This leaves the XML driven at the same current and identical TIR for dead on the light meter. The driver is soldered into a FT driver adapter and then pressed into the pill.

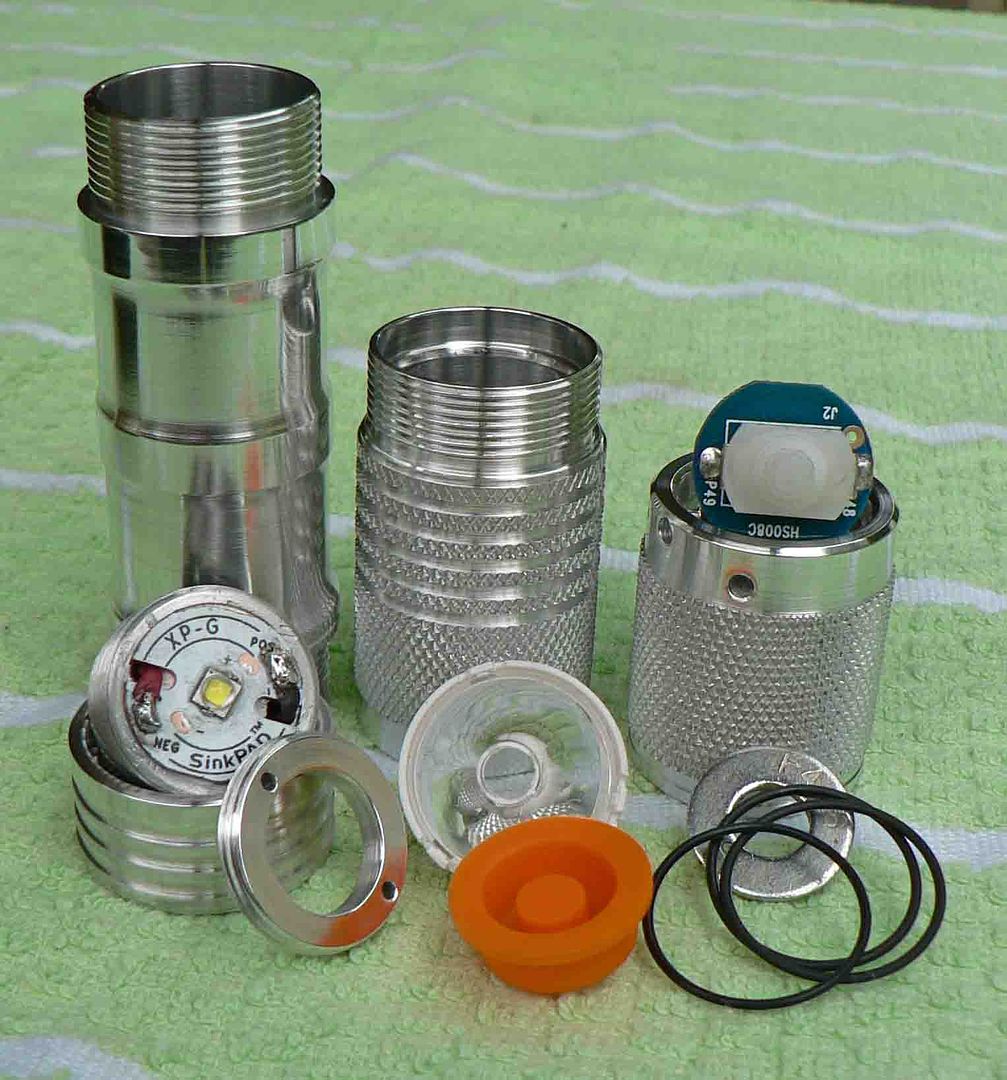
Most of the parts in this light. The drive pins are missing.

The assembled light. Unfortunately I have not worked out how to seal this type of TIR so dirt and water may be susceptible to getting inside.

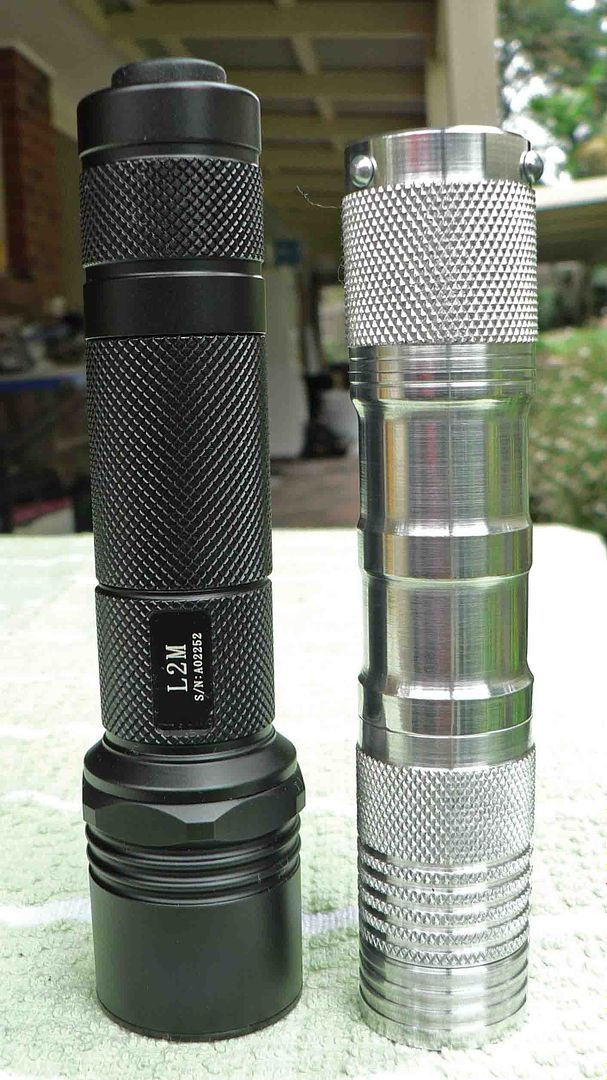
And finally a shot with a SolarForce L2M.

To everyone here thanks for another year of fun and games along with a serious amount of learning from you all. Without this I would certainly not be building lights.

Have a happy Xmas and new year. Again, I will not bore you all with another light build this year.

It’s never boring looking at your new builds, nice one again.

I seal my TIR lights by using UV setting glue over the optic and fitting a glass lens directly onto it which also helps with the plastic getting scratched so easily.

It probably reduces output very slightly but i haven’t noticed any bad effects.

Nice!

That’s HAWT!!

Excellent Job! Really beautiful light!Cool

Are you using an O ring betwen the TIR and the bezel?

No, there is no o’ring. With the TIR in a plastic holder I’m not sure on how to make an o’ring seal without blocking a fair bit of reflector. The plastic holder sticks up above the plastic lens itself. We have had rain again all day so taking pictures has been a bit of hit and miss affair to show what I mean. As crx has mentioned a glass lens would have to be place over the top of which I don’t have any the right size. The few TIR’s I’ve used I haven’t had a problem with anyway. Just dont take it swimming. :bigsmile:

You never have to worry about boring us with your fantastic builds. As usual, you have created a flashlight that simultaneously qualifies as art.

Great looking light, what lathe do you own?

I did some extended running last night and it got hot in a matter of a minute or so. On medium it was more controlled. I've never been called an artist in the one word before. B______t artist I get called all the time. ;) My lathe is nothing special. Its similar to the old Hercus with back gears for the slow speed. I bought it new as a young bloke back around 1982. It gets the job done though. Heres a picture from another thread.

The old ones are the good ones, I had rather have an old one made in some country where they care about quality and durability than one made in the country of our favorite flashlight manufacturer. The stuff you buy today is only made to last 2 or 3 years before a major breakage.

This one was made in Taiwan. It was supposedly built specifically for Demco to their specs. Who knows? I don’t think there around anymore. It keeps me happy and away from the wifes feet. :slight_smile: I have an old power hacksaw which I think would of been made in Britain. It has what looks like an old washing machine motor on it and it will outlast me. Its small but weighs a ton. I bought it second hand about 20 something years ago, stripped it down, cleaned it up and its been going ever since. Just thinking out aloud now but typing this I realise that all the equipment I have just spoken about is doing a better job than I am getting old. Does that mean I looked after my machinary better than myself?

Steve, I would a venture a bet that your machinery has less mileage on it than your body does :wink:

But you’re probably right, we tend to baby our equipment, our pride and joy, even while we abuse ourselves.

"I promise this will be the last new build for the year."

Brother, you say that like you are apologizing for taking up our time. Someone near you needs to drive over and smack you upside the head! :P

Another beautiful build by the master and a lucky new owner who will hopefully have that light under his tree for Christmas. Great work, Steve!

+1 on the slap upside the head for Steve. :wink:

Another nice build :-) ! I like the undeep useless finning in small lights, and it looks even better in the knurled section. A TIR may be kept watertight, if used without the holder, with a very thin o-ring like the one in the head of a sk68. I have never tried that though..

Happy Christmas&Newyear!

I wonder if a slim bit of silicone glue, clear, could be used at the junction of the TIR and bezel, with some wax on the TIR so it’s not glued in permanently, but sealed nonetheless. If just a thin bead of uncured silicone were wiped carefully inside the bezel during assembly, and the TIR waxed, assembly would press the raw glue into place for a semi-permanent “o-ring”. Would that work? A day or two later it could be taken apart and the wax removed from the TIR.

I have used Bees wax for joining pool table slates. It will hold & seal, just melt when it gets hot. But it has a fairly “high” melting point. Not sure what temps the wax would get to in the light?

I was just thinking to keep the silicone from sticking to the TIR, so it’s all easy to disassemble if necessary but still sealed. The wax would be cleaned off after the silicone set up. :wink:

Sweet build. Amazing how you thread the inside and machine the outside with such detail.

Well, I waited a day to tell the story because I really didn’t know what to say. Tuesday I got home from work and had two packages from the postman, one from China and one I couldn’t quiet figure out. It wasn’t the typical Chinese package with half a roll of tape covering the whole package, after looking at the shipping label it said it was from Queensland, Australia and had flashlight listed on the contents label. Looks like MRsDNF and Suncoaster teamed up on this by the paperwork inside explaining the light. Didn’t deserve it but now that I have it, it’s my most cherished light. This thing truly is a work of art, the threads are the smoothest and the knurling is the best of any light I own. The only other tube 18650 lights I own are the Roche F6 and Convoy S6 and this thing completely blows both of them away. Not only does it throw great but the hotspot is huge. You guys are the greatest and I am now a member of the MRsDNF Custom Club. A couple of pictures below, Roche F6, MRsDNF Custom, Convoy S6.