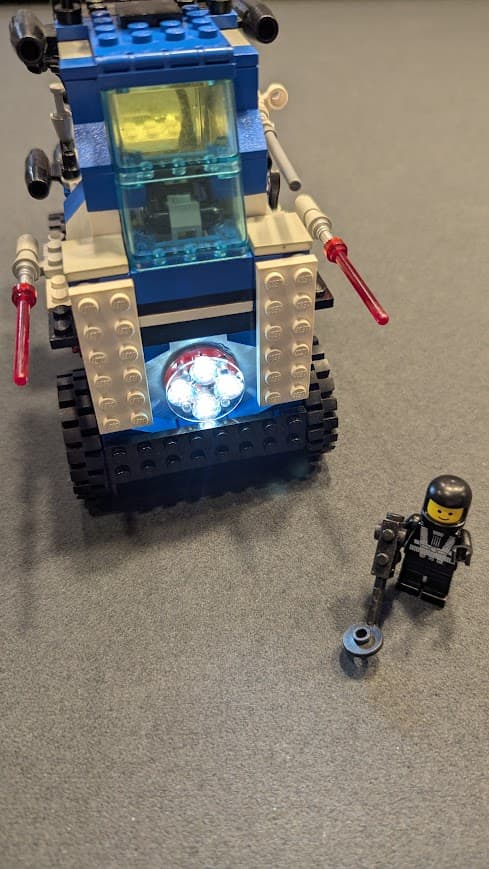
Meet our LEGO hero, Keith. Keith’s mission is to explore new alien worlds. And with his rover, the LL1 (LEGO Light 1), Keith is able to explore, conduct science experiments, and blast his way across any terrain.
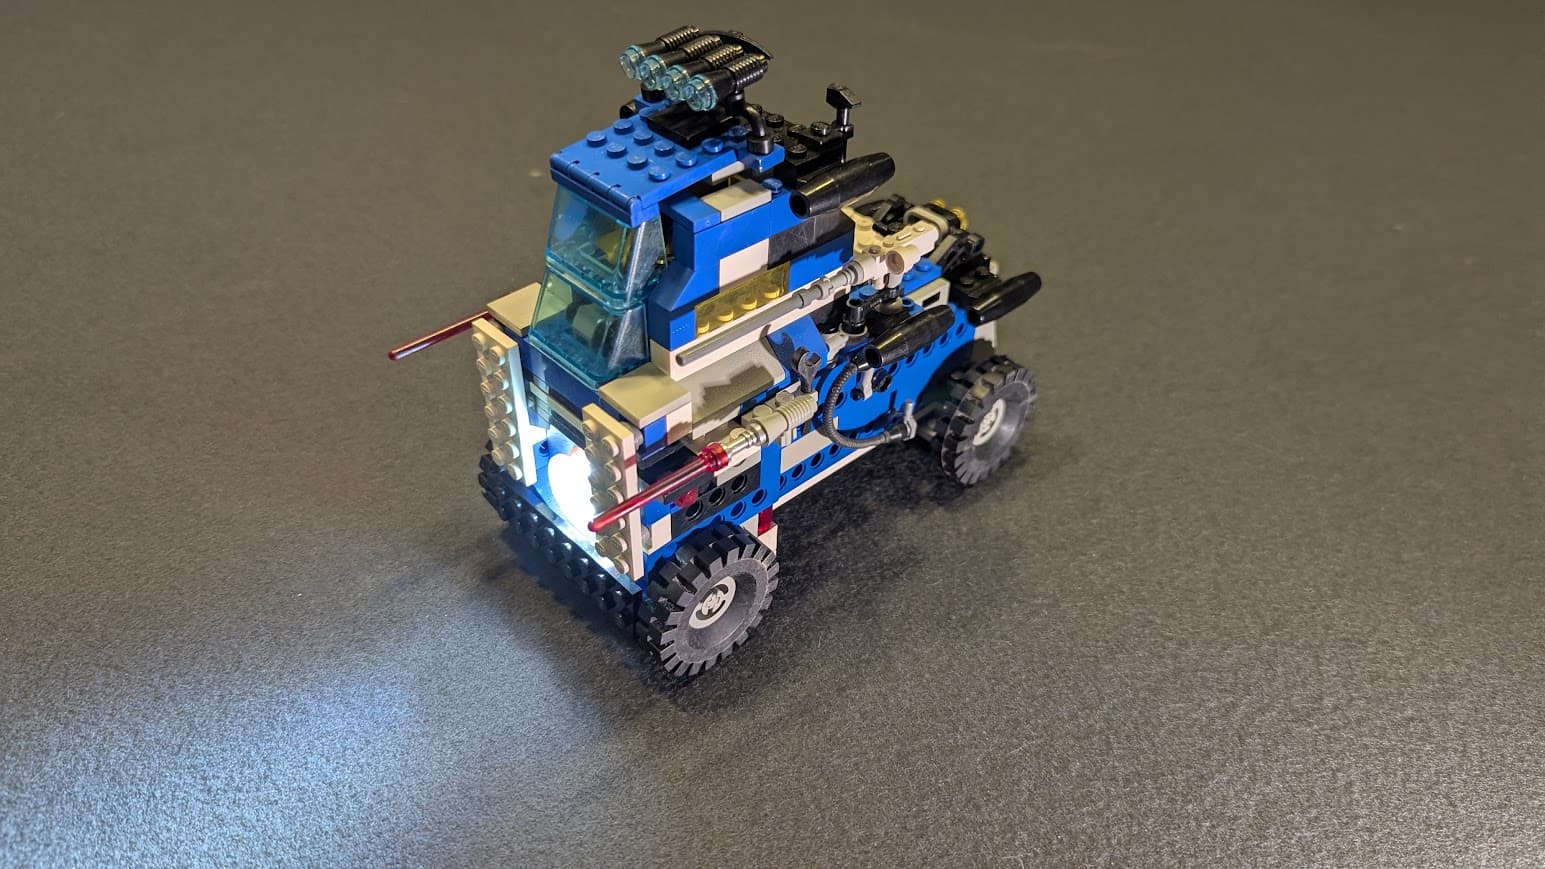
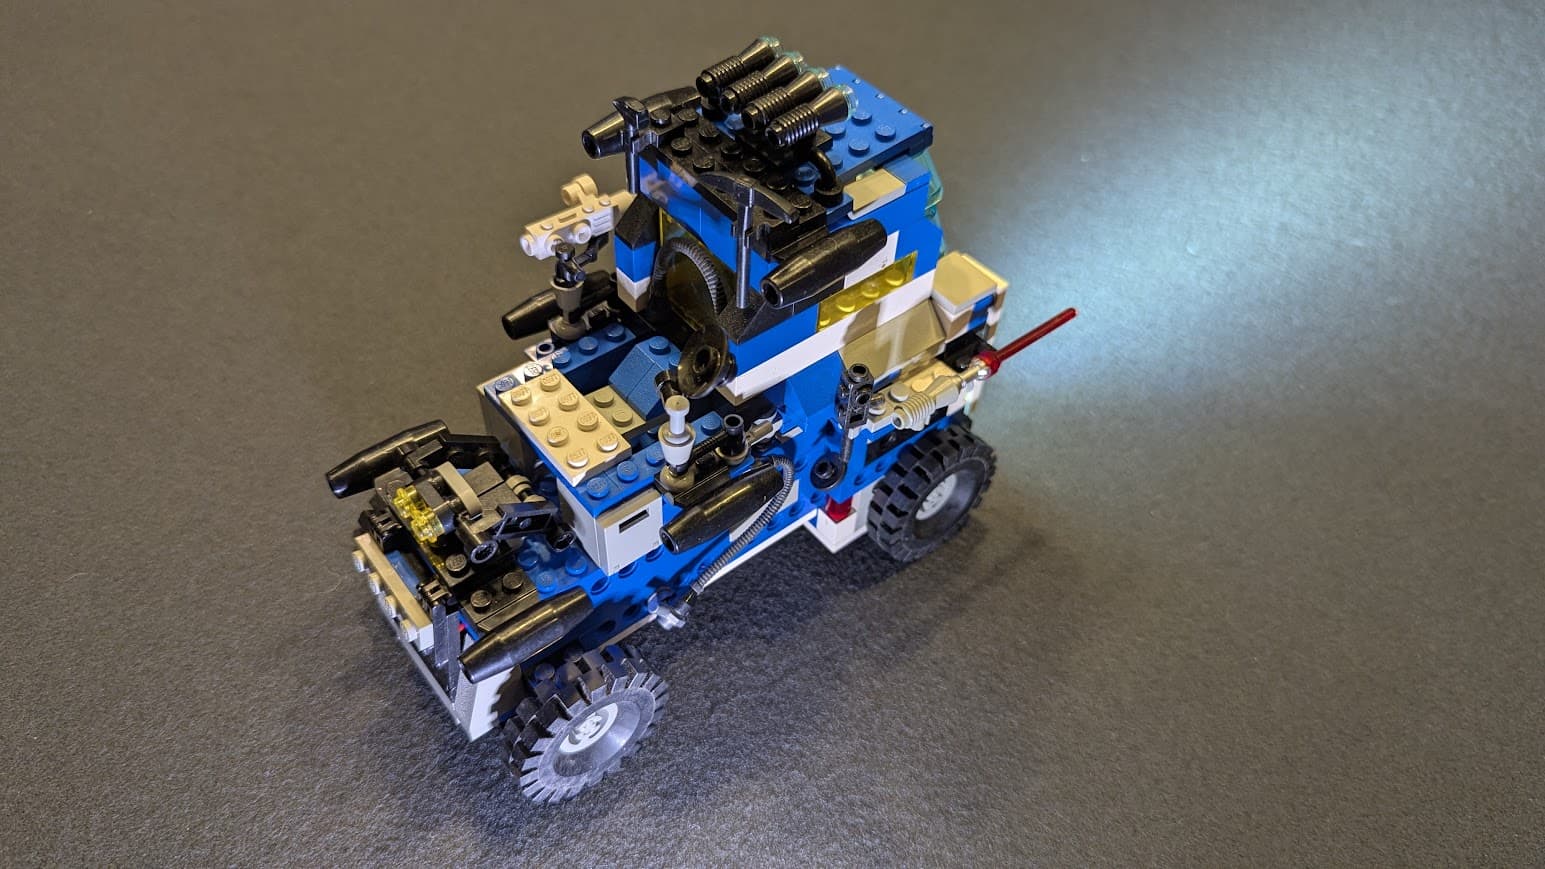
The LL1 comes equipped with everything an explorer could need. Storage containers, metal detectors, picks, hammers, and even a communications array for calling home base, or sending a message directly back to Earth. It’s also equipped with two high tech blasters and one detachable laser rifle, just in case Keith runs into something that wishes to disrupt his friendly mission of exploration.
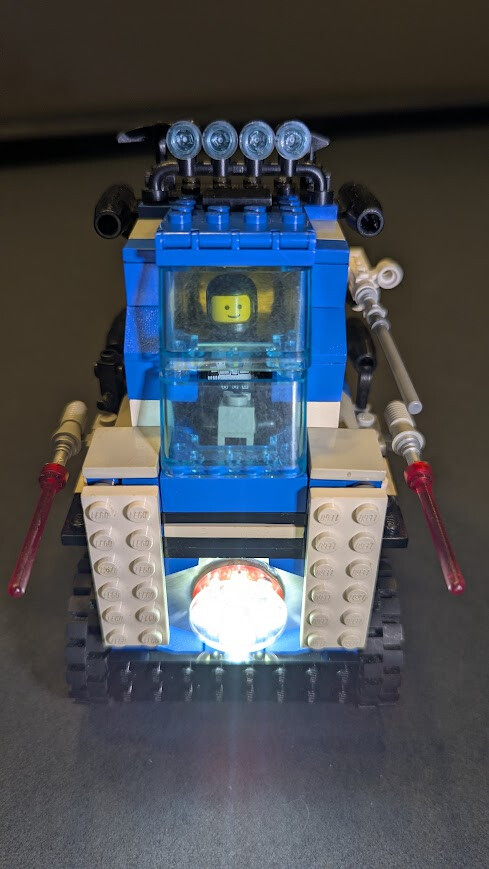
However, the main focus on the LL1 is the Photon canon at the front of the rover. At low settings, the canon can light up Keith’s immediate environment. At high power, the canon can turn large obstacles into small obstacles, or turn things into a molten pile of goo. Equipped with 4 Samsung LH351D’s, a Convoy 3v8a driver, and 18,650 battery units, the photon canon is sure to get the job done.
Next time you look up at the stars, cheer for Keith as he blasts his way around alien environments.
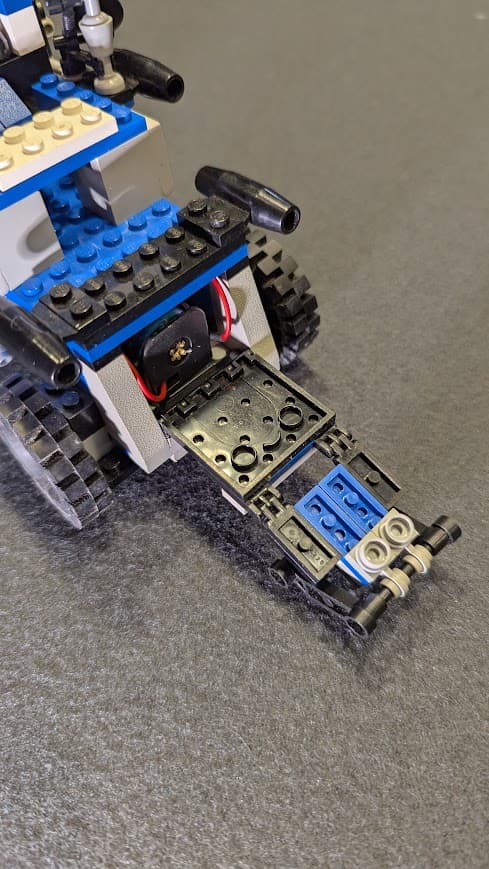
So yeah, as stated, the light is 4xLH351D’s 5700k on a Noctigon 4x mcpcb. The mcpcb is screwed to the aluminum puck pictured in an earlier post. The puck is from an earlier experiment with a flashlight that didn’t quite turn out the way I wanted. The 17mm driver is glued to a 16mm hole in the back of the puck. Power comes from an 18650 in a battery tray. The wires to which have been extended. The + goes all the way to the spring on the driver, which is a 17mm Convoy 3V8A buck driver (probably should have gone with the 3V5A). The - goes to a Convoy switch, then is soldered directly to the outer ring of the driver. The battery tray can slide out of a hatch on the back for replacement.
The switch is recessed into the body and is activated by a lever located at the back of the cab. (the 2 blue angled pieces). I specifically didn’t attach too many things on the back of the LL1 so it can be picked up and held like an actual flashlight, while still operating the button.
To reduce the risk of overheating, I set the max to 50% (mode group 8 on Convoy 12 group drivers). And I tried to get as many pieces around the puck that have holes in them to provide ventillation. I had the light running at 50% for several minutes and barely noticed any heat on the puck at all (I can try to get a temp reading of this, if it’s needed). I don’t think it’ll melt itself down.
I had originally intended this to just be a flashlight. But, the more I thought about, I knew it needed to be some kind of functioning LEGO vehicle. I mean… this is what they’re made for, right?
I hope you enjoyed my build and reading Keiths story. I certainly enjoyed creating it.
Access to the battery:
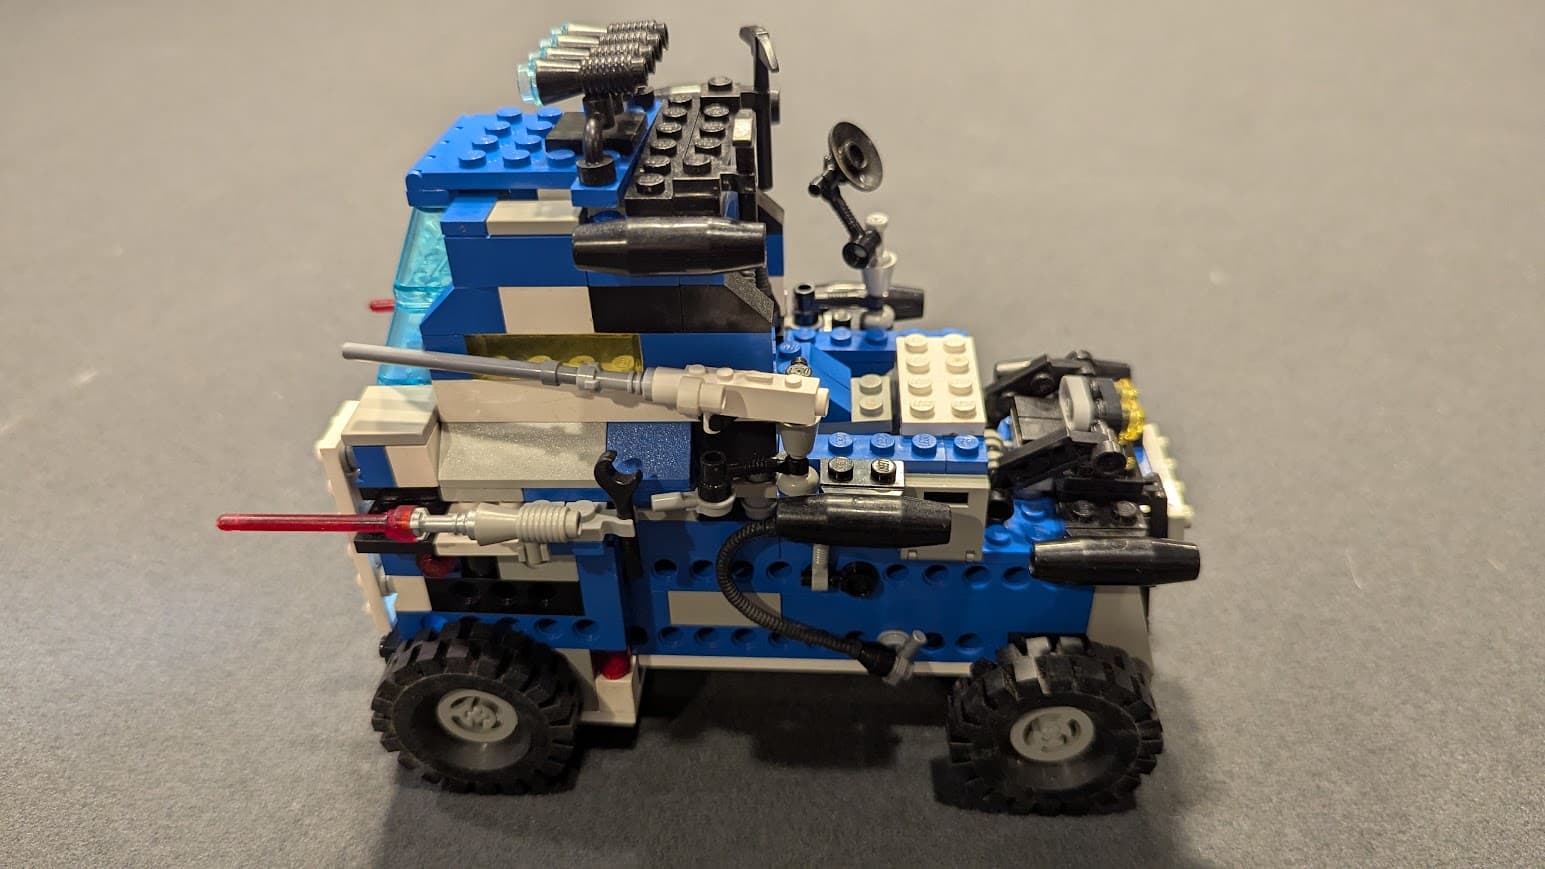
Switch is visible here. The angled blue pieces to Keith’s right.