Awesome build!! Looks like you put a lot of thought and effort designing all the parts, even to the final details like adding a BLF grille and a battery indicator symbol. Keep up the good work there! Is the light functional yet? It looks like its getting closer to completion.
The light is functional ![]()

As soon as all other parts are finished, I will show some Beamshots too, maybe also record a video.
4 Thanks
The good news: Most parts are finished by now
The bad news: The Top Cover seems to be cursed, I wasted over 1Kg of Filament without acceptable results.
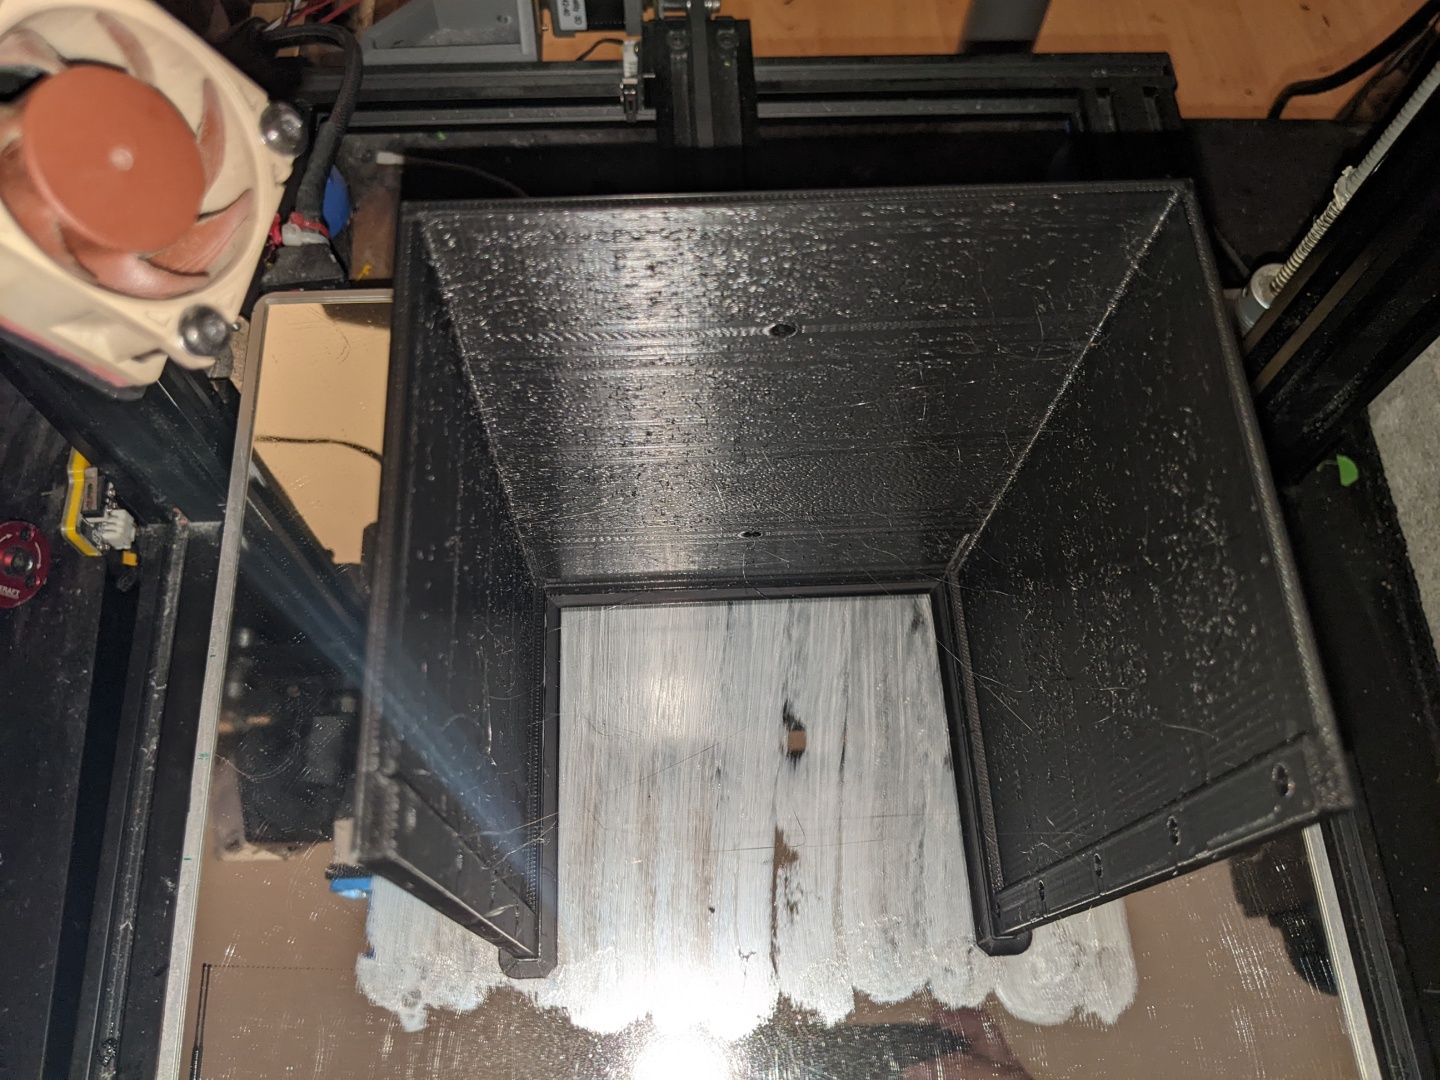


For whatever reasons, the finished part had some severe artifacts.


I tried to fix it but in the end it failed since the paint also decided to play some funny tricks on me…
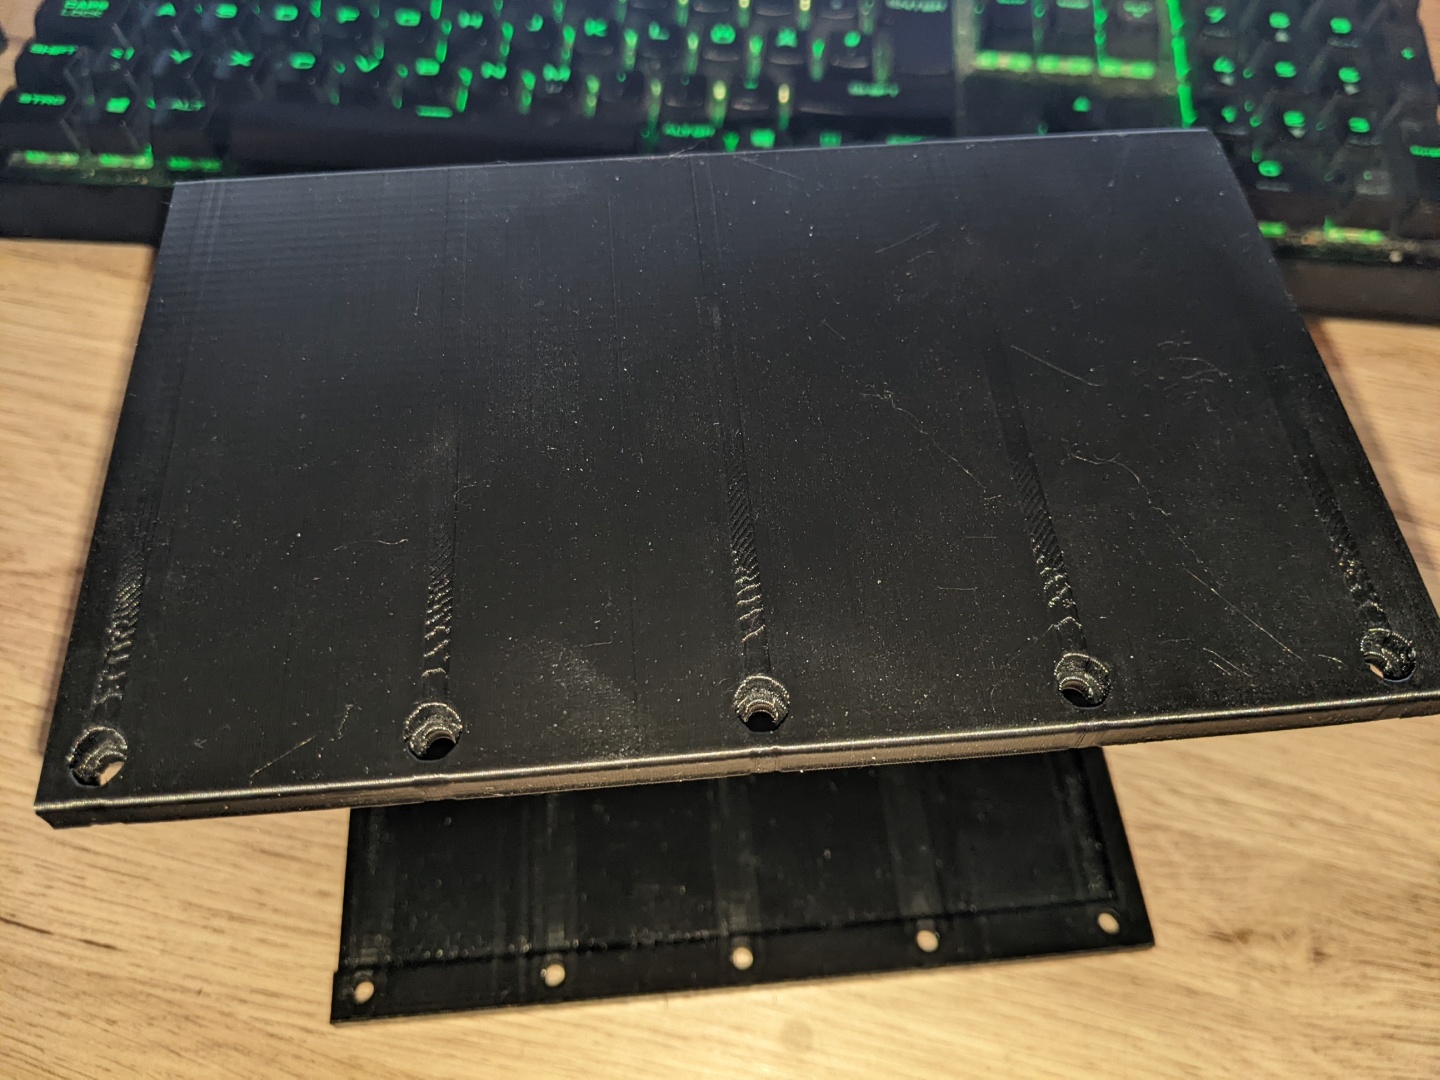
Now I´m trying to manufacture another Top Cover out of red filament and hope that this one will be of at least tolerable quality.


I managed to tear down the Lens Unit and actually found one Lens inside which is usable for my Project.

Back to manufacturing more items, starting with a gasket.


The Lens and Reflector tube.

Will my gasket fit?

Yes it does.


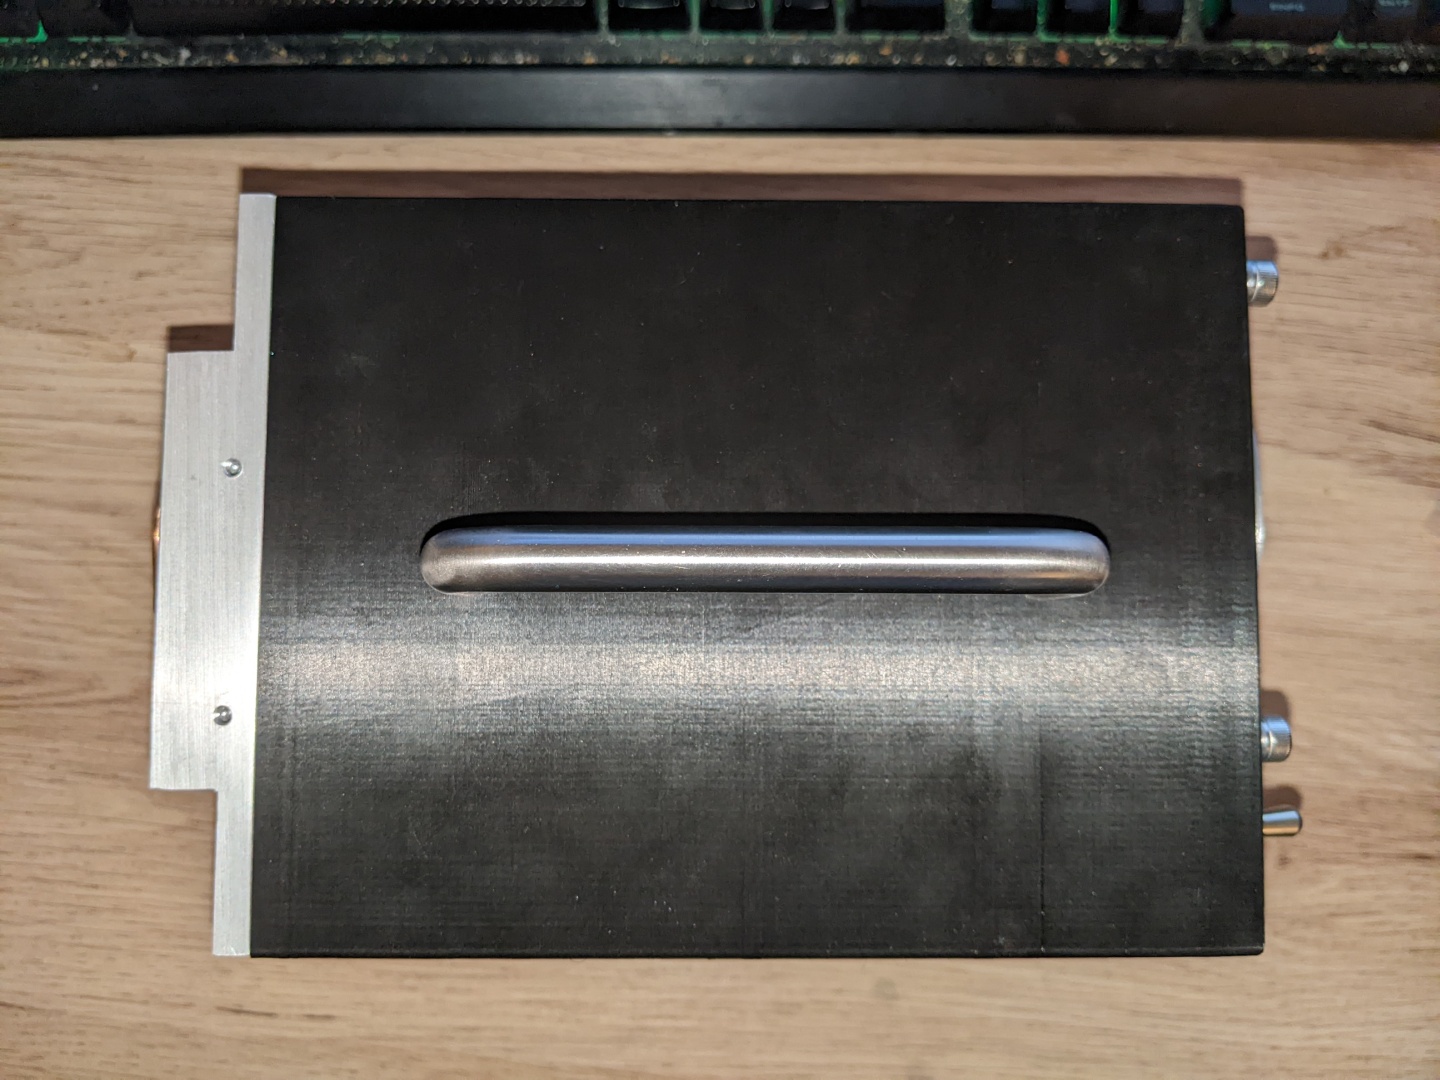
And the Mount for the Lens and Reflector Tube ![]()

Good enough for a first test since I was still printing my reflector…


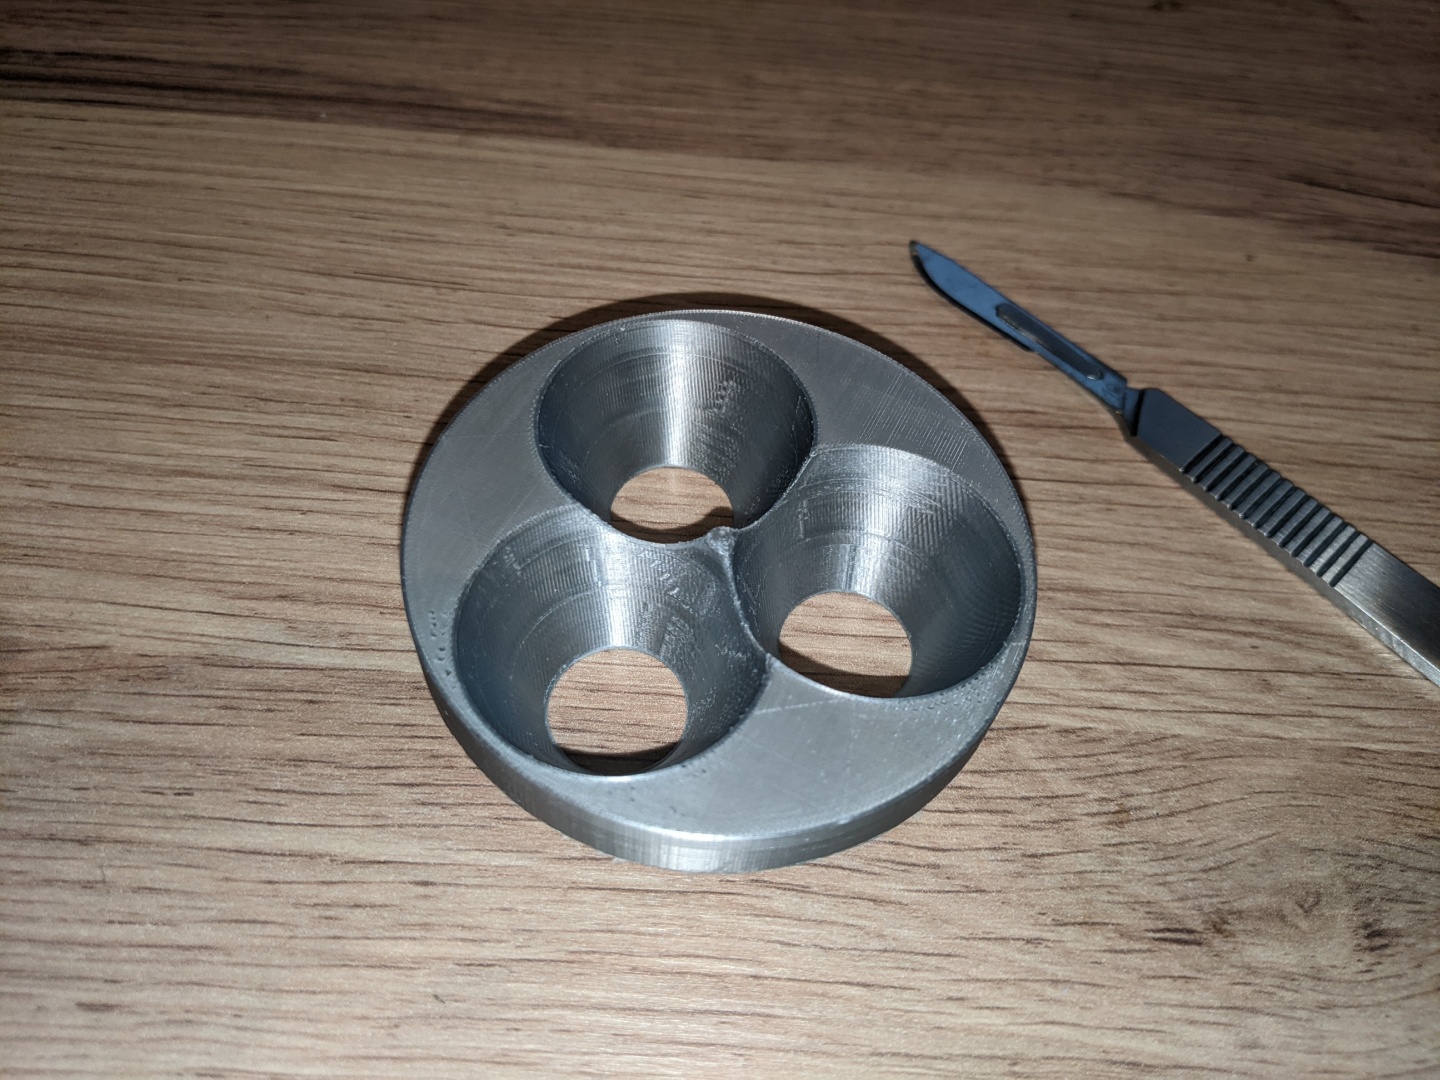
The reflector was printed with a 0.2mm Nozzle and only 0.05mm Layers in order to get the inner walls as smooth as possible.
That´s it for now ![]()
4 Thanks
Too bad it doesn’t always work like it should. ![]() Similar things happen with wood at times. Does the computer design work take a lot of time?
Similar things happen with wood at times. Does the computer design work take a lot of time?
Not sure if the materials are easy to access, but you could polish the plastic use Tollen’s reagent to coat the reflector in silver to make it way more reflective.
1 Thank
The computer design took way more time than I expected but it was worth it.
If I ever plan to build another Version with eg. a stronger 100W LED, it would be a lot easier for me to adjust some parts and not having to start at 0 again.
The last attempt was succesfull and now I have all parts and a 99% finished Project.
Why 99%? Well, I will spend some time with creating Beamshots outdoors.
Thanks for the idea with Tollen´s reagent, I was thinking of buying some “Chrome Paint” or “Nail Polish” to add a extra reflective layer to the Reflector…but I would have to paint it black first.
Maybe some Clear Coating would do the trick too?
Stay tuned for some more pictures later.
1 Thank
Guys, this Project is about to be finished ![]()


The final Top Cover looks great and is also stable in comparison to the failed prints which also had a weak layer adhesion.


The Reflector kinda worked but the light output was not perfect because of the used material. It was still a lot better than no reflector at all.
A machined Reflector made of polished Aluminum would have been ideal but I cannot manufacture one because I don´t own a CNC Milling Machine yet…

I decided to paint it white and also add some clear coating after. The paint job is far from being perfect but hey, it´s self-made and still usable ![]()
Once the paint dried out, I could insert it.


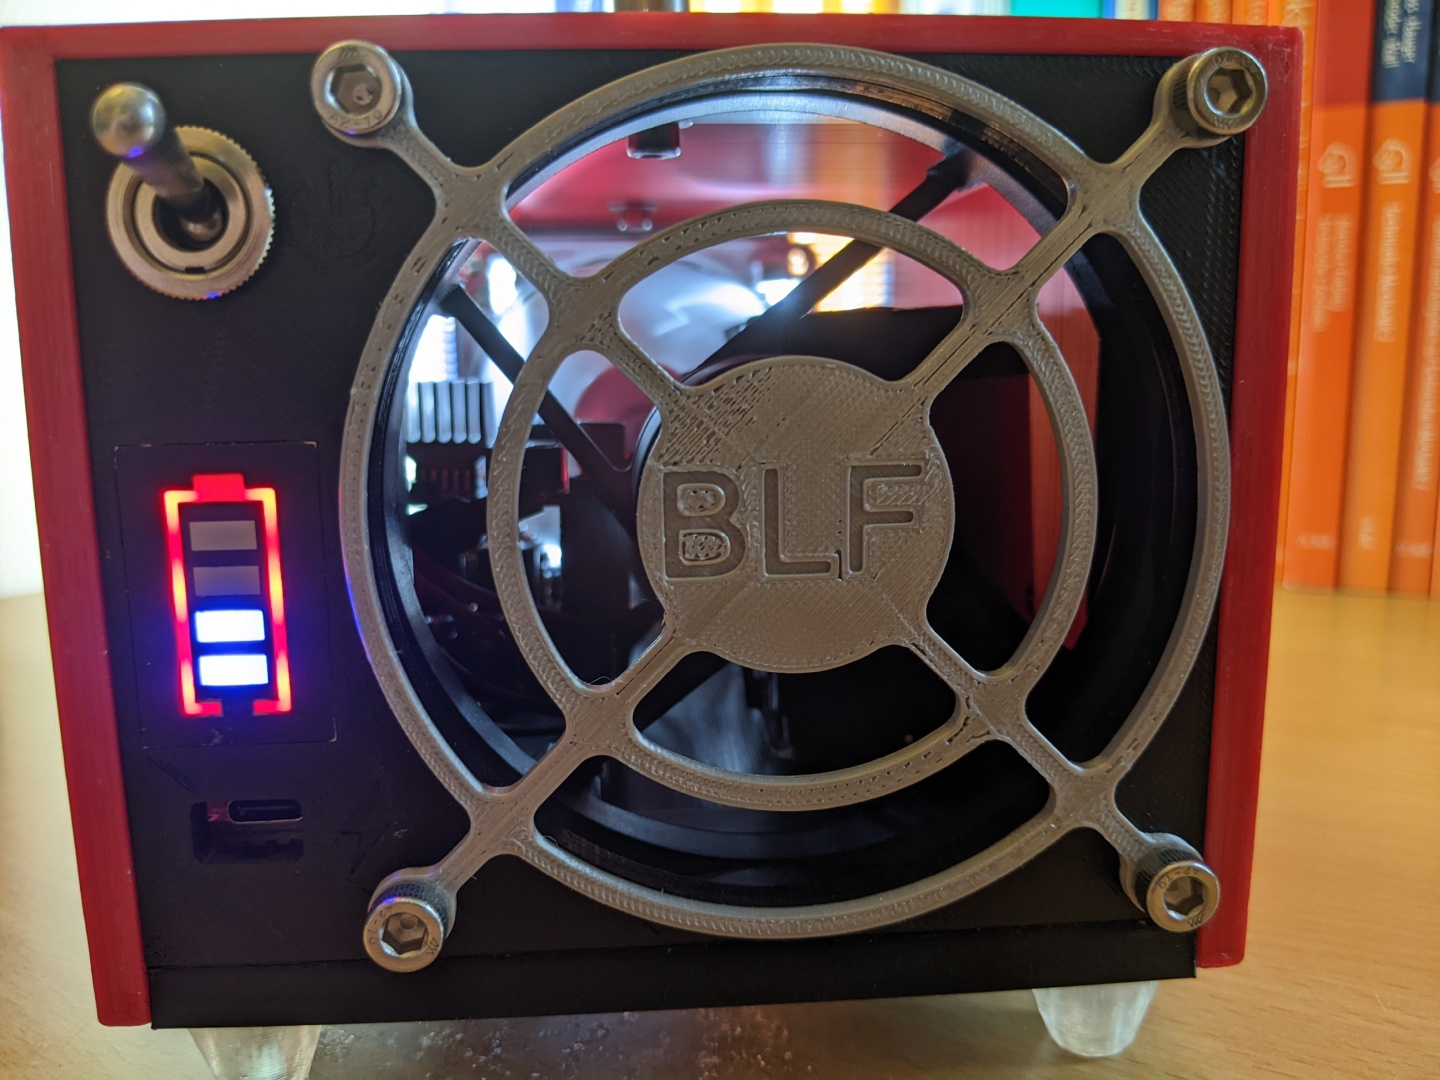


And here are is how the Project looks like right now ![]()


Charging and LED indicator ![]()

The next update will contain the outdoor Beamshots and a Video, though I have to figure out how to use Youtube first…
2 Thanks
That looks great! Very well done! How long did it take you to be comfortable with the computer designing work?
1 Thank
It looks awesome! Love the Red flair!
1 Thank
I´m doing 2D & 3D CAD since 2015 and have some experience in mainly designing industrial parts.
It depends on which CAD Software you use.
For starters I would recommend to use eg. Fusion 360 or DesignSpark Mechanical ![]()
2 Thanks
Anytime I see something that turns out so good as your project I start thinking about getting involved. My son says I should. He is a CNC machinist and has a very easy time with programming to make stuff that he then watches the 5-axis machine turn out. . I’m not so sure he got that gene from me.
1 Thank
Nice to see how your “Big Freaking light 3000” turned out. I love the idea of the 3d printed reflector! I mean it looks like a great way to direct the beam. Id look forward to see night beam shots if you wish to add them. Light looks like a beast!
Here are some Beamshots ![]()


And some Outdoor night beamshots


I went to one of the darkest parks and shot some pictures.
This Project has a decent light output and a good range too.
I used a Google Pixel 3 XL phone for the pictures and the videos.
I´m happy with the results, this Project is usable and building it was a great experience too.
The recorded videos will be added later.
2 Thanks
![]() I like the snow shots better than a white wall.
I like the snow shots better than a white wall. ![]()
2 Thanks
Here is the first Video:

Have fun ![]()
2 Thanks
This is a burnig HellBox ![]()
Great result. My sincere congratulations.
PS: was the snow melting?
2 Thanks
It was freezing cold, around -6°C, this is why breathing was a bit tough.
The snow was solid and there were some spots which still contained ice.
Yeah, it looks indeed like a burning Hellbox with the passive lightning from the components ![]()
1 Thank
It came out with a pretty nice beam. Especially, considering what you had to do with the reflectors. I like it!
2 Thanks
Nice. It would appear there have been many people (kids?) sledding.
2 Thanks