Sure, plus the source code - may have to wait til this evening.
So for those wanting to get the most bang for your buck here it’s looking like the spring bypass and UI temp configuration tuning are the way to go.
Great job TomE. Very curious how hot it gets after 60sec of turbo. ![]()
Thanks for all the info TomE. I wonder if upgrading the spring would be the 'quickest' upgrade.
As JaredM says, I'd be curious on the runtime graph of at least the first 3 minutes or so :)
Springs are the easiest, and maybe best bang for the buck, but once the springs are done, then maybe the LED wires become a bottleneck. Not sure til it's tried. Would be interesting to see how many amps are being drawn, though that's probably not easy to do. I'm guessing in the 70-75 amp range, based on the measurements.
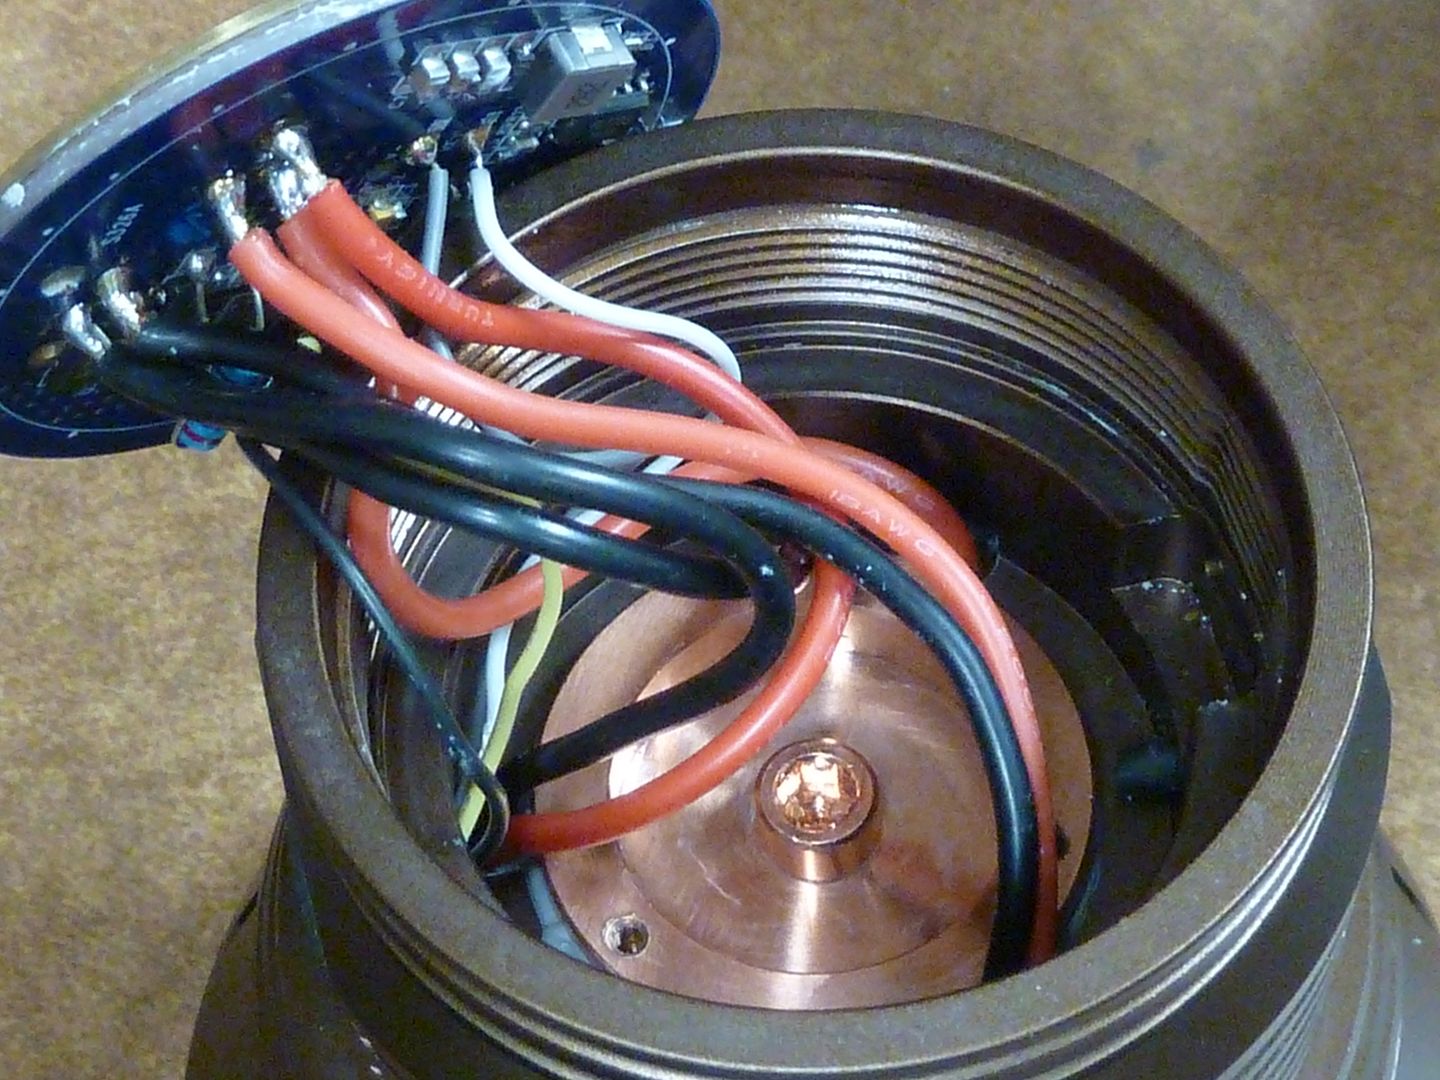
I kept the driver glue free, and at first it was difficult to load the batts and screw down the battery tube because with those thick and long 18 AWG wires, they wanted to push the driver up. Now though, the driver is staying down in place - maybe just needed time to be in the assembled state to get in shape, and maybe getting some sticking on the driver edges.
Also fyi, I did not add back in the copper heatsink aluminum cover - there's no point since removing all that thermal grease piled up inside of it.
I'll try to take a shot at runtime graphs, might not be for a couple days though.
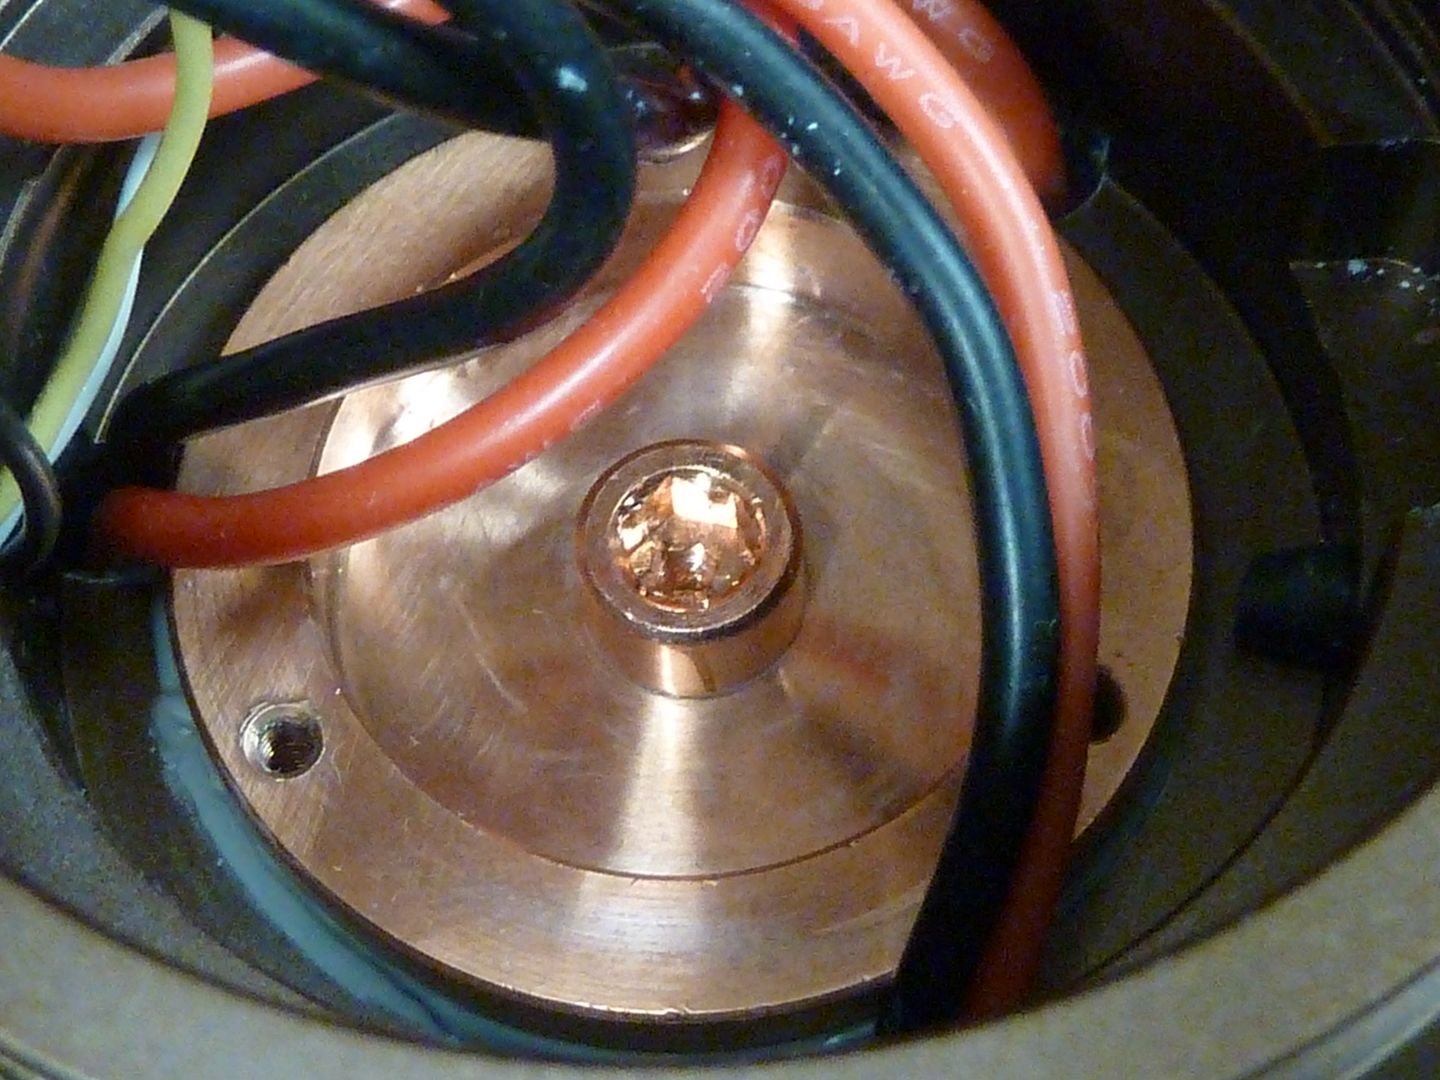
Hey great job and some meaningful performance gains! I get nervous whenever I I ter a jumble of wires like that in tight spaces! Shows there is potential in this light after all. Maybe add more copper in that open part of the copper slug? You could run a countersink flathead screw through for clamping with some thermal paste. That would help hold turbo or higher settings longer I think.
Thanks! That big M5 center screw goes thru the whole stack: copper slug-shelf-MCPCB, then screws into the reflector. That's why I'd like to use the copper one I ordered and not the steel stock one. Yep, more could be done with the copper slug, but that space is pretty crowded with the wires.
Originally was gonna de-lens the LED's, but the centering pieces sit on the PCB and appear to use the lens to center on, so I don't think it would work out.
Thanks Tom E ![]()
You guys are a wealth of info and experience for us to soak up ! ![]()
This weekend I want to modify the HK90. It would be great if can run Anduril 2 on it. ![]()
Posted in the Anduril2 thread, will duplicate it here:
Here's the Anduril2 build source code for Atmel Studio 7.0, and the Anduril2.HEX file for the Haikelite HK90 I used:
Anduril2 Updates
Source Code Base
- From here: https://code.launchpad.net/~toykeeper/flashlight-firmware/anduril2
- rev 579 as of 2020-10-19
- downloaded on 10/31 (updated from v1.1, rev 561)
Summary - List of Changes
- TE 2020-10-31: Make the version # v1.2 (in version.h)
- TE 2020-09-25: add optimize setting: “-fwhole-program” to reduce code space
CFG file Changes
- Thermal ceiling default changed from 45C to 60C (DEFAULT_THERM_CEIL)
- Thermal calib extended from 70C max to 90C max (MAX_THERM_CEIL)
- Add USE_2C_MAX_TURBO
- #define SIMPLE_UI_ACTIVE 0 (default to standard Anduril w/full features
Operational Changes
None at this time – TK incorporated a couple of my prior custom tweaks
Build Notes
- 2020-10-31: HL-HK90 built at 7908 bytes
The copper M5 screws arrived this week and they are look'n good!

AAA light:
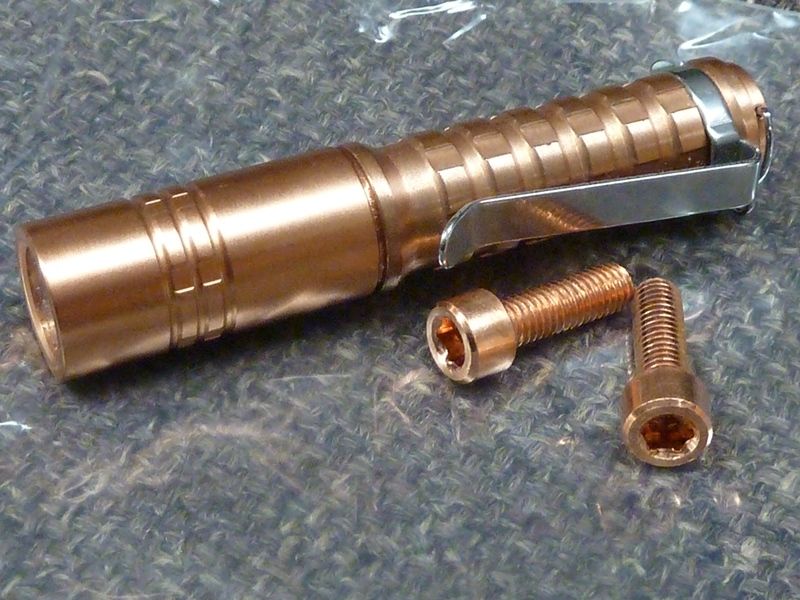
Here one is installed. This is how it should have shipped 
Latest Beamshot:
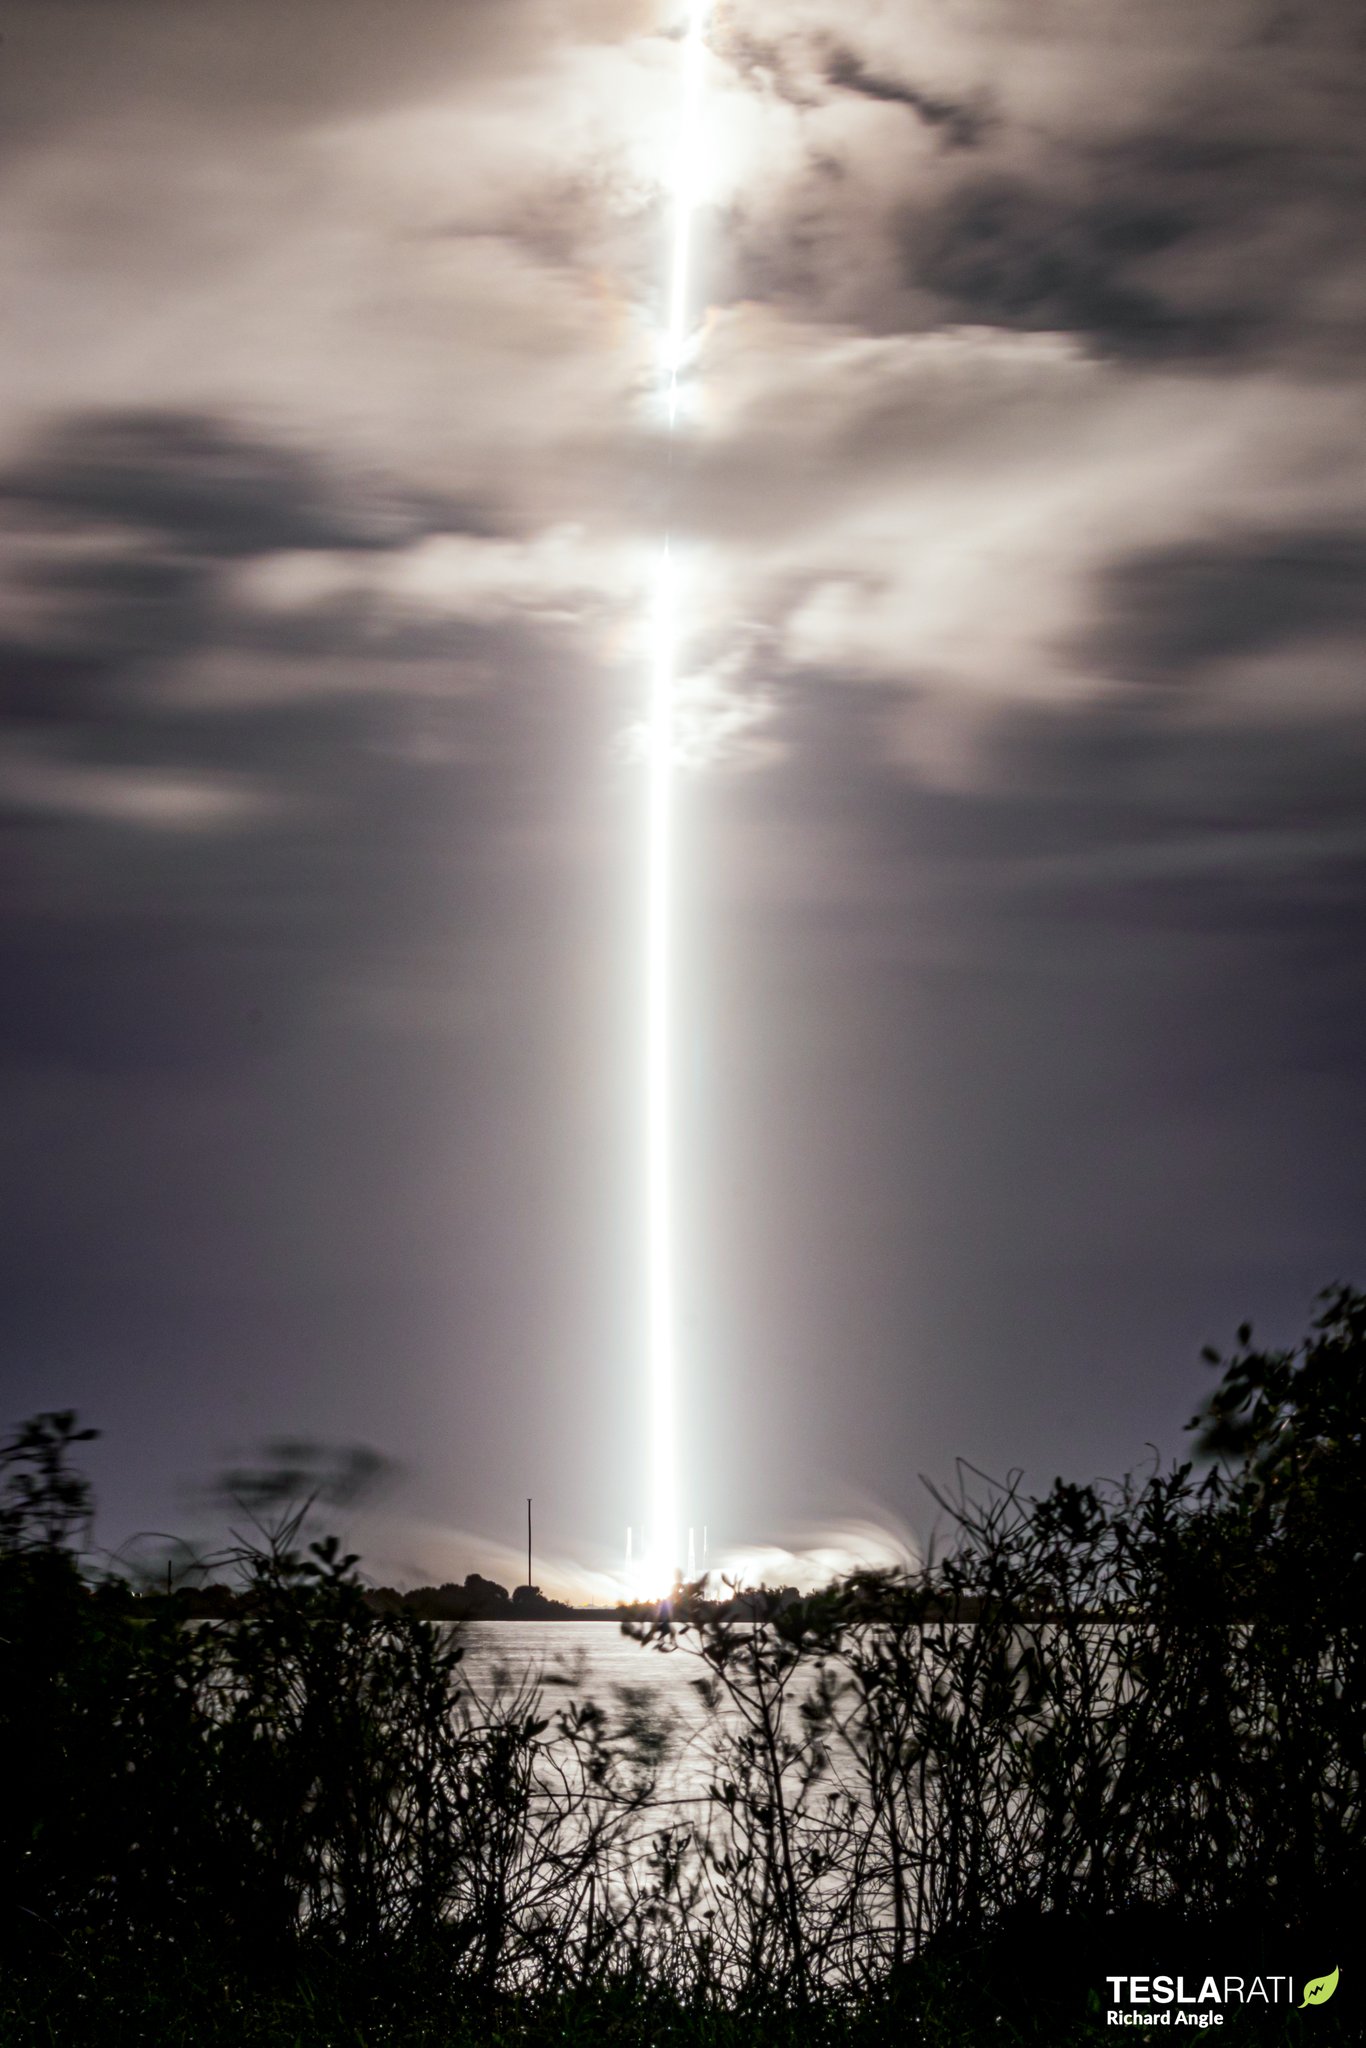
Ok, not my HK90 but something close to it!
Hey Tom,
What distance did you measure lux? Rick sent me his to look at and at any real distance the beam looks out of focus, out past 150 yds or so the center of the hot spot shows shadow. At 5M distance I’m getting 732.5Kcd, pretty sure that would greatly diminish on a 50M test.
Nice work optimizing yours!