Well allright thank you so much ReManG, those are some good pointers.
And of course now I’m gonna want to do a full mod :person_facepalming: Thanks Tom E
Why did you go for the T5 5D? TBH I just ordered one that was in the 4000k range to get a warmer colour. The only difference I can make out is the lumens but they are both 10W and 4000-4300k. I must be missing something…
I ordered one too, couldn’t resist…
didn’t even realize the have XM-L2. :person_facepalming:
High CRI would be nice, but haven’t found high CRI XM-L2 yet, so i’ll probably swap the MCPCB for one with a Nichia 219 baked on it.
I've always like the '5' class of tint - has been my favorite, and I got a few variants. From known good source of LED's, never saw a 5D, so it's probably a 5D1, 2, or 3. With FastTech, you take your chances on the tint and bin. In the H15, it's hard to compare to my other 5 tint lights which are all reflector lights.
6 and 7's are typically too warm for my taste, and side by side, the 5D's were always better than the 4C's, which I also liked. for the price at FT, figured it's worth taking a chance. There's probably a better than 50% chance they are not a T5 bin, probably T4, but I can't tell, specially in the H15 where the optic has a big impact on measuring lumens comparatively.
A 5D4 is probably the best 5 class tint, but appears to be rare right now.
They must have changed some things.
The hole is too small to get a 16mm MCPCB in, i’ll have to file down top and bottom so i can get it in sideways.
Also, mine doesn’t have retention screws, nor threaded holes for them.
I did order a 5A2, but i hope i like it, because there aren’t many Crees with a decent tint i.m.o.
So i’m considering putting in a Nichia 219B 92CRI 5000K, but the TIR is made for 5050 LEDs, and because there are no retention screws it’s quite a challenge to centre it.
I should get some of that thermal paste that acts like glue i guess…
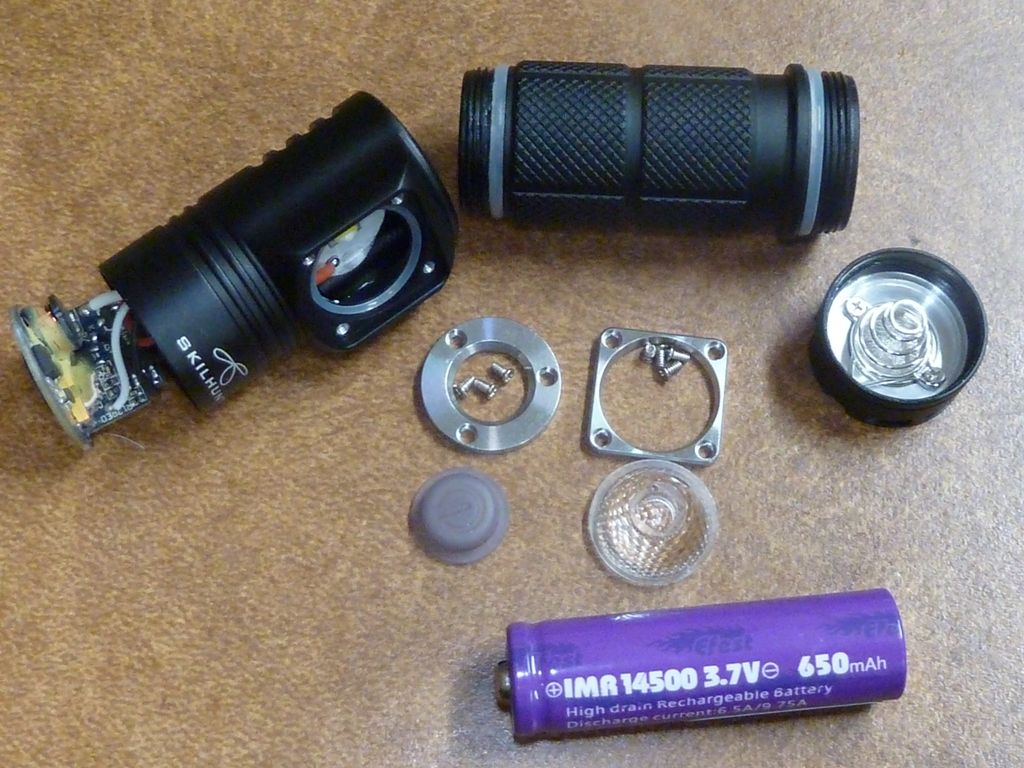
I received the light and I opened it up. The board is glued inside the light. I haven’t touched it yet since the led I ordered hasn’t arrived yet. I do have a nichia on 16mm board from kd. but the led size is much smaller than the xml2.
So: 1) Is it possible to get the original board out with something or will I have to heat it up with a hairblower or something?
2) How am I going to center the new led? I’m guessing I will need some thermal paste and use the TIR optics some how to get it centered if the led has the same size.
3) If I wanne put in the nichia, am I going to need another optic/lens for it? And what is the best/easiest way to get it centered?
That's why I stuck with an XM-L2 - optic is made for it.
By board, I assume you mean driver? Or MCPCB? Both are boards. My H15 had a driver retaining ring. Does yours? It came apart easy I think. Might need to poke/push it from behind when you remove the optics. For the MCPCB, not sure - thought it was just grease - are you sure there's thermal epoxy there?
Probably posted bout it though, somewhere... I know I posted a bunch of pics from the breakdown, and mod I think...
I think it does. So I take out the driver and just poke it from there with something. I’ll wait until the xml2 arrives before I start messing with it. In the mean time I’ll search the forum for your posts. Thanks.
Oops, edited post above. I just looked for my posted on the H15 mod and could not find anything, just what I posted earlier in this thread.
So are you talk'n bout the MCPCB? If so, it might be epoxied. First de-solder the wires. Then try prying it - I use a very flat screwdriver type solder tool - works great for things like this. But sometimes the thermal grease causes suction and can be difficult to get the MCPCB off.
Boy, wish I could recall what I did . Might have used the tool goin in from the driver hole to get leverage, not sure...
Strange though, assuming dekozn and i got a H15 from the same deal and shop (Gearbest) and his MCPCB is glued and mine is not.
But i have come up with a way to centre the LED in the TIR though (or rather centring the TIR around the LED).
If i don’t like the XM-L2 5A2 i will glue a ring on the Noctigon with a Nichia 219B or 219C, in which the TIR feet / studs will fit.
That way i don’t have to mess with fitting a centring adapter ring around the Nichia.
But, we’ll see how that 5A2 will do, i’ll reflow it on the stock MCPCB.
First i’m off to rural France for a week without internet, leaving tomorrow.
Hmmmm, both of mine have screws retaining the board… and some good thermal paste, but not glued…
The board will appear to be wider than the opening, the trick is to put the one groove on the edge of the bezel mount area, then push the board toward the groove, and walk it out that way. Don’t know if this makes sense, but you cannot get a circle of the same size through a circle, but the grooves allow you to “walk” the one circle through the other.
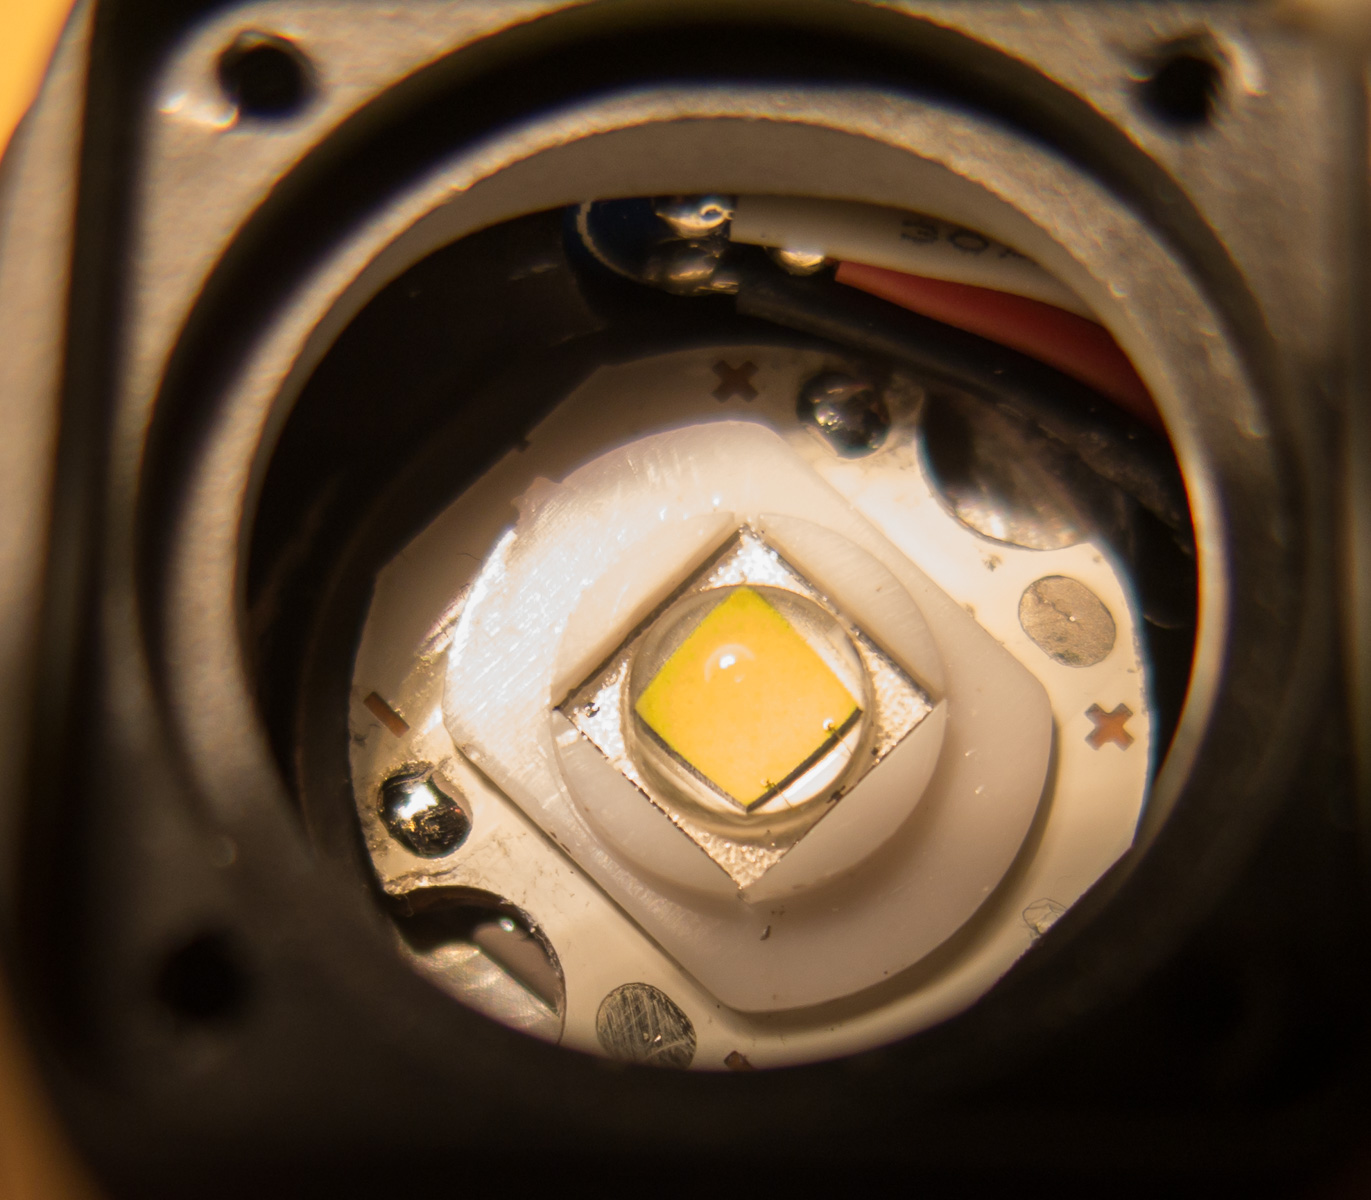
Reflowed an XM-L2 5A2 on the stock MCPCB yesterday and i quite like the result.
The H15 makes some strange noises though, especially on high mode, sounds a bit like a gas leak or something, and it’s not consistent either.
But it’s not loud, i can live with it.
I already posted this in the’what did u mod today’ thread but I finaly had the nerves to do a led swap. The xml I got from FT had some issues: the board was thinner and there’s a small speck of solder in the corner of the led that prevent the tir from sitting snug around the led. But my hands were itching so decided to solder in the nichia. The board has the same size as the original one so I got it in pretty easy. Because there are no screw holes like the other h15’s posted here I had to eye-ball it to center the led. I think I did a pretty good job with it but I should probably get ot out again as I had no thermal paste and kinda re-used the one from the original board. I’d still like to try out the FT cml though. Can someone recommend some solder paste and/or flux for reflowing the led? I believe I saw somwhere that for reflowing I’m gonna need something different than what should be used for flowing a new led unto a new boatd. Am i correct?
I still hate to have to long click twice to turn of the light…
I did the short tube mod as well as LED swap on my h03
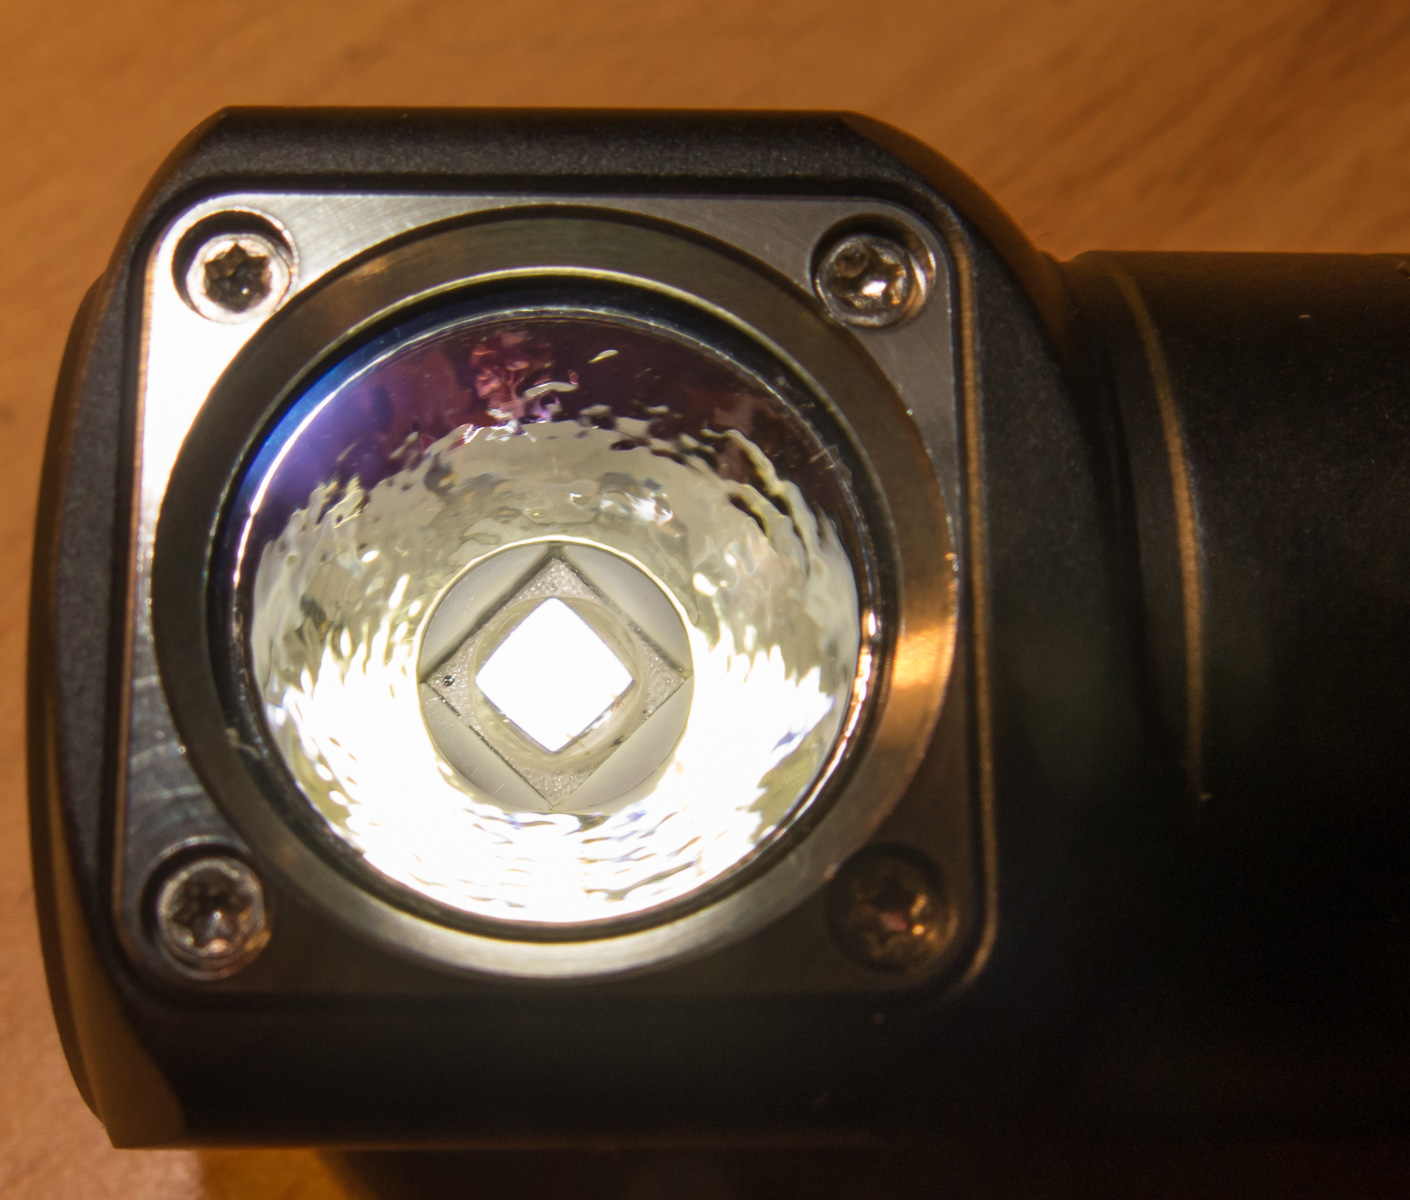
Now there is a XML U3-3D from intl outdoor inside, way better tint than the original U3-3B or C which yellow green tint
For solder use one with lead and flux core
Paste is a bit easier to handle but I use normal wire as my paste did dry out years ago, it doesnt last long, while solder wire lasts for many years without a problem
The trick is to tap on the dome to push too much solder
If some sticks on the side of the LED use a soldering iron with a clean tip to get it melt and stick on it
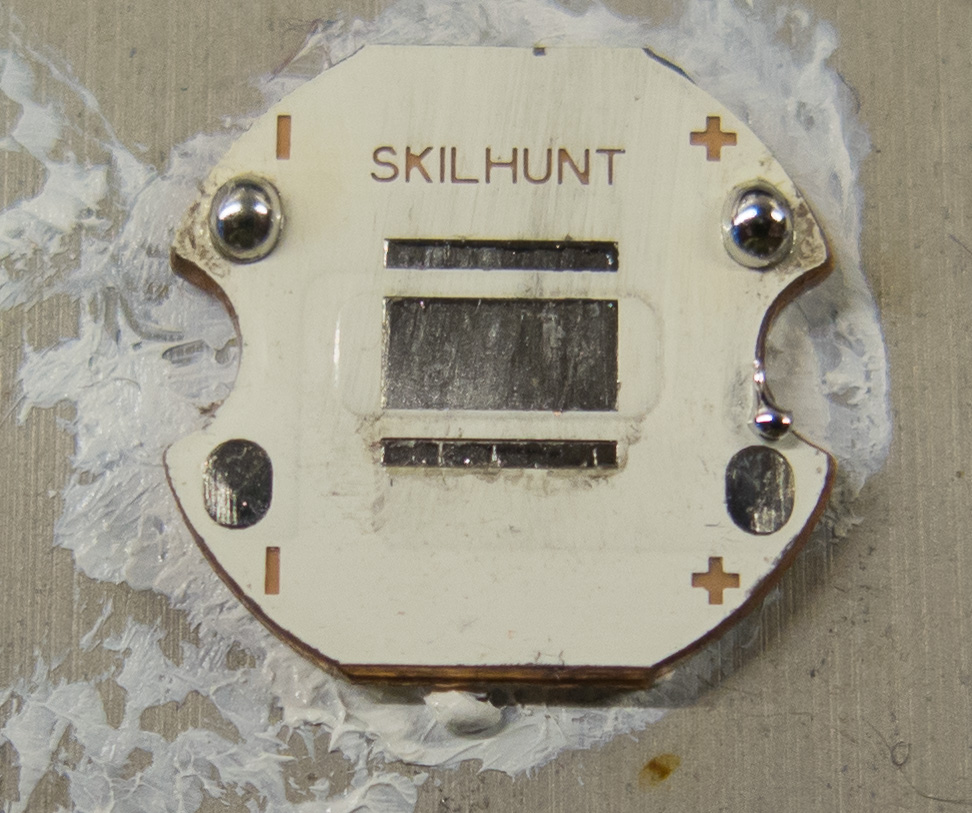
Reflowing the LED
first heat it up on my induction stove with a 10mm iron plate and 5mm aluminium plate with thermal paste on top of it, till the solder melts
then removing old solder with a qtip and regulating the heat down
the LED is also heated up on a clean part of the metal plate
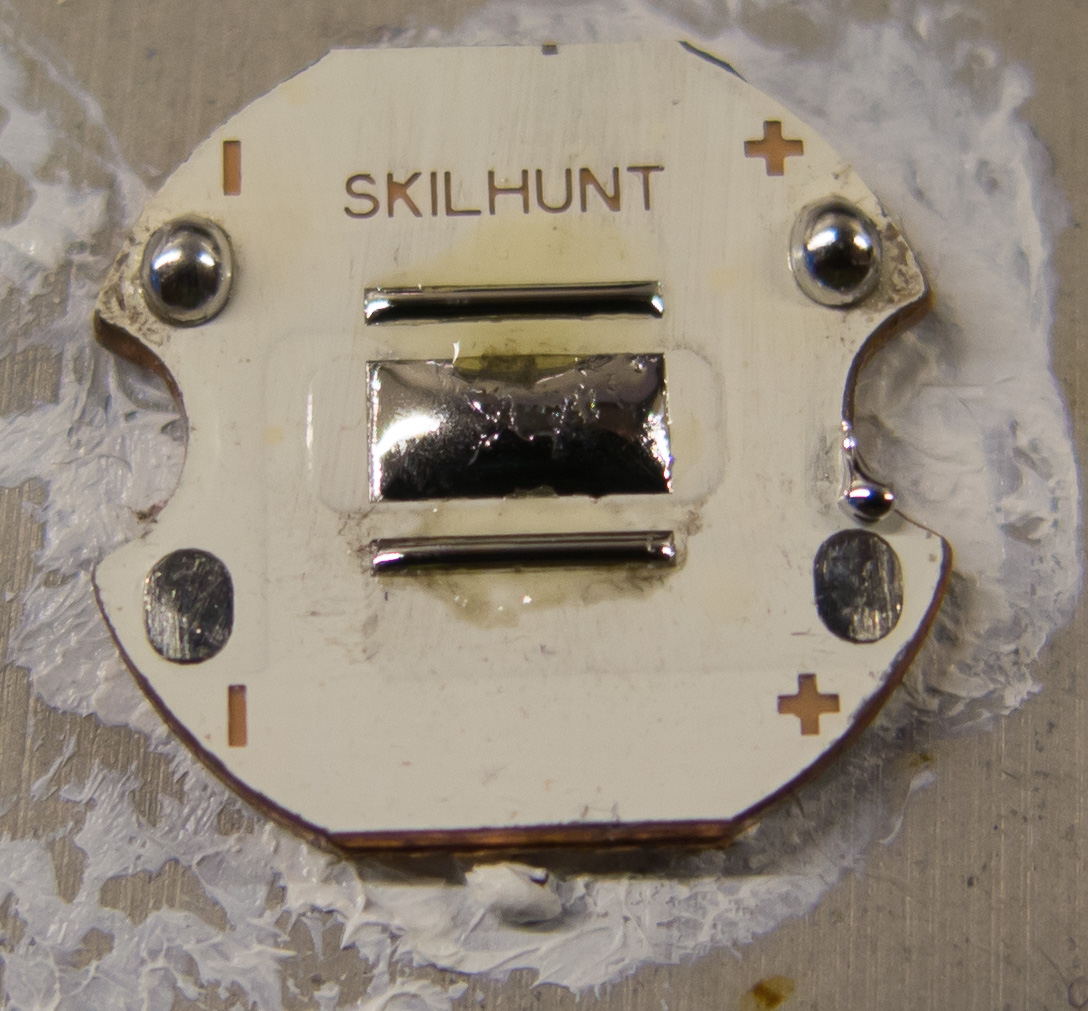
adding Sn60Pb37Ag3 rosin flux core solder or solder paste, the 0,5mm solder wire is not easy to melt as the temperature is not much above the melt point
I use the one with lead as its melting point is lower and thats less stress for the emitter
placing the hot star on it, let it pull on its own in the centered position
then tap on the star to push out solder to close the tiny gap to increase heat transfer
and this makes all 3 pads covered on 100% of the surface with solder
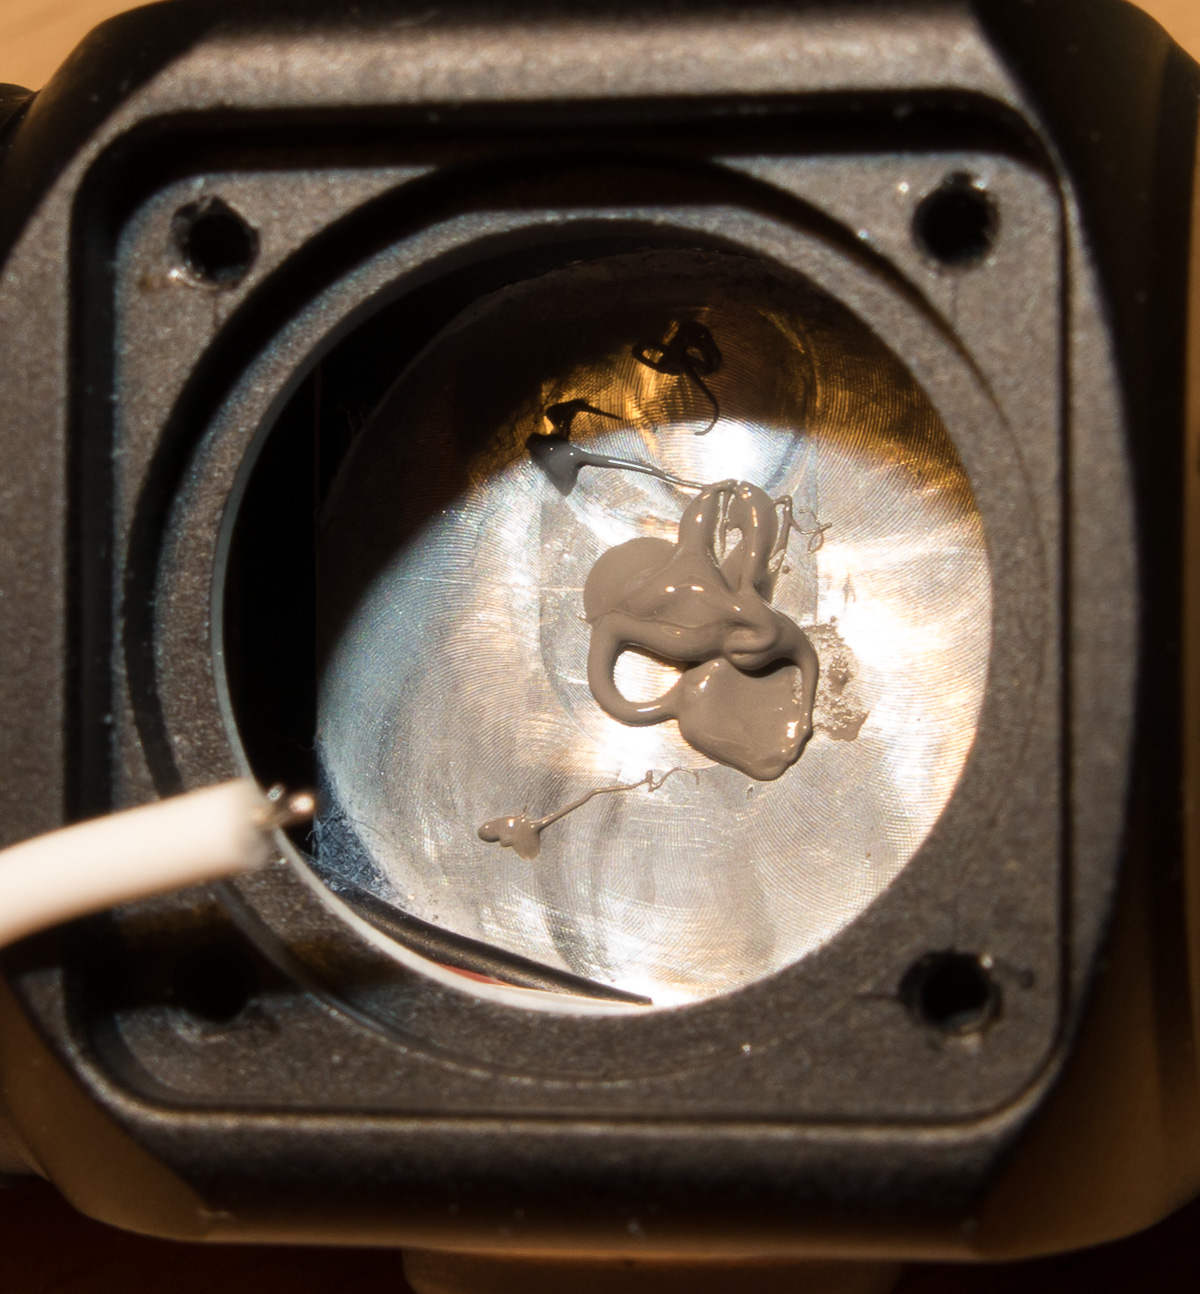
putting Arctic silver on the body, was too much but it will squeeze out
placing the Star in the head, it is a bit bigger than the anodized hole so I had to put it in sideways, thats why the star is not round all the way
the arctic silver squeezed out at the holes, but wasnt enough to do on the rounded edges
Yeah but the screws take almost no torge so there is nothing wrong not having em just cut in the aluminium, they are just screwed in one time at factory and thats it for most lights
A nice thing I noticed is the DTP star in the Skilhunt H03

 . Might have used the tool goin in from the driver hole to get leverage, not sure...