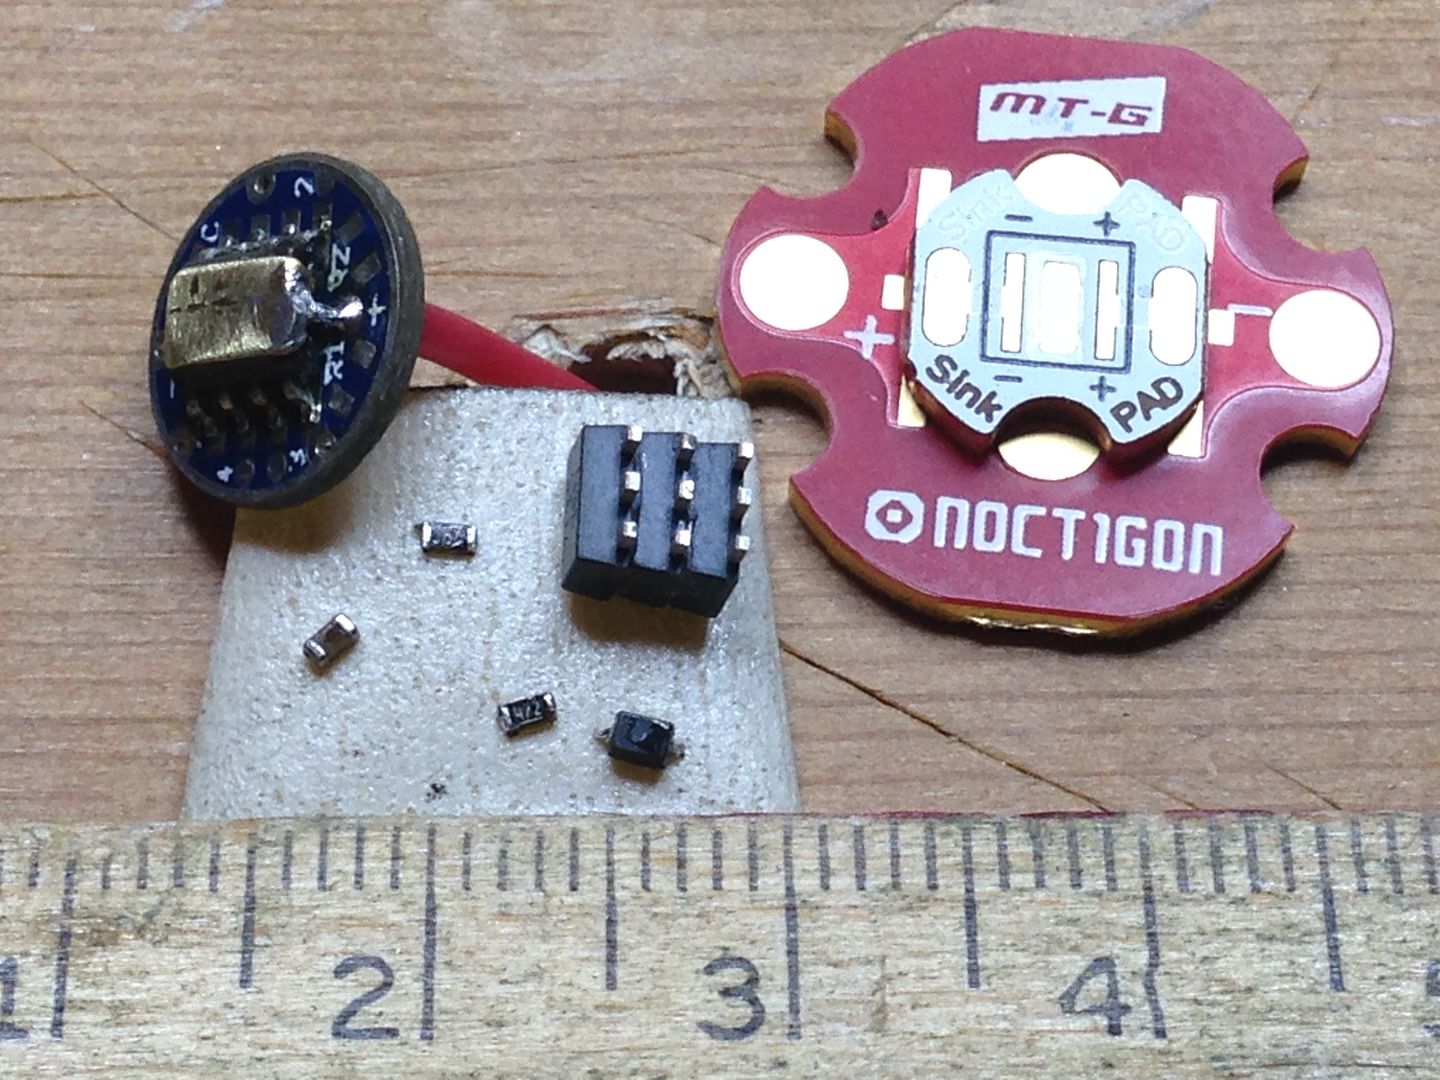
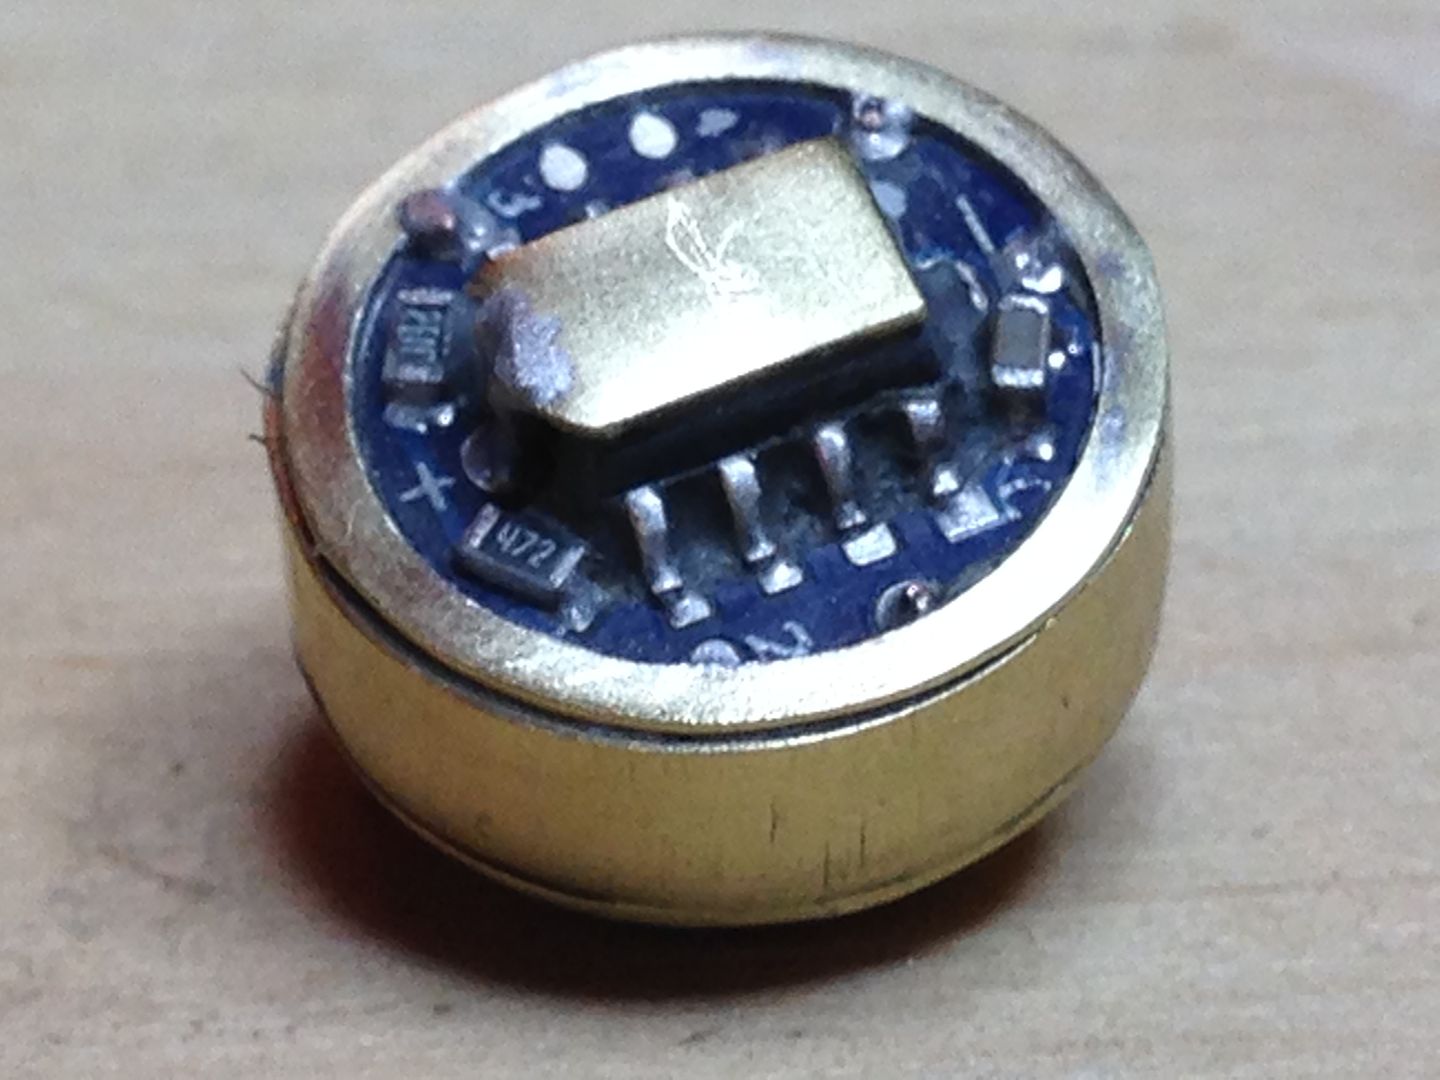
Not home much but here’s where it’s been. With the brass contact epoxied to the top of the Attiny mcu and the Led/B+ wire in place. Input cap is on board but not visible. The MT-G2 Noctogon is just for scale.
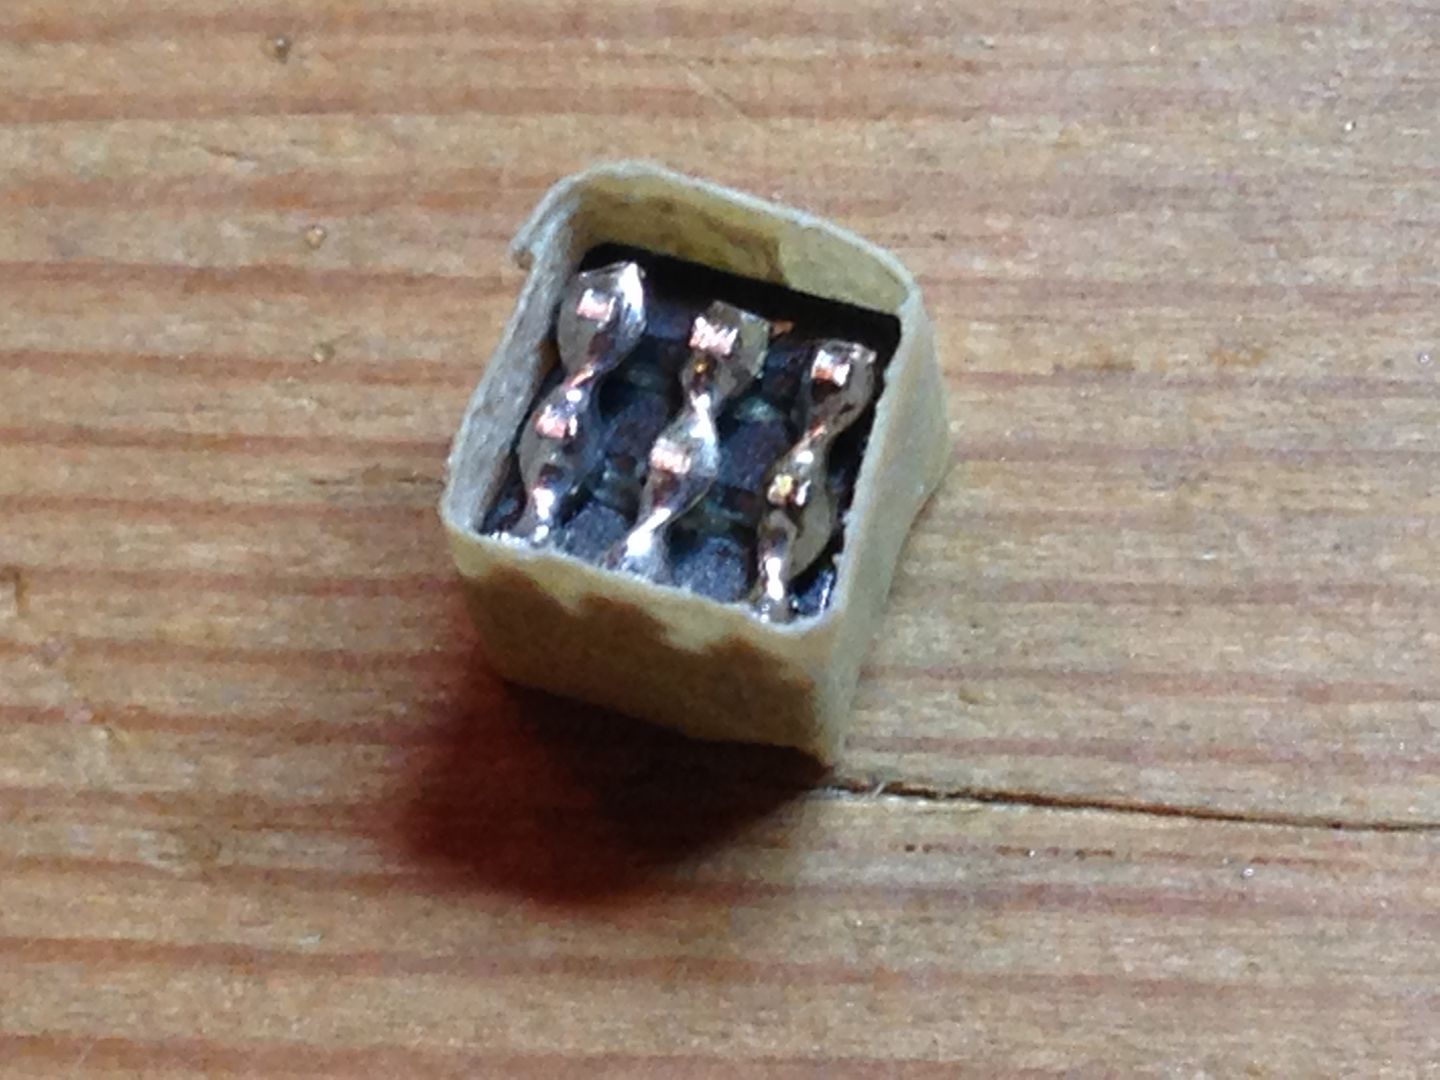
Going to make a 1A super(well maybe just a sidekick) 7135 so I wrapped some masking tape around the stack after winding and soldering some .24mm copper wire around the sets of pins, then filled the voids with Epoxy. Right now the JB Weld is curing.
BTW , this is all hand soldering, no reflow guns or ovens. Work is still crazy but I’ll do what I can when I can.
That was my iPhone 5C at full mag but I finally replaced my Magnifying lamp with a 3x but the downside is very short focal length so not a lot of room for the soldering iron. I’m thinking that to really show the size I need to take pics at laptop distance without zoom. This stuff is just eentsy.
I think the photo don’t do justice how small this parts are, and how difficult is to work with them. I for myself would consider a big success just soldering and making work those tiny AMC, but looking how well you put them together and the attention you put at everything is astonishing.
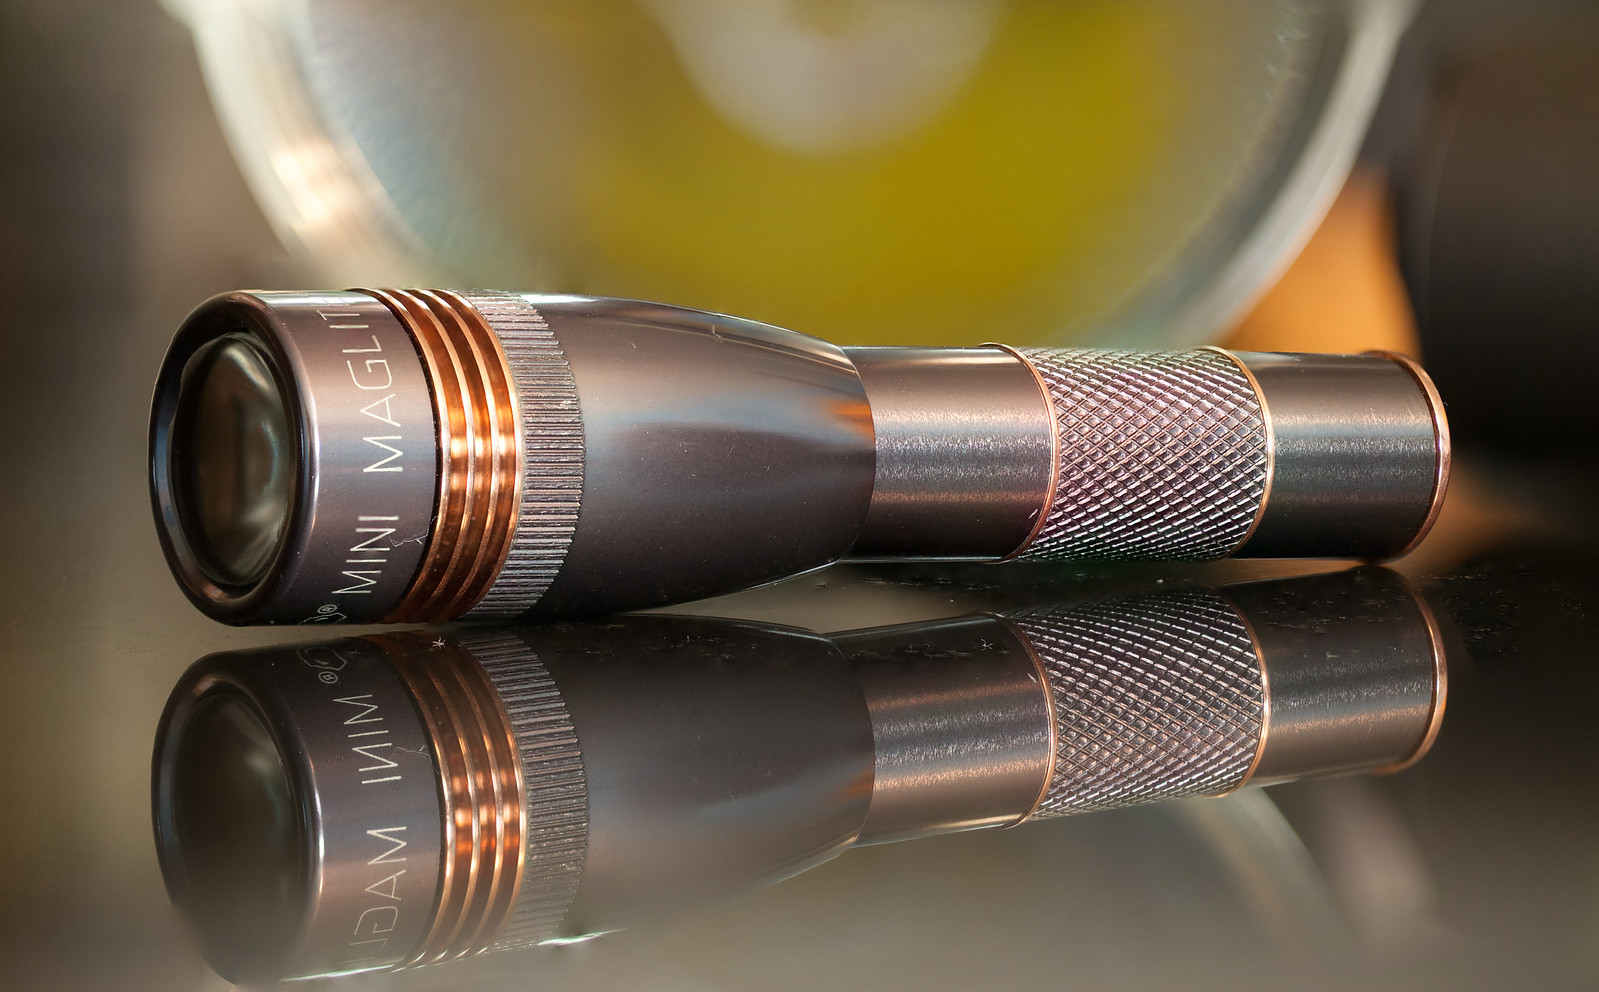
Really like the look of that lens and IMHO it fits very well with the rest of the design. Unique and cool i must say.
Adding here the complexity of the whole project and the big amount of work and ingenuity it require, make this an great work of art. Thank you for doing this and sharing with us.
Thanks Ervin. They’re not turning out as pretty as I had hoped but in the end I will be satisfied if they work well enough. The ones that do turn out well like Dale’s are that much more special by comparison. I’m somewhat jaded by staring at them through a magnifying lens for hours at a time seeing every flaw that is harder to see with the naked eye. Not being satisfied does help me come up with ideas for improvement and isn’t that true for all of us?
There’s no runoff necessary. RBD is in a class all by himself. I gladly concede. His meticulous work is amazing to me and I do understand a little about hand work. He has gone from apprentice to master in a very, very short time and he exceeds himself with each project.
It's just plain fun to watch his work and admire how well it comes out.
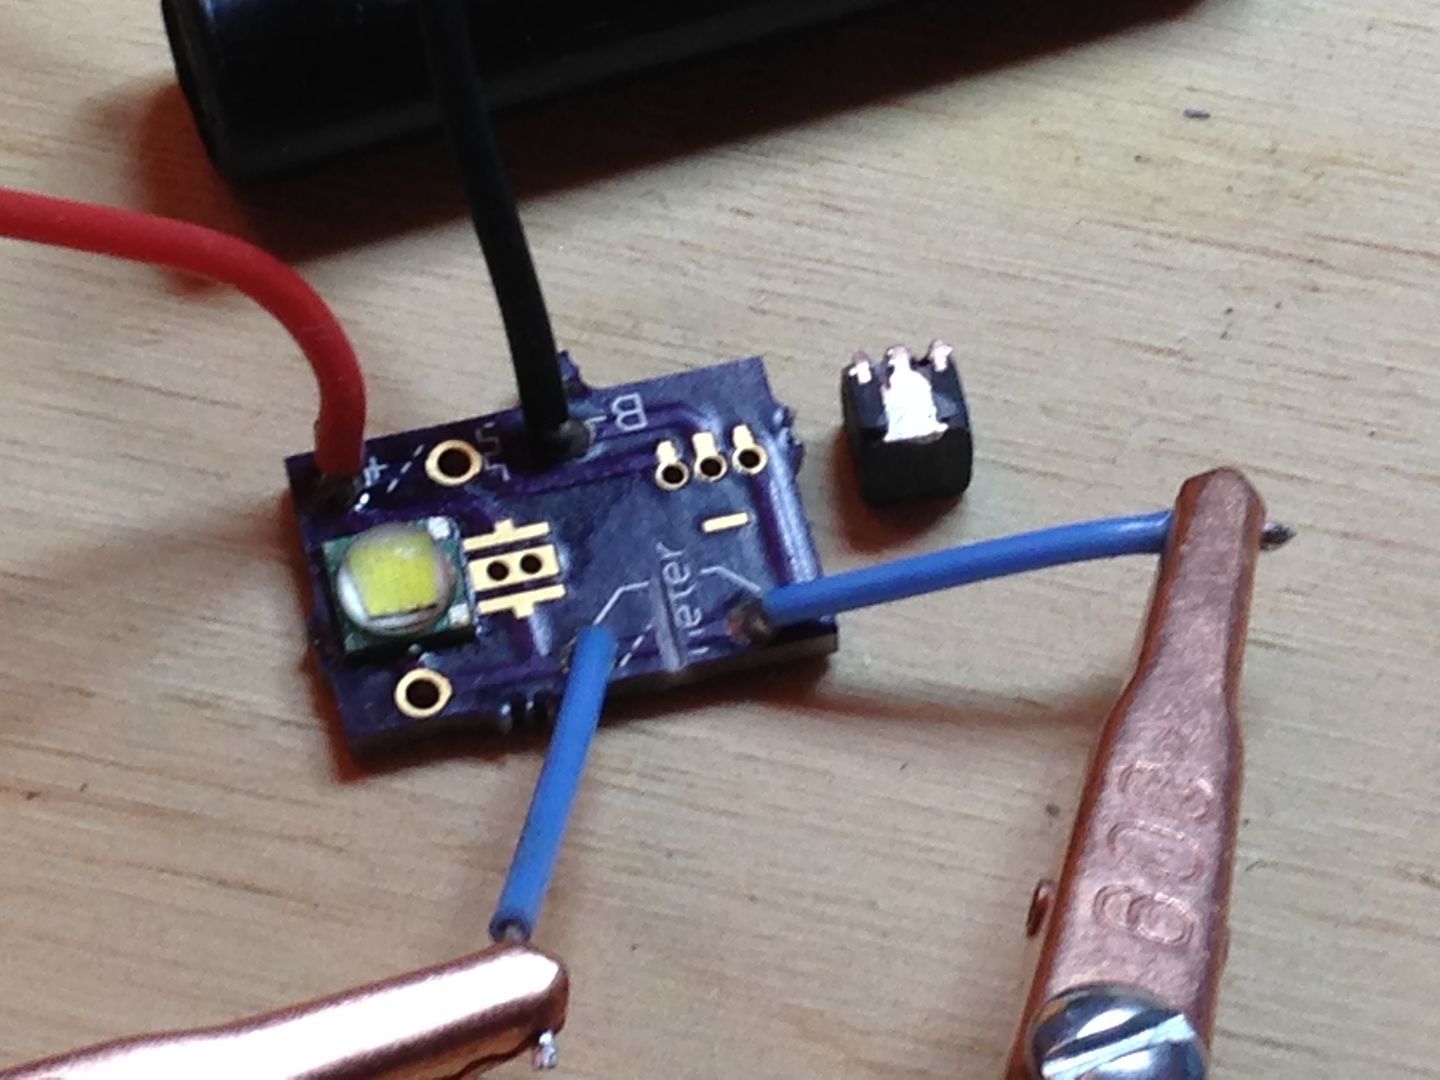
Worked 16 of the last 17 days and finally home to work on this. I tested out the super 7135 on the breakout board designed by Warhawk(kuddos Brian, it works great) and thankfully got a spot on 1.14A from the stack of 380mA chips. At the bottom of the pic you can see the copper alligator clips on my homemade awg 14 test leads
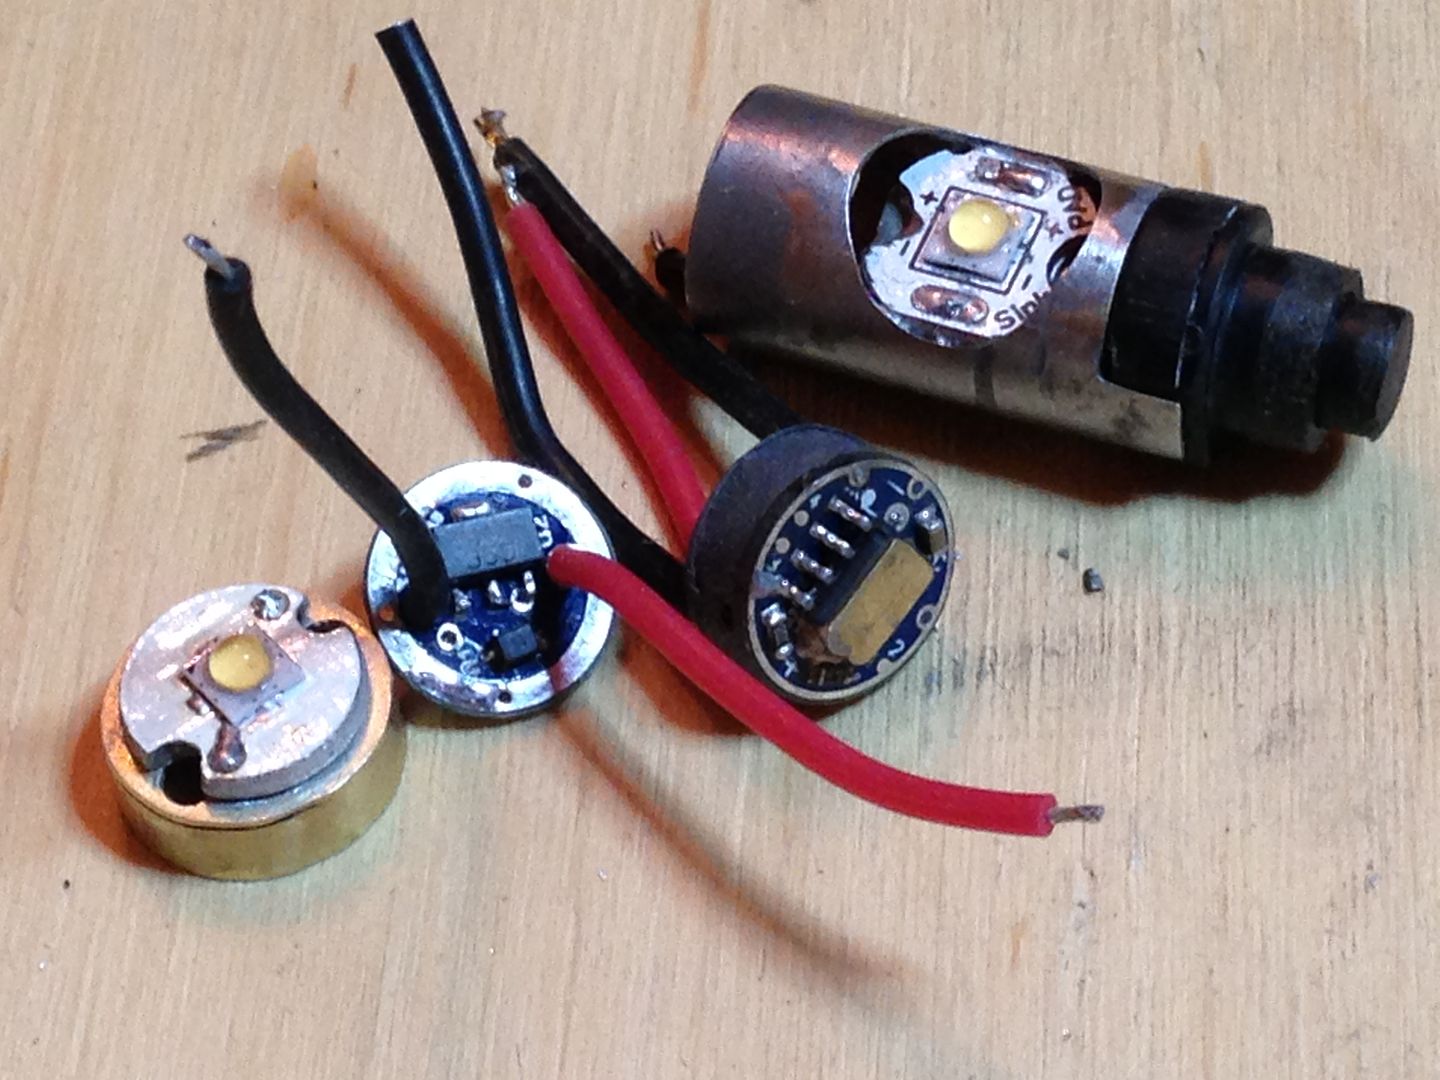
so I went ahead and added this and D1 to the pcb and got the requisit 4 modes. This is the Star firmware so a moon mode is also available by bridging one of the stars. And while I was at it I went ahead and loaded up the other pcb. Who else knows that feeling when D1 flips off the board into the void never to be seen again? I had to pilfer one from another board(I need a stash of these since these in particular love to get airborne) but was rewarded for my persistence with a working 2- mode driver. Here’s a pic of the 1.1A driver connected to it’s 219A(think that’s what it is anyway).
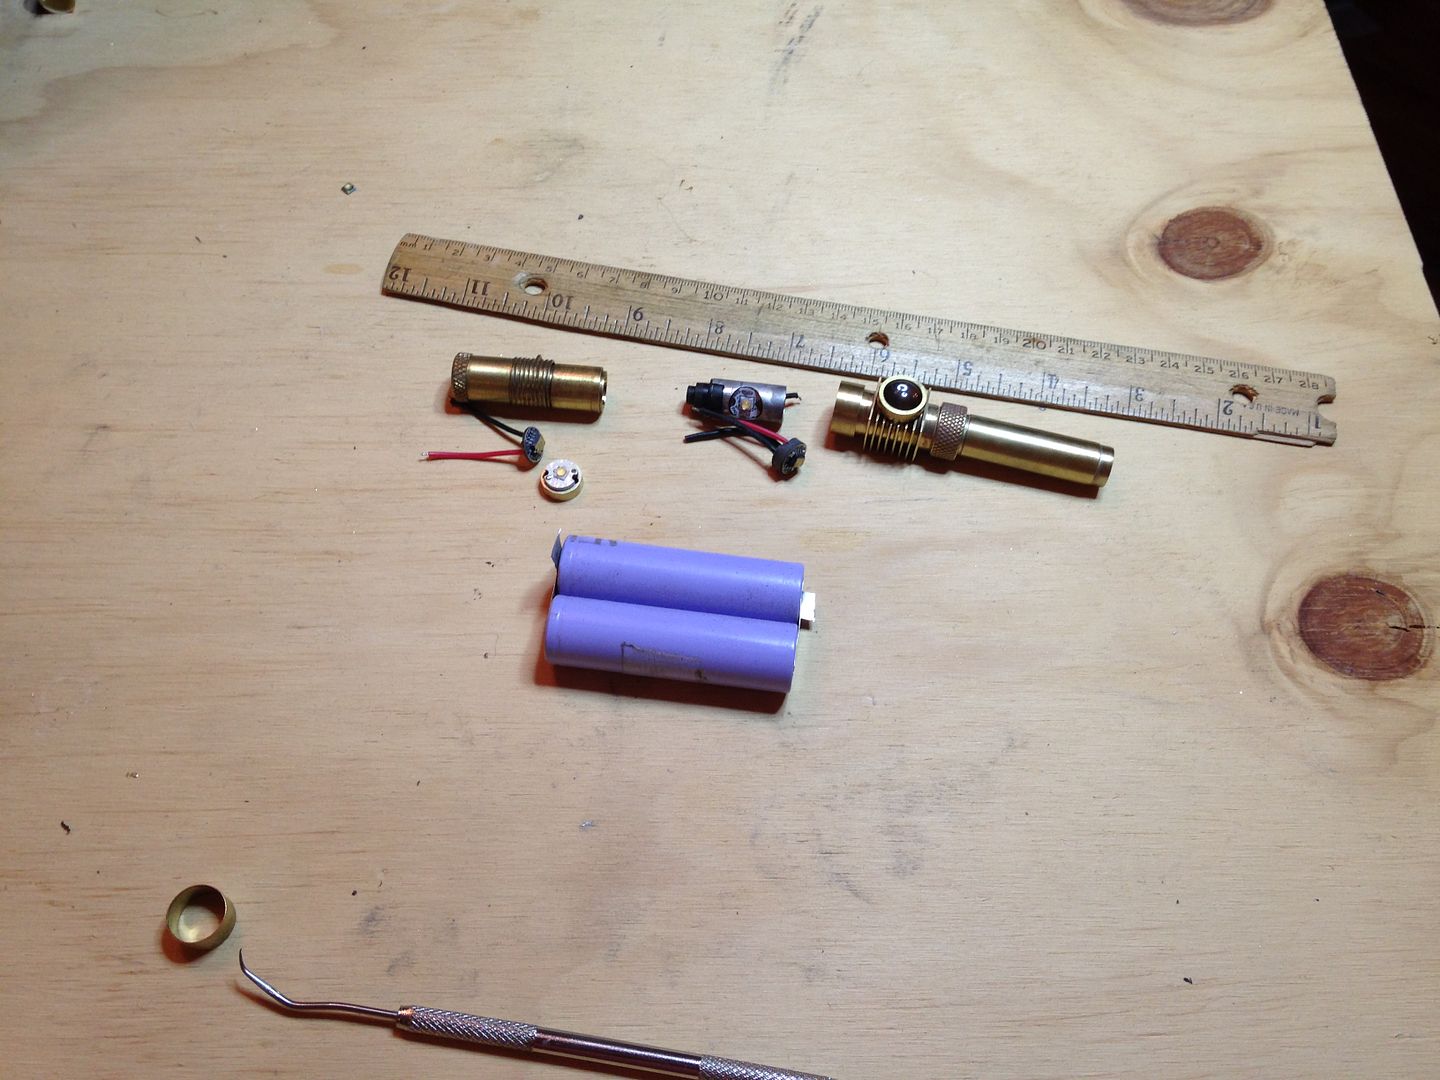
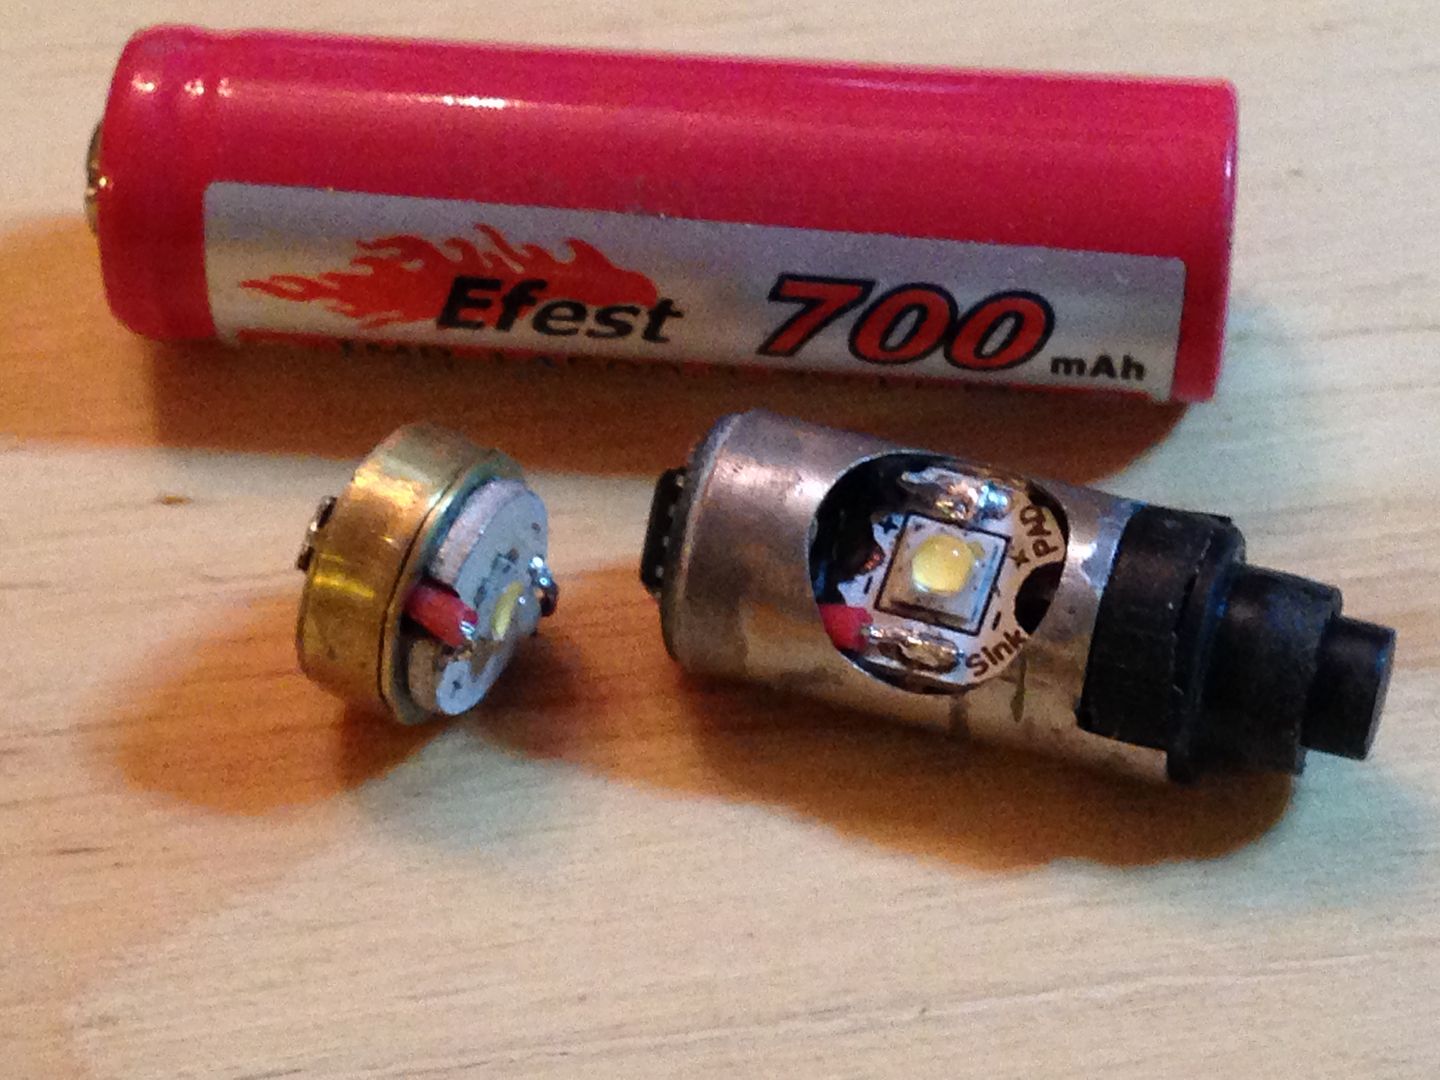
I’ve been told my pics don’t show the scale too well so here’s another taken unzoomed from ~2’ with a busted ruler and a pair of 18650 power tool pulls.
You might just barely make out the brass contact plates on each of the mcu’s. The mcpcb’s have been fixed to their pills with AS-5.
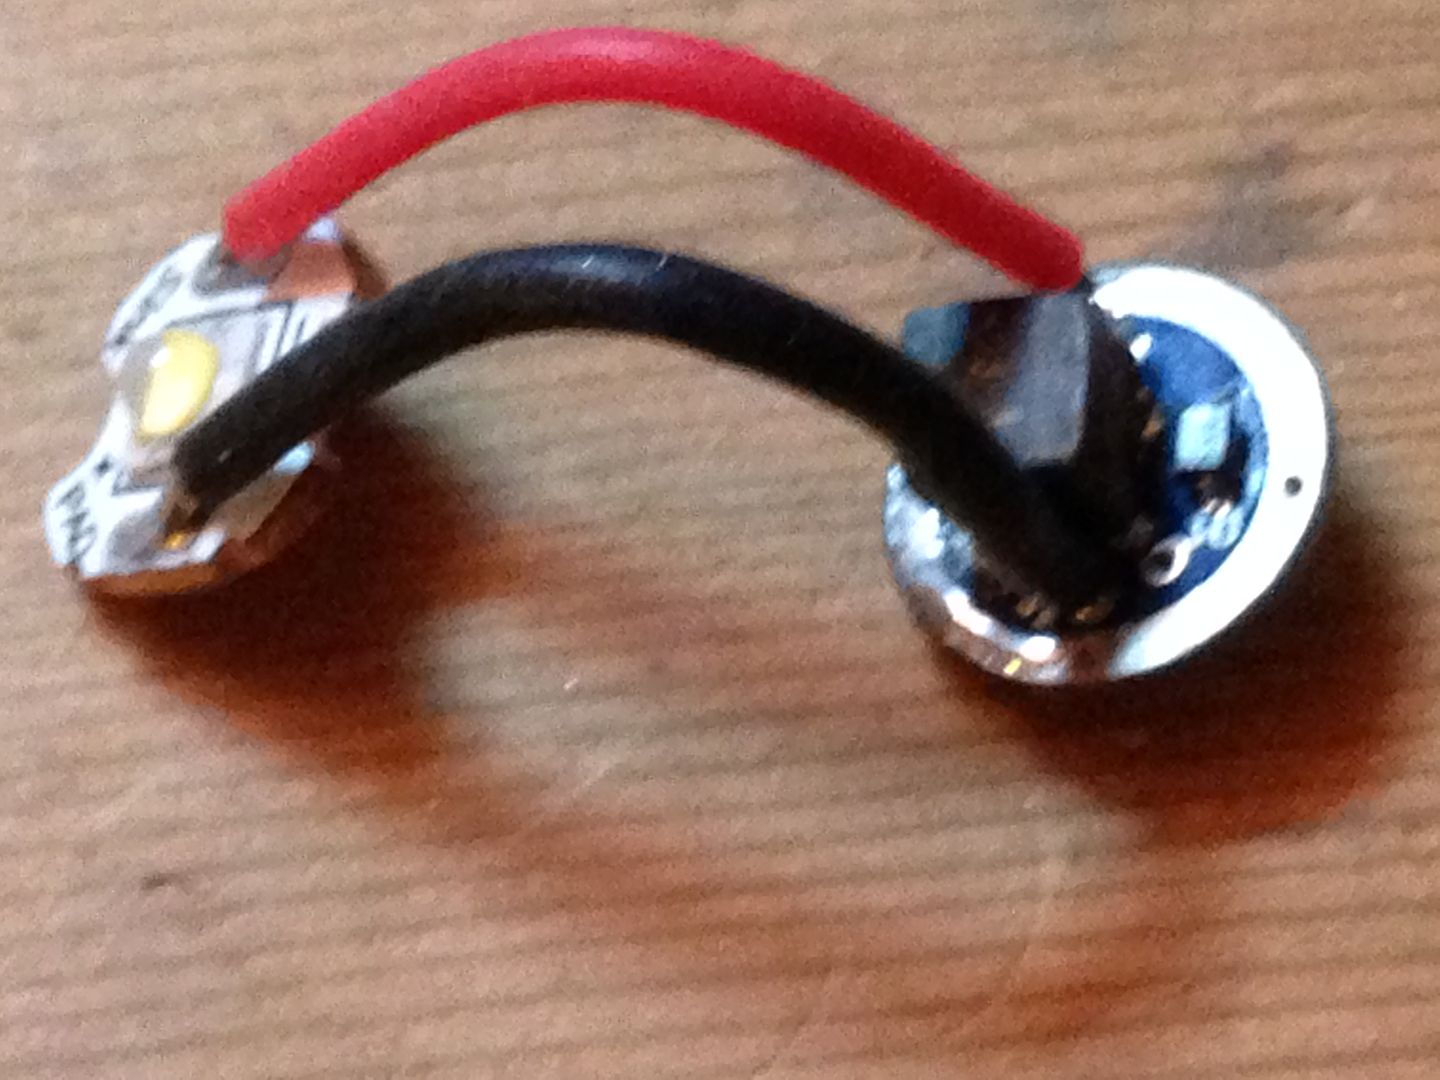
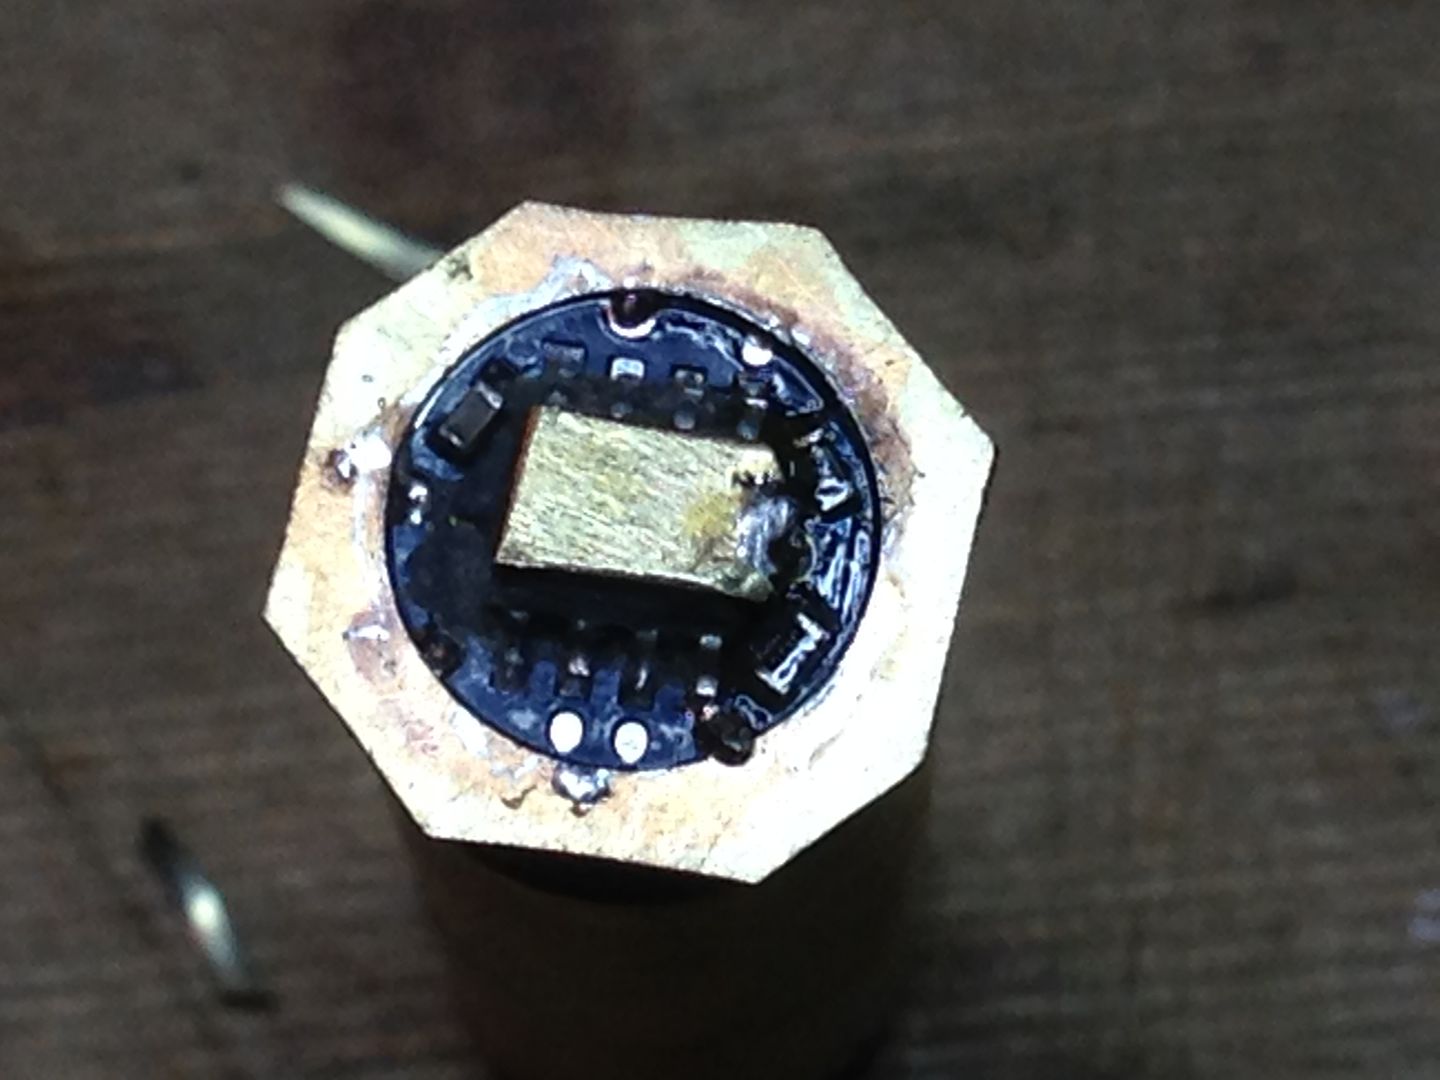
But since the whole point of pics is to see something, here’s the obligatory close up.
The brass pill on the smaller light is really the only part of it that’s done since just about every other measurement on that one is determined by the led/pill/driver stack height. I still haven’t decided quite how I will dress them up but pretty soon I’ll be able to get back to butchering brass.
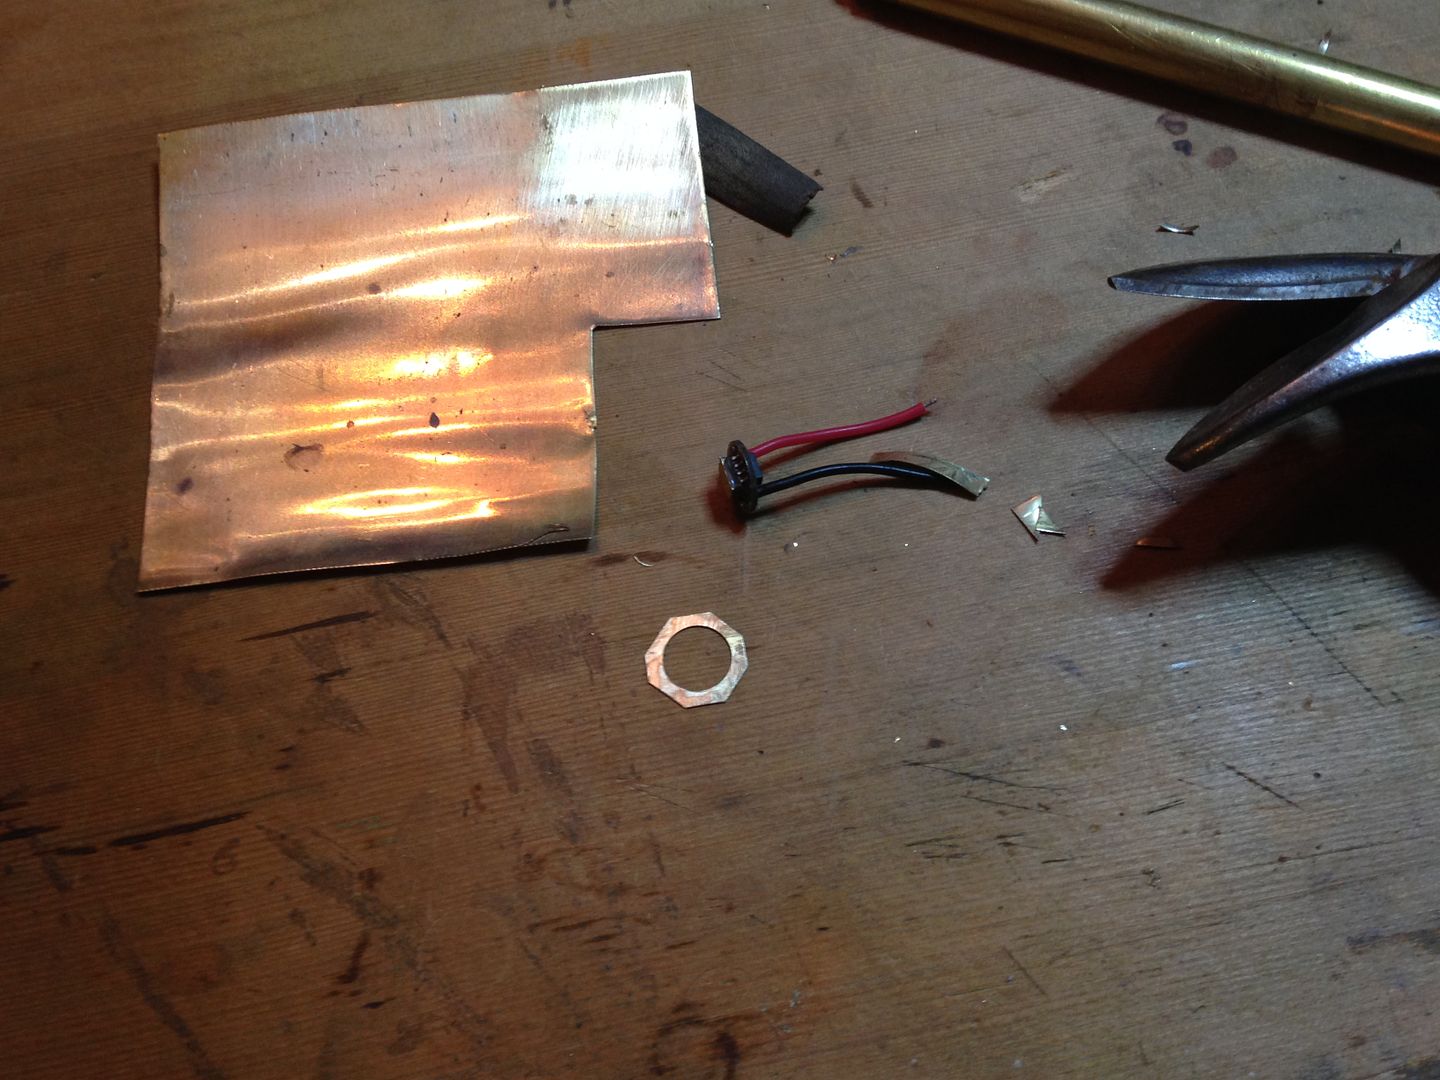
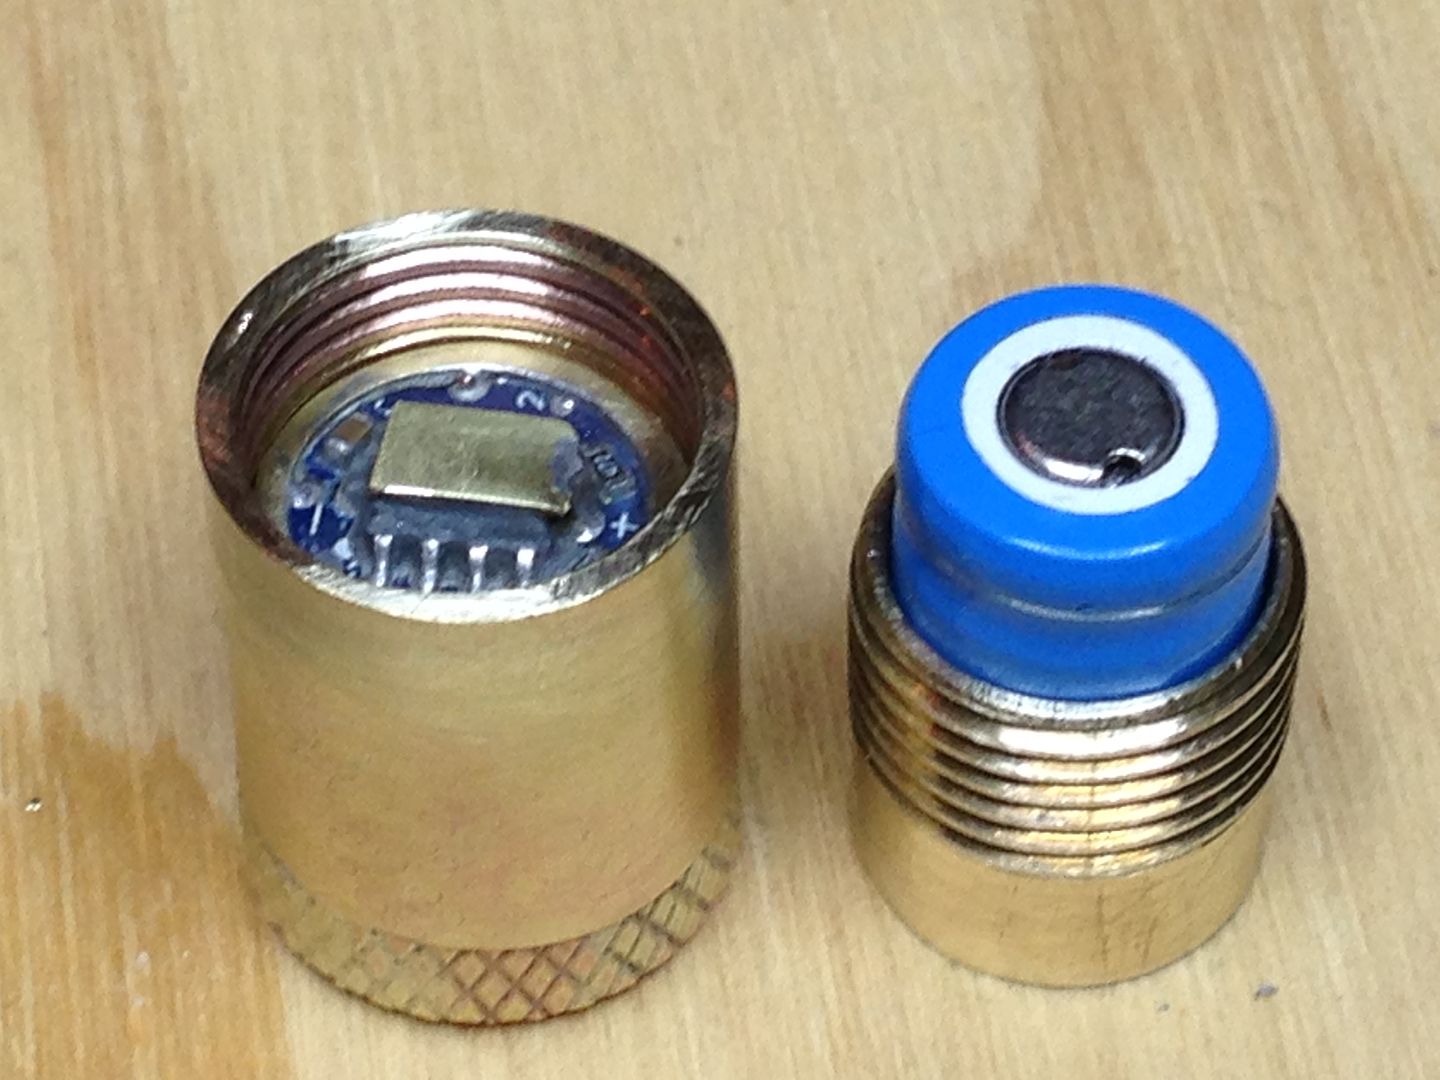
Normally I assemble the pill with the 7135 side facing B+ since that ground ring is wider but I wanted to retain(if possible) the ability to reflash the mcu. On the larger pill ground is carried through the switch and the driver pcb is kept electrically isolated from the pill but the smaller light functions like a miniature version of most lights with both the plus and minus contacts facing the battery and making contact. Since the mcu side ground ring is too narrow and insubstantial to make contact with the battery tube I decided to augment it with a brass ring. I started by drilling a 10 mm hole in .3 mm brass sheet and trimmed that with snips to the rough size.
After flattening it rolling pin style with a piece of pipe I pre tinned the brass so I could solder it to the ground ring but to help center it I first soldered some fine copper wires into 3 of the ground vias. This worked pretty well and only minor cursing ensued.
Then I cleaned off the flux residue with some alcohol and an old toothbrush and
stuck it into the pill with some fujik to make it easier to handle. After that cured, some more sanding, and a bit of polish work and more mild expletives I ended up with this.
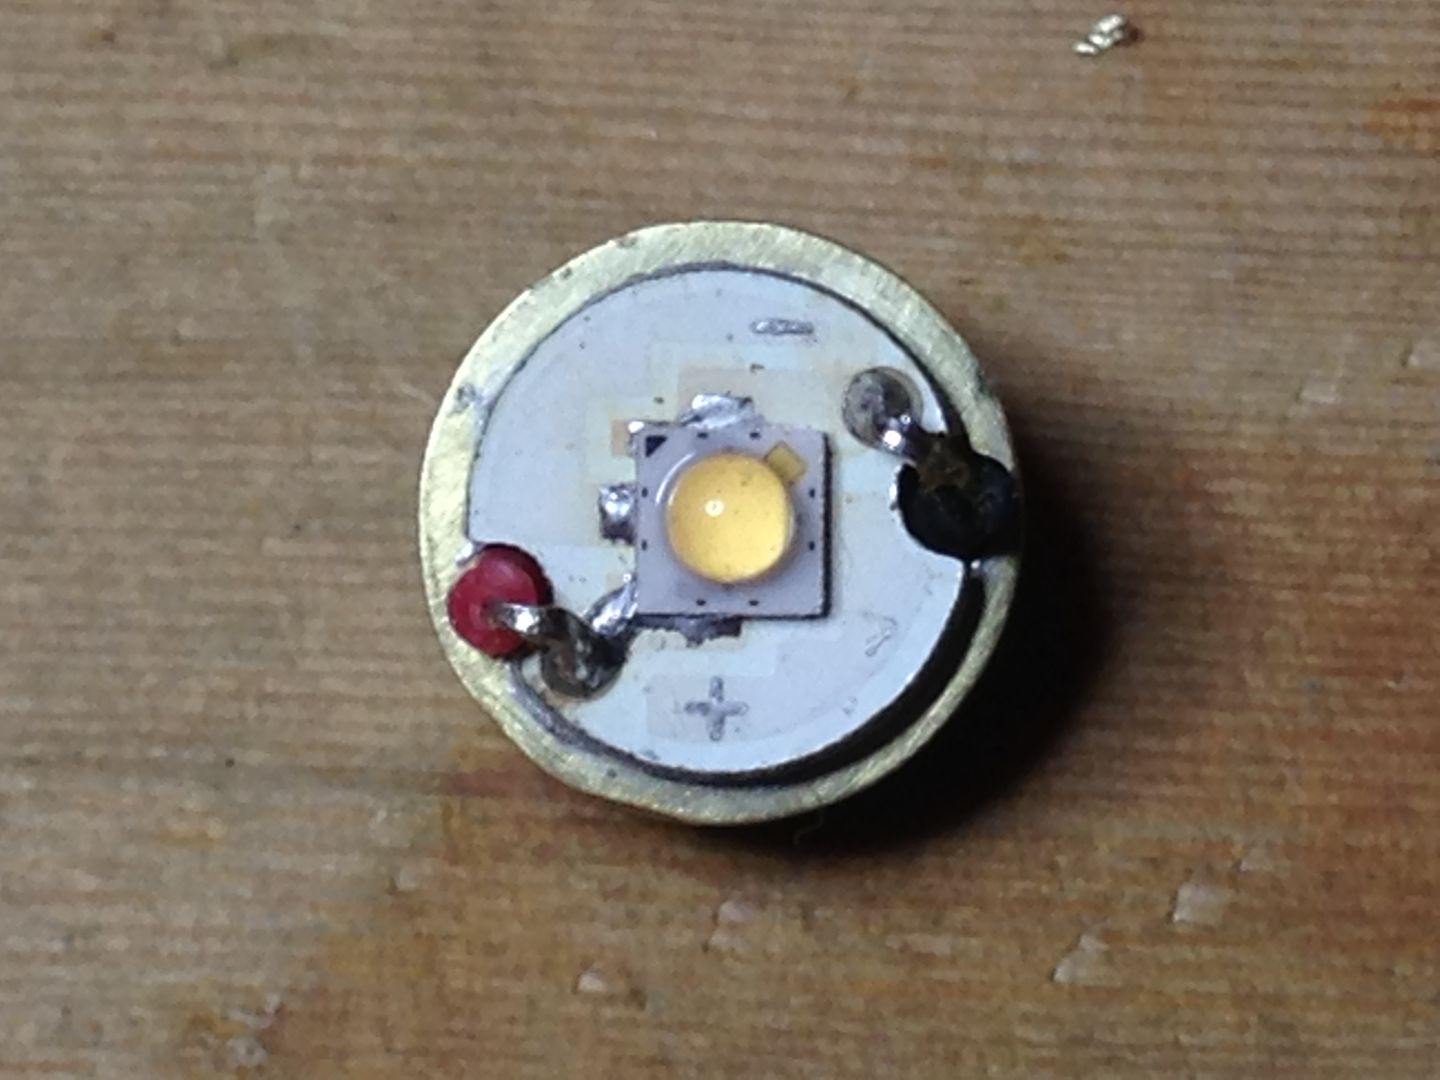
Sometime during this process I trimmed the leads and soldered them to the led.
And while I was at it I fujiked in the other driver with the leads trimmed and soldered them as well.
Oops, I reflowed the led wrong way ’round but since I do this so often I always test the led after reflow so I can wire as needed(rather do that then heat the led again). Both tested dandy so I can finally work on finishing the hosts.
This whole thread is beyond... any other thread actually. The details. The miniscule stacks of brass rings, amc chips and whatnot. I get so caught up in these build threads you post that I forget everything around me. Also to post that this is incredibly well done!
Thanks! If I ever finish I’ll happily take a bow but “all these details” are just symptomatic of an obsessive/compulsive disorder so the more rational(outvoted) part of me has difficulty taking credit for the freakish design ideas of a mad duck.
It would be nice to see a few others try making/modding with K&S Precision Metals brass tubing just because collaboration/competition leads to more rapid improvements in design and fabrication but maybe my circumstances are a bit more unique than they seem.
I did some work on the smaller light starting with a couple pieces of brass tubing and the knurled part of one of the caps I had cut up for the threads.
The smaller diameter tubing fits into the knurled bit and the shorter but larger diameter piece is roughly the length I want. Here it is again after trimming to fit the stack height of the lens and pill.
Now I get to add some threads from the brass cap that supplied the knurling and join the two with an outer sleeve.
I think I may have cooked one spot but I think I can deal with it.
And again after a Fuze Clean FS bath, trimming, and a quick buff.
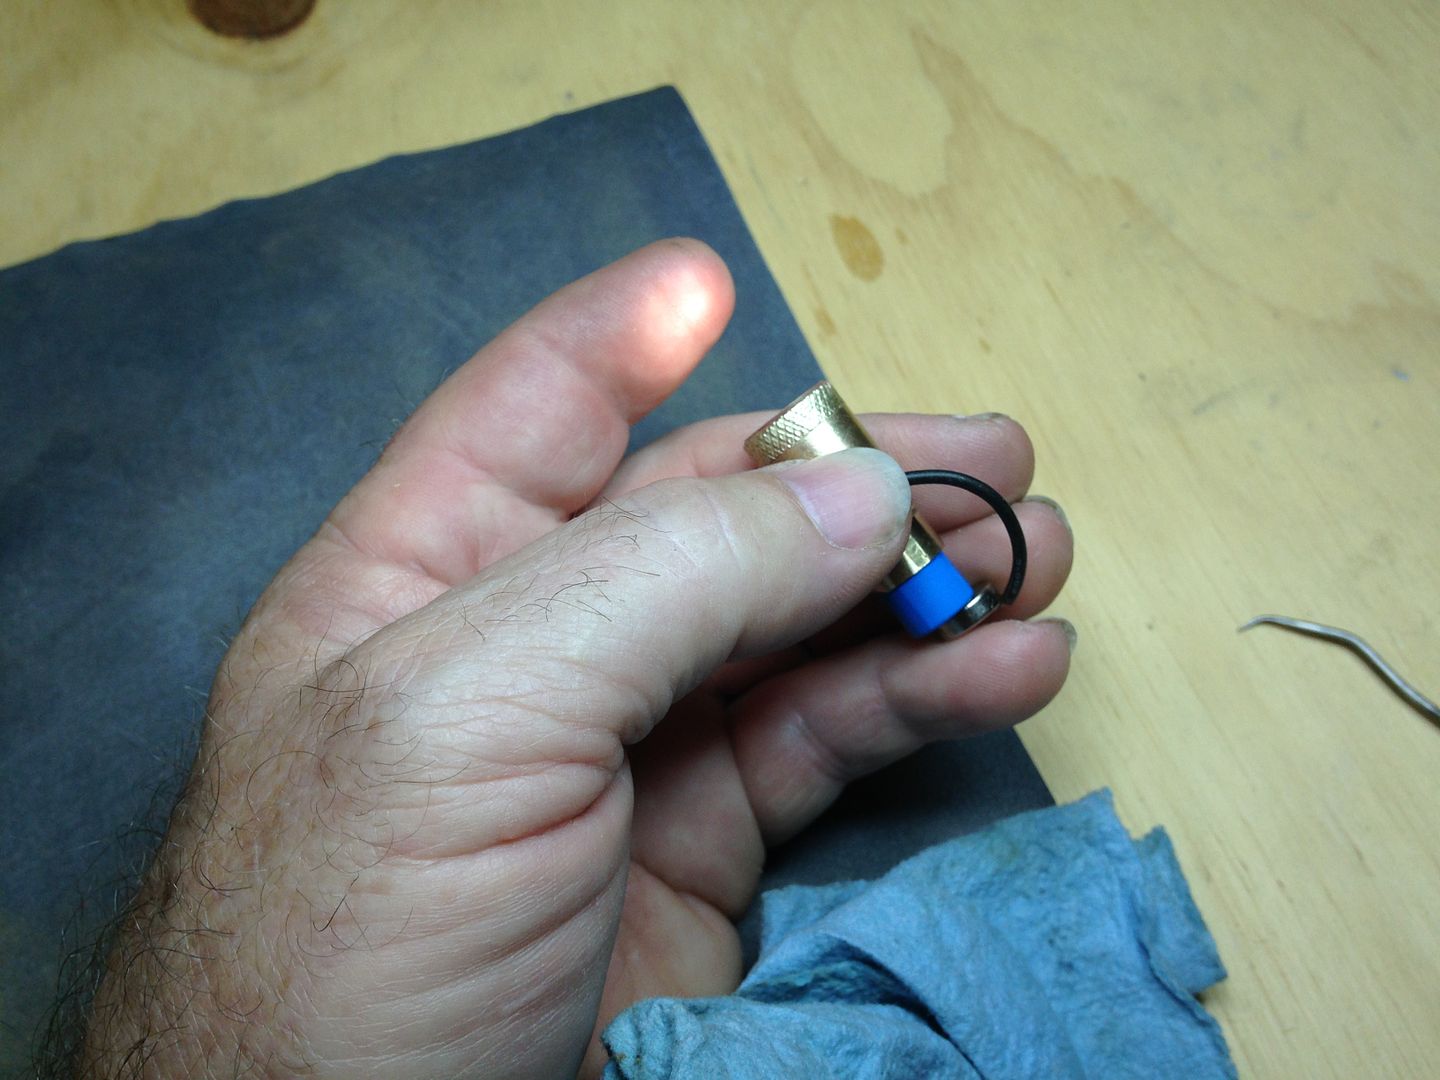
The male thread piece is from the coupling I cut up way back when and gets brazed into the battery tube. I’ll work on that and the battery tube for the other light when I figure out how I want them to look. With it this close I went ahead and stuck the battery in there with a wire to the case.
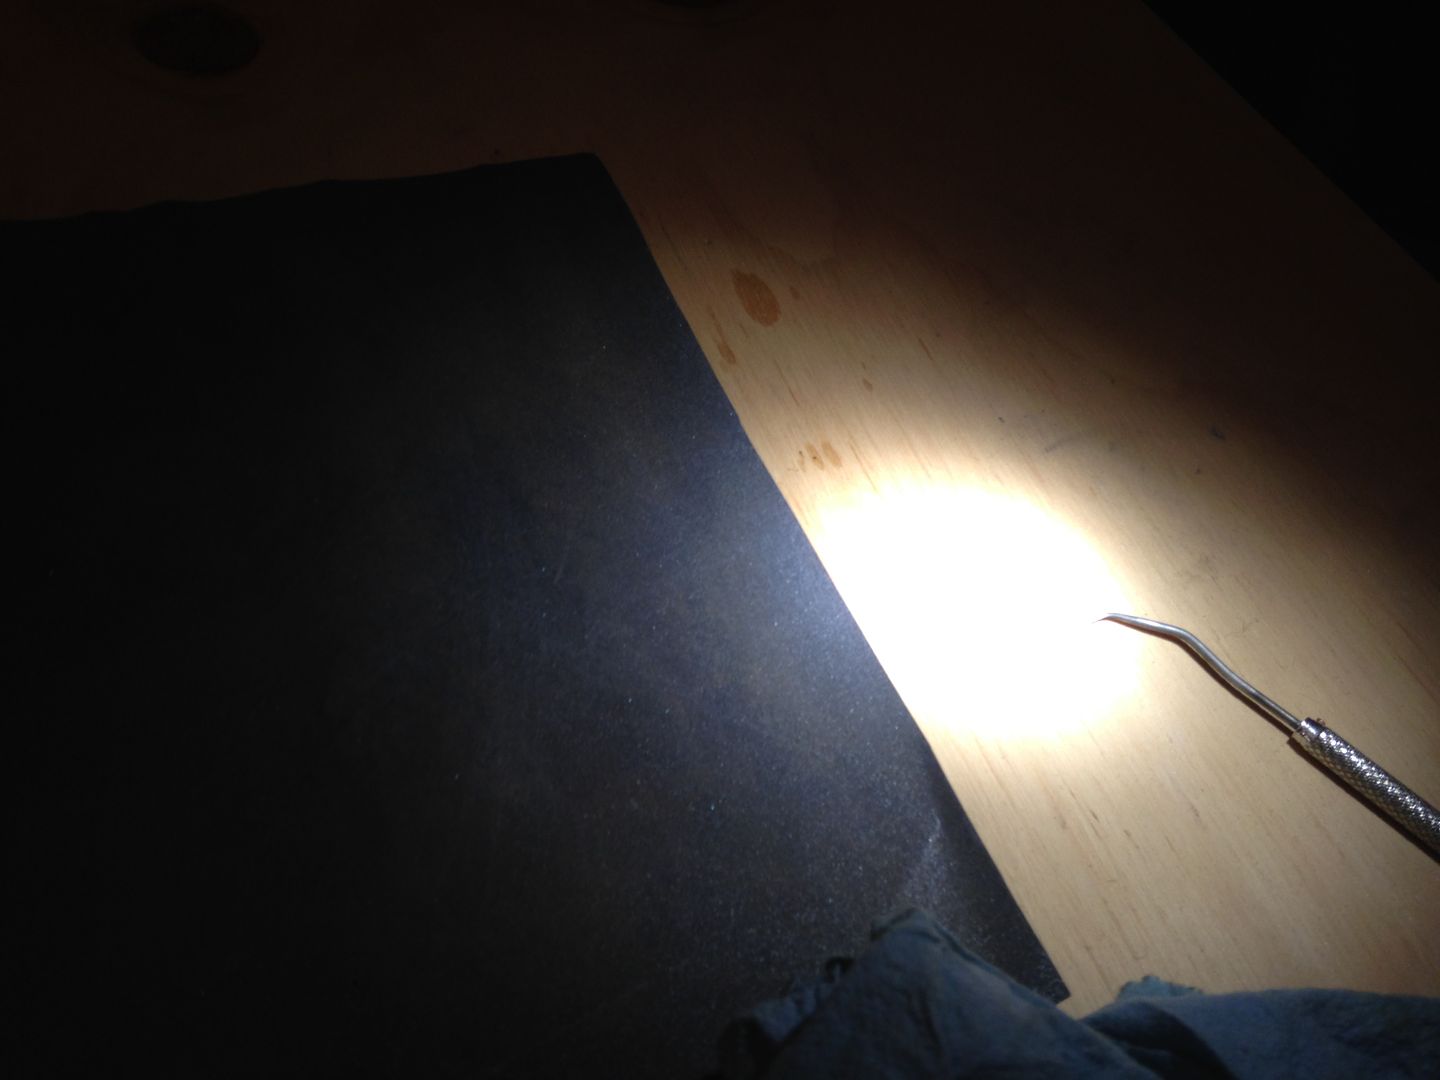
Low with both my lamp and the ceiling light on.
And high with the ceiling light still on but the desk light off.
Not very bright but should be adequate for a keychain light.