No accidental turn on as mine have been recessed.
No accidental turn on as mine have been recessed.
Oooo that is still a sweet looking light Moose ![]()
I find these threads a little boring :p
A little boring for little lights…??? ![]()
![]()
![]()
![]()
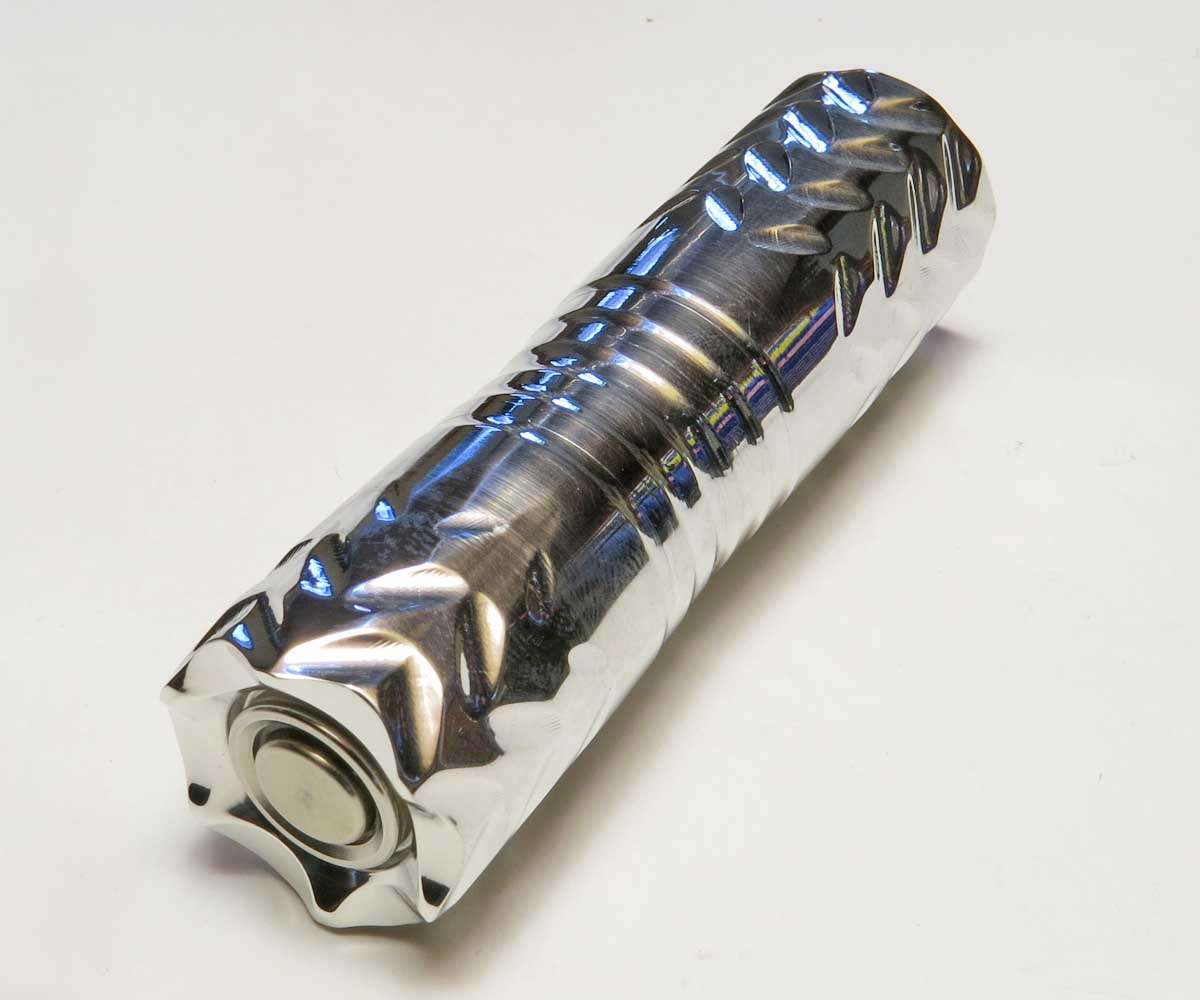
I gotta ask how you get that notch pattern in there? Either CNC or all manual with some complucated math and an indexing head? Im thinking of an end mill offset and angled making side gashes. If done conventional and manual then much respect! Ive got an indexing head with end gear drive on a knee and column mill that Ive been thinking of doing some intricate patterns with. We use it for making worm gears but I bet with some angle offset it would get interesting.
The pictures showing that part of the build arent working for
me sadly but it is a beautiful light.
I dont know if there was pictures on this part of the build as it was all machined very quickly. I used an indexing head set on an upwards angle. Nothing to technical. The rounded corners came about when it was buffed.
You could get very creative with your indexing head with the end gear drive.
I want to do a “knurling” pattern akin to dragon scales at some point but from what I can figure I would either have to index each individual one or set up some form of oscillating setup with a cam or something.
Been busy with other stuff so haven’t achieved much with this lately. Yesterday I worked on the inside of the tail. Made a switch retaining ring and tried to fit a led4power RGB switch but I got a short and screwed something on the switch board so it no longer works ![]() A bit adjustment and mucking around later I got it sorted. Only have a BG blue switch on hand now.
A bit adjustment and mucking around later I got it sorted. Only have a BG blue switch on hand now.
Not much to do now until the clicky compatible driver arrives. If it isn’t delivered tomorrow I won’t get a chance to work on this for 2 weeks.
Cool. Hope it arrives early 2moro.
Be careful with the screwing things, always good to have an insulator in place when you’re unsure ![]()
![]()
Bugger. My luck or lack of has rubbed of me to you. Love the colour of that brass. ![]()
Back from holidays and the clicky compatible driver delivered, I got this 99% finished. If I get motivated enough at the right time I’ll do the 1% but for now it’s a functioning light.
I had to clean off some grinding paste and other muck from the head. It was a bit of a pita especially because I tried cleaning the stain that was already there. Isopropyl alcohol wouldn’t touch it and I’m reluctant to try other chemicals for fear of dulling the shine on the paisley. Not sure what to do about it.
WOW!
Cool ![]()
so much WOW!
Very nice, PP ![]()
You need one of those rotating display pedestals, for permanent display!
The word for the top part which you screw/unscrew on the battery tube is the atomizer. This is the airflow control ring of the atomizer.
Nice work pinkpanda.
RRT-01 modification are in good hands.
Thanks guys.
FmC the wife and kids couldn’t care less about my lights…. until it comes time for a black out or camping (then I’m king ![]() ). So displaying them to myself kinda seems pointless. Hence I like blf, a few more people can appreciate my effort or at least the final product
). So displaying them to myself kinda seems pointless. Hence I like blf, a few more people can appreciate my effort or at least the final product ![]()
Thanks Tally-ho I’ll try remember that terminology. Kinda looking forward to the rrt-01 mods as I’ve never made multiple of the same mods/parts before.
Orsm work pp. Well done. ![]()

