I received a Sunwayman D80A the other day and I was thinking...

That usually gets me into trouble, so I decided to see what the battery holder put out for voltage. I thought it would be 4.8v with 8xAA NiMHS 4S/2P, but it turns out to be all in series, for 10.44 volts. (I don't read reviews much or I would have known that). Well, heck, if it's that high of a voltage, then the XM-L2 leds must be in series. Goody! That means two XHP50 leds in Parallel will work and I can use the stock driver.

Let's see how it goes.

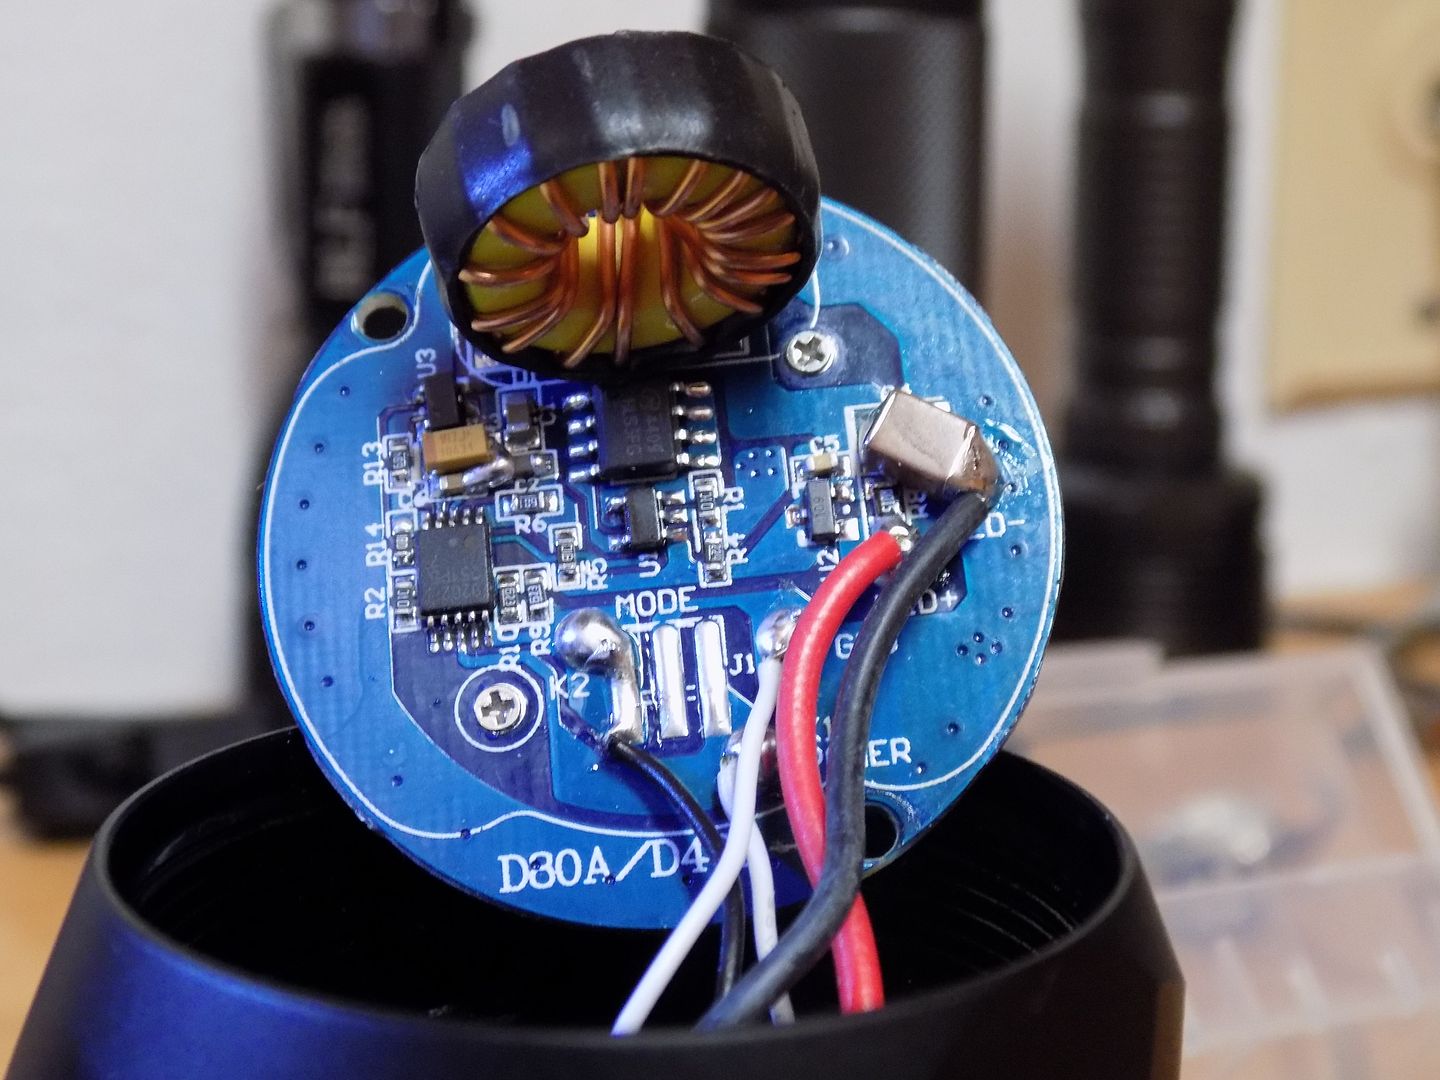
Once you remove the head, you can use a small phillips screwdriver to take out 2 screws. They hold the driver in and once they are out, you can lift the driver right out. There are 5 wires inside. 3 of them go into a connector for the switch and the other two are led+ & led -.

I just desoldered the two wires and you can just leave the three wire connector in place. There's enough slack that you do not have to risk breaking it, trying to get it off the switch inside. I took it off, but it's not necessary.

The bezel comes off after removing 4 T-10 screws from the front. Then the lenses and reflectors come right out. Just tip the head upside down and shake.

The XM-L2 leds are in series. Cut the series bridge wire from inside the back side of the head and the leds come right out. They have thermal paste under them.
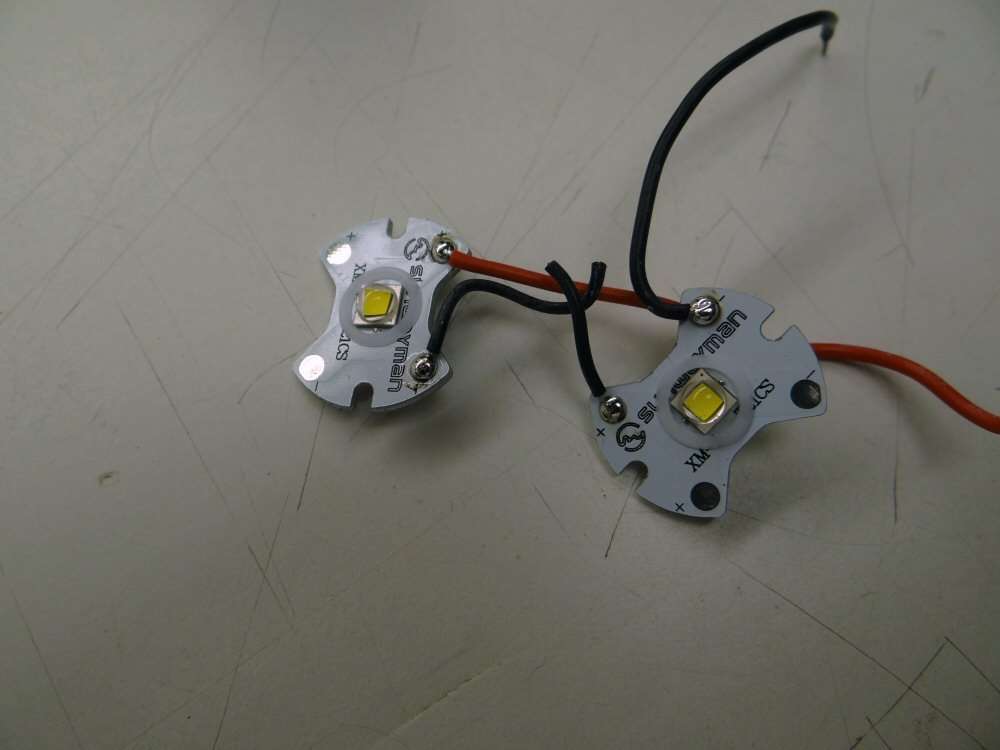
Shows the wires I cut. These are aluminum mcpcbs and they are made for the light. They are about 24mm OD, but I just used 20mm XM-L Noctigon stars for replacements.

I reflowed two 6200K XHP50 leds and used 20ga wires. I will be wiring in parallel, so both positive go to the driver led+ and both negative go to the driver led-. I am using the same centering rings and the reflectors do not need to be opened up. They sit over the centering rings as before and I used that to center the mcpcbs when I dropped the reflectors back in. The bezel presses against the lenses when it is tightened, so the stars are pressed against the led shelf, for good thermal transfer.

I tested the stock reflectors with a couple Li-ion cells, DD, so I could see how bad the beam would be. The stock reflectors have a very mild OP finish, but it left the black x in the beam, so I tore it back down and did my own heavy OP finish with clear paint. I believe I have a video on my youtube channel showing how to do that.

That took care of all the artifacts.

All buttoned back up and ready to test with the stock battery pack.


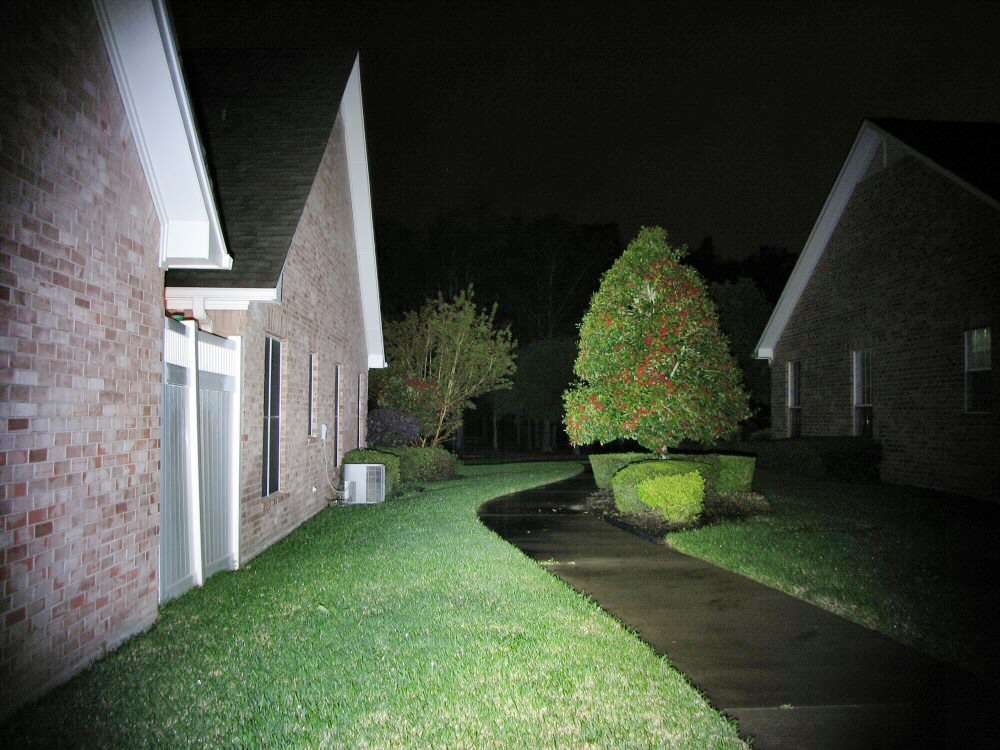
It has a larger spot, more spill and is twice as bright as it was before. Well worth a couple hours in the shop.
I will do outside beam shots tonight.
This is a great mod for anyone who is into modding. Simple to replace the leds/mcpcbs and still keep the stock switch. Hope y'all try it out sometime.