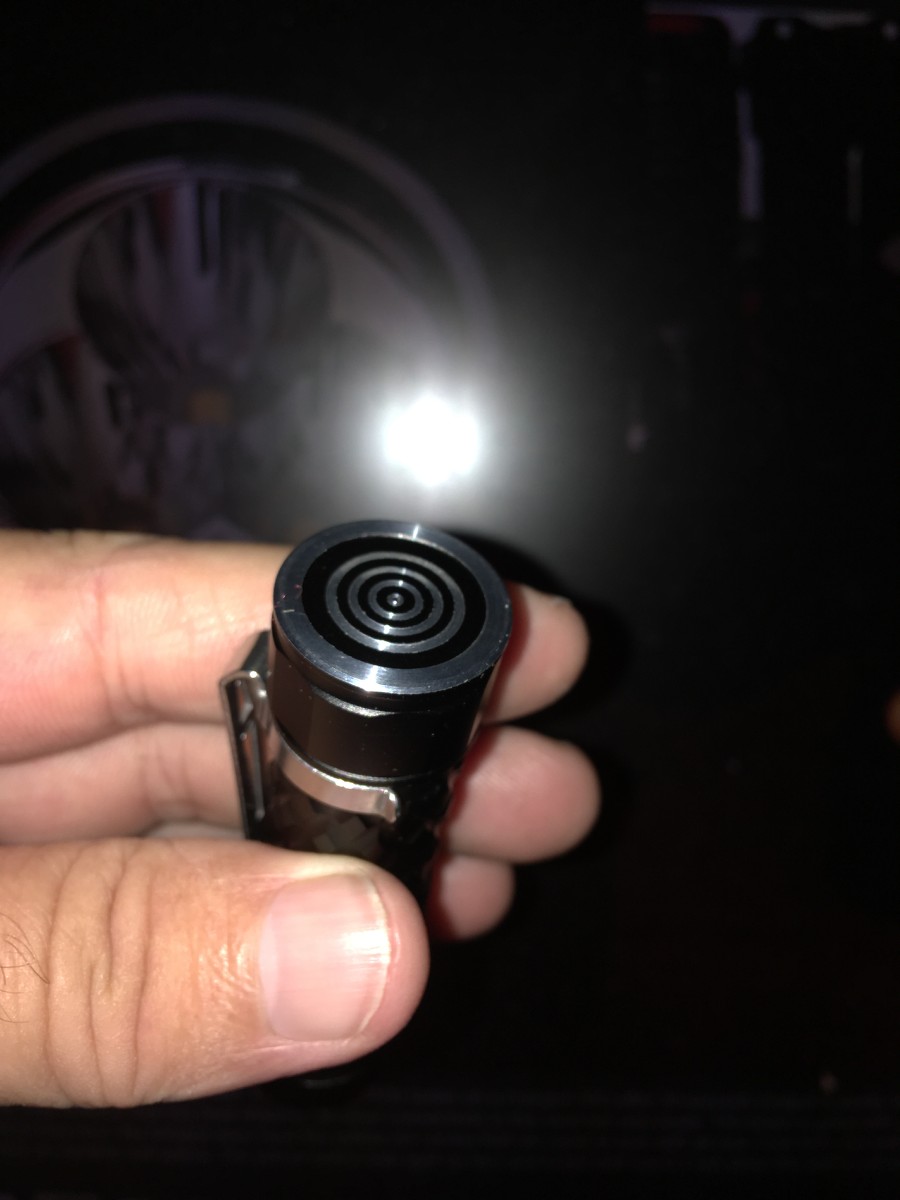
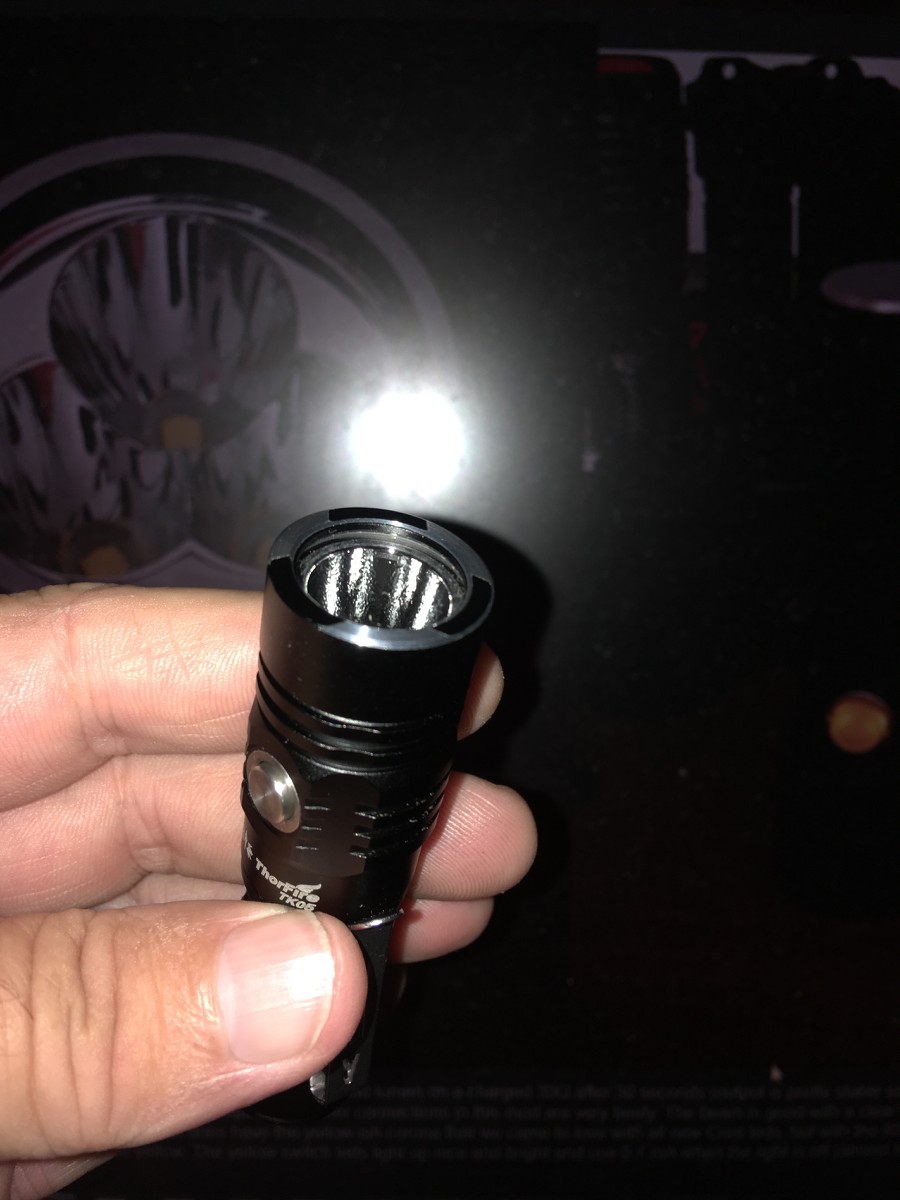
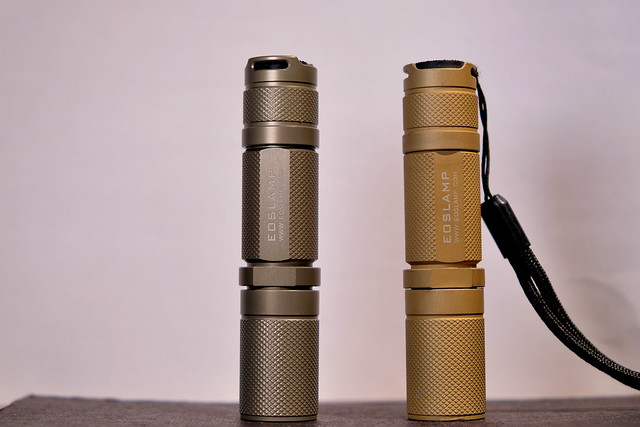
I put my new little Thorfire TK-05 on a small diet.
This small 14500 sized light doesn’t need tactical crenelations, gone… nor does it need a lanyard… wings gone. So maybe now it won’t snag things with the little wings on the tail cap when in my pocket.
As it turns out, I also built an FET+1 driver for it with Anduril. So the TK is for ToyKeeper and the 05 is for (true stuff right here!) my fifth iteration of Anduril. I was thinking this when I cut in 5 visible rings on the tail cap. Should have laid it out more carefully (actually should have laid it out, cut it on the fly by eye) I guess but oh well, bulls-eye works.
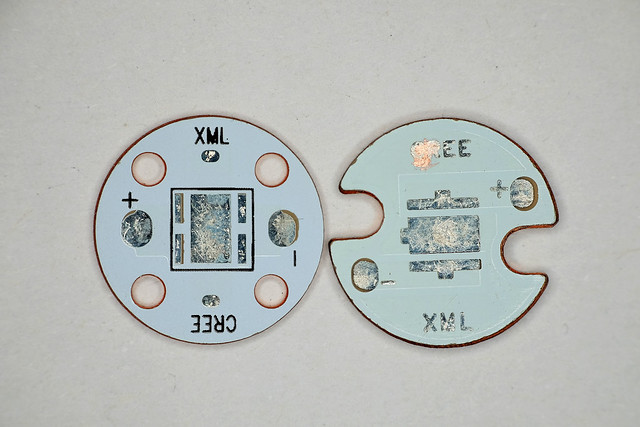
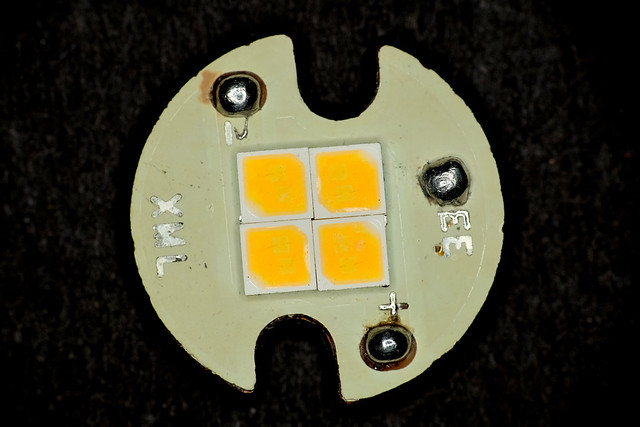
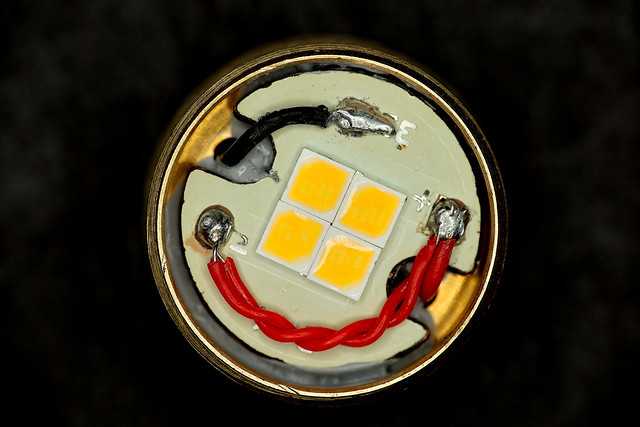
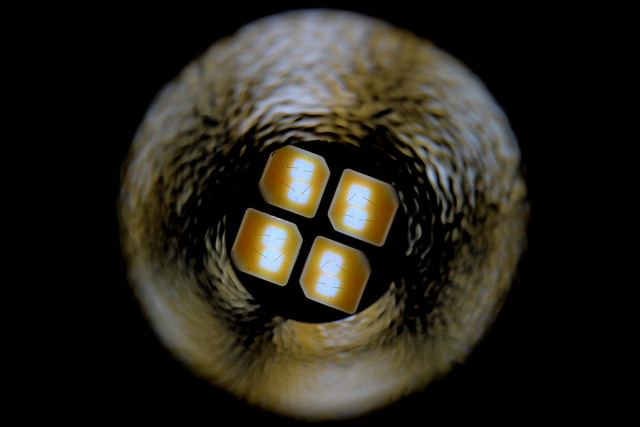
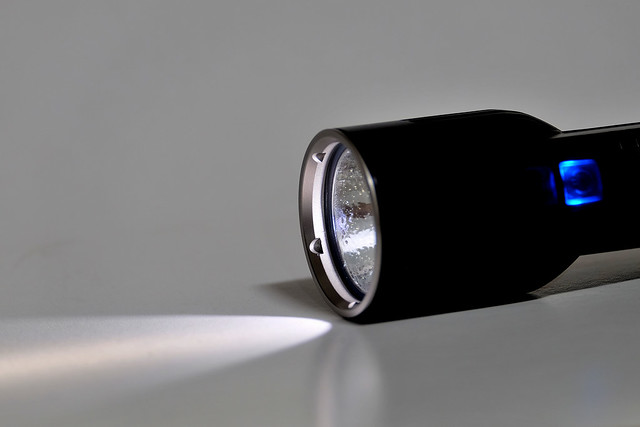
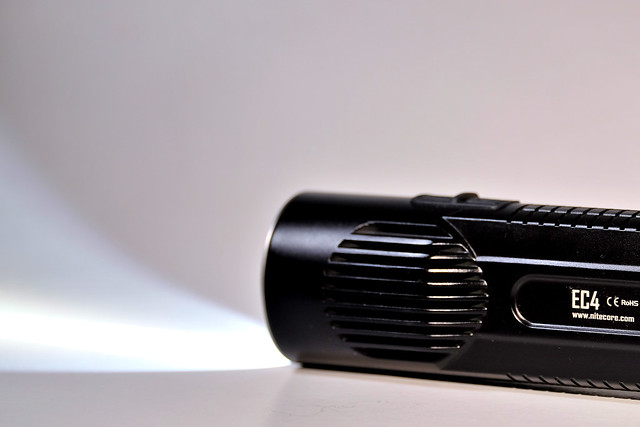
DQG AA Titanium with forward tail clicky and USB charging port.XP-L HI v2 1A on 16mm Noctigon
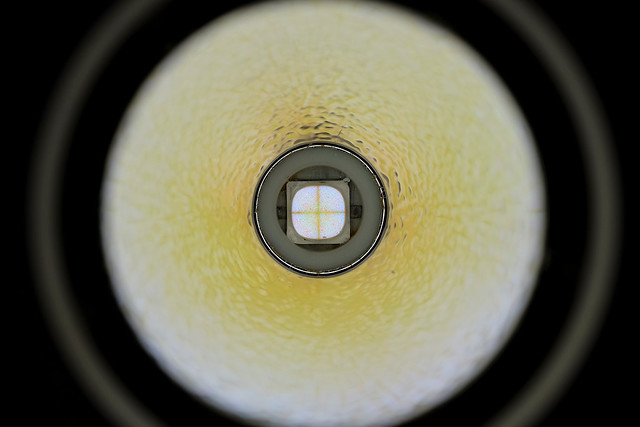
Narrow spot TIR
FET 10 driver
Potted
Graphite aesthetics
Forward clicky magnetic tail switch
Green 6mm x 2mm tritium vial
Micro USB charging port (300mA)
ME4056 charging board
Max - 924lm OTF
69mm x 18mm
Weight - 45g with 14250 cell
Unscrew the head to reveal the micro USB charger port.Forward tail clicky soldered into brass tube and fixed to tail cap with brass contact ring. Brass contact points in head unit.
Charging unit is potted inside a copper housing.A 300mAh 14250 cell is used with this light.To charge, remove flashlight head, turn on the clicky switch and connect USB lead.
Red indicator for charging and green for charge complete.
The charge current is 300mA maximum, around 1C for this 300mAh 14250 cell, charge time about 1hr:10m
Changed the reverse clicky in the brass kubatan to a forward clicky.
Installed a 10507 optic and magnetic tail in my brass triple Nichia 18350 light.
These are 2mm x 2mm magnets, 25 of them. It was not too easy a task :laughing:
Well it’s not a flashlight or as cool as the rest of the posts on here but…. I modded an old desk light I inherited from my grandfather. I ripped out the old transformer and installed a new little 12 volt switching power supply, the led are 5630smd’s warm white. Fun little project.
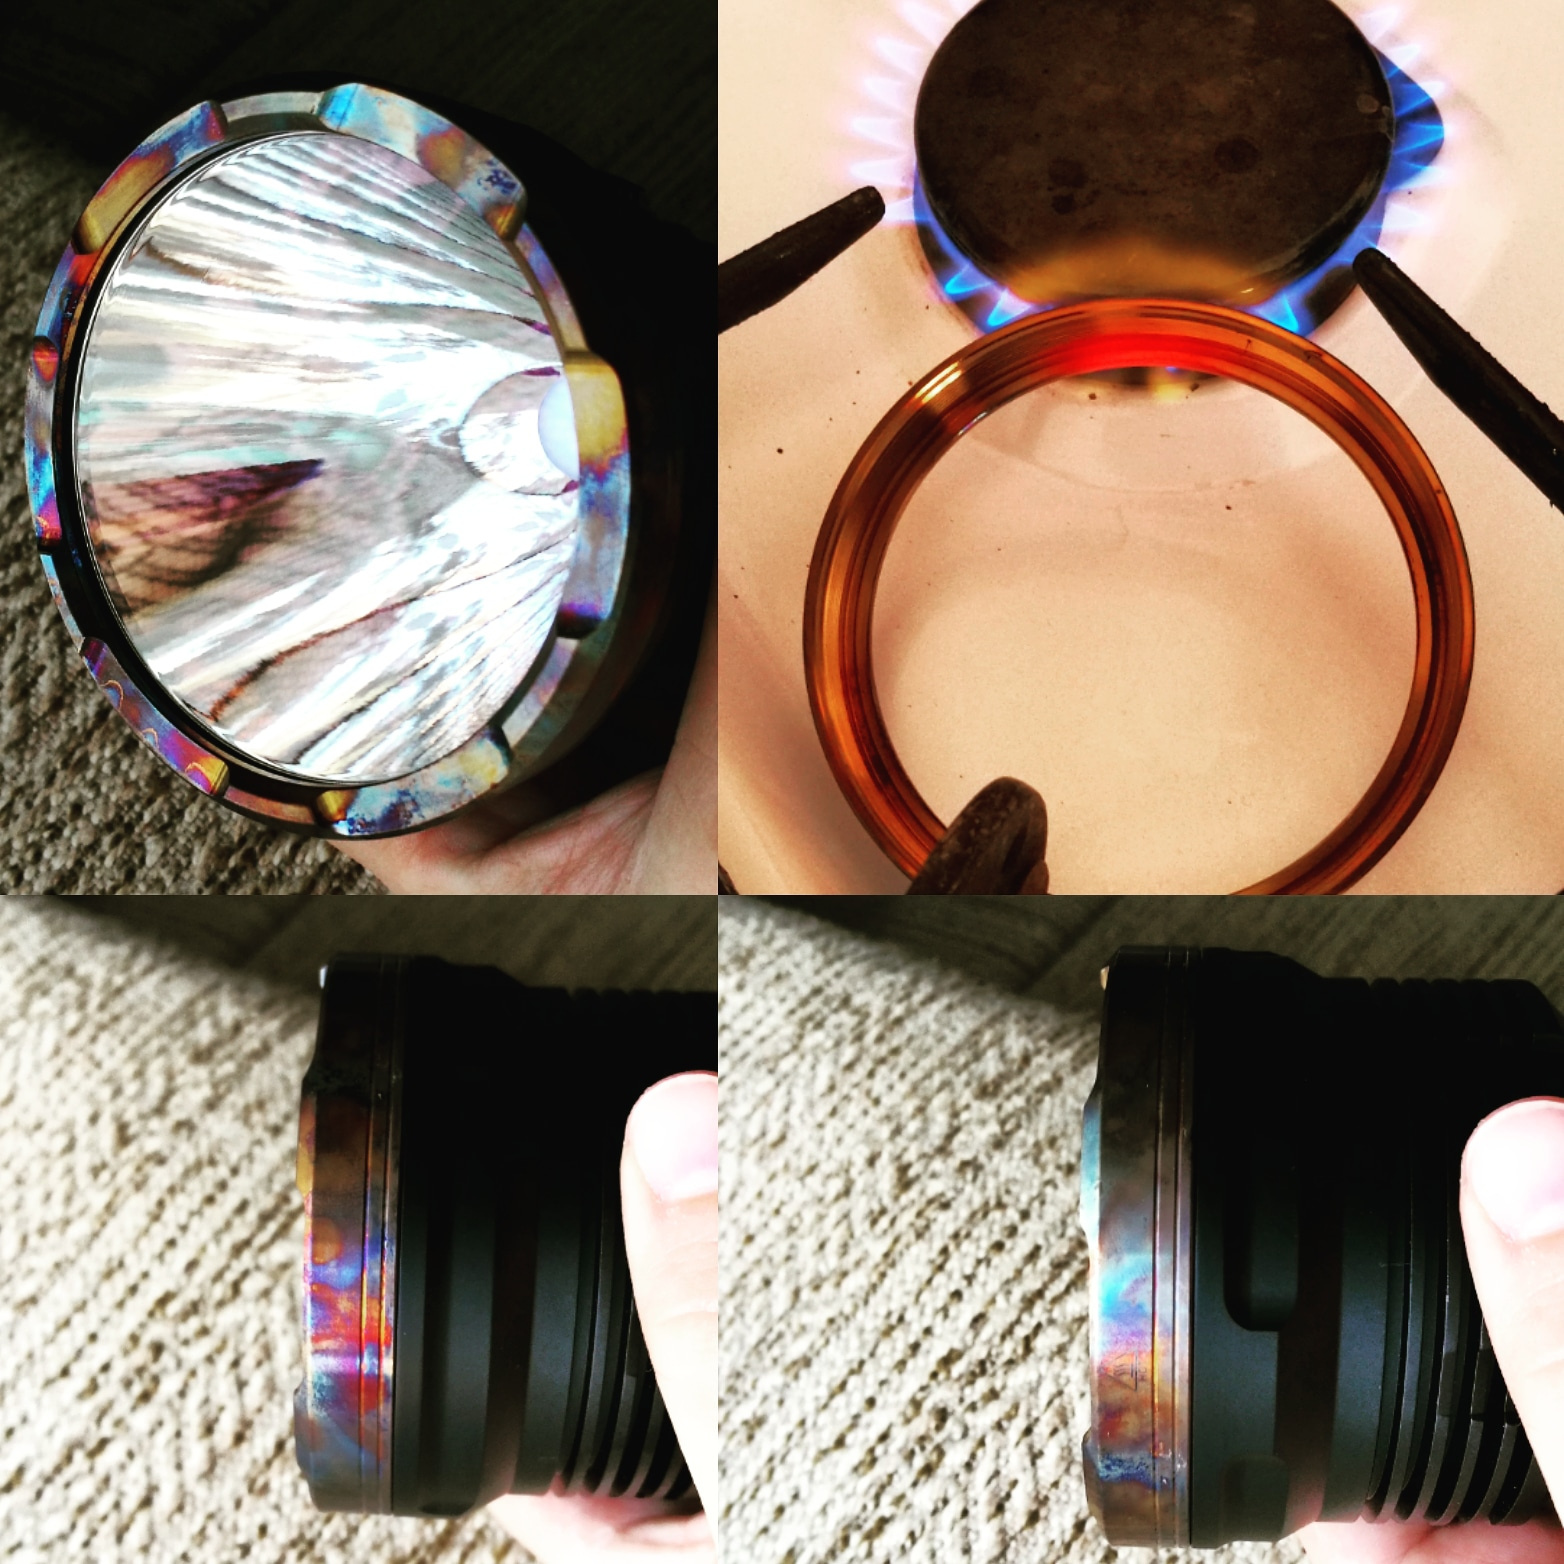
Someone said a mod is a mod, right? So today was not a flashlight day but still a project on the lathe involving titanium and bronze and aluminum.
I got a Benjamin Steel Eagle Pellet gun a couple of weeks ago. What with my neck and shoulder issues the break barrel is a bit tough to deal with repeatedly so I decided to modify it. I removed the barrel shroud and silencer, made a new adapter to step up to bull barrel size out of silicone manganese bronze and cut the shroud down to fit onto another adapter threaded to the end of the barrel from the same bronze. Then I made a Titanium tube to screw onto the bronze barrel adapter and threaded the end for the factory silencer, modified the silencer to thread into the ti tube. The net gain is a titanium 1” barrel that adds 5” to the length of the barrel making it much easier to break the barrel to cock it.
This is a .22 caliber pellet rifle that uses the new gas piston technology to propel the pellet between 700 and 1000 fps depending on the pellet used. (as clocked by me on a chronograph) About 21-26 lbs ft. of energy which is plenty to knock the pesky squirrels clean out a tree!
In the process of getting this up and running, I upgraded to a 3-9x 40mm AO Hammers scope and a Weaver one piece picatinny mount. Seems to pretty much be a tack driver so far.
After a lot of testing with some 9 different pellets, it likes the H&N Barracuda Extreme Hunter hollow point at 18.52 gr.
So now you see what I’ve been doing that’s kept me away from lights. (not that I haven’t still made a few lights, but you know…)
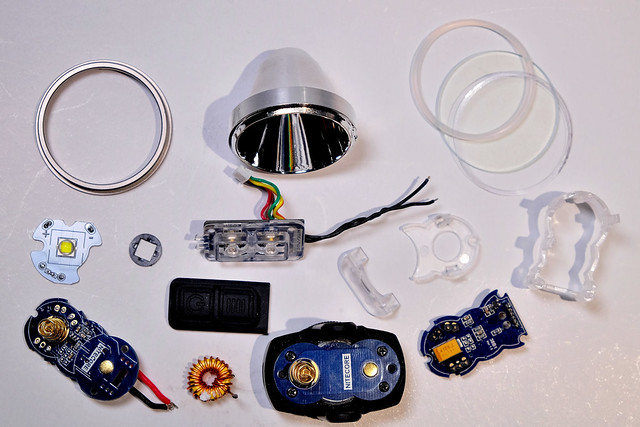
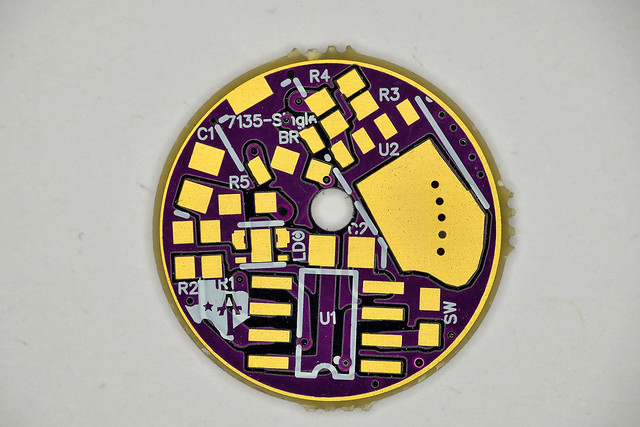
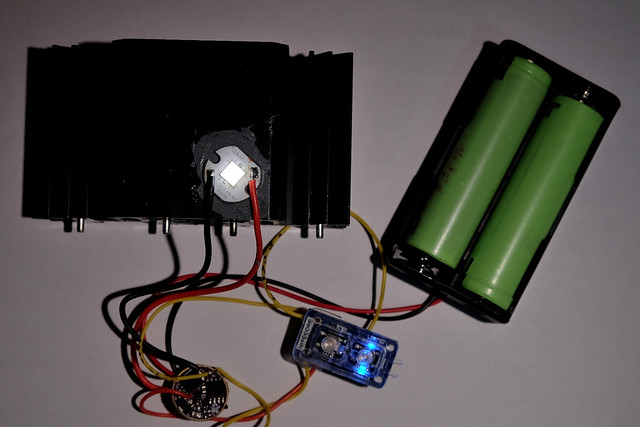
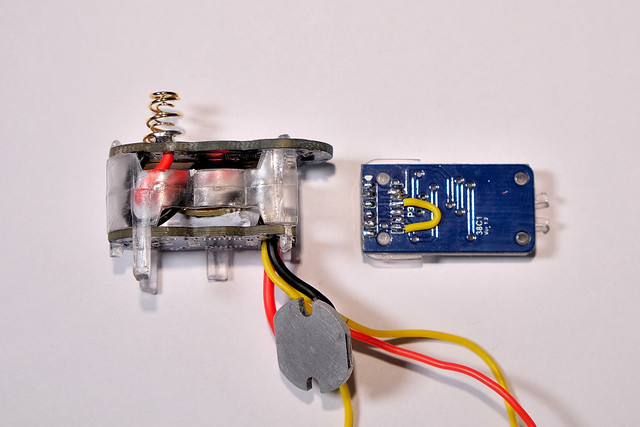
TA driver, 2-ounce copper process, 17mm x 0.8mm
NarsilM V1.3 firmware
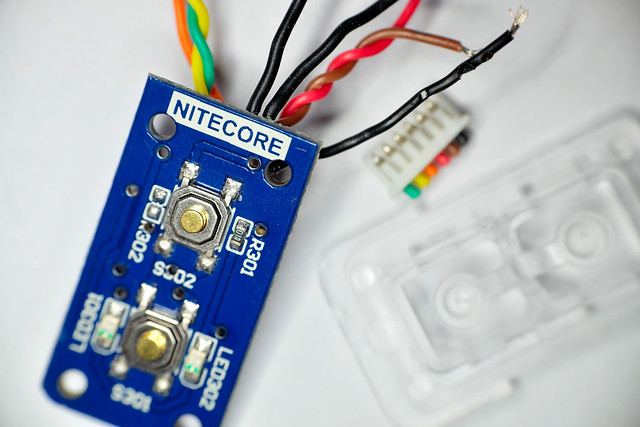
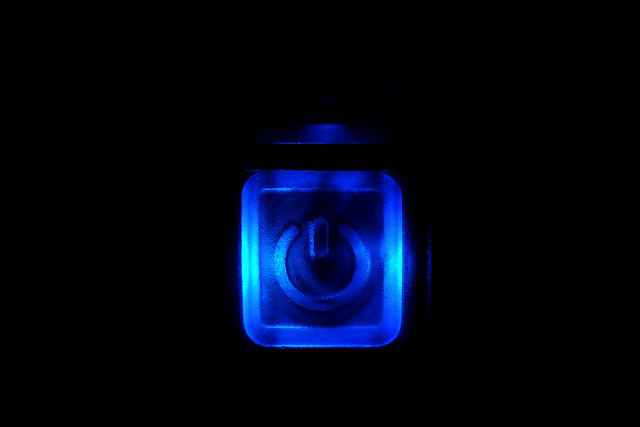
two blue LED, to be used as a power indicator
both buttons available and have the same function
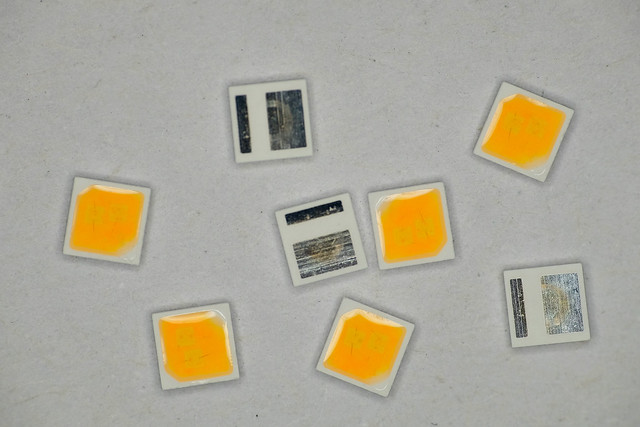
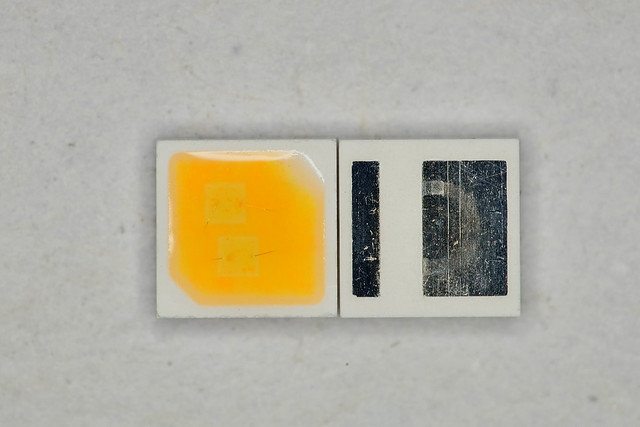
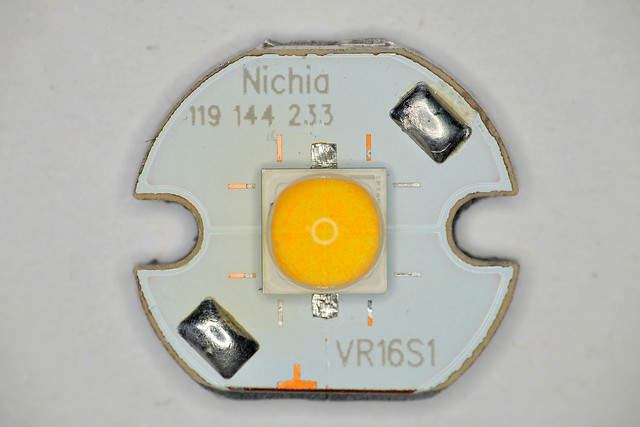
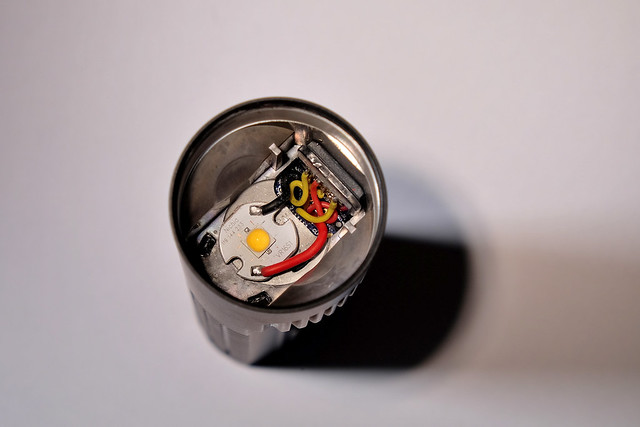
Nichia 144 Series 6V LED, 5700K, R9050
smart now, test first
Made a simple test platform, tested successfully
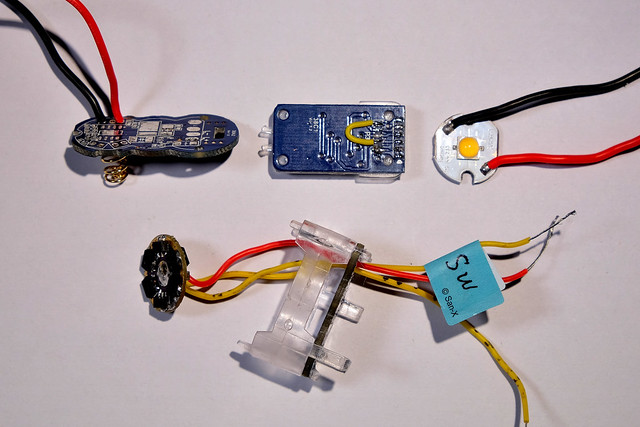
weld the wire and prepare for assembly
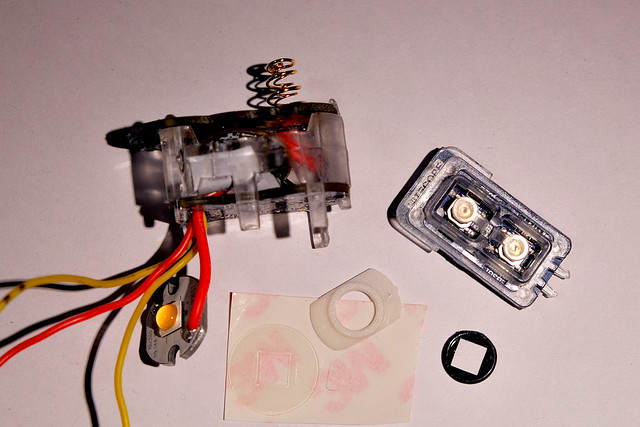
new driver sealed in the original circuit mezzanine
the other side
install the switch, and solder the wiring
blue LED brightness settings very low, can reduce power consumption
In addition to indicating that the power is on and indicating the location of the flashlight in a dark environment
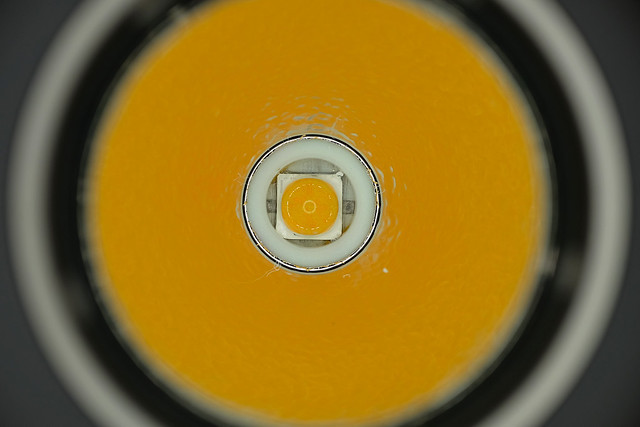
Build process: kaidomain’s PCB has to be filled to fit the host, also their optics has too big legs and they have to be trimmed. Added fatter oring between bezel and the glass. I was surprised by throwiness of kaidomain’s optics, seems to be different (more clear) than carclo 10507:
I removed 4 of the 7135 chips from my Convoy S2+ in an attempt to get a dimmer low, and a cooler (less warm in hand) high mode. But more than that, I just wanted to see if I could pull it off and notice the difference in the output!
I’ve since added the Convoy illuminated tailcap, but I find it too dim to be noticeable with the steel-type tailswitch button:
Maybe I can change the factory SMD resistor values on the tailswitch to increase brightness?
I like it very much. :+1:
I am also into this hobby and I can say after changing several types of PCP rifles that I like and prefer classic break barrel(springers, gas ram) rifles over PCP anytime.
I hate pumping with stirrup pump and other reason is that I can’t get any air for fill station and third is that PCP requires a lot more of fiddling, fine tuning, additional equipment and money. You can buy very, very fine rimfire for that money and just shoot and enjoy in power and accuracy strait out of the box.
If air rifle than my vote goes to break barrel type(gas,spring,nitro piston).