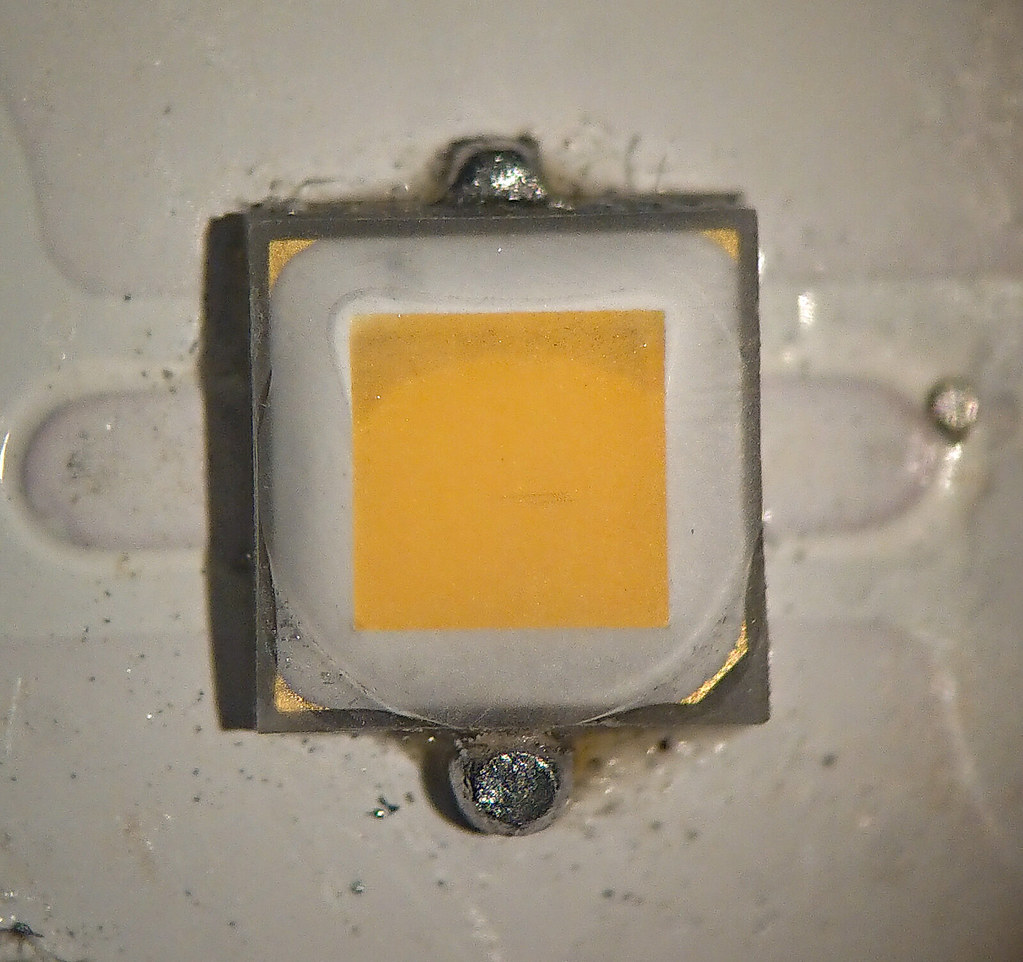
I looked this SST-90 up to see what is said about it and they’re pricey little buggers! $50 or so for the SST-90, around $75 for the SBT-90 (I have one of those as well) The SST-90 has tables showing up to around 27A so it can take more but it’s mostly heat being shed up there, granted this one was increasing output with spring bypasses and such, it just needs to be in a considerably larger light.
Vf goes up pretty good at the high amps, probably what stopped it at 20A or so in this application, the sag on the VTC5A met it on the way down.
According to the charts the SBT-90 is only good up to around 13.5A, don’t know why it’d be different but that’s what they say.
I have the opened up X6 reflector sitting on the substrate around the die, tried pulling it back to see if the odd hot spot changed but it really doesn’t, get’s somewhat smaller but keeps the egg yolk appearance. I might have to carve a Delrin centering ring for it and see if works better, maybe 2mm or so…
I was playing with my new C8F with D400 319AT’s and took my F13 with an SST-40 along for comparison. The C8F clearly makes nicer light, but it was another reminder of just how much light a DD SST-40 can make.
After seeing how easy the C8F build was, I’d cooled on pushing forward with my SST-40 triple project. But now I’m back to wanting to see that 3x SST40 will do.
To that end, I spent some time trying to figure out how to do the interconnects.
Thanks. There are definitely some big problems still to solve.
This is what I’ve come up with so far:
I was thinking I’d epoxy it down, grind through to the solid copper wire, and hammer some copper wire flat to use as jumpers to solder between wire and MCPCB contacts
It’s a little bulky though, so now I’m thinking that I’d try to get down a thin coat of epoxy on the copper disc, and on the sides of the MCPCBs. Next then I’d strip the heat shrink insulation I put on the wires, and place the bare wire on the epoxy once it hardens. Then I’de cover it with another layer of epoxy to just under the top of the MCPCBs. Once its set, I’d then jumper to the electrical contacts on the sinkpads.
Another thought was to cut out another disc into two separate conductors, and then epoxy them in. I’d probably try it, if I had a jewlers saw, but I don’t, so…
eas, when I’ve done triple or quad builds that required individual pads I oriented the positive pads towards the middle and then soldered a copper disc to these pads, ran the positive wire up into the copper disc like a via and soldered it in place, then ran an 18 ga wire around the outer edges to make all the ground contacts, stripping a small area on the large wire to solder the wire to the pads and leaving the insulation on the rest of the wire, this proved to be the easiest path I’ve found.
And as far as the SST-90 being a retro build, maybe it is or maybe it’s not… I’ve built over 500 lights and haven’t done an SST-90 build so this is brand new cutting edge to me, certainly in an X6 format. And as I already had the emitter and didn’t have to buy one, the price wasn’t relevant. This one came from an Odepro diving light that I modified for a friend of mine. I also have a brand new SBT-90 in the kit I bought from Justin (Old Lumens) a while back, but checking at Mouser and Digi-Key the prices are current, around $50 for an SST-90 and $74 for the SBT-90 as of yesterday.
Being as how I’m pretty retro my own self and my upgrade package has failed to arrive (aside from a bit of bridging on the framework of course) , it’s probably kosher for me to be using old school tech for new school builds. (I just KNEW I should have built a driver with the Vishay 07N02 on it!)
Ran across this while looking through my pics for an example for eas, so no, this wasn’t modified today but I DEFINITELY did some modification to it at one point…
Habanero is almost tame these days. Enough Carolina Reaper does that.
My 10 yr old got the Sriracha fries at Jack-in-the-Box the other day and gobbled em up, he’s learning Habanero and dares the Reaper but it’s a bit over the top for him.
Have some 100 blooms starting on my Carolina Reaper plant and my Red Savina Habanero is growing nicely.
Edit: FWIW, it’s not the level of toughness, it’s the measure of insanity.
Edit II: Protein? Really? Lots of Vitamin C, yes, but protein?
Much like our flashlight mod skills, your diet can be modified to include the spicier peppers. Start small, like with flashlights, and work your way up. Time and dedication, perseverance helps too. Patience also comes in handy, as there will be mishaps along the way… eat too much Habanero and you’ll wonder if your porcelain throne will survive. I’ve built lights that I’ve wondered how sane they are, I mean, when you get up towards 50A and 400+ watts in a handheld flashlight you really have to wonder if you’ve gone too far…
This SST-90 mod should be around 74 watts in a small pocketable flashlight… that in it’s own right is probably a bit over the top.
Edit: Measured 3.48V at the emitter with the cell not fully charged, so at 20A it’s making 69.6 watts, probably up a bit over 70 when the cell is fresh but of course that doesn’t last long at all. Burning the fingers inside of 12 seconds…
If re-flowing on a hot plate they tend to stay pretty stable, it’s funny, you can scratch a line around that MCPCB with an X-Acto knife and the solder won’t jump it, sort of magical. But yeah, should have the emitters in place already to make it all somewhat easier if a bit more nerve-racking in the end.
Until recently, I did most of my reflowing using my 20+year-old 40w soldering iron pressed to the bottom of the star I was working on, with the star held in a wooden clothespin in a table vise.
I got a hot air rework station from Amazon a few weeks ago. I still use the same technique, but use the hot air gun instead of the iron.
I checked what happens to a 4000K 90+CRI Samsung LH351D led (from AEDe) if you slice and sand it.
I cut the dome very close to the die with a razor blade and sanded the surface flat, starting with 1000 grit, working up to 7000 grit. It did not get really shiny but the finish is smooth. At one point I got carried away with sanding and sanded into the phosfor on one side. With the phosfor being thinner on that side, the output has a bit more blue than if I did a perfect job.
To evaluate the tint, I swapped the led (on a 16mm DTP board) into a OnTheRoad M3 flashlight.
And boy the tint is nice and cosy! I estimate 3500K, but rosier than a 219C 3500K R9050, with just the right amount of yellow. I can recommend every Nichia 219B R9080 fan to check this LH351D surgery. Btw, the greenish AR coating of the M3 lens works as a very slight minus-green filter but without it the tint is not obviously different.
I also lost lots of output compared to the stock cool XM-L2 led, back to 370 lumen (~600lm stock). But the output is surprisingly steady, OTR did a good job with the driver.
Here is a projection of the led inside the flashlight, you can see where the die is blue-ish on one side.