One of my BLF D80’s. The main thing I did not like is that it has memory and the levels are descending. I have grown to prefer starting low all the time and going up.
So today I removed the standard driver. I replaced it with a 17 MM Qlite from mtnelectonics. The Qlite has the star off-time firmware with custom levels set to 1, 5, 15, 40 and 100%. Those are set to ascending and moonlite is enabled for a total of 6 levels. 8 * 7135 for 3.04 amps (standard config from Richard).
I left the standard LED and MCPCB as is.
The head of the D80 does not permit the use of a 17 to 20 MM brass adapter ring; too much thickness for the brass retainer ring to catch threads. However there is room inside the head, towards the front, to use a 20 MM partition board and place the 17 MM driver inside, between the front end and the cell tube. This involved sanding down the 17 MM to make for easy fitting. And because of the anodized internal thread at the driver retainer I had to insert a connection between the outer ground rings where the driver and partition are about 1 MM apart. I found I needed to solder a small brass button to the end of the stock Qlite spring to have sufficient clearance to make positive terminal contact.
My camera had a dead battery. No pictures as I was impatient to do this. I can easily take a photo of the driver / partiton if anyone wants to see it.
I bypassed the spring because the soldering iron was hot and, why not.
The UNI-T clamp meter gives a reading of 3.01 amps after 30 seconds, measured bypassing the tailcap with an 8 AWG jumper, using a Panasonic NCR18650B protected 3400mAh (EVVA).
todays little effort was to fit a xhp50 on sinkpad and mtn fet guppy drier to a convoy c8 with a ext tube to run 2 x 18650
it draws at 8amps at tailcap on 30qs… planning to trim it down to run 2 x 18500s
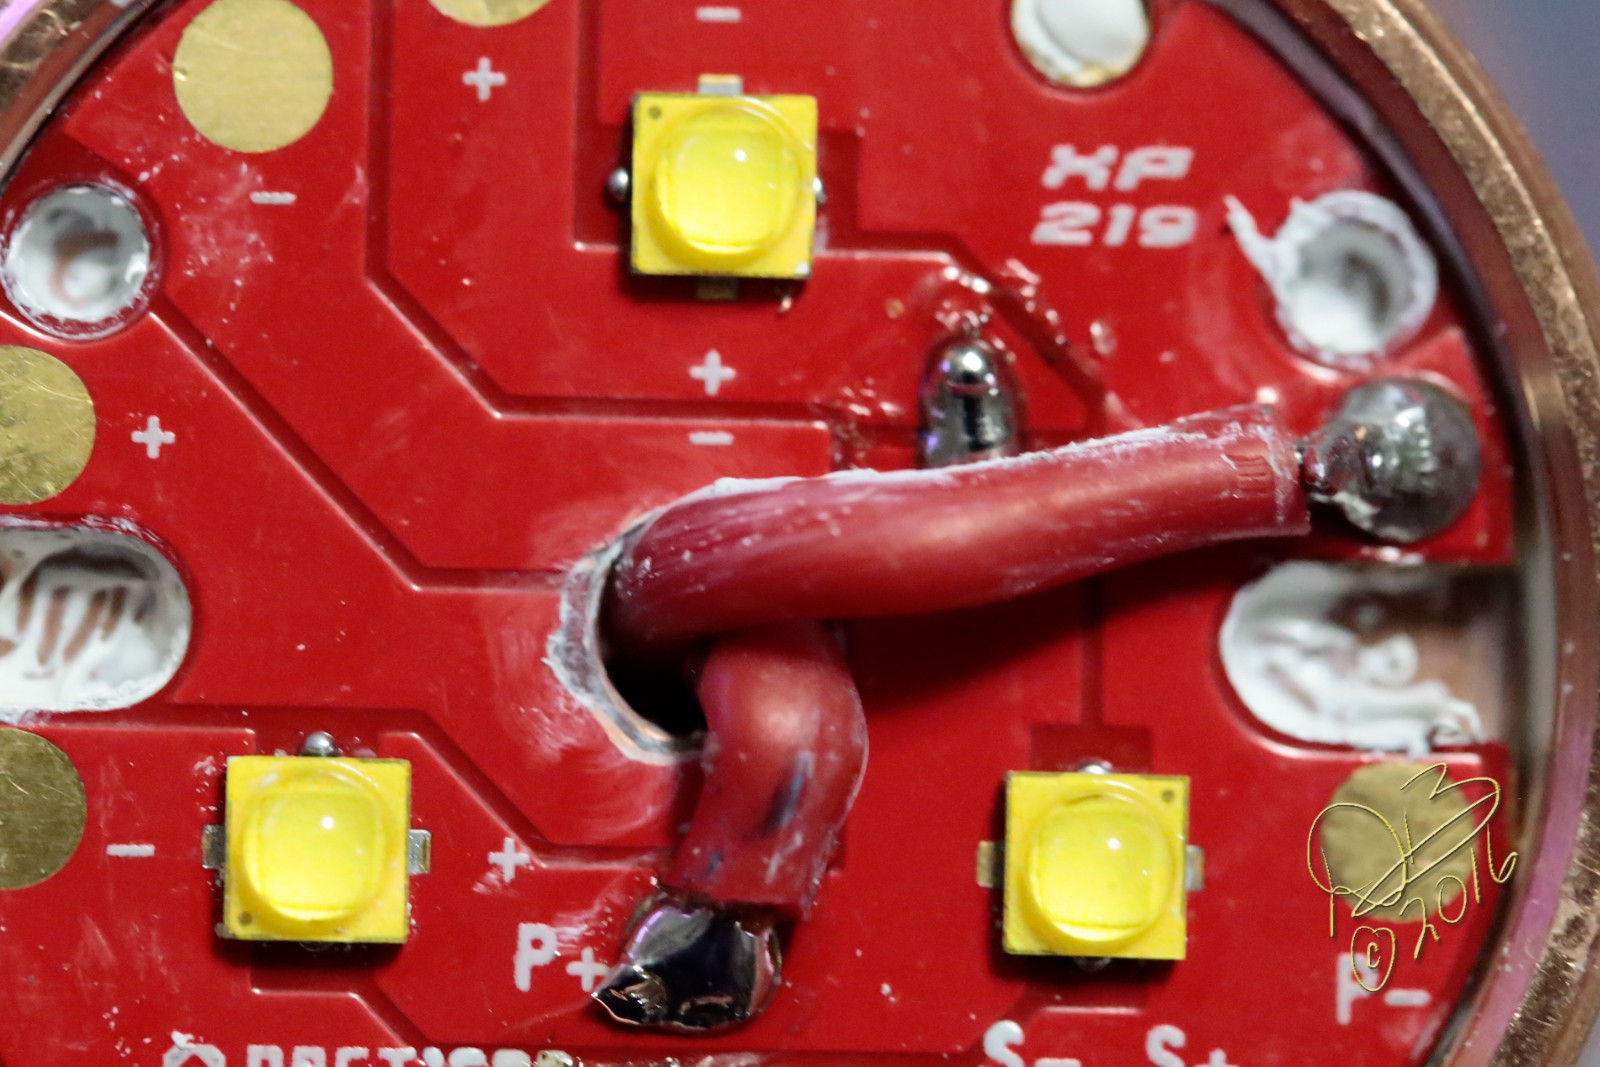
Right before bedtime last night I tried shaving one more little detail off my newly built SS/Cu X6 Triple XP-G3 S5 3A. This one little detail gained me ~600 lumens, I hand polished the honeycomb pattern off the CUTE-3, bright clear finish up top now. It went from 3329 lumens to 3936.45. Worthy!
Worth mentioning, the little dot in the corner is on the positive side, I re-flowed them wrong onto the Noctigon so I simply wired it backwards.
We have a cast iron sink in our laundry room, the sides are nice and flat. I use wet/dry sandpaper on the wall of the sink and press the face of the optic into the wet sandpaper, round and round we go! Started with 220, cleaned it up a bit at 320, then polished with 1500 til it was pretty smooth. A final polish with Mother’s Aluminum Polish on a newspaper and it was crystal clear. Clean it with soap and warm water to get rid of polish residues, dry it good, looks and obviously performs much better. Took maybe 10 minutes all told.
Edit: This leaves the surface flat, originally there is a dimple towards the middle and this is what takes the time to sand down to, in order to remove all the honeycomb pattern. I haven’t tested how it works to leave the honeycomb pattern in the dimple and only polish the outer portion, since throw comes from the outer part of the “reflector” it might actually serve well to give a tighter beam and diffuse the spill portion to leave the dimple, pattern intact. I’ll re-do a CUTE-3 and test it, see how that pans out.
Best cheap flat surface is a piece of heavy plate glass- it’s ground nearly to perfection. Regular window glass is nearly as good. Don’t go buy it at a glass shop but rather ask at their service counter to get a small piece of scrap- they’ll usually let you have that for free.
Tempered glass like for a table top is a best bet. Window pane glass has irregularities in it, especially if it’s been vertical for a length of time. Look at an old window pane in an old house, it literally is thicker at the bottom than the time from sag, the glass is a “liquid” that flows down with gravity over time. Much old glass in 100+ year old houses is tempered and you can’t cut it, it’ll shatter.
I sanded another down and left just the center, the main dimple, with the honeycomb pattern. This covers the tube in the TIR completely and is a little larger than the emitter itself. While it does seem to me to give a more defined hot spot, the difference is negligible.
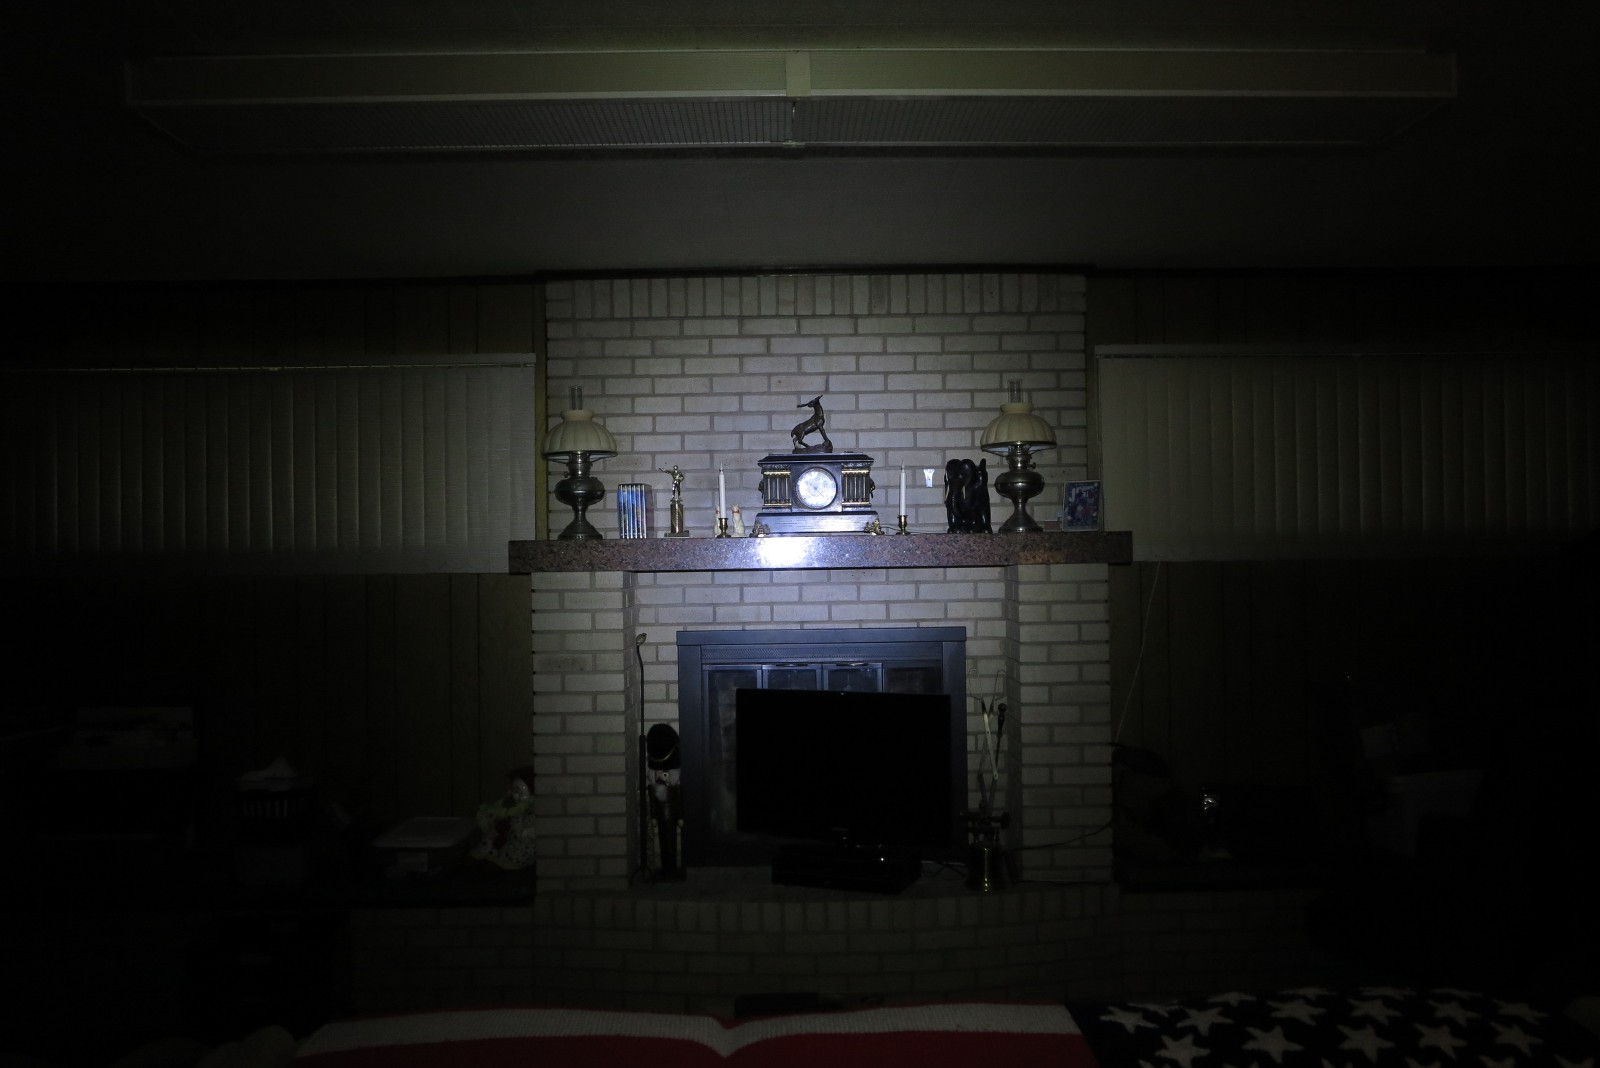
Full polished
Hybrid
The fully polished version the shot was taken at 11:00:08 and the Hybrid was taken at 11:00:38, this is how I kept them separate, fully polished shot first, Hybrid second.
The old glass is irregular because it was produced different than it is now (on liquid zinc), that is the main reason that modern glass is so extremely flat. Tempering actually makes that very flat glass less flat again, so the flattest glass is thick modern non-tempered glass.
I used to sell pane glass, cut it to fit, believe me I’ve used it for sanding many a thing flat including competition slides on hand guns… still not microscopically flat though even if it is among the flattest common items to be found.
If the base it’s sitting on isn’t also flat, the glass will warp accordingly. If the glass is supported on the sides and you’re sanding in the middle, it will bow from your pressure. Details, the devil and his precious little details…
I’ve set oil pump and connecting-rod side clearances by sanding on glass, plate and window-pane types. That’s led to my using the method for any similar purposes and it’s always worked great. Glass does bend, amazingly so in the right circumstances, so support it well. For light work like flashlights 1/4” or heavier plate glass is as close to perfect as is easily had short of buying a precision-machined test plate, and the glass shop can’t sell smallish pieces so they give them away. Supported window glass is almost as good. I place a layer of wet brown paper bag on the bench then lay the glass on that which helps keep the glass from sliding. Today’s glass is precision hot-rolled, even single strength panes for home use, and is far flatter than poured glass like the wavy stuff in old houses.
Just another budget solution approaching the best you could do at home, which is better than the side of a sink and it will not upset the missus as using her kitchen sink might do.
LOL, the old porcelain coated cast iron sink came from the late 1800’s/early 1900’s, for what I was doing it worked perfectly and had the running water there to keep cuttings away. I make concentric circles, rotating every 25 rounds, so it’s all done in about a 3” area. I’ve used a laminated surface (Wilson Art Laminate counter top, the manufacturer just happens to be about a mile from here) to good result as well. Like you said, for most of what we’re doing here it doesn’t have to be “perfect”.
FWIW —-“And, because glass is hard, it must be a supercooled liquid. Glass, however, is actually neither a liquid—supercooled or otherwise—nor a solid. It is an amorphous solid—a state somewhere between those two states of matter.Feb 22, 2007”
Ordered SK98 type light, payd like 7$, expected it to be decent for that kash, but, chinese ingenuity strikes again, quality is close to zero, hollow pill, spent several days hand cutting freaking copper disc, sanding it to fit, soldering noctigon to it, putting everything in place and then I hook up classic nanjg driver from some Convoy light, screw everything together and the damn thing whines in mid mode :rage:
I hate zoomies because they are garbage.
I hate zoomies because they are garbage.
I hate zoomies because they are garbage.
If you could make all the parts, cut the threads, anodize the pieces, all in an hour, would you work for $7 an hour? The small zoomie is truly crap, why they keep paying someone to make them is pretty much beyond me. But my son won one from Old-Lumens about 4 years ago that is still going strong, he loves it, that’s worth the money at 10 times the price.
Pull the whining driver and put an FET driver in it, it’ll be seriously punchy and quiet as well. (whining is typically a sign of a bad ground, you might still manage to make that one work by addressing ground issues)
I would gladly work for $7/h because current average in my country is like $2-2.5/h so 7 bucks would mean I could save for a new car in just 1 year
I pulled the driver out, burned one mode only with low battery warning and now it works without whining.
BTW, why I ordered it in a first place: last year I received “genuine” Sipik SK98 from, I think tinydeal, (it was a set flashlight + crappy charger + crappy battery) and since I generally don’t like zoomies I gifted it to a colleague (his field of work is fixing all sorts of machines used in printing industry (mainly mechanical problems)) and then other colegue that is electrician saw his light and wanted also “nice flashlight” and I give him Convoy BD03 with snap on charging via tailcap (because he wouldn’t have to worry about charging), and he was OK with that but…
but he wanted, guess what!
yes, he wanted zoomie, so here we are…
Anyway, received today nice piece of copper rod, 25mm dia, 22cm long, shipping it to machinist at monday
Since I’m mostly sitting around waiting for parts and hosts to arrive from the four corners of the world, I made time this evening to build my Mountain 17 DD FET Drivers.
Hey! Look mom, no FETs!
Well, it seems like I’ll be waiting a while longer as it seems they forgot to send me any FETs with my kits. These things happen.
Que sera sera.
In the mean time, I guess I could keep practicing my chip stacking.
This is a driver I’d broken years ago. When I first tried to disassemble the head of this magnetic ring light I didn’t realize that the driver needed to be removed and desoldered first. Doing it in the wrong order caused the driver wires to torque inside the 2 pieces of the head and then break.
Even worse, the driver is a 2-piece sandwich. The driver wires pass through holes in the top layer of the sandwich and are bonded in the middle of the sandwich. It was impossible to get a soldering iron tip to the bondpads of the driver so I gave up on the driver and shelved it.
Took a closer look at it today. The sandwich is held together with 5 pins that stick through holes in the top layer of the sandwich. They are soldered together. However, when I lay my soldering iron along the tops of the pins the solder melted and I was able to gradually work the layers of the sandwich apart. With the driver apart it was a simple matter to replace the driver wires and reassemble the light.
The driver is now sitting inside a Niteye EYE 10 casing. I replaced the XML with an XPL HI 3D. Also replaced the smooth reflector with an OP one (smooth one had a horrible ringy beam). Light works great, though the 500-600 lumen output sure looks dim by today’s standards.
It’s funny how walking away from a seemingly lost cause, and then approaching it with a fresh set of eyes at a later time can let you focus on the problem with undistracted logic.