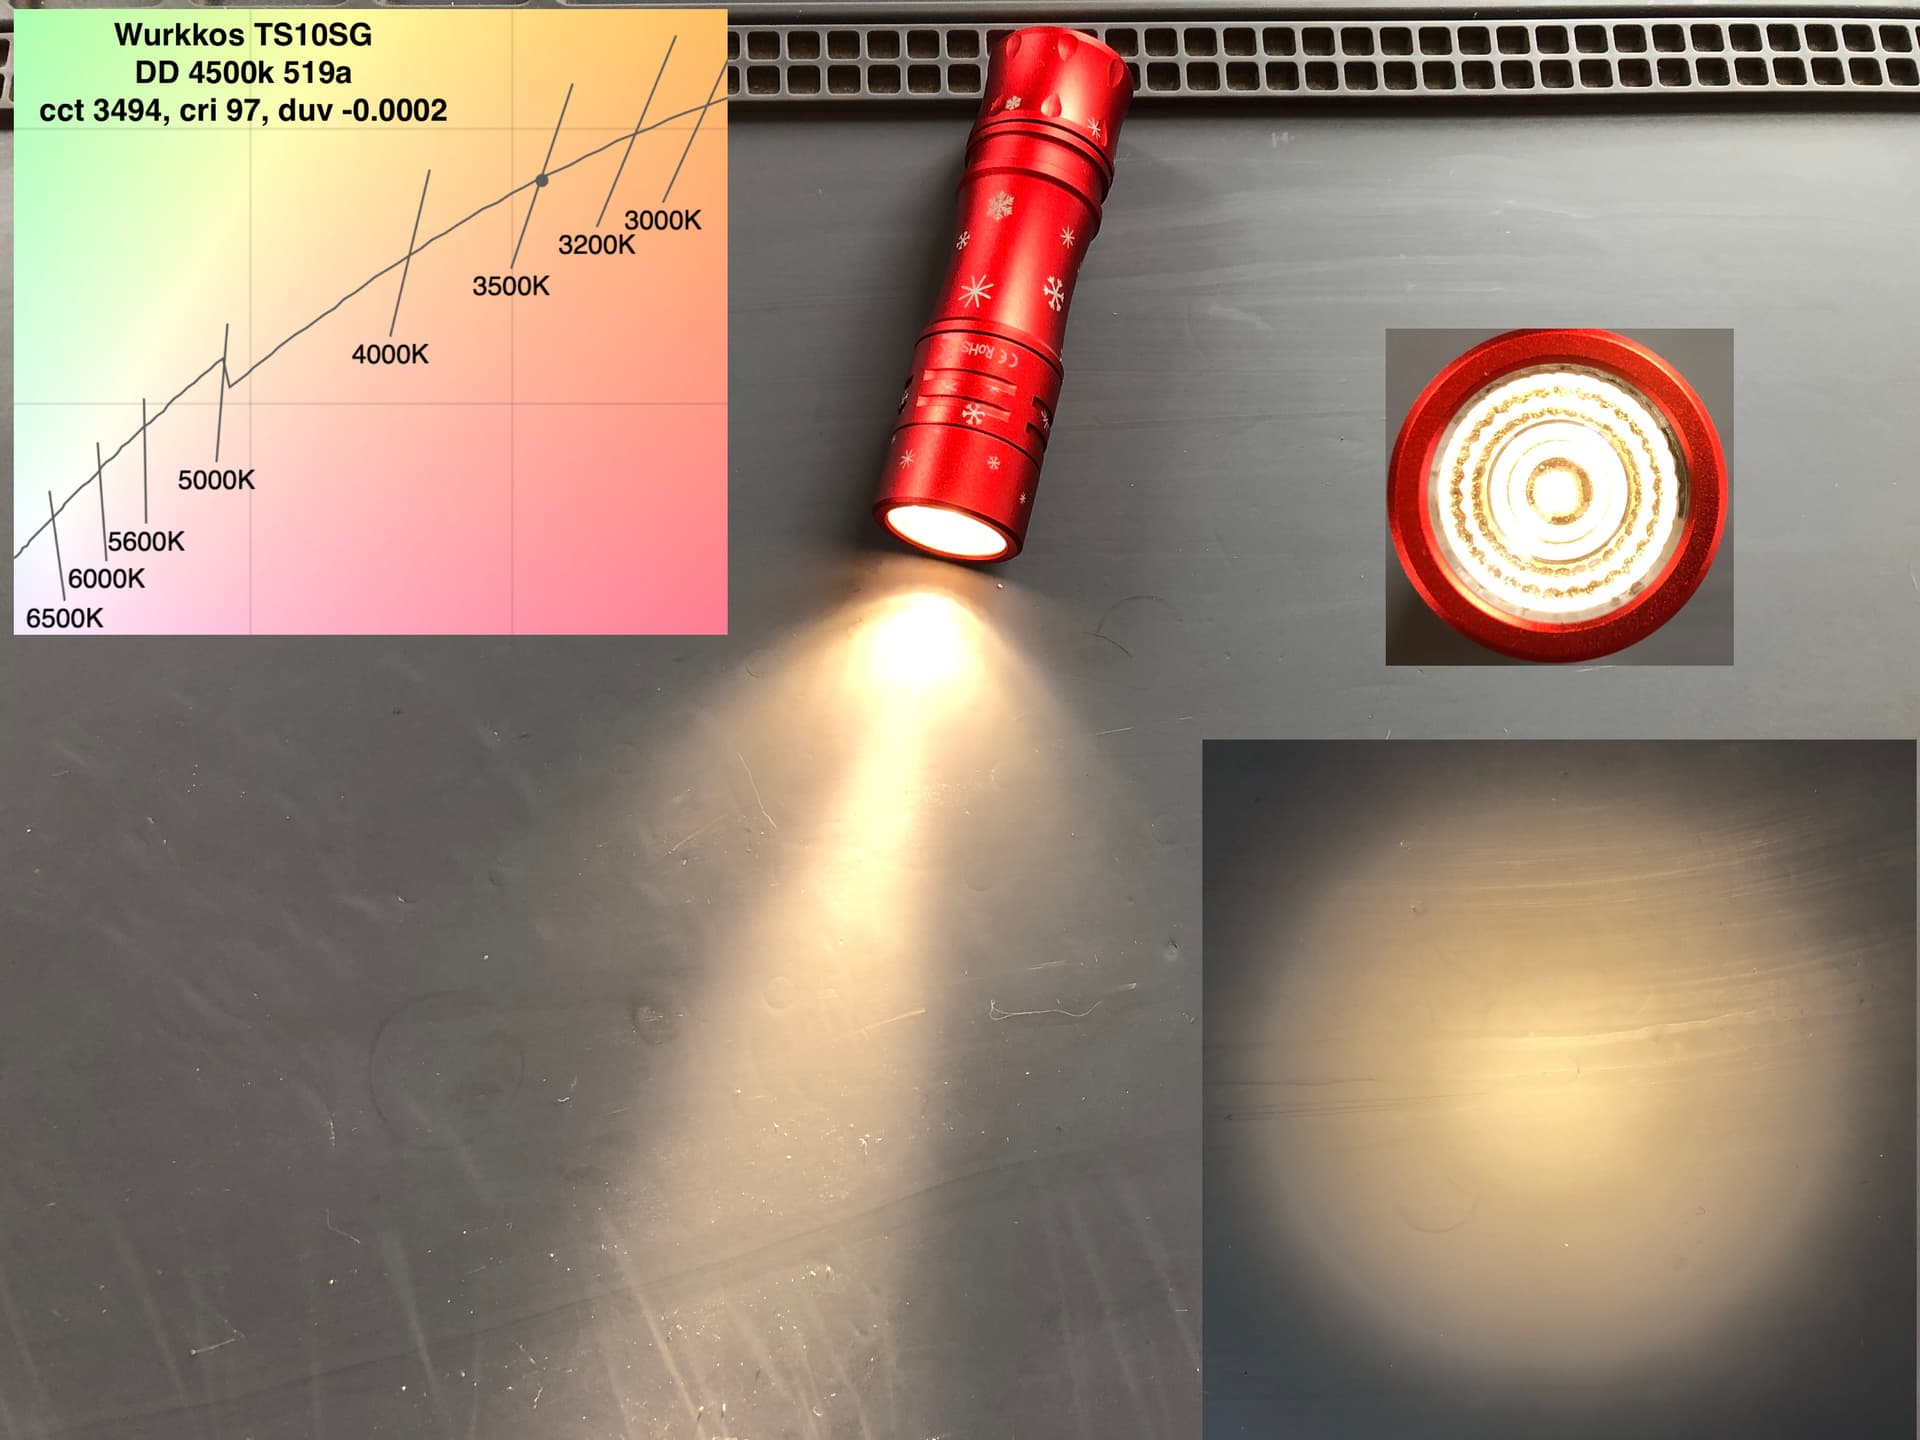
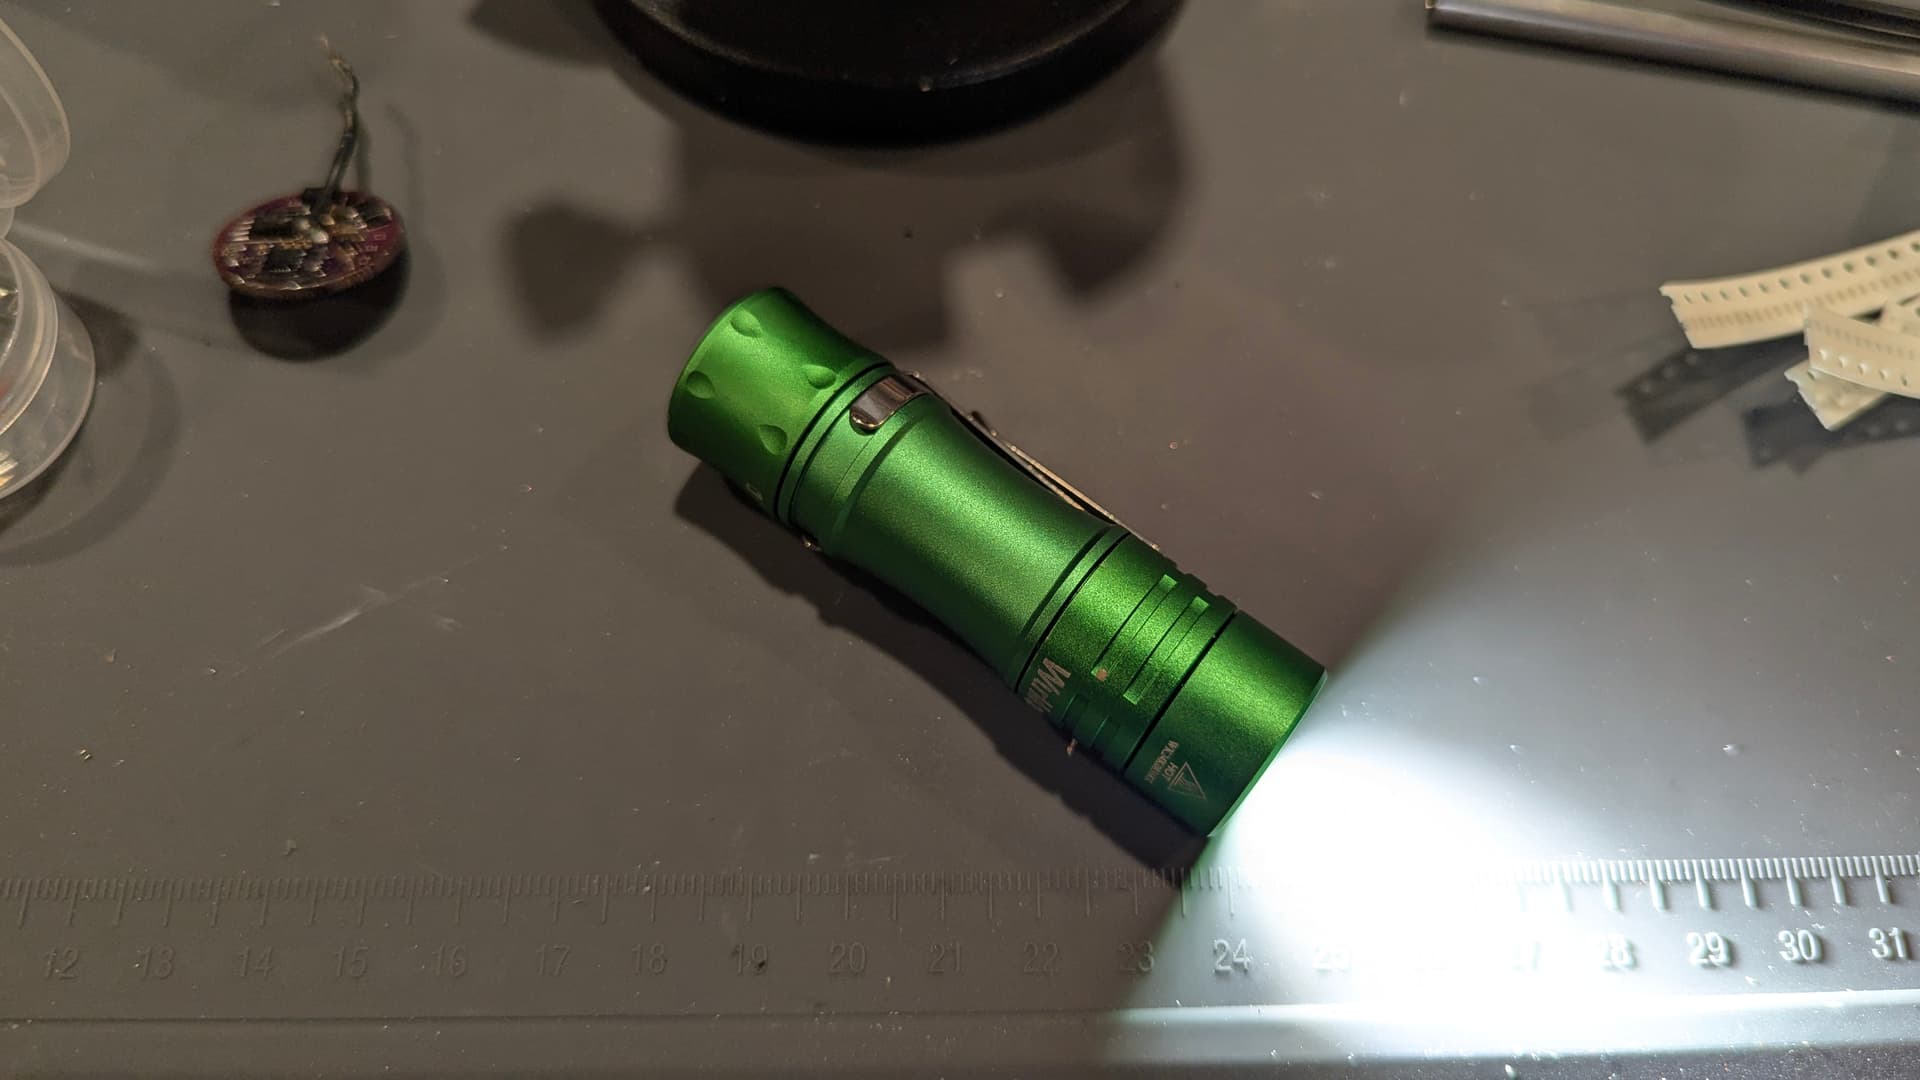
I swapped the main emitter on an Olight Arkfeld Ultra today to Nichia 519a.
This mod was a bit nerve-wracking. The light looks beautiful and is expensive so I didn’t want to break it or damage the finish. I used a technique I saw on Youtube for removing the bezel in an Olight Arkfeld Pro:
Bezel removal troubles! - I used a utility knife blade as a wedge and then tapped the bezel out by banging on the back of the blade with a pliers. It worked, but took close to an hour of tapping and repositioning before I figured out the right pattern and amount of force to use to remove the bezel without damaging it or the surrounding anodizing.
Gasket, optic and reflector removal - Once I had the bezel out, the next challenge was removing the lens, gasket and reflector/optic. Those suckers just did not want to come out. Fortunately, I could feel them moving slightly and with a bit more force they released. It still took probably around 10 minutes though… far longer than the typical 5 seconds I expected.
Ack! … Olight used high temp solder!!! - The next problem I had was the solder to the star wouldn’t easily melt. Even with the star lifted up from the light so all the heat was going into the star it just didn’t want to melt. I suspect Olight used high-temp solder, or perhaps lead-free solder. Using a fat tip iron set at its max temperature of 480f I was barely able to get the leads desoldered after much effort.
Reflowing the stock LED off the star - After the star was out I then had to go through the same issue with my hot air gun trying to reflow to release the stock P9 led. This took awhile. So long that I was worried that the wooden clothespin I used to hold the star would catch fire before the solder melted. But then it finally melted and the stock LED came off.
Fortunately, everything from that point on went smoothly. It was pretty quick to add some low-temp solder paste, reflow onto the star a 4500K Nichia 519a, add a bit of AS5 thermal grease and reassemble.
The mod was successful with no visible damage to the exterior and the high CRI beam looks much better to my eyes than the low-CRI neutral white Osram P9 that the light came with. However, it’s very floody. I wonder if it would look better with a Dedomed 5700K Nichia 519a since right now the light lacks punch…
… a possible mod for another day. This one took a lot longer than I expected.
Definitely not a mod I’d recommend for anyone new to modding.
I second that. When I got a relatively cheap iron that uses T12 tips and it was a huge improvement over my old Radioshack iron. It definitely helped me with modding and made it more enjoyable (no struggles with temp, heats up in seconds instead of minutes, etc).
The iron I’m using now is a rework station I picked up on Amazon several years ago. It has an iron and a hot air gun and digital controls for temperature. It heats up in seconds and for most flashlight modding it works great.
The downside is neither the iron or the hot air gun are quite hot enough for lead-free solder.
I have the same issue with my reflow device (an electric skillet). It only goes up to 450F so I learned not to remove LEDs with it, but works fine for reflowing at 400F. So I just use my soldering iron to remove them quickly.
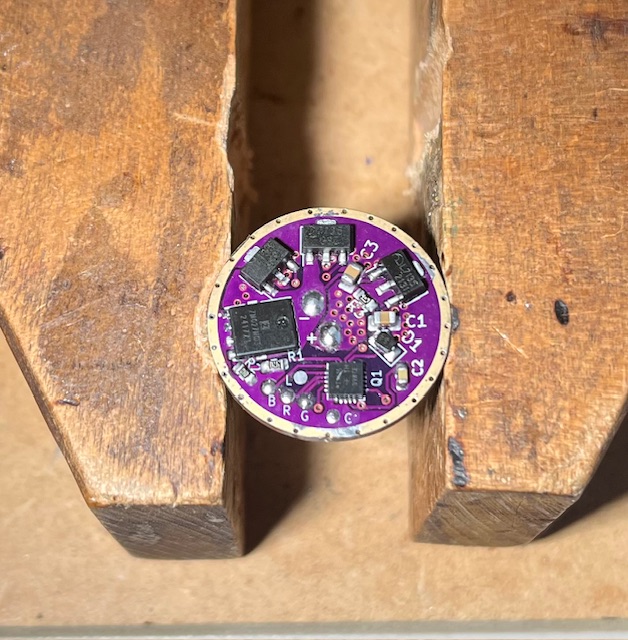
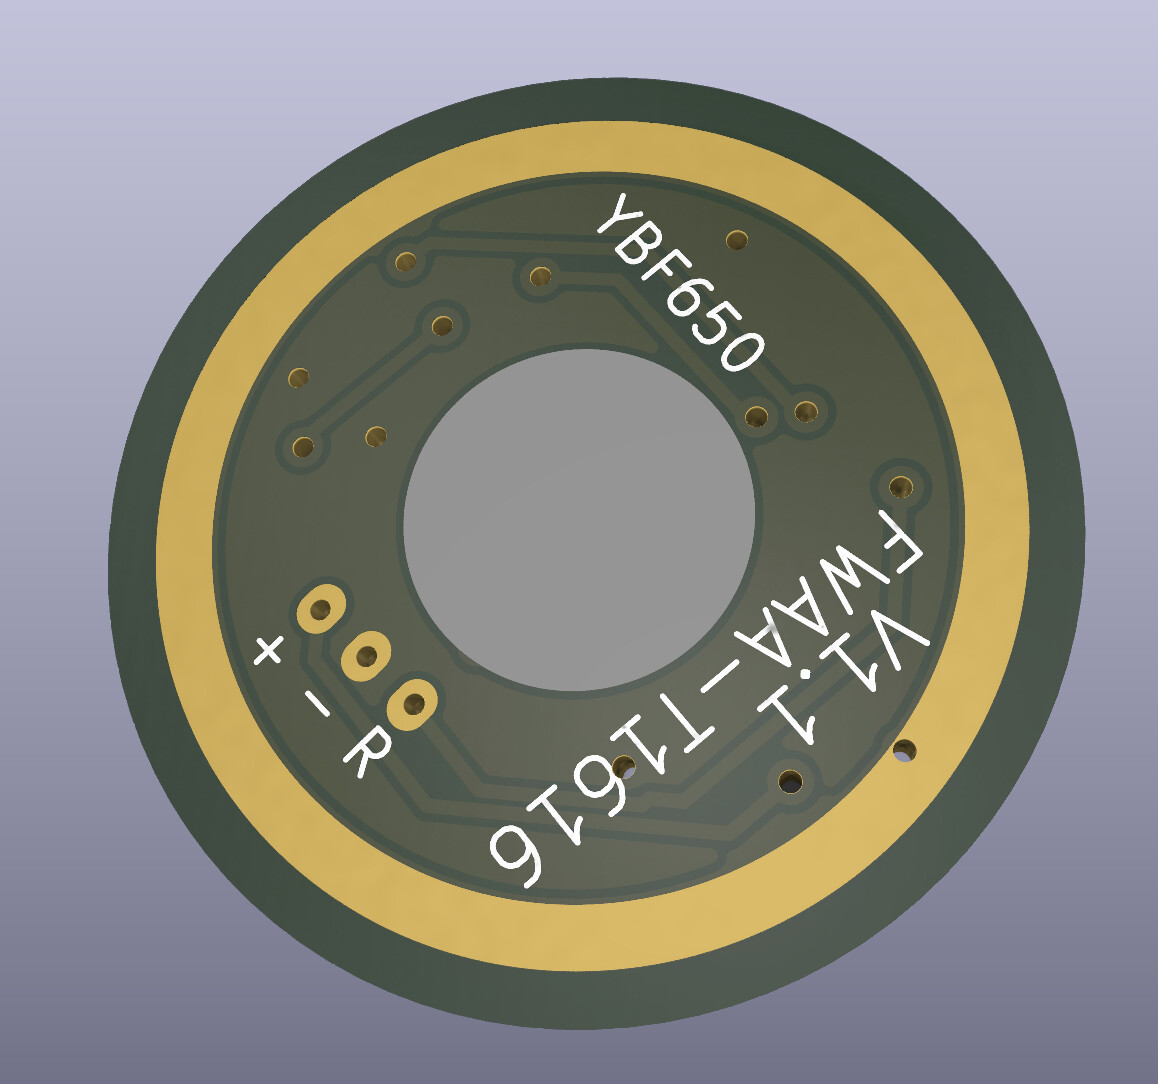
Today I finished building an updated FW3A driver designed by @YBF650!
Latest Version of Anduril2, T1616 MCU, RGB Aux, Super low lows and Flashing Pads!
Maybe I should have explained what I did better.
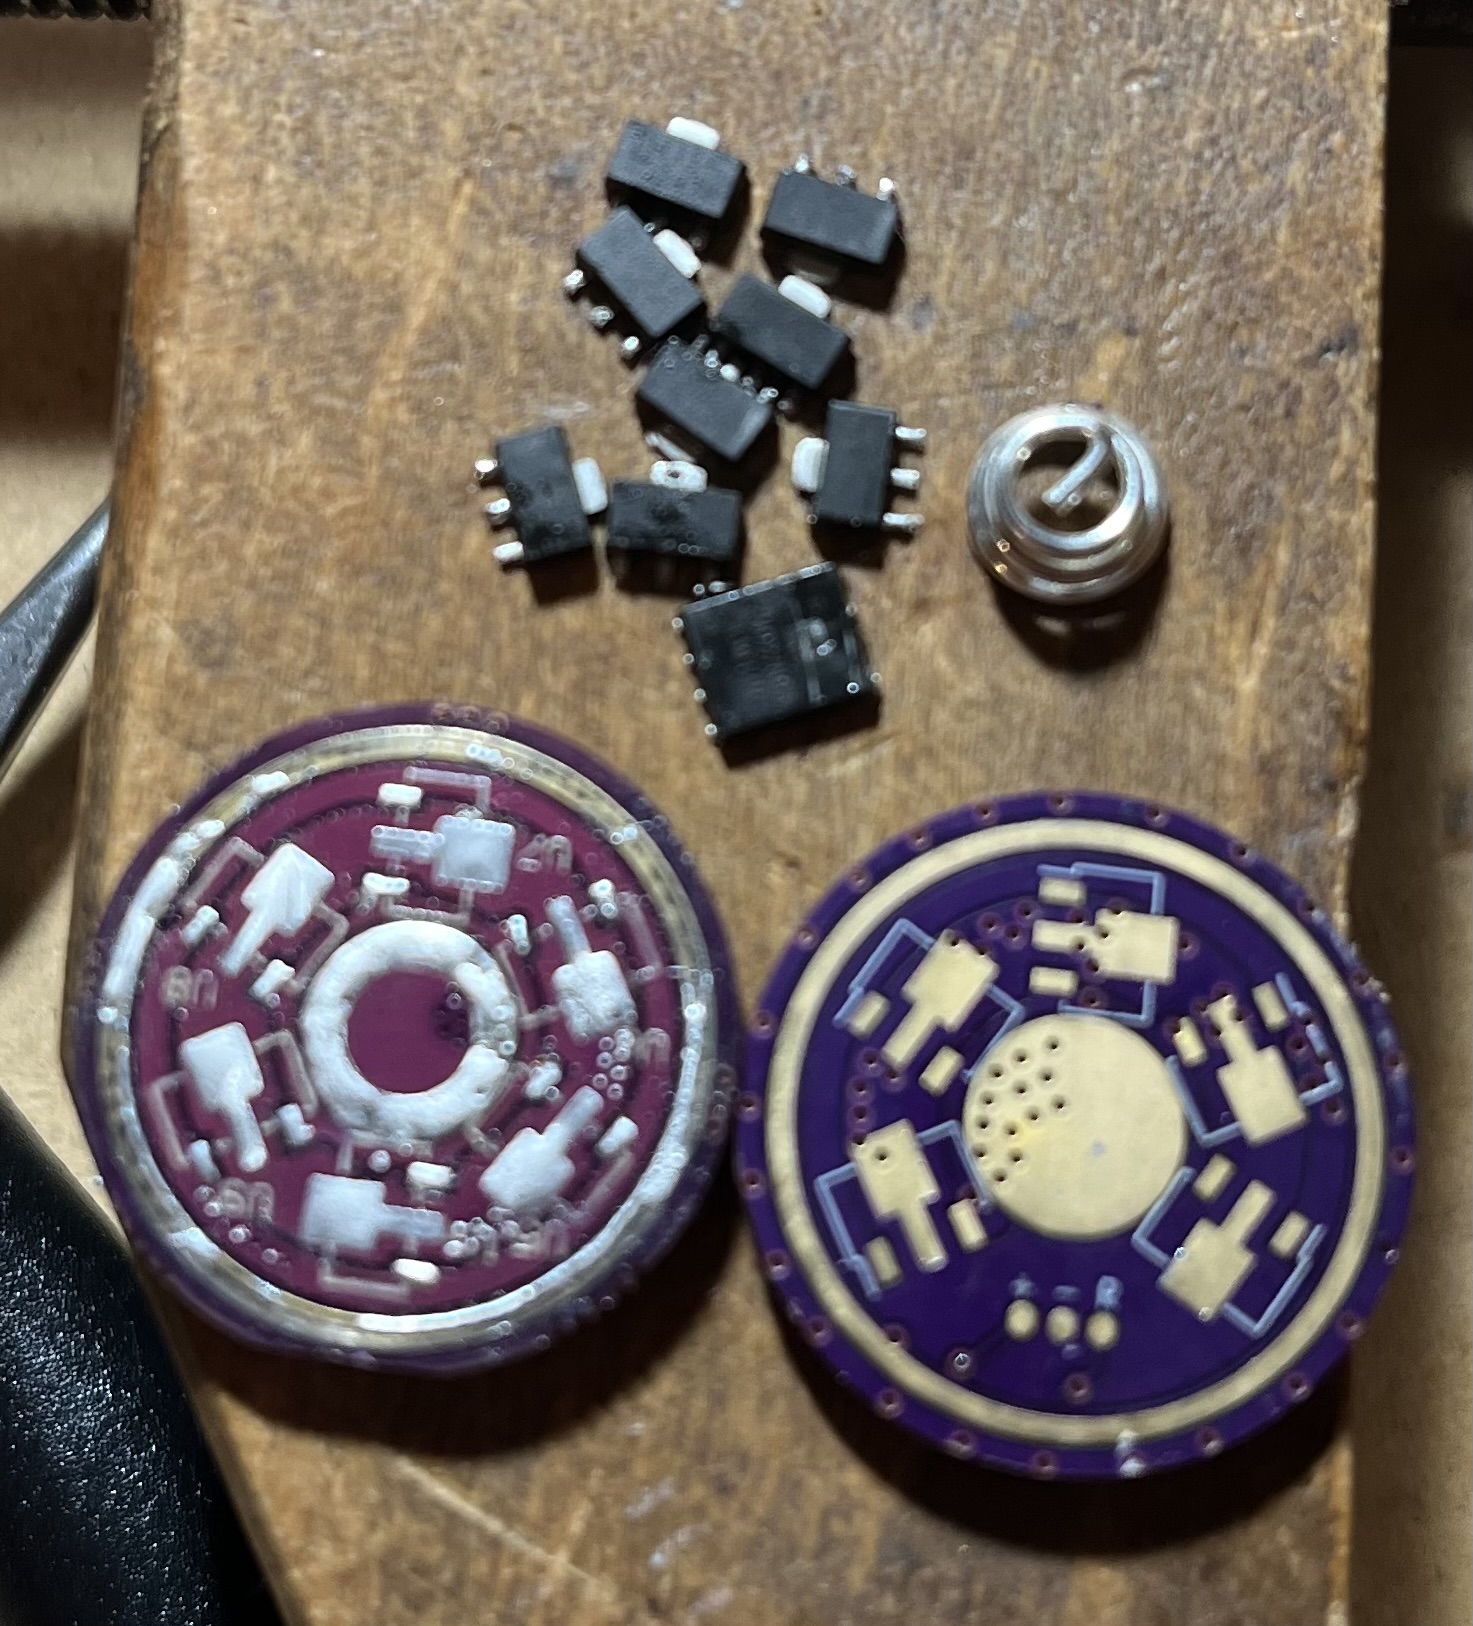
I took all the components(except the MCU) off the stock FW3A FET+7+1 driver and moved them to the new PCB.
To make things a bit more clear, it is a driver designed so every component can be reused from the original driver, aside from the MCU.
This makes the parts sourcing easy (you already have them) and keeps it as close to the original design as possible.
It still isn’t finished (as I haven’t identified a few components with certainty) but it hasn’t been made public as I am hoping to sell the driver boards (and an MCU) once it is finished, as a sort of “DIY upgrade kit” for FW-light owners.
There’s another one in the works (PCB is done, but needs testing) that follows the same idea for the FWAA, though it also needs a new smaller FET so it can be single sided.