Modding a Maglite XL-50 It's a thrower already, can I make it better? Edit: Nope, It's done, but with a much larger center spot

I got this XL-50 from here on the forums and I really like it. It is a nice little thrower. Most of you probably know I do beam shots across a pond and it's about 80-100 yards. Well this little light hits the trees at that distance and lights them up pretty well.

So, can I make it a better thrower or just make it worse?

xla

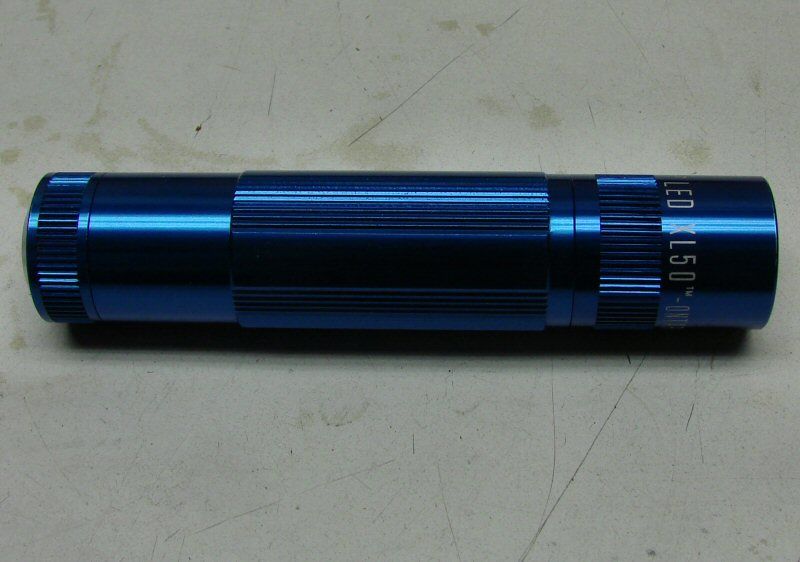
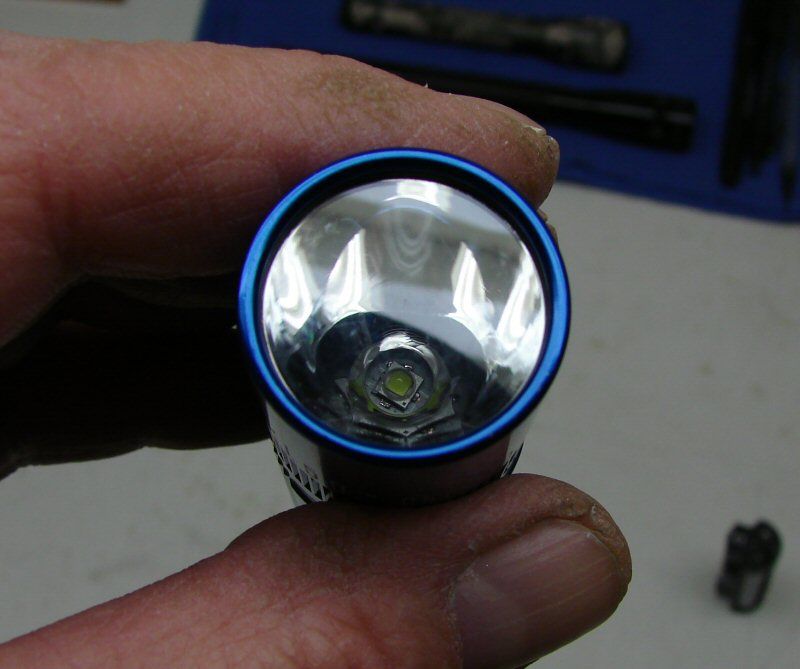
The XL-50 in Blue. In it's stock form, it's a nice 3AAA light.

xlb

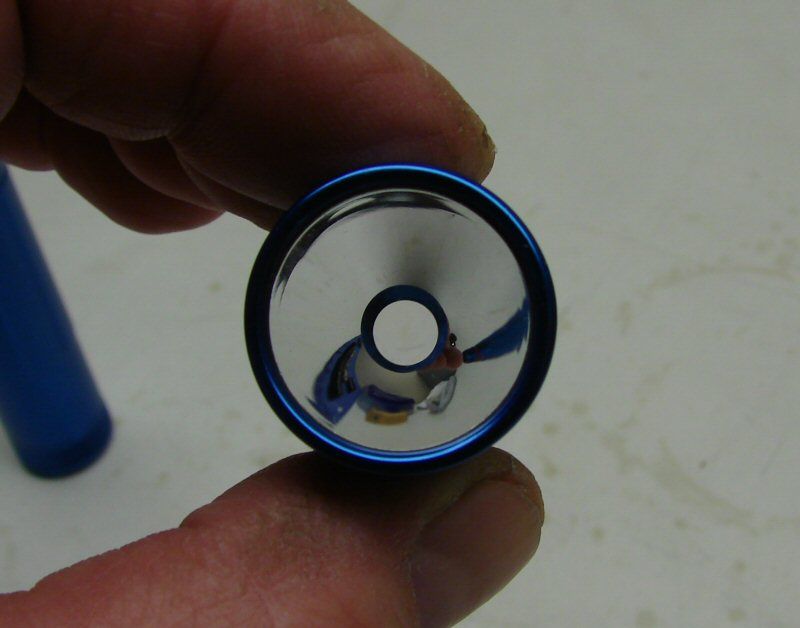
The Reflector makes this light a good thrower, not a lot of spill, but it reaches out well.

xlc

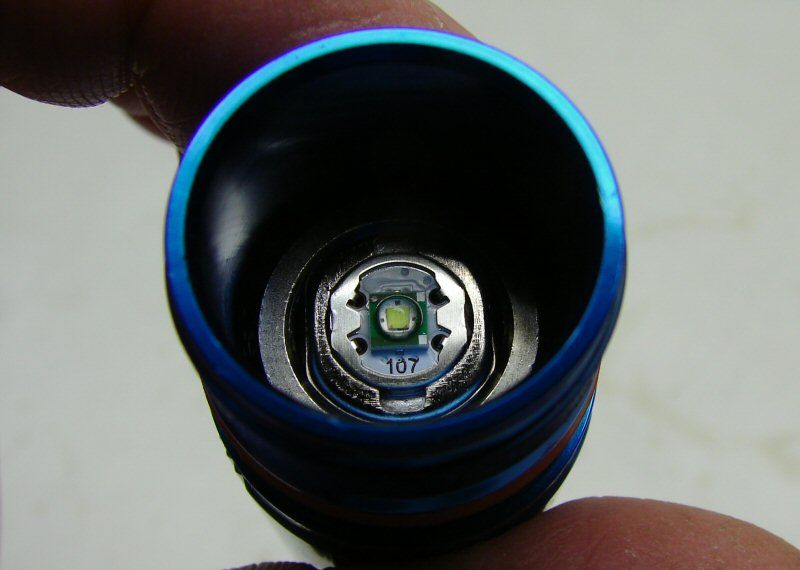
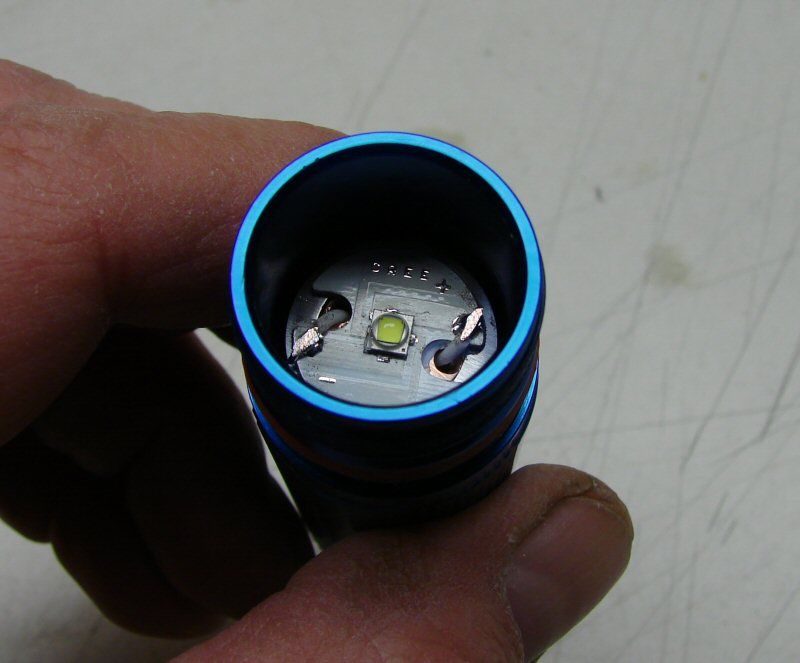
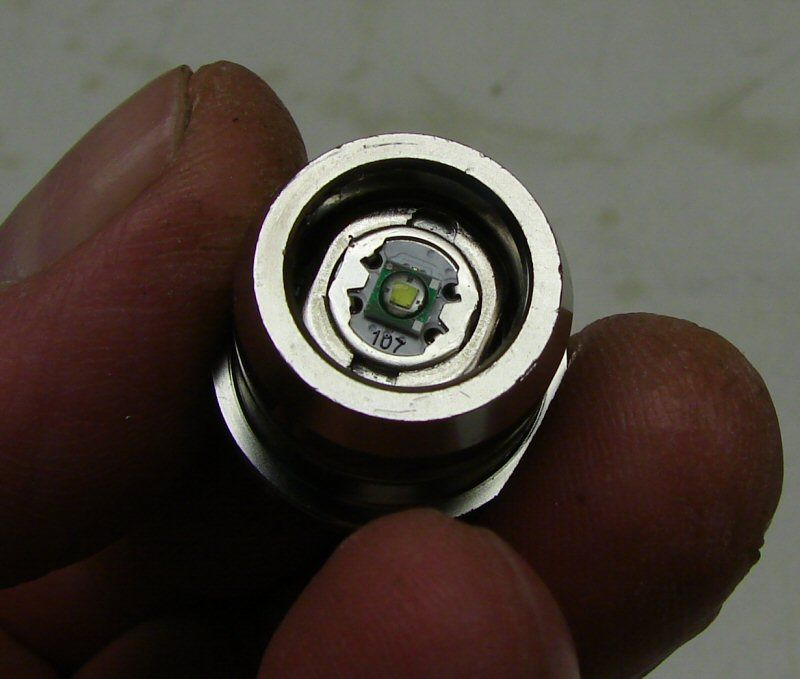
A view of the led/pill. I was wondering how the heck to get this darned led out. Then I figured it would come out as the other Maglites do, so I got a small socket (1/4"), that i could sit over the led and smacked it gently with a small hammer. It came right out, press fit.
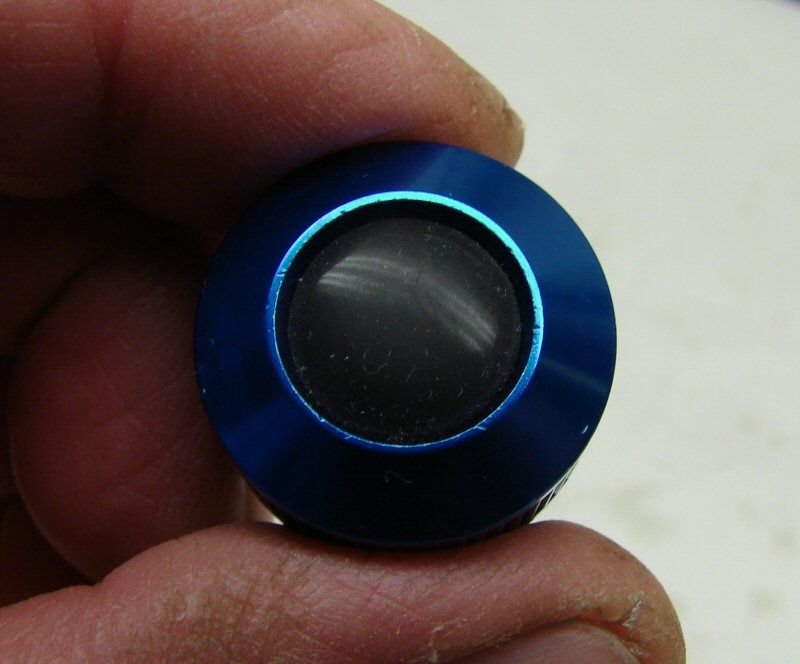
xld

Tail Cap button

xle

Tail Cap Switch contacts. I am not going to do anything with the switch or battery holder. The design is really nice and while it may have some resistance, I just like it the way it is.

xlf

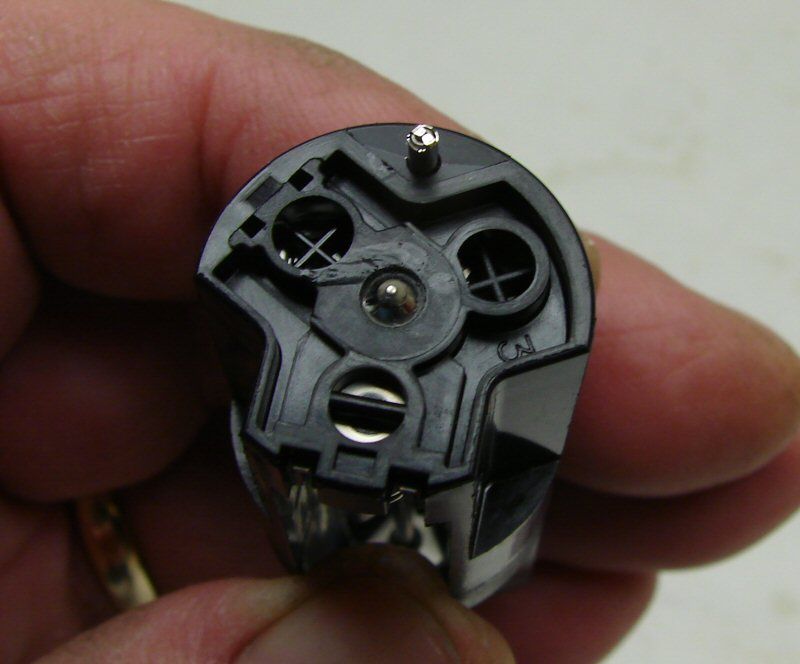
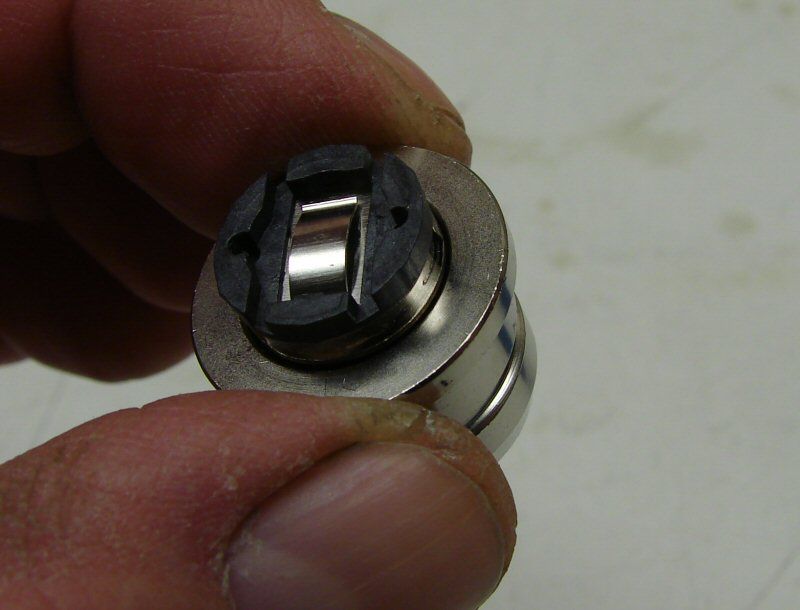
3 AAA Battery holder at the Tail Cap end. The rings touch the pin contacts in the tail cap.

xlg

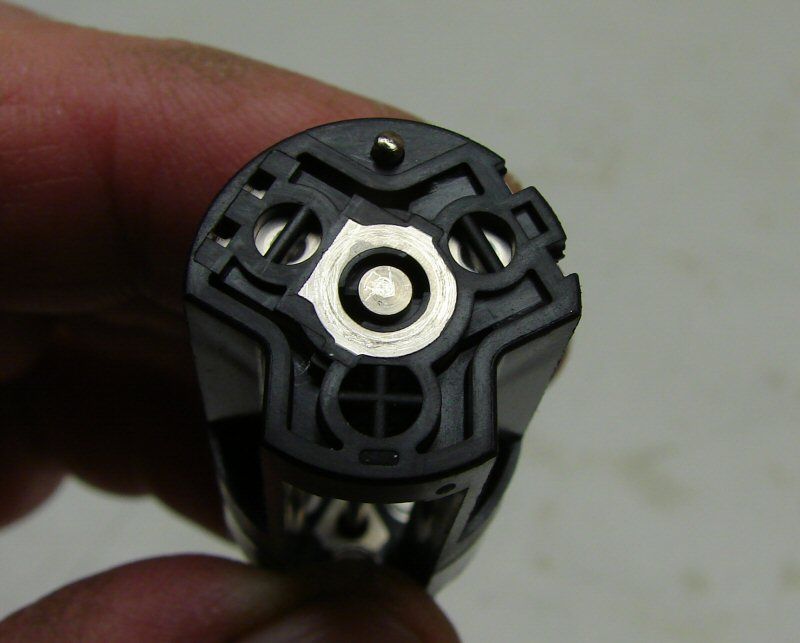
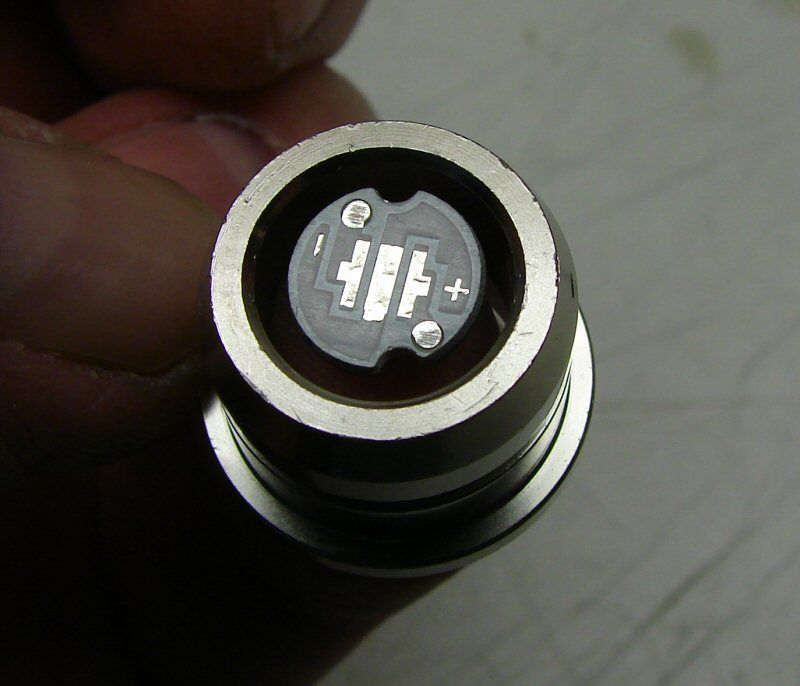
Battery holder at the pill end. These contacts touch the center positive and the outer steel heat sink section. I will leave this stock, so the modded pill will work the same way.

xlh

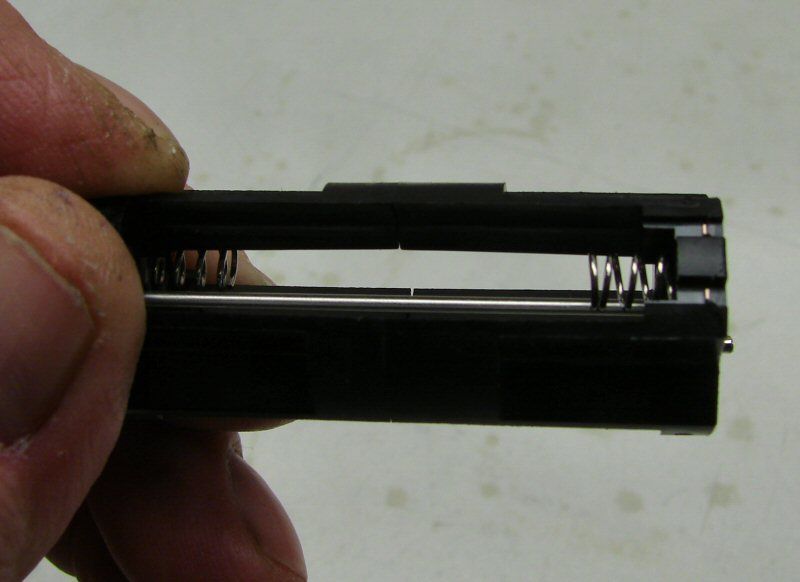
Battery holder side view.

xli

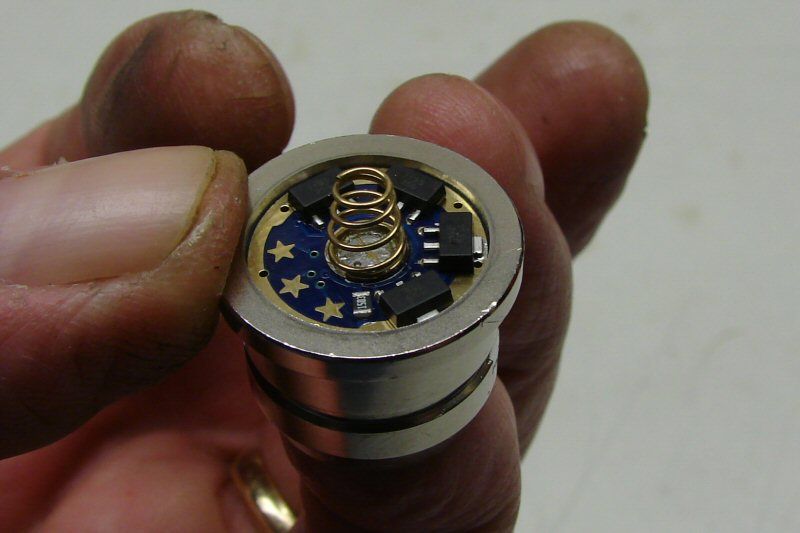
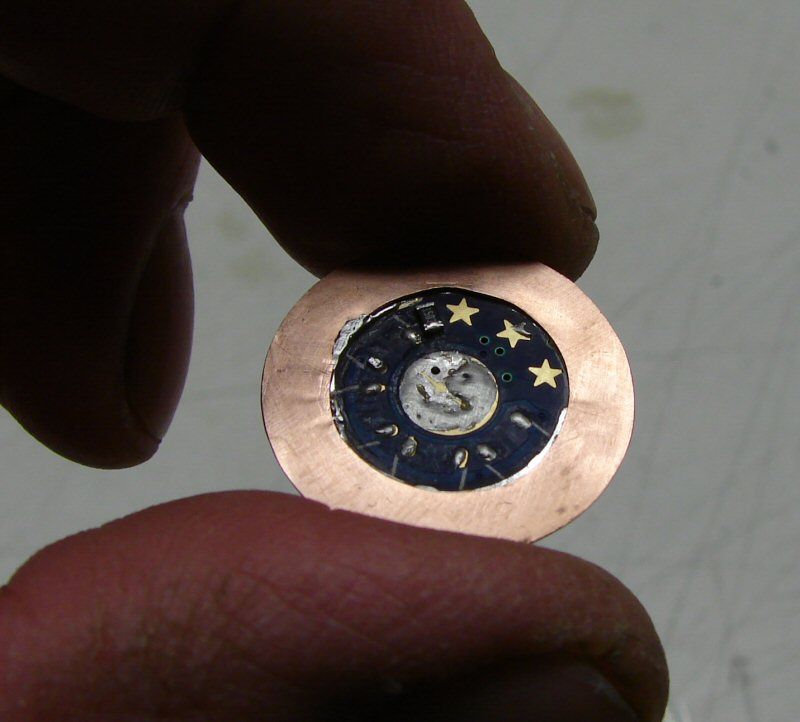
This is the led assembly, with the led and the driver. I will replace this with a Nichia 219 on a star and add a driver.

xlj

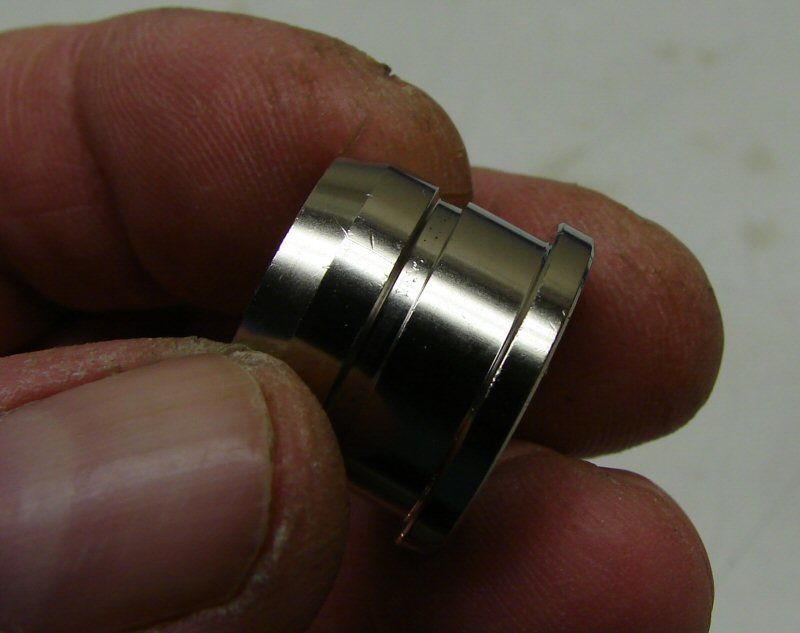
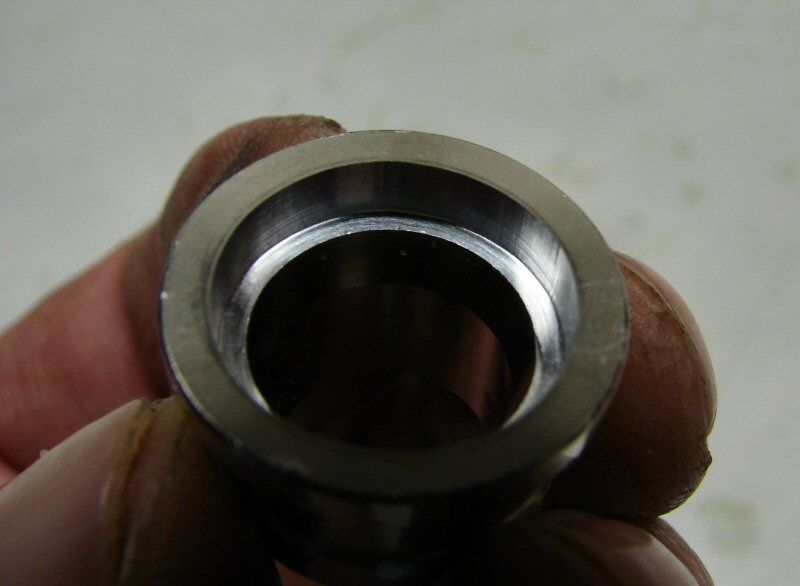
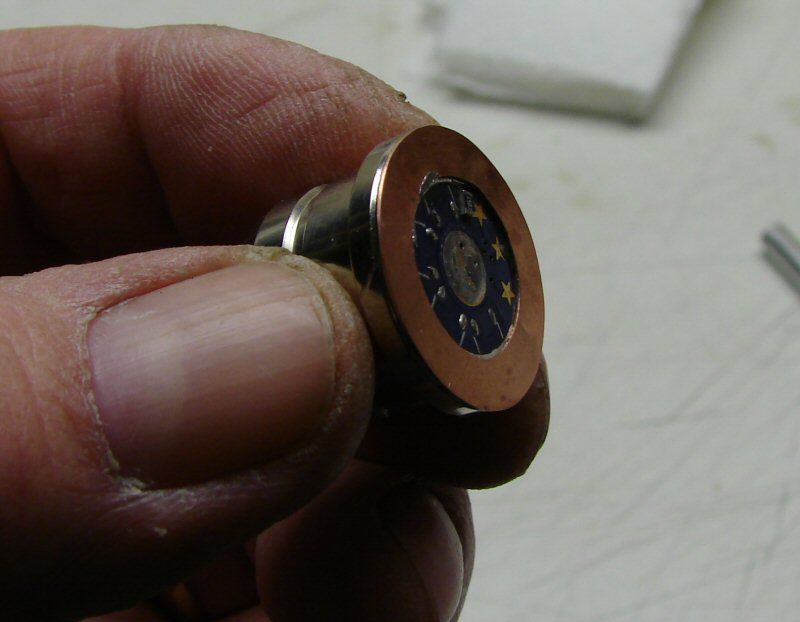
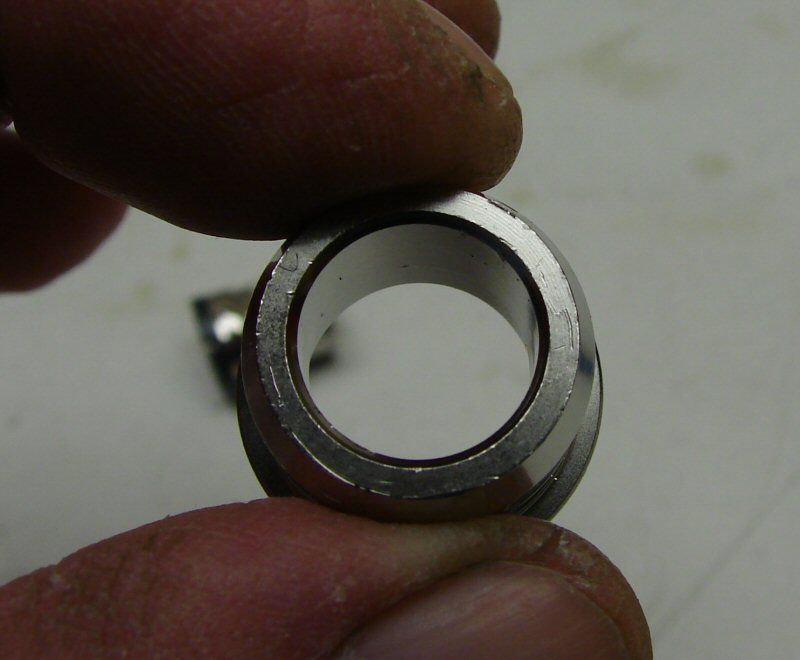
The holder for the led pill is steel. It is held in the light by a "C" ring. The "C" ring fits in a groove in the body and when the steel insert is shoved in, it locks in place because of the groove, shown here. I just shoved hard with my thumb and the steel insert came out.

xlk

I will be filling this steel ring with some copper, for a better heat transfer from the led I am putting in.

xlm

The original led pill is just a press fit inside this steel ring.

xln

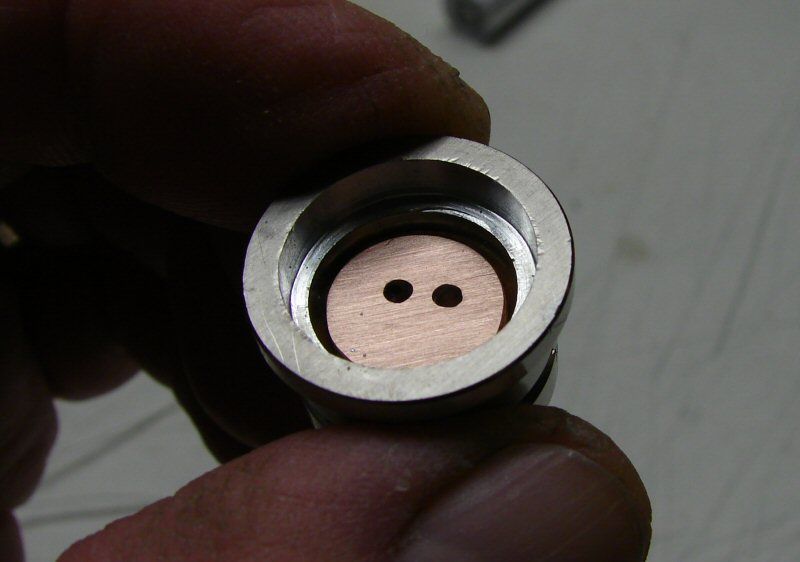
The bottom side of the original led pill. I will make a center contact similar to what is here, so that I can use the stock battery holder.

xlo

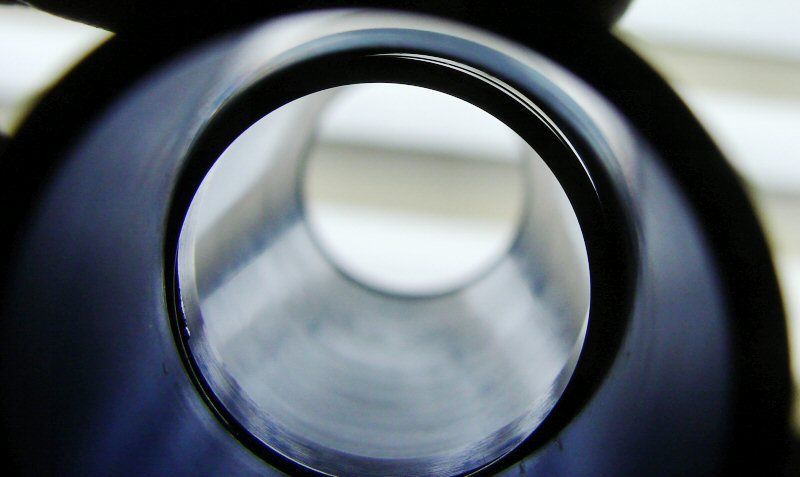
Not a good shot, but you can see the "C" ring in the body tube.

xlp

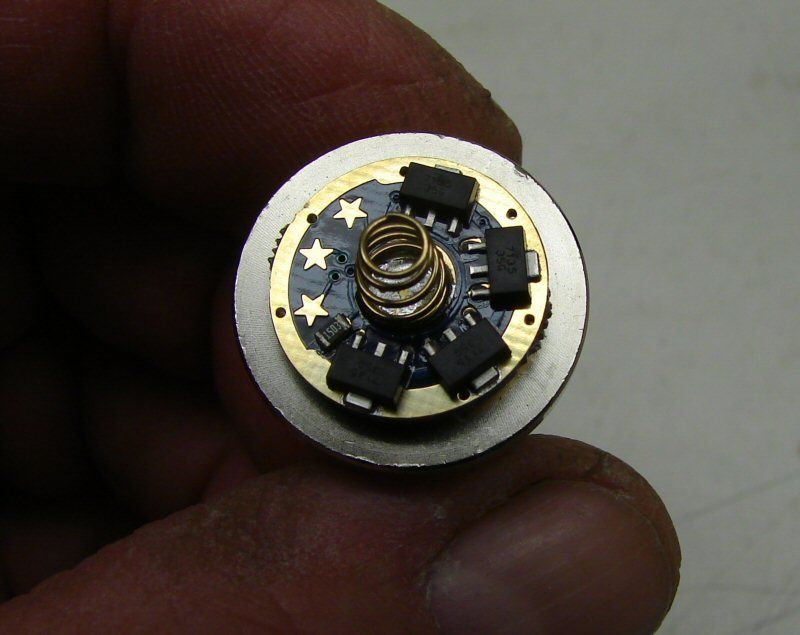
A 7135 driver will fit once I mill out the steel a little, so it fits flush. I will be removing 4 of the chips, so that it will only push 1400mA. That's plenty for the Nichia in this light. It will have all five modes; H/M/L/Strobe/SOS Similar to an XL-200.

xlq

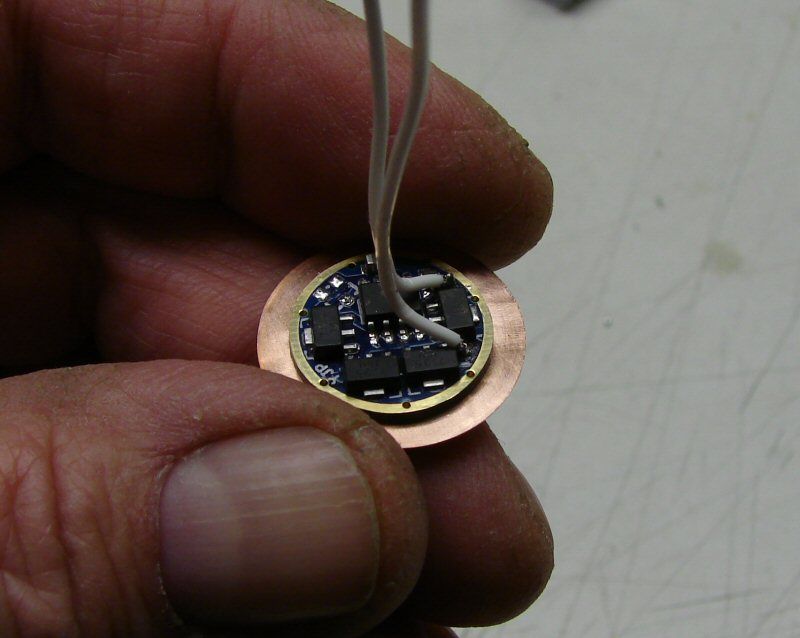
I will be using a 10mm star and back it up with copper.

xlr

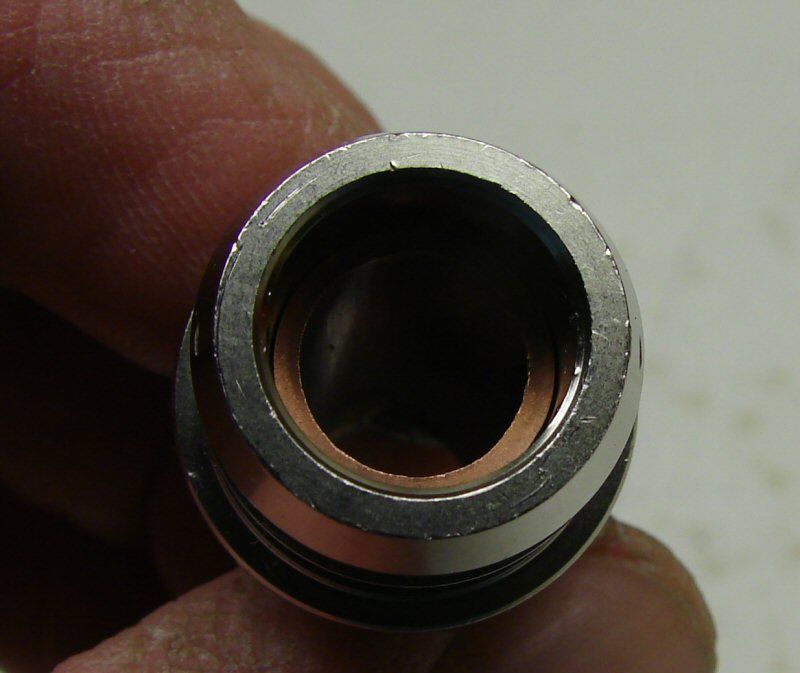
I found a piece of copper tubing that is a tight fit in the steel insert. I will make a top and bottom cap and fill it with copper shot. It should work fine for the N 219 led. Thanks to other members correcting my lack of sight, it's a Cree XP-G2 led that wound up in here.

That's all for now and if any of the photos do not go with the descriptions, well, I did this blind so to speak. I'm at work and can't see the photos, so I had to copy this from before I went to work and fill in the descriptions. I may be talking about the reflector when the photos is of the pill, but I can correct it when I get home and you can guess till I get there, LOL.

-----------------------------------------------------------------------------------------------

Later

The light is done and here's a few more photos.

x2a

I used the drill press and the dremel #115 bit to make the cut out here, for the driver. It came out better than I expected.

x2b

Driver fits in nice

x2c

The copper pill was done from a piece of 3/8" copper pipe, a couple of 1/2" copper rounds, copper shot and solder.

x2d

Underside. I will fill in with AA adhesive.

x2e

I am using solid wires again. They really solder so much easier and are more stable.

x2f

I wanted to have a good ground for the battery holder contacts, so I soldered this thin copper ring to the driver's outer ring. The negative battery holder contact will ride on the copper ring.

x2g

Pill is together

x2h

ans is in the body

x22

It's Done and it even works. One thing I don't like about the switch is you can't partially depress it to change modes. You have to fully click for each mode and quickly. Don't care for it, but it works and I'm not touching that switch.

I will do a few beam shots tonight. It is as I expected though. It is much brighter than stock, but the center spot is twice the diameter of the XP-E? led that was in the light before. I figured that and that means less throw than original. I'm betting it will be that way.

Beam shots after I get home from work...

As always, thanks for sharing! Nice to see lots of pictures.
Always a pleasure see and read about your projects!
I look forward to see more. :slight_smile:

Descriptions match the photos. I was wondering what you’d do with one of the XL-series lights, since it looks like you’ll have to work out a way for the battery carrier to make contact with the driver (the XL lights use the battery caddy for +/- contacts).

It sounds like fun to me, watching a master at his works.

Looks great Justin.

If it comes up for sale, dibbs :wink:

Glad u got the package ok ;)…….nice start on it

And if you ever decide to build one of these beauties with triple 219s, DIBBS!!! J)

Subscribed.

I chose the single 219 mainly because it is a 3AAA light and at 800mA, these batteries will never put out the amps. I know the eneloops can put out about 2 amps, so I am hoping with the 1.4A driver, it might be bright for a little while, but this will be more of a medium or low setting light, for any longevity.

Now, 3 of the 10440 batteries in parallel might work with a nichia or xp-g 3-up.

NICE JUSTIN!!! Anxious to see the rascal squirt light!!!

Dan.

Depending on how it focuses - First without gluing down the emitter , I would try a Xp-G2 ..

If it were a flop , I would pop in a XM-L U3 or XM-L2 again not gluing , so as to be able to reverse any emitter mod ..

Always look forward to O-L modding pics!

I would like to play with the newer leds, but I usually end up waiting till they are at my price and then they are old hat. I thought of putting in an XP-G, but I haven’t seen the tint I want at the price I want. I just haven’t looked hard. I’ve been using the Nichias too much, especially when I can buy T6 3C for about $2.75 each on stars. That’s incentive to use them more.

I would think an XM-L would probably turn it floody, where an XP-G would be about the same as the Nichia.

If you like the 219, try the XP-G2 in 3D tint. Great output in the R5 bin and a nice compromise at 5000K. Nice light. What’s the tube ID?

The light is finished. See Post #1 for the details.

Beam Shots when I get home from work, late tonight.

Great mod Old-Lumens. Any chance the bigger spot can still reach as far as the smaller spot did? I wonder if the surface intensity of the Nichia is about the same as the XP-E…

Are you sure it is a 219? It looks very much like an XP-G2 with the edges of the die being so clear and a square instead of a triangle marking on the corner of the ceramic base.

Nichia 219 is top left and CREE XP-G2 top right.

Looking more closely, I’d say it’s an XP-G2 as well. doesn’t look much like a Nichia

It’s a Nichia and it’s a triangle not a square. I don’t own any Cree leds at all right now. I’m at work and can’t see any photos, but all I have are the Nichia 219 bare leds off a reel.

EDIT: It's an XP-G2, how embarrassing!Cry