Modding a Nitecore i4 Charger - It works, thanks to TP and others

Ok, so I'm going off the deep end. It's HOT here and getting hotter. I charge my batteries in the garage and the i4 charger feels hot to me now. It was fine in cooler weather and it's still working, but I don't like the heat, so I am going to do something about it... maybe...

i4a

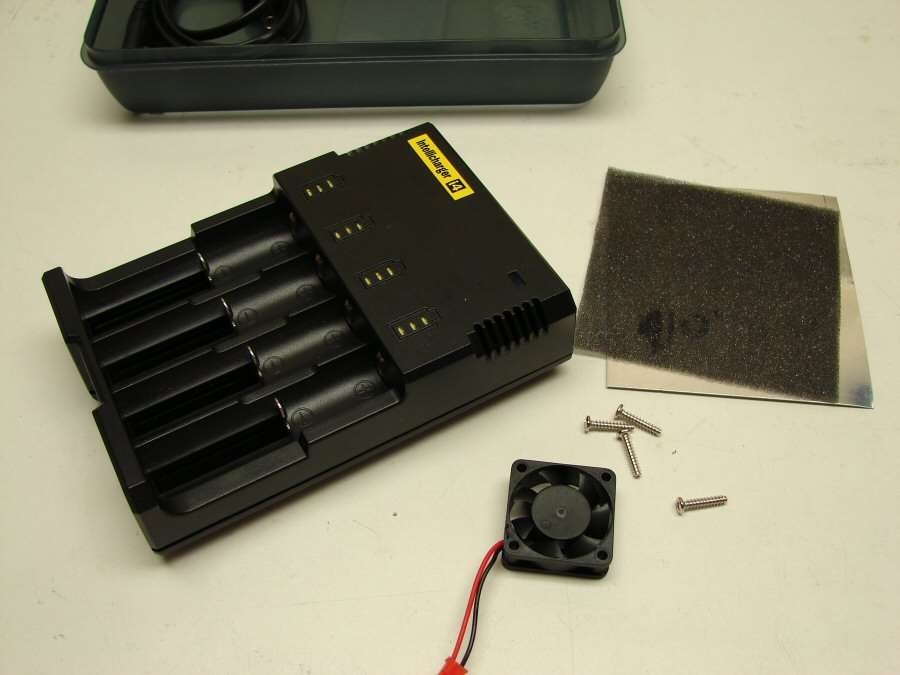
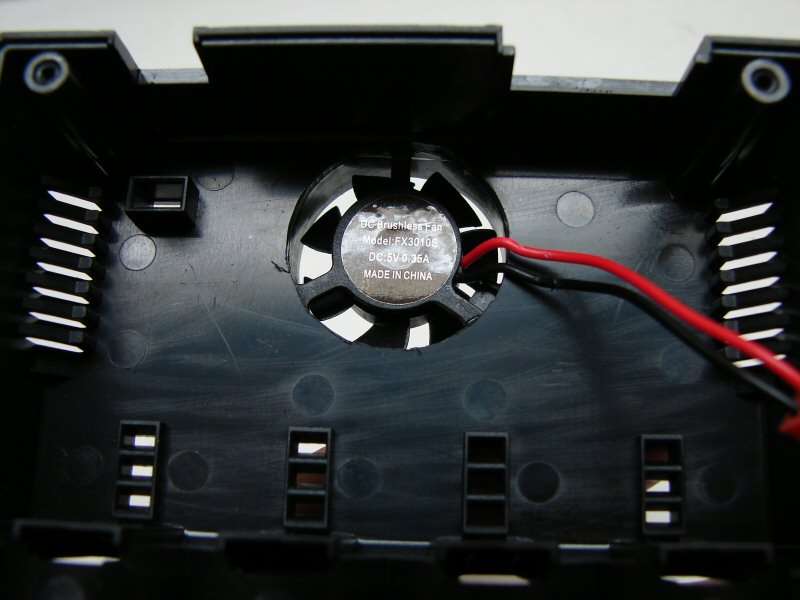
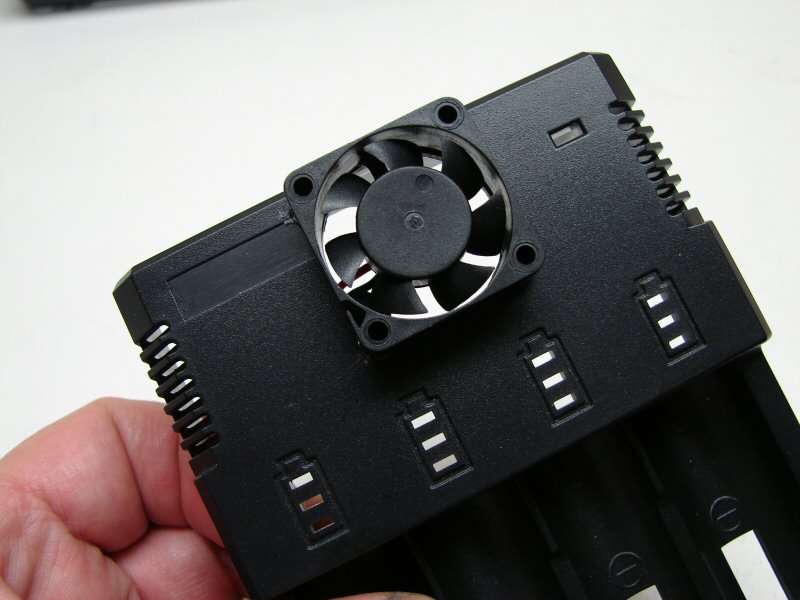
I'm going to add a cooling fan to the i4 and hopefully, it will help. This is a 5v fan from ebay (30mmx30mmx10mm)

i4b

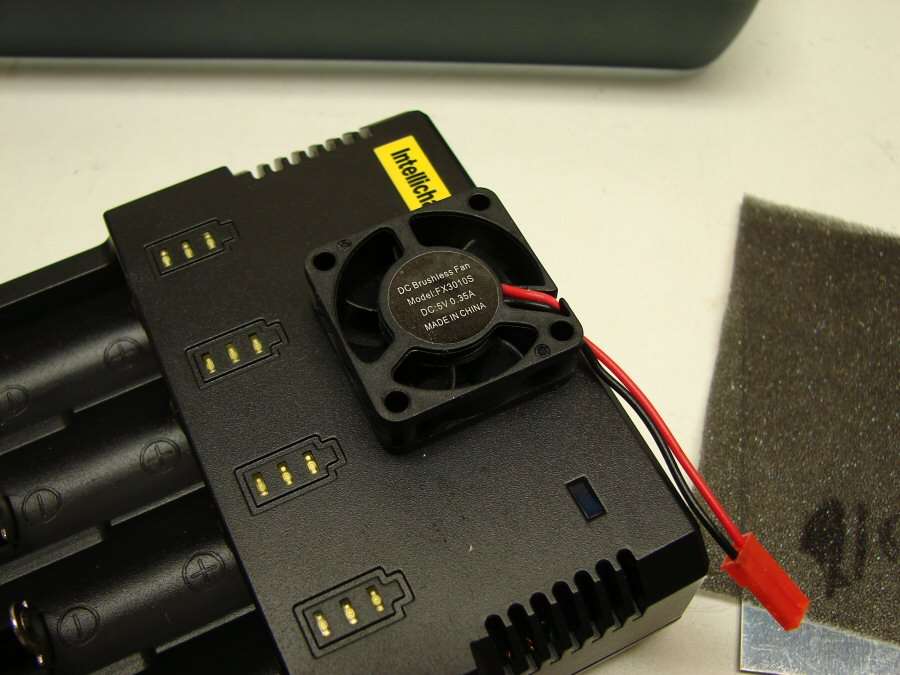
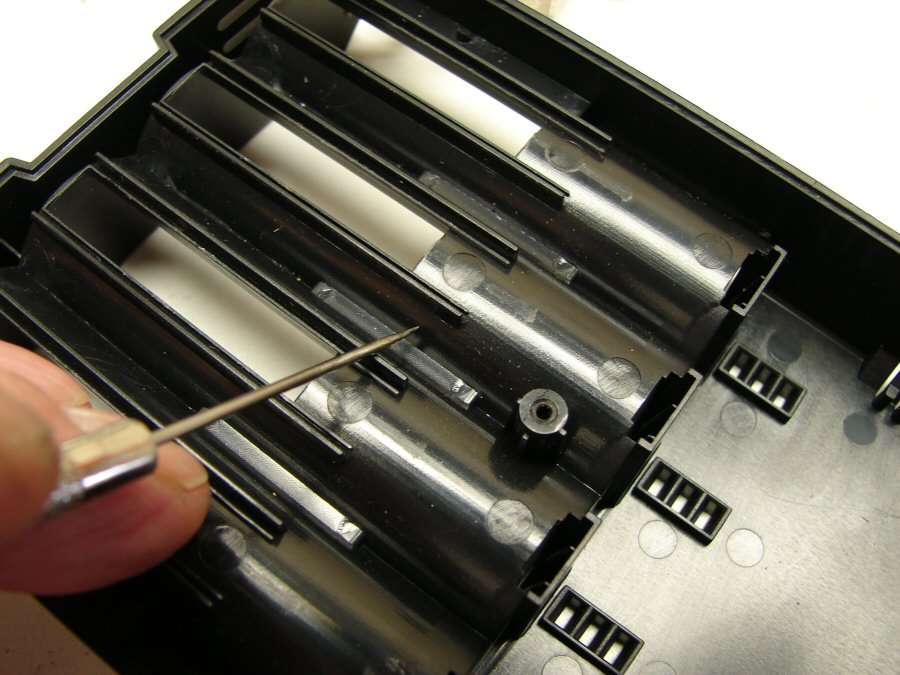
I will need a hole here, so the fan can push air into the case.

i4c

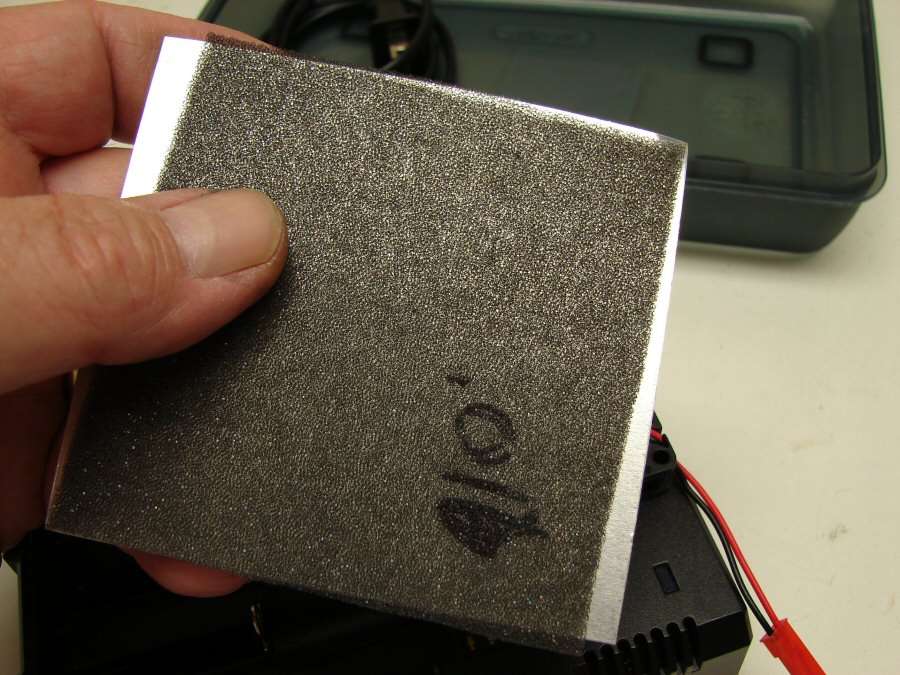
I will make a cover for it, with some aluminum sheet and some foam to keep the dust out.

i4d

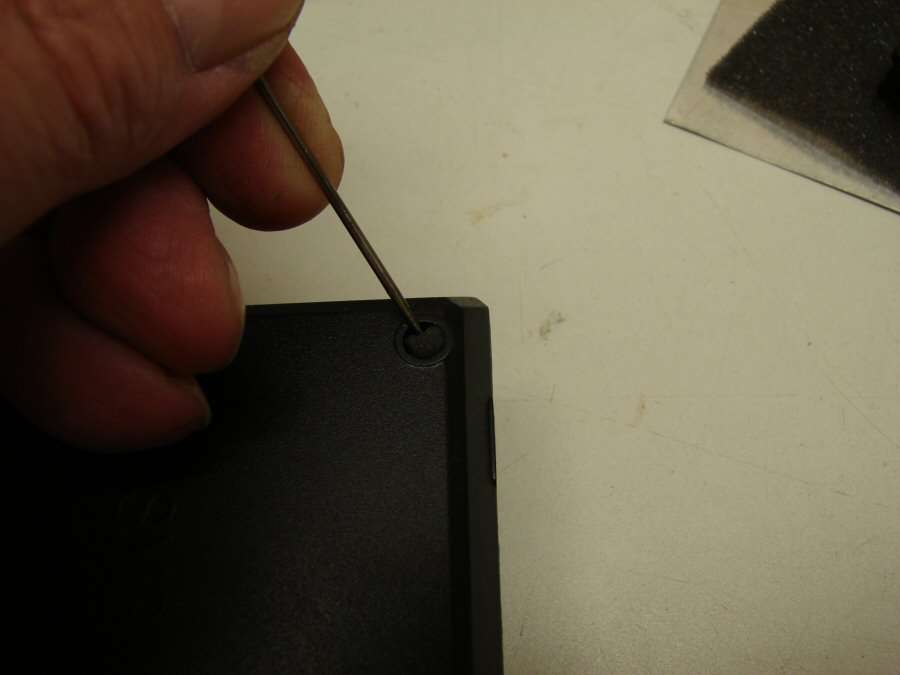
There are 4 screws in the four corners of the back side of the case. You have to remove the foam bumpers, before accessing the Philips head screws.

i4e

Once you remove the back side of the case, there is one more screw to remove, before taking out the board.

i4f

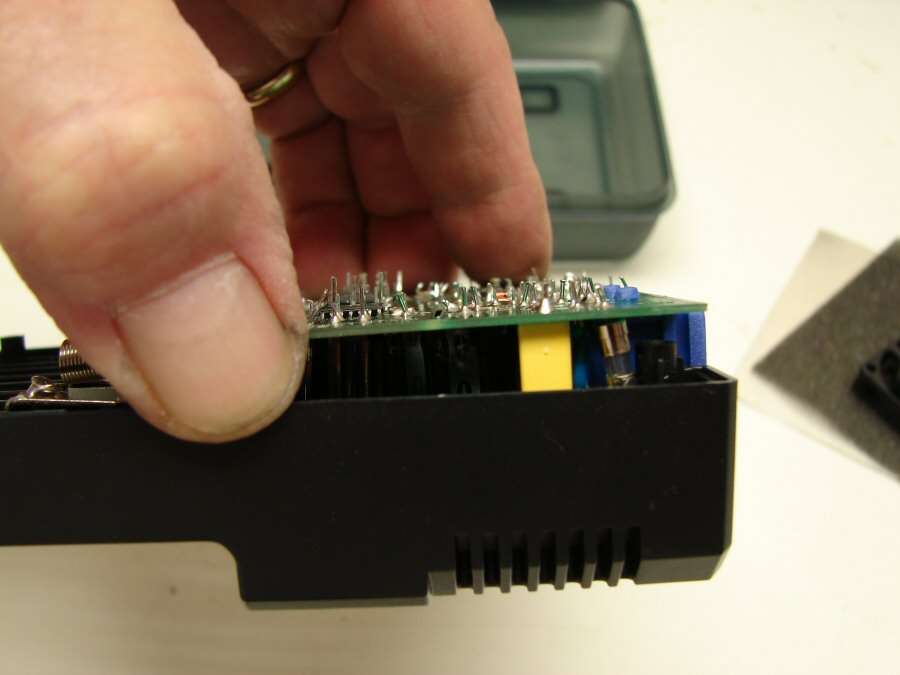
Just remember to pull straight up, not at an angle, so you don't bend any of the components, (all those little leds).

i4g

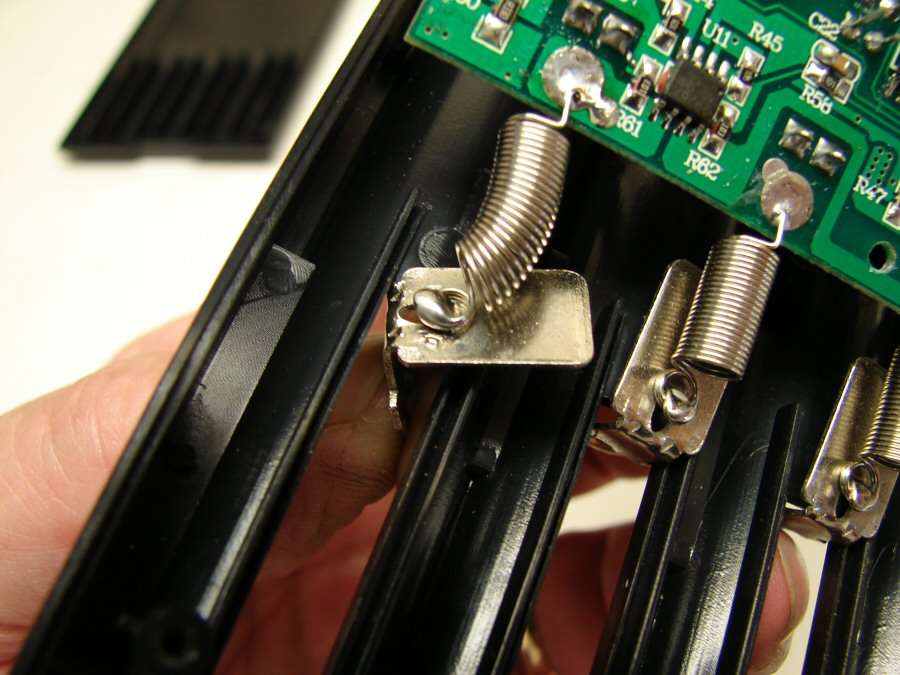
I should have shown this before, but to get the terminals out, just twist them and push them up and out of the case. Then it's a lot easier to remove the board.
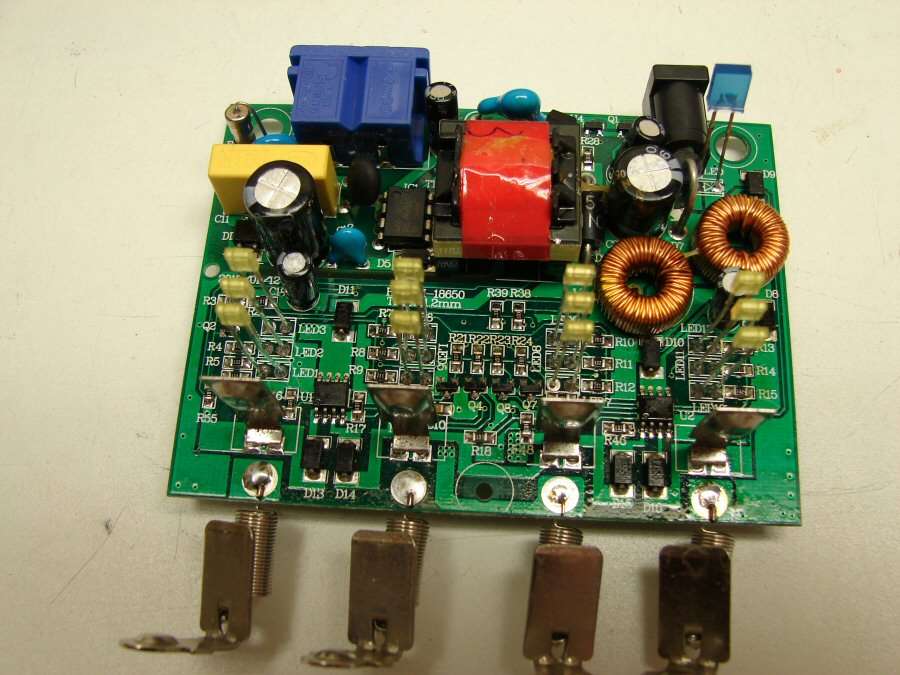
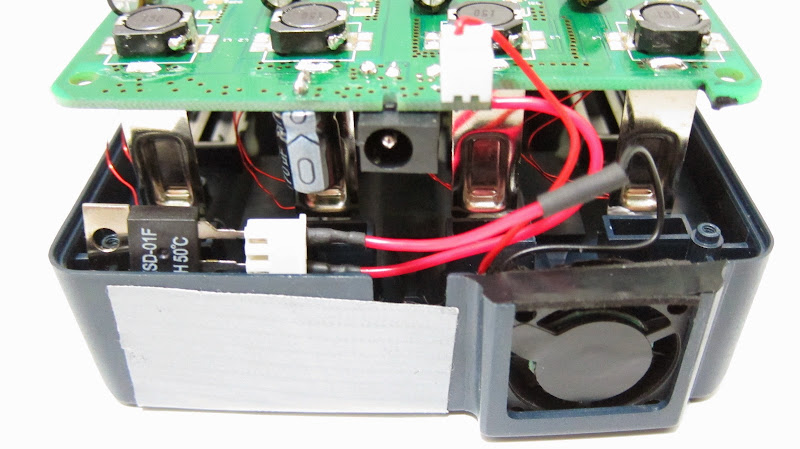
i4h

There's the board.

i4i

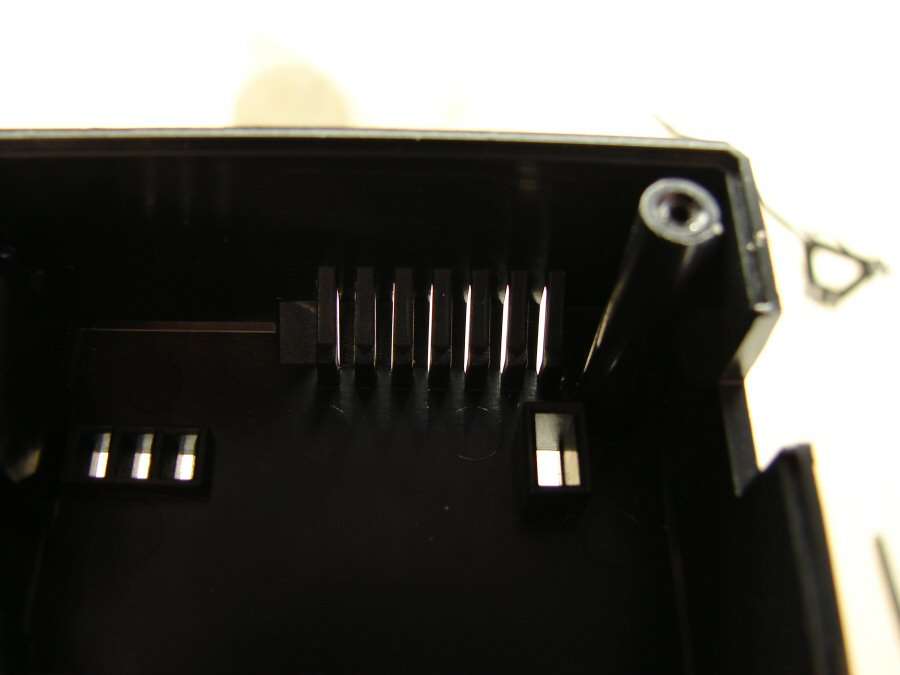
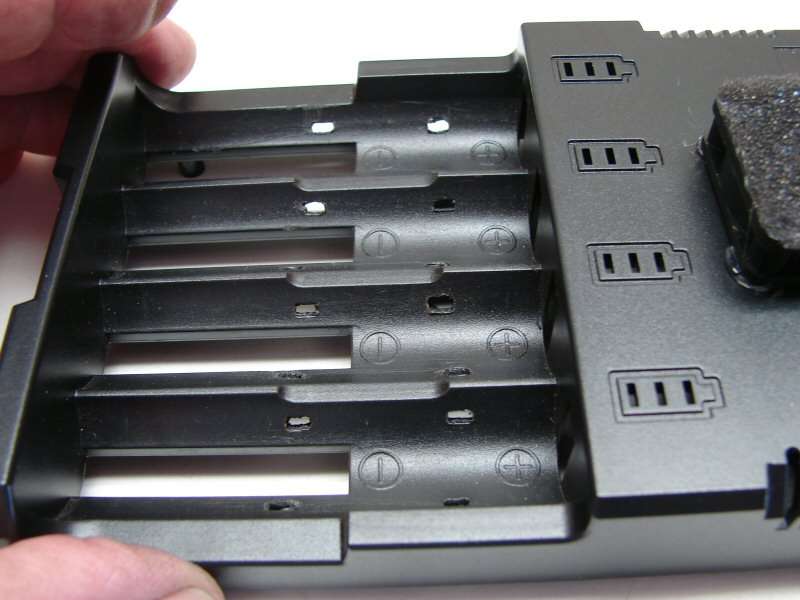
The case already has some slots molded in, for cooling, so I will have an exhaust area for the fan.

i4k

I am also going to cut tiny slots along the case where the batteries set, so that some air might possibly blow past them. This area is a natural channel, so air should be able to get down there easily.

---------------------------------------------------------------------

OK, well it's time to get ready for work, so I will be back in a day or so, with more photos of what I did.

i42a

i42b

i42c

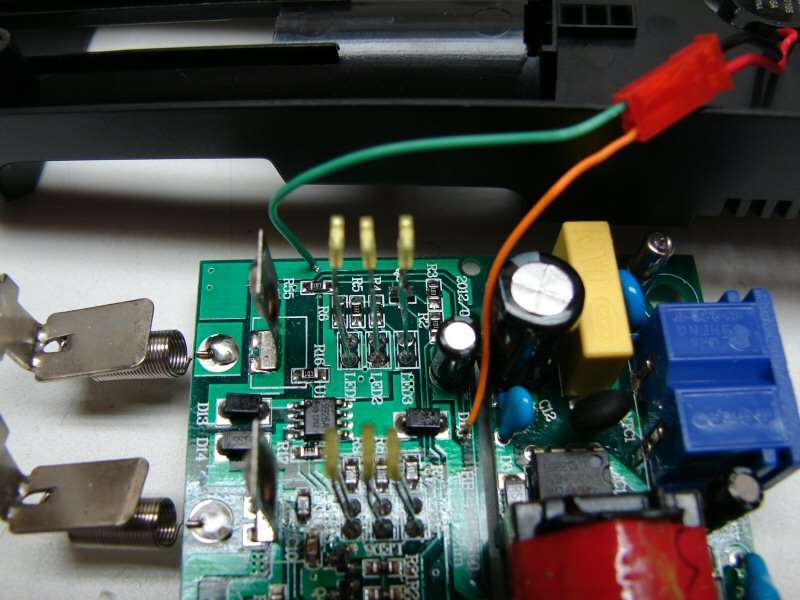
OK, so I got the fan mounted and I got power to it. The fan works, but as long as the fan is in the circuit, the charger does not work.

It's a fail and it's because I do not understand circuitry. Plain and simple, don't try something you have no clue on how to do, unless you are prepared for complete failure.

Anyhow, someone who was an electrical engineer, would probably find the correct circuit in a flash, but that's not me.

I just left the hole open and **** it! It will just stay hot.

Thanks texaspyro. All I needed was to know which point to get the current off of.

i41a

i41b

i41c

i41d

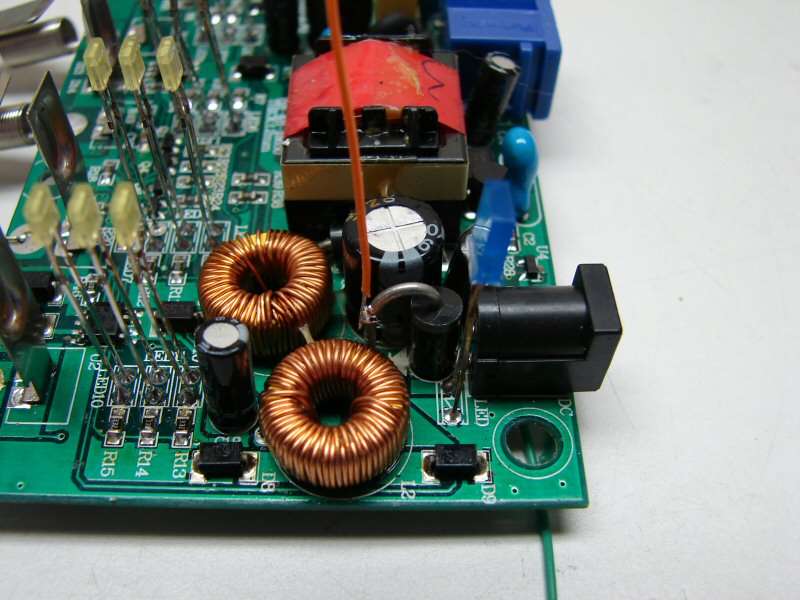
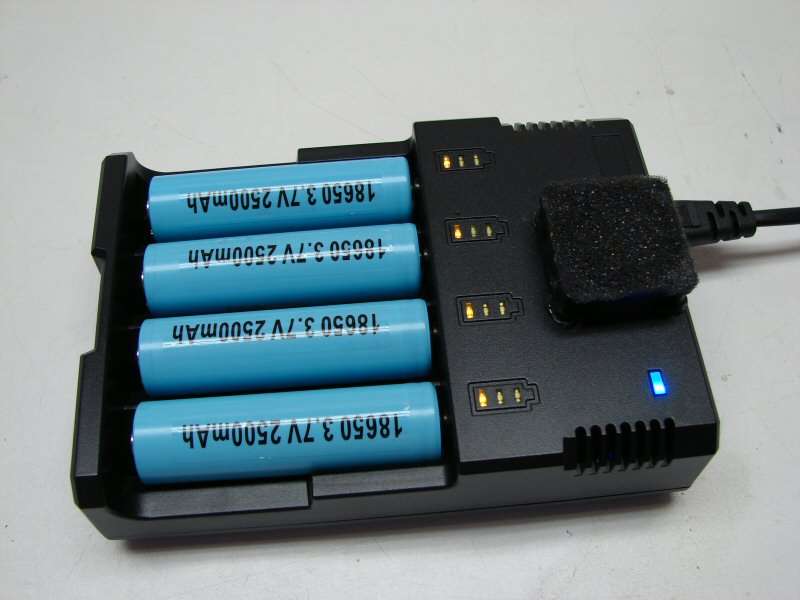
I ended up taking the filter off. Some other time I will figure out a better cover.

Thanks to everybody for getting involved.

Reserved

OL you’re going all Opus dreamcharger on that Nitecore are you?

Maybe I should call it the Nitecore nightmare charger.Laughing

Or the Nitenight or the Dreammare :smiley:

Box fan....... done ....next !

* Will add some pics later tonight

Reserved .....

Epic… I couldn’t stop watching .

Is there ANYTHING that you WON’T try to mod :)?

What power cord do you use? If you are using the AC cord the charger will run hotter cause the built in AC/DC converter makes a lot of heat by its self, you can keep some of the heat down by using an external 12v 5A power supply plugged into the DC port.

Subscribed!
I too use a 12V 2A adaptor with my i4 (in fact the adaptor of my Xtar charger), less heat produced.

Cool! :bigsmile: Are you going to add a fan controller? I have been thinking about replacing the BT-C3100 with one of these modules. It has a hysteresis setting so hopefully no more sometimes-annoying cycling.

Good 12VDC external power supply for the Nitecore…old computer ATX powersupply…you can get them by the truckload

Just short the green wire (PS-ON) to a black wire (gnd) and the power supply comes on, 5vdc regulated (for USB charging) and 12vdc at about 12A for the Nitecore :slight_smile:

subscribed!

I news to go to my storage room and find one of those old power supplies…
I am going to try using that power supply to feed the i4, let’s see the difference. Thanks for the tips, and thanks for the link Chloe, I need one of those too

That’s an awefully large board to add to the BT-C3100. Have you considered just adding a fan switch? You can leave the fan control circuit in place so that the dreamcharger can turn the fan on whenever it wants to - you’d just add an override switch to make the fan stay on when you want it to. (Another alternative is to do this with a uC and a FET or something instead. That way it’d fit inside the case. You could even use Arduino to do it - there are already PID libraries available, which should be superior to hysteresis.)

Good suggestion.

I was just going to let the fan run all the time.

I plug it into AC. That works for me. I don’t have any power supplies and I don’t plan on buying any in the near future.

I didn’t notice that Cereal_killer had specified 5A. I doubt that 5A is required, a simple wall-wart probably does the job. The Nitecore site just calls for 1A. I know you try to keep the electronics to a minimum, but you may well have some of those laying around.

EDIT: Did you find a 5v source inside the i4 for the fan?

It is a bit! :smiley: Though I was also thinking of adding those little LED voltmeters to each bay so I can better tell state of charge from a distance (charger is on the floor due to the noise), and extending the case with a project box.

I have considered just adding an off switch. I do like the idea of an override option though. Maybe two way toggle for both options. I have some mini toggle switches and one would fit between the fan and inlaid logo but it is not ‘centre off’. Thanks for the ideas!

Oh, I did try one of those bimetal thermostats to make it turn on at a higher temp, but the 50°C (±5) NO needed to get much hotter than that to close circuit:

But you can see what I mean about the cavity.

That’s probably better for the i4 since it generates so much heat in that area (and spreads it to the cells >.<).