We need some BOSS music for a BOSS1 mod

So, I am starting the BOSS1 mod
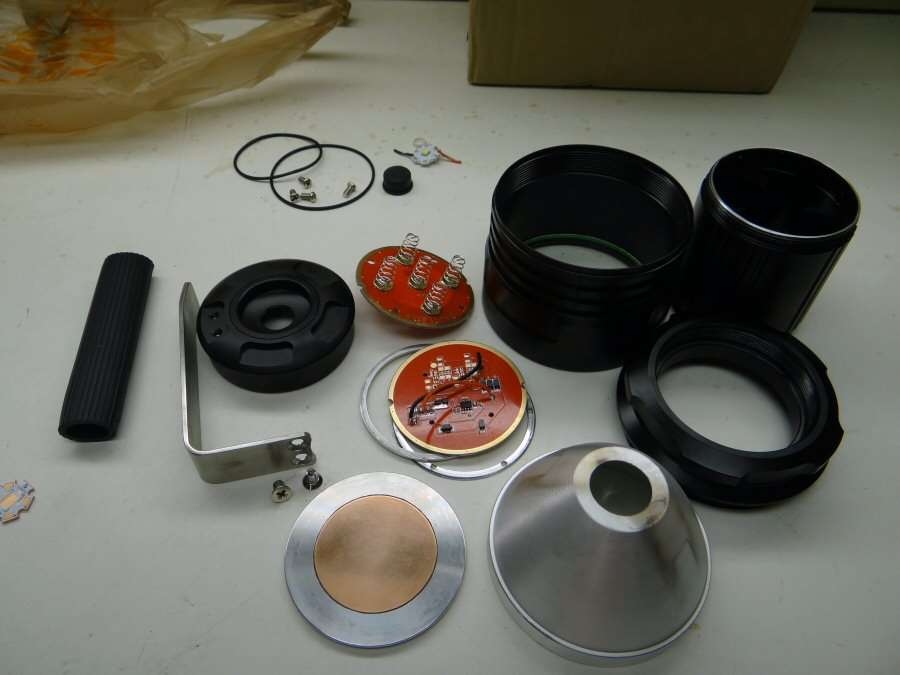
The light is all apart and I have done a little work.
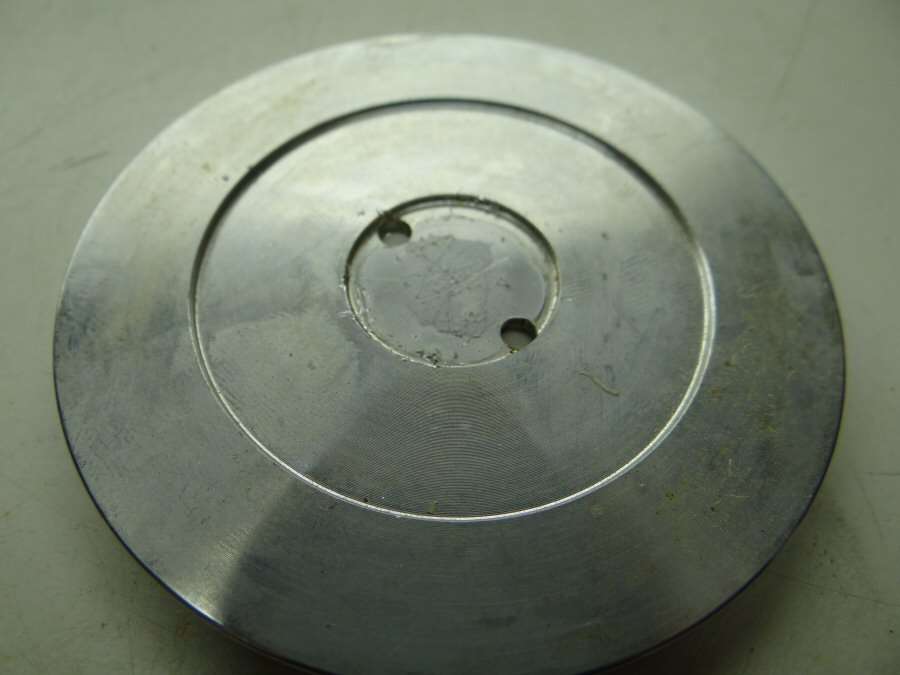
You may remember the original led plate, well I have milled it out to take some copper. The two copper discs are 16ga thickness and 2" in diameter. They have been squeezed together and soldered together.

I will use machine screws to hold this copper to the aluminum plate and more machine screws to hold the aluminum plate to the spot where it sits in the head.

The reflector has been opened up to accept a 20mm mcpcb, so I don't have to worry about hitting any wires if I want the reflector down as low as possible.


I just don't know which led to use. An SBT-90? or an XHP70?
What will the mods be?
- The tail switch becomes just a lockout switch
- A side momentary switch will be added for modes
- A FET driver from RMM
- Either 2S/2P for the XHP70 or keep 4P for the SBT-90
- Filework
- Fancy wood cover over the stock metal handle and new handle screws
- Different lens possibly a lens like Tom E used
-------------------------------------------------------------------------------
02/24/2106
Well I actually got a little done on this light today.

All the hold down screws are in place. I will take this back apart for wiring and to add the thermal paste.

The original driver is bare and will be just a contact plate. The four numbers just mark where the four battery contacts come through the driver plate, so I can wire to the new driver.

The replacement FET driver will be wired to the old driver and sit on top of it. This is a momentary switch driver.

I got some long shaft momentary switches, for use in this light.
A little drill press time and the switch will fit. I think a rubber vacuum line cap, from an automotive source, will work as a boot. I also need to go back and work on the milling some more.

The 6mm x 6mm switch fits in the area between the driver and the led shelf, with room to spare. I will probably glue the switch base to the driver, to hold it in place.

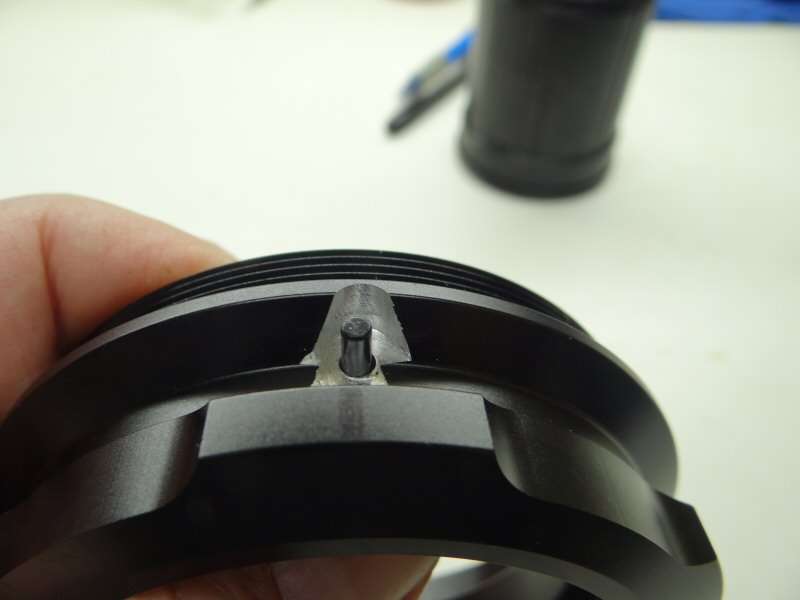
Tail end battery contact plate has been modified for 2S/2P and cells will now load from the tail end. You can see the cut that separates the springs from 4 to 2&2. The pins are guide pins, to keep the plate from being put in wrong.

Holes for the pins, drilled in the body.

I used copper discs to hold the pins in place and soldered them to the contact plate outer ring.

Since there is no clicky switch now, I used over sized Nickel silver discs outside and inside the tail cap and soldered them together.


Last, but not least is the wood on the handle. It is Mesquite burl wood. I figured it need a little bit of Texas in the light. I used Corby rivets and Epoxy. I wanted to try the rivets, because I want to do a few custom knives, when I retire and I wanted to see how hard they were to do. It worked out OK and I like the color and figure of the wood. This is just a wet surface, to show the grain. I still have to do more sanding and apply the finish.
That's all for now. Basically, I just need to wire, test and assemble.
-----------------------------------------------------------------------------------------------------------------------
02/25/2016 Finished the build

Driver and switch are in place.

LED shelf is in place. LED has been sanded. I needed a large thin washer, as a shim, for the reflector height, but I had none. I ended up using some adhesive washers for XM-L and cut them in half, to make the shim I needed. The reflector sits just at the top of the star now and that seems to be about the best beam.
The sanded dome of the LED did just about nothing for the beam. It still had a cross and the spill looked like an octagon shape, no matter the height of the reflector, so...........

I ended up stippling the reflector, to get a better beam. It still looks kinda funky, so I think even though this reflector is large, it is also shallow and I think that is why the spill looks funky.

The 26650 cells in place and testing was accomplished. Everything works as advertised and heat transfer seems to be working well. Fast transfer to the outside of the head.

But, those long springs are a no go, so I used some heavier short gold plated springs I had.

That works much better and they are heavy enough that I won't be doing the spring mod.
Tonight I will do beam shots. and a couple glam shots. The wood handle really sets off the black of the light.


