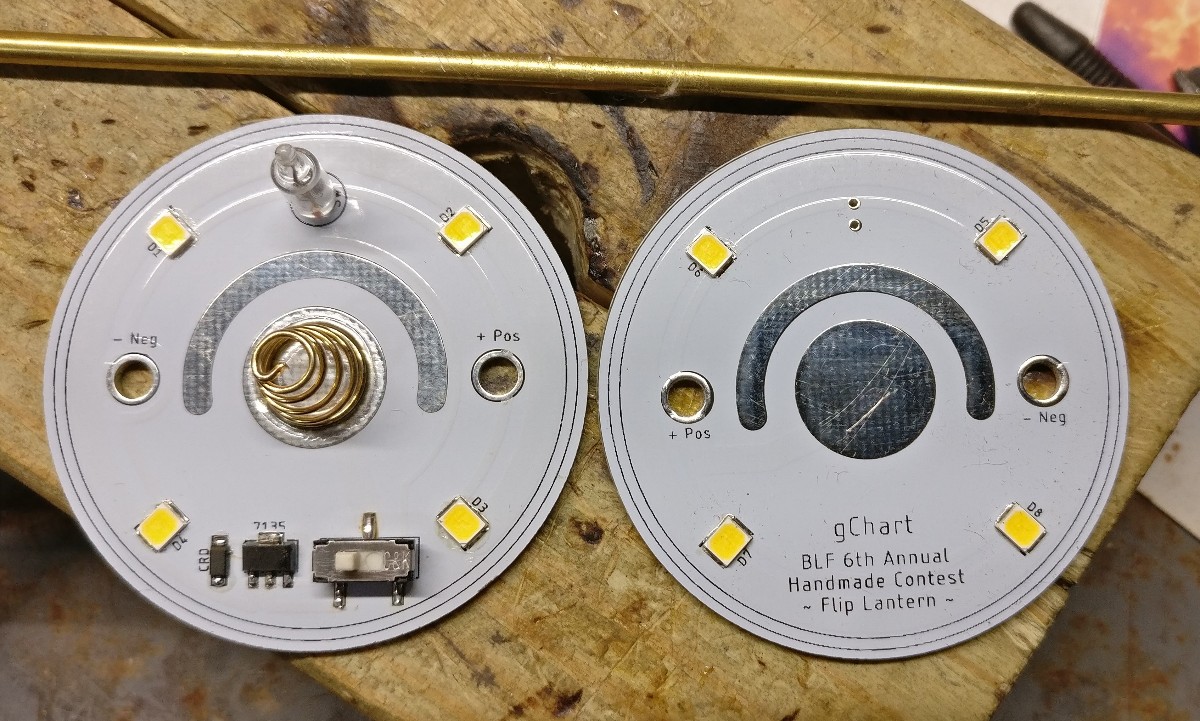
My 4000K LEDs have arrived and I just assembled the final circuit boards.
I also cut the copper pipe that will partially surround the battery. It’s been cut to length and a strip going the length of the battery has been cut. Now I want to cut a hole in the “back” of it so I can push the battery out from behind. Kinda a mess to explain, but pretty simple. I’ll snap a pic later.
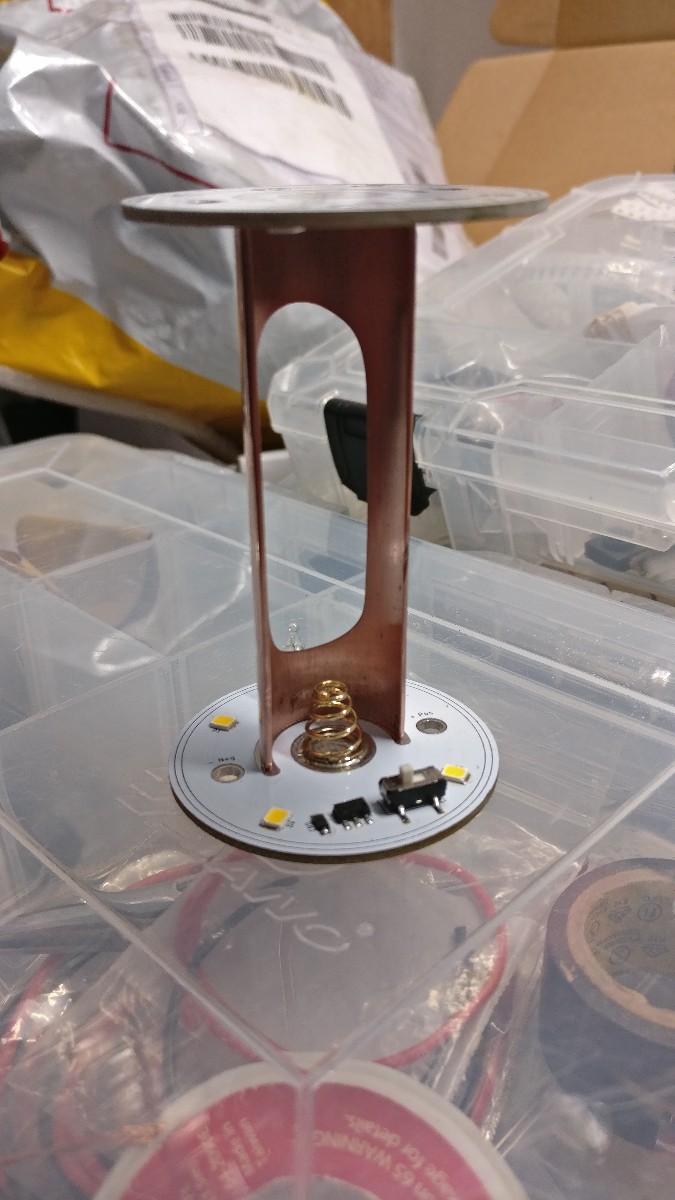
Edit: here are the final circuit boards (differences from the prototype are the switch inclusion and the current regulating diode instead of a resistor)
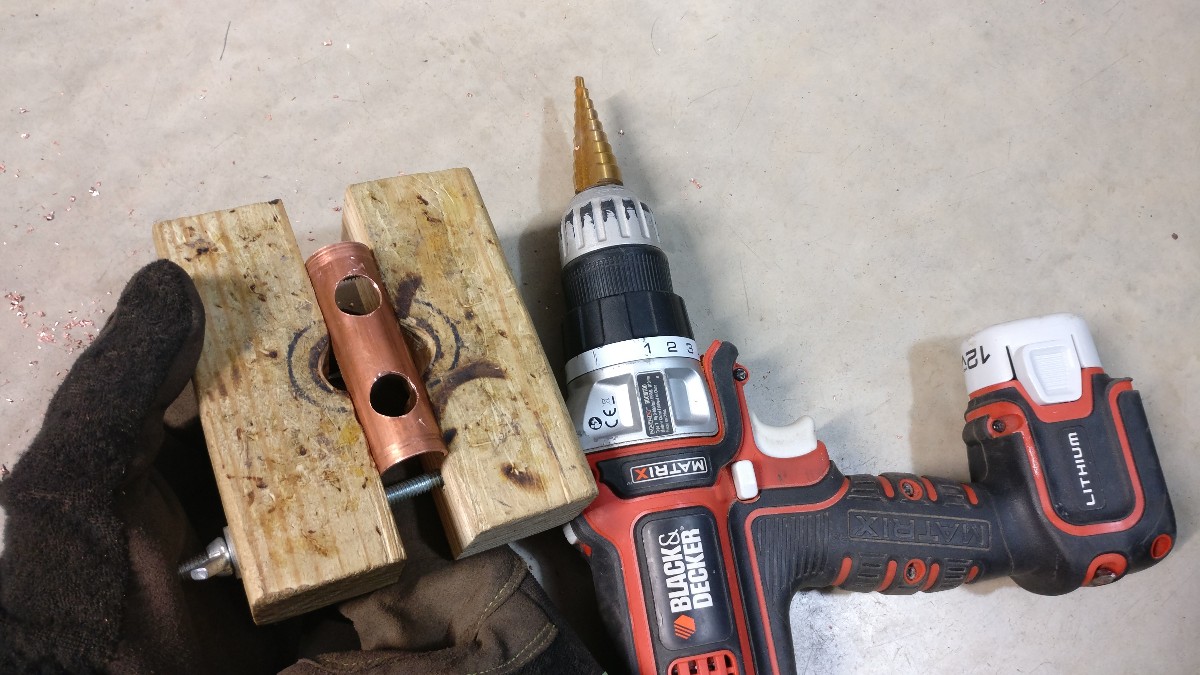
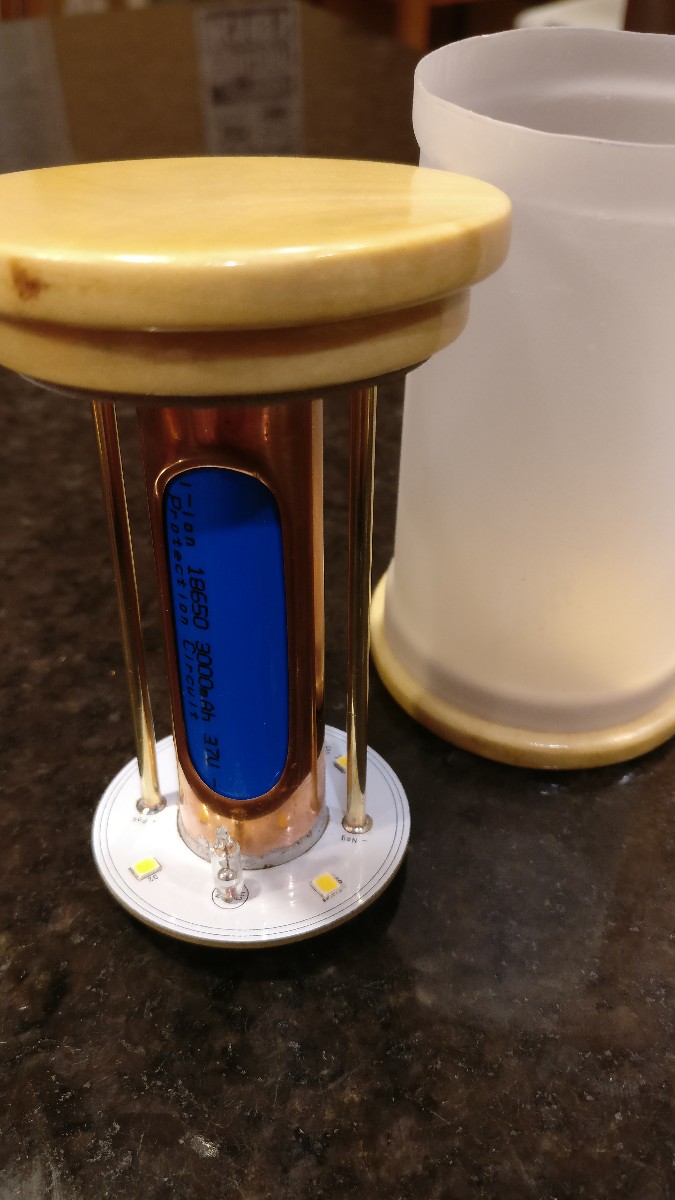
Ok, I’ve got the battery guard knocked out. It’s made out of 3/4” copper pipe. I first cut a slice out of it lengthwise. I then drilled two holes with a step bit. I used a cutoff wheel on my angle grinder to remove the section between the two holes.
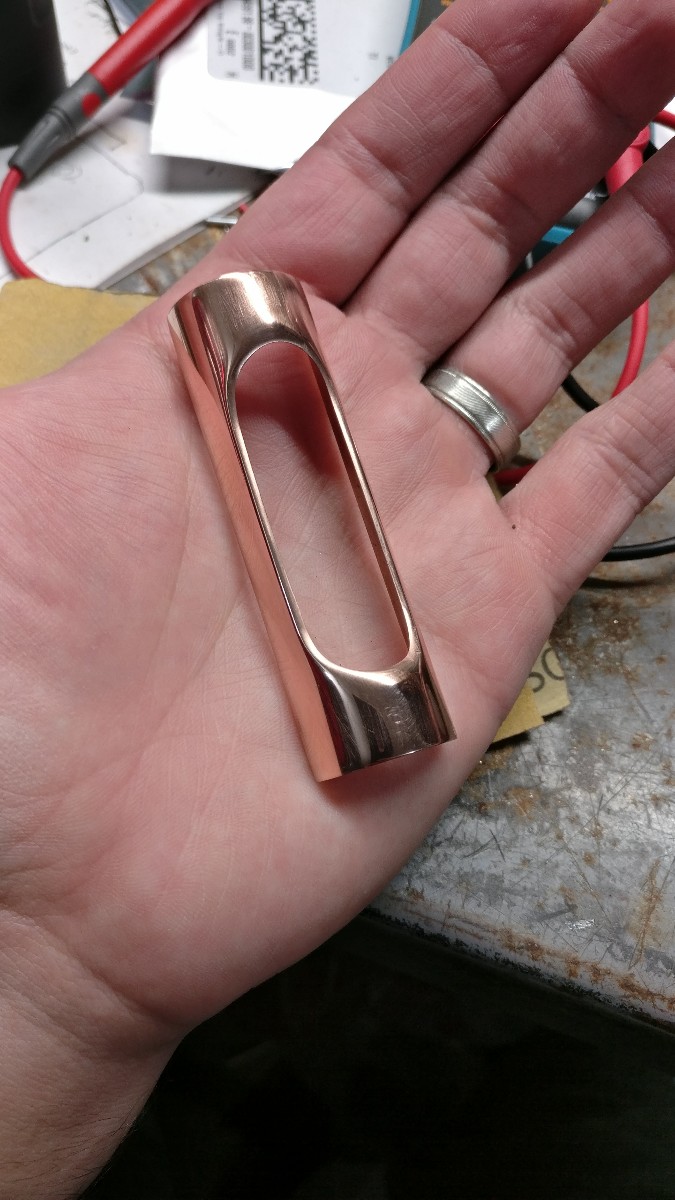
After the metal was in it’s rough but final shape, I spent an hour or two tweaking it with a hand file and 80 grit sandpaper. It then got progressively higher sandpaper (up to 2000 grit?) followed by a little polishing with Mother’s Mag Polish.
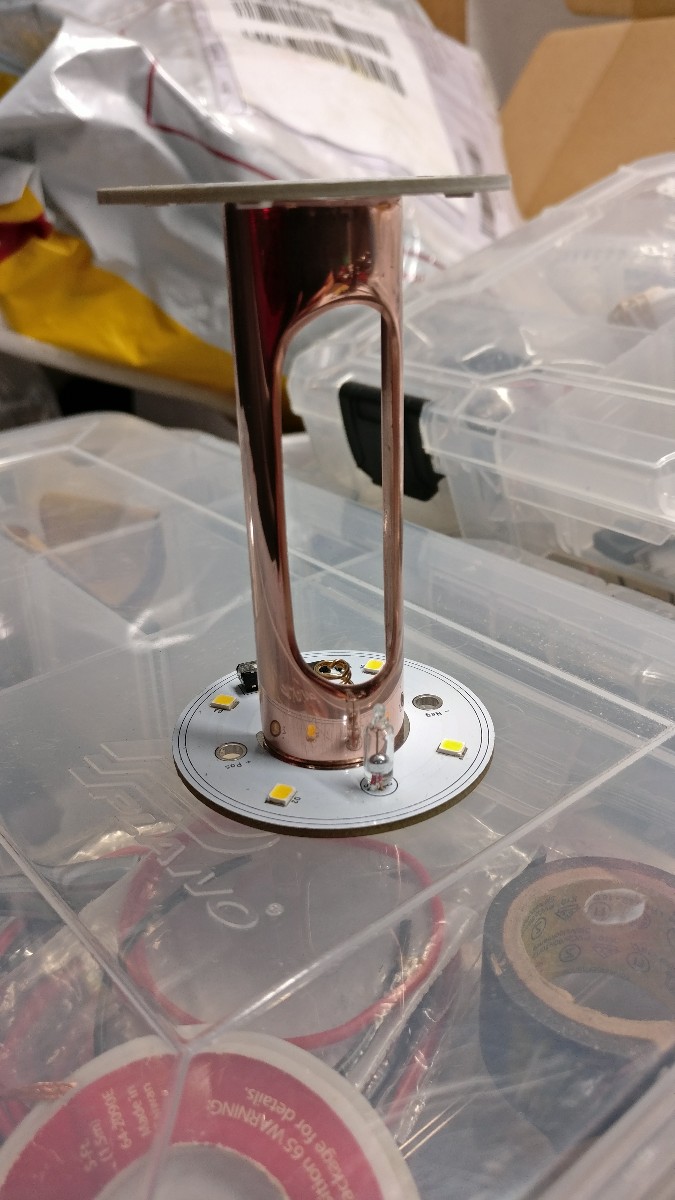
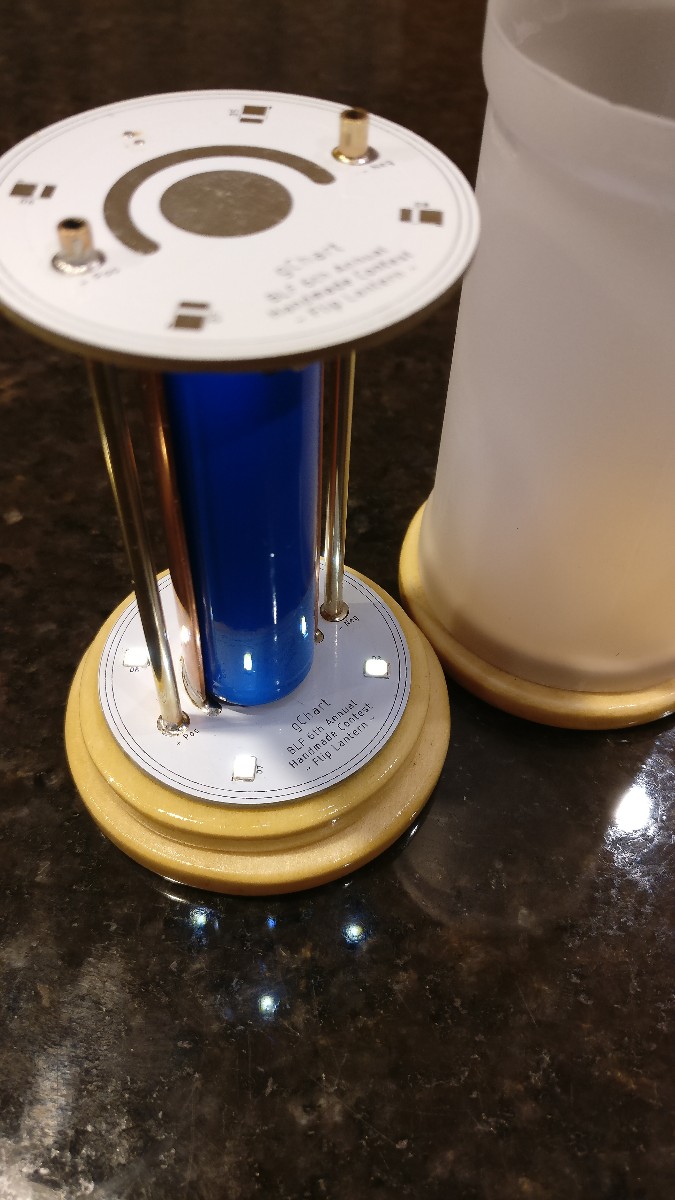
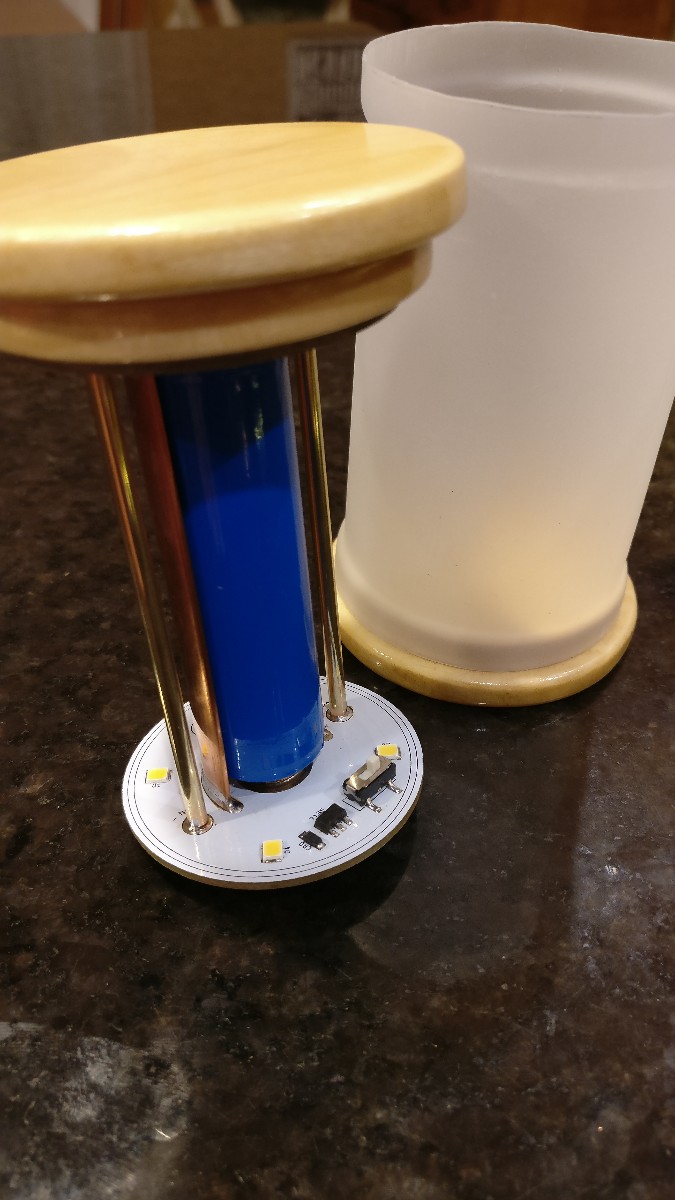
And here it is, mocked up in place.
Now I need to solder it in place, followed by the two conducting rods.
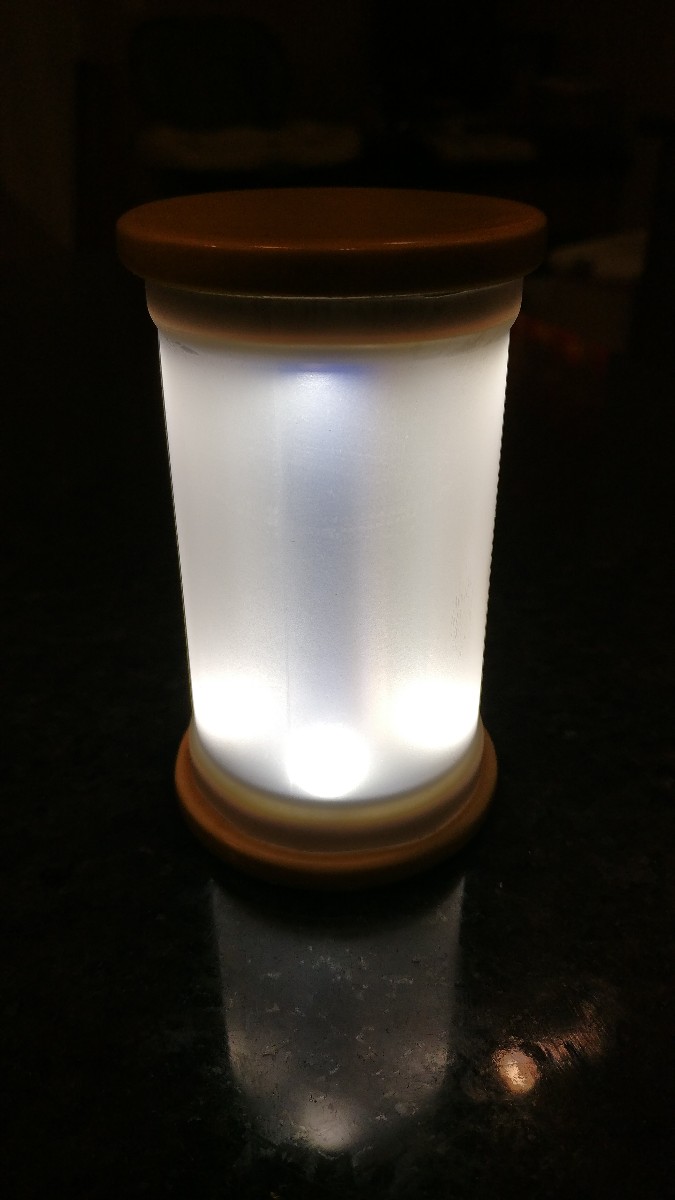
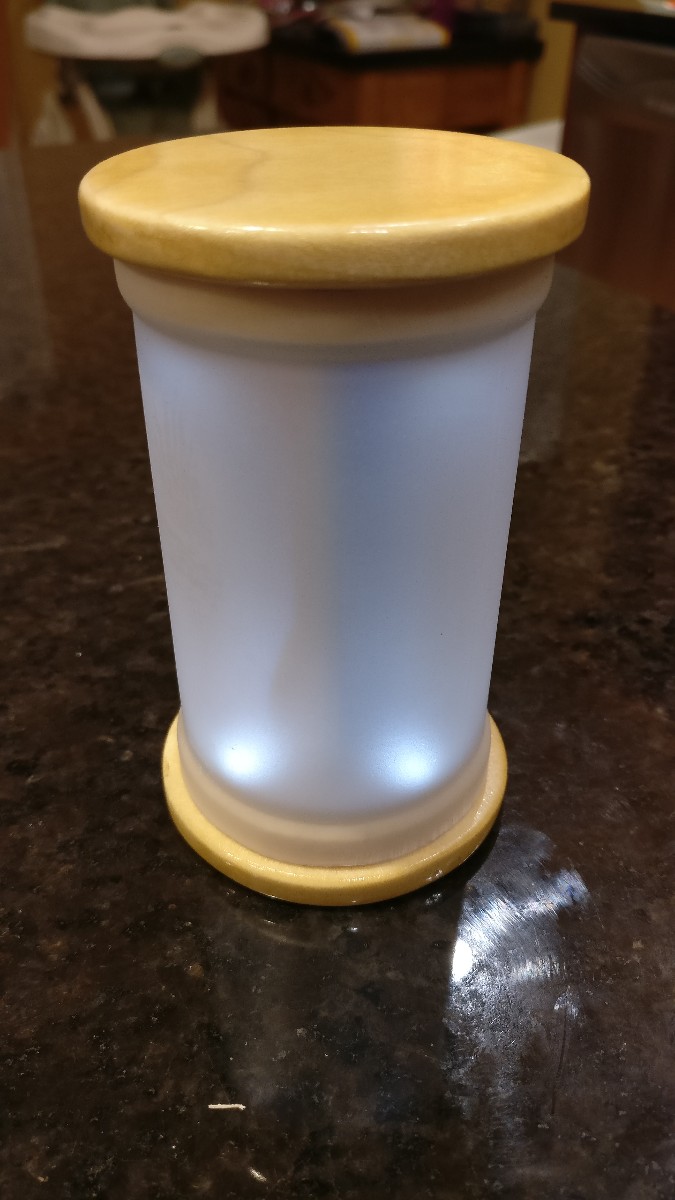
Maybe it’s just the camera response, but it looks like you need a bit more diffusion. Maybe find a cool pattern of DC-Fix to coat the outside to add more diffusion, and give it some aesthetic “texture” to the otherwise smooth-looking plastic cylinder.
That’s exactly what I had in mind, David. I don’t have any DC Fix laying around, but I know they make some pretty cool patterns of window frosting film. I might try one of those, but I think I’d hate the seam. Dunno :weary:
Maybe you can find one with a pattern that isn’t too hard to trace with a razor knife. Then, you might be able to hide the seam by tiling it together.
EDIT: Another option might be to spiral the material around the tube. Cut the material to a couple inches wide or so, then wrap it in a spiral, and make the “seam” look intentional!
If I were redesigning the PCBs, I might only have the top side illuminated at any one time… but as it stands, all 8 LEDs (4 on top, 4 on bottom) are always lit (unless you turn it completely off).
 )
)