I think that blue inner and orange outer might go well with my Orange trits but then i’d have to re-solder my LED wires, hmmm ![]()
My pleasure… :+1: . Yep, that’s pretty precision drilling. ![]()
Actually I’m looking at a mini 3-jaw chuck precision rotary table, something like a 3-4” incher, I want to see one in person first.
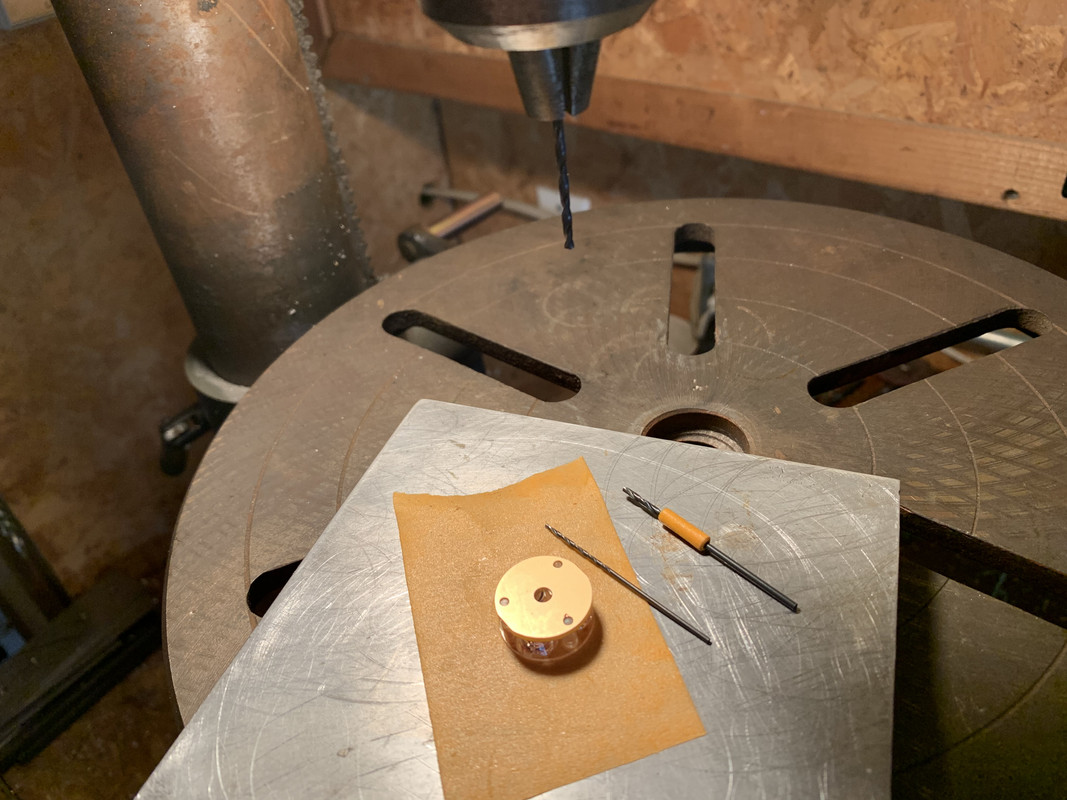
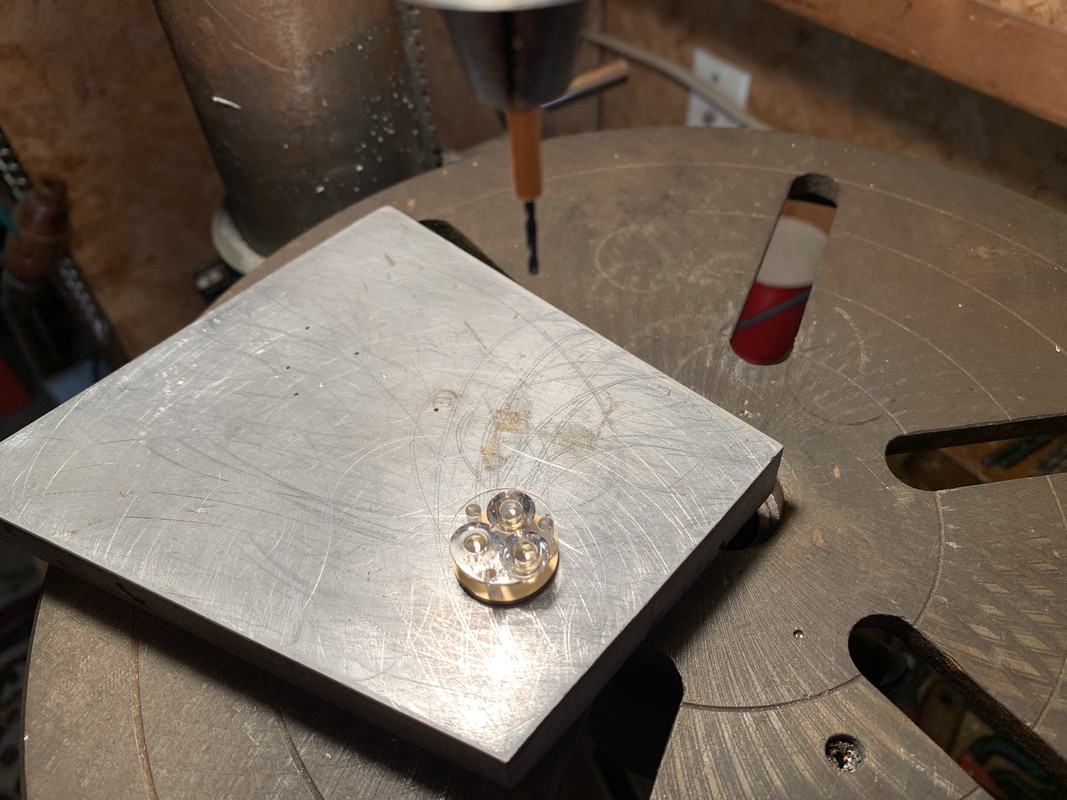
I did it free hand on the drill press sort of…. spotting and then letting the next drill pick up the hole to follow.
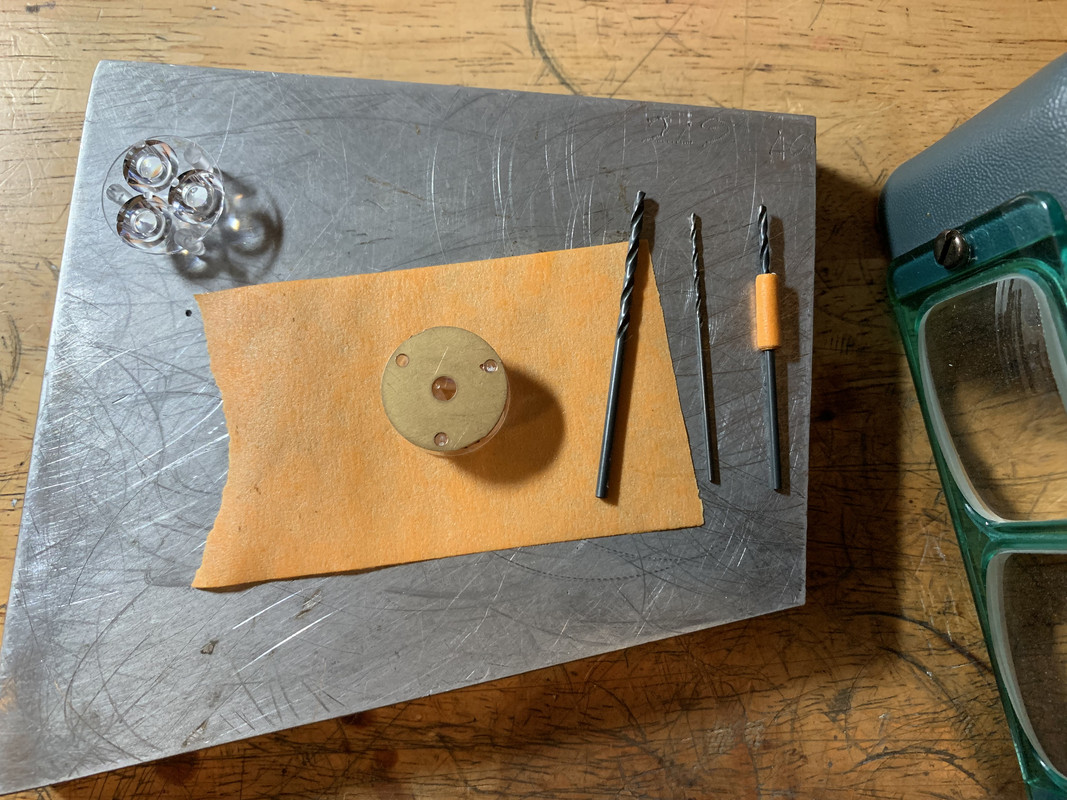
I used the triple mcpcb to spot the legs with a 2mm drill. Tape up the lens face, plop the board on the optic, make sure your table is square to the drill axis, and spin her up on the RPM you want them tiny drill turning screaming fast. I used a flat piece of aluminum to set the taped optic face down on, gently pecked thru the mcpcb board into the leg, till I saw the 2mm drill was at full diameter while hanging onto the optic and board with my finger tips. After I spoted the 3 legs, I used a 1mm drill to drill thru the legs and slightly break into the aluminum plate underneath, I could feel the difference when I broke thru, again peck up and down a little at a time smoothly…now flip the board and optic over, removed the tape to see the 1mm hole better then just used a 1.57mm drill to pick up the 1mm hole and drilled 6mm deep. Use something like an Opti-Viser to help visually…. Picking up the hole, making sure the drill is not bending or walking off.
The first one I tried to do, I almost got finished, on the last leg I pushed a little too much, well you can imagine…… it wasn’t good…so I took it extra slow on the wife’s optic… ![]()
Gonna do another… narrow spot clear optic this time….
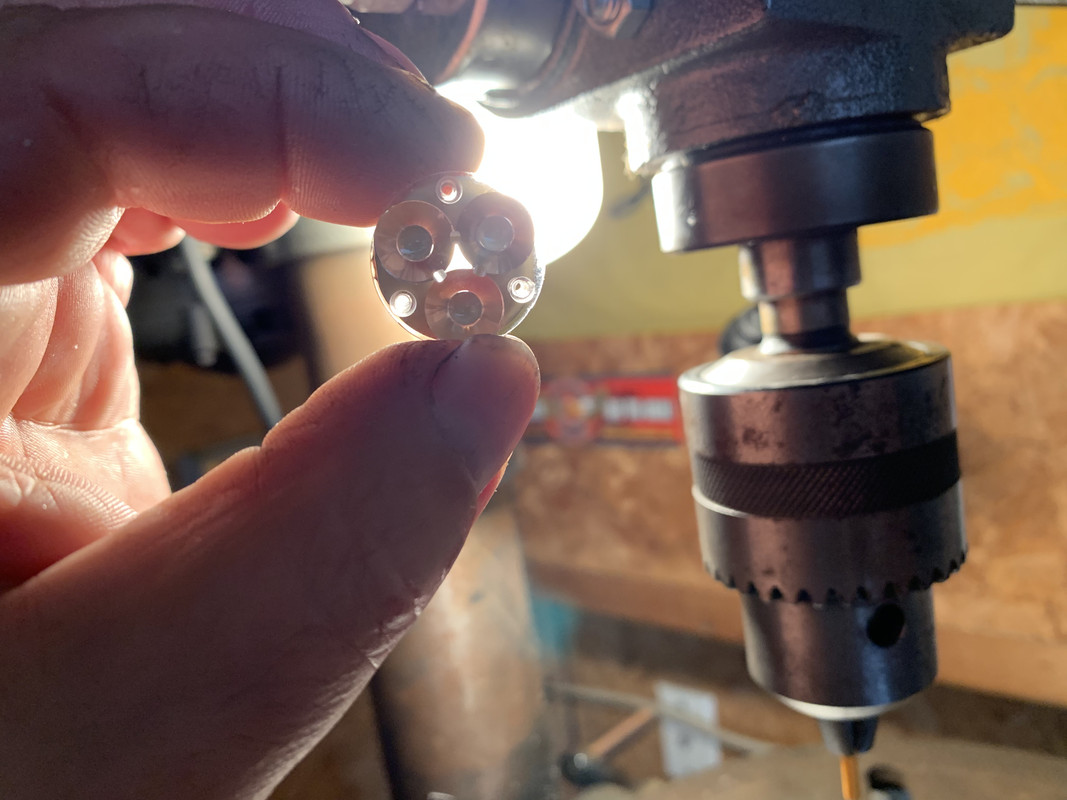
2mm drill spot optic legs to full diameter of drill…
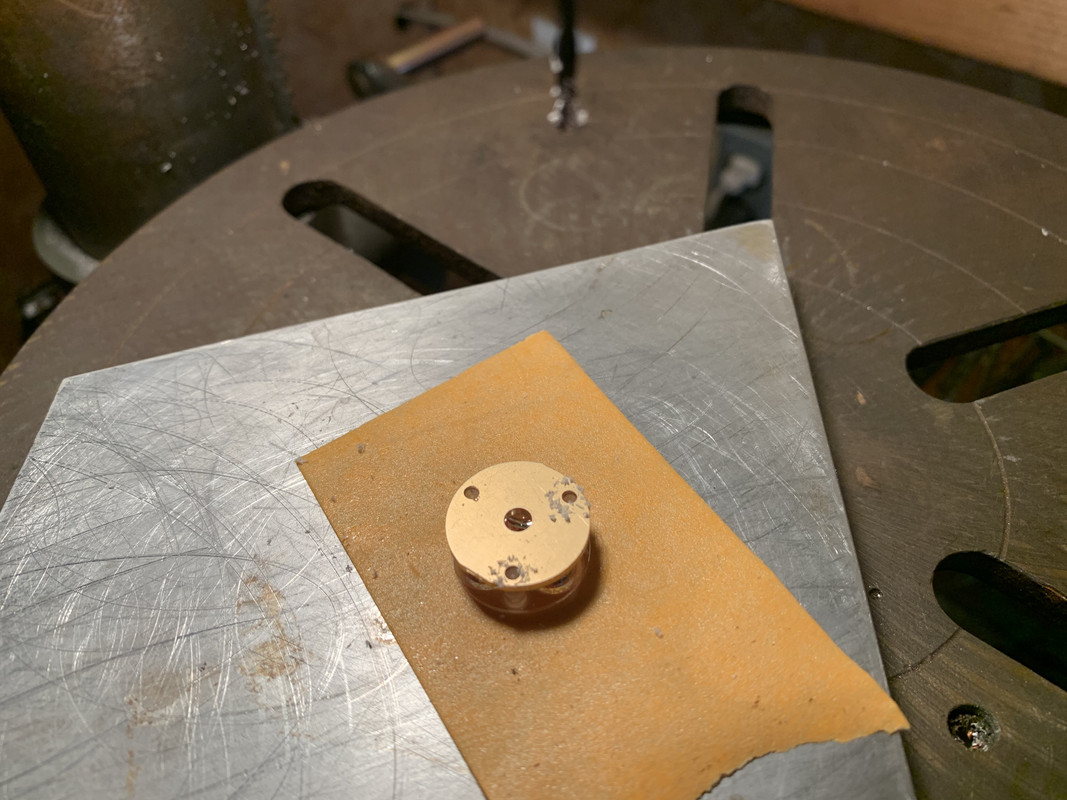
Now pick up the 2mm spot with the 1mm drill and drill thru… to keep the optic in position, let the drill do the work picking the hole back up, when clearing…
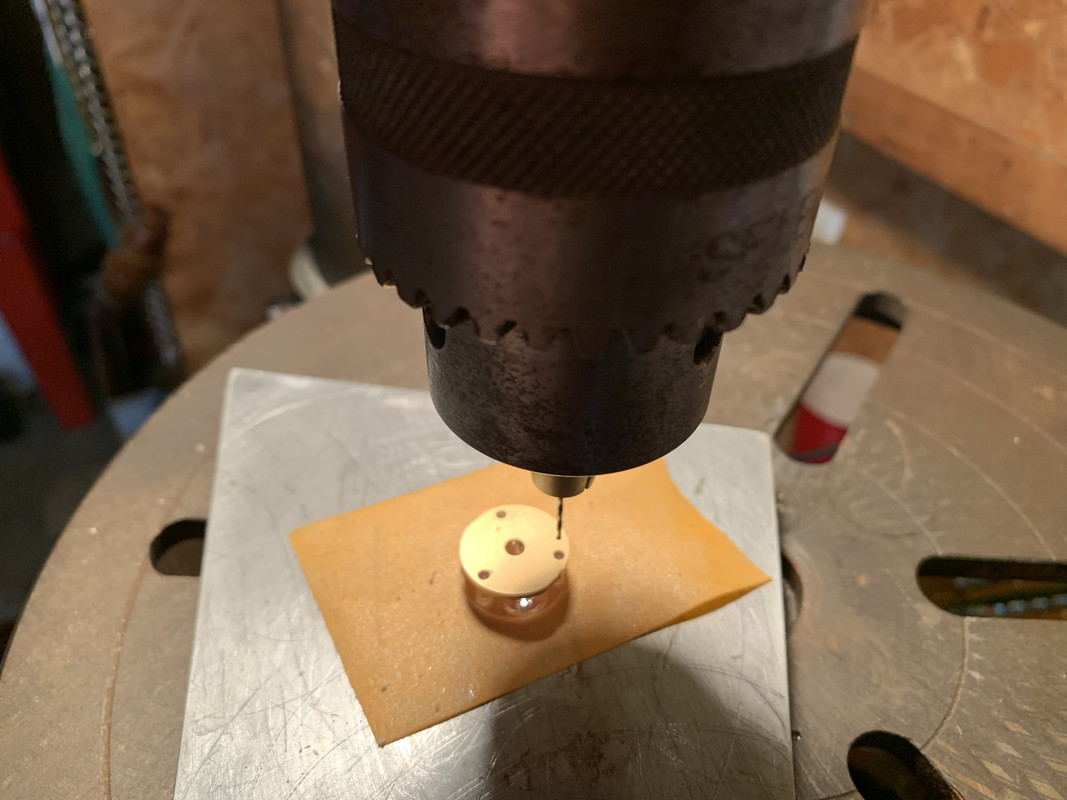
Now drill the 1.57mm drill 6mm deep… using the same technique pecking and clearing take it slow, let the drill do the work and keep you in position, let it follow the 1mm hole.

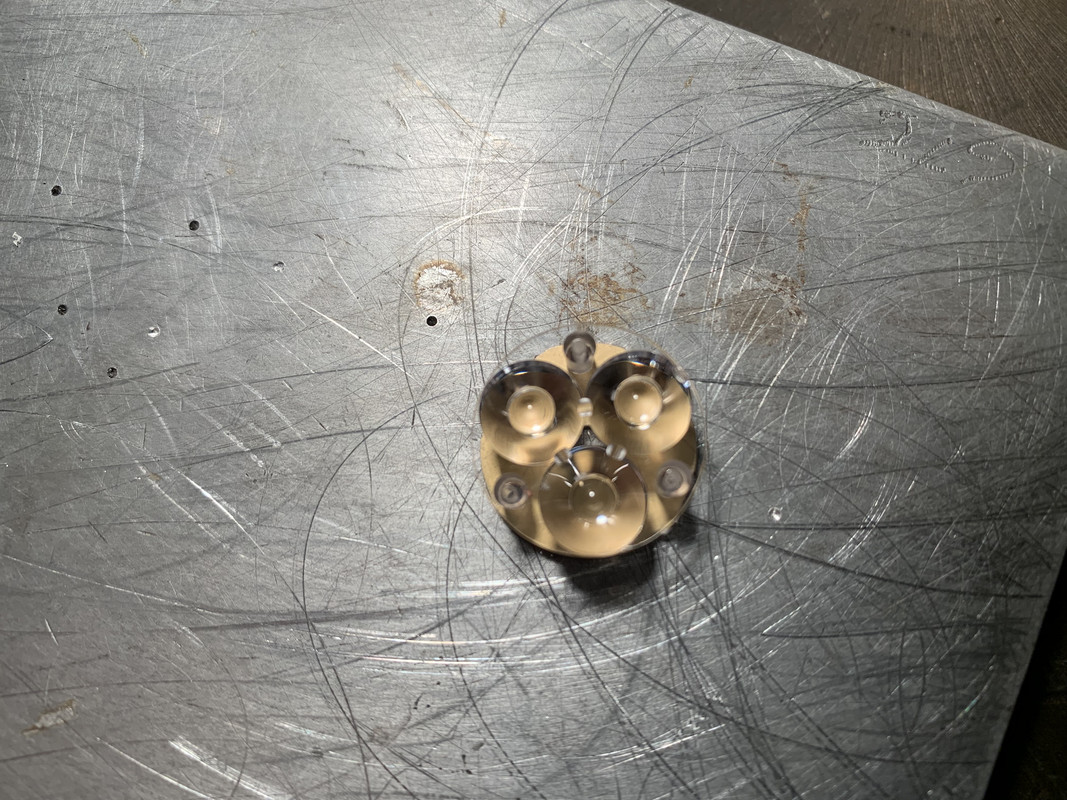
All 1.57mm holes drilled… chamfer the the holes…… check depth with Trits…

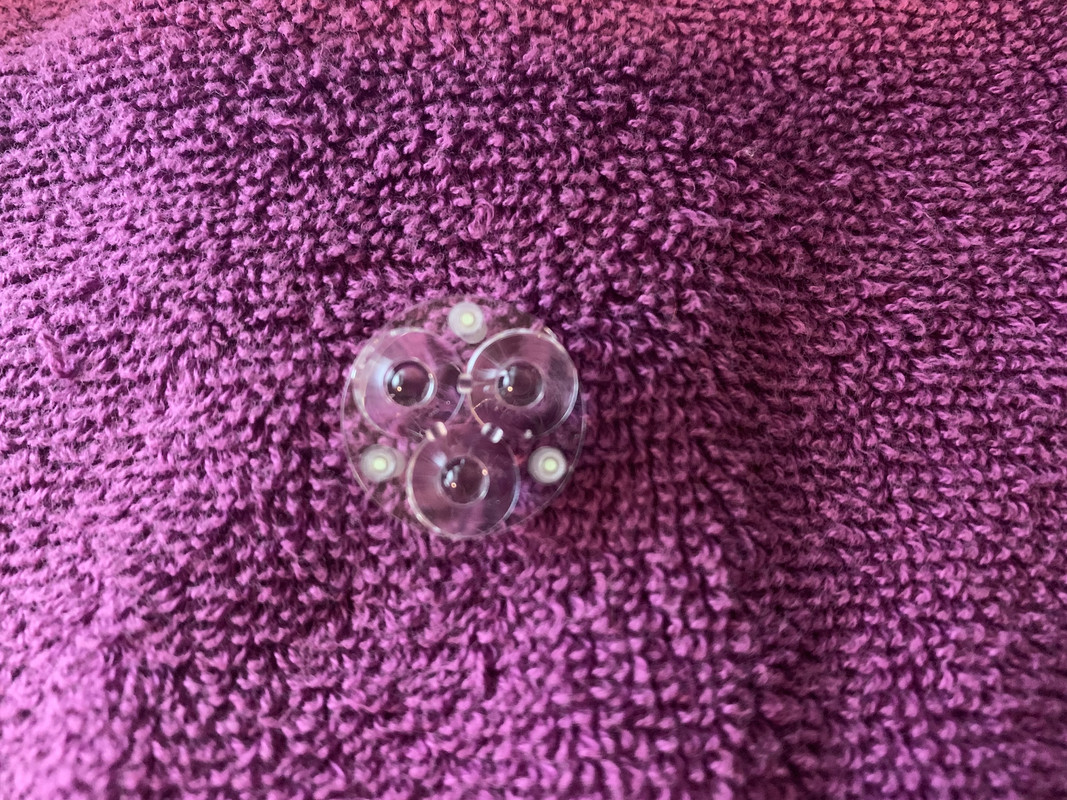
Trit check: Just below the surface… loads unloads easy…not perfect but not too shaby…
![]()
Does this kill the waterproof part of the “owning a waterproof candle” experience?
The tint of these are awesome as they are from the older CQAR generation and are binned below the BBL so two big wins in my book. I have a ton of these on hand so I’m in no rush to buy the SST20s. That and these are native below the BBL… I’ll post comparison shots when I get a chance.
Every time I think I can’t lust for something you made more than I already have…
Whatever you touch turns to unobtanium.
![]()
Does this mean that the red powder is in as well now?
Fantastic work and details — thanks for sharing! :+1:
Yes, that generation had fantastic tints. I still have a 80CRI 3500K version in my copper Maratac AA and that has the nice rosy tint too. But the efficiency is not great and current handling is very limited, so if we finally manage to get good SST-20 tints that will be my current choice.
So would anyone else like them to offer a stainless bezel for this? I would love one just to protect it from my keys in my pocket!
I mean you already know the answer to that. This forum loves stainless bezels. However, I don’t see it happening for this light.
You’re probably better off finding some kind of plastic cap of the right diameter and affix it to the front, to protect the anodized bezel edge from getting chipped by metal objects in your pocket.
Isn’t the optic still behind a glass lens?
I think as long as this doesn’t make the optic shorter somehow, it should be just as waterproof as before (if you put all the gaskets/o-rings/etc back in during reassembly).
No…. the distance remains the same since the optic sits on the shoulder of the Legs in the holes of the MCPCB
That is what I thought.
I would be silly to make the light leaky just to add some bling. I’m waiting on a couple of slow boats so I can do this to mine. Thank you for your detailed post about your method. I’ll be referencing it when I get my materials in.
Did you use any glue for yours or is the fit tight enough to not worry about it?
If you did glue them, did you use UV activated optical adhesive, super glue, or some other fancy stuff?
Don’t glue them. No reason to permanently put $20 worth of trits in a $1.50 optic that can get scratched or dirty. It has nowhere to go so just make sure they dont fall out when you assemble/disassemble the light and you are good. The glass lens will keep everything in place.
edit; just to be clear the hole in the bottom legs is not wide enough for the trit to fall through it can only come in/out via the top.
NO glue. The holes are a tiny bit oversize .003”-.004” so they tap in and tap out, the lens holds them in well enough, makes it easy to change/mix colors….
Thank you for the tip. It did look as though the glass would retain them well enough, and I agree with your sentiments about the wisdom of permanently sealing them in there. I guess I’ll need to ready another excuse for that UV S2 I have coming…
Perfect. This sounds like the best way to do it.
Oh… so you drilled in from the TOP, not bottom? I guess that makes sense. Good point about not using adhesive, given how everything is held together when the optic is locked into place.