[copied from my post in r/flashlight on Reddit]
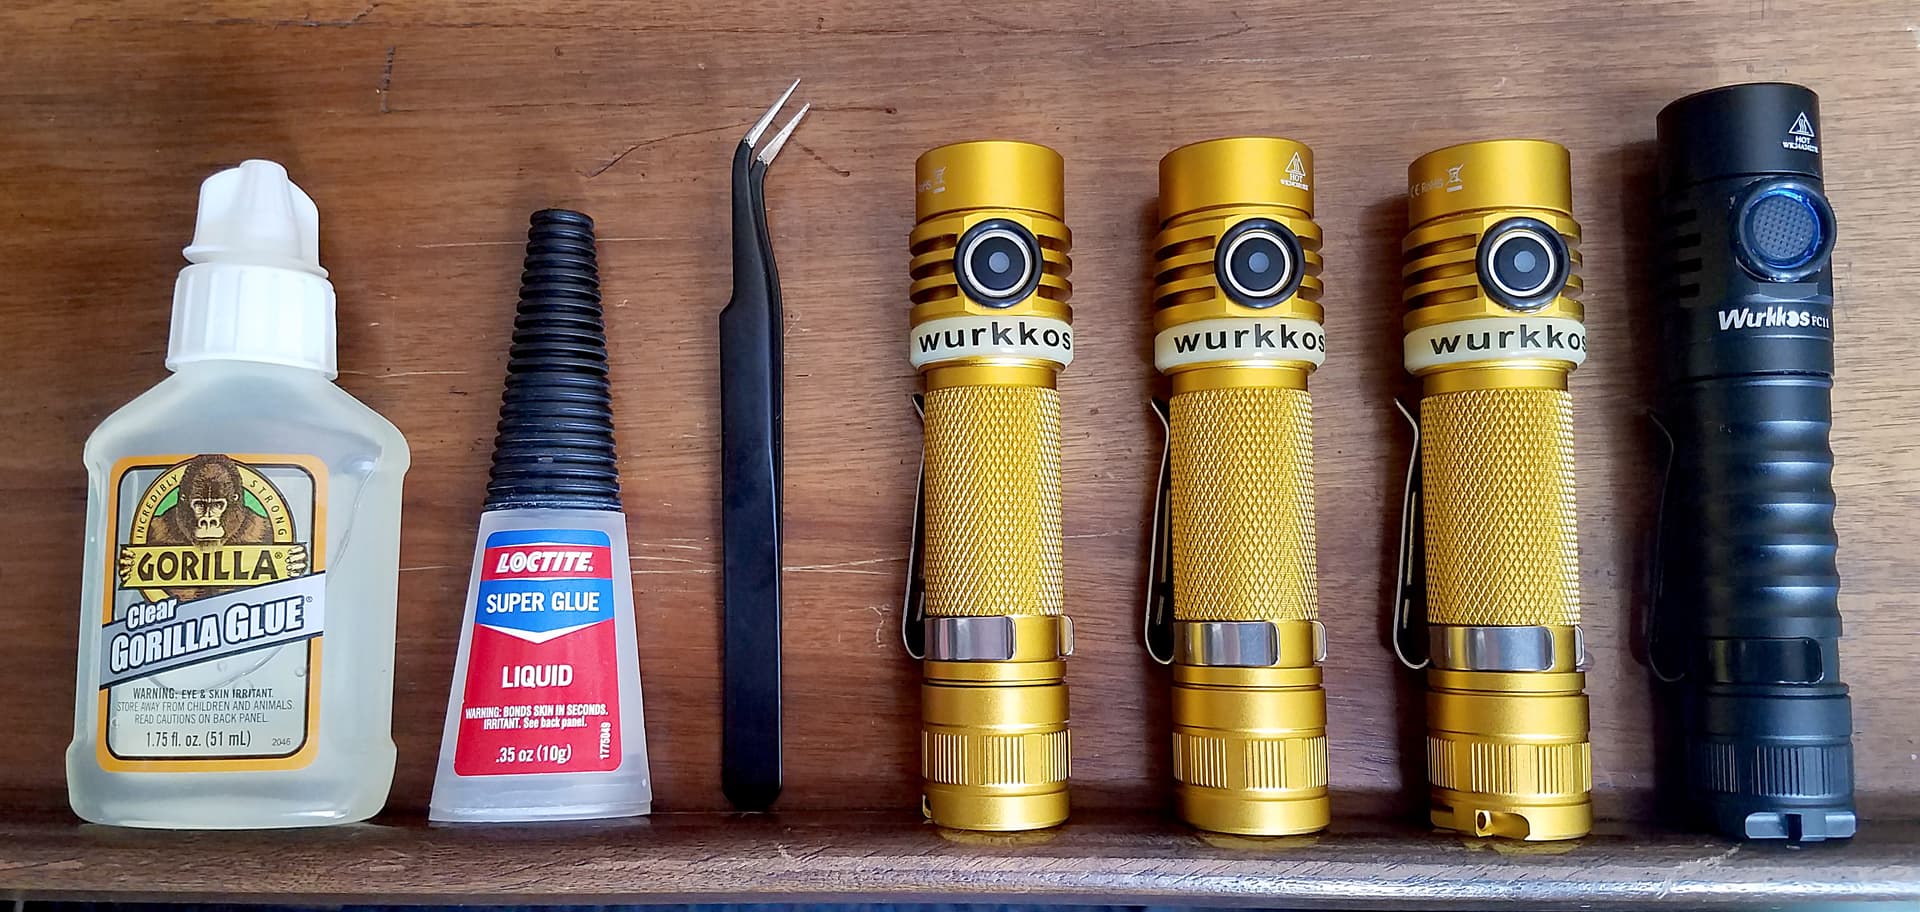
Each flashlight switch has an O-ring glued around it. Both glues work, but the Super Glue has a stronger hold.
One problem with most of Wurkkos’ EDC flashlights is that their switches are difficult to find in the dark by feel alone. I found a simple way to fix this.
The cause of this problem is flashlights’ head shape, which is uniformly cylindrical with a low-profile rubber switch on one side and a rubber charge port cover on the other. The switch is not obvious by feel and I usually need to rotate the light in my hand a couple times before I locate it. Also, the charge port cover feels more like a switch than the actual switch does and so I usually find that before the switch. This gets annoying after a while.
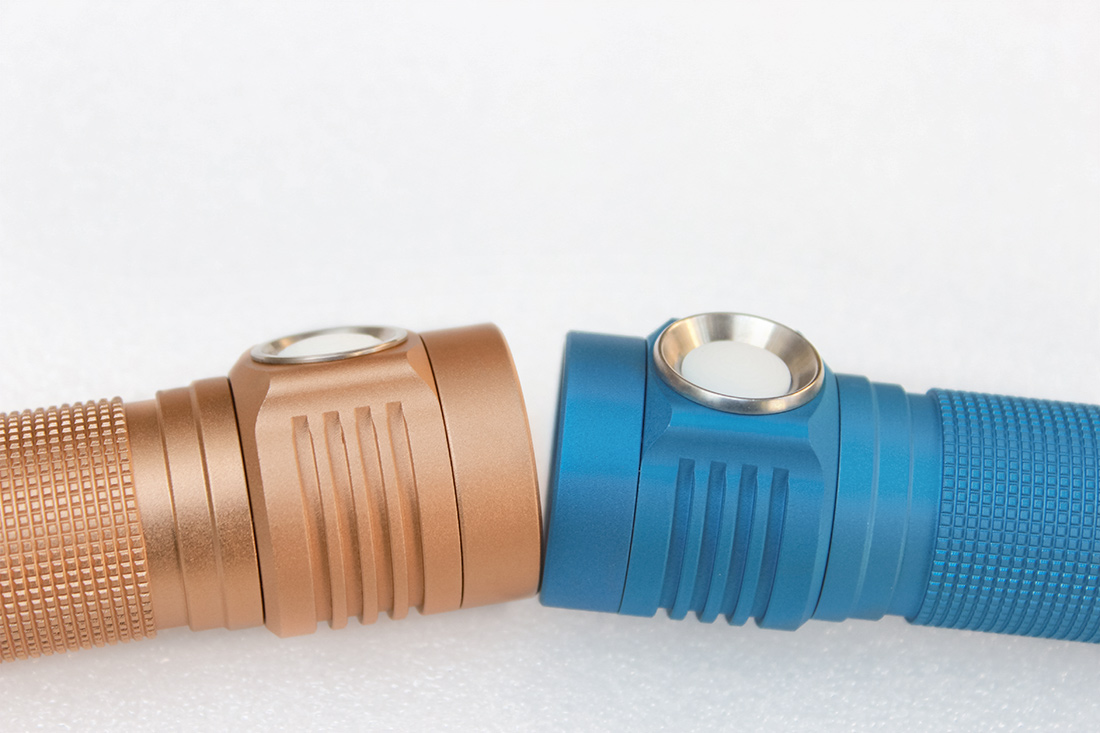
Better lights like the Emisar D4V2 have the switch mounted on a raised area of the head which feels much different from the rest of the head (product photo showing this).
In addition, the WK03 switch is easy to press accidentally in a pocket. Some people have remarked about this in forums.
To fix these issues, I glued nitrile O-rings around the switches. This makes the switches very easy to find by feel, guards against accidental activation, looks elegant, and does not interfere with clicking them with my thumb.
I tested two different glues by first gluing O-rings onto the spare tailcap included with the Golden WK03 lights. Gorilla Glue worked pretty well, but with some effort I could pull the O-ring back off (most of the glue remained on the tailcap). This might have been because I forgot to moisten one surface first as the instructions tell me to do. But it still gave a good hold, and it has the benefit of being easy to clean back off with acetone, even when cured, and providing more time to adjust the position of the ring.
Then I tried Loctite Super Glue. That worked so well that the O-ring tore when I tried to pull it off. I was still able to clean the cured glue off the tailcap with acetone, but it was much more difficult.
– Instructions –
To ensure the O-rings adhered as well as possible, I sanded one side of them with 500 grit sandpaper (I chose this grit arbitrarily). This both flattened the ring for more surface contact with the metal, and provided a textured surface for the glue to grip. It is also a way to lower the ring’s profile so make the switch easier to activate with large thumbs.
To use a glue like the Gorilla Glue that takes a long time to cure, squirt a little onto some paper and use tweezers to dip the O-ring into the glue. Dab any excess off by gently touching the O-ring onto a clean part of the paper, and then place it carefully onto the flashlight. Super Glue must be applied directly and mounted quickly.
– O-ring Sizes –
For both lights I used O-rings with a 1/16" cross-section (thickness). For the WK03 I used a 7/16" inner diameter ring and for the FC11 I used a 1/2" ring. I got these from my local hardware store.
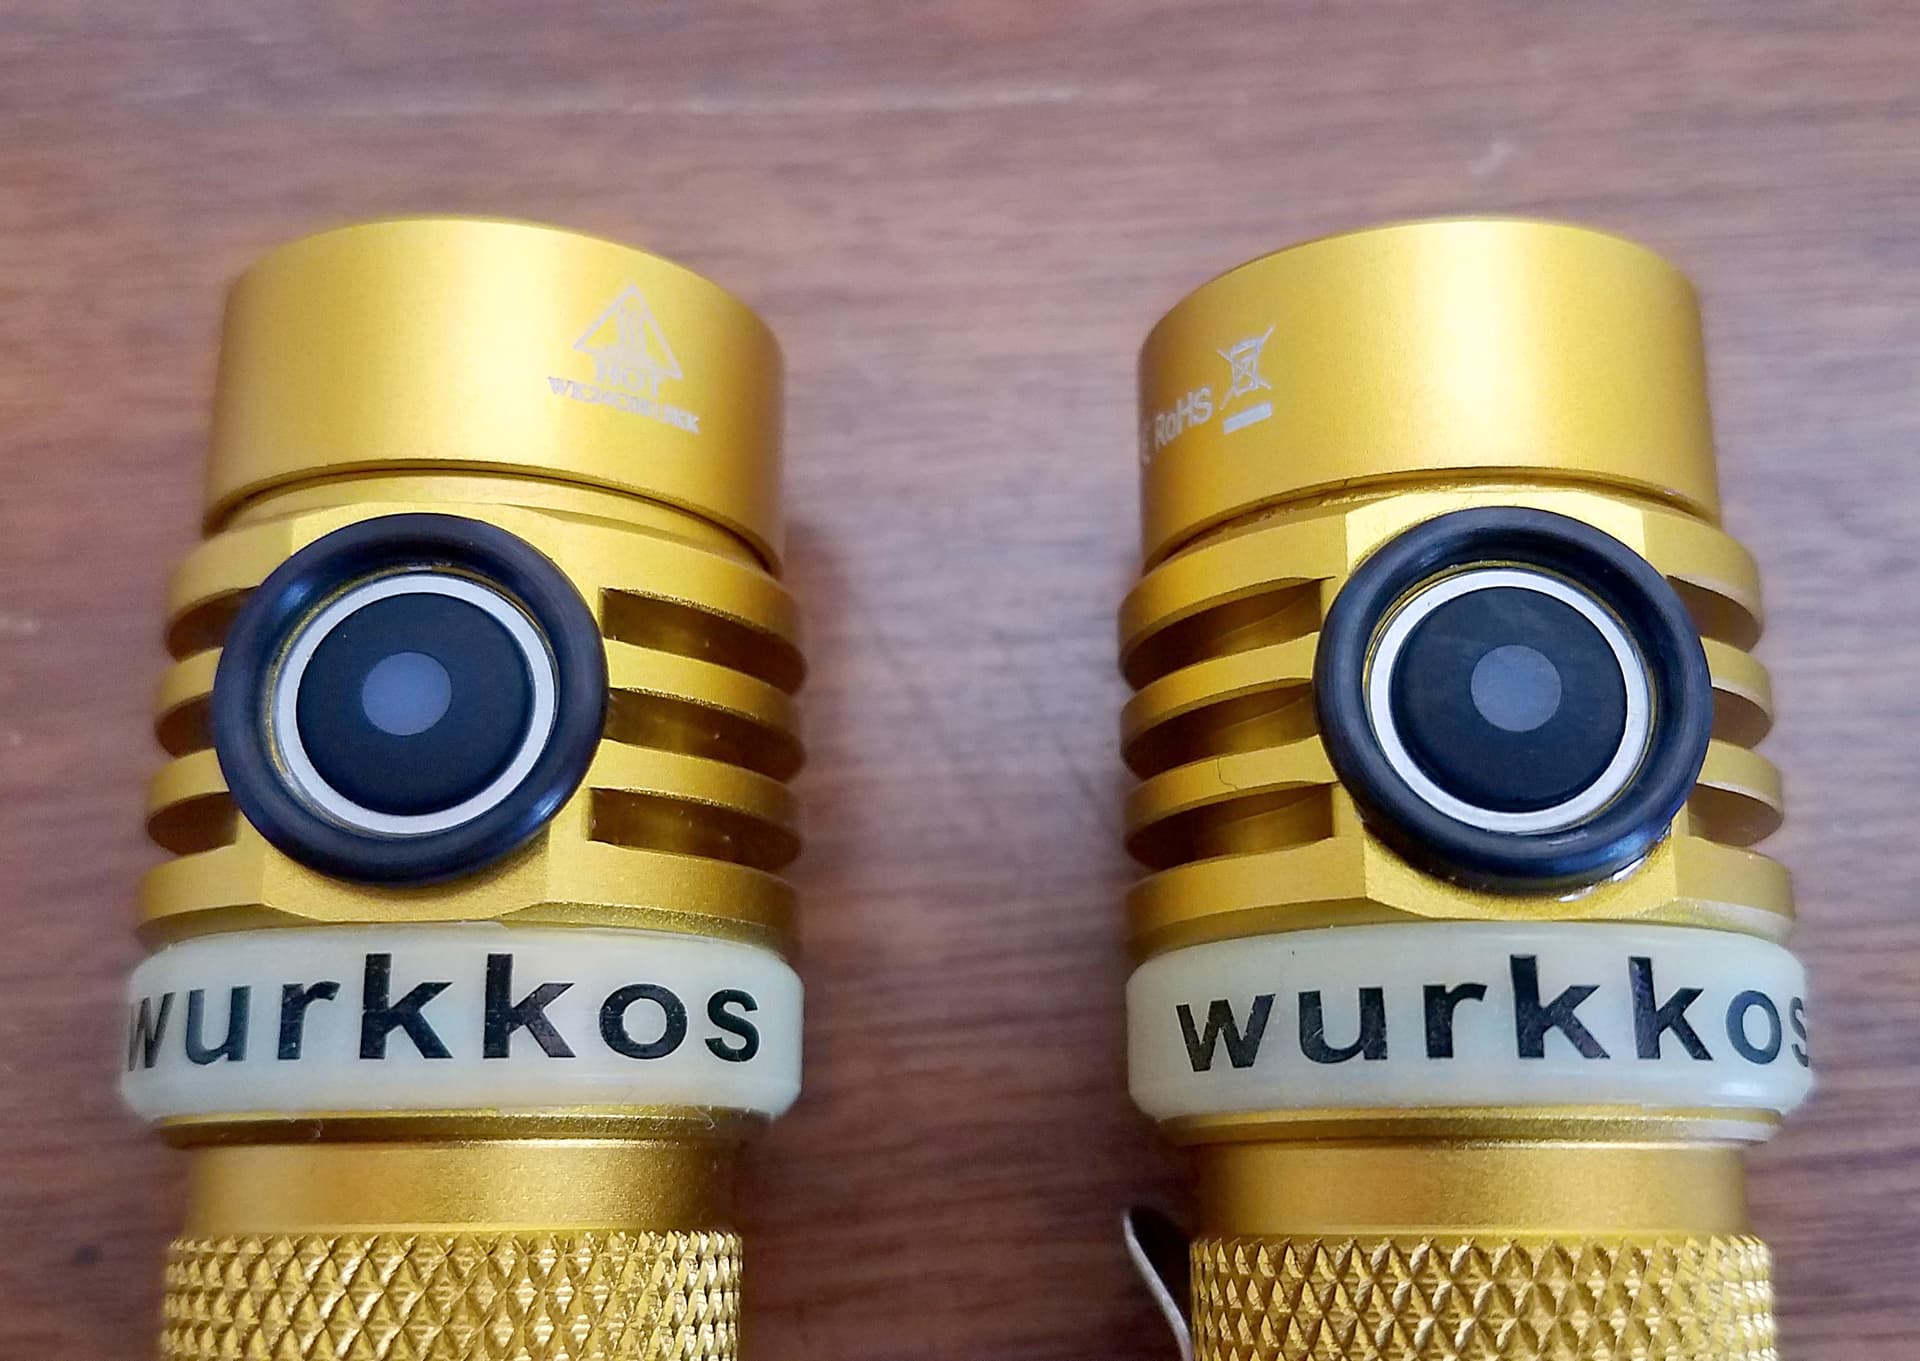
TLF Golden WK03 with 7/16"ID, 1/16"CS O-rings
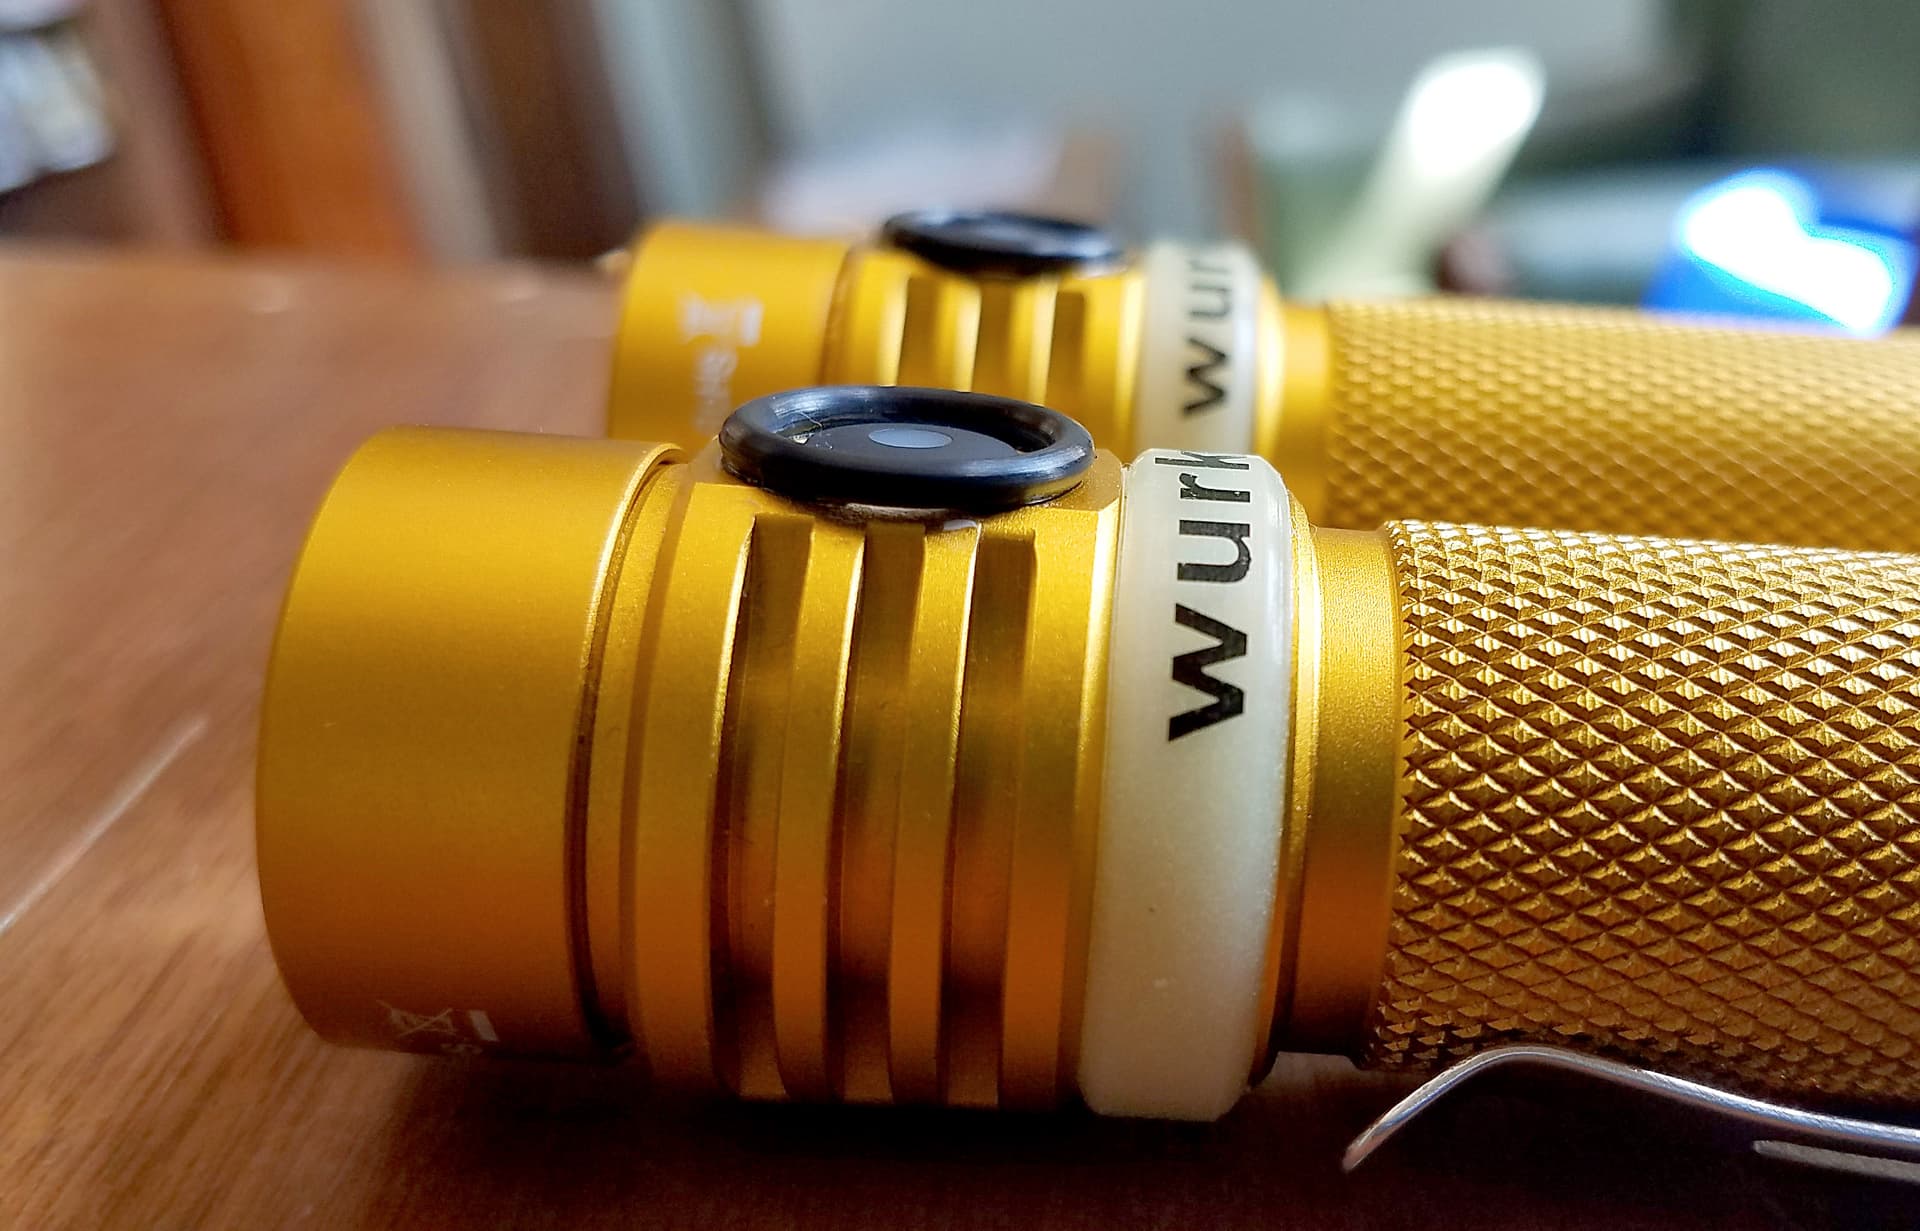
Side view. This was glued with Super Glue, which produces a cleaner look.

This one was glued with Gorilla Glue, and the glue spread out a little more.
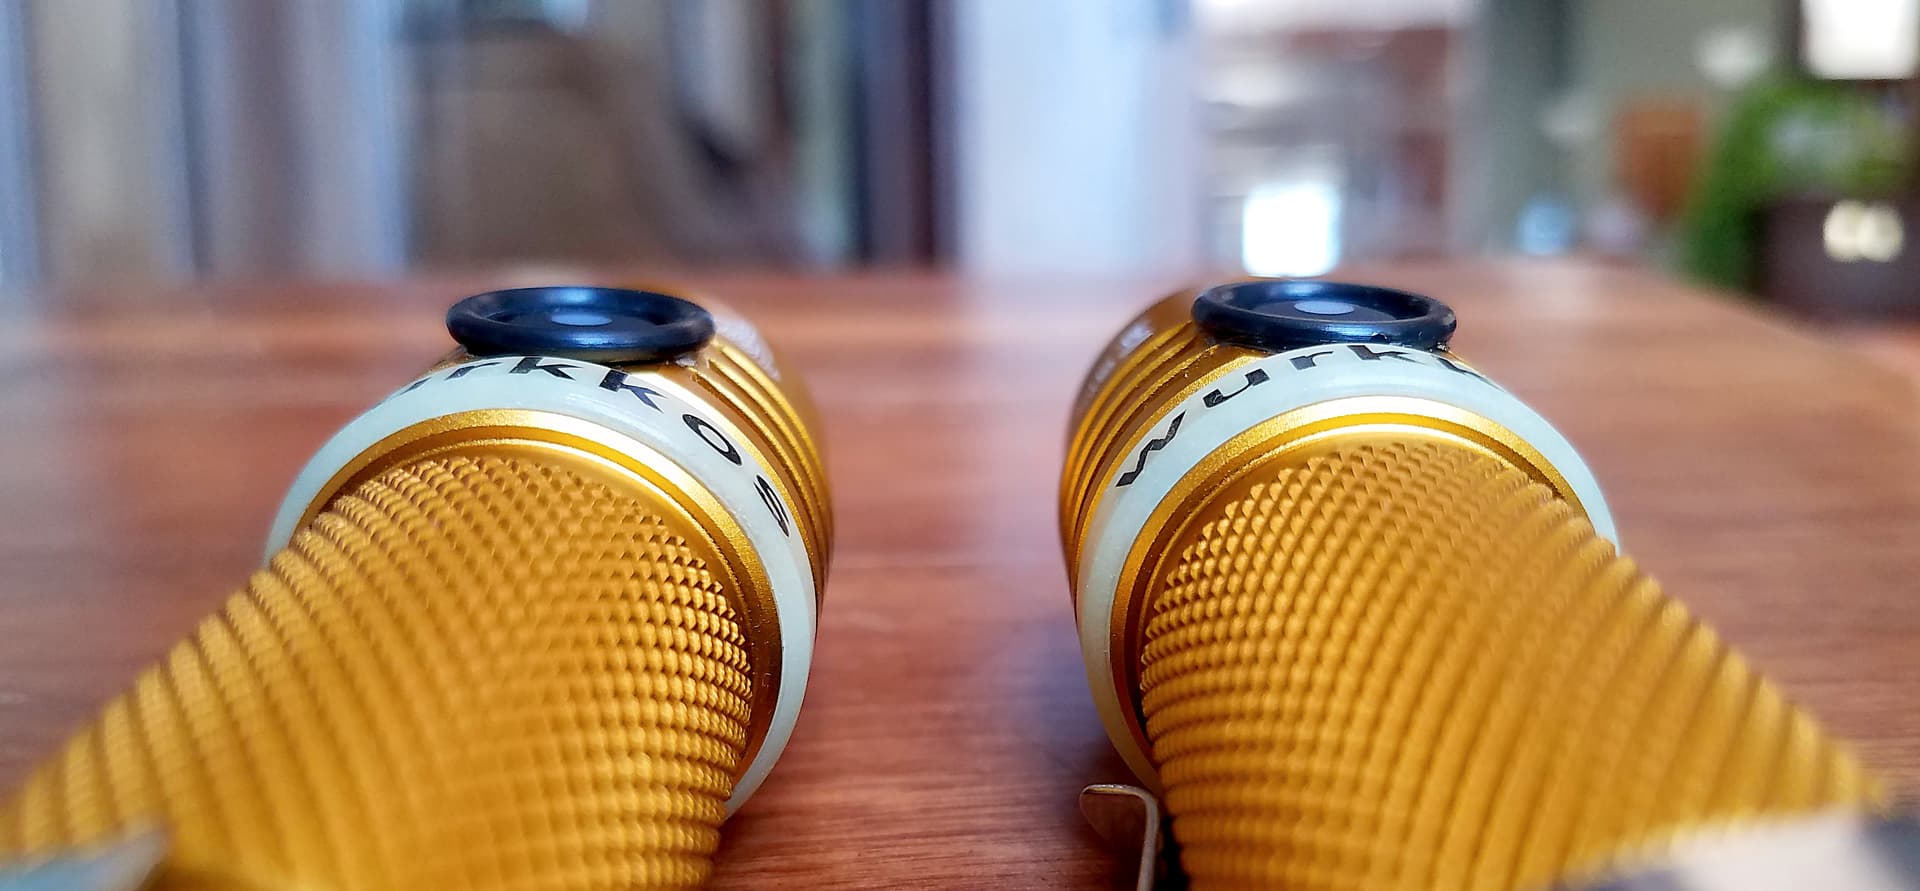
The O-rings overhang the sides a little. Not intentional, but makes them very easy to feel.
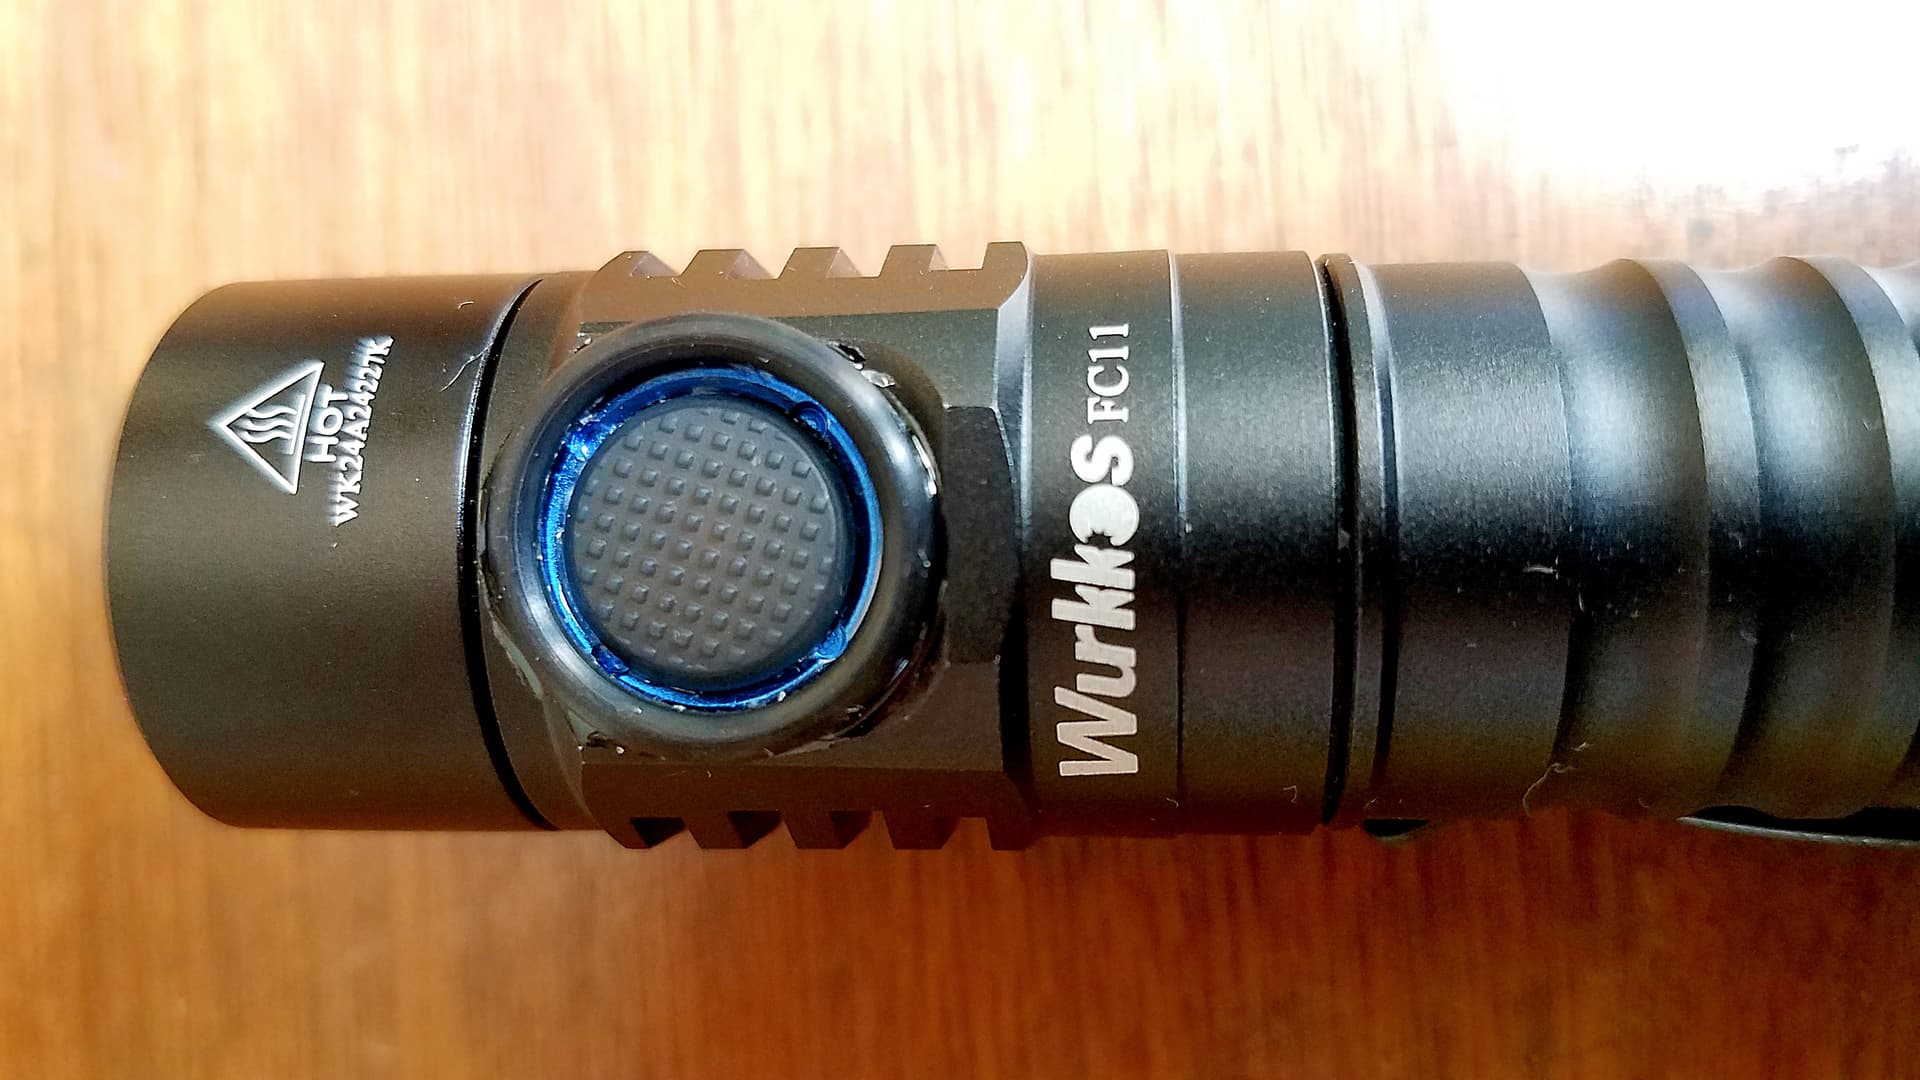
FC11 with 1/2"ID 1/16"CS O-ring. This was the first one I did and is pretty messy (I used Gorilla Glue for this). I might redo it with less glue, or with Super Glue.

Again, pretty messy. I could do better if I redid it.