Found this cheap little olympia ad180 on amazon that looked like a suitable host. Took a few homemade parts but was able to convert it to a KD triple XP-G2 S2 1A and swapped the driver for the one removed from my lumintop prince.


Today I combined a few things in a simple mod.
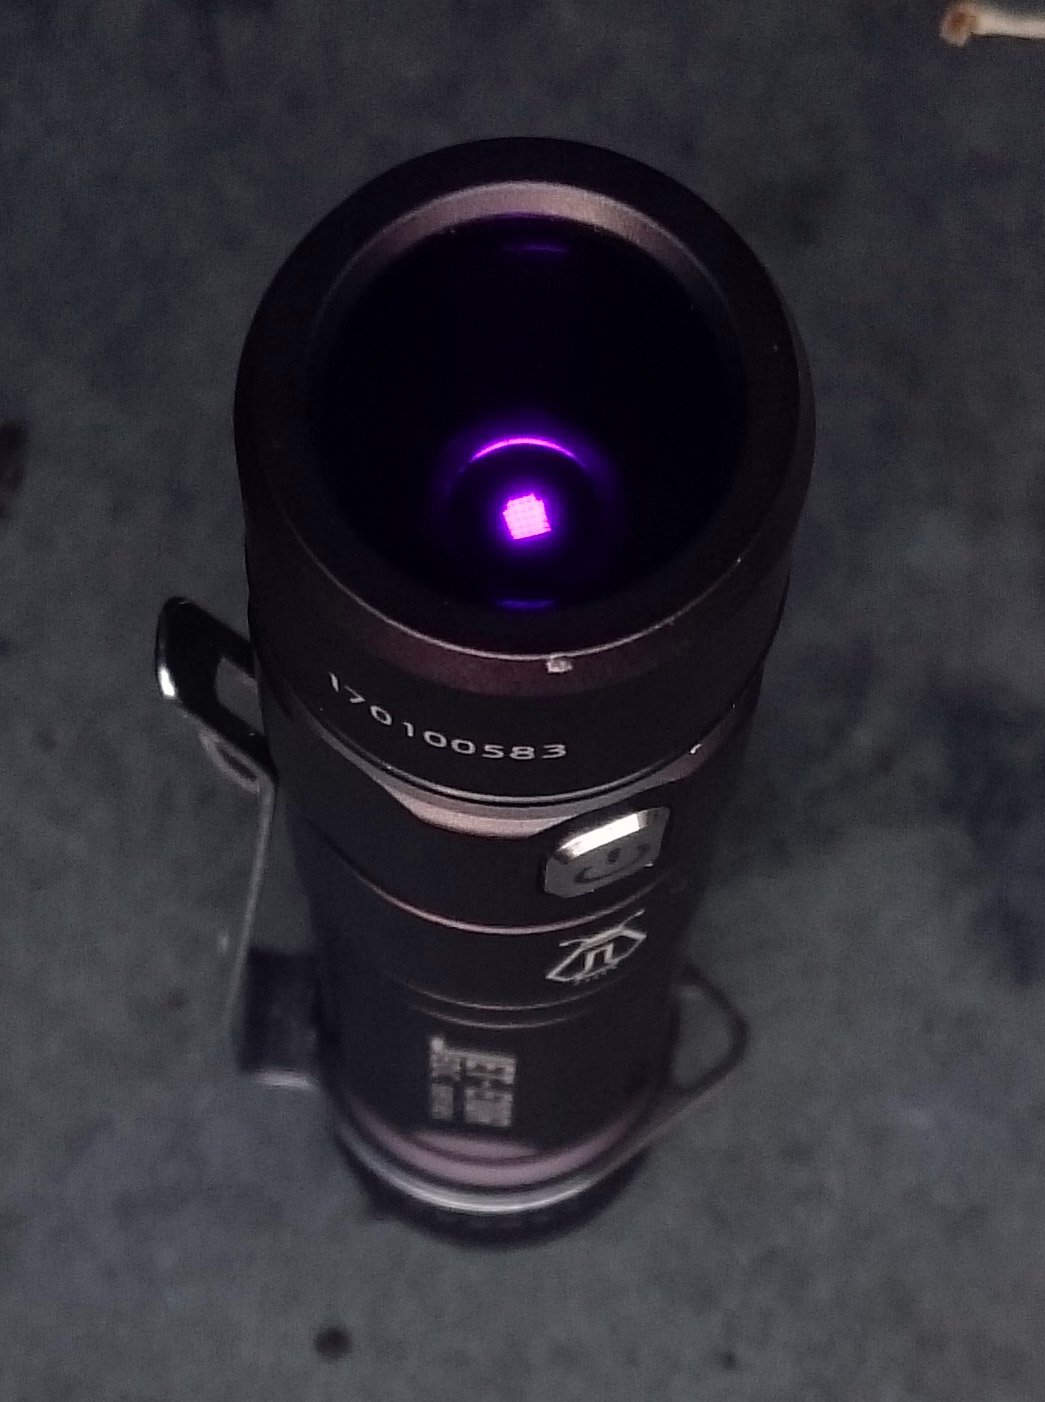
Two weeks ago I finished testing on a SST-10 365nm led, and I had some 15mm ZWB2 filters around for a year, at the time without a proper host for them. In the meantime I purchased a Jetbeam E10R AA/14500 powered flashlight that works with a 15mm lens (16 actually but 15 works as well). This morning I decided to put the led and lens inside the E10R. On an Eneloop I measured 250mW output OTF, on a 14500 650mW. (the calibration is very rough).
I swapped the stock XPL in my Zanflare F1 with Nichia 219C 4000k 90cri.

The top bezel came off easy, no damage was done but separating the body from the middle section of the light caused some battle scars to the light, it was glued hard.
If anyone is interested how this light looks on the inside, driver, led shelf etc let me know i have few more pictures of it.
<raising hand>
Here is a link to imgur album

One interesting thing i never seen in a flashlight is how the reflector is held down by a threaded retaining ring.
Nice! That’s the kind that is the most satisfying.
Huh… interesting little critter.
Made a copper bezel to replace the black anodized aluminum one on the Astrolux S41 I swapped emitters in, the only copper I had sitting around to work with is some 100% Pure Oxygen free that is hard hard hard! Took a while, but I carved out the little bezel finally. ![]()
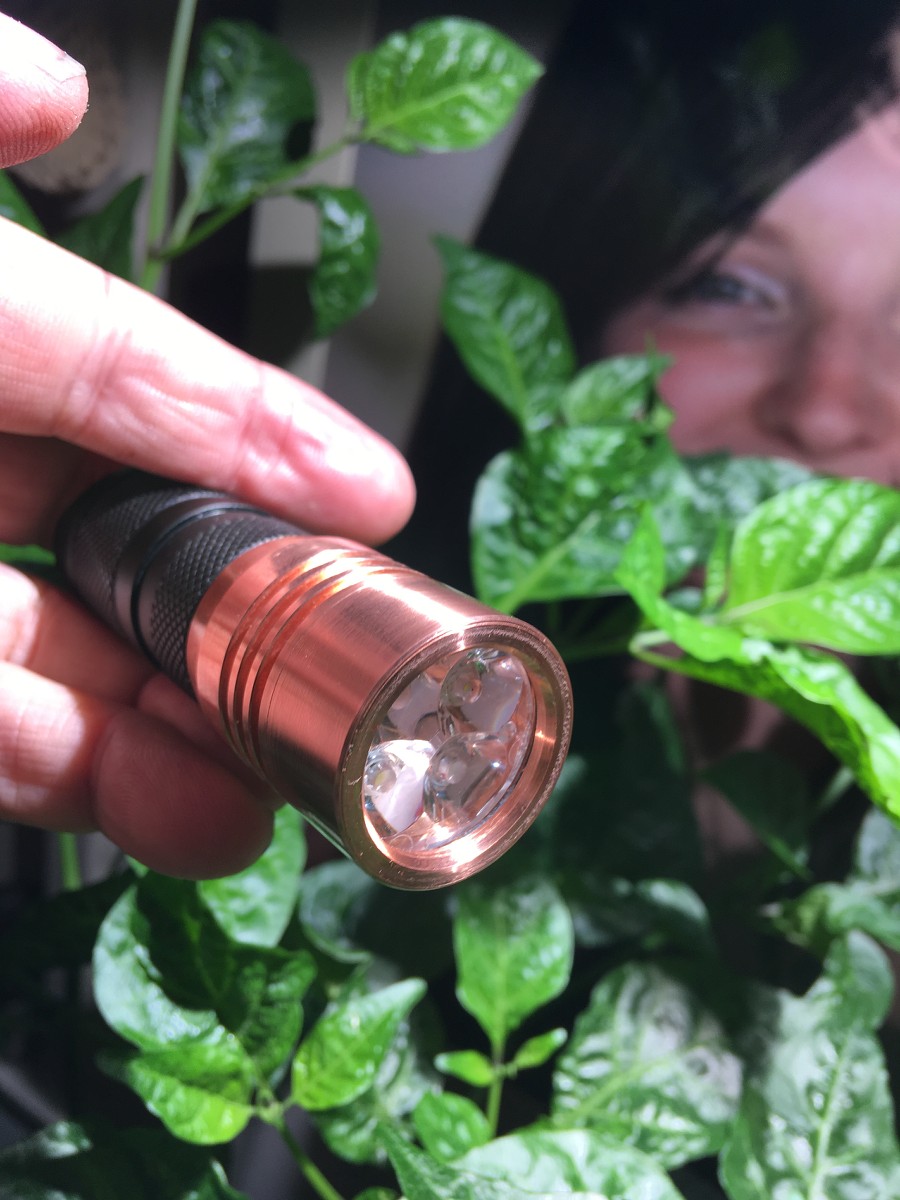
I probably screwed up, sliced the XP-L V6 3D emitters to fit them under the optic. The tint suffered I think, gotta check it out later when I’ve recuperated some. ![]()
Nice!
How do you mesure the output of an LED in milliwatts ?
That is the right and tricky question. I have been developing several methods for measuring UV led output with a normal luxmeter indirectly by measuring fluorescence. I’m confident enough (for the first time) in my latest method (to be posted within a few weeks when I have time for the write-up) to couple a mW calibration to the set-up. But I’m sure that it is a lot less accurate than measuring white leds, so take my mW number as a ballpark figure.
Thank you for the Reply
so if you want to measure the output of an IR led then you would need a nightvision device ?
will wait for that topic :partying_face:
Nice looks much better than I imagined. That a retaining ring in front to optic?
Thanks for the link!
Wish review rules had mandatory tear downs. :+1:
Not sure of the question vw, the bezel holds down the lens which of course holds down the optic so in that respect I suppose it is sort of a retaining ring. I just remade the bezel out of copper. And then I changed everything else. lol Put a Vishay SIR404DP MOSFET on the A6 driver, changed the leads to 20ga Turnigy, put Richards quad board in it with Nichia 219C’s and fit a Carclo quad optic. Replaced the tail switch assembly with one carrying a mini Omten and a single spring with a Turnigy 20ga bypass.
Sorry Dale I quoted the wrong pic for starters. Your top pic appeared to use a retaining ring on the front bezel, obviously a glare/reflection, but you explained it fine.
Made my first component order to RMM yesterday, not specific DIY kit but individual parts at cheaper quantities. So thanks for listing the details too. Definitely will put the SIR404DP in my digikey cart for later but not enough for now to justify shipping costs. Just learned to reflash the past week and building a driver myself is next.
Have some OshP TA boards here for months, finally getting close to making it happen.
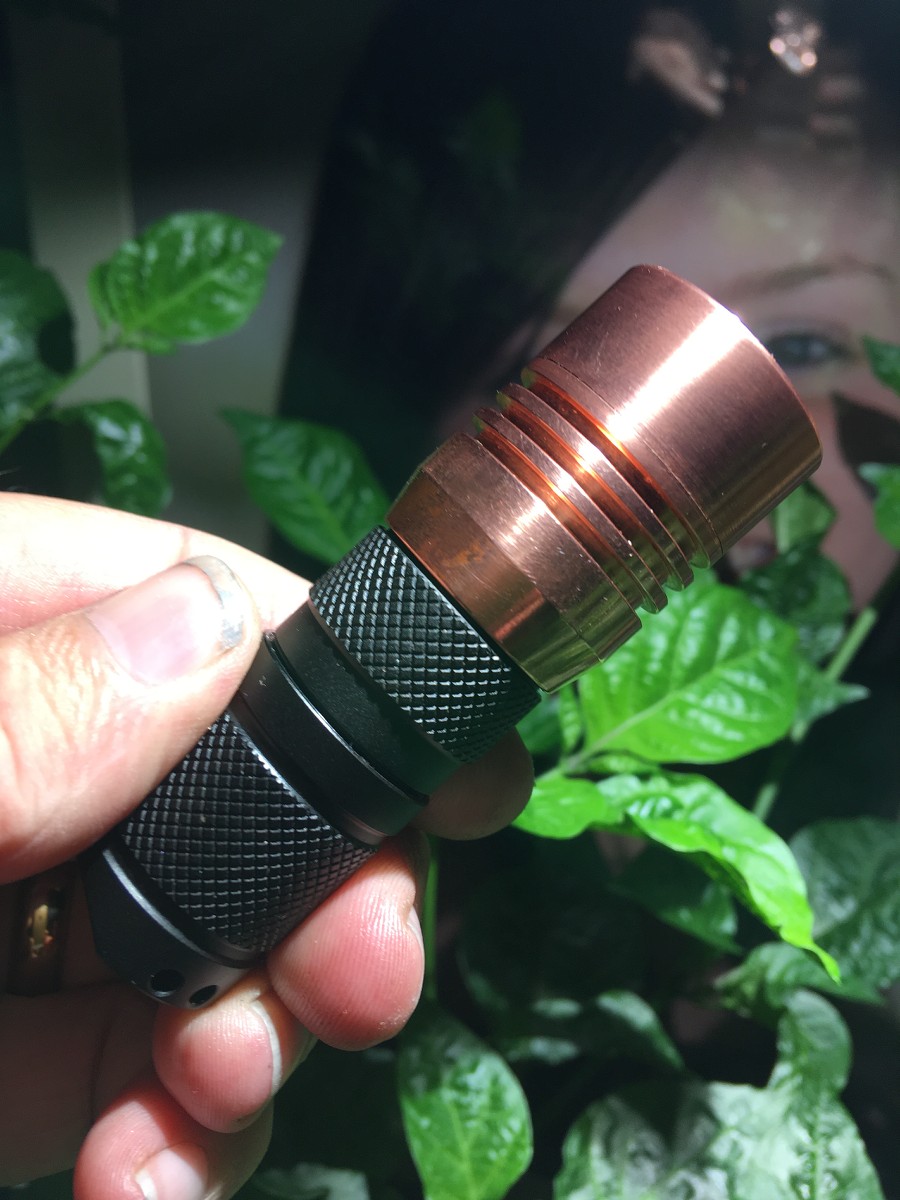
Ah, I know what caused you to think that… the copper I had here is 100% Oxygen free and is work hardened, it’s brutal on the tools. When I was making that finish cut on the face it was grabbing at the cutting tool and left a rough surface, I couldn’t oil it because it was on the light with the emitters in it. I finished it later by hand to remove that rough look.
The copper bezel is made almost exactly like the original only there is a bit more metal out front of the lens, leaving me room for a nicer bevel cut for clean lines. Oh, and the threads fit significantly tighter. ![]()
Apparently machining copper is horrible and many places won’t even do it due to the work hardening…
I have some special copper pieces I need to get CNCd and it’s gonna cost $150 to get them done at my university.
$150 for just two pieces about 1” big! ![]()
I’ve broken more taps (mostly #4) in copper than anything else.
Titanium or stainless alloys are ways more difficult to work with.
For manual tapping in soft materials you can use “chess tap?” (not sure how it is called in english, this is tap without every second thread coil).
The machinist I talked to said he would almost prefer working with titanium than copper ![]()