Nice work with the little light/big LED CRX, love it! I’ve done chopped AA MiniMag’s with the big emitter and 2 14250’s and just loved the look. I think I had 11 or 12 MT-G2 lights at one time, need to revisit that as I have several loose emitters… unfortunately I just shoved the entire modding kit into a box and closeted it away for the Christmas holiday, family coming over and all that. No modding for me for the next week, might not survive…
Nice Black Bay you got there.
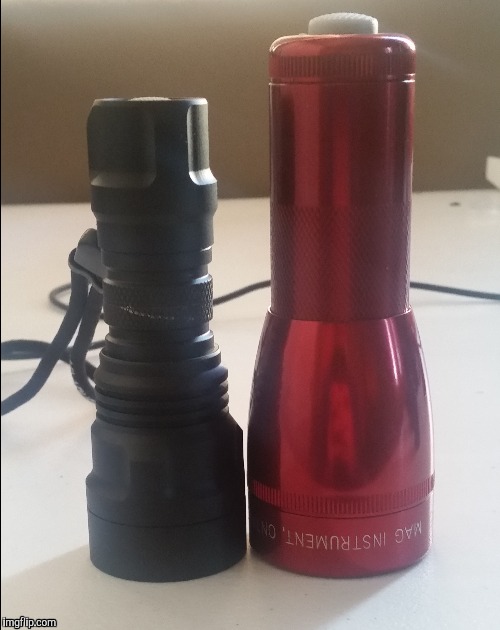
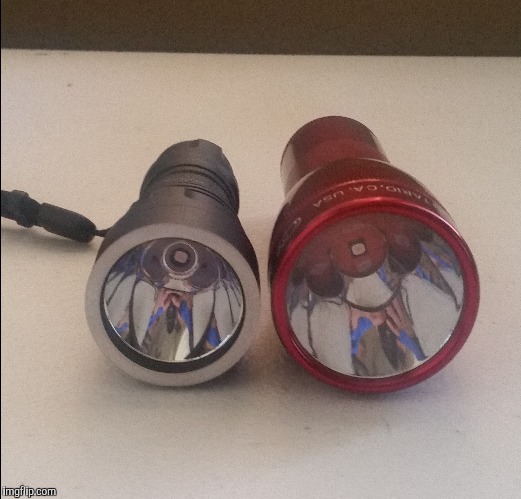
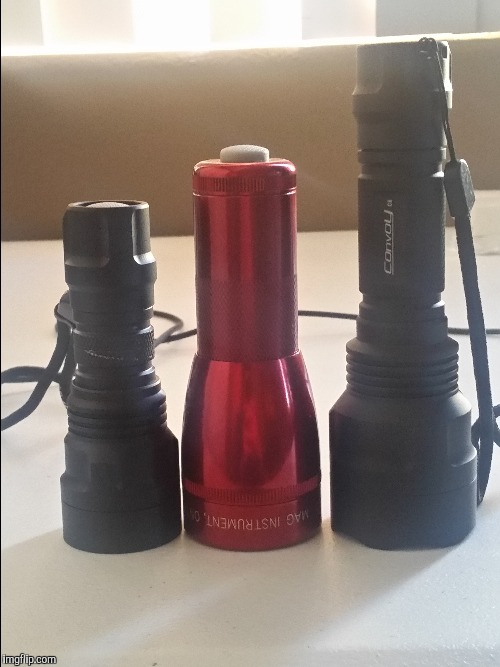
After hours of sanding, chopping, and trying to center the emitter she’s finally alive! Modded an ml25lt with an osram flat black, an old style c8 reflector I got from ebay ( not very good quality so ordered again from fasttech), a chopped tube, a modified pill with a mtn 17ddm Fet driver, and a forward tail clicky to run through the modes. It runs on a 26350,which was originally supposed to run a 26650 but messed up on my measurements. But love the way it turned out. I also modded a mini c8 with the osram just for s&g and was pleasently surprised by it. The c8 mini can run either an 18350 or 18650 but I like the way it looks with the 18350 tube ha. Both throw very well for what they are and are decently bright. I do not have any tools to measure candela or lux so I unfortunately do not have any stats on them. But compared them both with my convoy c8 xpl hi with fet and both out throw the c8 (at least to my eyes)I added a pic of them with a c8 just for size comparisons.
![]()
Made lighted tailcap for an Eagle eye X2R. Used stock switch board because it has pads for leds and resistors. And a convoy clear washer grinded down to fit diameter. I used one pink and one blue led under the stock spare green rubber cap. The driver needed an 560 Ohm bleeder resistor to keep mode memory. Without bleeder it was worked as next mode memory. The blue led got 47K resistor and the pink got 2x10K stacked parallel.
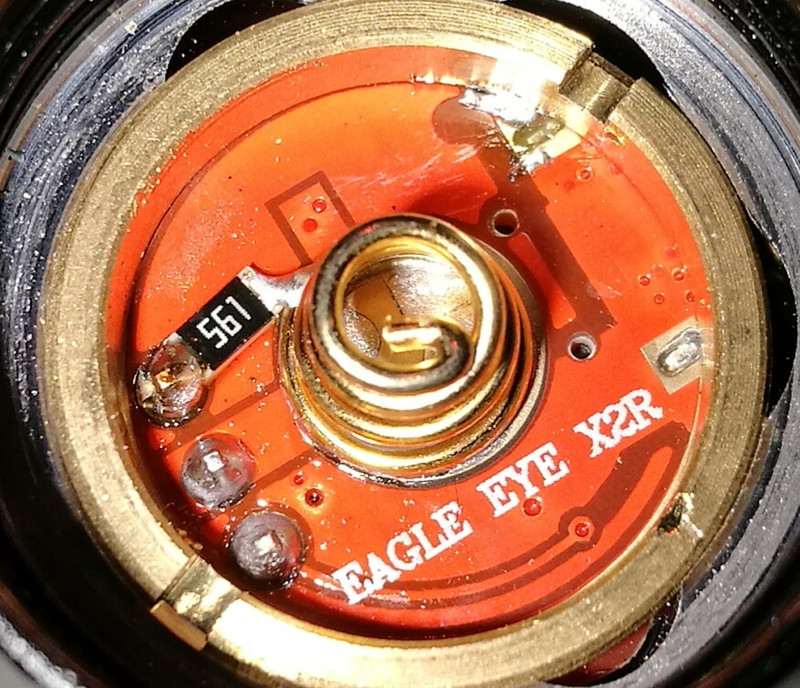
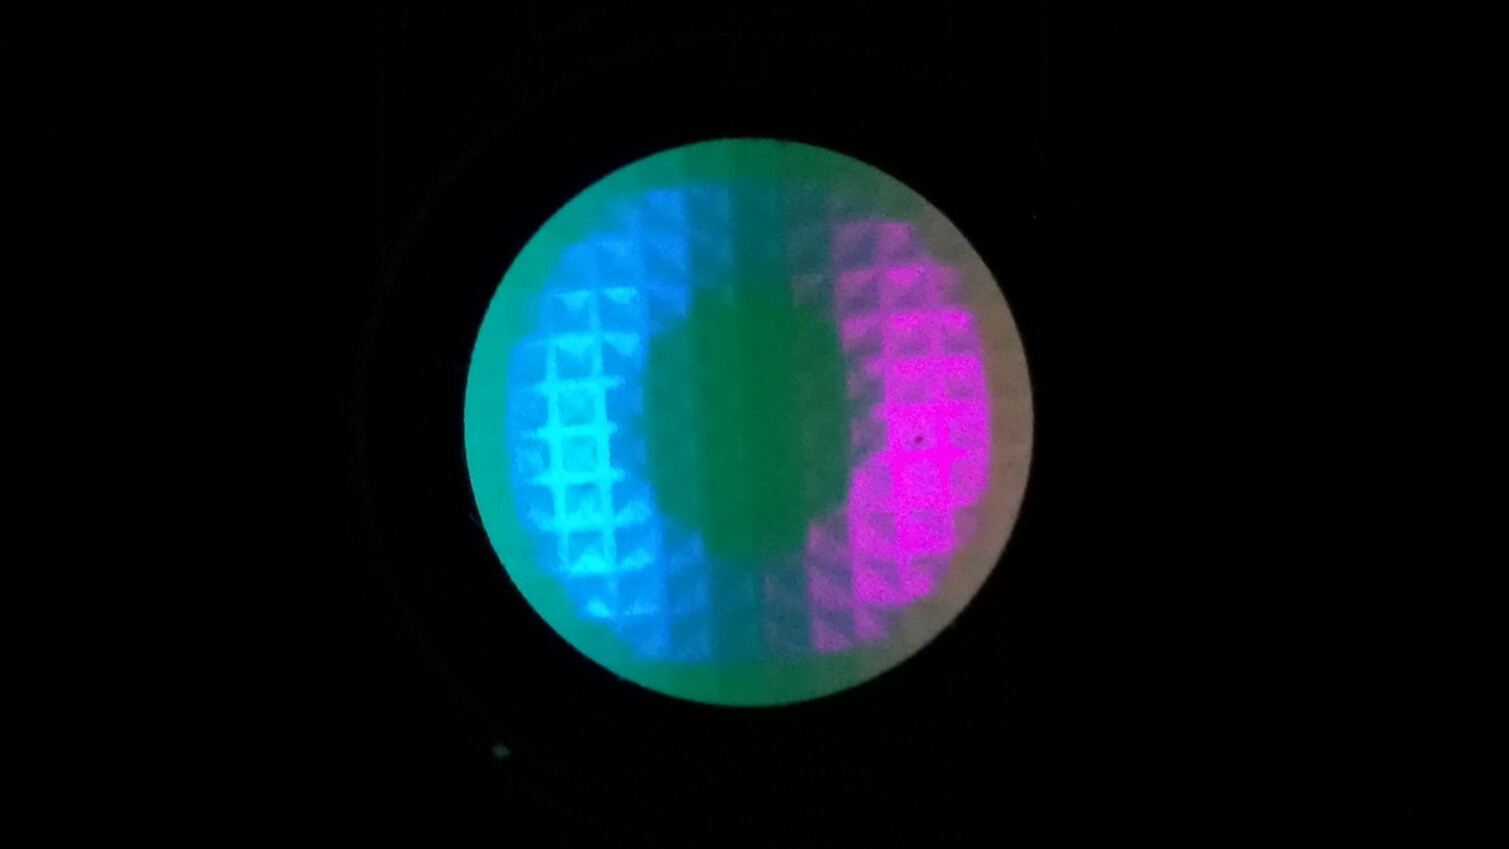
Looks nice under the green Zozz.
Thanks for listing the resistor info too.
I have another X2R on the way, great to hear they are using boards with pads for DIY lighted SW.
They use white plastic washer on top of the switch. The light can go through it but dimmer then convoy clear plastic washer.
I have found the white plastic is nice to diffuse (smooth) the spots made by the LEDs and works well on single color, 2X LED builds with white tailcaps.
You always make the nicest multi color blends.
I got a bunch of the Convoy lighted tails off ElfLand AliXp store when they became available. Too cheap to pass up and for the included parts they are good to have.
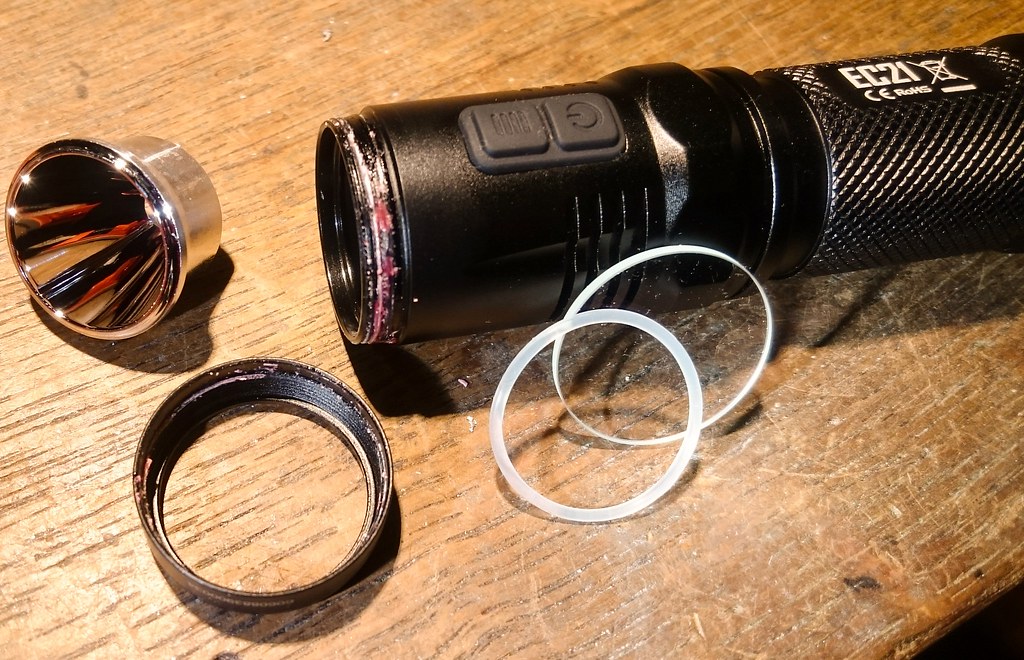
At attempt number three, the first attempt was half a year ago, the bezel of my EC21 finally surrendered! The head clamped firmly into a vice, stoked up incredibly hot with a blowtorch, tightly wrapped in a strip of inner tire and giving it all the strength of my hands, it finally gave in.
Red loctite :rage:
Jos , when your hands recover , my mh20 waits to be opened ![]()
Haha , tried twice already , maybe i should try a third time too , for now i’m trying not to damage the light …
Djozz,
Free commercial to loctite :+1:
![]()
I want to open an MH12GT some time in the future for a mod, was there any damage done to the anodizing?
How did you clamp it in a vice without squishing it?
EDIT- oh you mean you clamped the hexagonal part in the vice, right? not the bezel


No need to heat, just use force :-p
Though I do understand why manufacturers do that, it still irritate me when I discover red/green/whatever color loctite in a light…
The only way to weaken The red loctite is by using heat (anything above 150c+ is enough to melt it)
Regards
You also have to clamp firmly without scratching the anodizing…
Wood jaws are really helpful, and inner tube allows firm grip
The vice is aluminium and the claws are flat and painted, so indeed on the hexagonal part the head could be clamped tight without damage. The ano on the bezel is not discoloured.
:+1: :partying_face:
[quote=djozz]
At attempt number three, the first attempt was half a year ago, the bezel of my EC21 finally surrendered! The head clamped firmly into a vice, stoked up incredibly hot with a blowtorch, tightly wrapped in a strip of inner tire and giving it all the strength of my hands, it finally gave in. Red loctite :rage:

My cw mh20 is glued. NW is not.
Whoo-Hoo! A milestone reached today!
I re-flashed a nanjg 47 today! First time ever! Re-flashed several times. Erased. Re-flashed again, just to prove it worked.
I got the USBasp board, wires and Pomona SOIC-8 clip a week or so ago. I have MHV AVR shell as well as Atmel Studio 7 on my laptop.
I threw together a little test board; a cell holder, reverse clicky switch, emiiter and the nanjg 47 I had on hand. The idea of the board was to make it possible to try the re-flashed driver without having to open a light. I even added a 4056 charger board I had on hand.
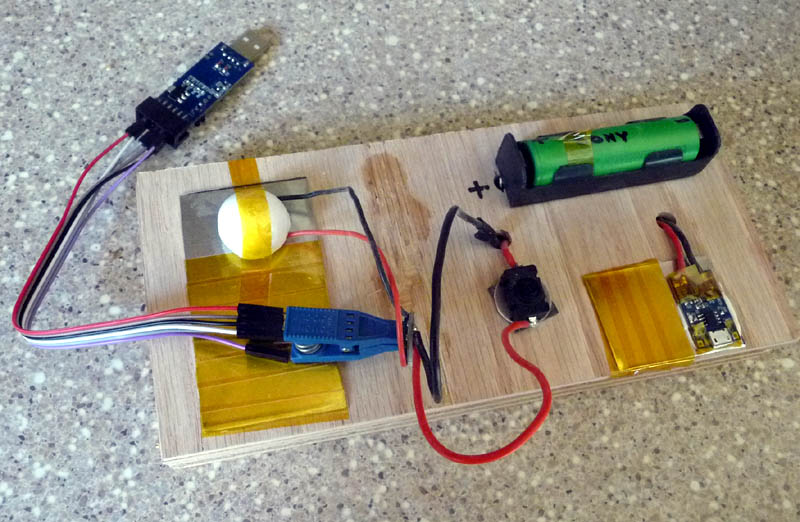
First I erased the std nanjg firmware. That was a success as the “light” quit working. ![]()
Then I flashed NLITE to the driver and it worked first time! Great feeling.
Next I wanted to try some other firmware. I selected JonnyC’s STAR firmware. That does not come in a ready to use hex file like NLITE. Okay… a new learning experience. I used a few reference pages here on BLF. this, and this one, mainly. Thanks to all who contributed to those as well as others I read.
Atmel Studio 7 is new to me. It took some ‘feeling around’ and reading to make some sense of it all. I downloaded the xxxx.c file from toykeepers repositry and began. I have not done any programming for a couple of decades. Eventually I made a hex file that worked.
I am so pleased. I also know I have some study and trials to go through before I can make it through the process without having to check references. I need to make myself a step by step guide document as right now it is all a blur.