Justin has just upped the ante and the two of us will be going toe to toe with separate 502B mods.
He has finished. OL’s build thread
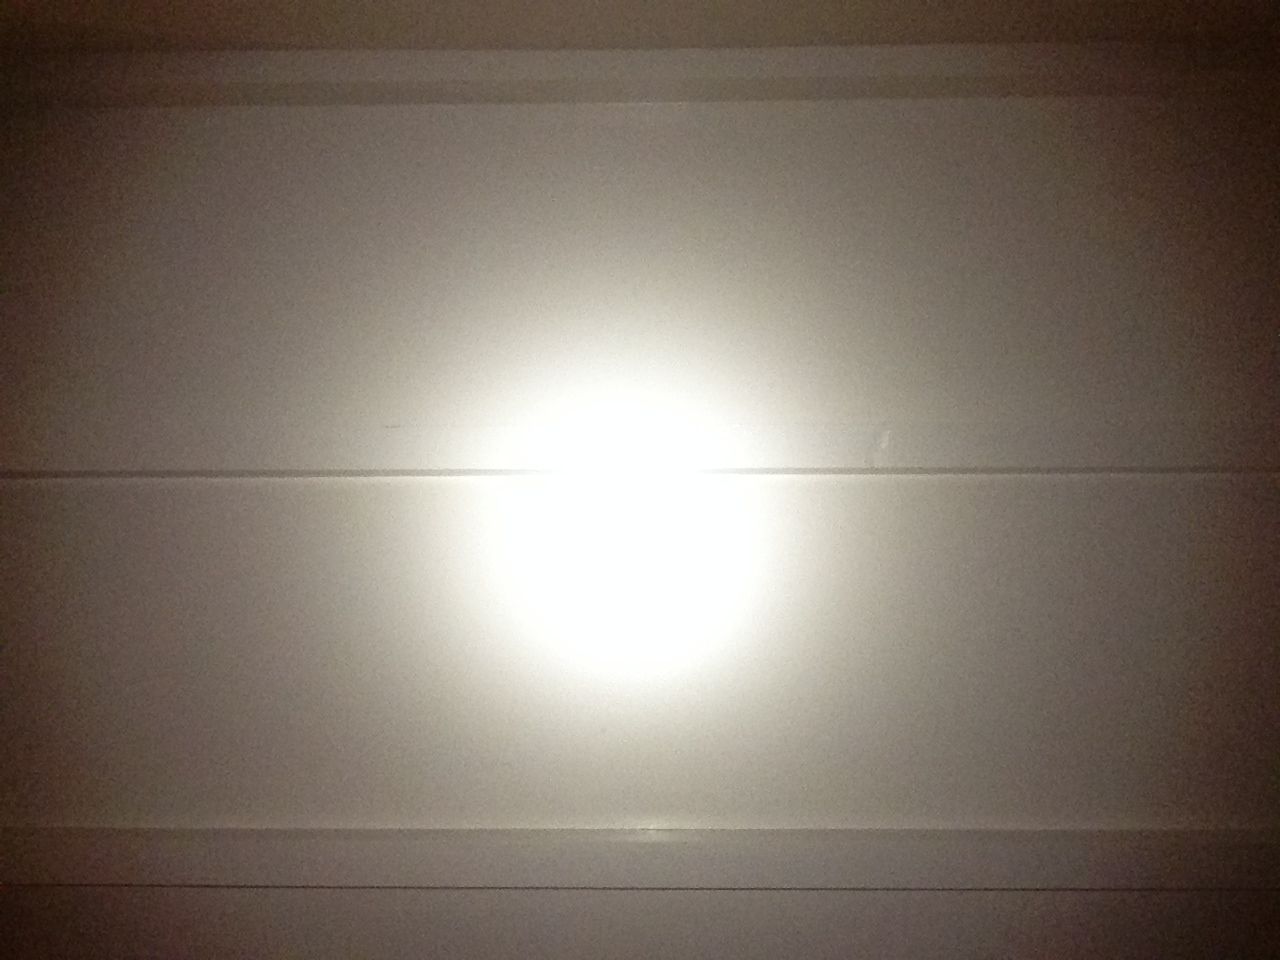
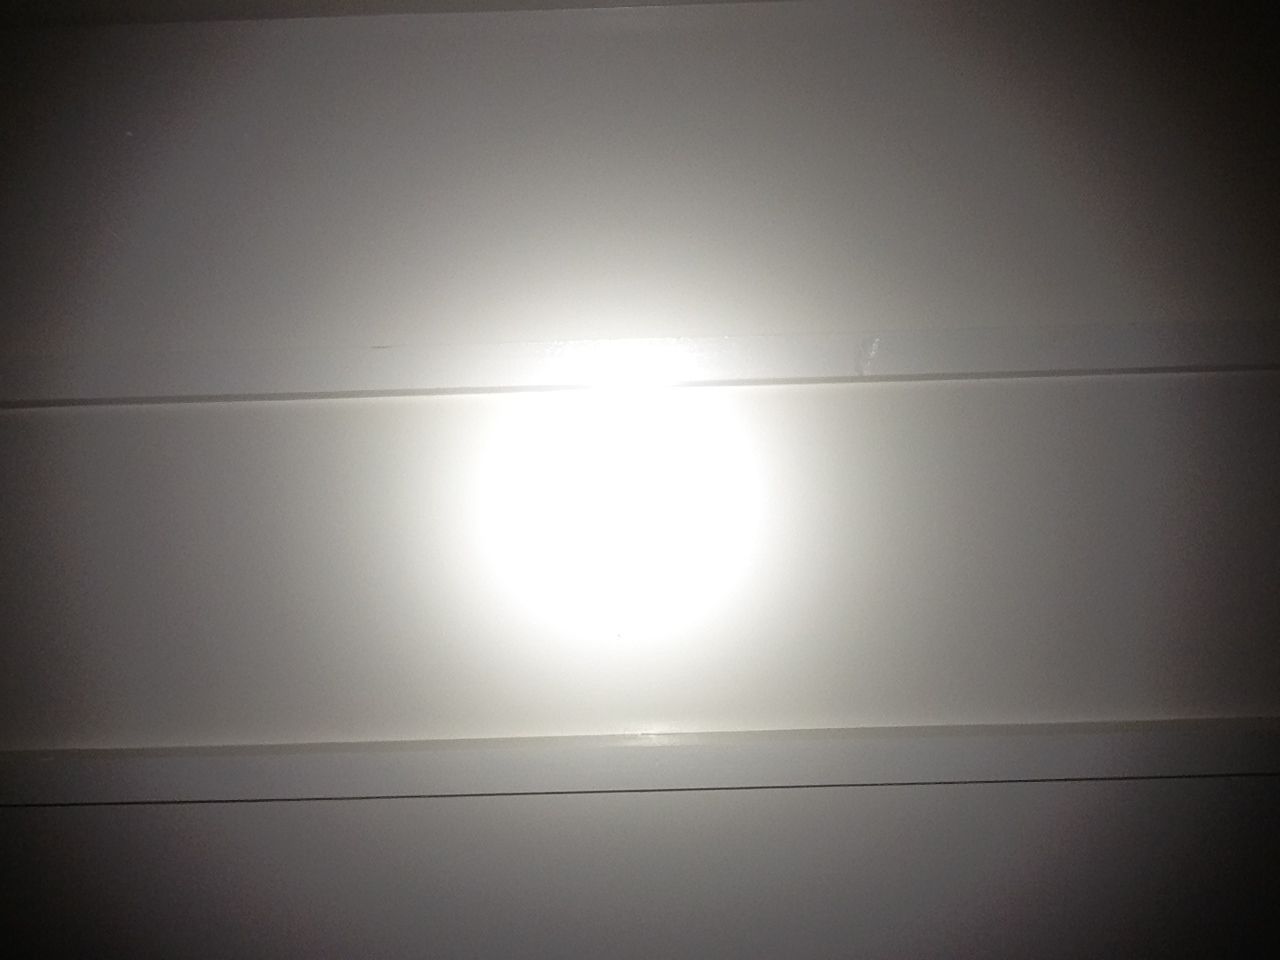
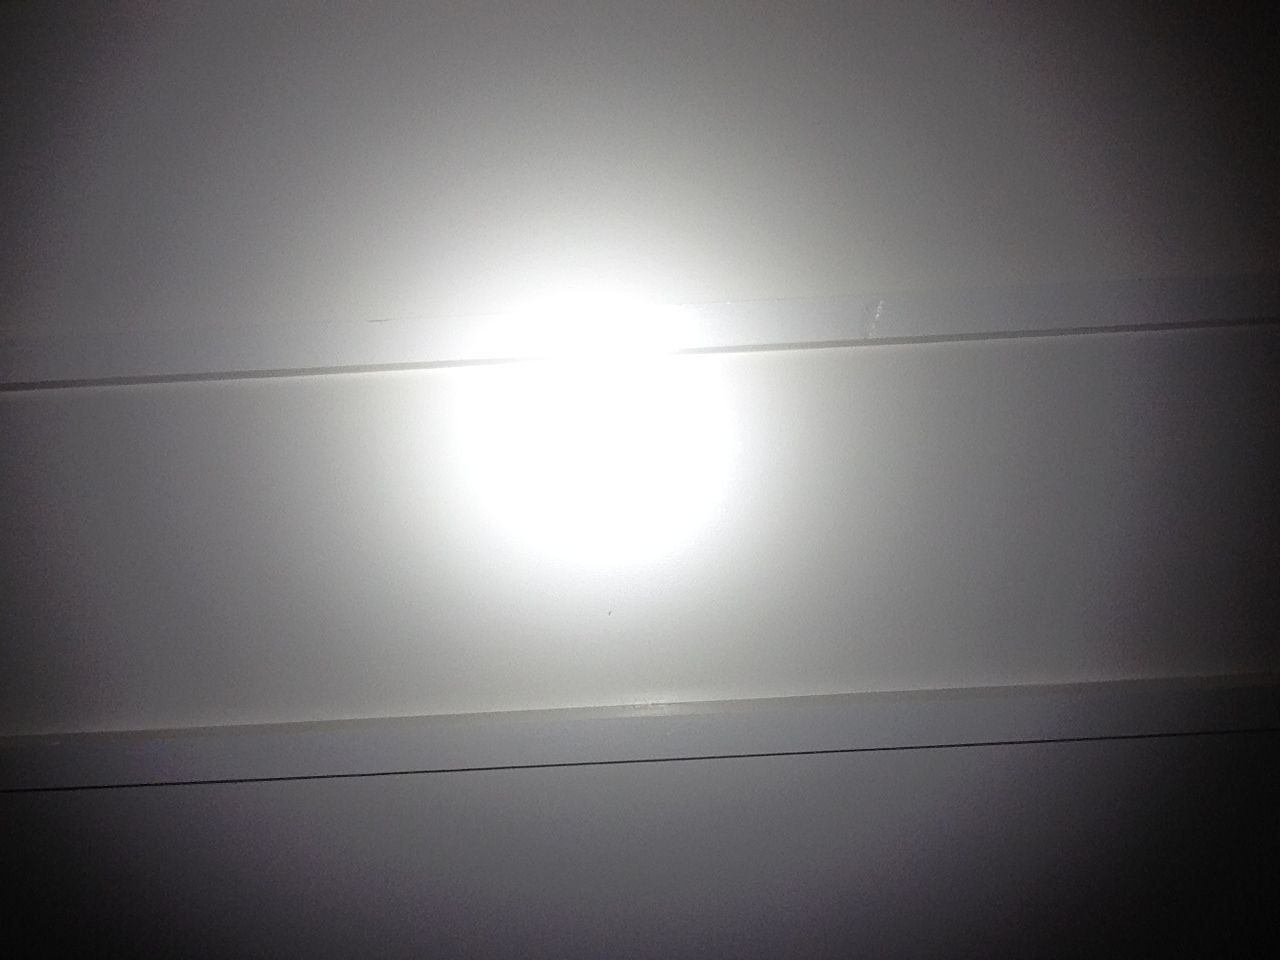
Here are some beam shots. It’s definitely floody and not as tight as a single XML P60. Low, medium, high, first from 25 paces then high from 75 paces. I enabled moon after I went back inside. 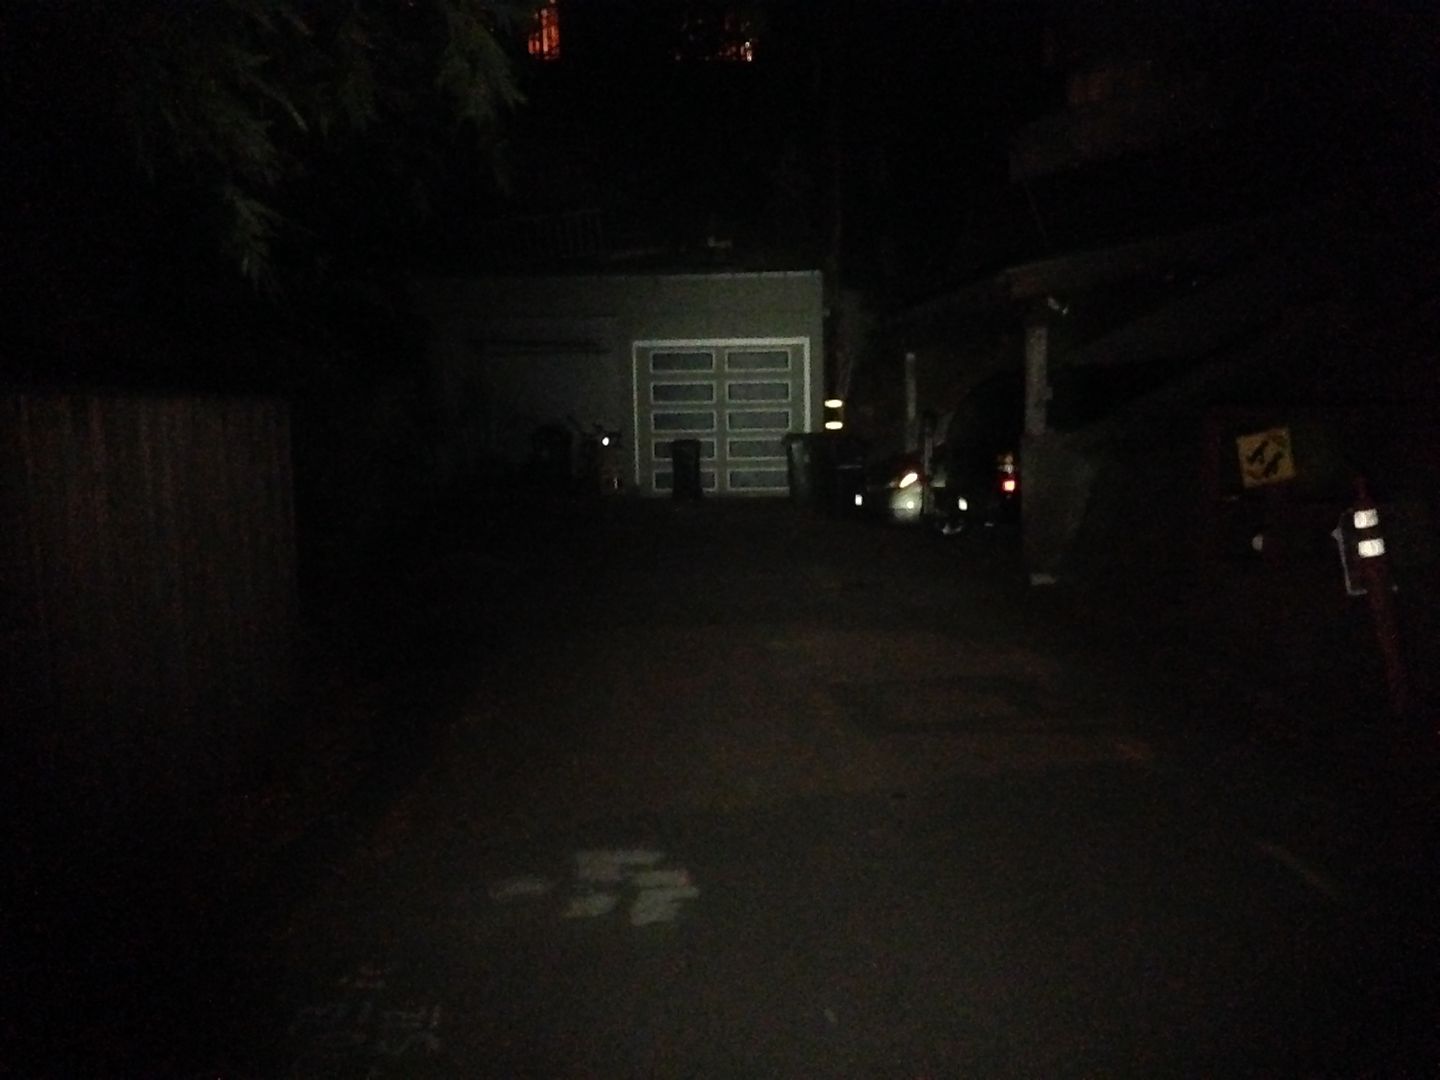
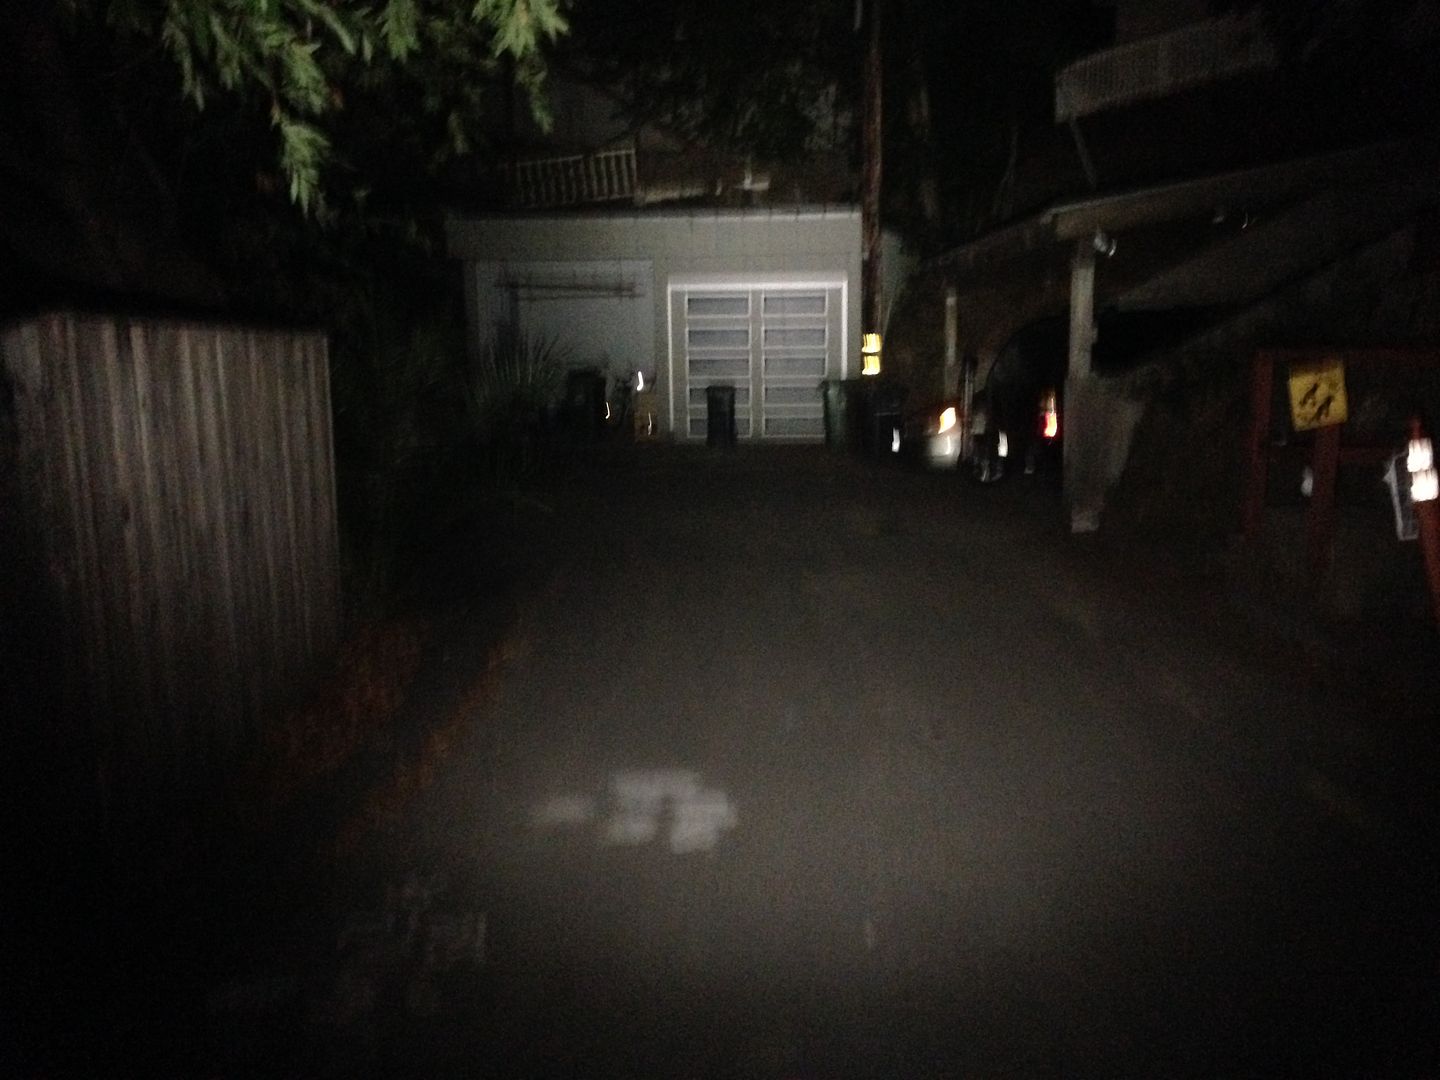
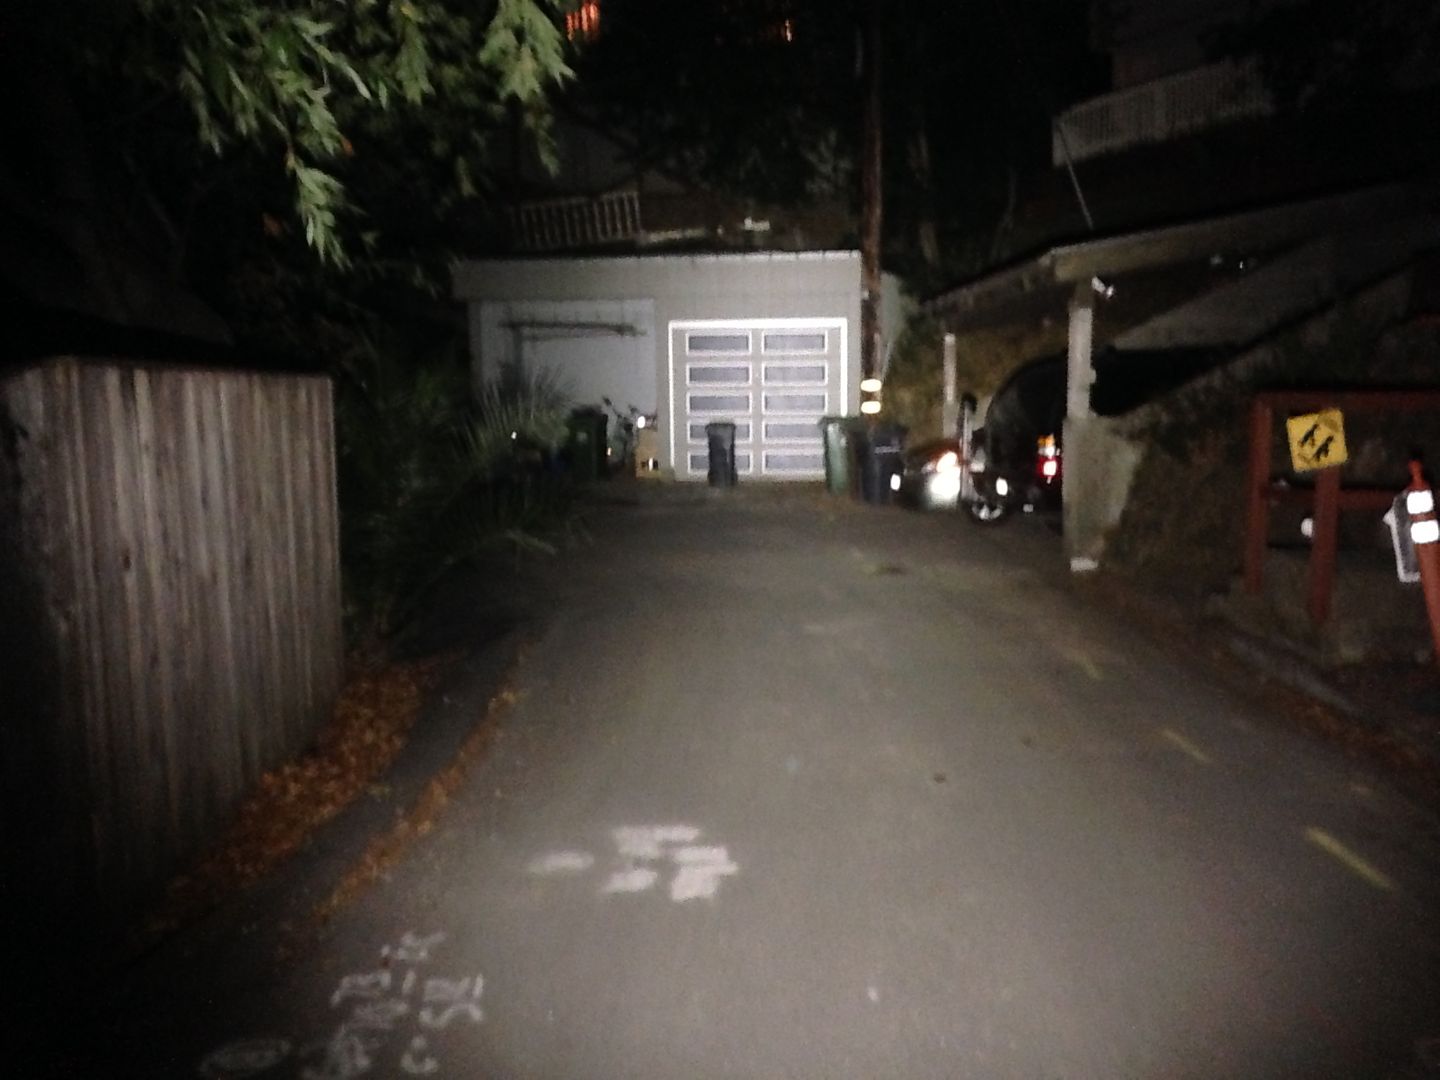
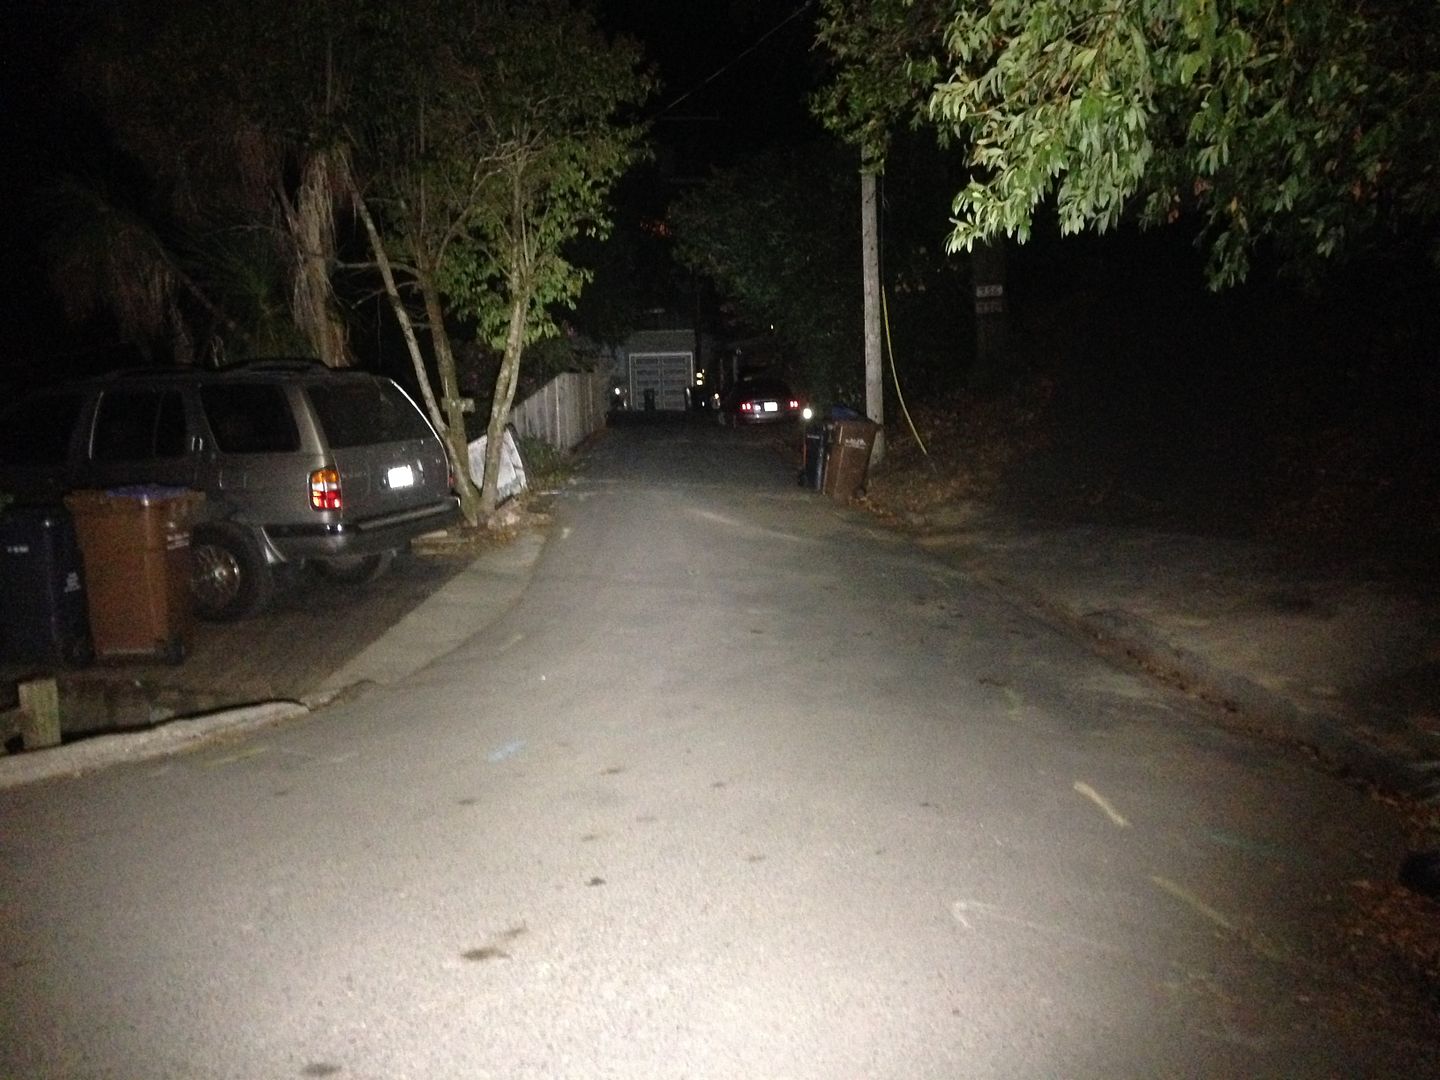
Ceiling shots were of little use as above low on the notsosmartphone it self corrected. Only tint shift shows any difference in upper modes Moon does however show the elimination of the dark spot from Djozz’ suggested scuffing of the dome. Moon, low, med, high. 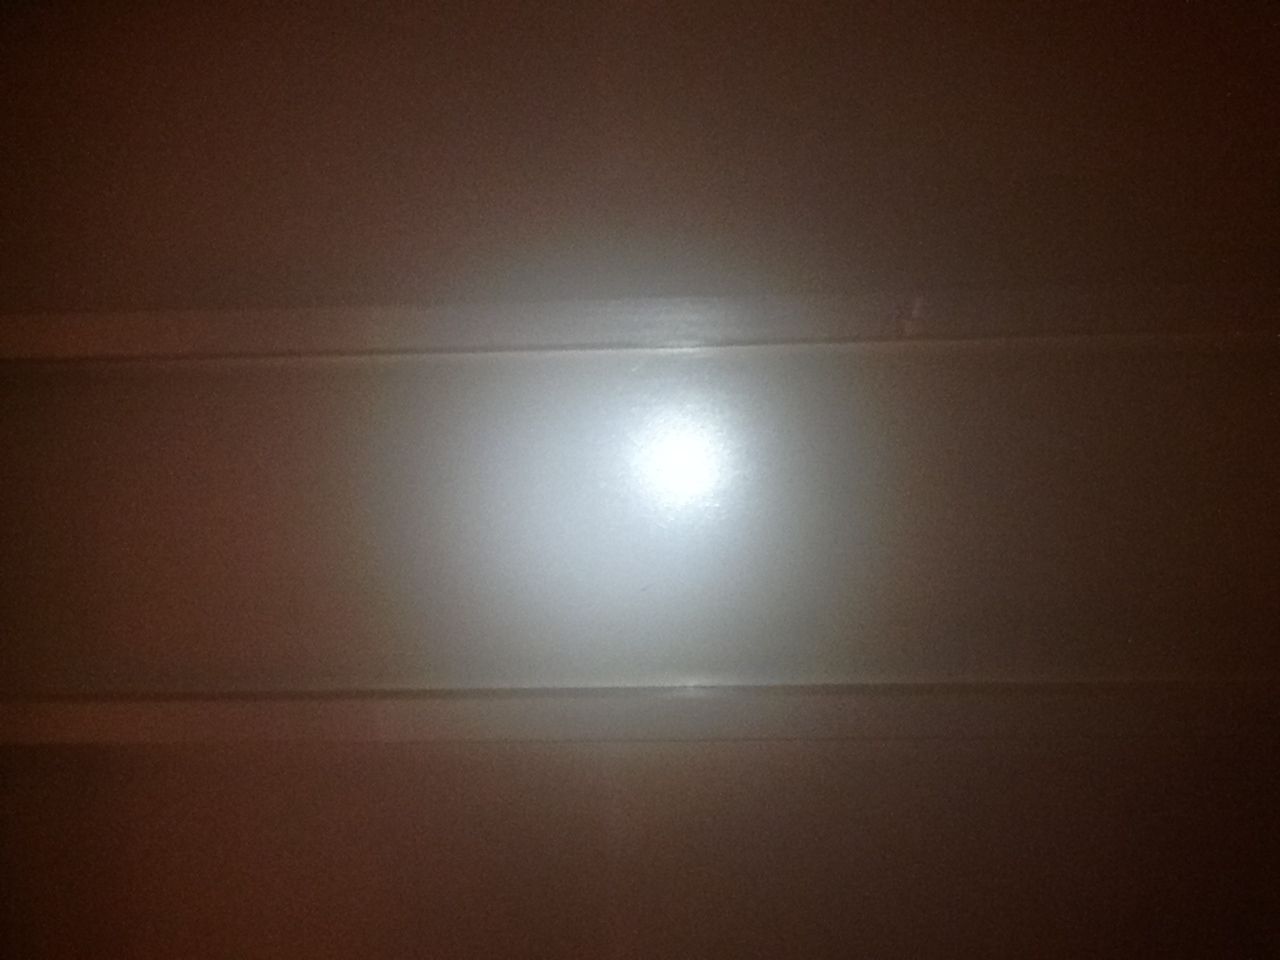
The moon resistor will need to be swapped to get a lower moon as this is the stock moon kit resistor. Also it definitely needs the tail spring bypass as it sagged after the outdoor beam shots and had to be stretched again.
Don’t know if this will be given as a third place consolation prize or last place betterlucknextimeseeyoulaterfoist but it will require a significant amount of time. Well spent or not remains to be seen. Anyway, on to the preliminary outline which is as much as I can do until the driver gb is out the door.
What it is:
An Ultrafire 502B cheapo P60 host with all the redeeming qualities of Ford Pinto.
What it will be:
A super sexy, one of a kind, dam I wish I had one of those, TDF RBD extraordinaire ultramod. Riiiight. ![]()
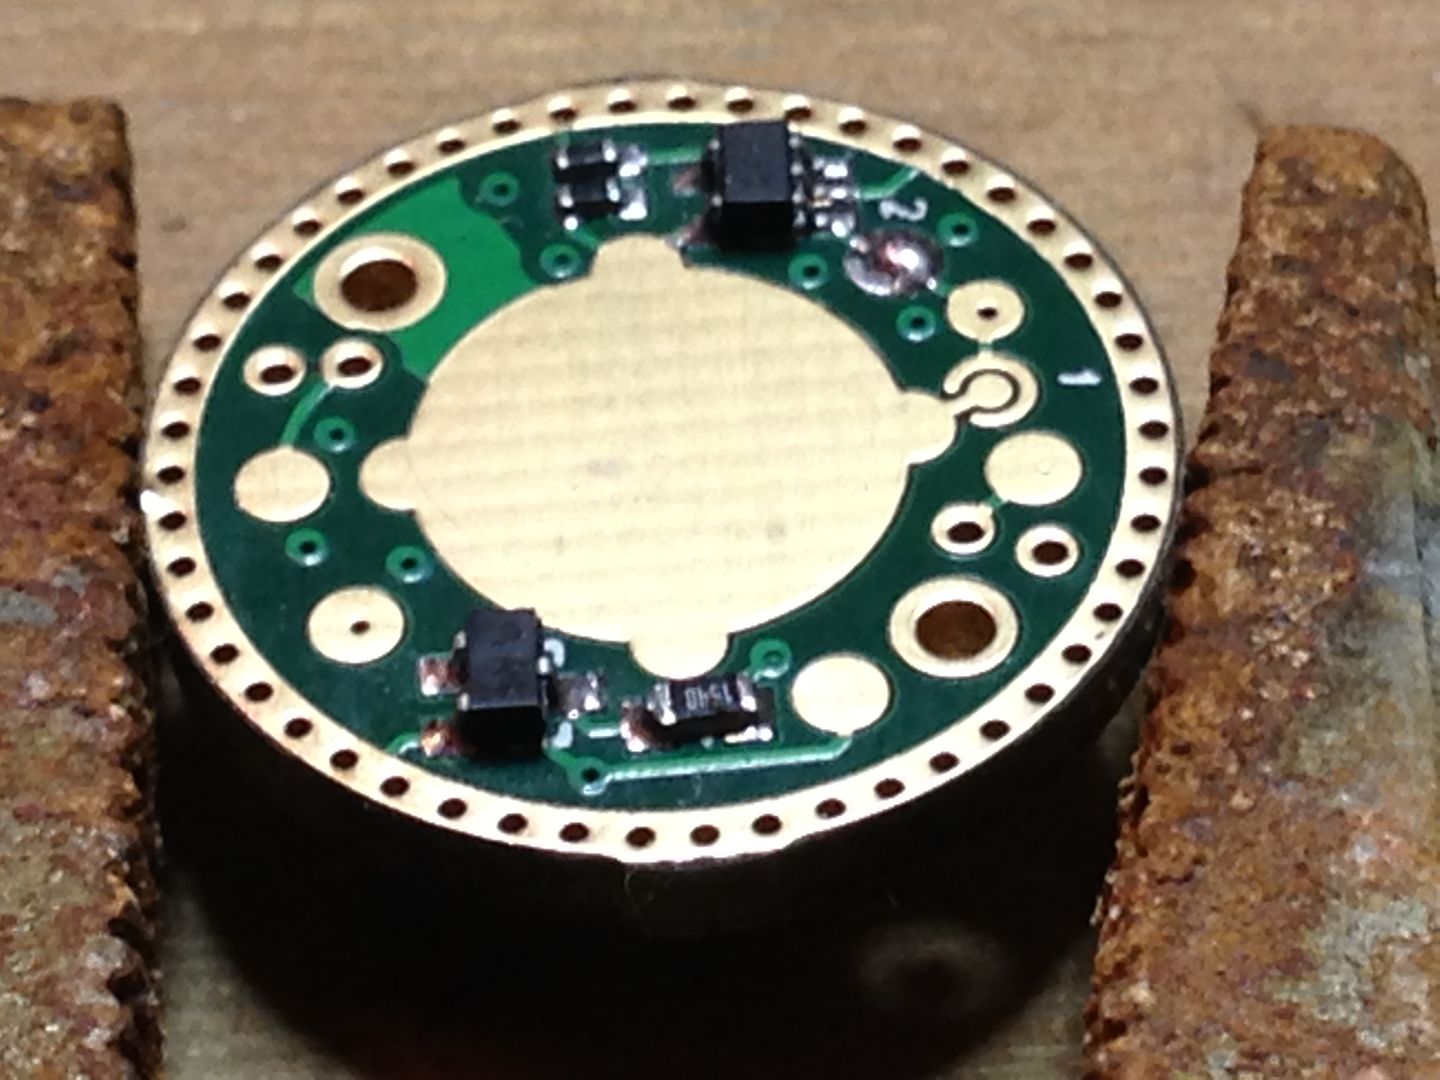
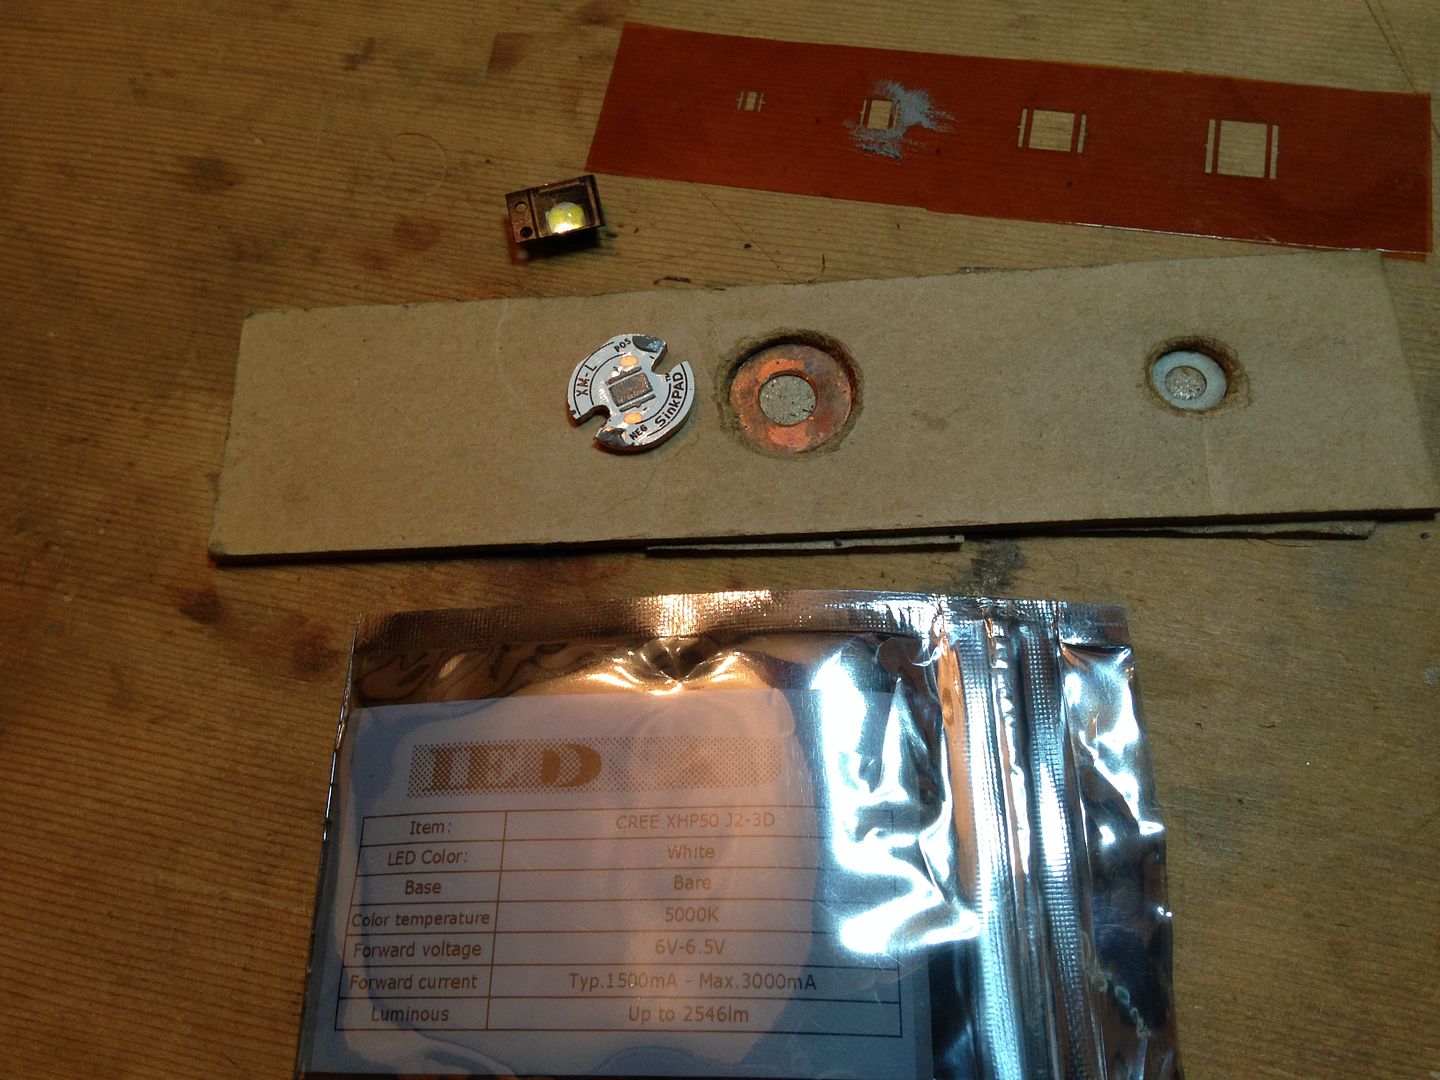
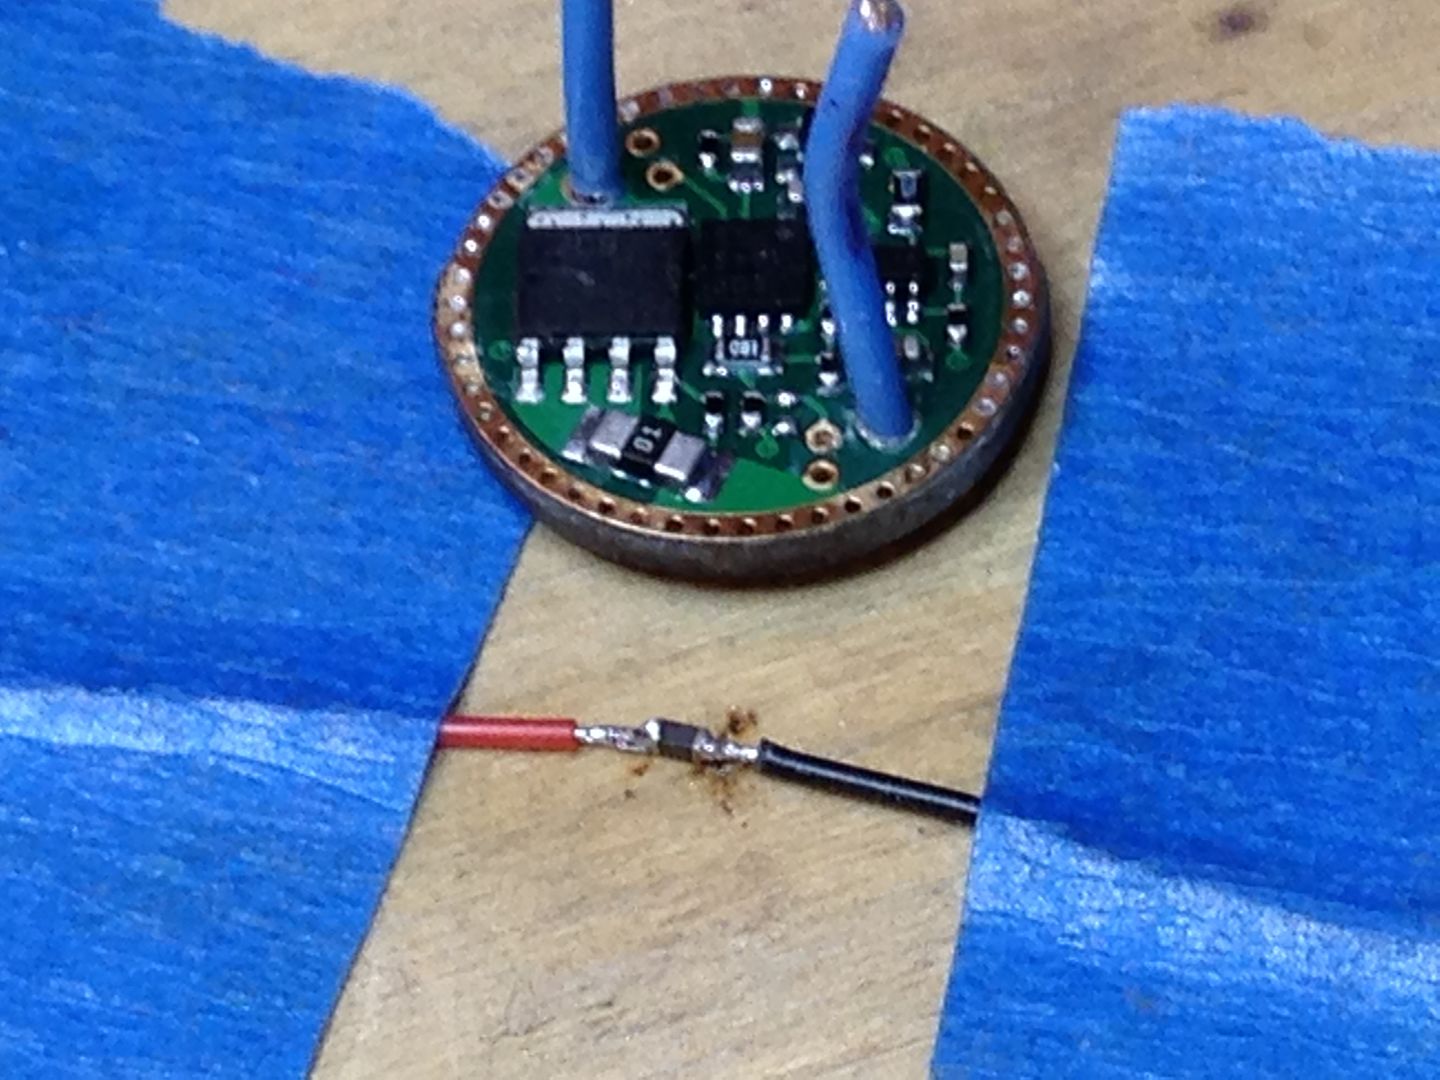
In reality, I’ve had good success doing a similar mod to minimags and have long wanted to try it out to improve a P60 platform light. The idea is to cut the head and battery tube in a few places to add mass and fins in the head and enough length to the tube for 2 x 18500 IMR cells. I’ll be testing an optic I have against an op P60 reflector as well as a copper quad(2s2p) to see which I like most. The choice for single led is an XHP J2 3D vs a quad XPL V6 3A. The driver will of course be one of the new LD-2 drivers from led4power with appropriate mods. A better switch and a bit of bling to sweeten the pot(or deepen the waste pile) should round it into shape. Lord knows I saw plenty of time and effort dumped into Pintos in my youth so in my own way I’m being a conformist.
As always, both the devil and the entertainment value are buried in the details. We’ll just have to see which one comes out on top.
I got the head reamed out for the 3/4 copper coupler. Next comes cutting the head with a Dremel wheel in the drill press to create the gap where the fins will go.
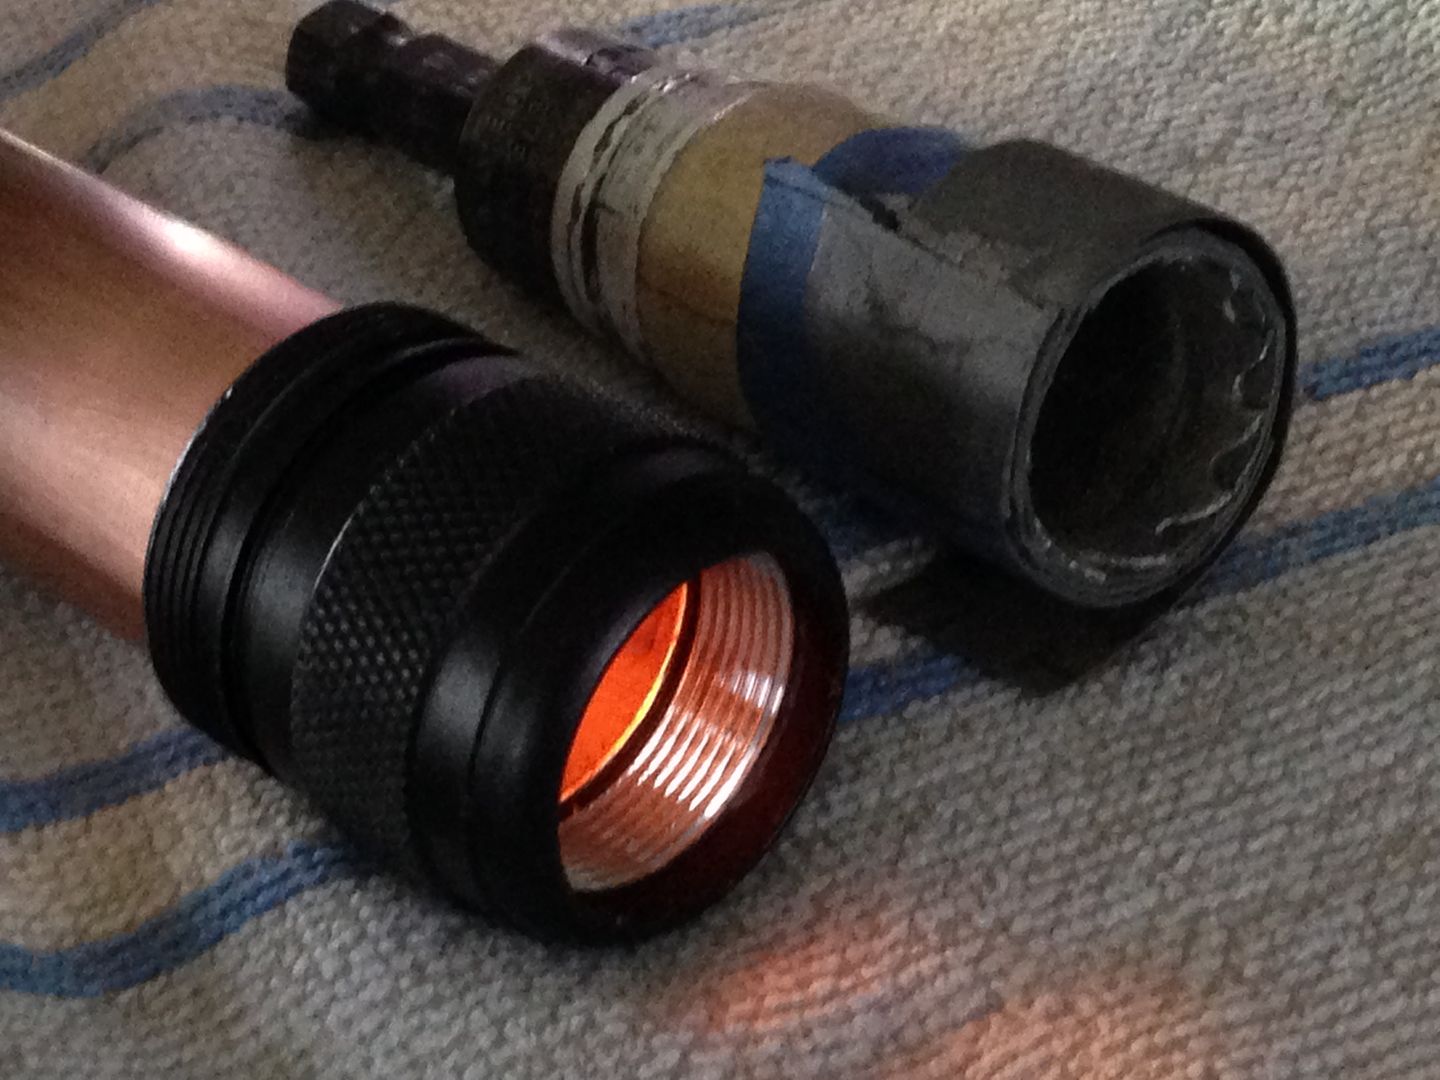
The battery tube is way too short for my needs and needs to be lengthened. 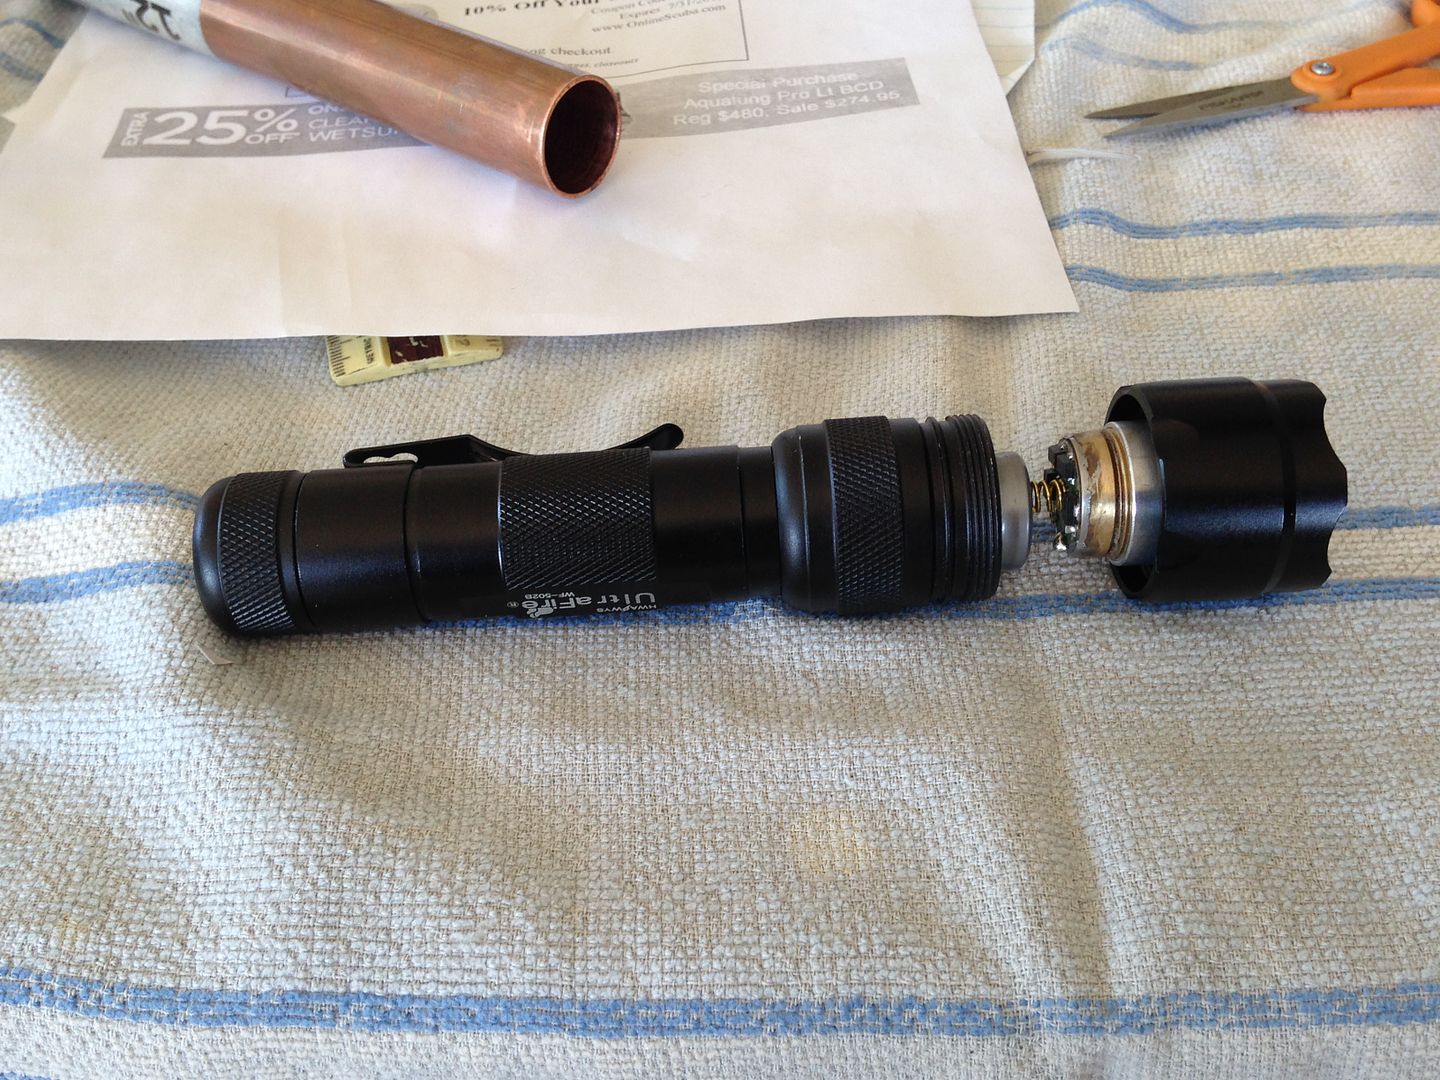
Having reamed one end of the battery tube for a brass sleeve I cut the threaded section off. The sleeve has the same ID as the original tube. 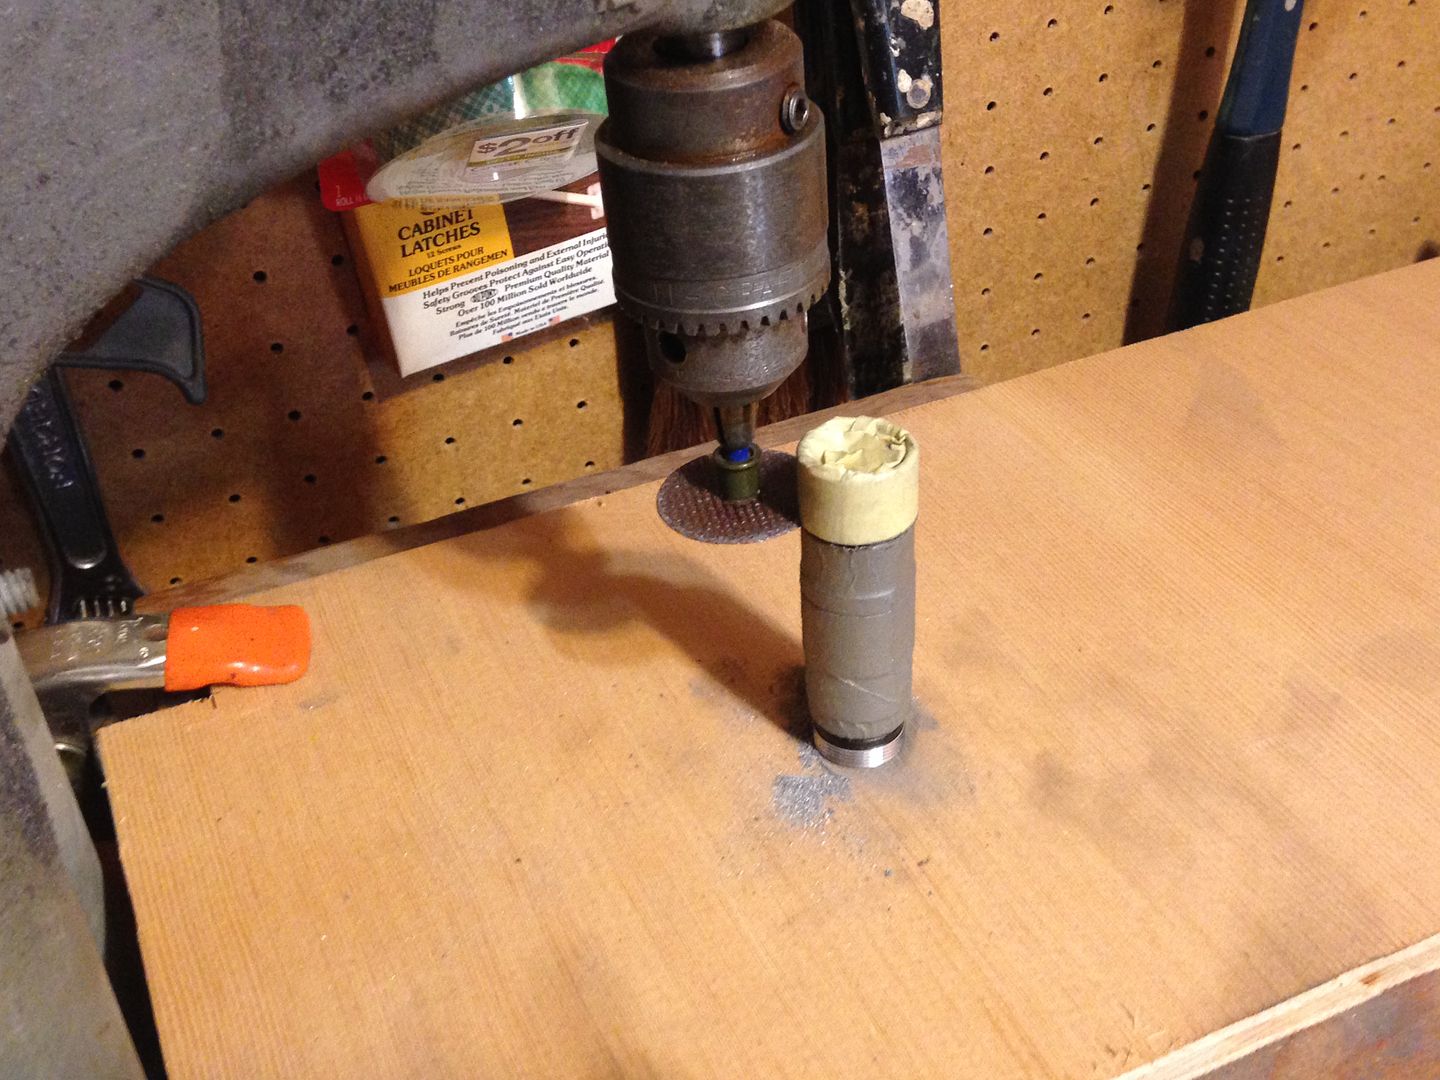
Plenty of length now and I can use anything I want to dress up the outside of the tube. 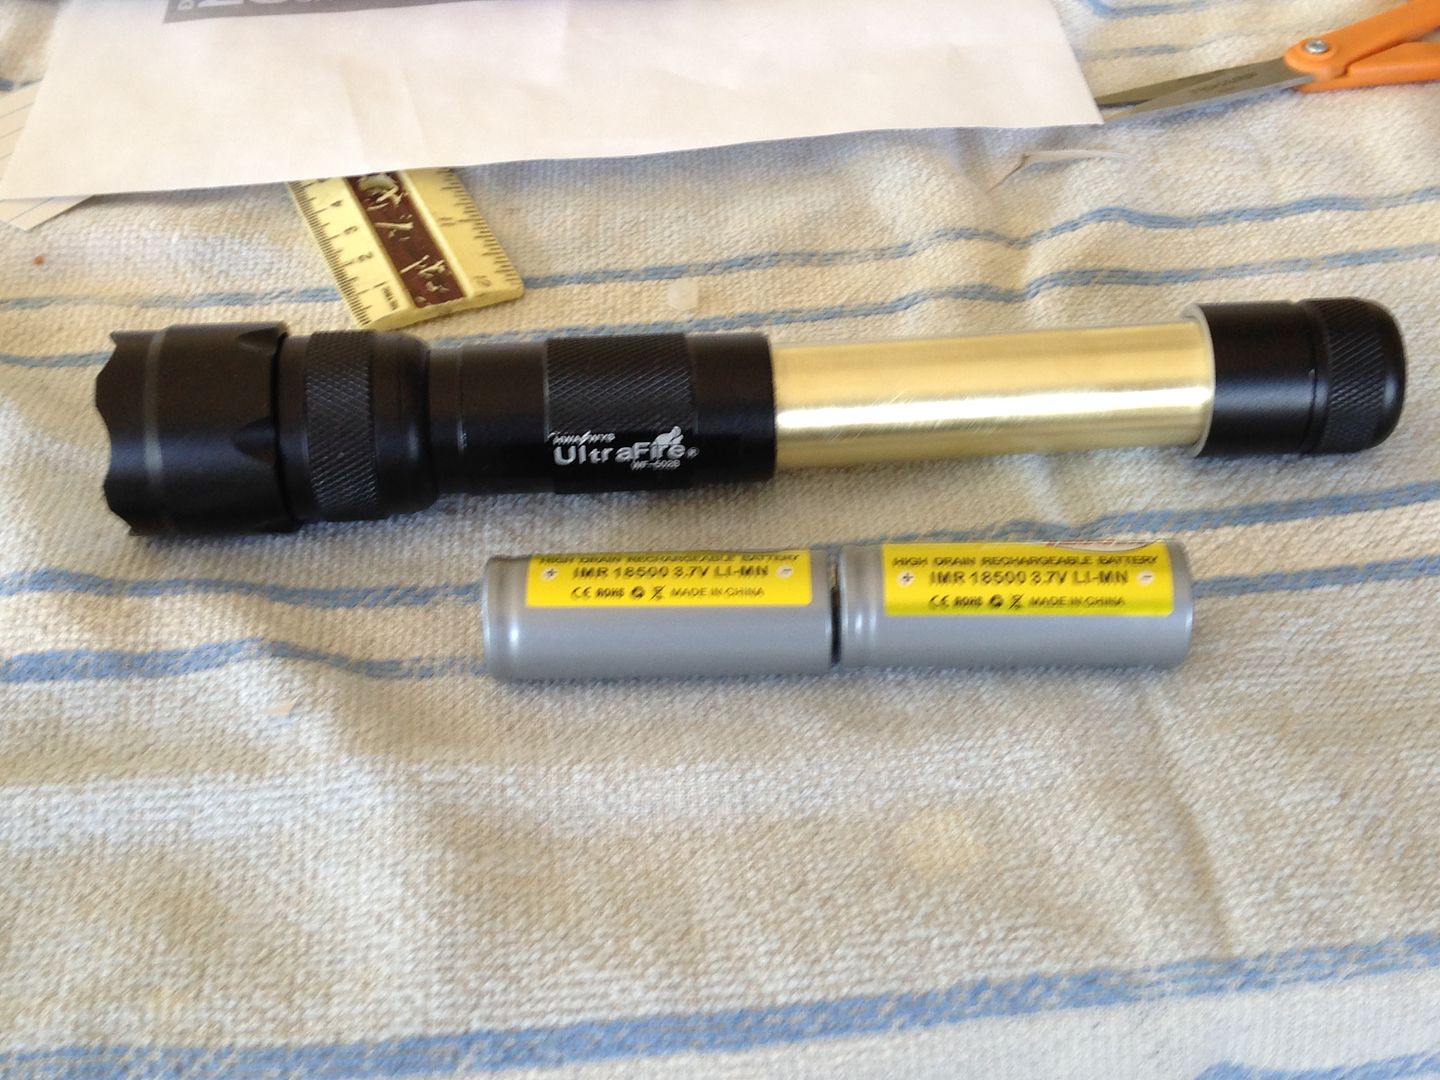
Some precious time at home and was able to make a few more cuts. Here are the pieces, left to right, bezel, bezel head threads, head body, tube head threads, tube tail threads, tail cap. 
And here is some Cherry I had laying around. 
Here’s a pic of some of the parts to be used.
I’ve brought the cherry and brass sleeve with me and will try and get the wood holes reamed in the evenings.
Before leaving work the other day I cut a few pieces of the cherry. I had second thoughts about the length so I cut one at 60mm and one at 90mm. The longer piece would be used for 2 x 18650’s. At 2” x 2 3/4” there’s enough for two handles so I bored two 3/4 inch holes in each. My brass sleeve isn’t long enough for the longer cells so I cut some sheet copper to 2 1/2” x 4 1/4”, trued the long edges with a file and annealed it. 
Then I bent it around a 1/2” OD brass tube and pushed it into a larger brass pipe. 
 After rolling it a bit and annealing a time or two more it came out nice and round with well matched edges(see 3 pics down). An intermediate piece of pipe inserted between the rolled sheet and the smaller brass tube speeds the process. If the finished rolled dia is smaller than outer pipe you can add a layer of tape or two to the outside of the roll to force it into a smaller size
I dashed home after work today and was able to take some small but important steps on the light. Unhappy with the holes in the first block I had cut a second and drilled it but from both ends and the holes ended up much truer to paralleling the sides. Here is a piece with some tape over the end grain to keep it from being stained by the epoxy. 
.
Since I’m using a copper tube instead of brass I’m a bit concerned about dissimilar metal corrosion between the copper sleeve and the aluminum tube pieces so I pre tinned the ends of the sleeve with 60/40 rosin core and then heated it over the stove and wiped it with a dry paper towel to remove the excess. Dry fit in the block. This is the same copper that began as a copper sheet in the pics above. 
To make it easier to center the tube in the block I wrapped some tape around one end to act as a stop and then mixed up some JB weld, smeared both inside the block and the outside of the sleeve and slowly twisted them together. Goof Off works quite well to clean off the excess epoxy as well as rosin flux residue. 
That’s all for now. I need to swing by my folks and turn a wooden insert with stops on both ends that I can cut in the middle and press into the sleeve so I can then turn the cherry.
Here is the mandrel(?) I’m making to be able to mount the cherry and sleeve in the wood lathe. It still needs to be turned down to fit inside the sleeve but this is the basic shape. Some temporary copper pipe and coupler bushings will slip over the tinned portion to guide the tooling at the ends. 
To protect the sleeve ends from being crushed by the shoulders of the mandrel I made some copper bushings that will also act as a visual reference when turning the wood down. Later they will get cut down and reused as end bands for the wood. 
I also started on the copper core/fins section by brazing some sheet copper into a 1” length of 3/4” tubing. 
This was done to resize the ID so that I could tap some 20mm x 1 threads(same as p60 pills). To help get the threads started square I slipped a scrap of 3/4” pipe over the tap and held the two together as I turned(tap in a vise, copper turned by hand, ouch blister.)http://i1166.photobucket.com/albums/q619/Rufusbduck/2050EC80-5775-4E83-A56D-0E12545CEB2D_zpswveyvsxe.jpg!
Here it is about 1/3 done. The copper is soft after brazing so it deforms if I put it in the vise and use a wrench on the tap. 
I ended up adding a short ~10.5 mm section of coupler to stiffen it since this is necessary to match the reamed ID of the head. I’m bringing my digital calipers to finish up the mandrel and get going again on the cherry.
Went by the folks to borrow the lathe and had to move some tomato plants first. After that things went pretty well. I finished the mandrel. 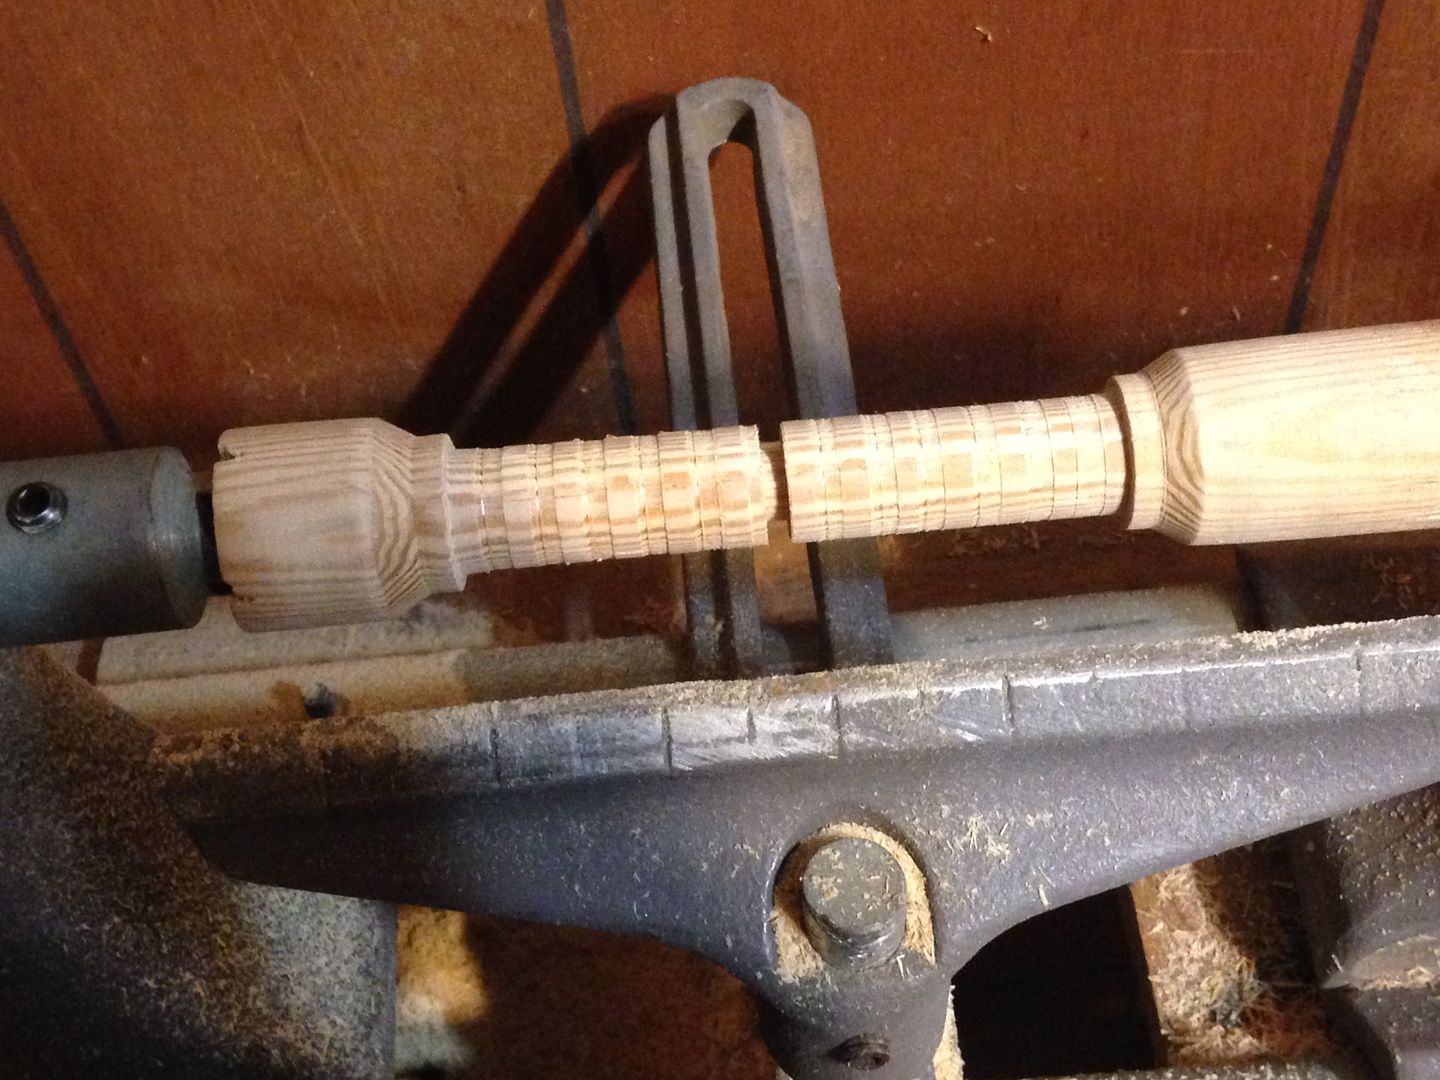
I cut it at the notch and pressed the two ends into the cherry/sleeve and went for it. 
Here it is with the copper bands slipped over the shoulders cut on the ends. The bands will be trimmed to ~5-6 mm. 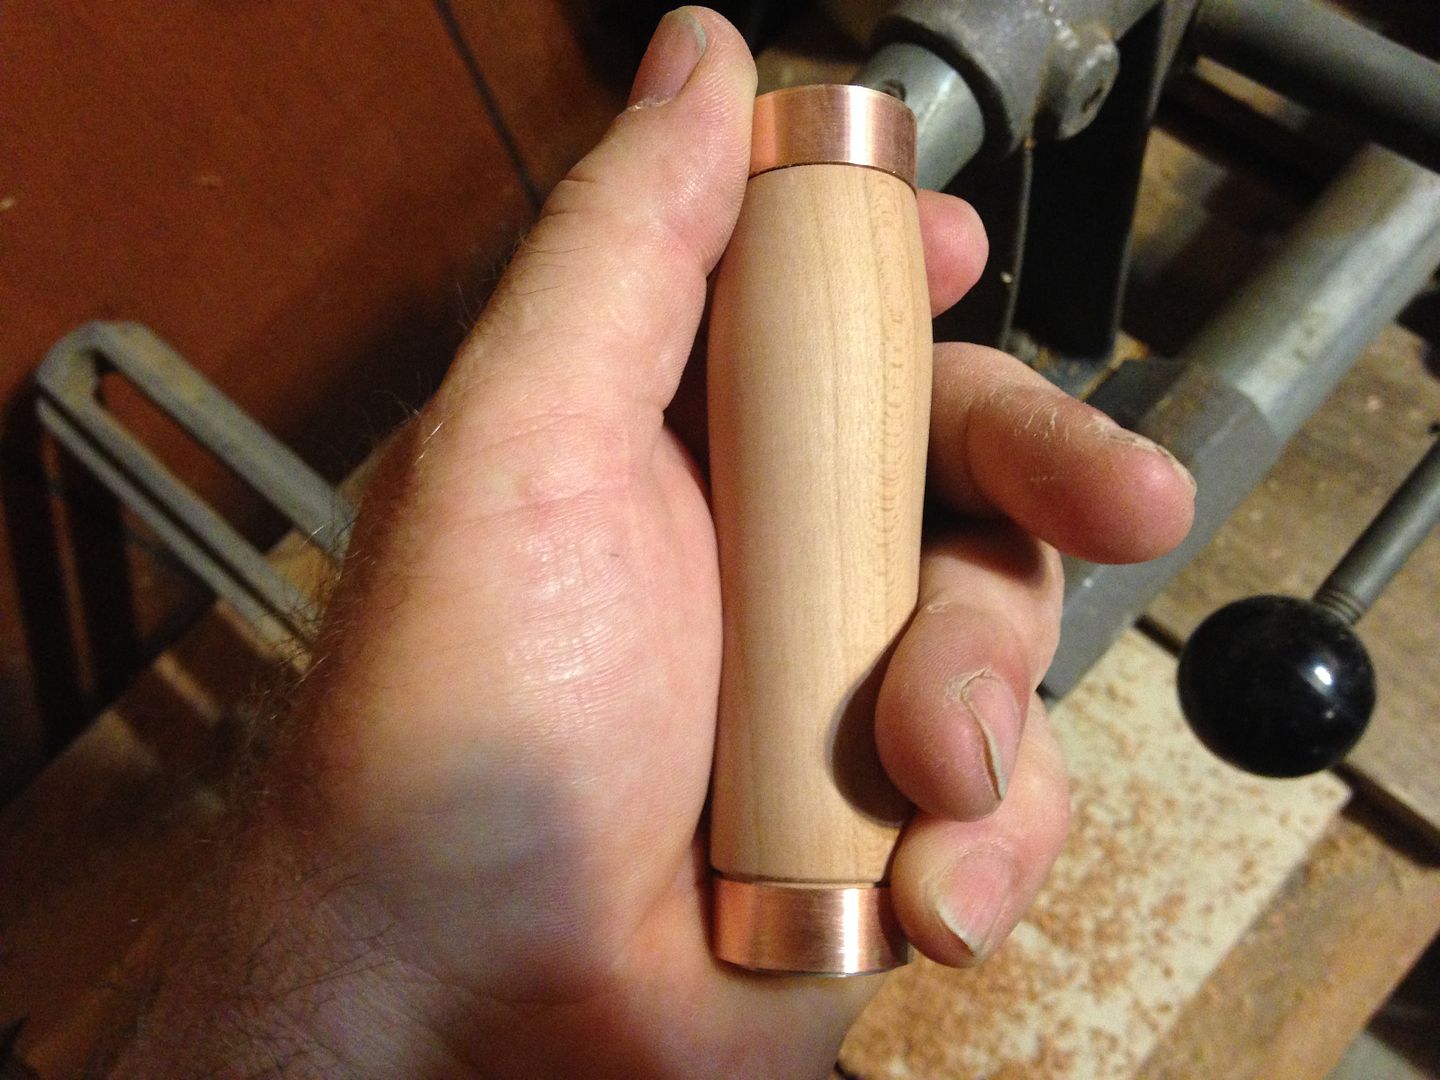
It was sanded with 220, then 400 w/d and wet sanded again with 400 w/d and Watco natural oil finish which will need to dry for several days before some kind of clear coat gets applied. 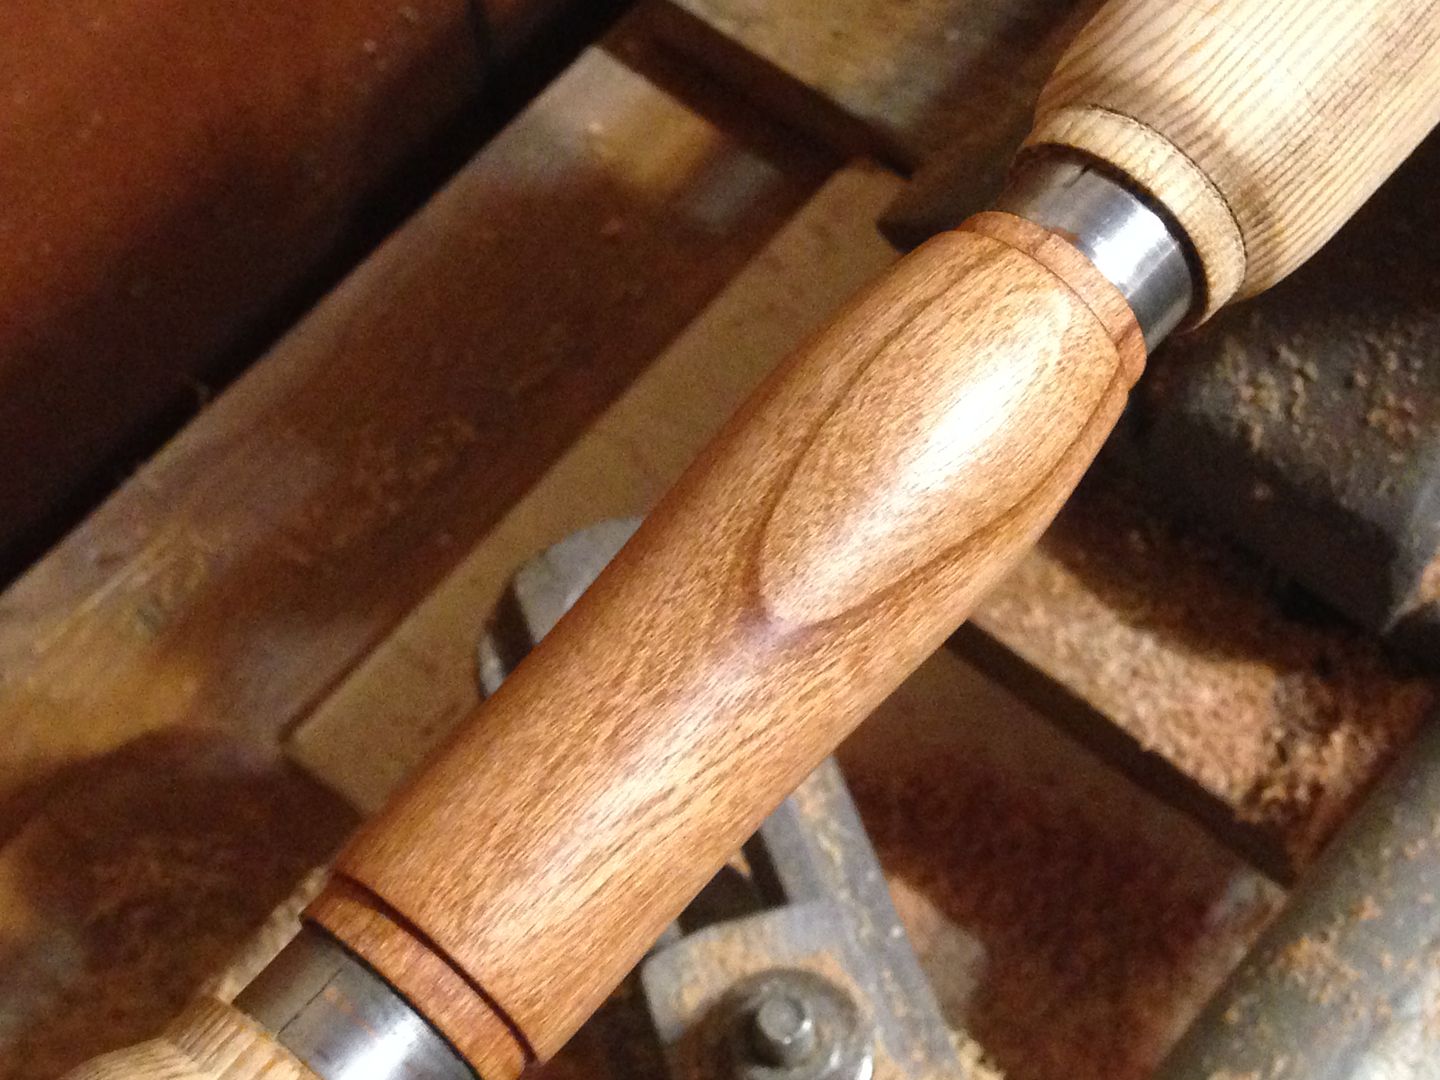
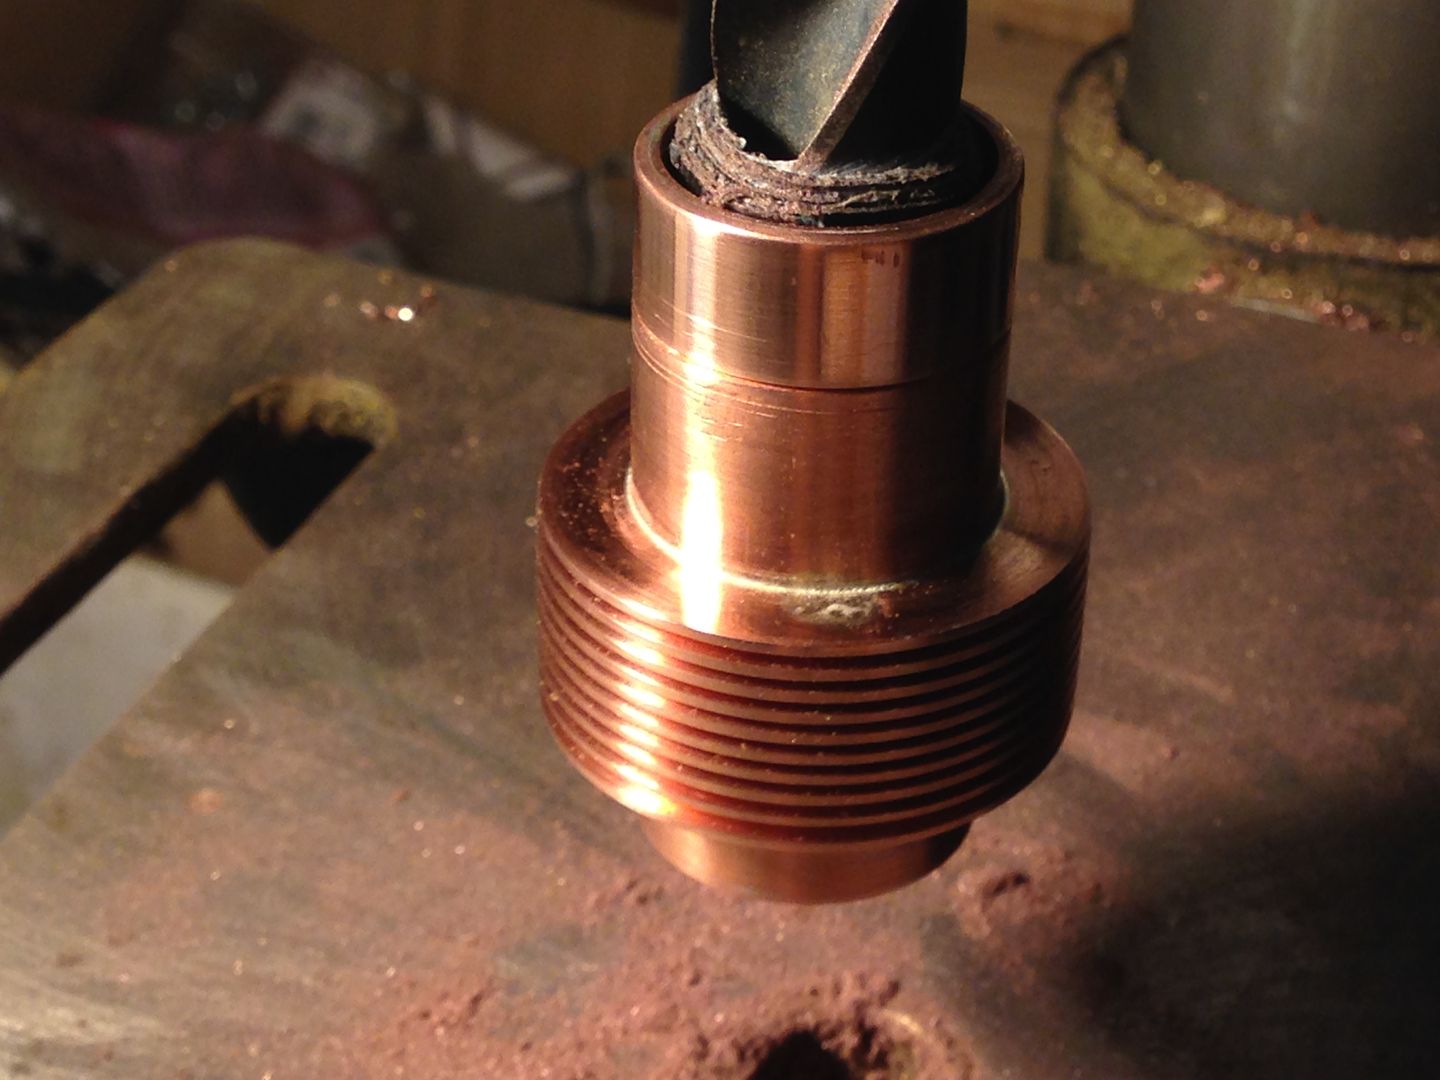
Not much time last week but this evening was able to thread the pill stock I had made. Went gorilla with a pipe wrench and adjustable wrench and grunted my way down 35mm of copper. 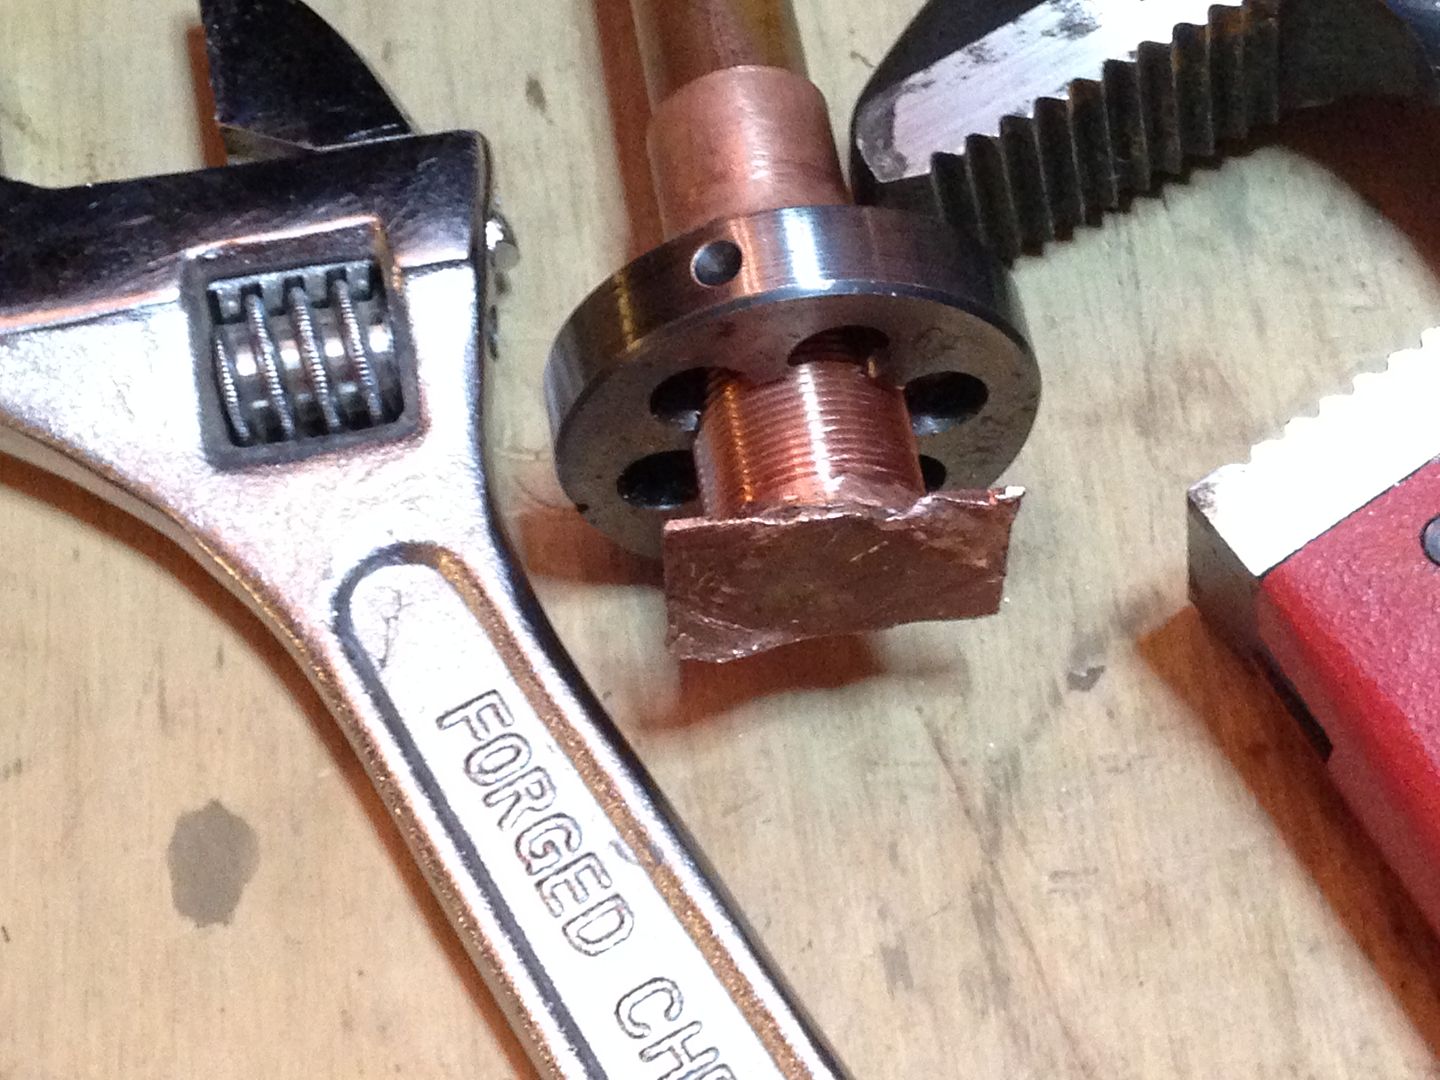 Does it thread into the female threaded copper piece? Yep!
 I cut off the sacrificial end plate(next time I’ll use brass!) Now the biggest question, does it also fit the reflector? That too! :bigsmile:
  Sometime this week I’ll be going back over to the folks place to do more wood work.
This won’t mean much to most but this is a pic of the copper sheet I cut and rolled to fit around 5/8” OD repair coupling to make the threaded pill. 
And here is what the handle looks like with the copper bands epoxied on. Still a bit rough but getting there. 
Not much of a cook but did a bit of baking today. 
Hmm, should I just skip the wood part?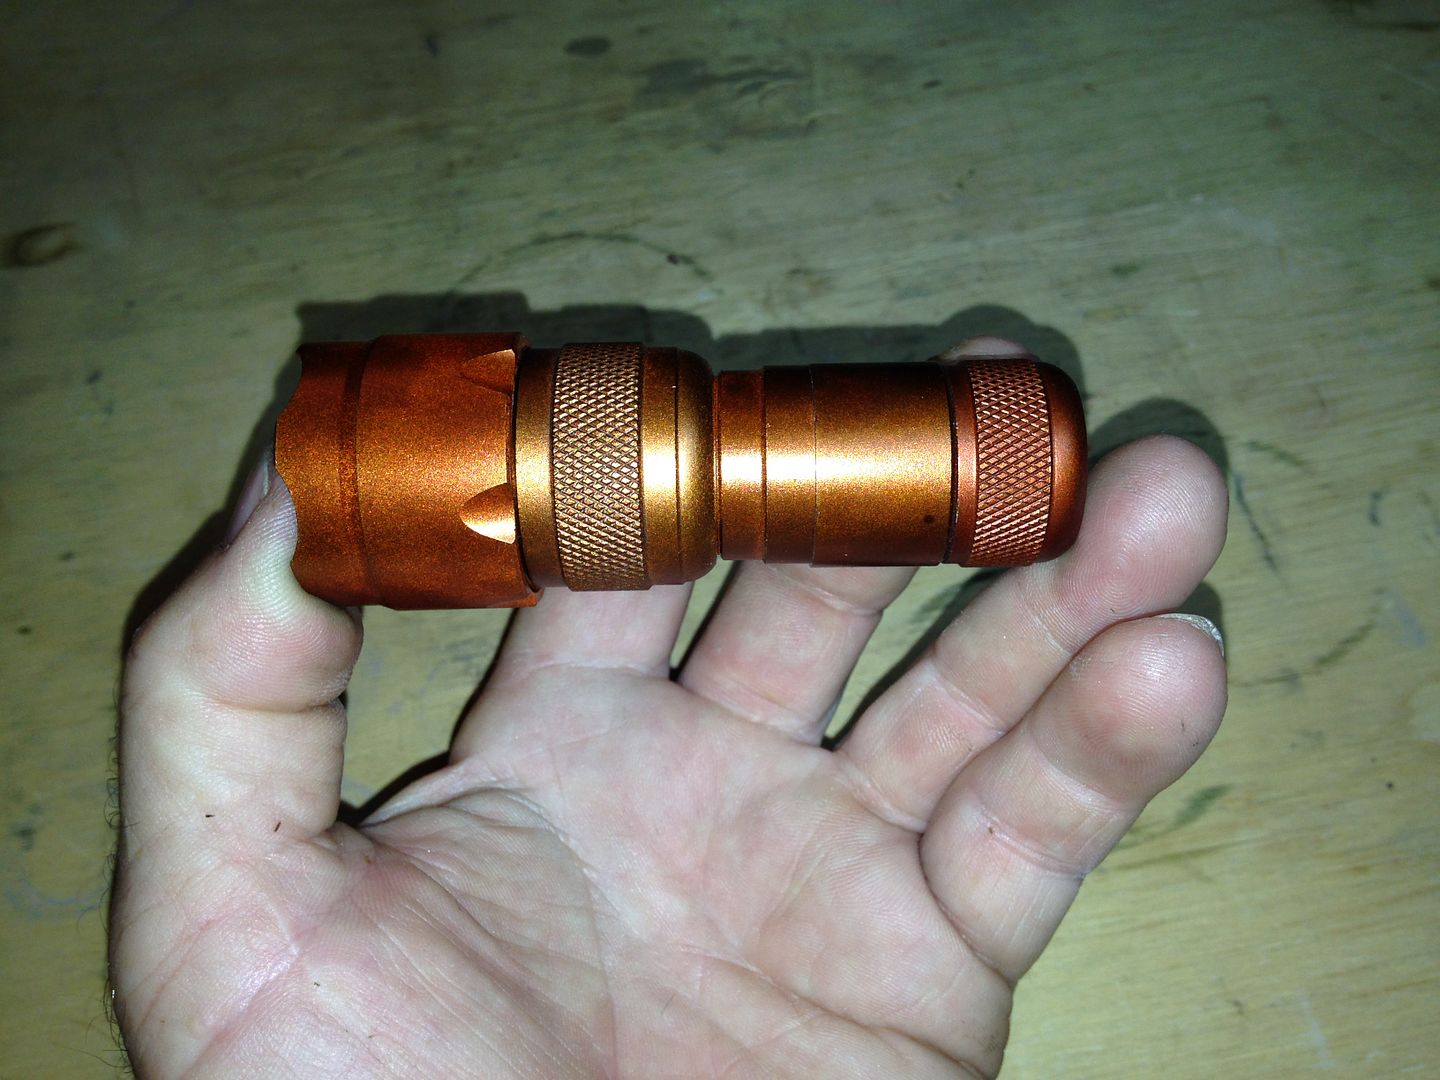
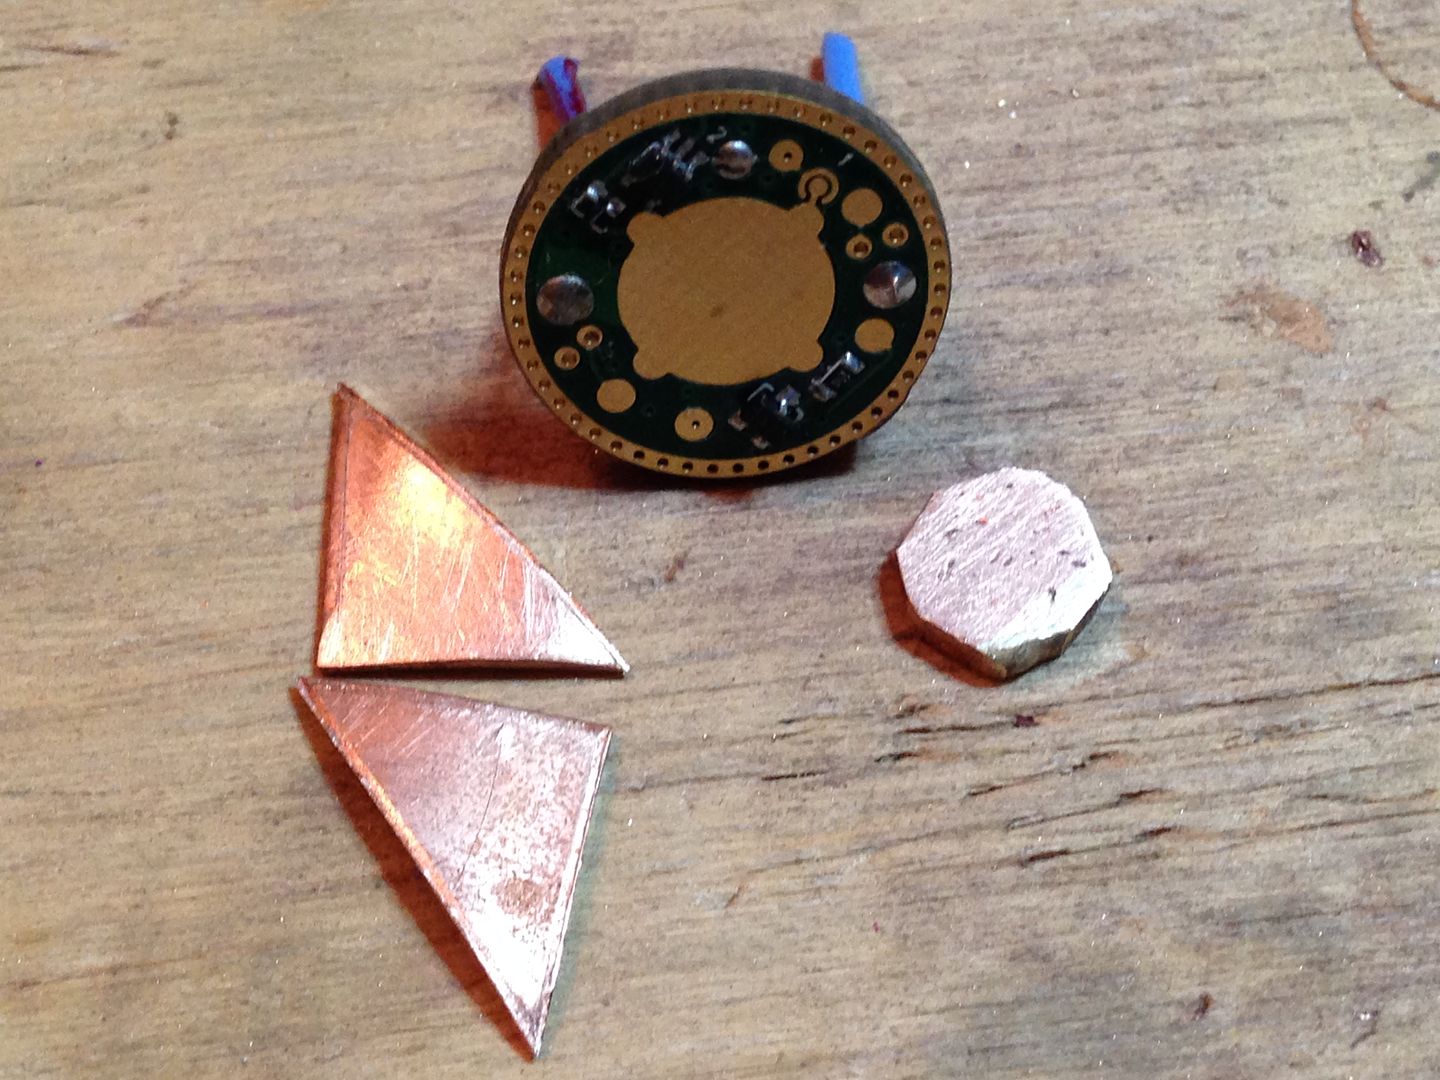
Finally started what is usually the most difficult and time consuming part, the fins. I cut some strips of .8 mm thick copper sheet then punched 22mm holes(7/8” same as 3/4” copper pipe OD), then cut them into squares. Also wrapped .8mm copper wire that will space the fins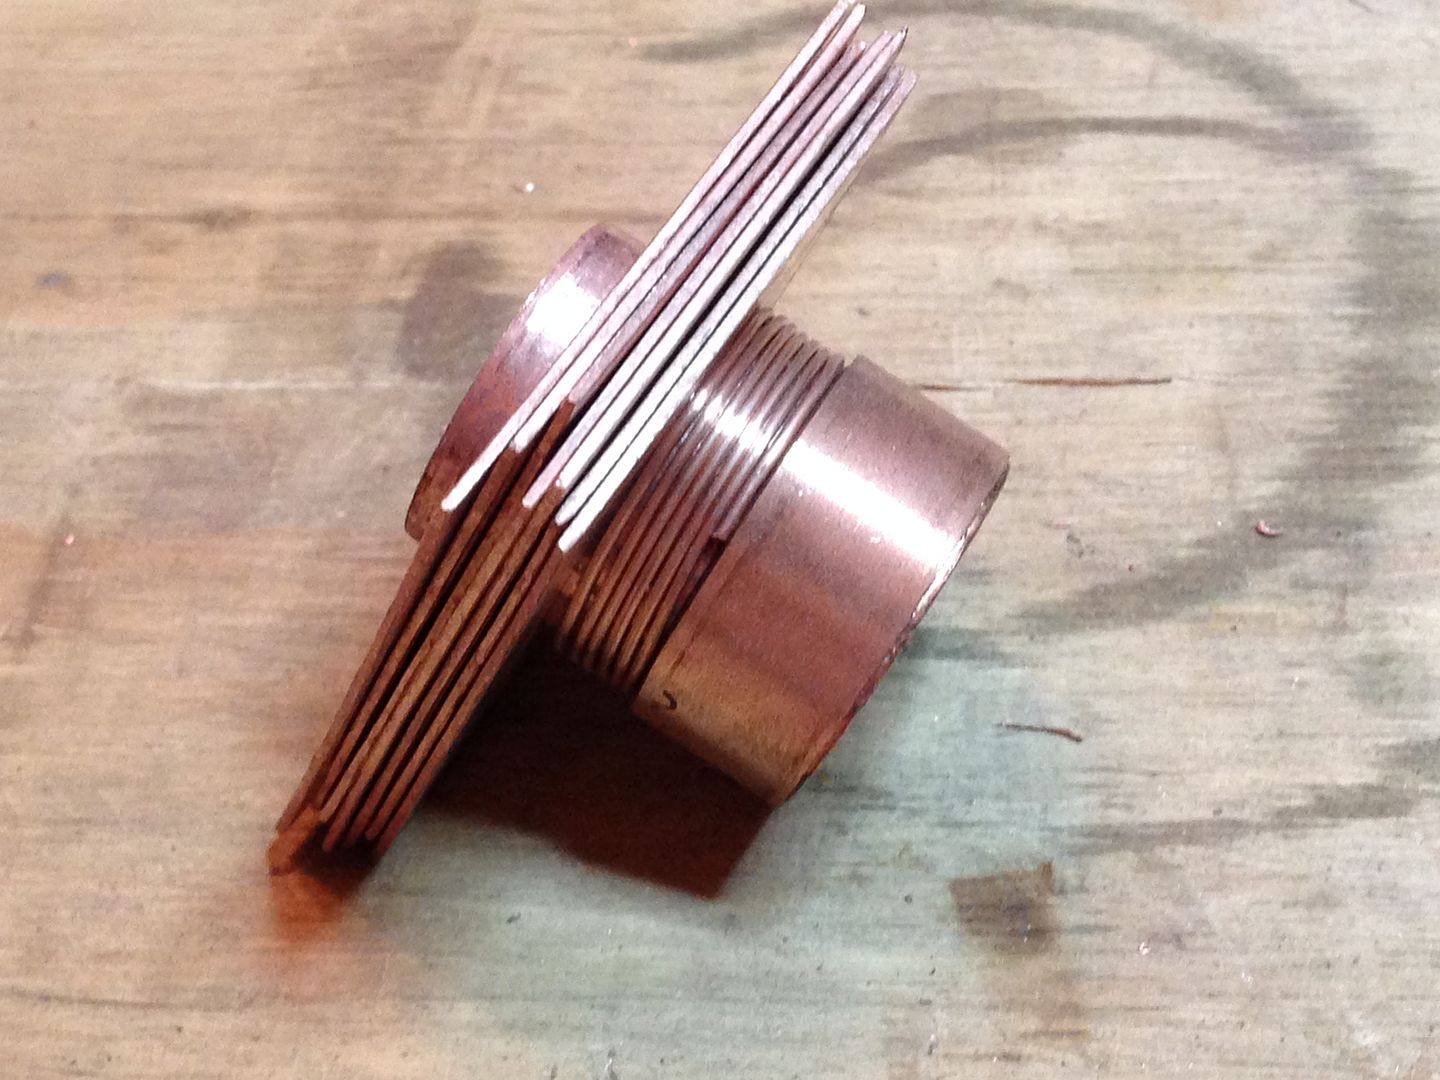
Here’s what it looks like all stacked up. 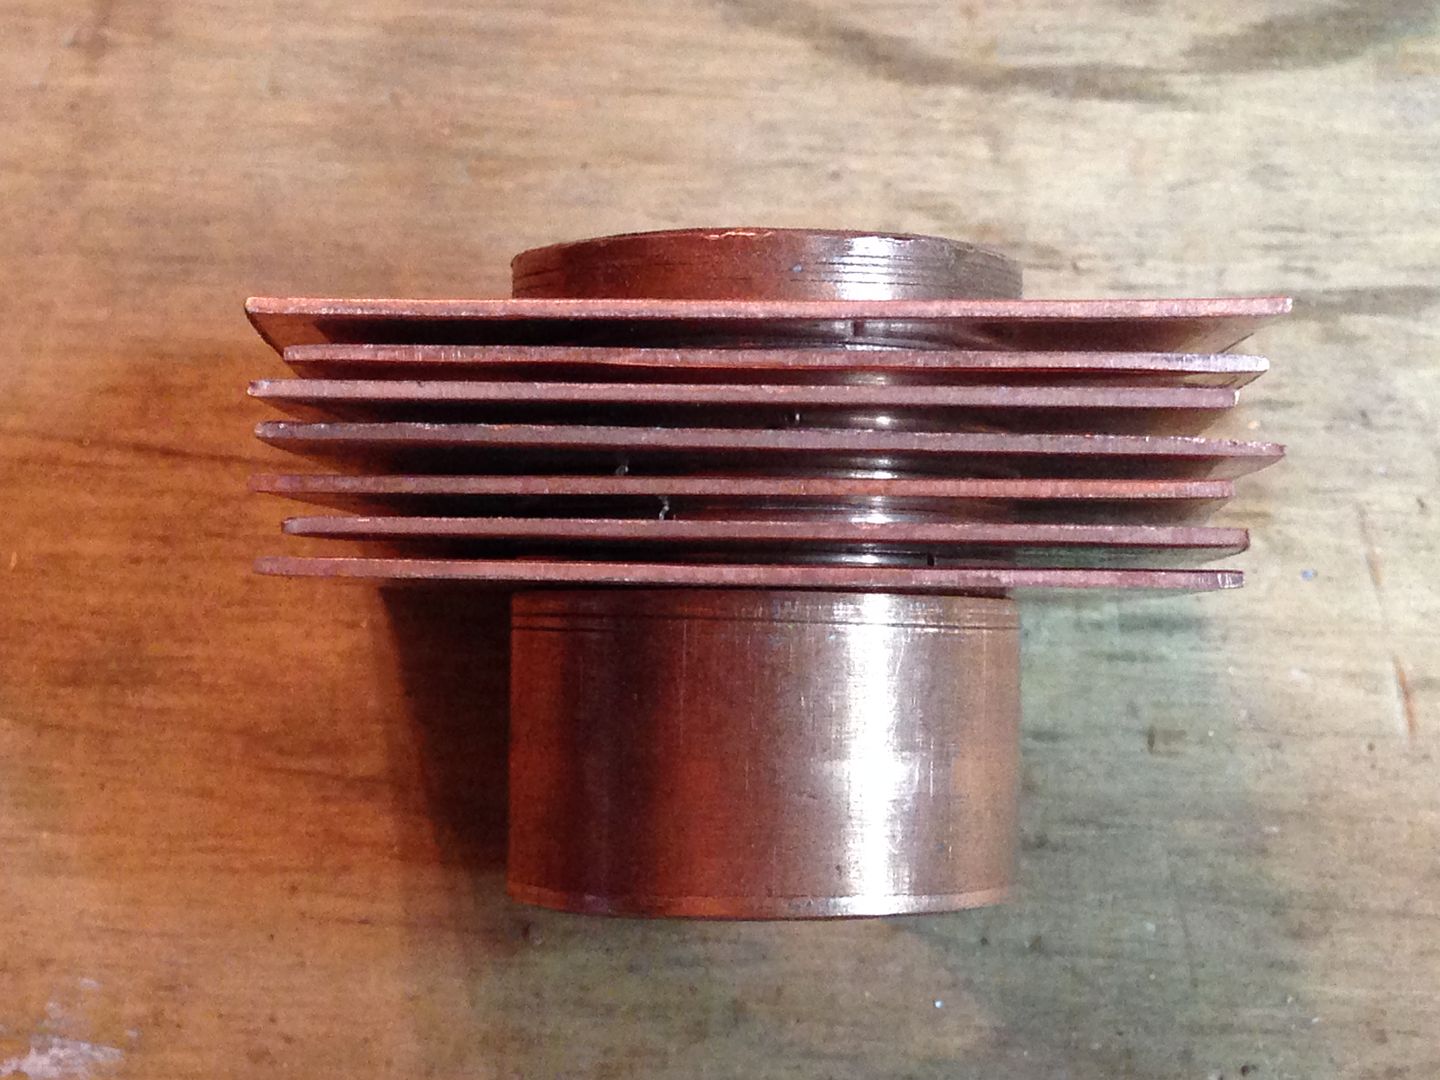
Lots of fins and I’ll probably add even more as this will be a hot one with a 6V led. Before it gets brazed I’ll trim each square to minimize what I’ll need to remove later. Trimming also reduces the amount of heat I need to bring the assembly up to brazing temp.
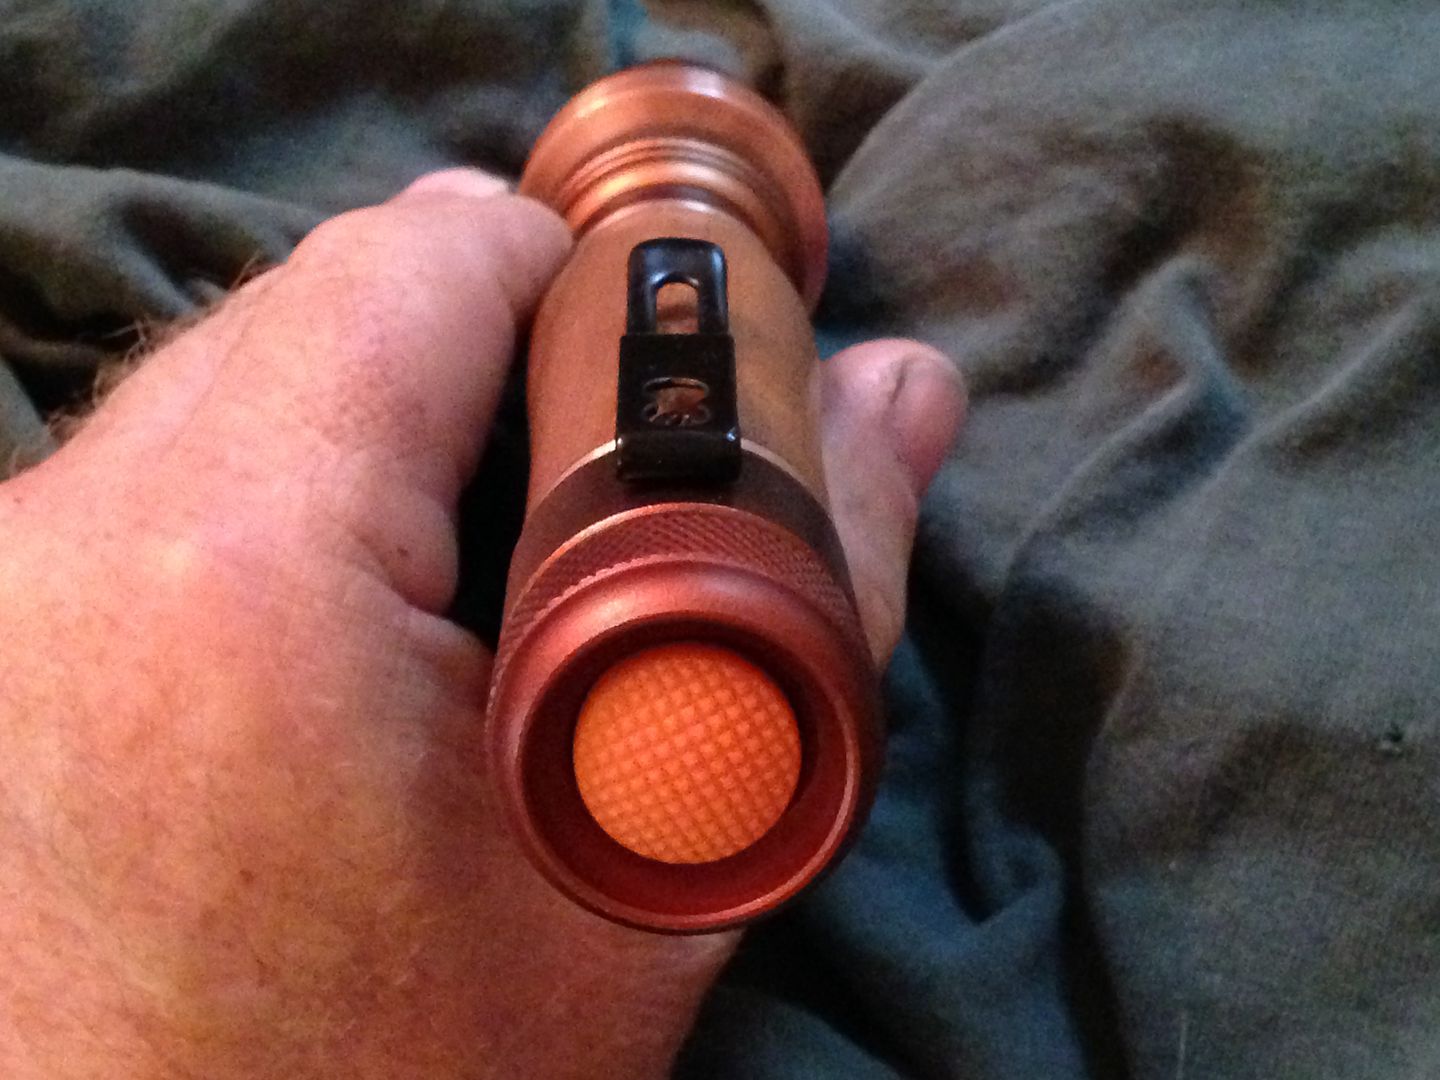
No pics at the moment but the astute amongst you may have noticed the spring sticking out of the tail cap indicating that there was a switch pcb in there. The astute and clever amongst you would have deduced from the pic that the tail cap sitting flat might indicate tail standing ability. Kudos to you and ![]() to the rest. I replaced the stock switch and holder with an eos lamp mini Omten pcb and put a 2mm copper pipe spacer in before the tail cap button so the black button is recessed but still functions as a normal reverse clicky. It and the clip will be the only remaining black pieces. Further work on the fins will wait on the weekend when I get to go home and do laundry again. The last two weeks the same crap came out of the dryer right back in my travel bag. Relish the work you say, relish the time I say, relish life period, there’s no seconds.
to the rest. I replaced the stock switch and holder with an eos lamp mini Omten pcb and put a 2mm copper pipe spacer in before the tail cap button so the black button is recessed but still functions as a normal reverse clicky. It and the clip will be the only remaining black pieces. Further work on the fins will wait on the weekend when I get to go home and do laundry again. The last two weeks the same crap came out of the dryer right back in my travel bag. Relish the work you say, relish the time I say, relish life period, there’s no seconds.
It’s 3:30AM and I just crawled out of the shower after a rather long pair of sessions(took a break in the middle to walk over to the theater to see Man From Uncle). First up is a bit more work on the pill. It needs a shelf on which to rest the 16mm copper sinkpad. Here it is fresh from brazing next to an ordinary brass P60 pill 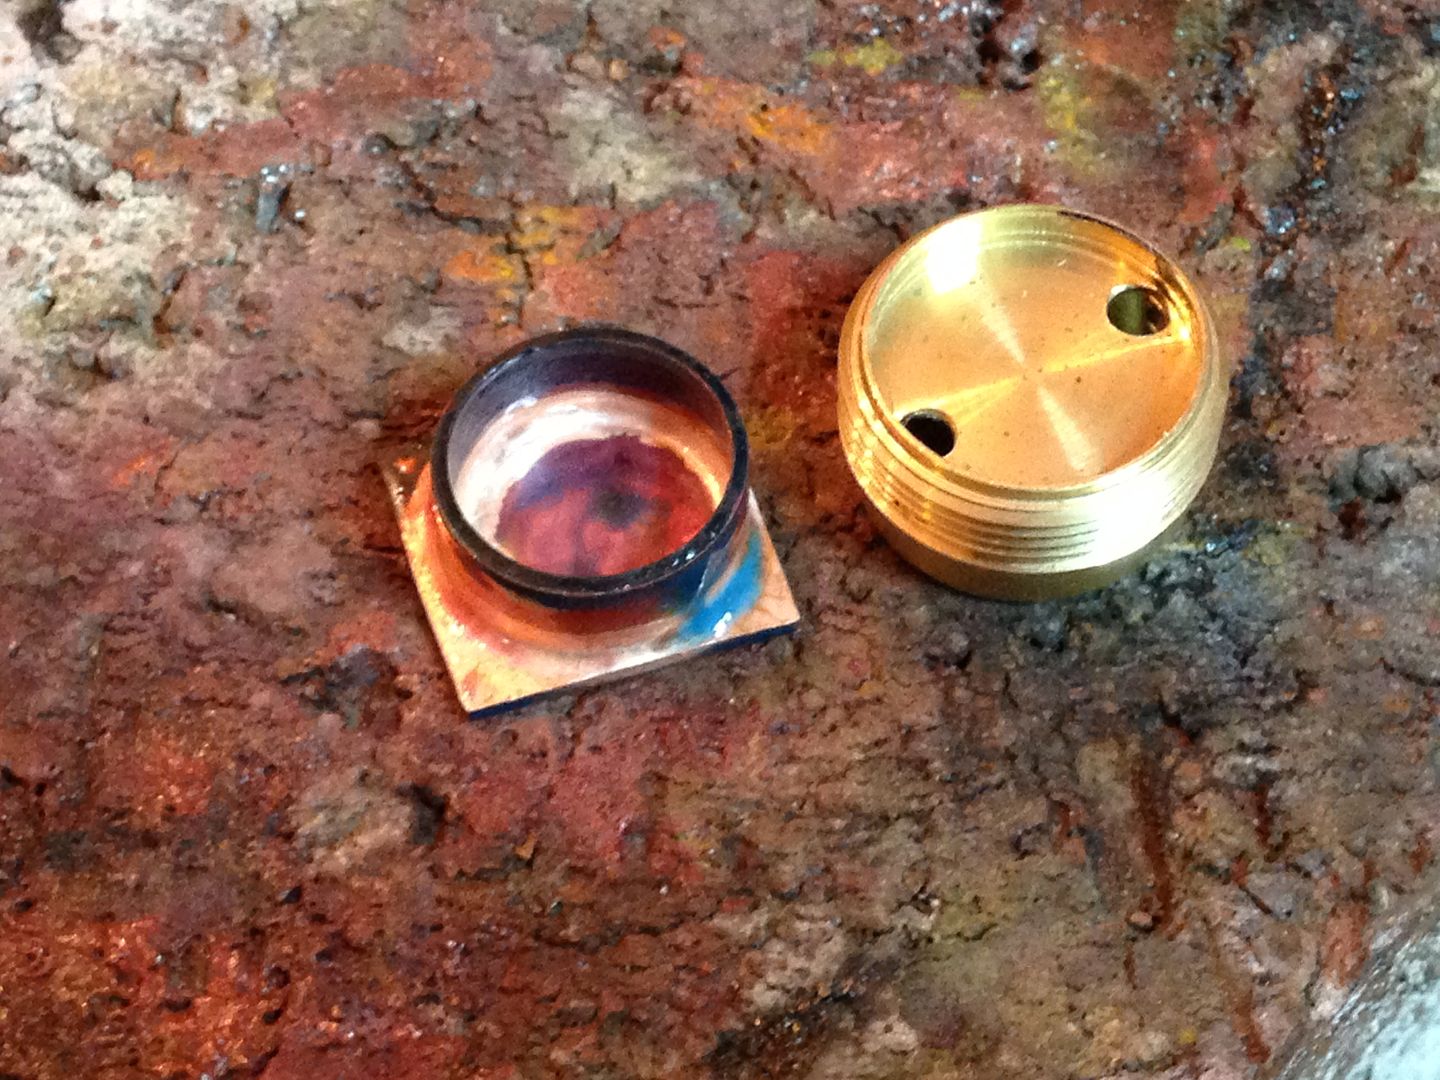 And after trimming sitting on the threaded part(I only need ~ 1/2 for this for this build).
 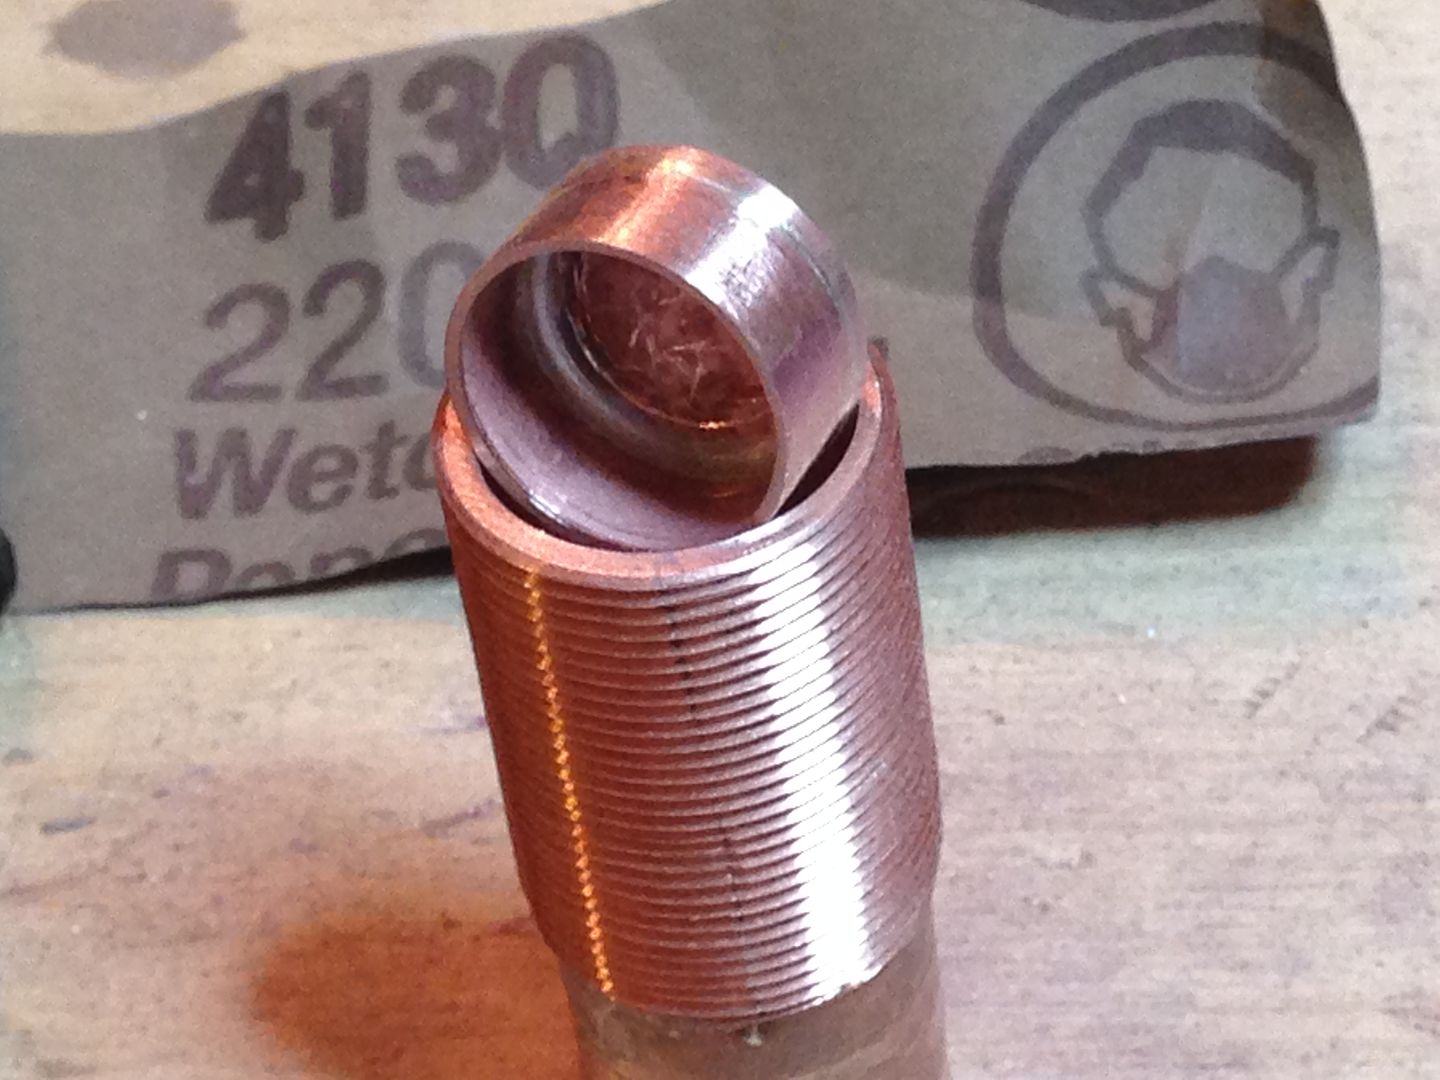 And here pressed into place so the sinkpad will sit just proud.
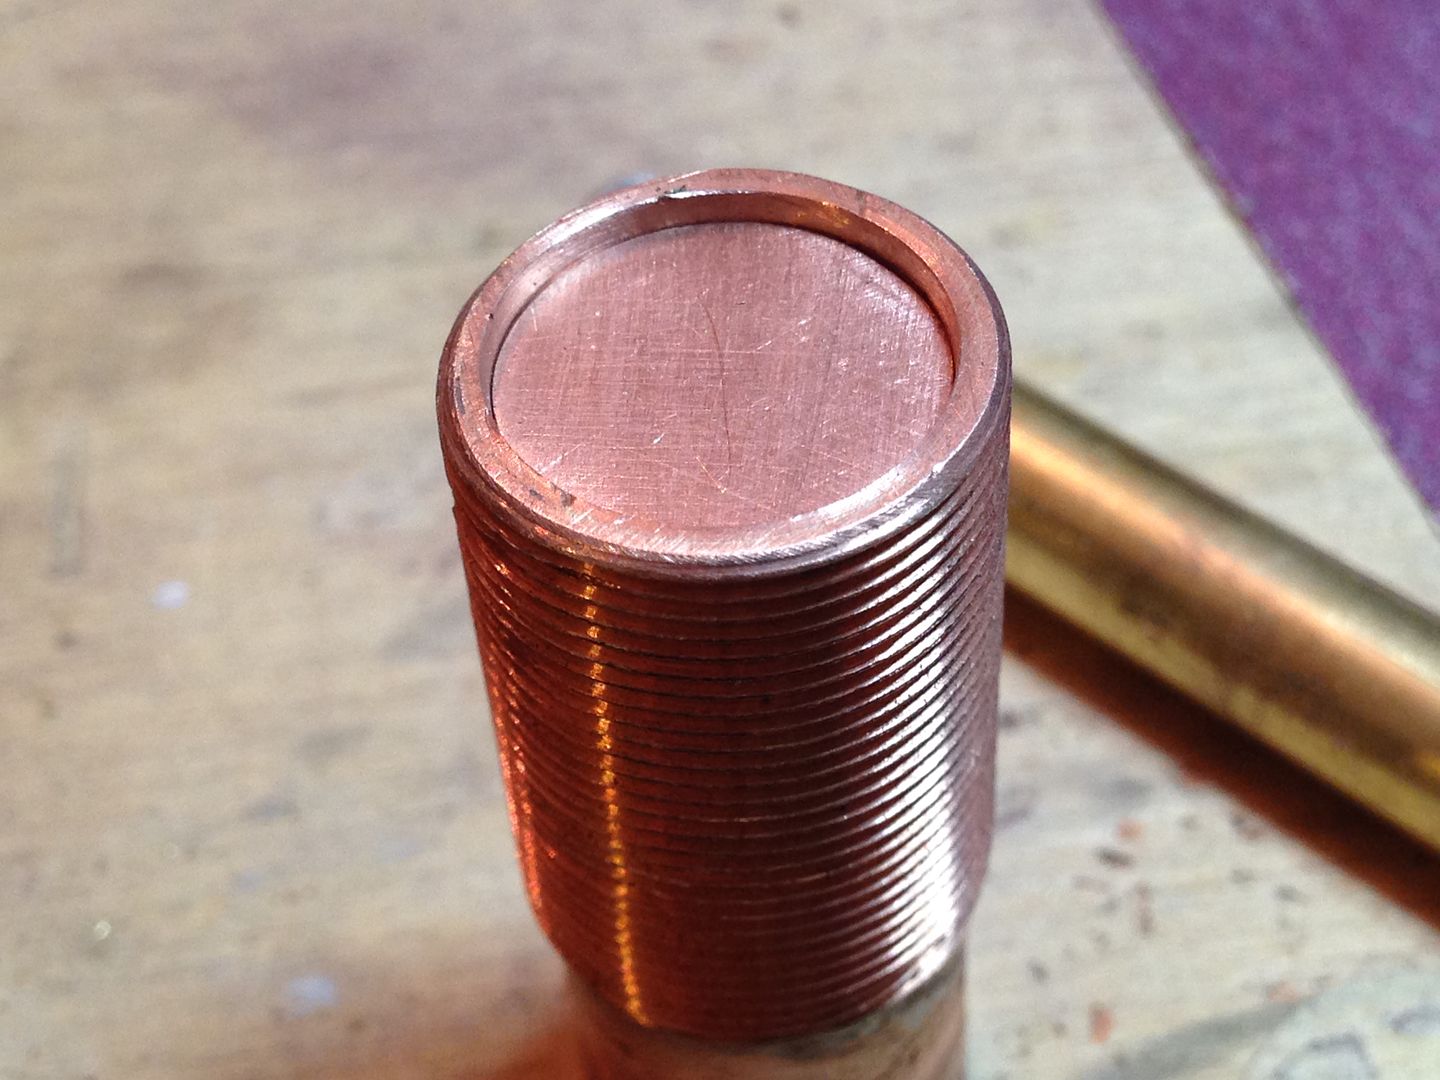
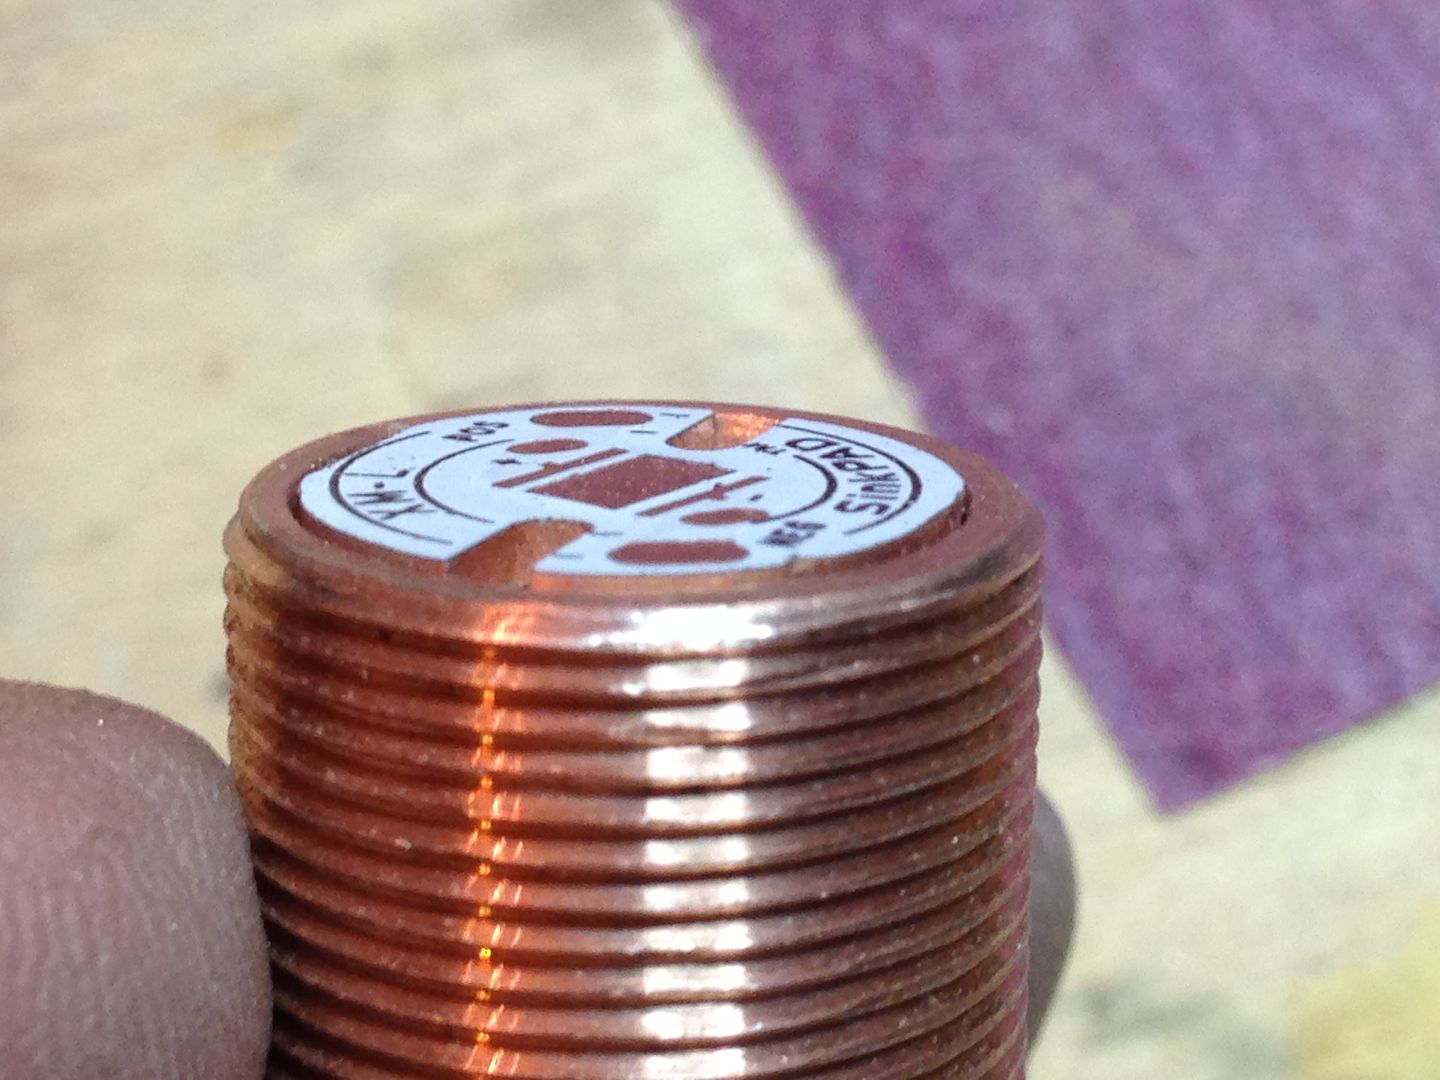 With the reflector screwed on it looks well centered. These sinkpads are stamped and need to be cleaned up.
 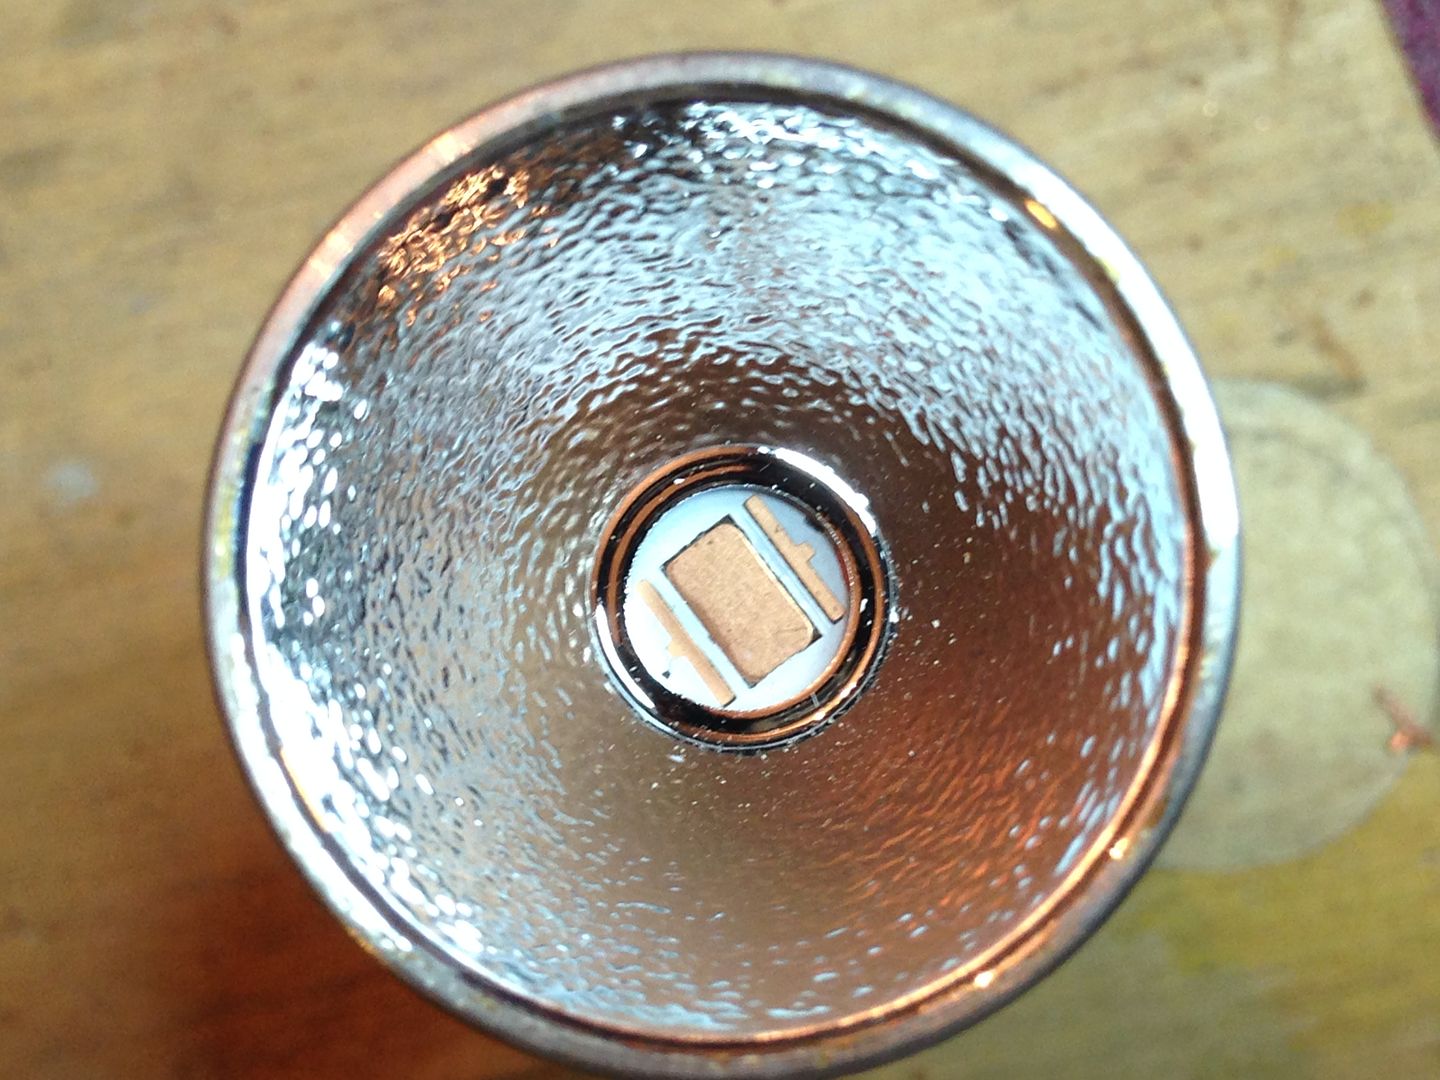 After that I switched back over to the fins. I added 3 more for a total of 10(pic taken before I added number 10).
  Pretty ugly after brazing, I made sure to heat the whole thing thoroughly but still had to flip it over and add more brazing wire from the other end.
  To remove the brazing flux I place the heated part in a hot bath of Fuze Clean which loses and dissolves the flux in seconds and works great on hard to reach spaces.
  Here it is again after about 3 hours spinning it against a file( I should have trimmed them more evenly and am now paying for that lazy ness).
  Still some flat spots so need to spin off another few mm in radius as well as finish reaming the inside so it fits over the female threaded section. Off to lullaby land now.
Here it is after another few hours of work. 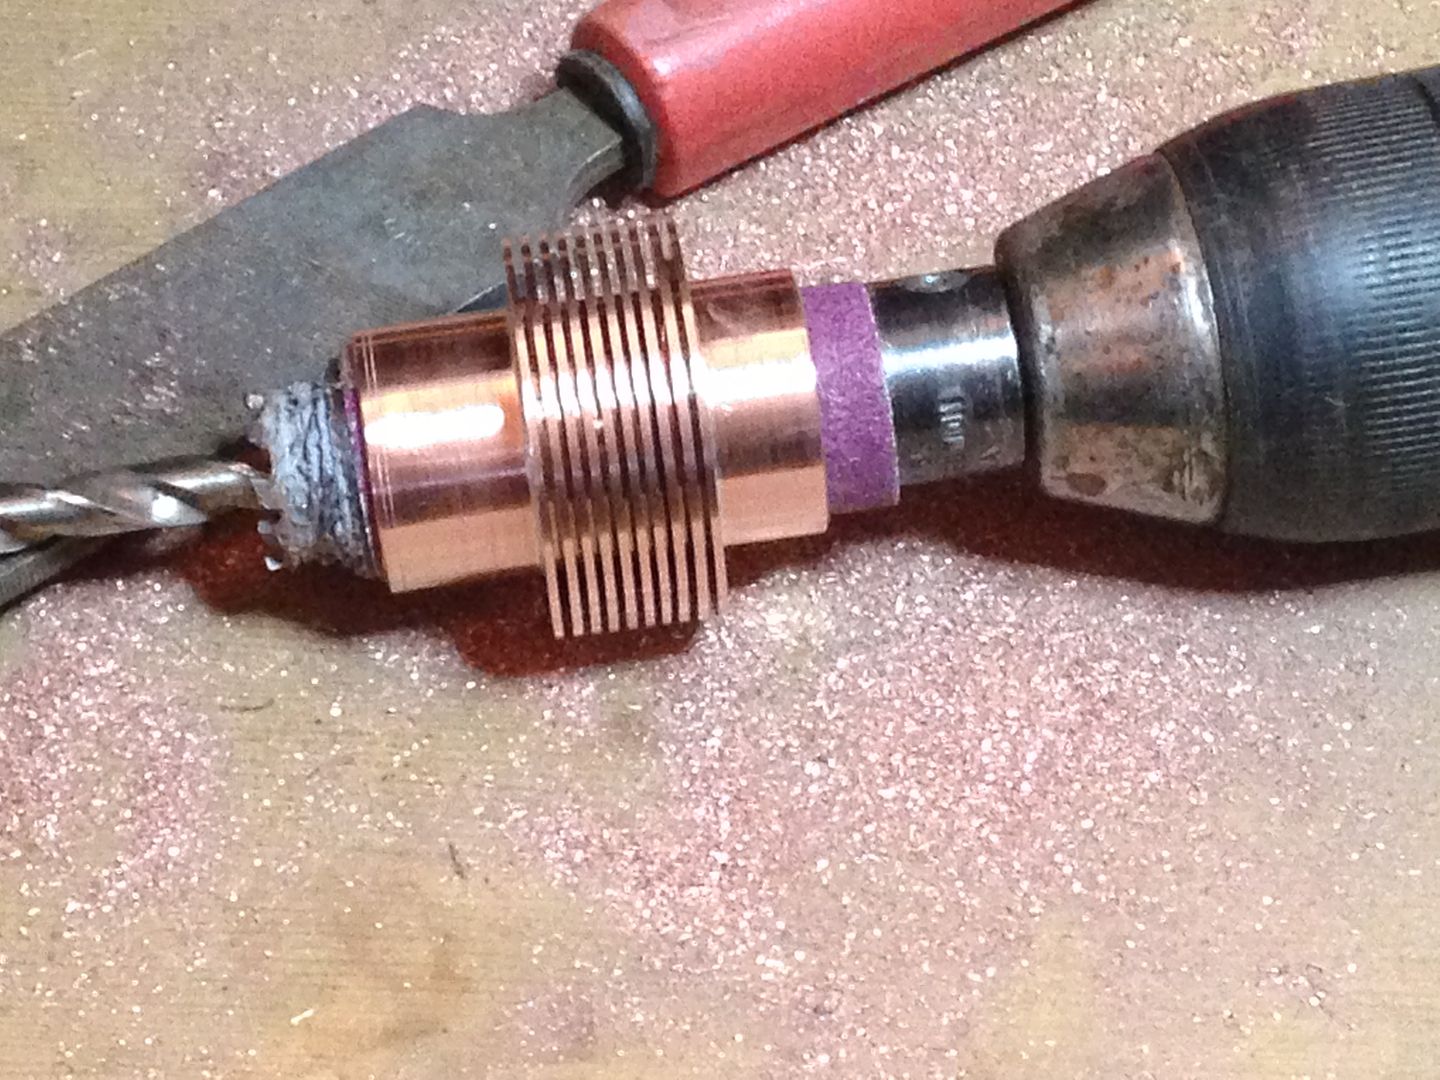 And here’s how it looks in the head.
 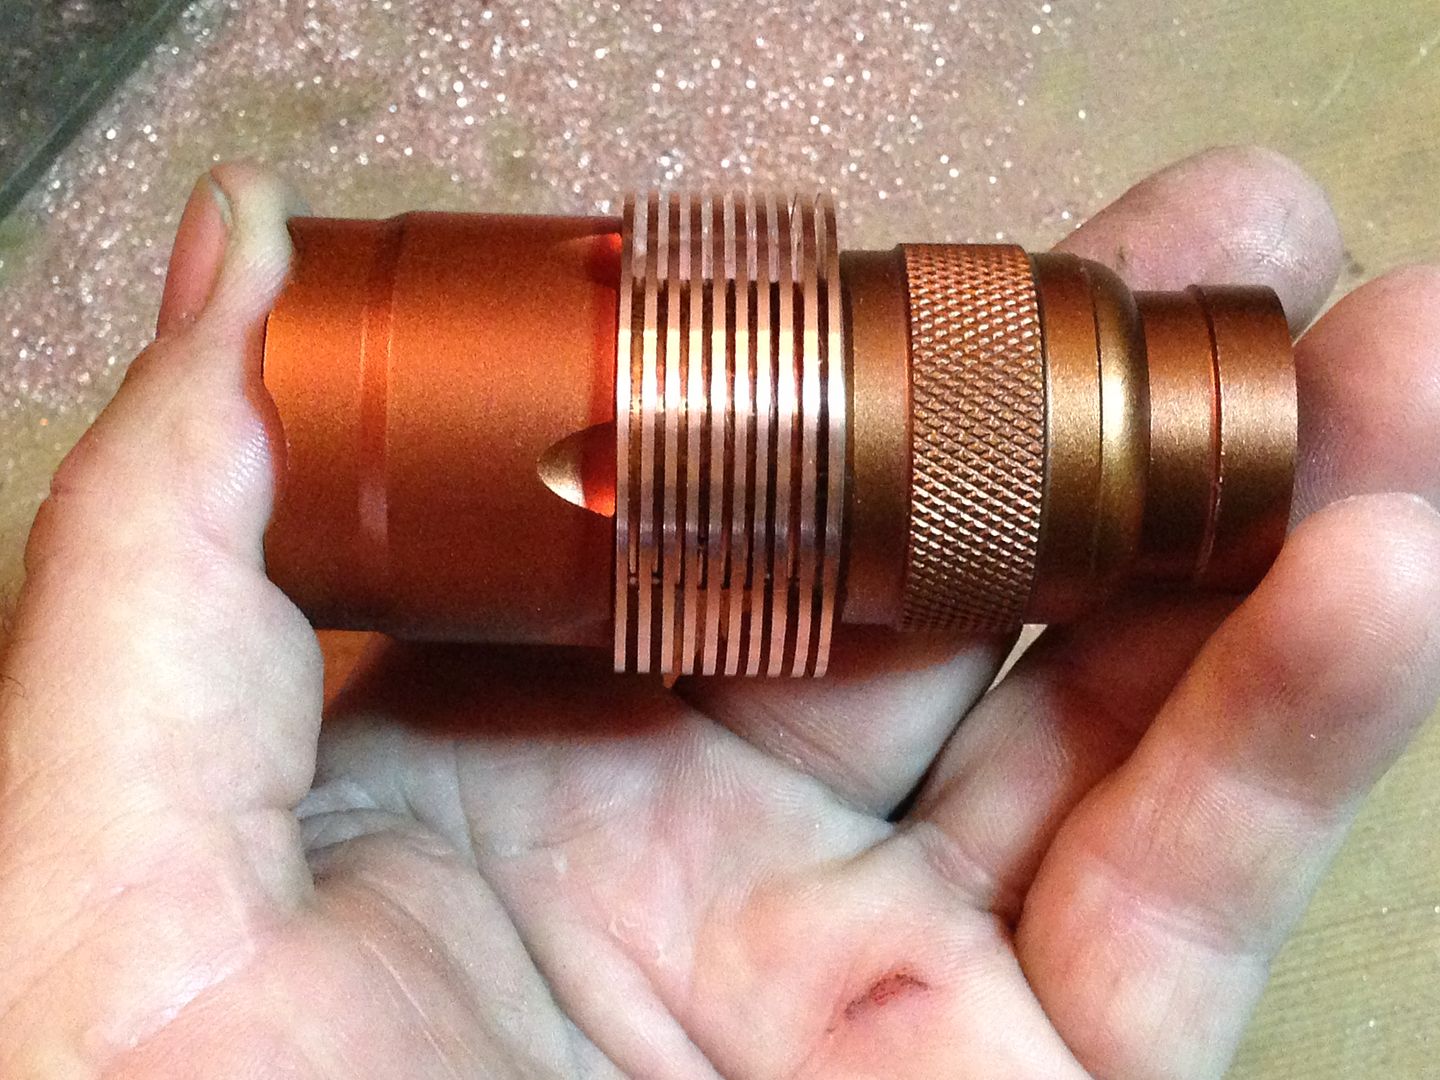 It gonna come down to the wire again.
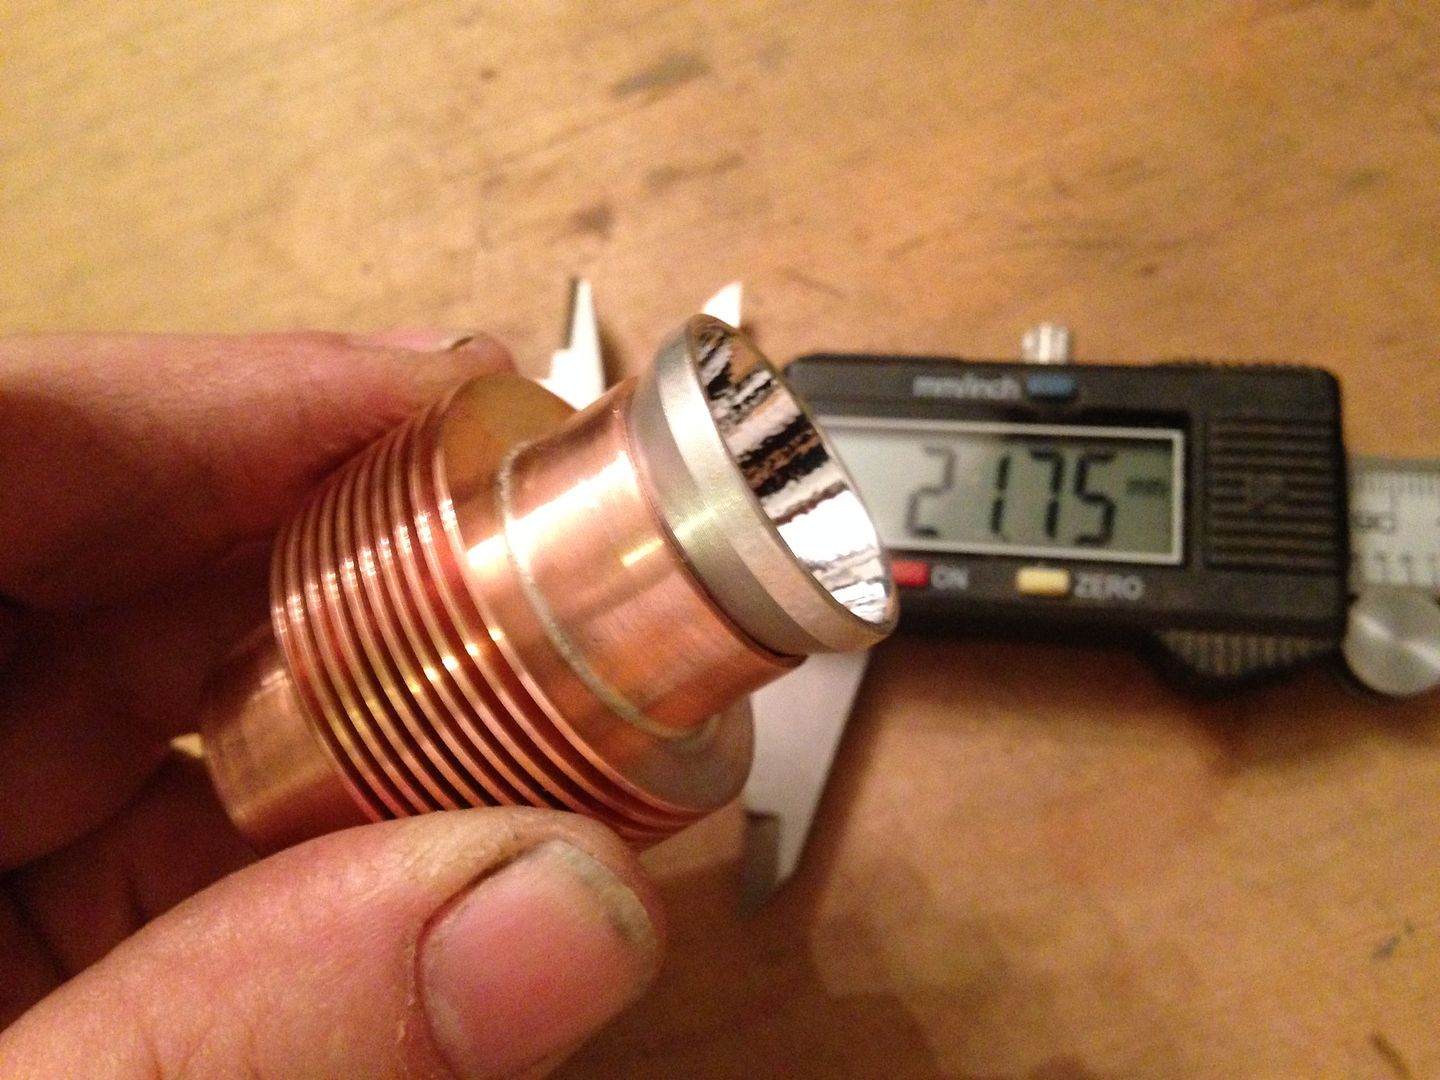 Since the outer copper piece is only 22.35mm ID that means the sleeve piece averages ~ .3mm or less in wall thickness.
 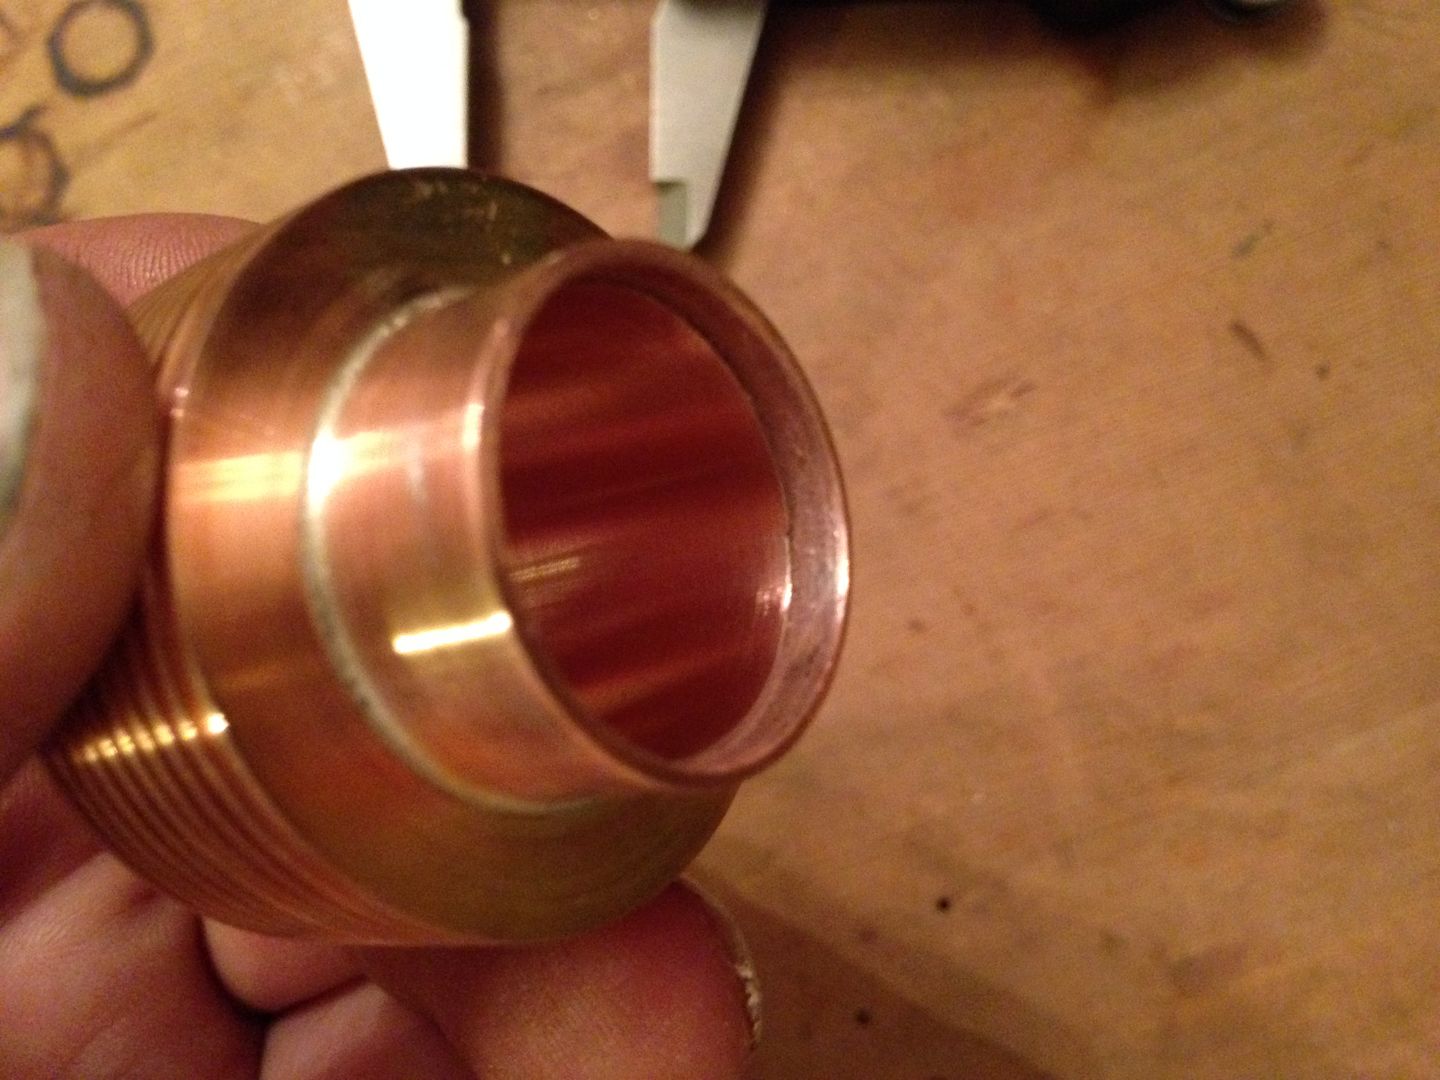 Not sure how well this will track but the threaded piece that needs to slip into the fins is 3/4”copper pipe with an OD of 22.32mm so I mounted it on a 5/8” drill bit wrapped with tape and spent a few hours removing .6mm from the diameter.
 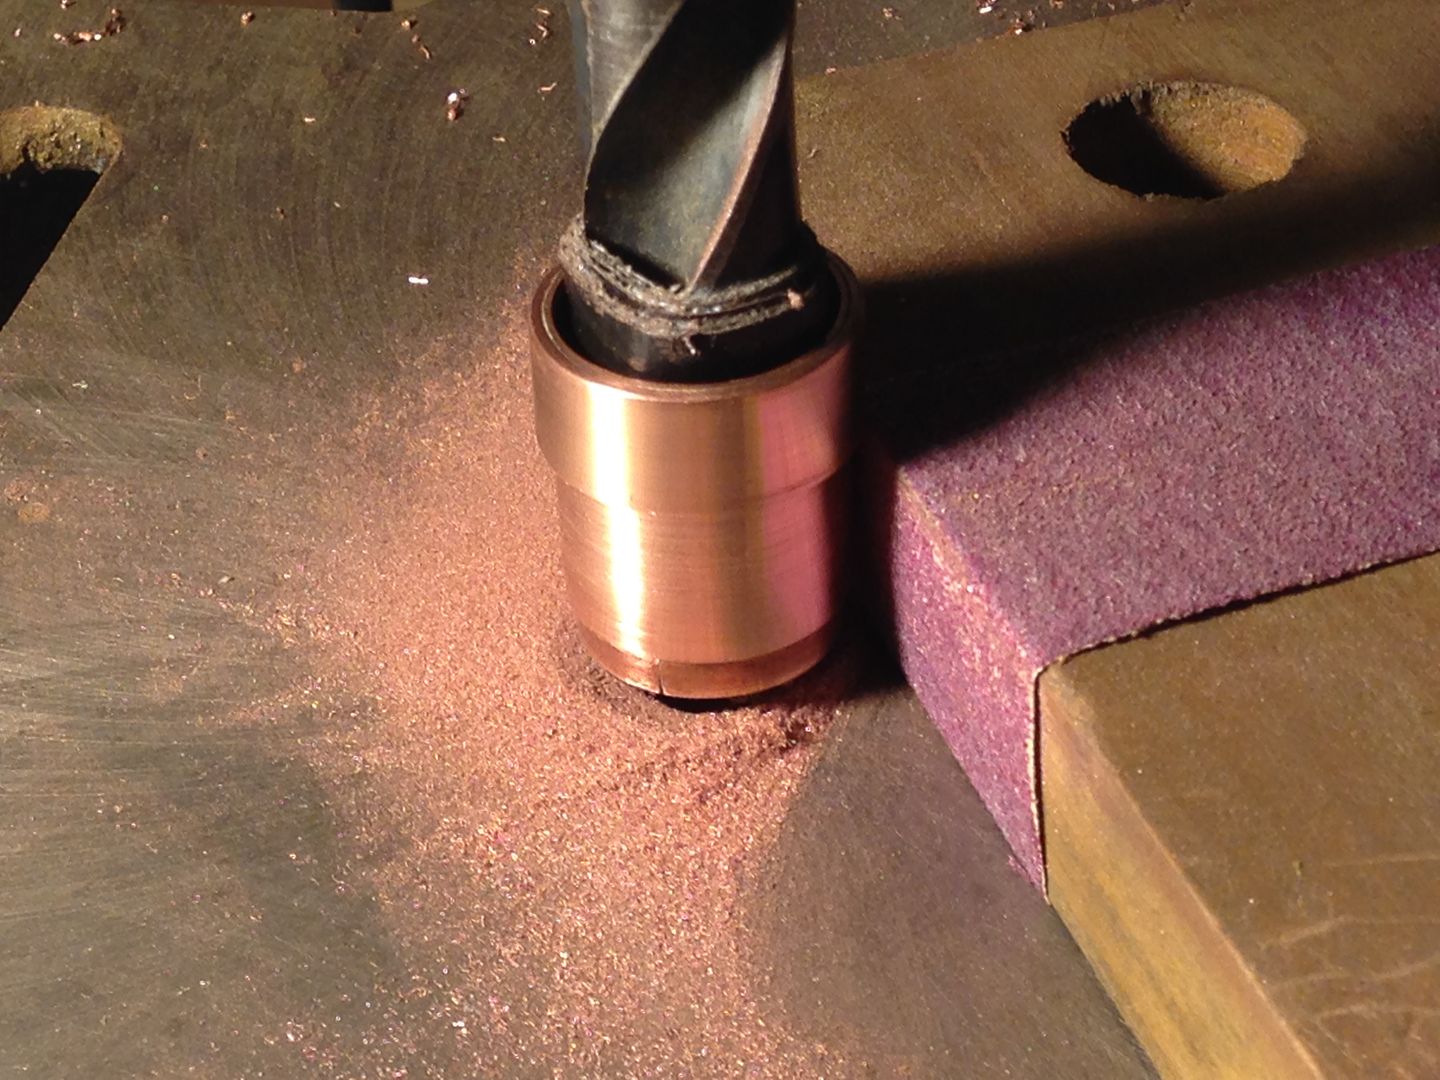 Yay it finally fits!
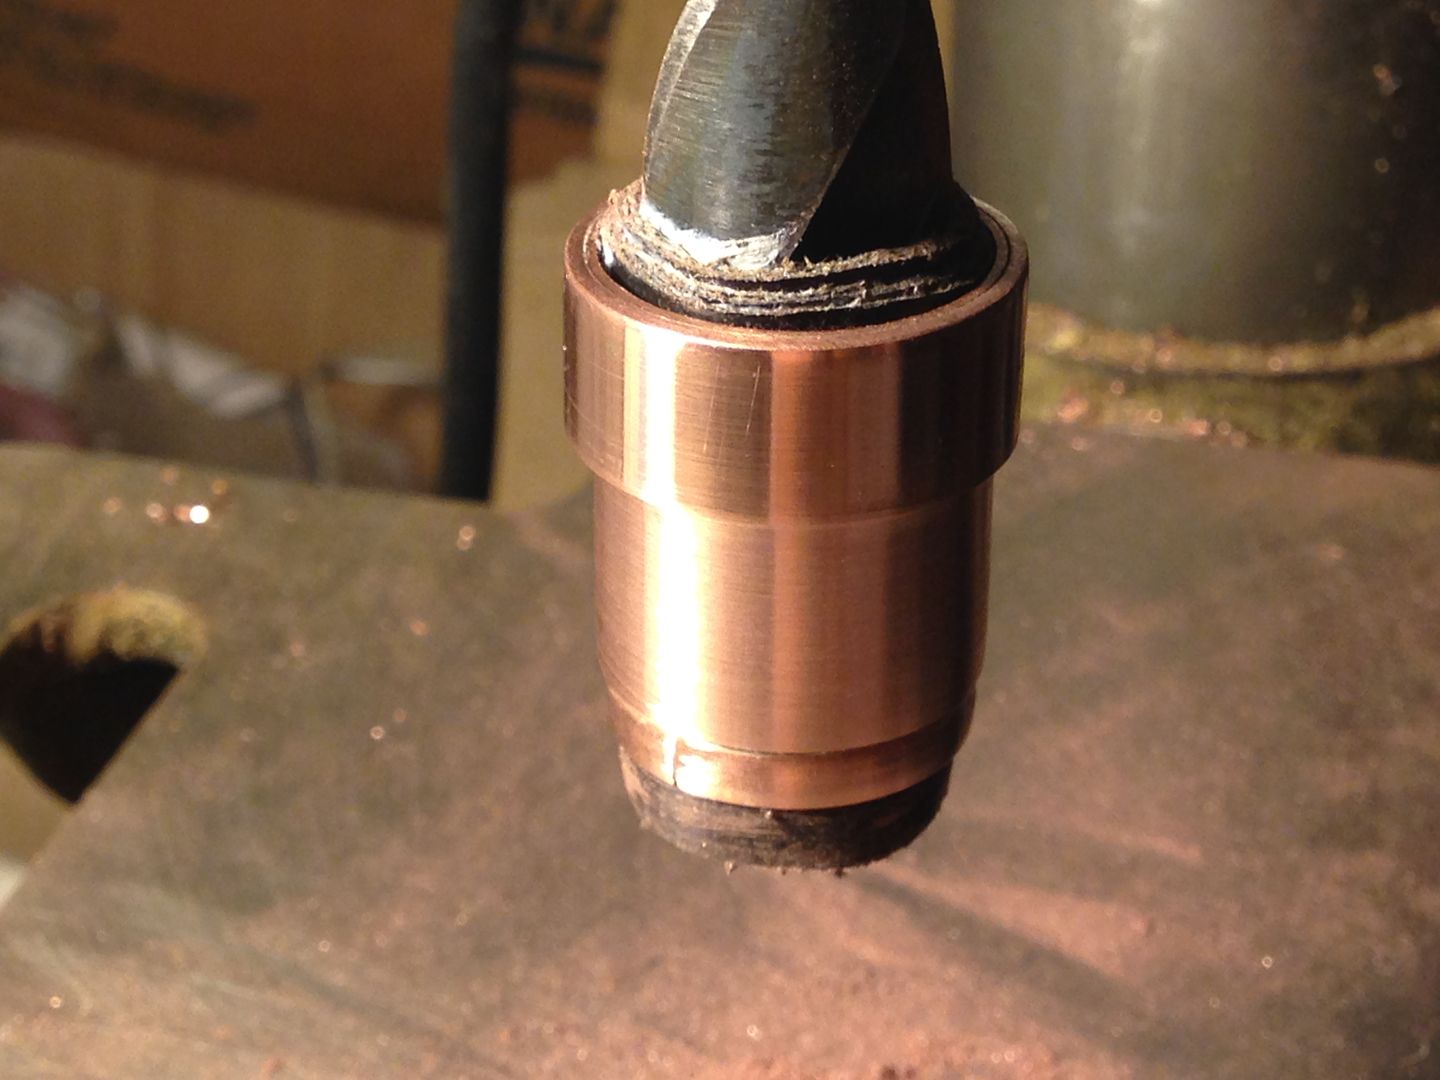
 One end of the fin section needs to get cut off. It was only there to act as a sandwich for the fins.
 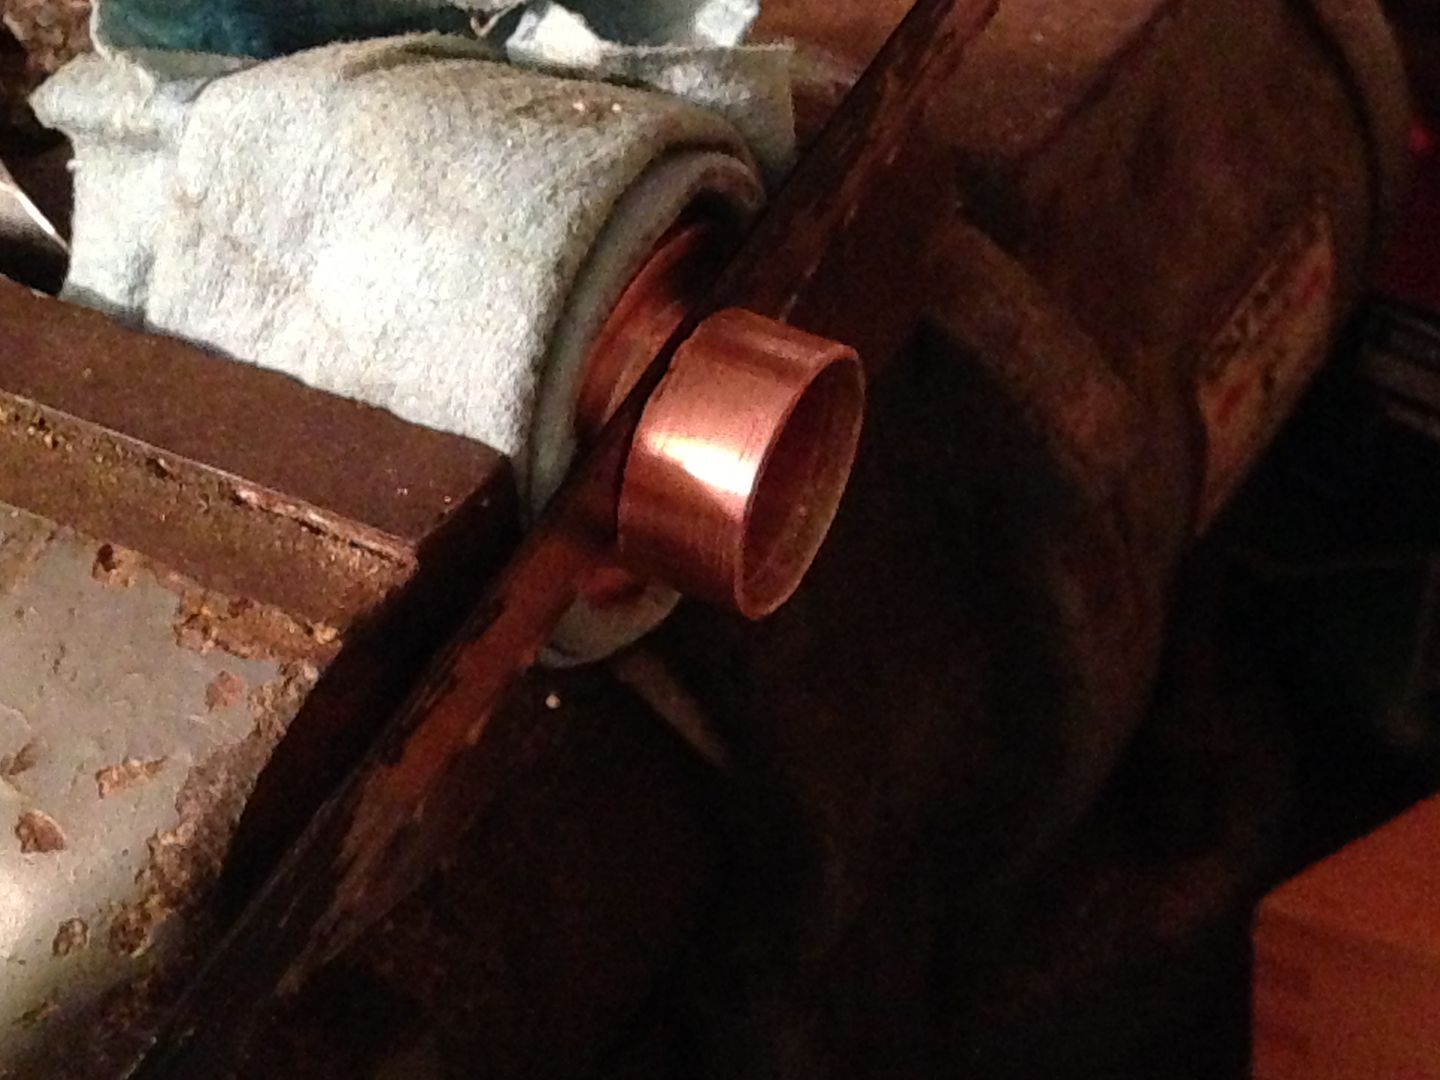 After cutting I ground most of the remaining excess off and sanded the rest flush.
  Now the fins have threads.
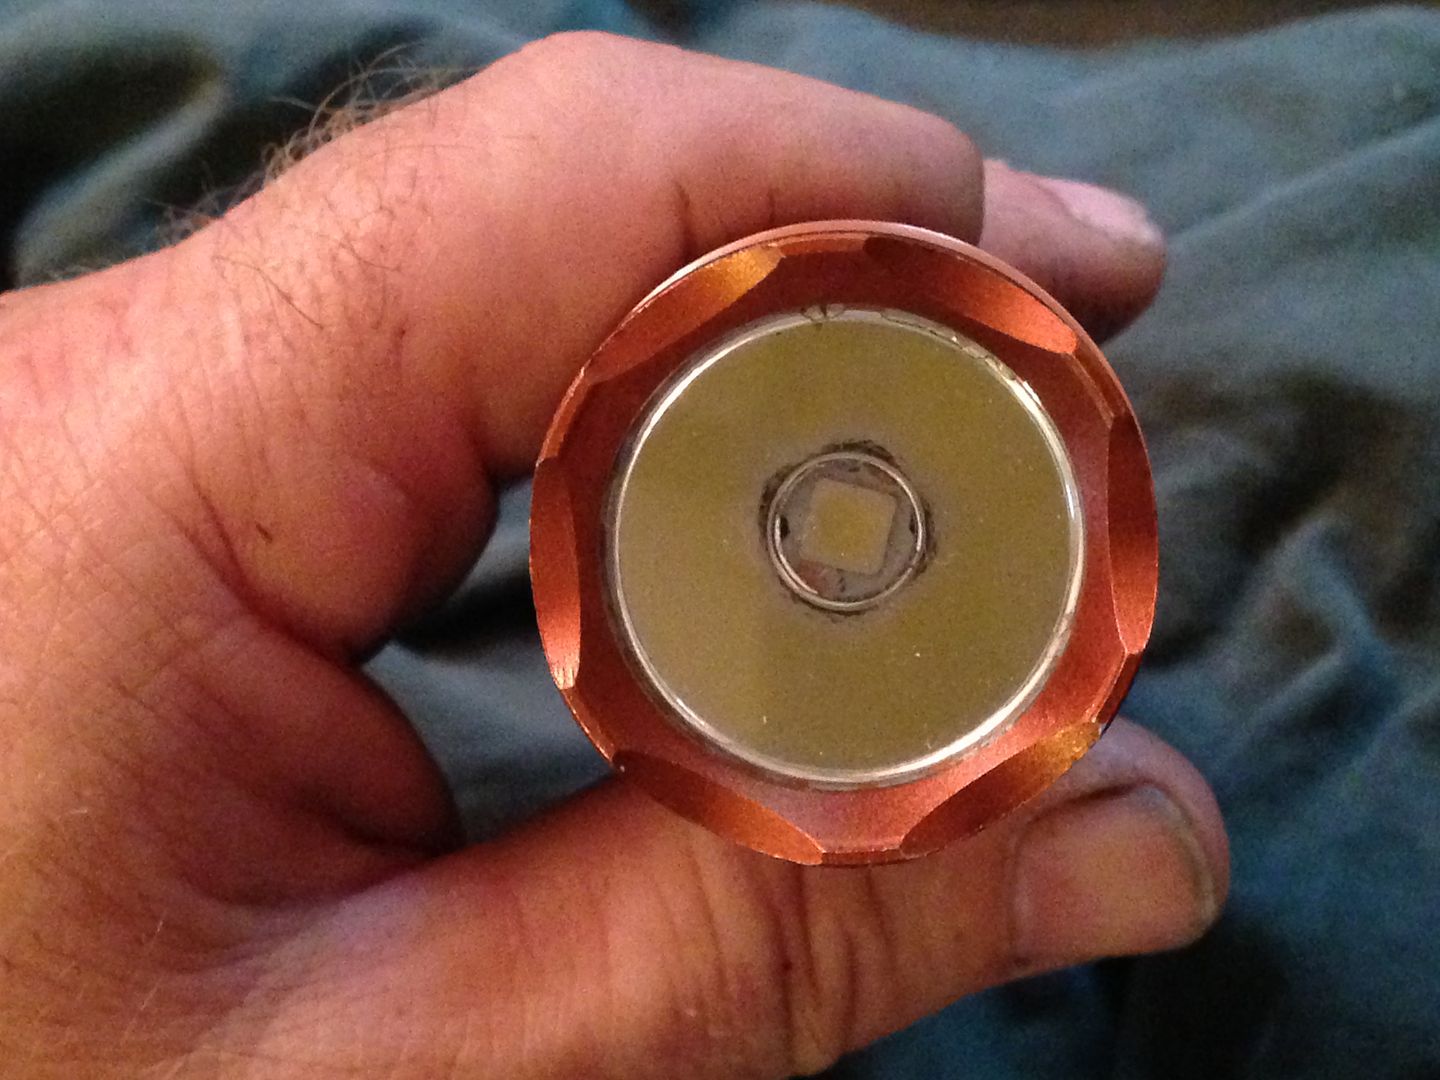
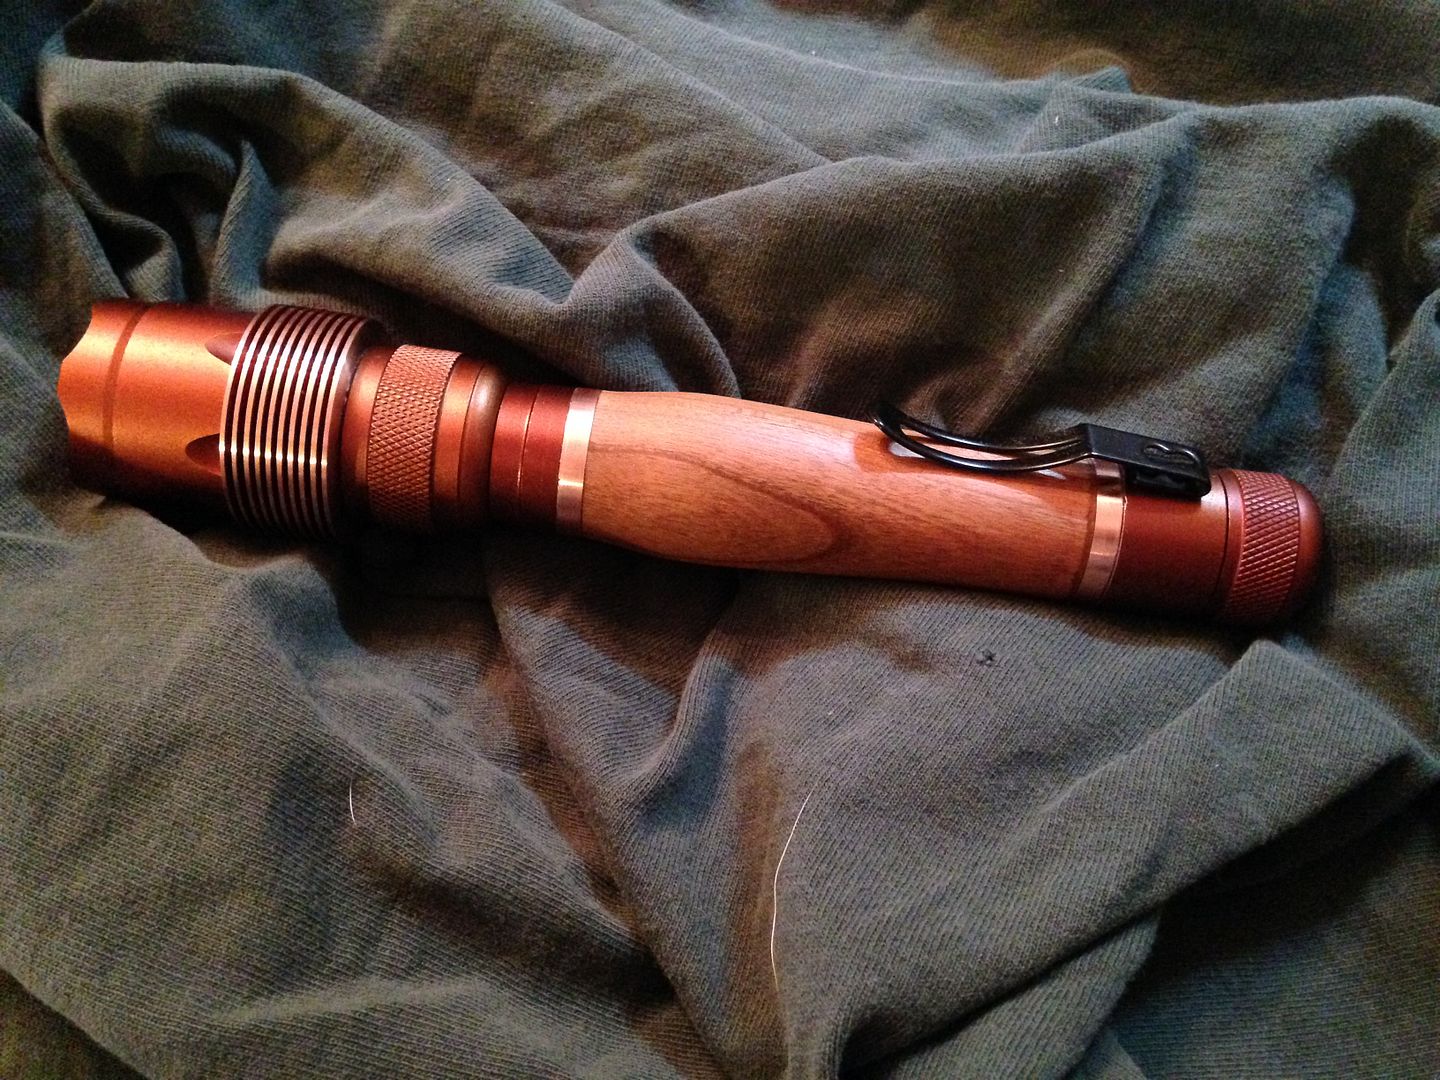
 I’ll leave you with a teaser. Still much to do before it can make whoopee light but it looks pretty sexy already.
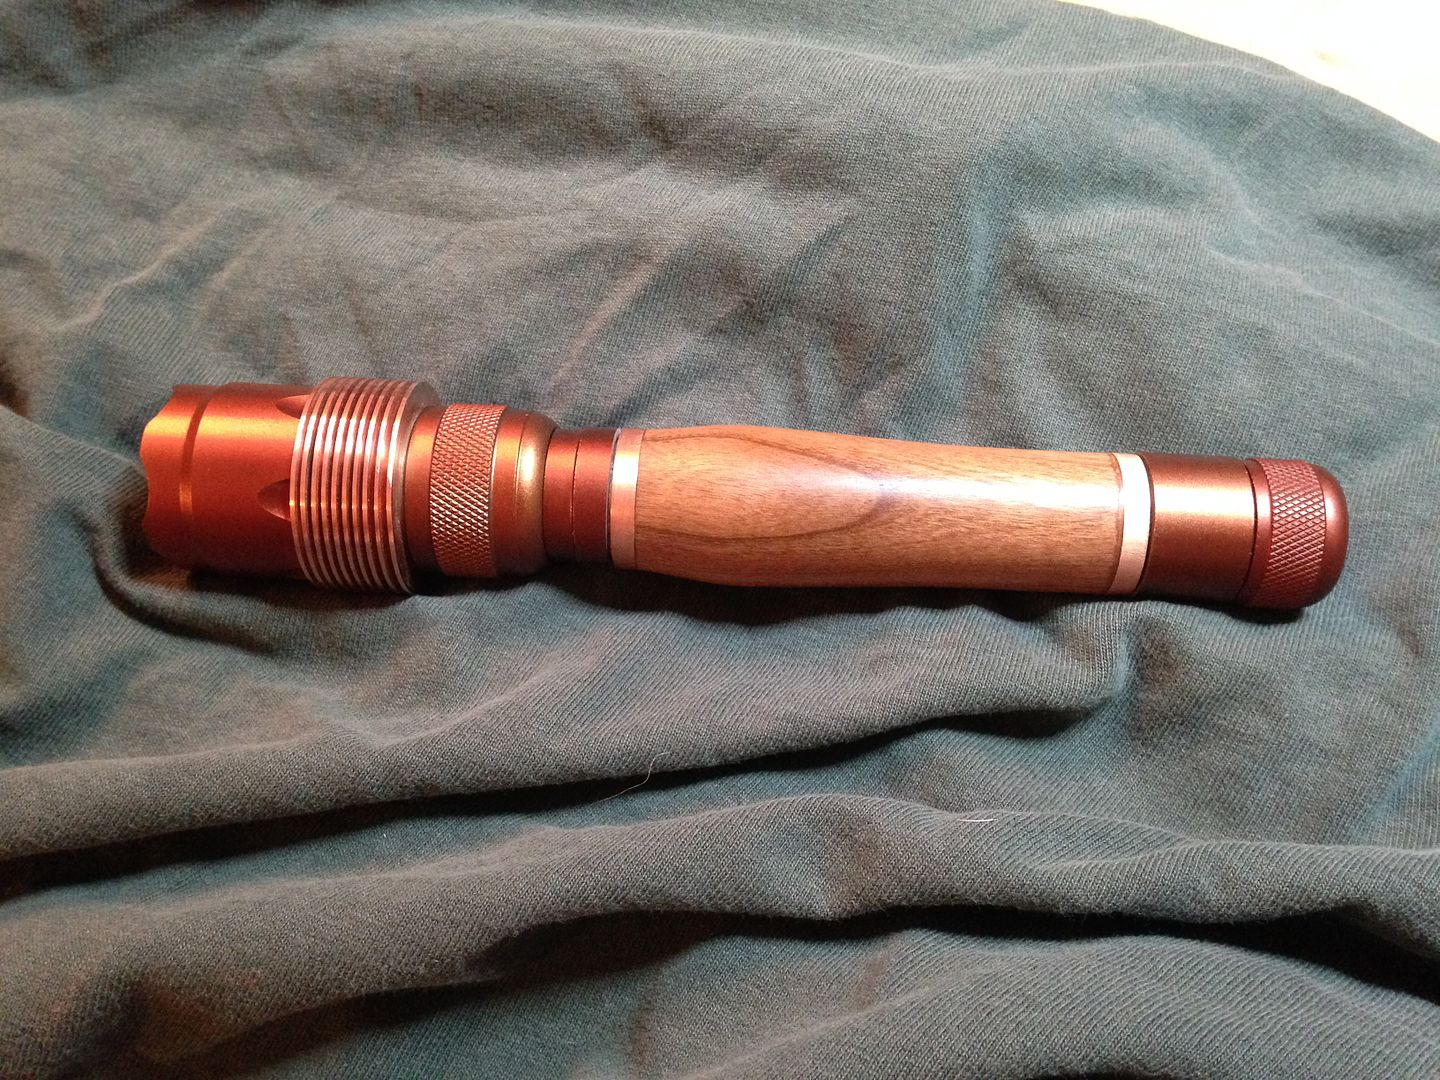
 Spent too much time figuring the length of the pill or might have had it soldered up as well.
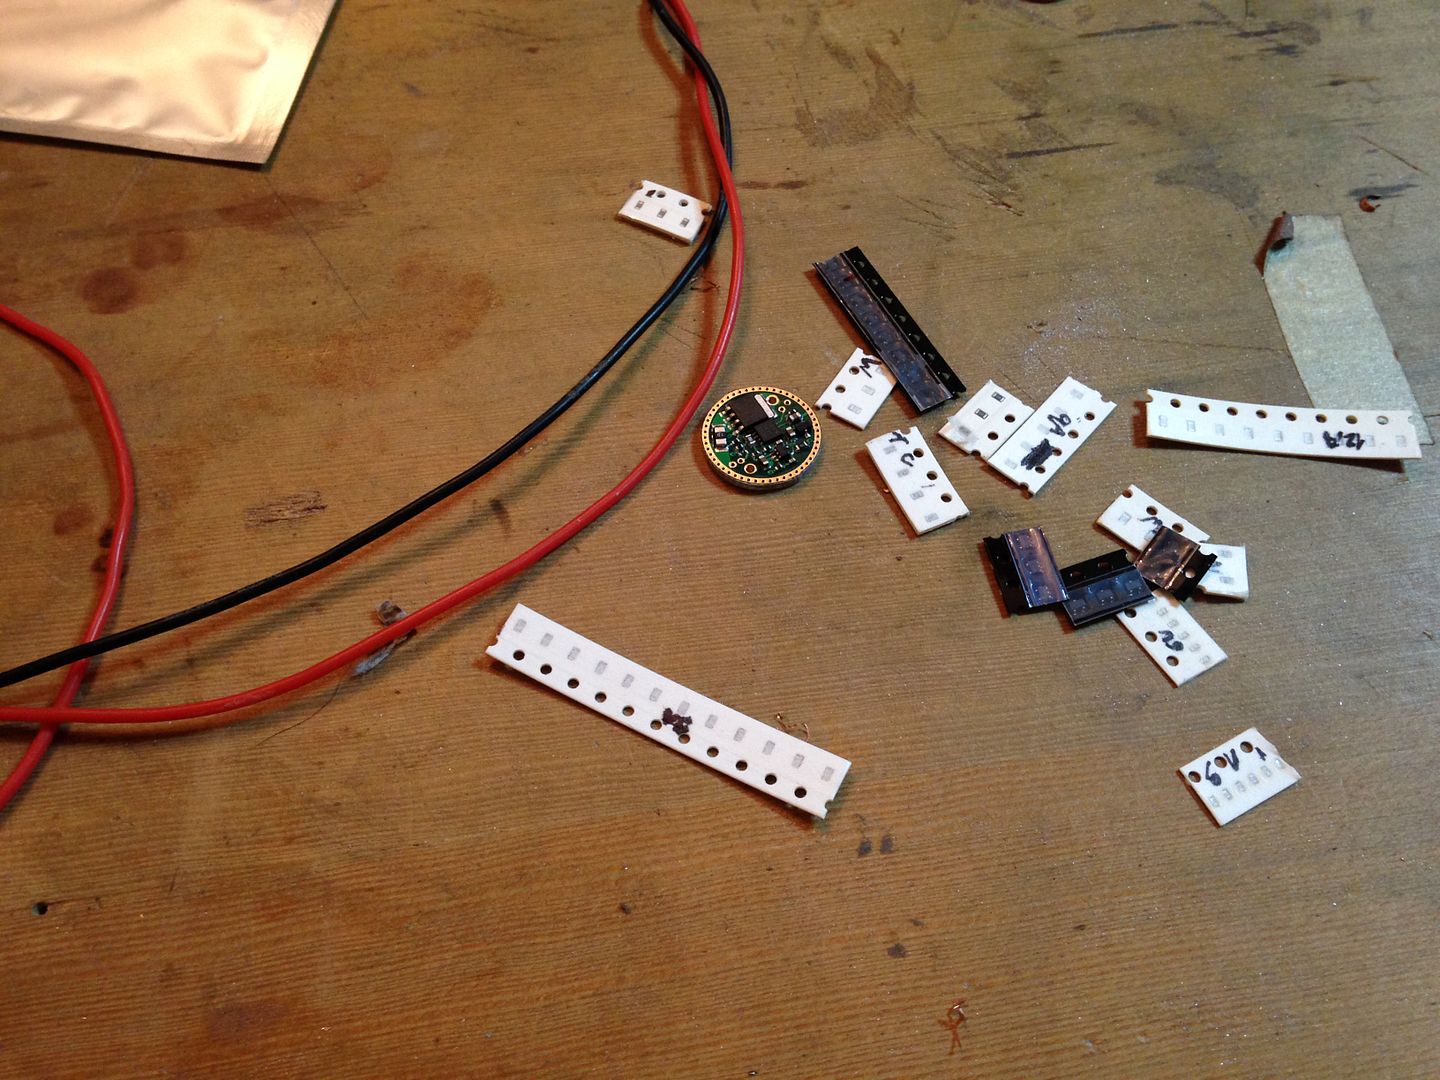


 ), I could play around with a couple P60 hosts I have lying around and we can do a little "mano a mano" ourselves, just for fun. Whatchathink?