Ive had this build in the back of my mind for awhile now. Having bought my father an A8 and liking the size I decided to make one. This caused a bit of grief as when the machining was finished and the alloy was all polished up the tailcap picked up on the battery tube. DIY is not always happy time.
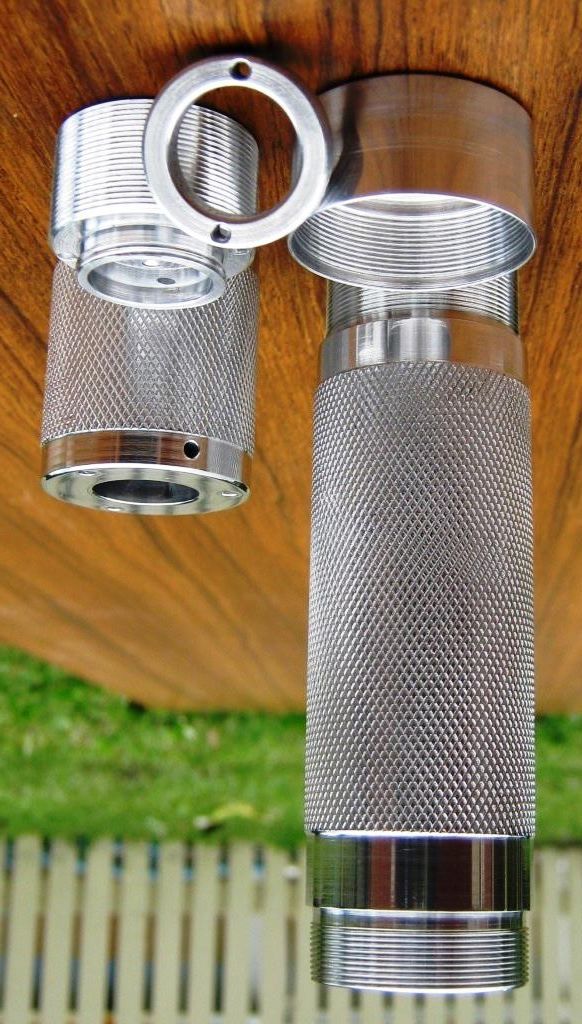
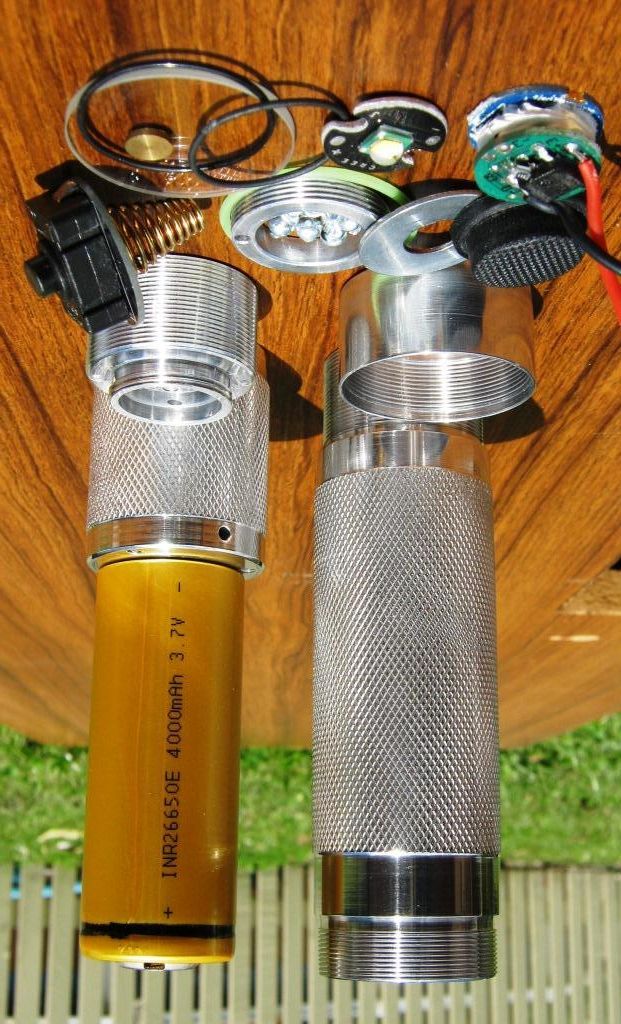
The first picture is the machined parts and the second is all the components used in the build. The driver is the IOS 4 amp 2 trillion mode I need a GPS to show me how to operate it driver. On a King Kong 26650 it pulls 3.66 amps on high. LED is supposed to be an XM-L U3 in 1C tint. The lens is an AR 29mm lens. Reflector at the moment is of a Uniquefire xml setup. Its all I had left with more on order.
When I used a P60 reflector in a previous build I machined it to suit the application. Not wanting to do that this time I machined the pill so that it had the same measurements as the standard pill so that reflectors could be screwed on and off. Aluminium instead off copper was used to keep the weight down as it measures 20mm in length and 27mm OD.
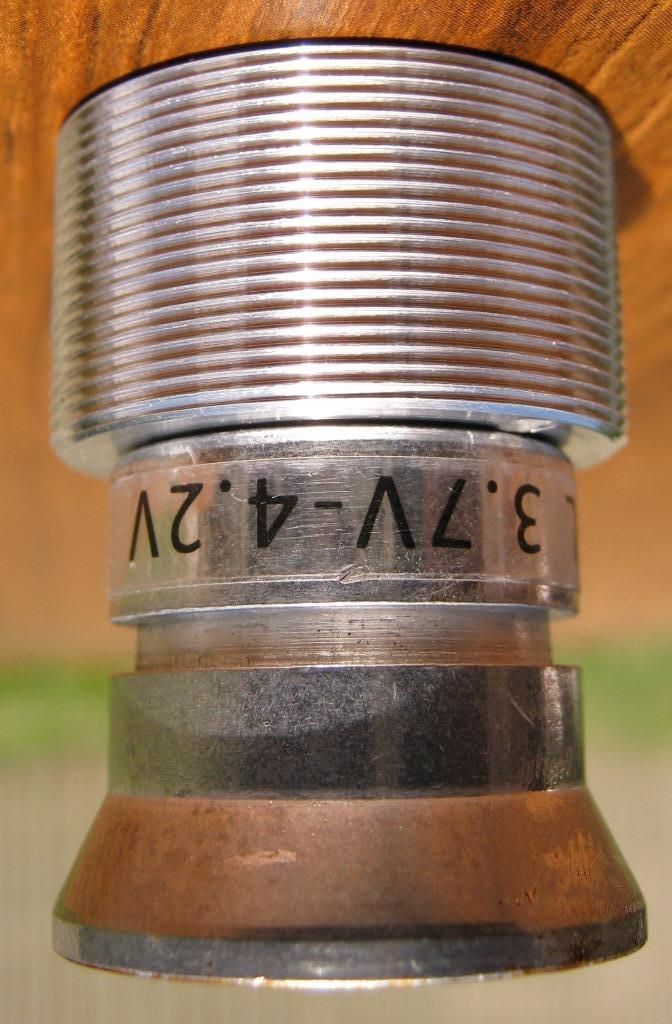
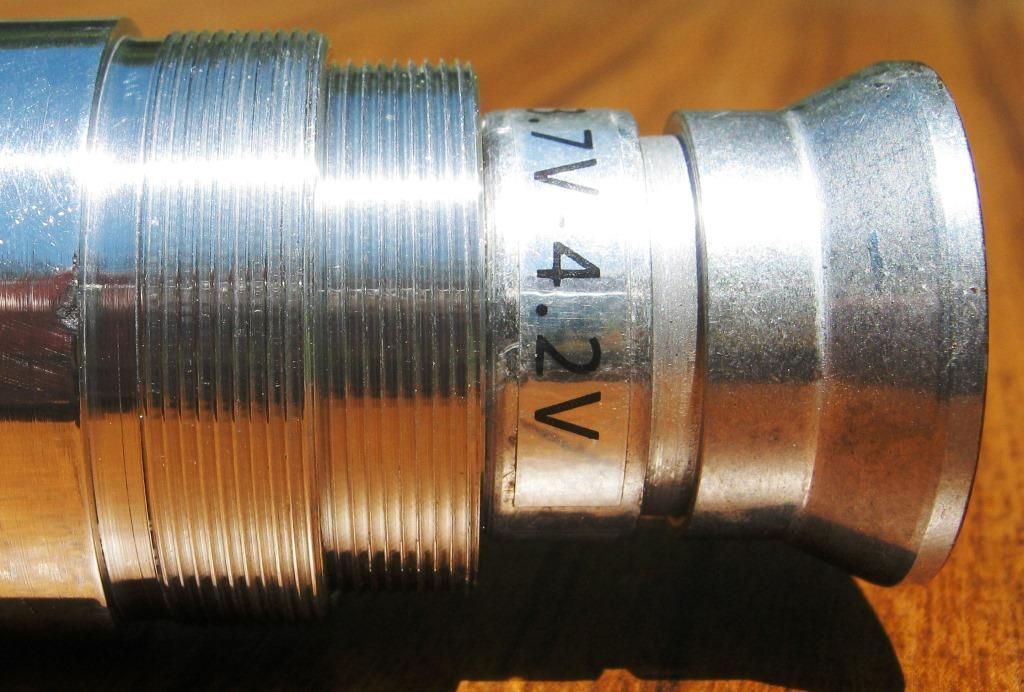
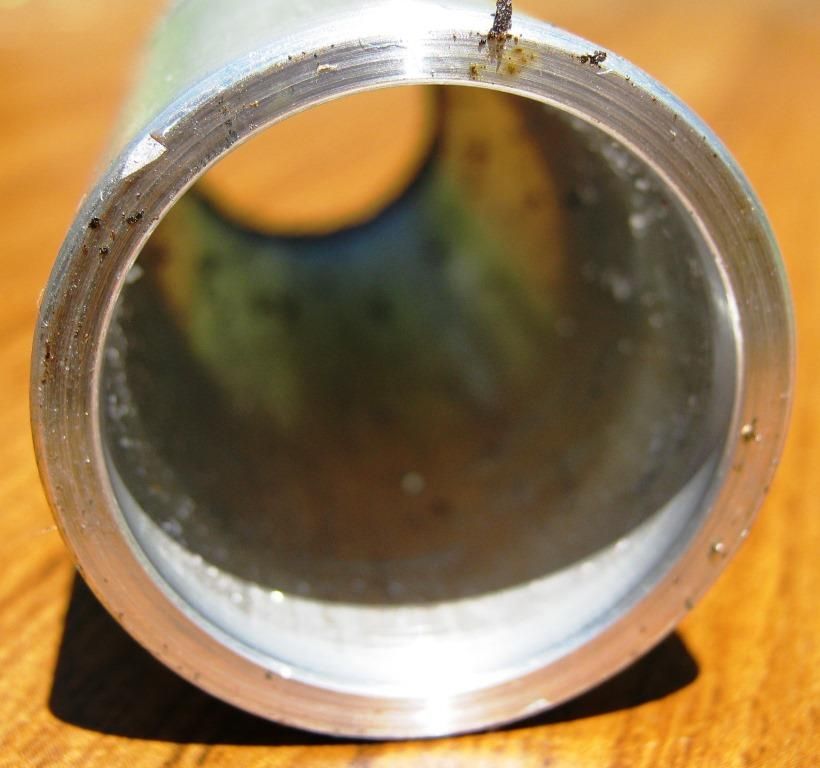
The driver screws into the battery tube with the reflector attached The tube is very thin where the threads are as I will explain later. Heat transferred from the pill to battery tube is nearly instantaneous on high.
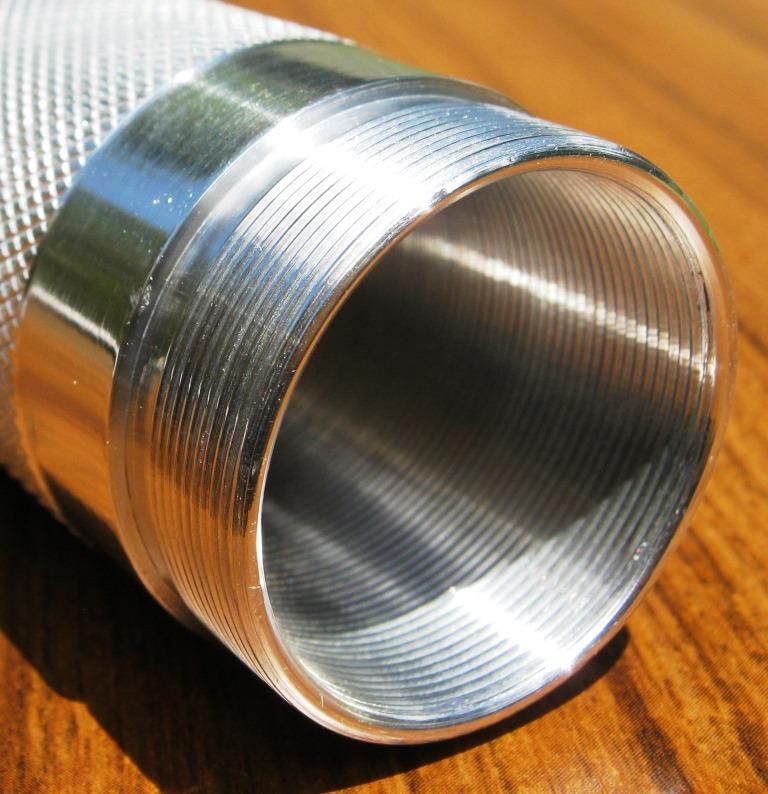
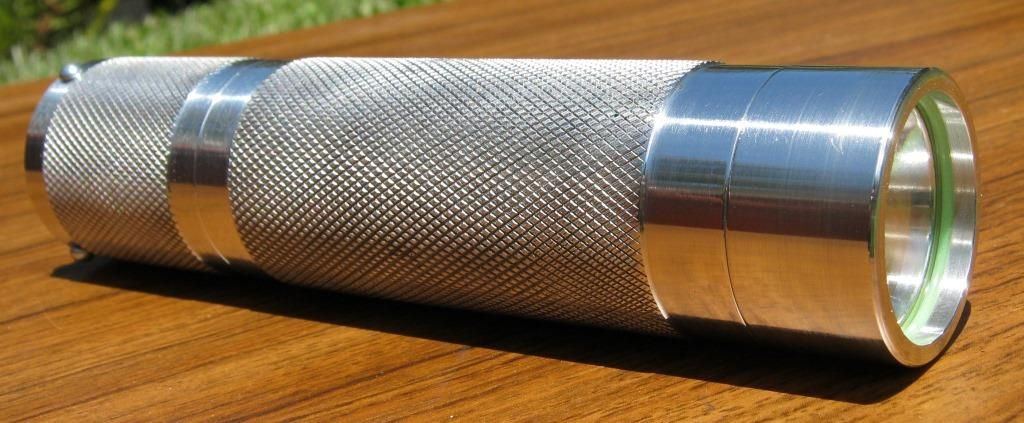
The dimensions of this light was determined by the tube used. It measures 32mm OD and 26mm ID. The inside is machined out to 26.5 mm to suit the battery and that determines the thread size for the pill. The thread for the lens retainer is a machined with what little thickness that is left. The OD is not machined at all and the knurling is machined into the untouched finish of the tube. This is why the knurling looks a little rough in places and my poor little lathe hates the knurling tool because of the force required to use it. The A8 measures 147mm x 35mm. This light measures 137mm x 32mm.
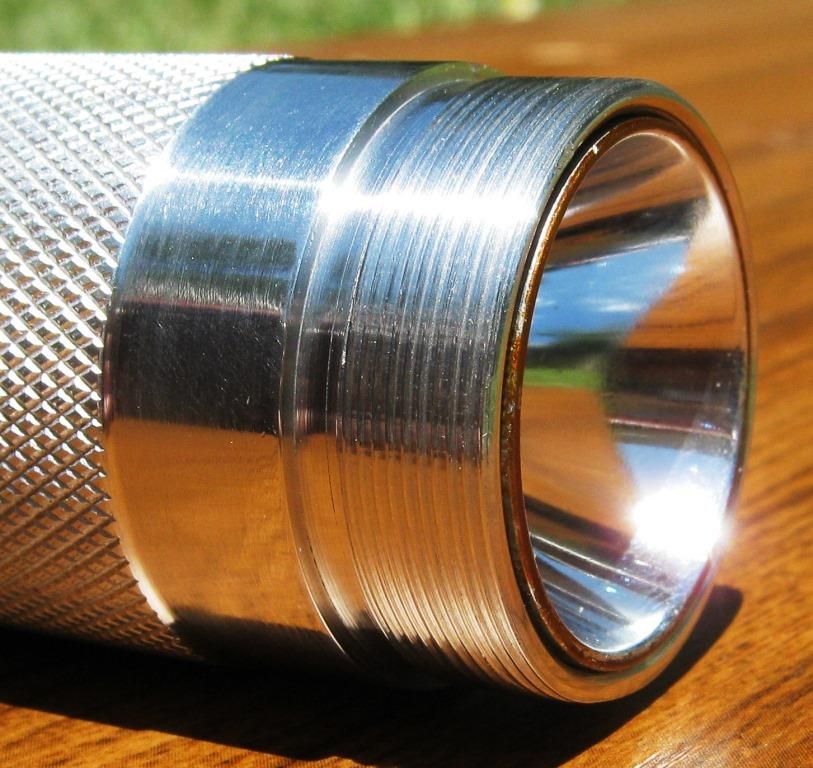
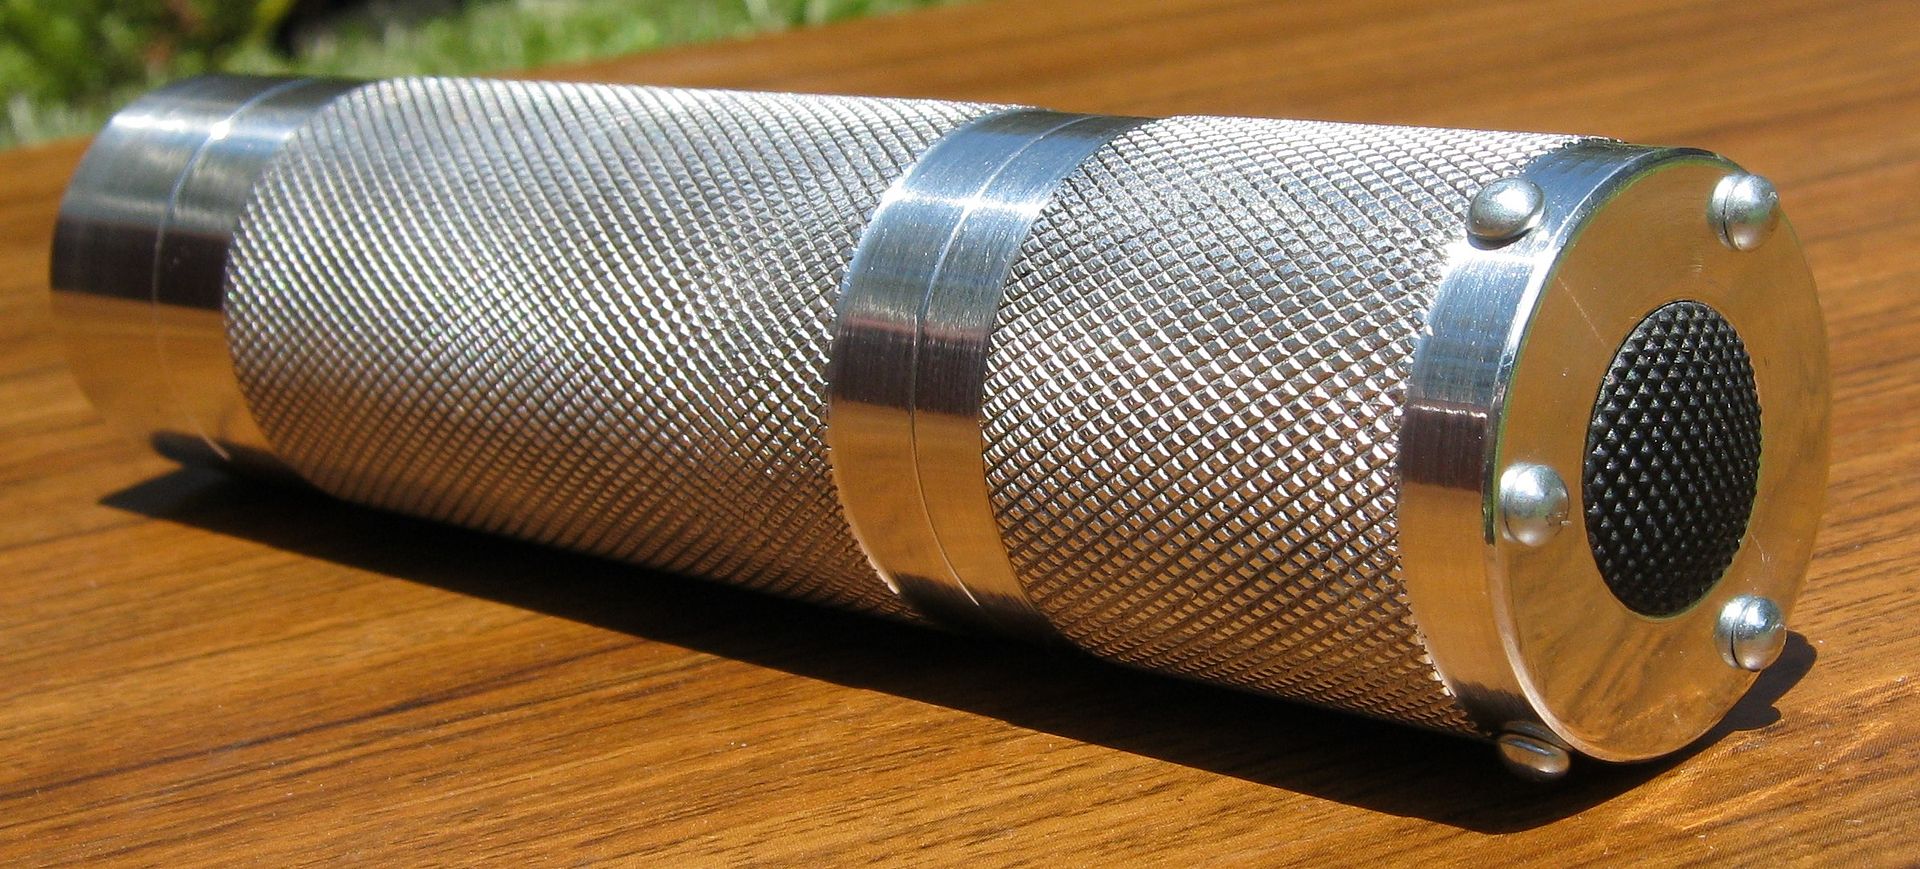
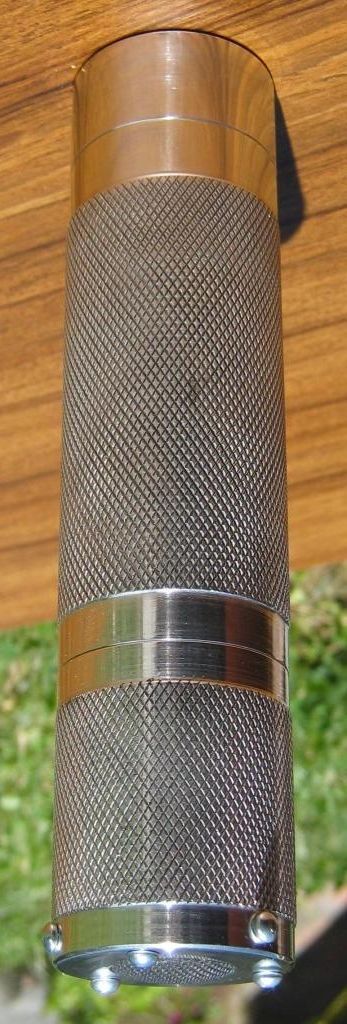
The finished light. Its not real obvious but I painted the knurling black and before it dried wiped it of the top leaving the black in the crevices.
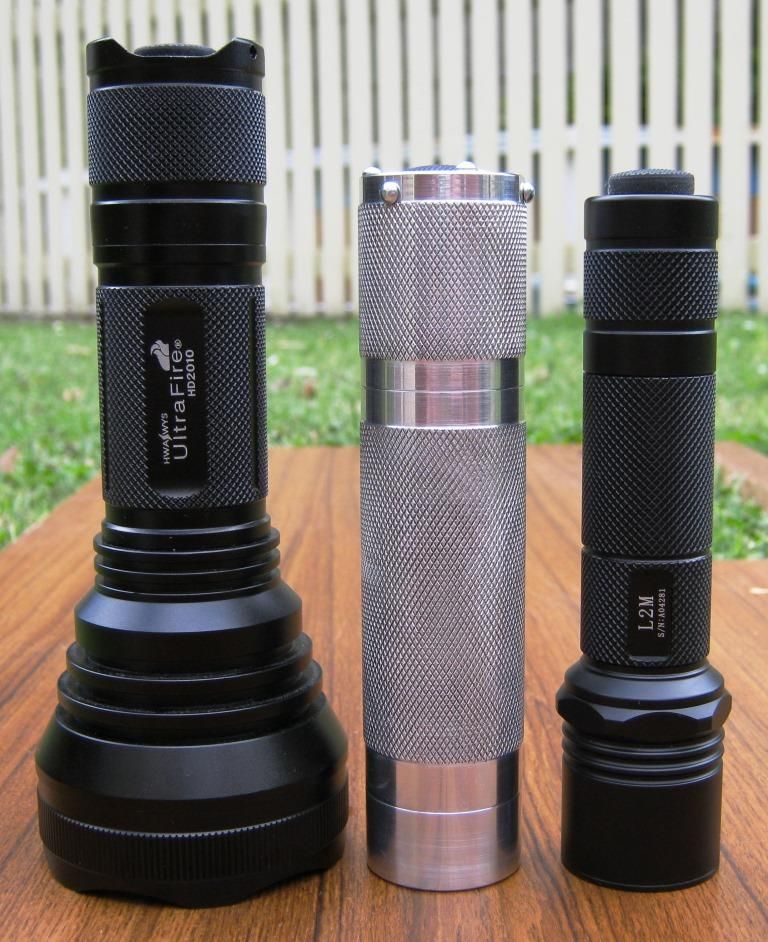
The three lights left to right. HD-2010, this light, Solarforce L2M.
Thanks for reading. I will update with night shots some time in the future.
I have the exact same emitter/driver in my m10. It’s worth a little playing as its brilliant. My son (two year old) has started playing with it and the worst he could do was reset it to three mode. You also seem to get the exact same reading on high with a king kong as me.
Nice job, glad you finished this light off, it looks ace.
I've had the driver for awhile and never got around to using it. Then there is a thread going on about it that I have been following with interest. If you've got an easy way to control it let me know.
It’s really a case of sitting down with eebowlers post and the light in front of you and playing about, you soon get the timing and it was almost second nature for me very quickly.
I like the drivers so much, I’ve ordered a couple more to replace the two going into give away lights. I’m also thinking of getting a thrower host and letting this thing have at it. 8)
Nice light! Knurling is a PITA, but, the results are worth it. Sorry to hear about the first tail cap. I’ve done that myself: cutting the smaller of two stuck parts off on the lathe to save the larger part. Cut the threads just one thousandths more and you could have avoided that. I’ve also successfully unthreaded stuck threads by soaking the joint in a light oil and working the parts until they separate. When they do I take my threading cutters to the threads by hand to clear out any debris from the threads and really clean them out before trying again. A light coating of oil before threading the parts together helps, too.
I don’t know why, but, half of your pictures almost always show up on my iPad upside-down.
Dizzy. All but last pic are upside down. Really nice work. Glad you saw it through.hows the heat management? If problematic, could you do a finned sleeve that fits the smoothe section? Sorry, it’s only jealousy that makes me say that.
I was going to suggest to turn the ipad upside down, not knowing anything about them, but the page would probably do a 180. If that's the case are you any good at standing on your head? Seriously though I don't know. I'm using W8 and nothing seems to work properly in that so just putting up with it. A fix's will come along eventually.