Well I liked the look of the Jax Z1 when I first saw it released. At the time I had just bought the UF-1405 and after modding that it wasn’t really what I wanted. So I sold that light on here and purchased the Jax Z1 from Banggood.
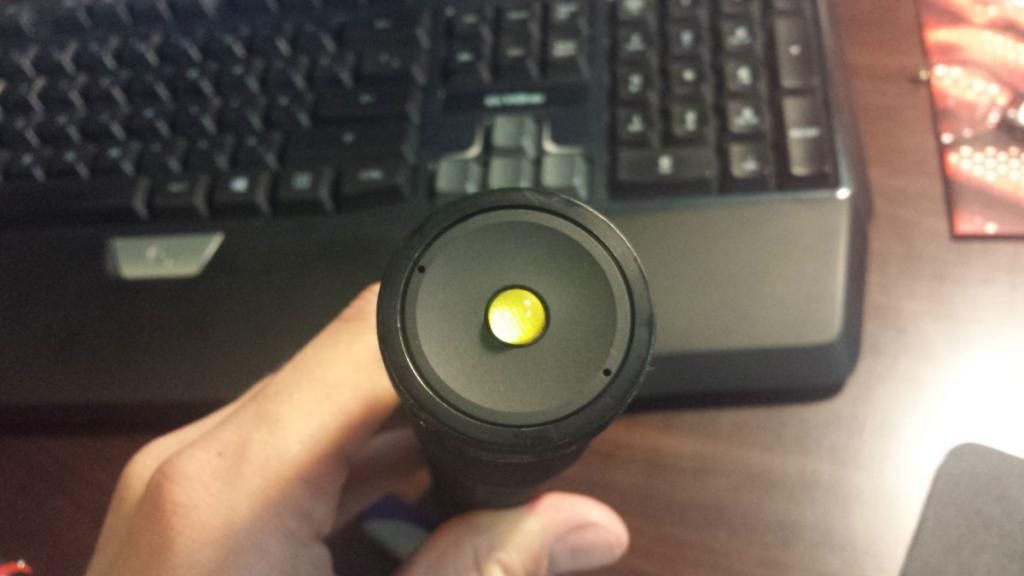
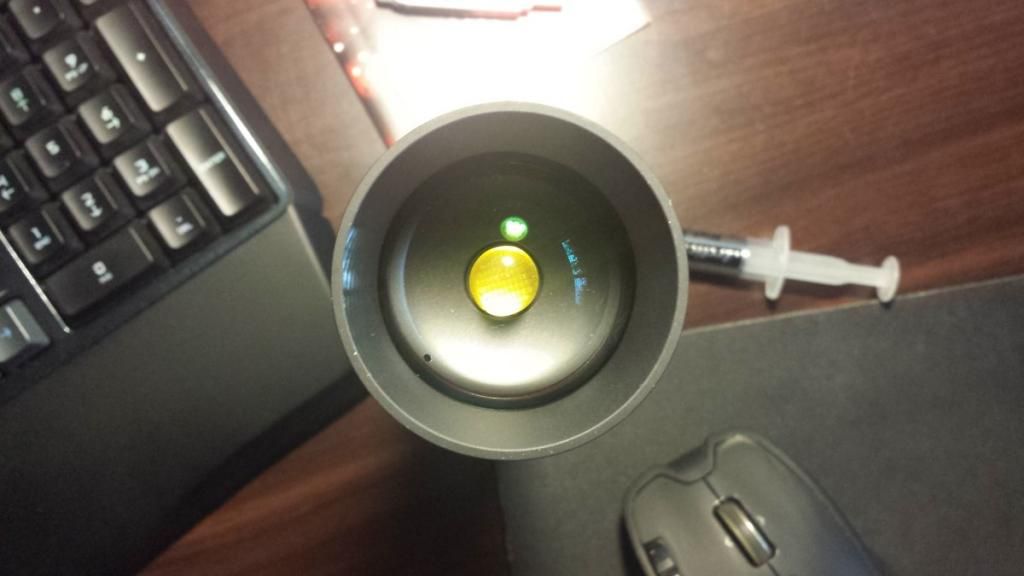
I stripped it down when it first arrived and put the lens in a safe covered spot so no fingerprints or dirt gets on it.
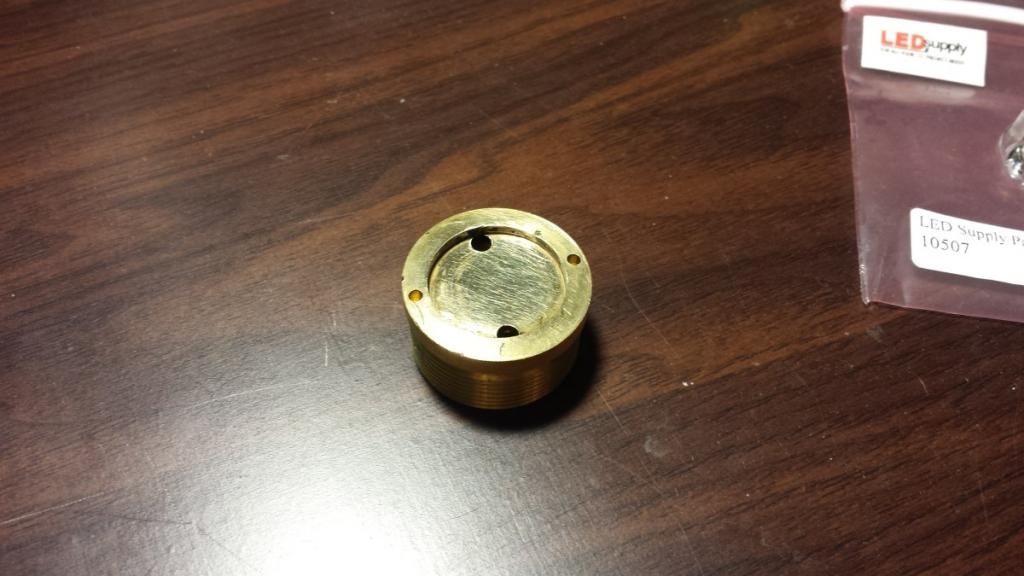
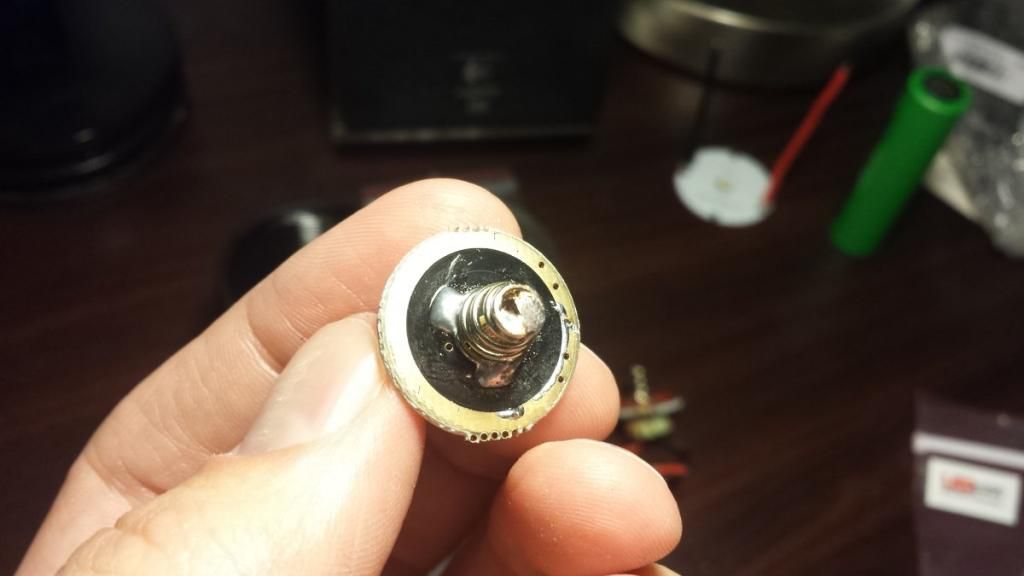
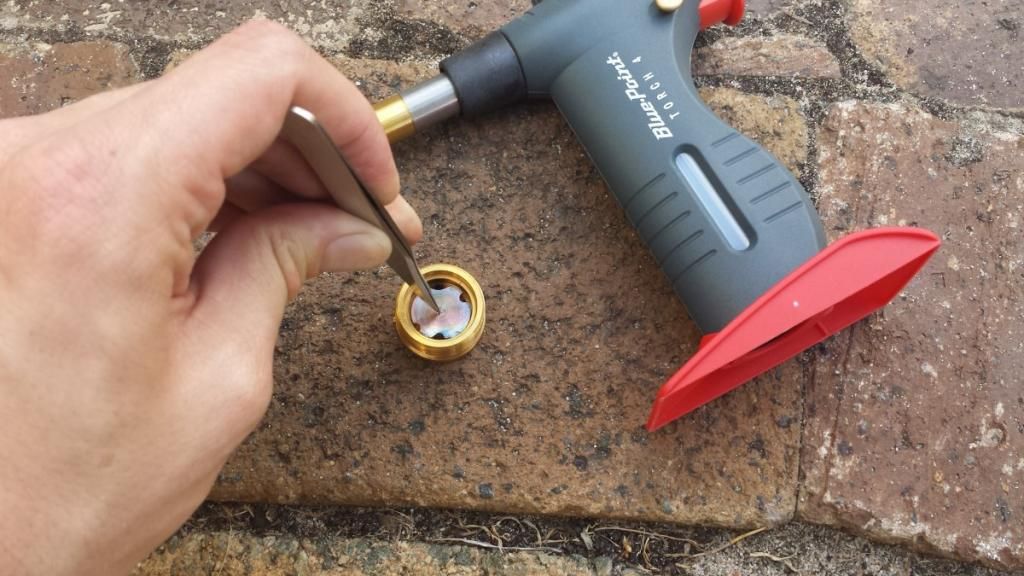
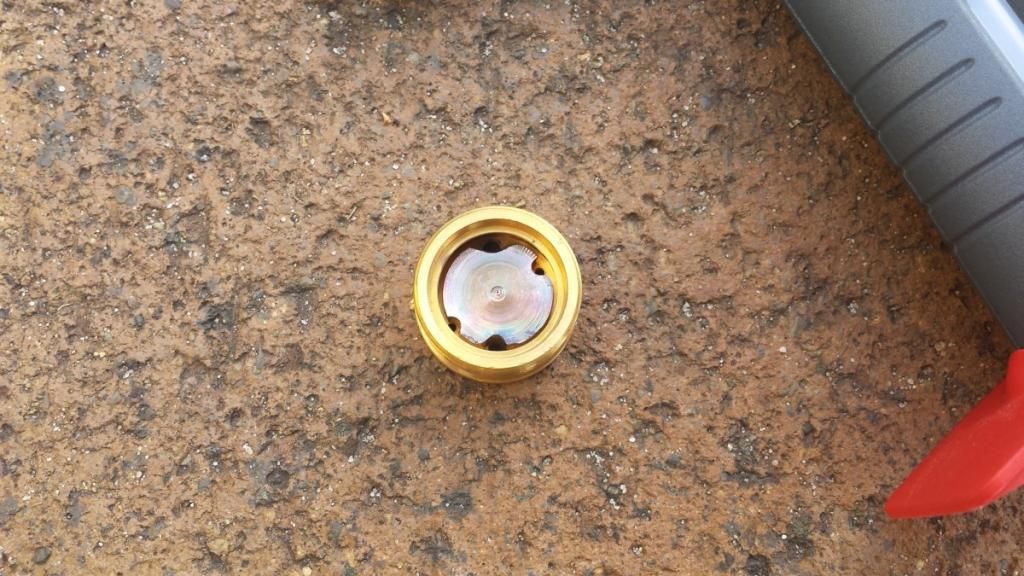
I haven’t bothered with any photos of the light in stock form as there are a few reviews out there with those pictures. I will mention though that the epoxy they used to glue the star to the pill was some bloody strong stuff! I didn’t bother trying to pick it out and instead opted to just hit it from the inside with a blow torch until the epoxy basically turned to ash and fell out. The star and emitter were useless to me anyway. I then gave the surface a quick hit with some fine sandpaper and some polish. I will do it again before I actually assemble it properly.
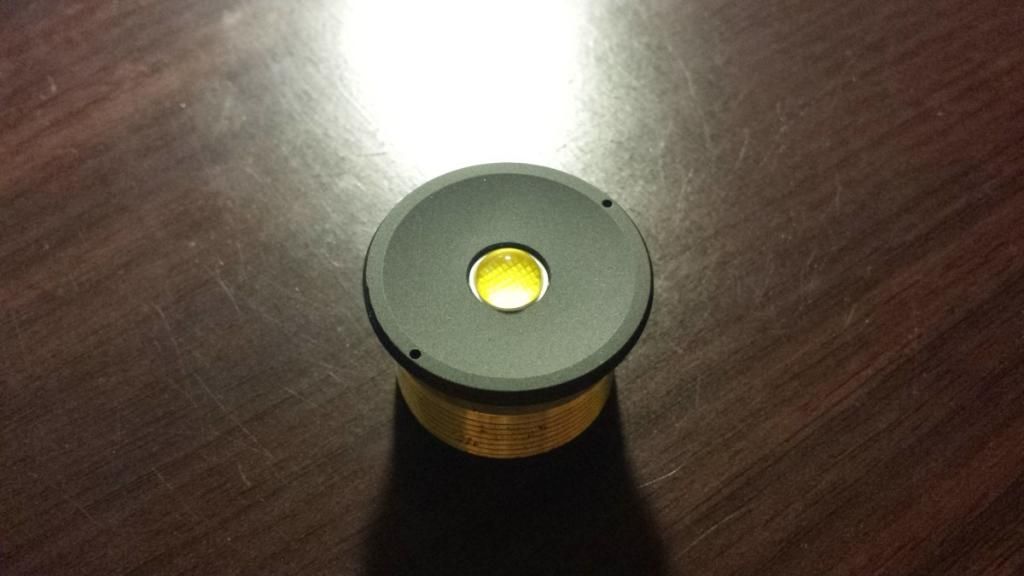
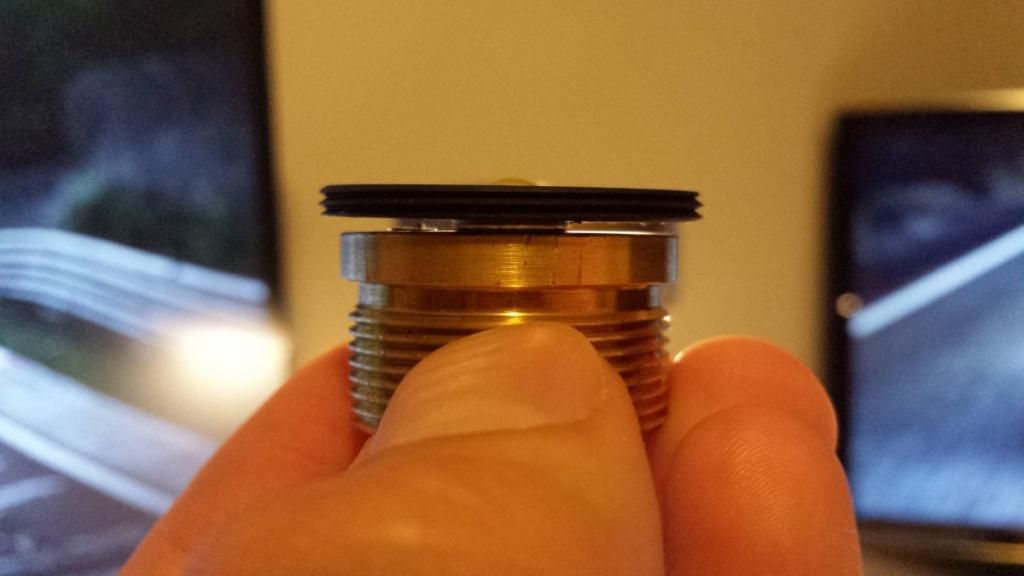
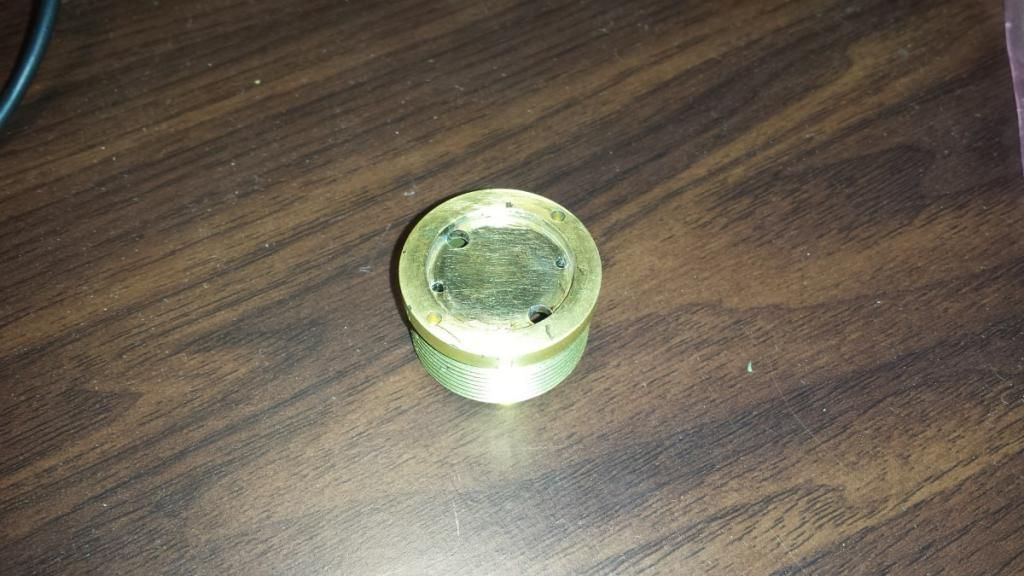
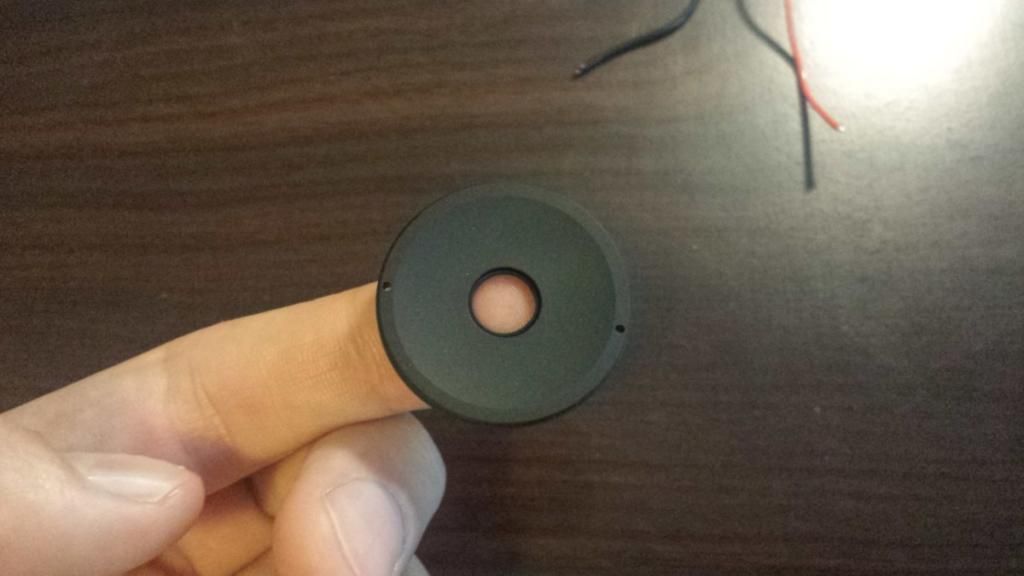
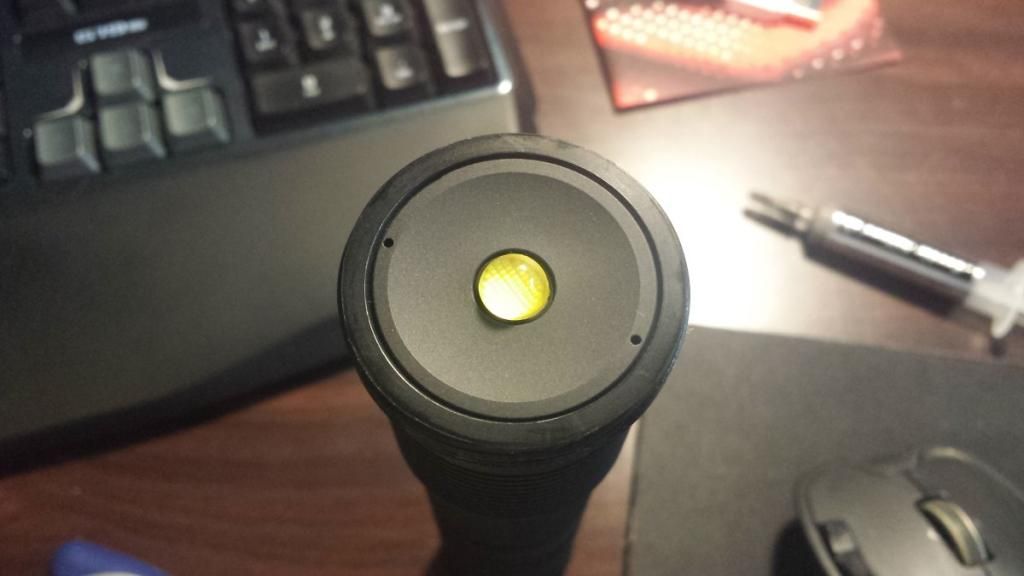
I have decided for now that I want to retain the black retaining plate which sits over the emitter. I will have to see how the beam looks once it is all together however for now I am thinking it will really improve the beam as it will cut out any reflections. So I went about modding the plastic locating ring which locates into the metal plate. I didn’t want to butcher the one supplied with it so I used a white plastic one I had and will paint it with exhaust manifold black once I am happy with it. I first tried with a drill but it broke because it became too thin. I then used a carbide grinding tip on my dremel and did it by hand…
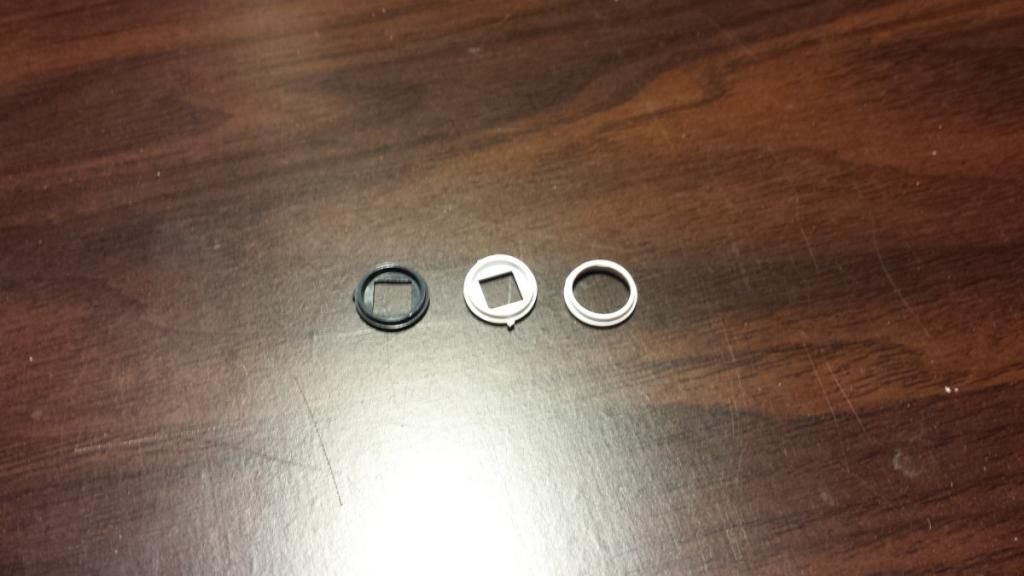
I then sanded it down on both sides until I felt that it was as thin as it could be whilst still allowing me to solder the wires under the metal plate…
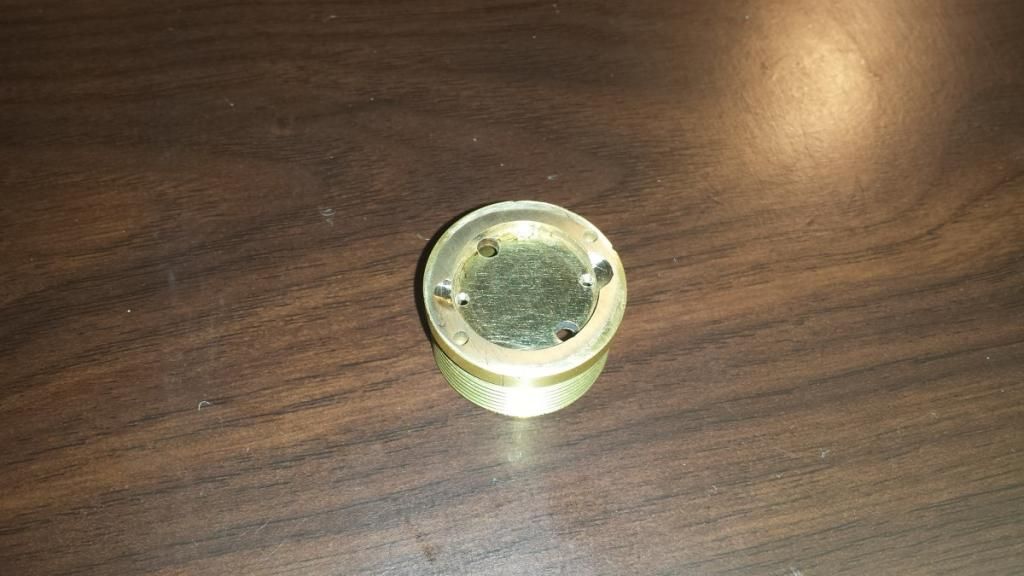
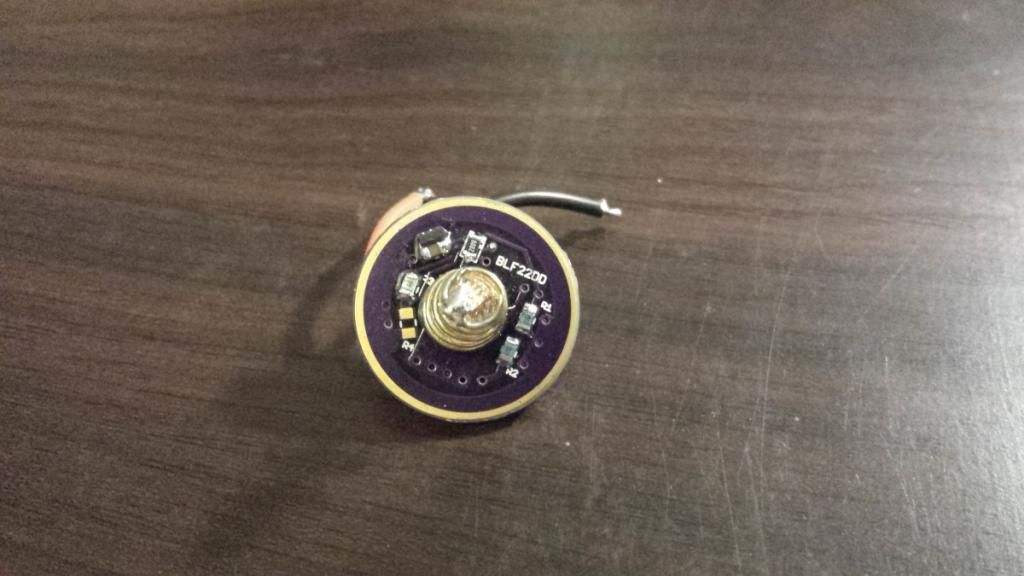
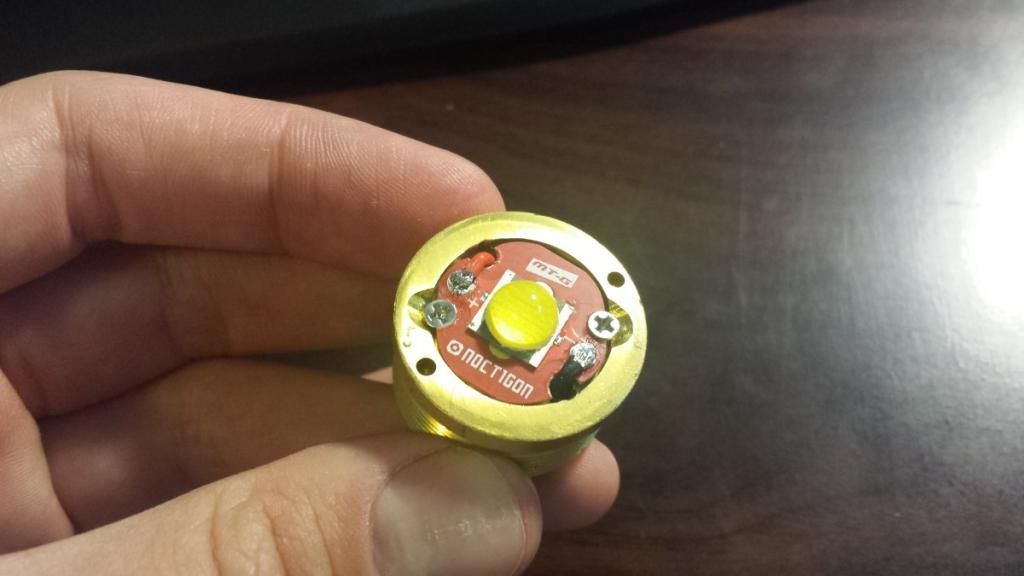
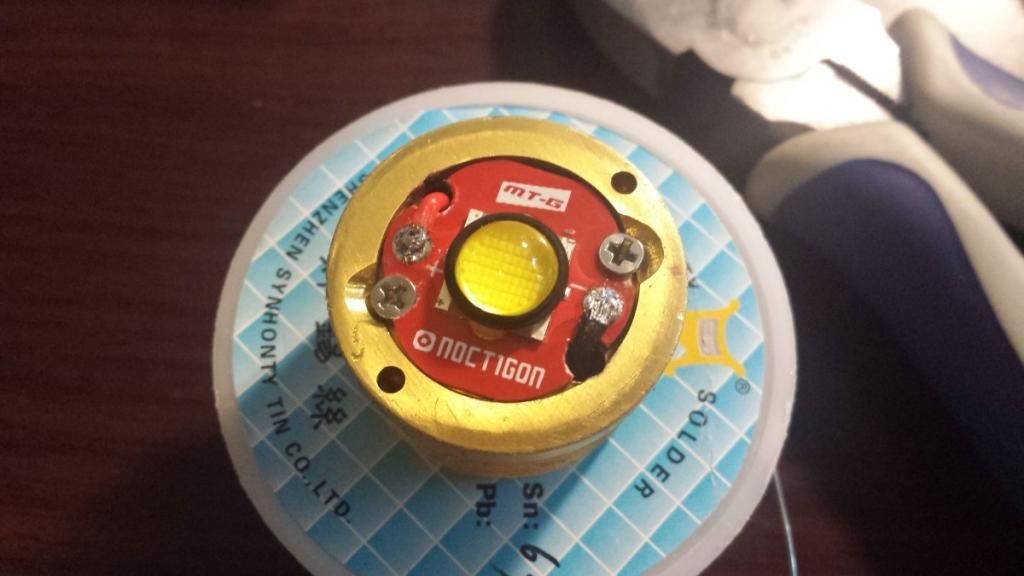
I decided I wanted to hold the star down with some screws to ensure the best possible thermal transfer aside from soldering it to the pill. So I marked the holes and using my not so fancy dremel drill press and some 1.6mm carbide drill bits I bought for it, I drilled a couple of holes and ran an M2x0.4 tap down them.
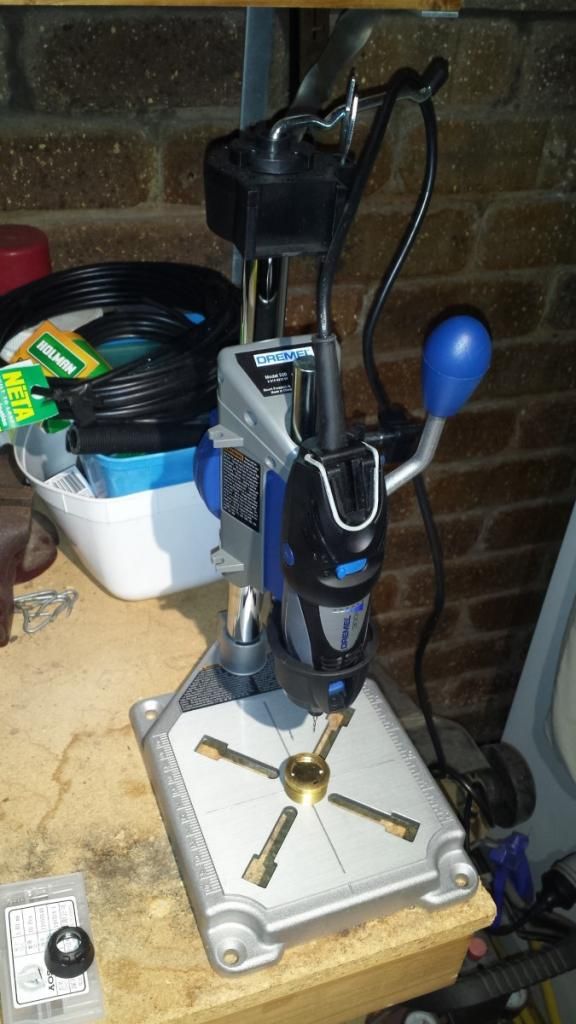
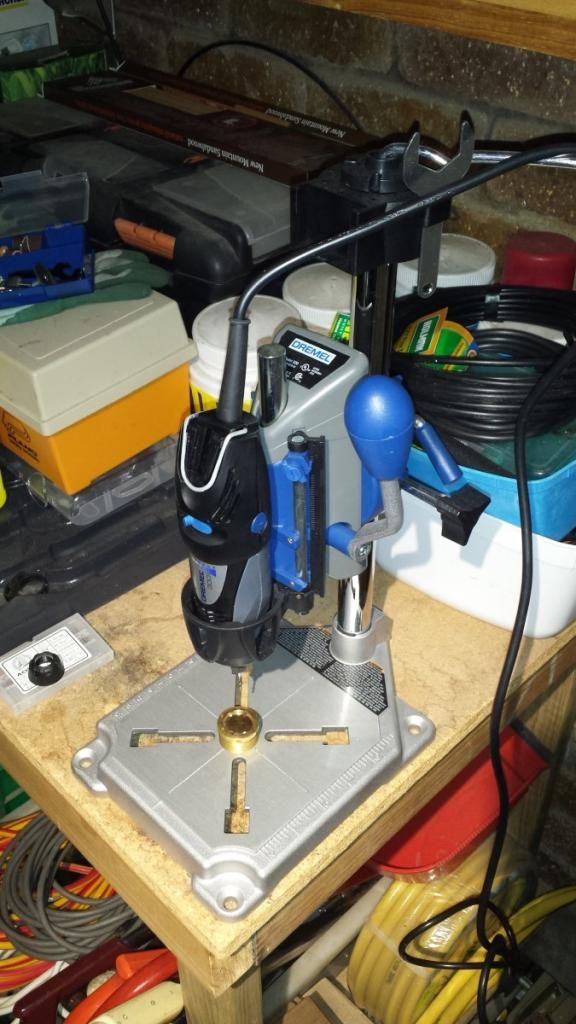
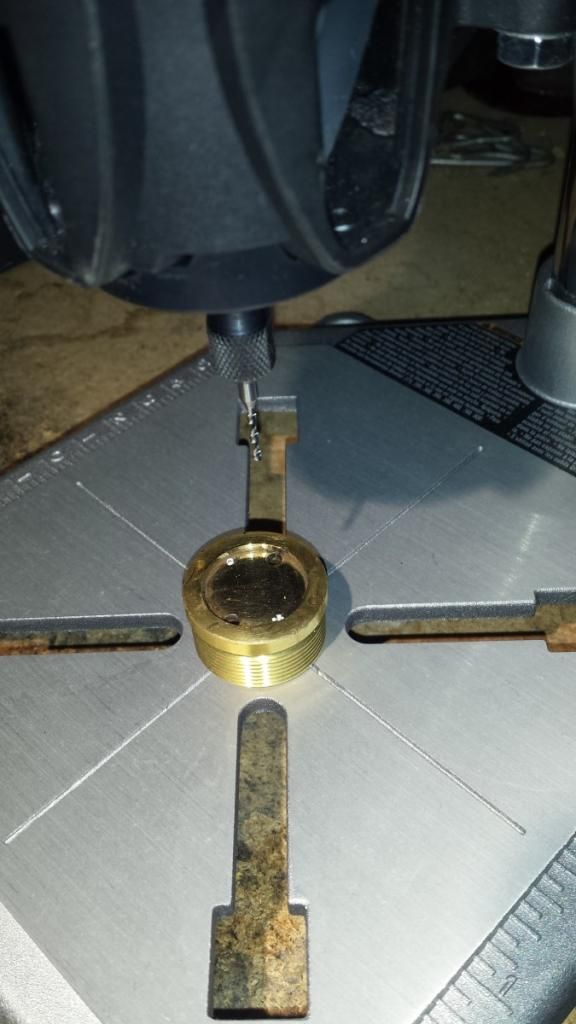
I found the screws were hitting the edge of the pill so I got my trusty carbide grinding tip out again and made a couple of small recesses for the screw heads. A couple of M2x5 countersunk screws and it was looking good.
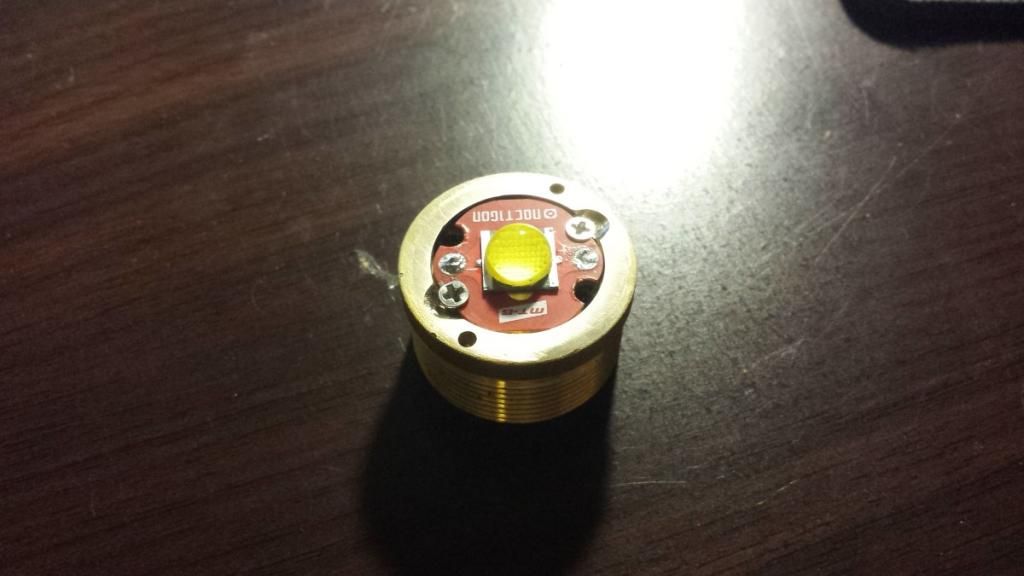
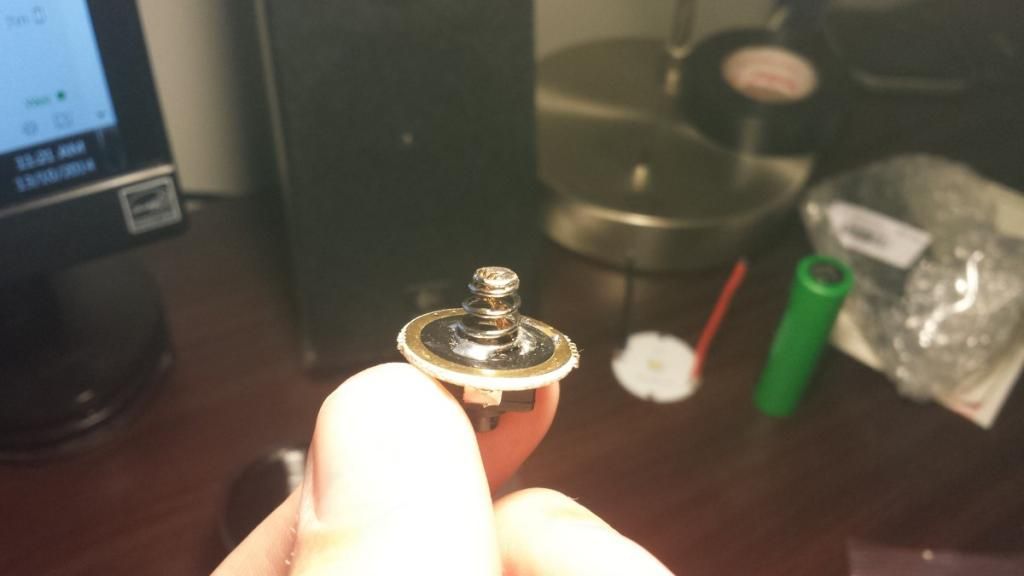
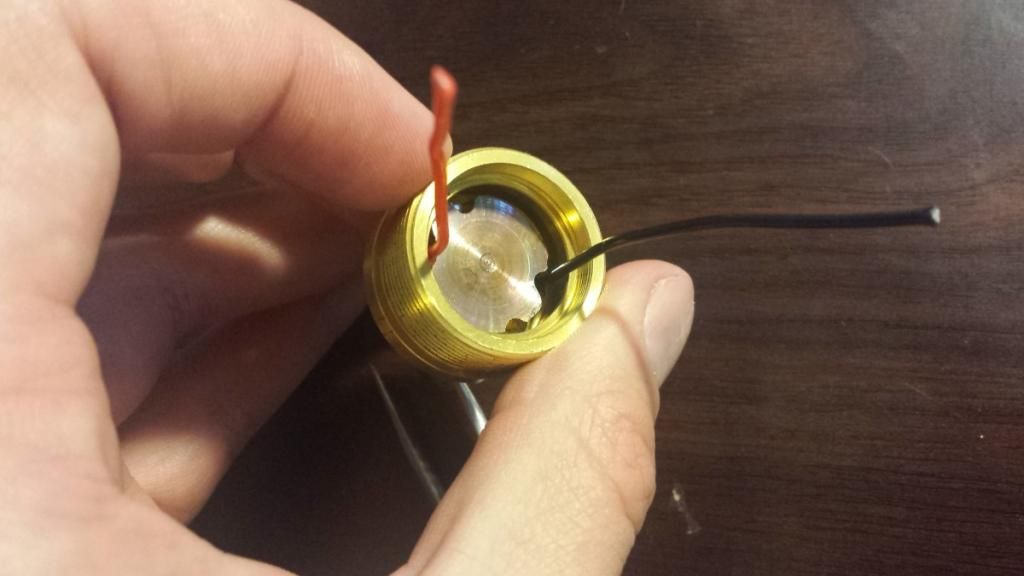
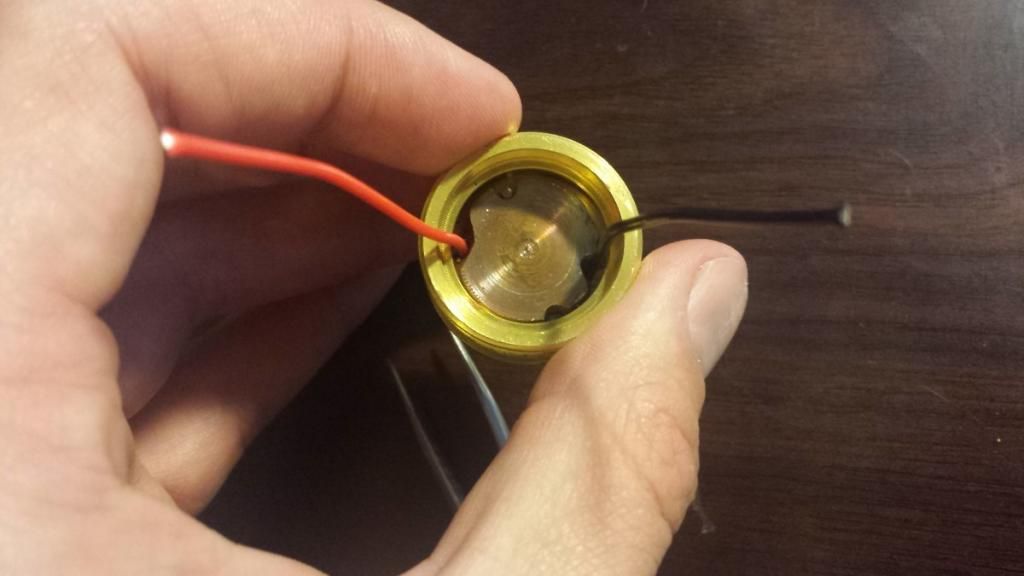
Next was the switch. A pretty standard arrangement so I just added a double run of some No. 2 Chemtools copper braid to the spring.
That’s it for now… I am playing the waiting game for the driver now. I have ordered a Zener modded BLF22DD from Richard at Mountain Electronics which should drop in perfectly. I don’t think 18AWG will fit under the metal plate so I will be using my 20AWG silver teflon wire which is nice and thin but will hopefully carry some decent current.
I will be using some MNKE 26650s. Unsure on how they would compare to something like the Sony or Efest, but hopefully they can supply some decent current.
So stay tuned, I will update when the driver arrives!
Tim
UPDATE - 10/11/14
Well the driver arrived a while ago now; it’s a BLF22DD Zener modded from MTN Electronics with custom modes. However, I haven’t had any time to work on this recently because I’m nearing the end of my uni semester so I have a lot of assignments to get done.
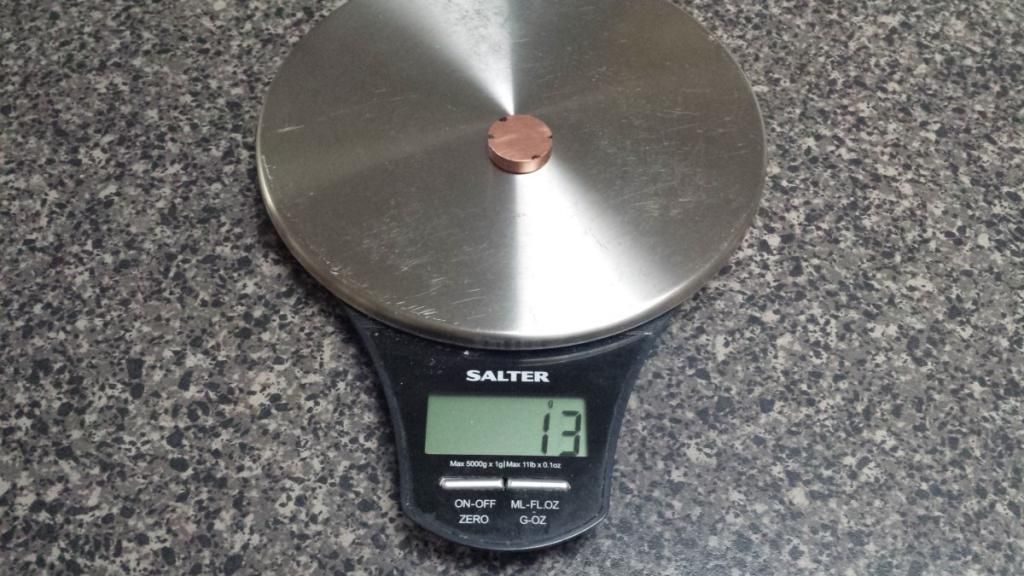
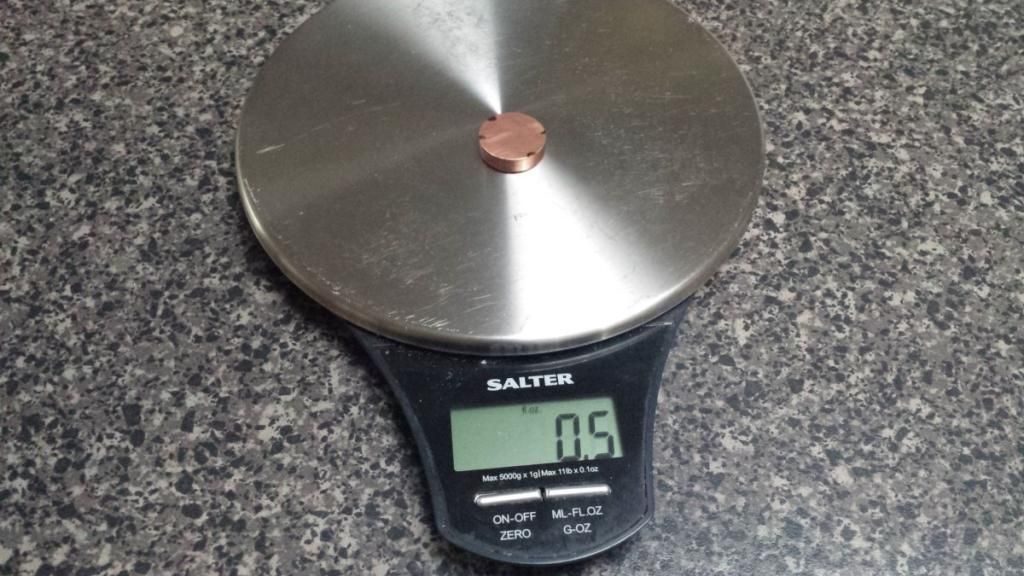
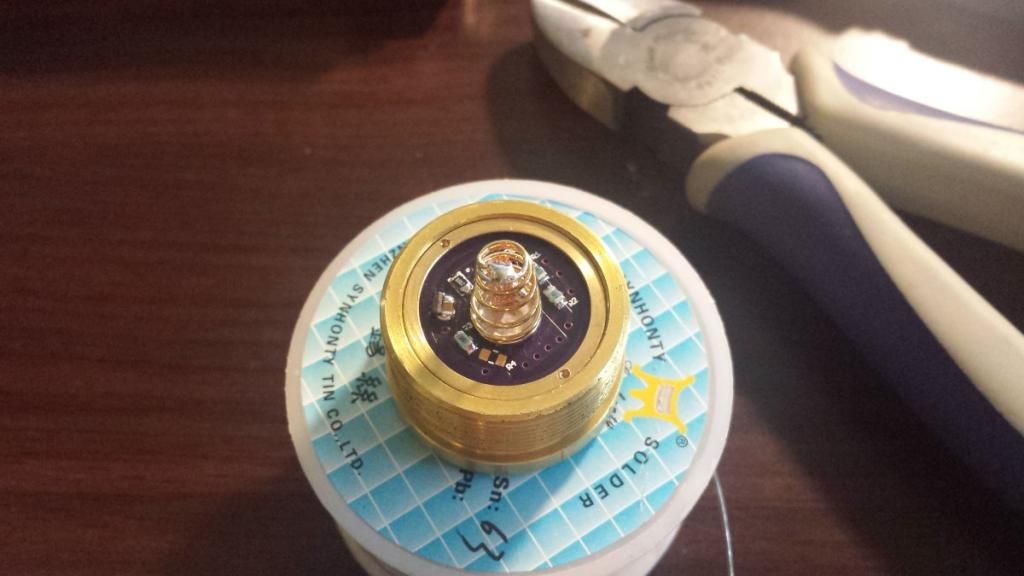
But anyway, today I had some free time so I went and saw my mate who has a machine shop. I had some leftover 3/4” Copper bar from a triple build I did a while ago. So I got him to face it for me and then cut a 5mm piece off of it.
This came out at about 13g or 0.5oz. Not a lot of copper but it is better than nothing and about the biggest I could fit inside the pill whilst still leaving room for the driver and wires to fit in!
I then used my carbide tip on the Dremel and cut some slots in the edges to make way for the wires and the screws to come through, not the neatest job because it kept jumping but it has done the trick. I then cut some pieces of solder and put them in the pill then hit it with my blow torch and soldered the copper disc to the underneath of the star shelf.
My plan is to cut some of those white thermal pads that you get from FT, IOS etc so they fit in between the driver and the copper chunk. Although I am not sure if this will be necessary or not as I believe the FET drivers don’t produce much heat anyway??
IT WORKS
So it caused me some headaches this morning, I tested the set up before I installed it into the light, then I tested the pill on its own once that was assembled, then I assembled the light turned it on and…. nothing! Damn! So I took the pill out again and tried it on its own and it was working… Tested continuity across the switch and it was working. So I started pulling apart the light. I noticed on the join at the extension tube there wasn’t a clean surface where the two halves meet. Some anodizing was there still. So I scraped all that off and checked continuity through the body and now it is working! It’s mid morning here so I won’t be able to get beam shots until tonight, however it looks pretty awesome during the day and it certainly generates a LOT of heat!
I measured the tailcap current with some MNKE 26650s which had been left to sit for about 10 minutes after taking them off charge. It settles at about 8.15-8.20A which is a little less than I was expecting but nevertheless I am very happy with the result. I think it isn’t pulling higher perhaps because of the cells? Maybe some Sony 26650s might go harder.
Anyway, the final steps which I did this morning were…
I opened out the hole in the middle of my spacer just a fraction more to allow for the paint so it didn’t get scraped off. I then painted it using some matte black exhaust manifold paint. This stuff is awesome as it laughs at the heat that this light could generate plus it as as matte as a blackboard.

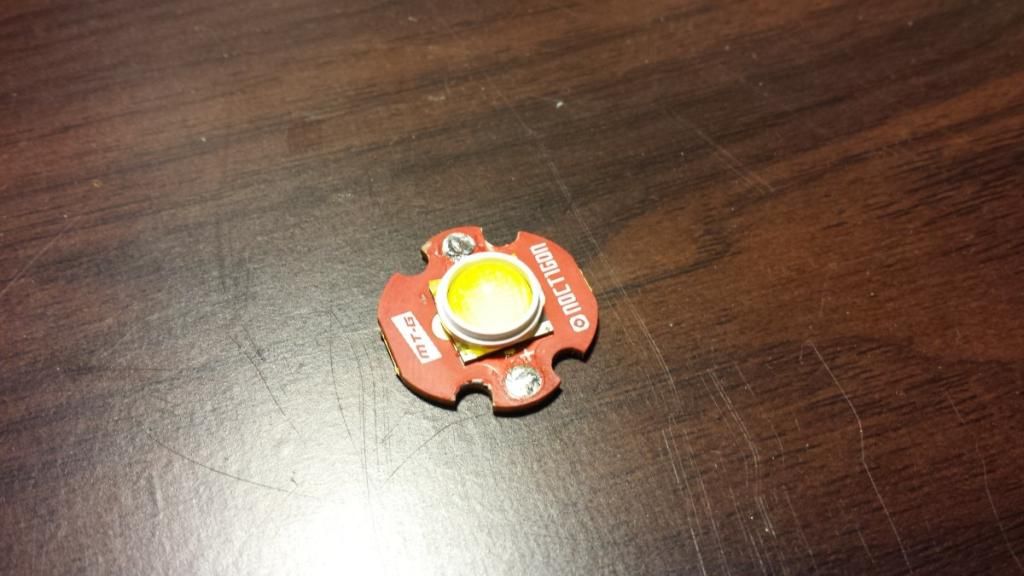
Next I assembled the pill. I used some 20AWG silver plated teflon wire as it is VERY thin in comparison to the silicone sleeved wire. This was necessary because of the clearance I had to the emitter surround. I flattened out the wires, bent the end and soldered it to the star before installing it into the pill. Next I used some Arctic Silver 5 thermal paste, put a little blob in the middle of the pill shelf, pressed the star down and gave it a twist from side to side to ensure the thermal paste had good coverage and was nice and thin.
Next I installed the driver, this was extremely fiddly as I wanted to keep the wires as short as possible. Because of the teflon sleeve they are no where near as flexible as the silicone and so they don’t coil up nicely inside the pill. Anyways, I pushed the wires down the side of the copper heatsink and then soldered them on to the driver and got a very good solder joint. I pushed the driver down and put the retaining ring back in. It was great to be able to re-use that ring as it made installation much easier and made the whole thing look neater!

I didn’t get a photo of it but I also covered the wires on the star with some kapton tape just for extra precaution.
I then put it all back in the light…
Well that’s it until tonight when I can get some beam shots. I am very happy with how it has turned out, and I am glad I took the extra time to fit the screws to the pill and retain the metal surrounding plate, I think it really finishes the light off whilst also being very functional.
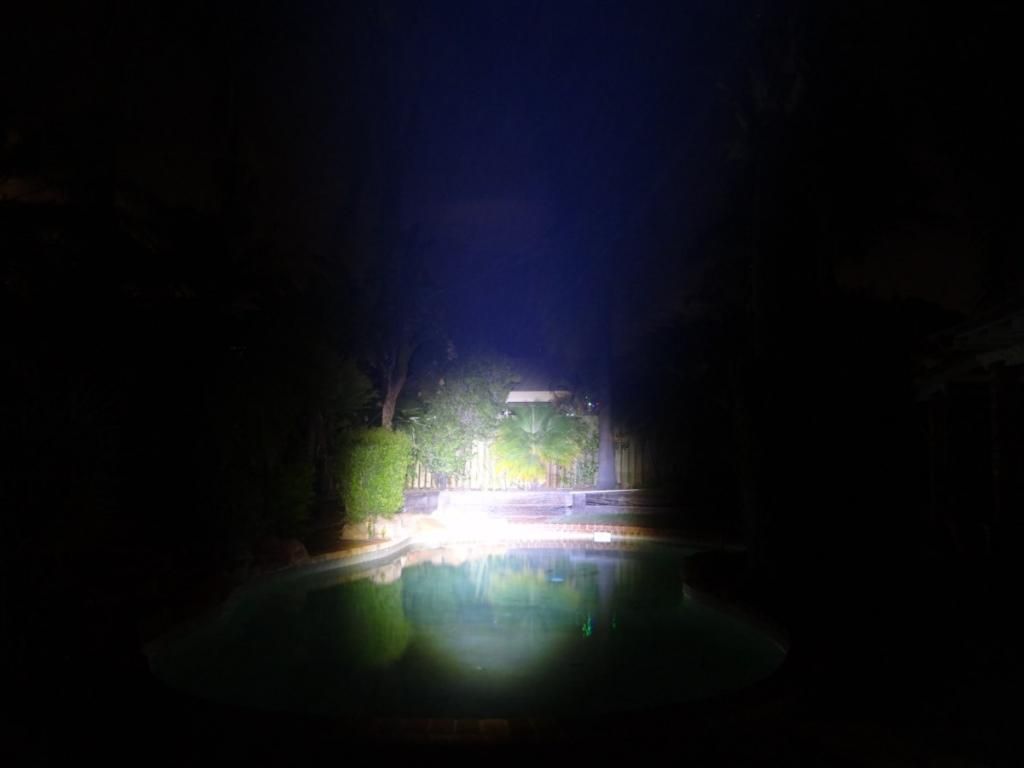
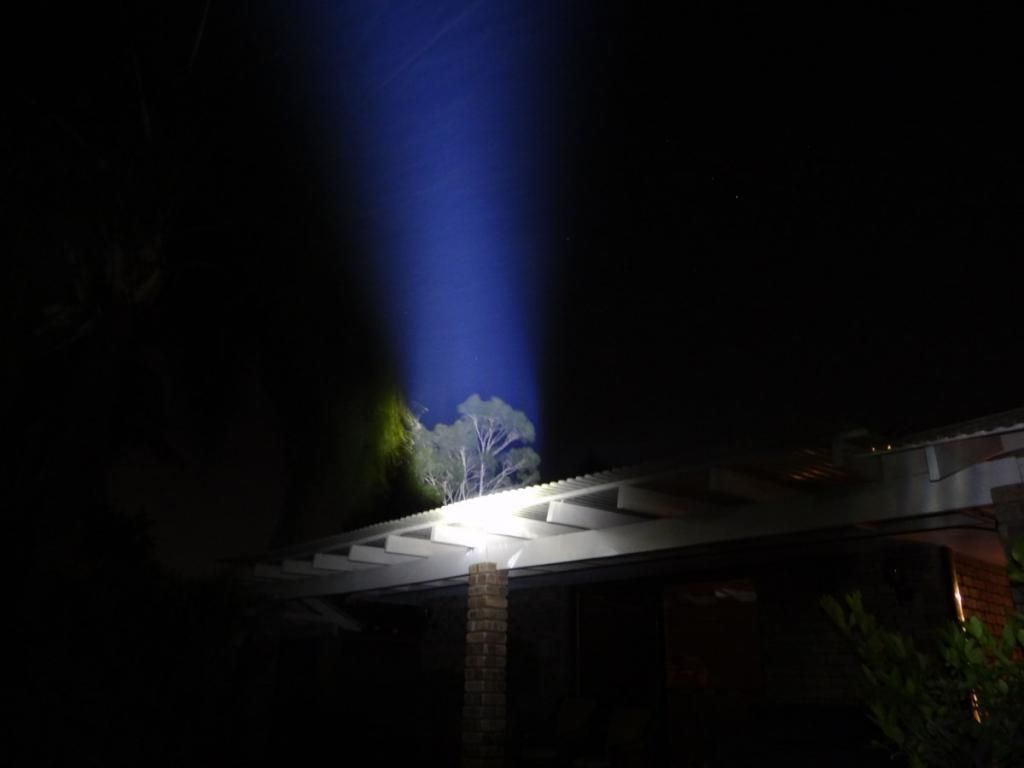
Okay, so you will have to forgive me as these beamshots aren’t very good. I looked around on here and used some settings which people had recommended in other beamshot threads
So the settings were ISO400, F4.0, Shutter = 1” on the up close shots and 1.3” on the distance ones.
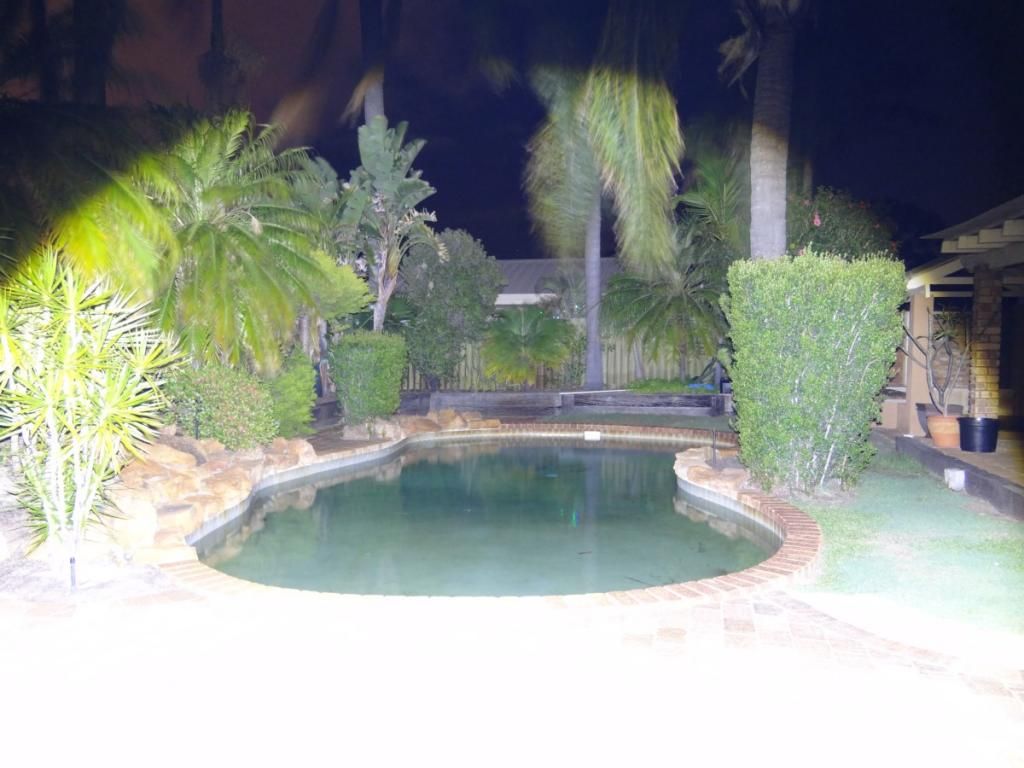
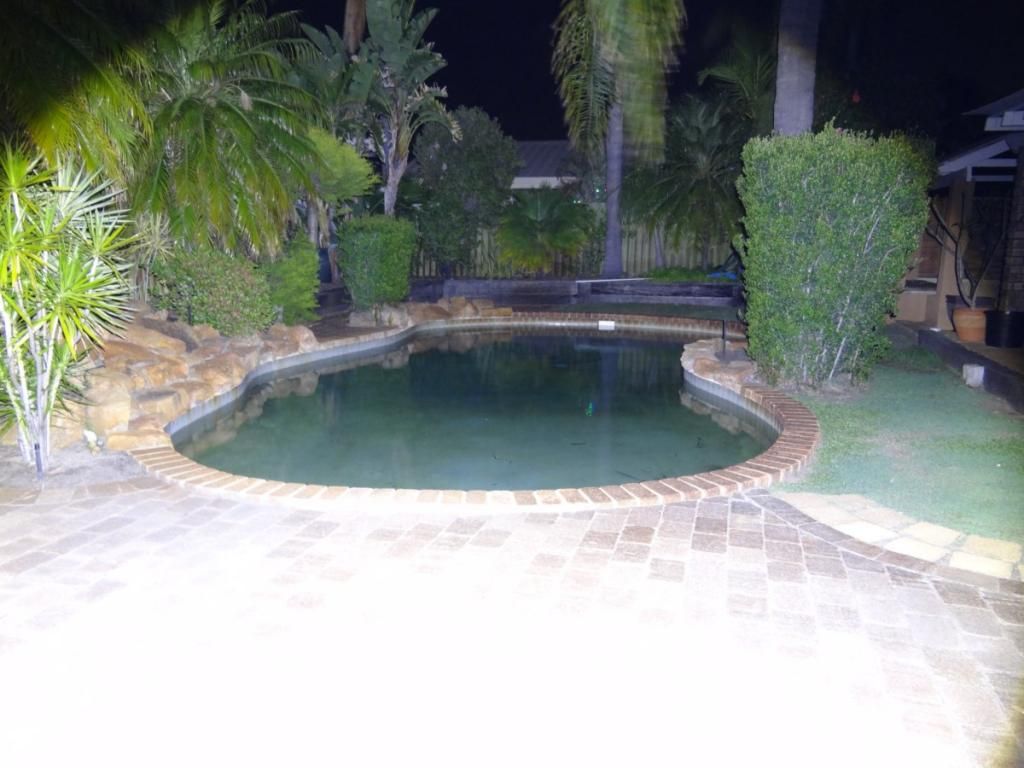
Slightly zoomed in….
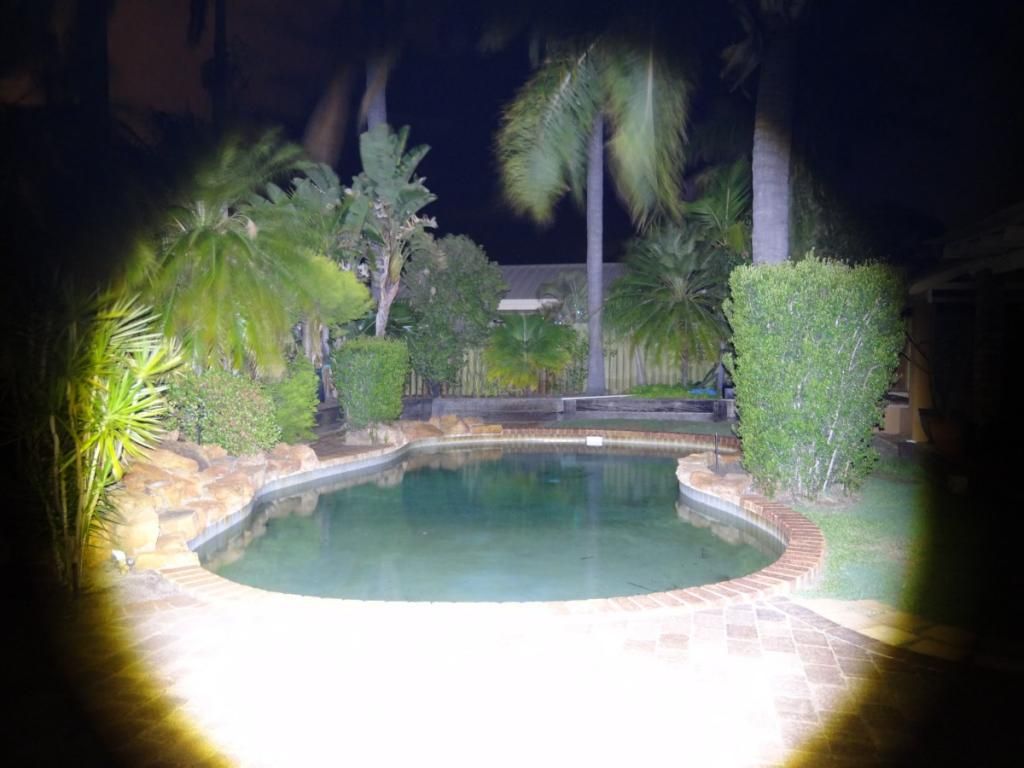

The tree is about 80m away according to google maps and would be at least 25-30m high I would think
 ---
--- 
