Great work. I think I would screw that up and ruin my light.
You've got cajones, that's for sure. First you ruin an $80 light, then you try again on a titanium version?! This light would be 100% awesome with a neutral XP-G in it, but I don't think I'll try this. Well, maybe eventually . . . Thanks for posting this.
I thought I was gonna open this thread to see huge pics of a V10R with a crack running down the body 
Great job and thanks for posting!
I haven't even got any neutral XP-Gs around, just got bored one day, but I am already 100% sure that I will place my cutter order and I will have 5B1 tint emitters to play with, and these are just one of the many torches that need to be neutralised...
Almost!
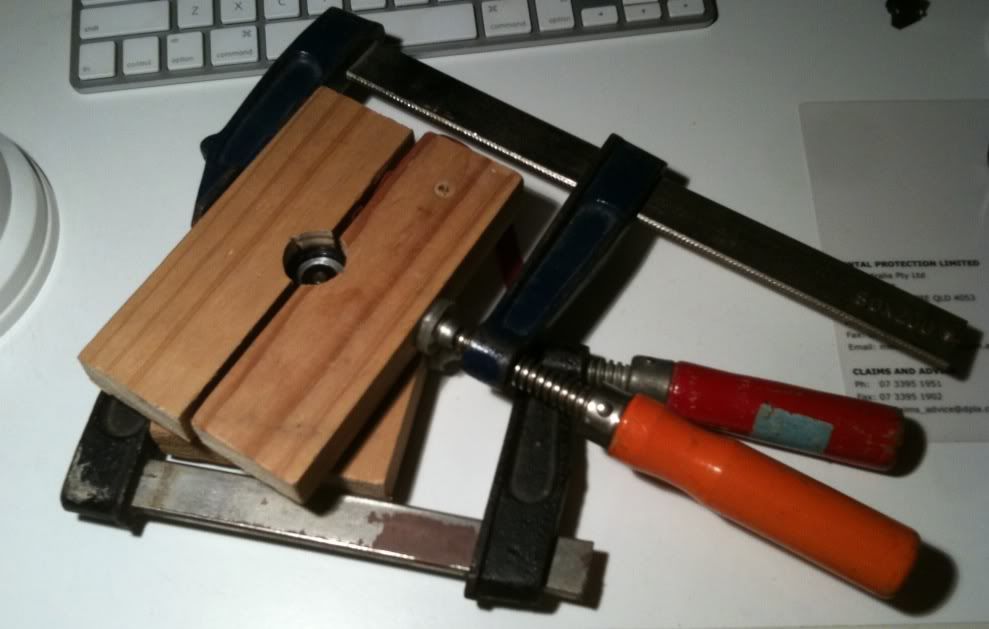
Well here's some pictures of the first attempt, hand filed wood blocks, and no aluminium filler for the back of the thread --> crushed threads :(
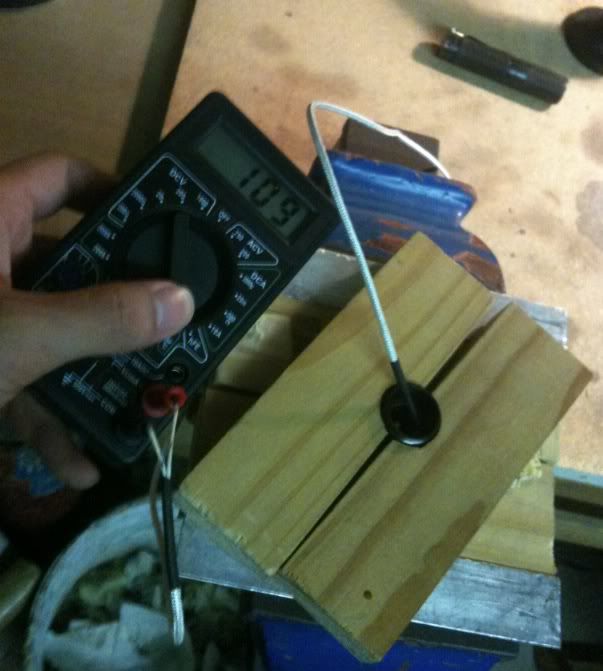
Thats the temperature after I managed to get off the flame torch and to get a measurement, so it would have cooled down a fair bit by now. Thats centigrade btw...
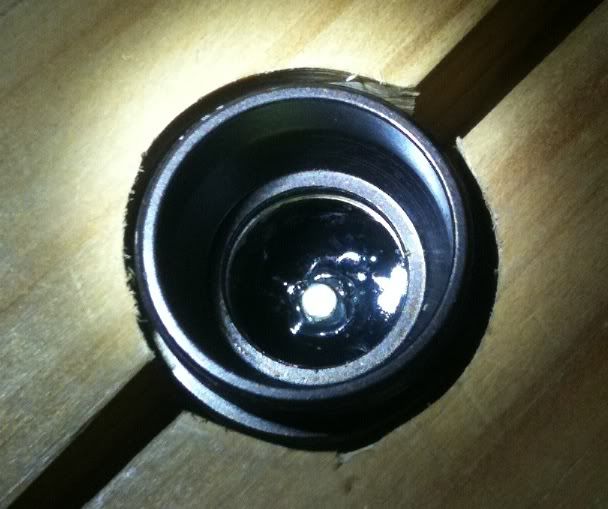
The effects of high temperatures... oops...

No more LED centring ring, but thats not a big problem, compared to the fact that the magnets are now dead!! (the torch needed 2 new sets of magnets, which required some dremelling to fit what I had around.
Not the best angle, but you can see the somewhat bowed in shape of the treaded section, and chipped ano
Nice work!
...it helps when the light is free ... A beat on light is easier to mod a second time ..
It makes it easier to edc it too ......it happens real fast too I chewed up lots of ano in seconds .. the problem is when you have success quickly you get a little over confident .
Thank you for posting this .....
Well in my case, it was the first attempt at modding that resulted in it becoming a beater light 
Always so true! Must always remember this…
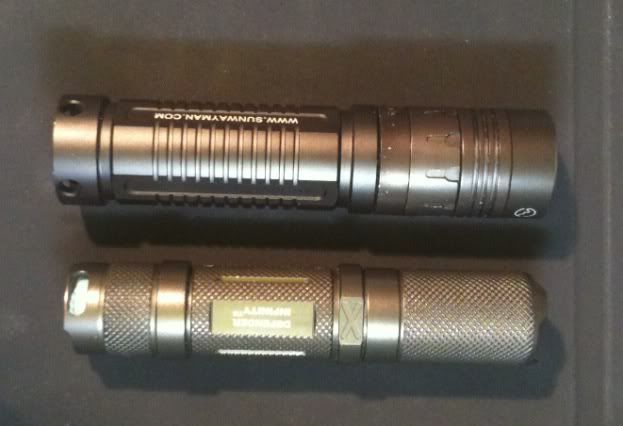
Straight after opening the first Ti, I went straight ahead and opened a second Ti. Fortunately this was uneventful, but the aluminium plug was getting a little worn out already, and could have potentially gotten nasty.
Wow, I'm pretty good but I'm gonna pass on this one!!
I opened mine up and swapped the XM-L for a beautiful Nichia 219 hich CRI LED.
In order not to damage the finish on the light, I machined a custom Delrin sleeve:

Front bezel comes off easily enough:
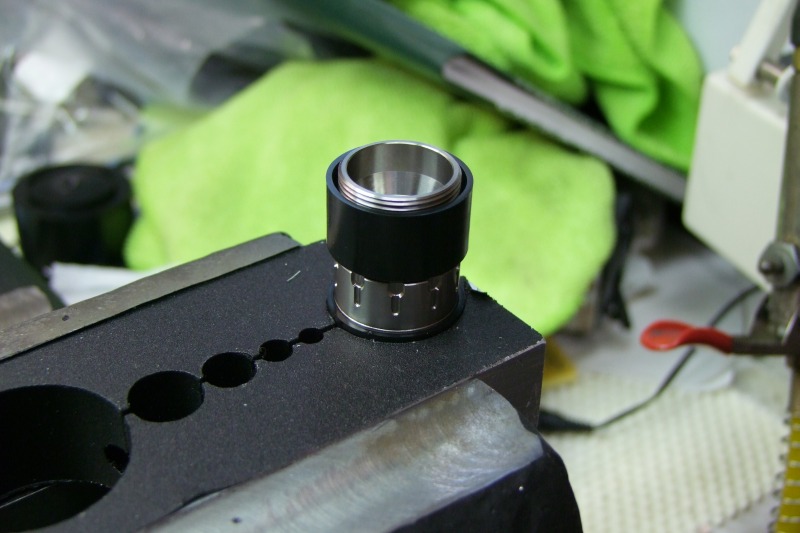
For the middle section, I used my restored Wilton vise, with the custom Aluminum soft jaws, and the custom Delrin sleeve to tightly grab the lower section right below the selector ring:

I then used a piece of the Delrin sleeve to go around the top:
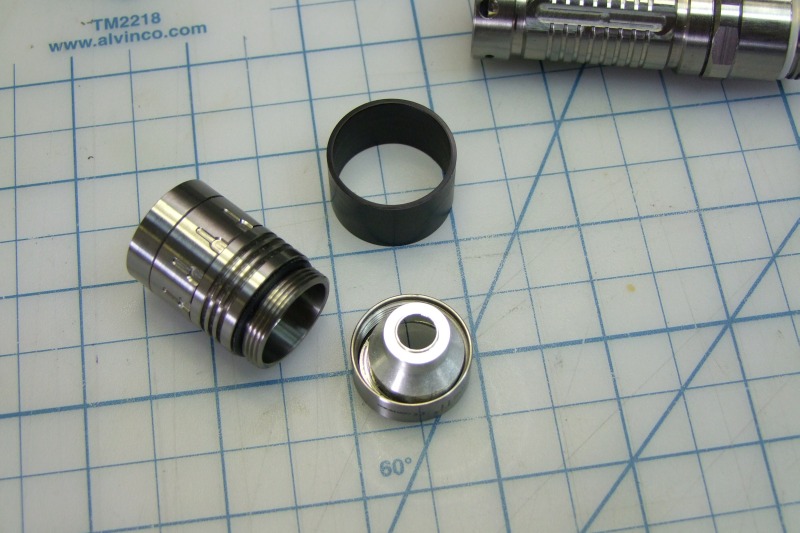
And after applying a good grip with special pipe pliers, I got the two parts to come off without any damage/scars:

The magnetic ring comes off (that lightweight transparent grease is what gives the selector that fluid feeling):
Then go to the opposite side and start removing the positive cover to access the driver/electronics:
The factory scratched off the part number on the micro-controller:
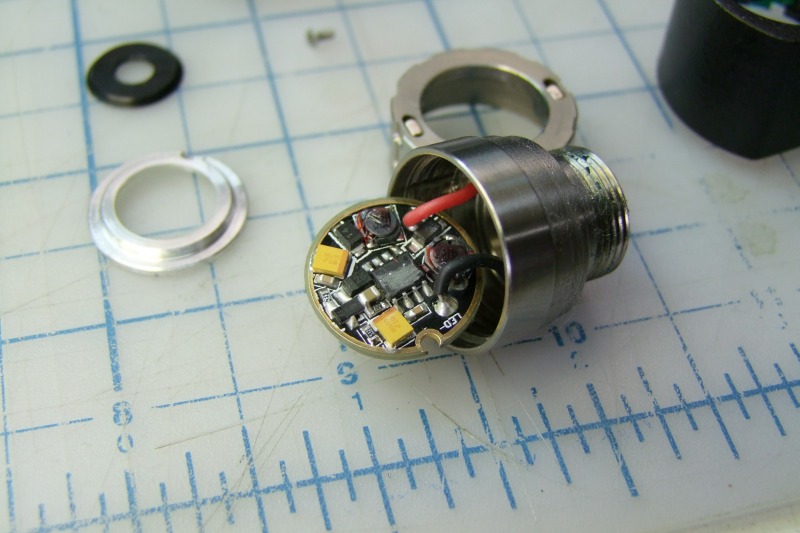

Then you can carefully de-solder the wires:

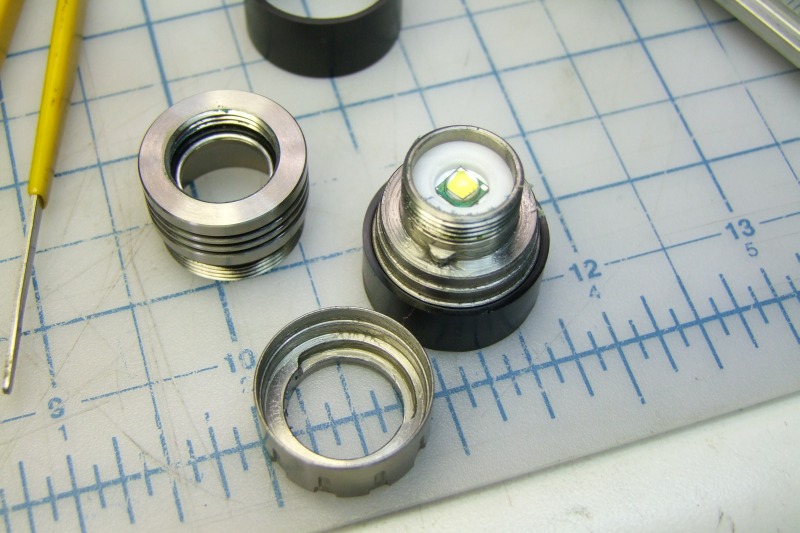
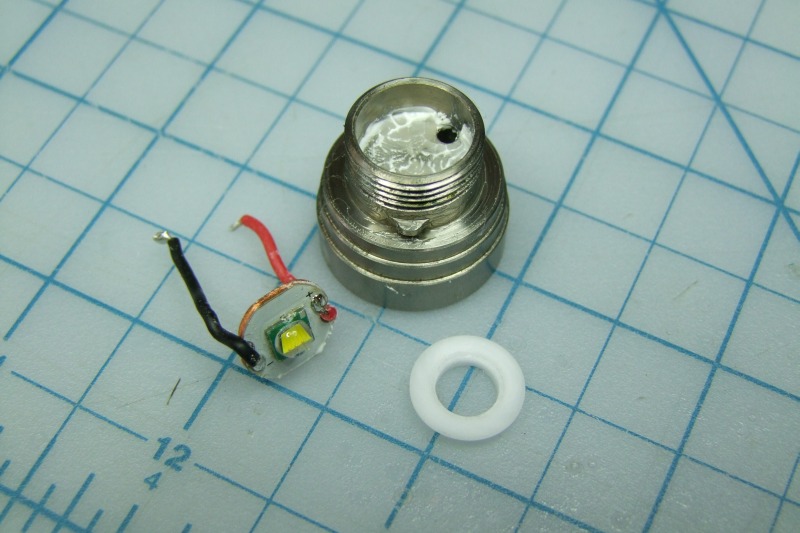
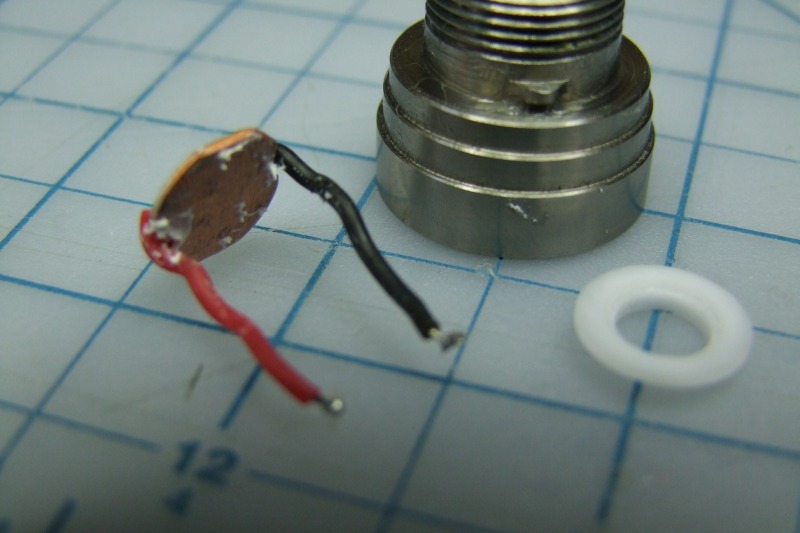
And carefully pull out the LED and wires. Note the LED is "not" glued down, but has thermal paste in there (way too much!):
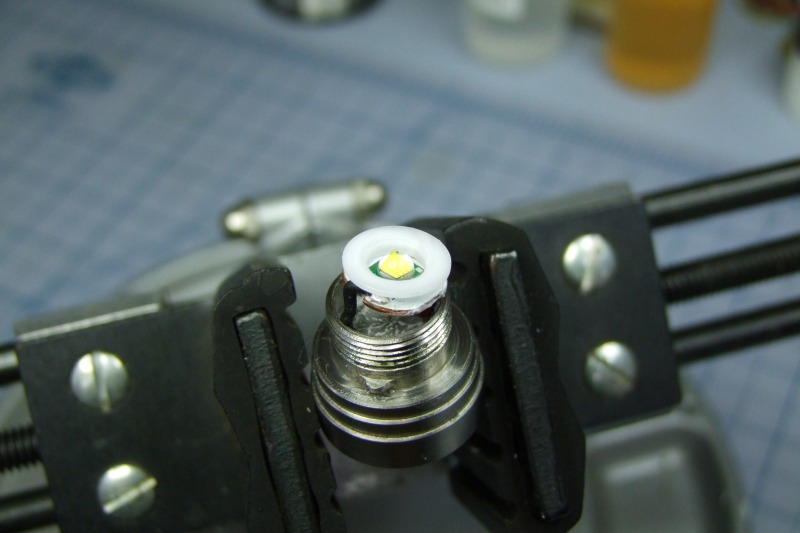
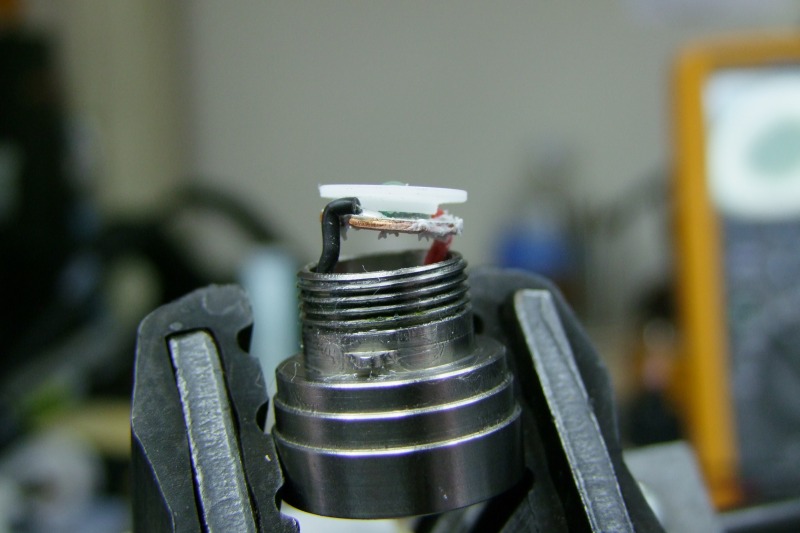
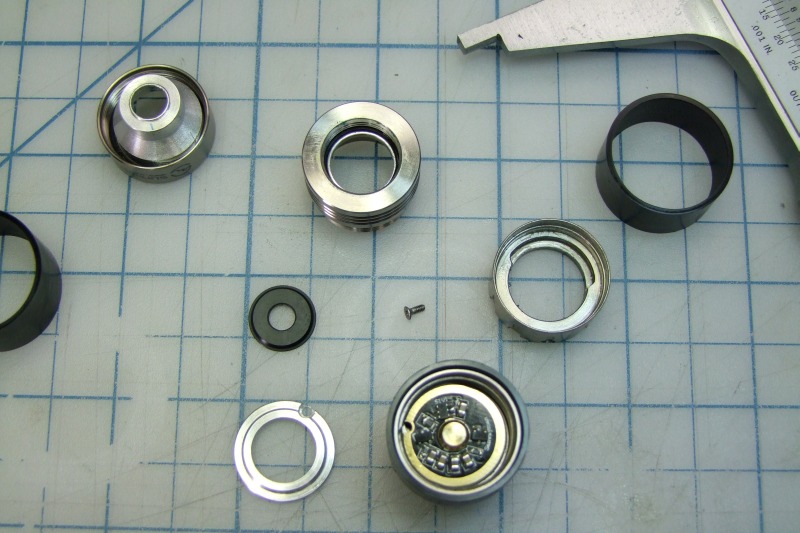
A very interesting piece is the white spacer. It is not just a spacer to set the focus, but it is the "only" thing that keeps the LED centered in the body - it is critical:
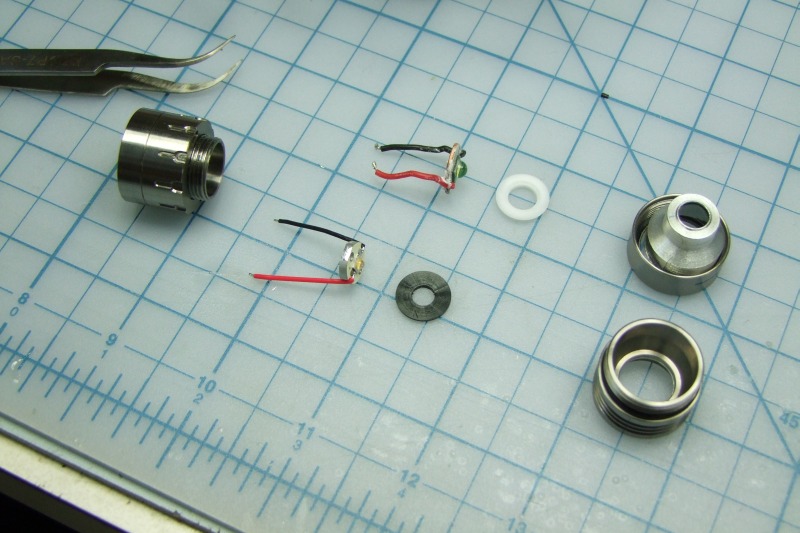
The other critical data point is that the factory board is much thinner than normal metal core PCB's:
Here I am re-flowing the Nichia into the XP-G 10mm boards:

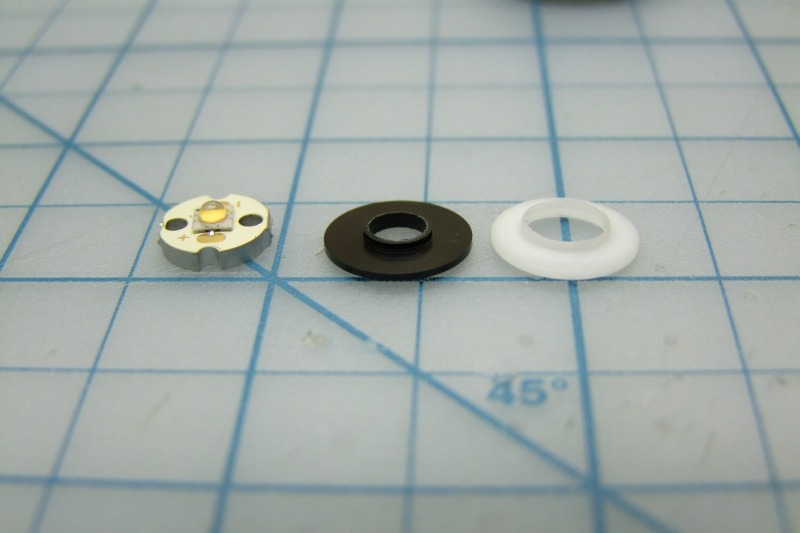
Since the Nichia is smaller than the XM-L, I needed a custom spacer to center the LED, to try to achieve focus, and thin enough to enable closing the bezel down as much as possible. So I started by making various custom spacers to try out. Photo to compare the new spacer (black Delrin) vs. the OEM white spacer (which only works with the XM-L):
Once I had a spacer that worked, I had to make some cuts on the bottom to allow for the soldered wires to fit - then I was able to start the re-assembly process:
I put a "little" thermal paste, and then moved the LED down several times to spread it and end up with a very thin layer:

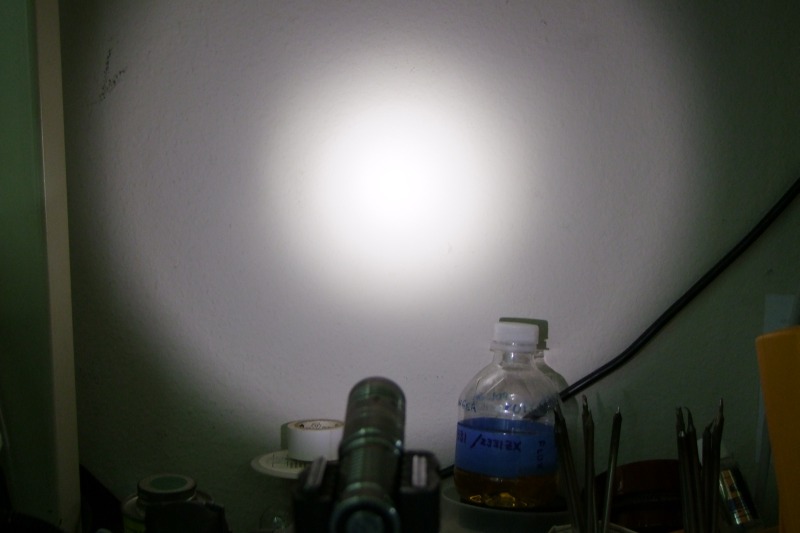
The reflector and bezel create some extra rings (there also in the XM-L), but it looks very good: not too floody, not too throwy. First photo is at a higher output level and in focus, the second photo is at a lower output level but unfortunately out of focus:
Not counting making the Delrin sleeve (which is reusable of course), dis-assembly, de-soldering, making the custom Delrin spacer for the Nichia, soldering, putting everything back together, etc. is about 2 hours to do. Not "easy" but doable, and the results are outstanding - the Nichia LED has a perfect tint - looks great!
Will
interesting thread with great instructive contributions. Thanks to all!!
very courageous of you to crack open SWM lights :)
Great work, Will! Your custom soft jaws are the bomb! I eagerly look forward to more of your contributions. 
That is crazy! It is also very cool but its still crazy! I LOVE IT :-)
Thanks to you both for sharing this. Its not something I'd do unless I had a light like that, a nichia or a neutral xpg at hand and was stuck on a ship for months at a time.... Oh well, only one out of three - Im a not gonna do that :-)
Today I got a V10r open, by freezing it for an hour first.
I tried heat repeatedly, but failed repeatedly.
Installed a 4500k 219b 9080 sw45k
The beam is perfect, and the LED centering is too. Super happy about this one.
output ranges from a minimum of 0.005 up to 210 lumens using a usb rechargeable 16340.
whats not to love?


the ugly


the good


Nice job jon_slider! Looks like it was a beast to take apart.
Very nice, I wish mine had a more neutral tint.
most difficult so far
I think freezing made the difference to get the red loctite to release
.
it could happen… I learned to swap my own LEDs thanks to BLF. Pm me if you want to brainstorm options
I may do that. I did a Nitecore D10 several years ago, but this V10A seems like it would be a beast. If it wasn’t so buttery smooth as-is…
Thanks for the info, i have to try it. You have tried with the freezer, not with the fridge, right?
yes, I put it in the freezer for an hour
Buena Suerte!