I’m sorry if this is a silly question but I’m a modding novice. I want to reflow an LH351D on my FW1A, but will the centering ring cause a problem? I’m not sure if it’s soldered down and will desolder when I heat the MCPCB on my griddle, or if it will stay in place and not be damaged.
The centering ring is just a piece of plastic and it HAS to be removed before the reflow. Otherwise it'll just melt and make a mess. It's not glued or held in place by anything other than the corners of the emitter.
This is the same LED that I dropped in mine on day 2. Process is very easy. Remove bezel, carefully remove reflector and don’t touch the reflective surface, unsolder wires from mcpcb, pull out mcpcb, lift off centering ring, replace LED and since you are this far in pull the driver and install the latest firmware if you have the tools. Just reverse the process and fire it up.
I recommend that you test the LED to mcpcb connection before assembly. This can be done with the diode function on a multimeter or with a current controlled power supply. If you do not have either, a lithium ion cell with less that 10 amps of capability will also test it. I use a 14400 cell when I am not near my power supply. Some LEDs can draw enough with a straight connection to a good cell to damage or cook themselves. But it sucks to get it back together and find out your reflow was not good.
A decent soldering iron is required for soldering on a direct thermal path mcpcb as it will really suck heat away from the iron.
For testing LED/MCPCB, I soldered two alkaline AA batteries together in series with positive and negative leads hanging off. Lights it up nice and bright without any danger of cooking the LED!
What he said, really a much better idea than using a lithium ion cell, just never have 1.5 volt cells setting on my bench.
SST-20 FW1A, measured in hot spot around 1x7135, max 7135, turbo:
Ambient = 3179.5 Lux, CCT = 3989K (Duv 0.0059)
Color Rendering Index (Ra) = 95.3 [ R9 = 87.9 ] (Caution)
Ambient = 37354.6 Lux, CCT = 4009K (Duv 0.0032)
Color Rendering Index (Ra) = 93.3 [ R9 = 77.7 ]
Ambient = 49993.5 Lux, CCT = 3972K (Duv 0.0010)
Color Rendering Index (Ra) = 93.2 [ R9 = 75.4 ]
Needless to say the beam shape is fine if you want throwy but, as expected, a reflector really brings out the worst for the tint. The subset of snobby tint users that don’t care about CRI will want XP-L HI. The snobby and high CRI users will probably want, shaved LH351D maybe? And the less snobby high CRI users will probably go for any half decent LH351D (this is my camp typically).
My switch board came “always on”. Once the tail is tightened down the inner tube and outer body are always making contact causing the light to start ramping right away. I had to clean, re-adjust, and jack with the tail board and ultimately I have a working switch with no retaining ring. Needless to say if the thing gets lightly dropped or tail loosens I will have problems again but that’s an issue for another day.
So is the FW3A and the FW3A tail switch the same? My FW1A has the same ‘FW3A’ marking on the switch as my FW3A. Have to admit it’s made me curious.
Yes, tails are the same.
The switch and cell tubes are the same, but there have been a number of changes since the release.
Ah, thanks guys.
There’s seemed to be a black retaining ring, in the tail switch, preventing the button cap from dissembling. I think it is new to FW1A compare to FW3A. There are two little notches on opposite sides. Does it just unscrew to remove? I’m having a bit of a difficulty removing it, maybe I just don’t have the right tools. I’m trying to install a Turboglow button cap.
You’re going to need something like this https://www.harborfreight.com/Snap-Ring-Pliers-with-Interchangeable-Heads-63845.html
I manage to undo mine with a small set of scissors, was a bit hard at first and had to hunt around the house trying tweezers, pliers, etc till I found something that was a good fit.
Later versions of the FW3A also come with the tailcap retaining ring.
My bare aluminum FW3A and Ti-Cu FW3T both came with the tailcap retaining ring.
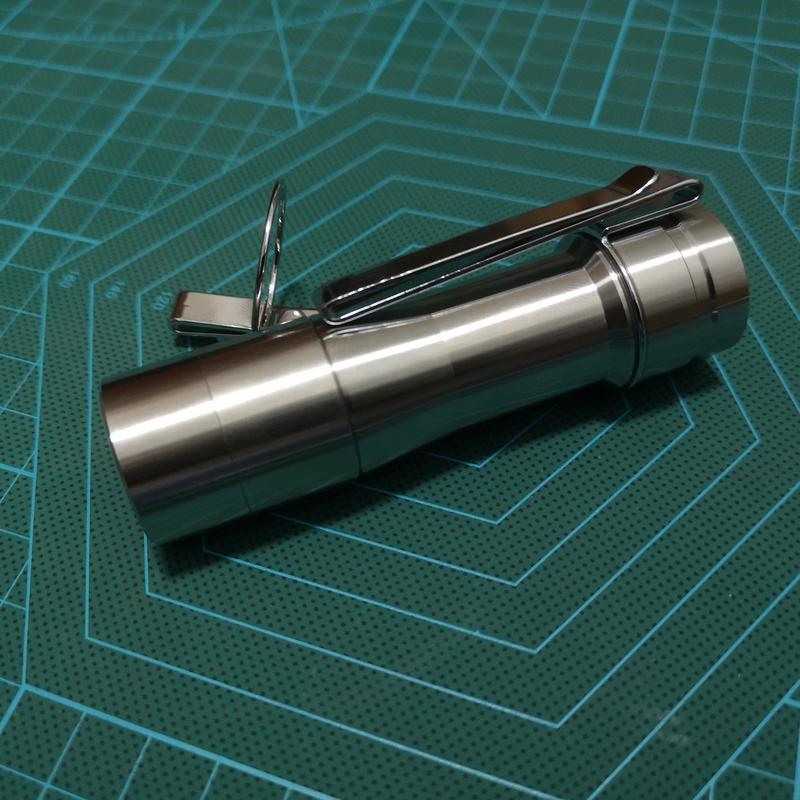
Ehm...Just bought SS bezel for FW1A @Neale...
And FW3SS just released, again at Neale so combining these 2 you get FW1SS...
Just ordered one of these from Amazon, hopefully it will get the job done. Thanks.
Those are great for normal retaining rings but will not work for these. The threads are too close and there’s just not enough room. You can take apart a binder clip and use the steel thumb part. I mostly use some steel tweezers and just work one side at a time to break it loose.
I also ordered a set of tweezers too, so hopefully one of the tools will work. I’ll follow your advice and work on one side at a time. Thanks.
SS FW1A is on the way, well combining parts at least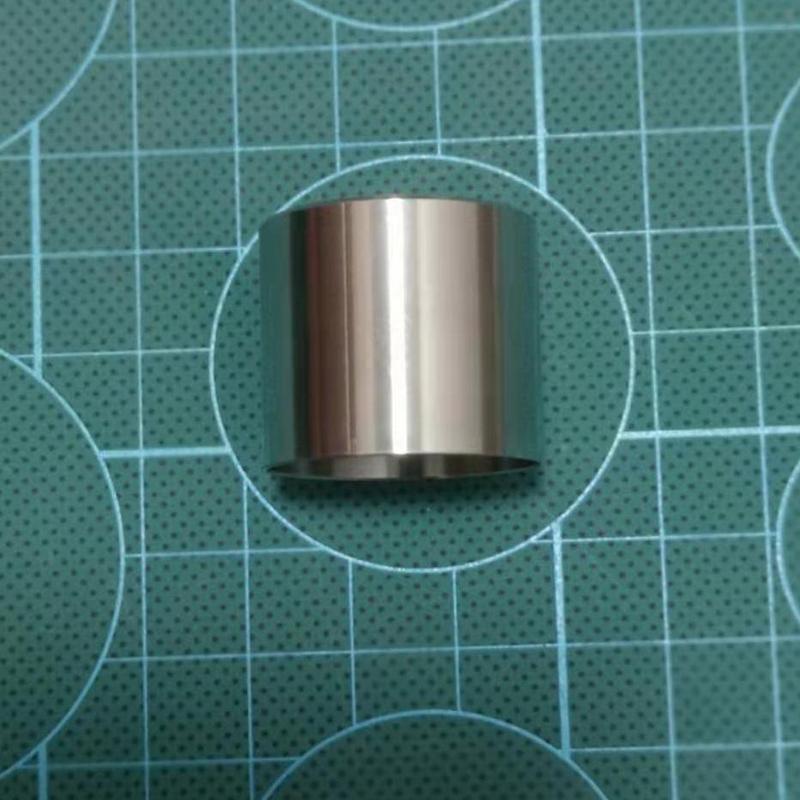
Worked for me, yeah you can always rig something bending some tweezers will work too, or a strong enough paper clip.