ANB's 13th Annual Old Lumens Challenge Entry - undetermined

Hey all
I want to throw in my towel for this here contest, but I am not quite certain what exactly I’ll be submitting! New member and first time contestant!

I’ve been learning a lot about LEDs for the past year or so, but have been an “enthusiast” for ages. I have an extensive background in residential construction, and have accumulated a wide array of materials and skills through that line of work.

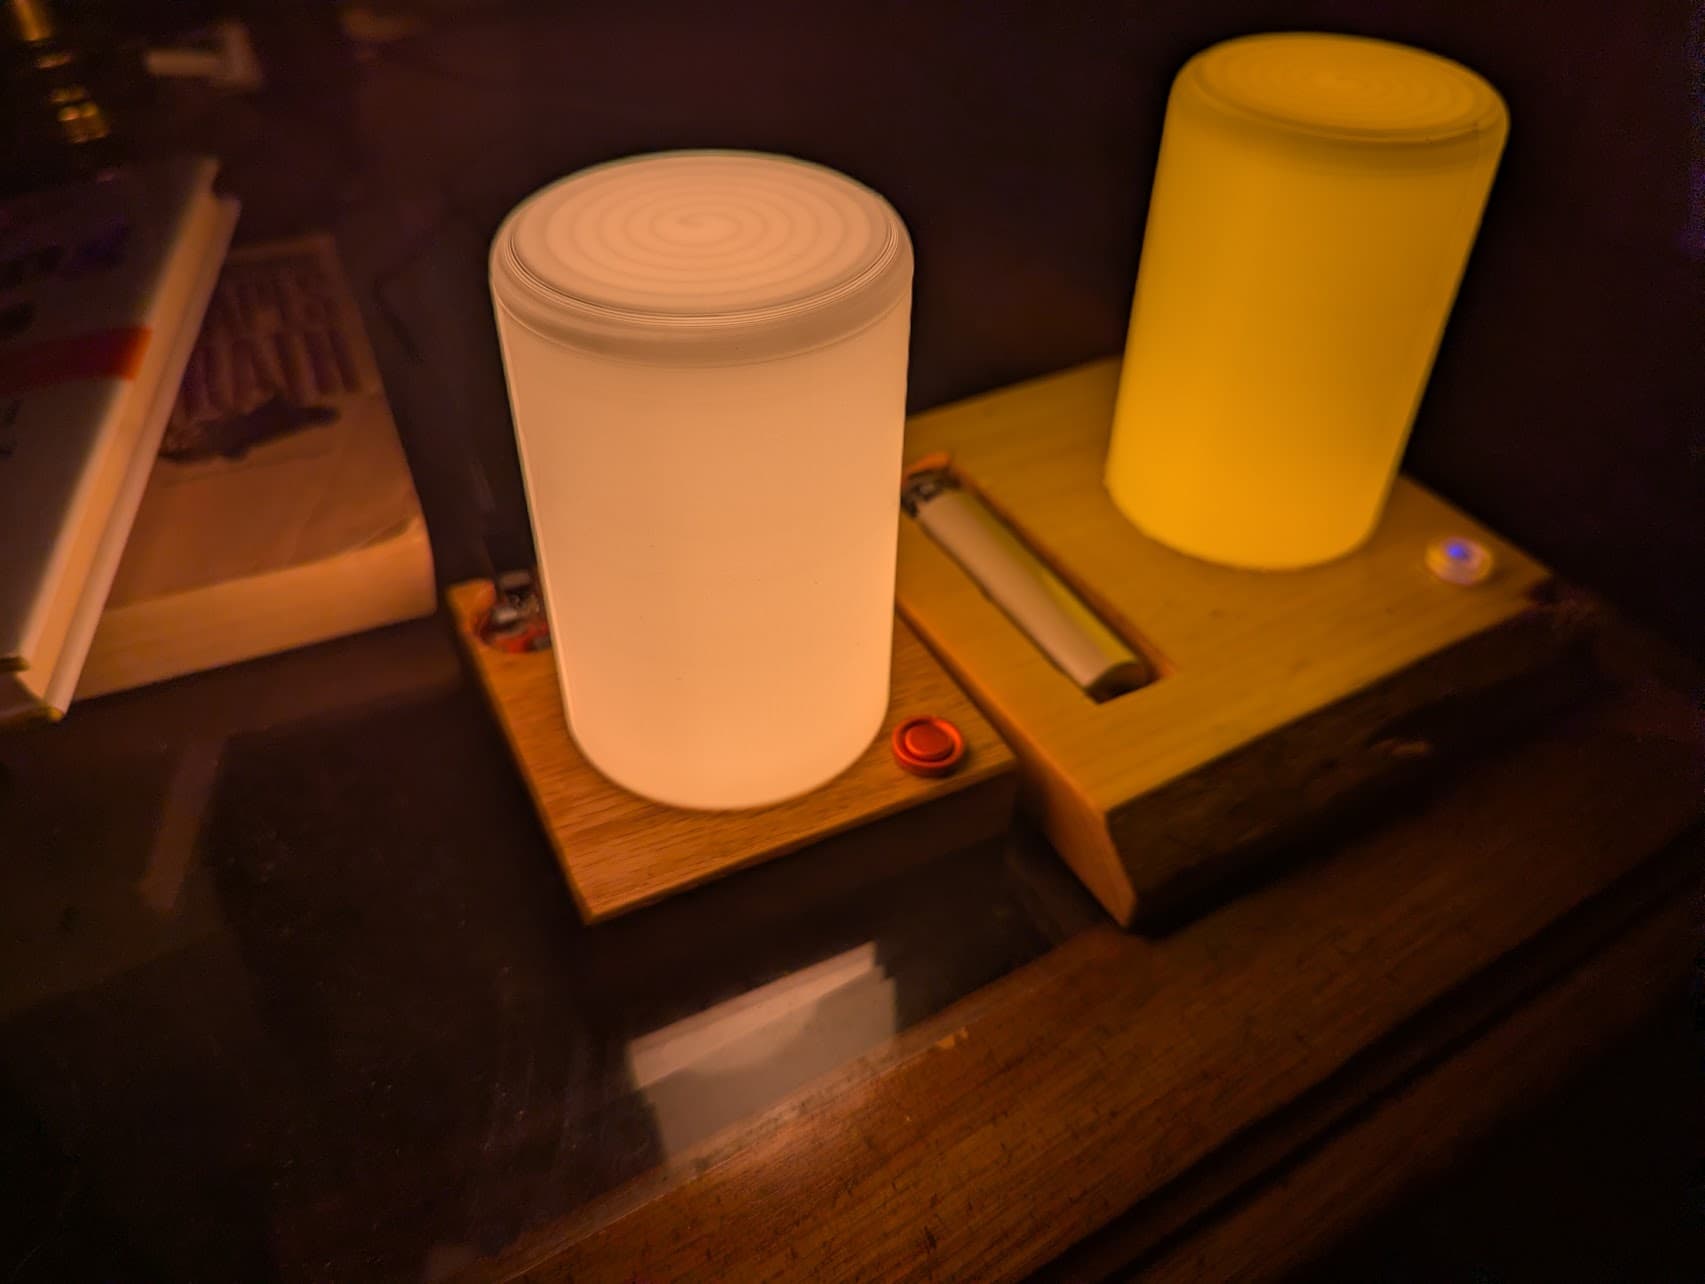
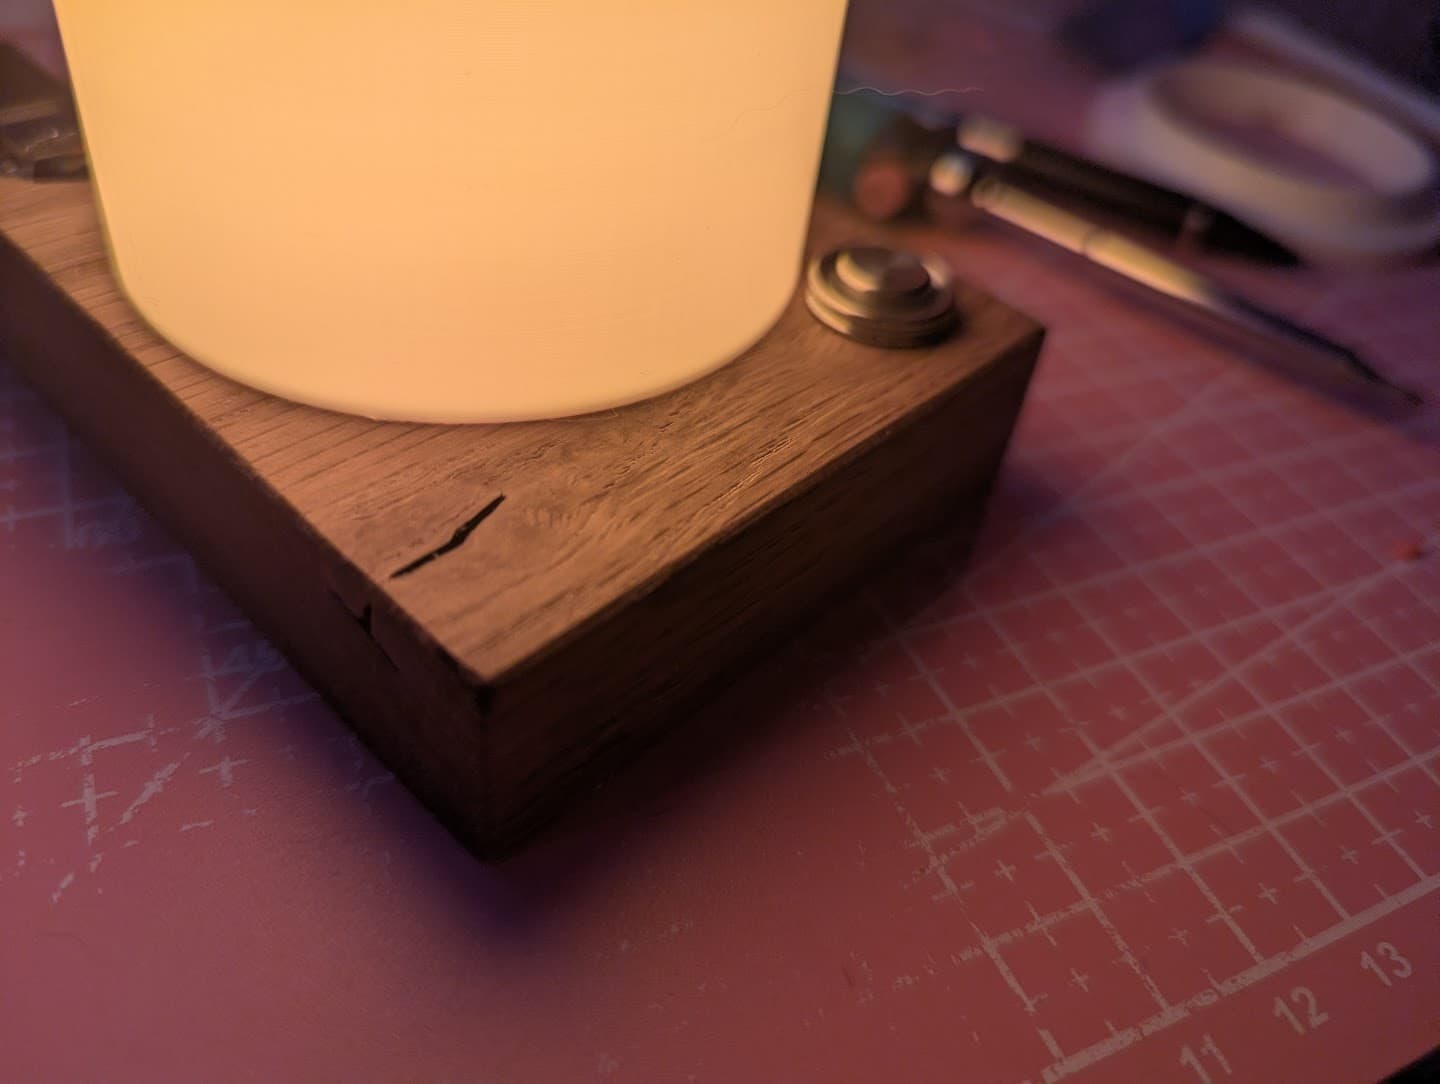
I put this lamp together before I knew about this contest, and was encouraged to submit and entry!
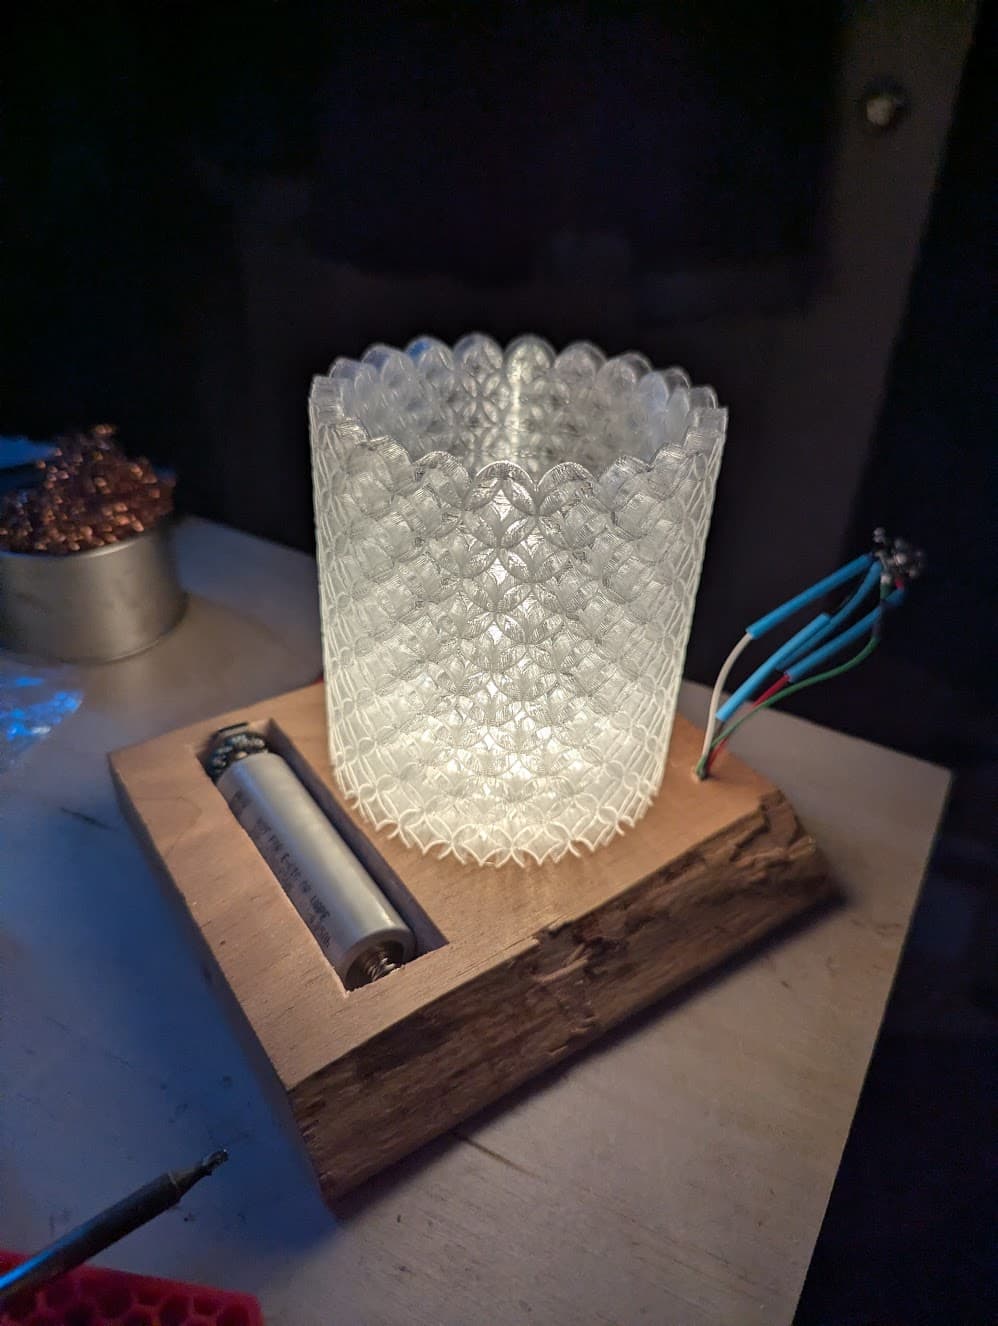
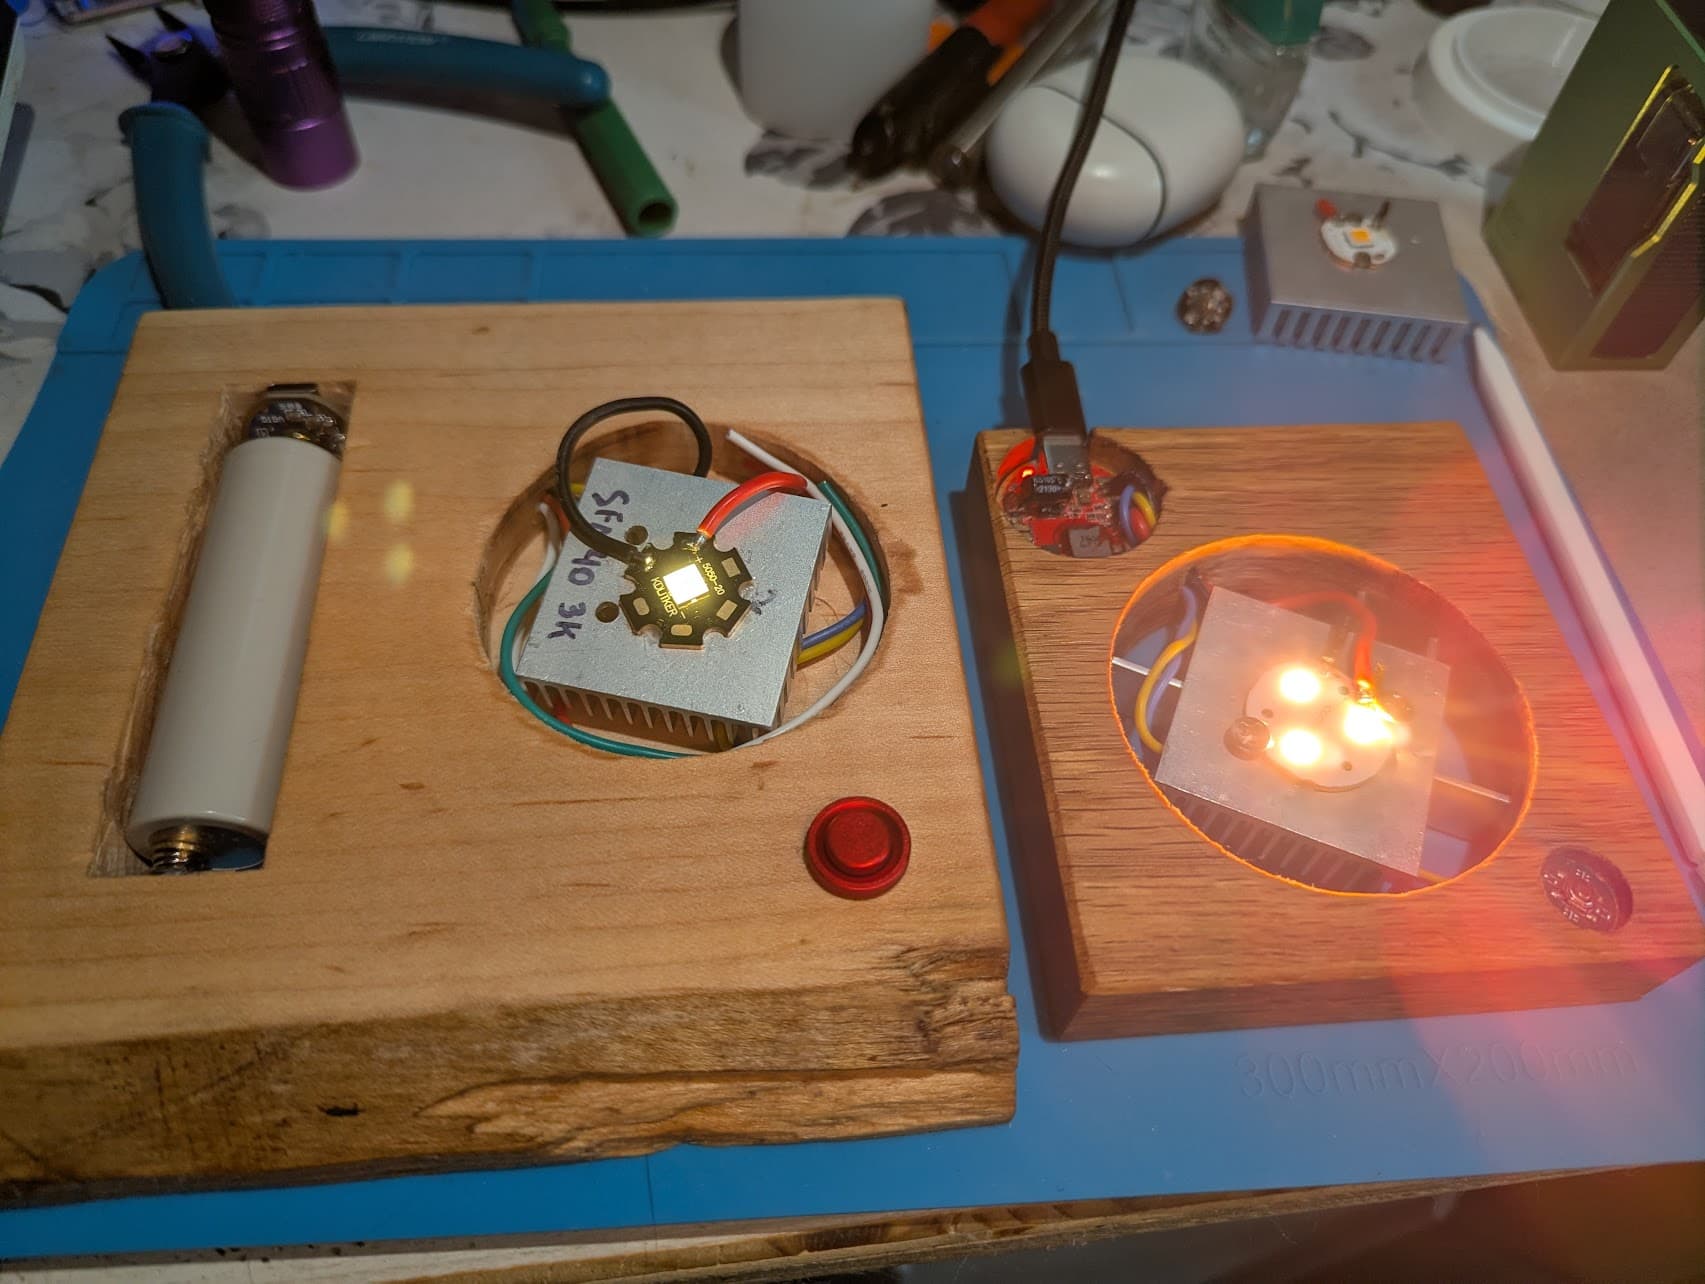
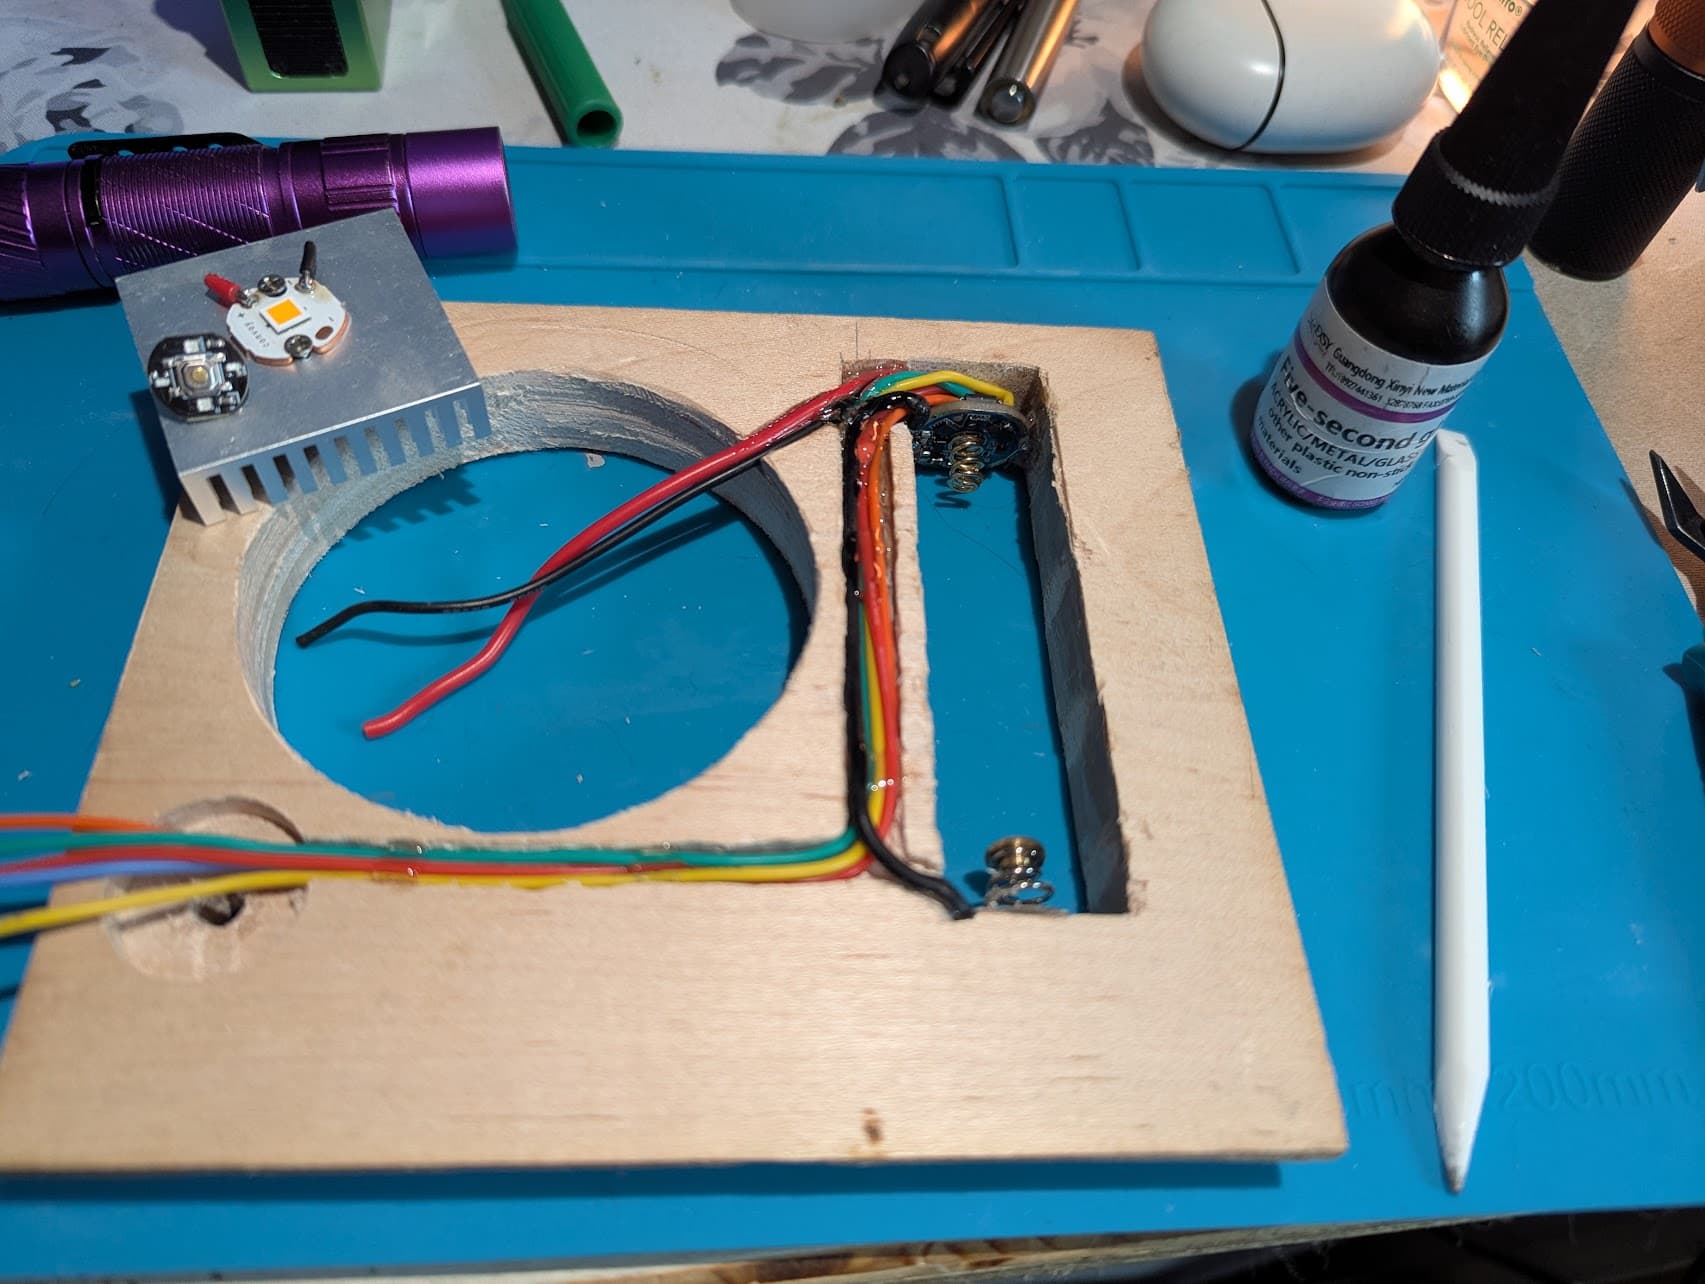
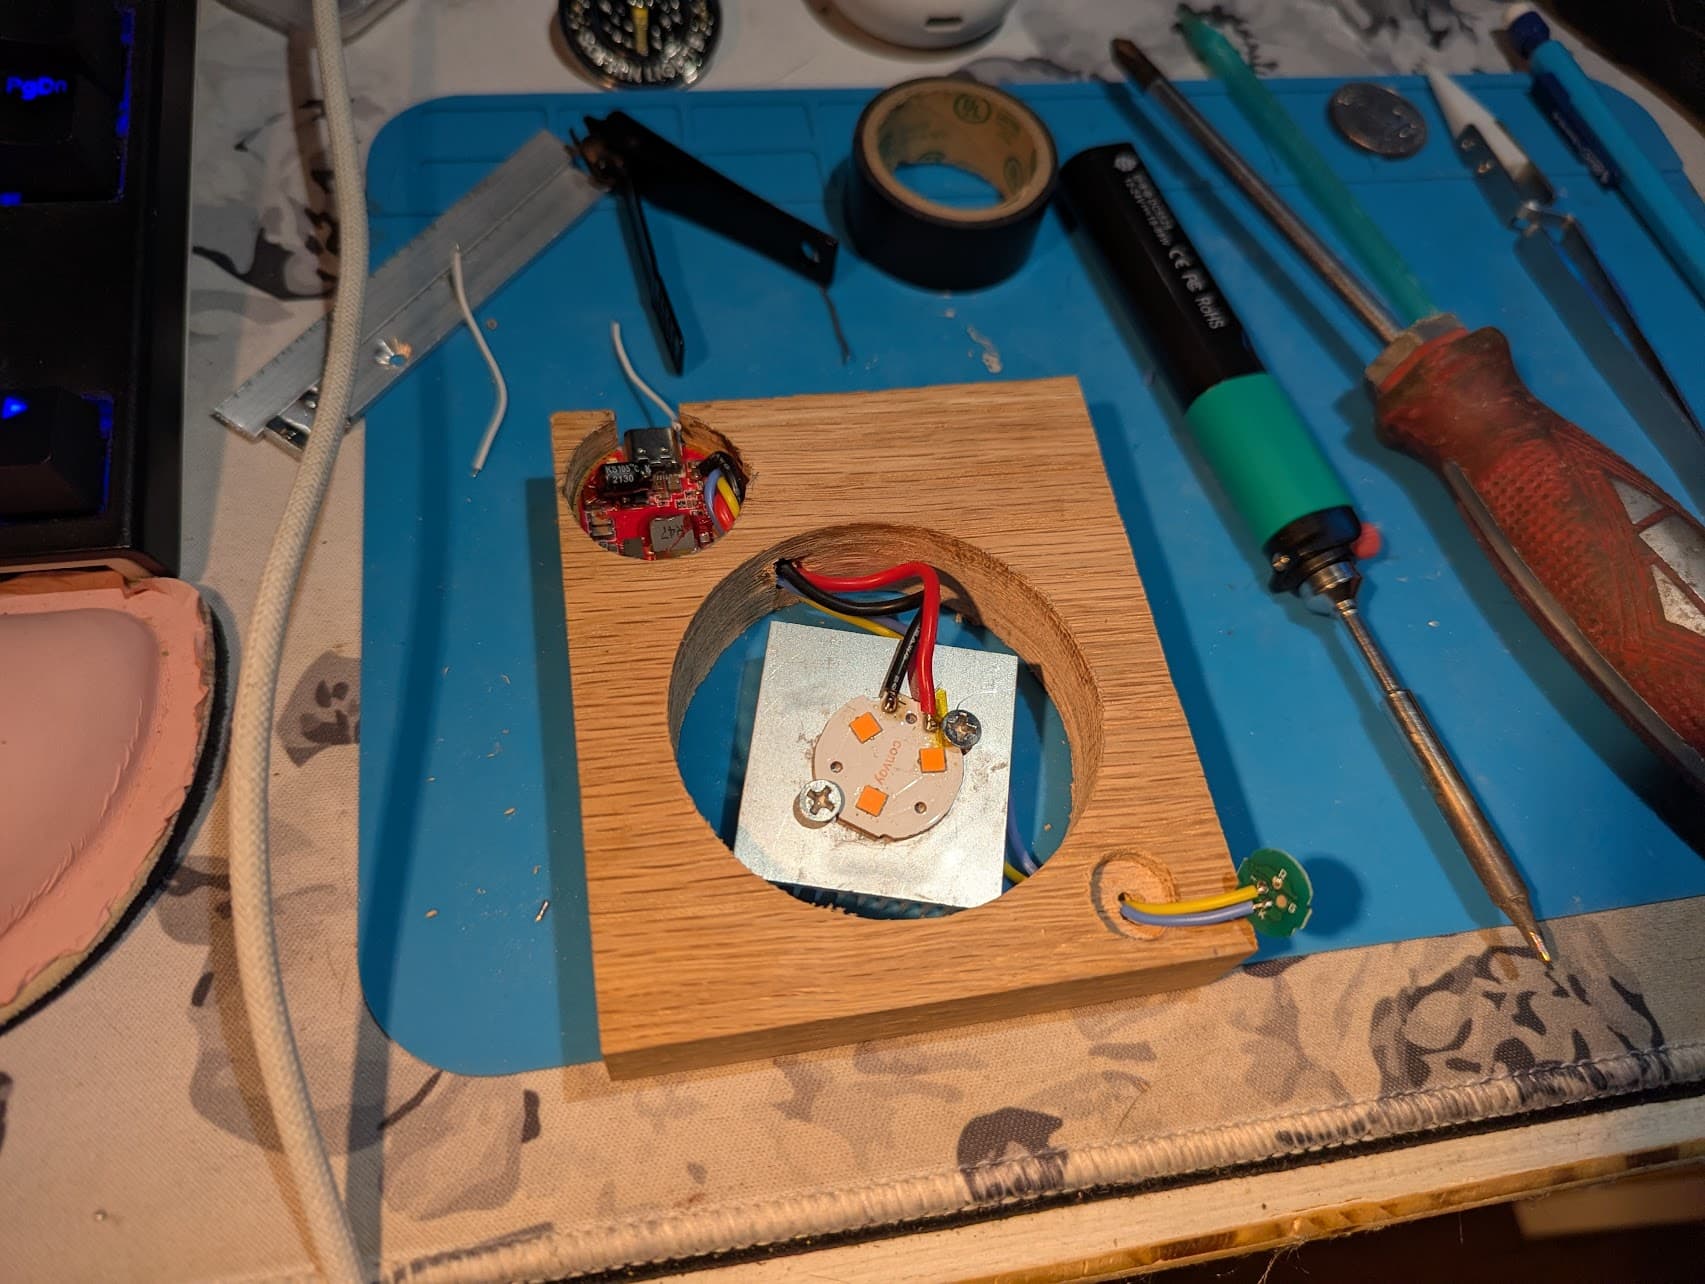
I did not document my build, so I felt that I’d need to build another, which is fine - as I have ample material and time on my hands! I selected a handful of pieces that are each more than suitable, and then chose a specimen. Driver is a Convoy 28mm 3v 8amp, connected to 3 FFL351a @1800k in parallel. More on that heatsink+aluminum strips later.
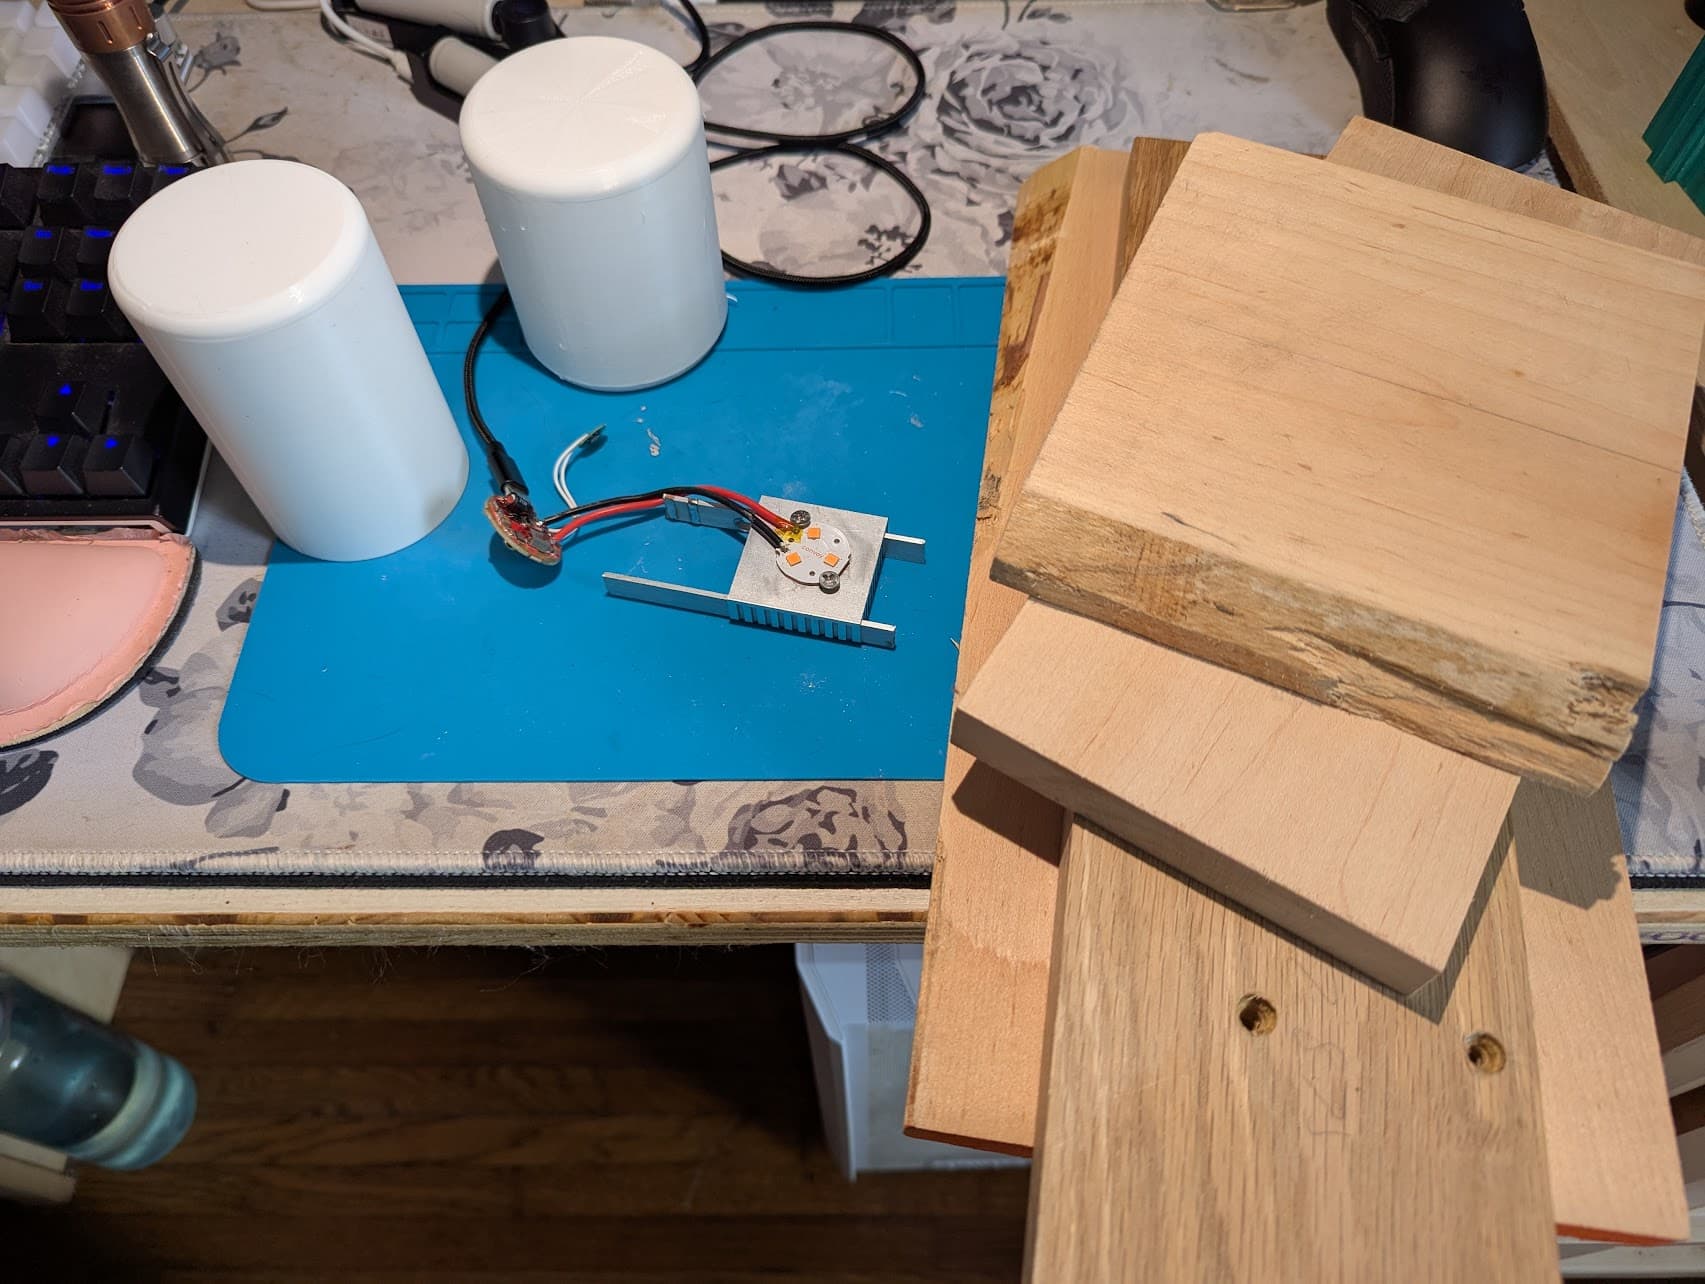
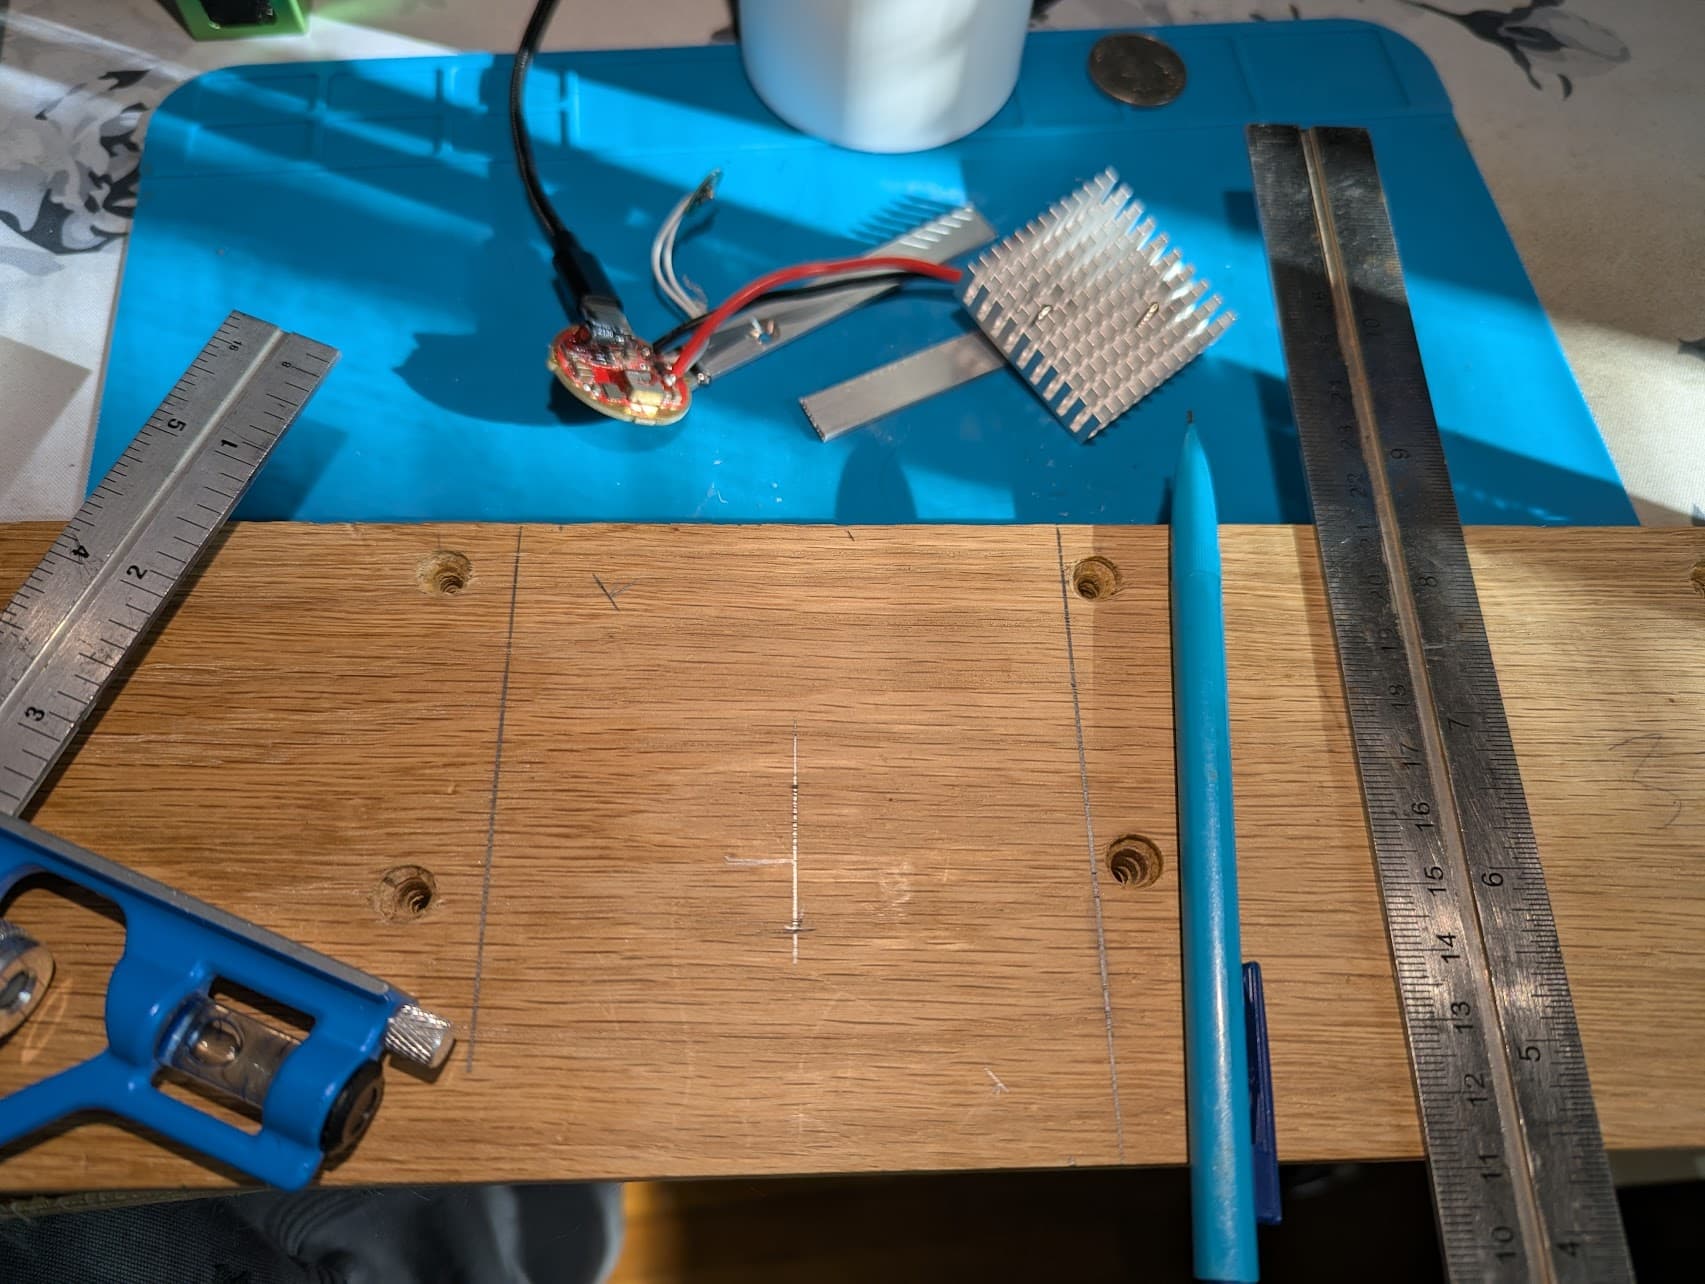

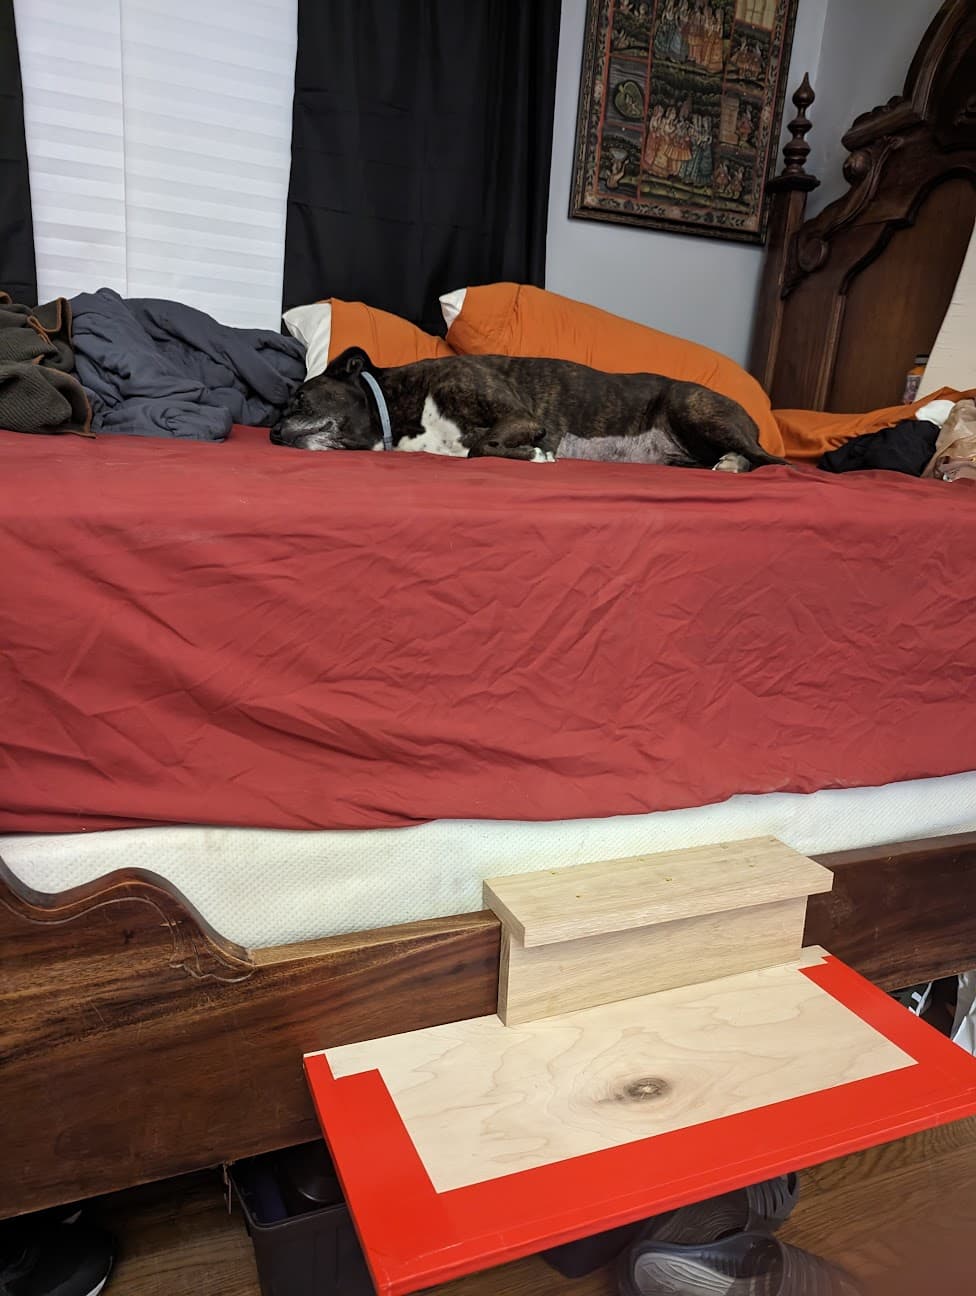
This piece of walnut I’d used in an older project as part of a step to help my elderly pup get into our tall bed. It will now have a new life. Wasn’t exactly sure about my layout, but decided to send it.
edit: bonus picture of walnut board in a prior life - and the best doggo in the world, Grease:
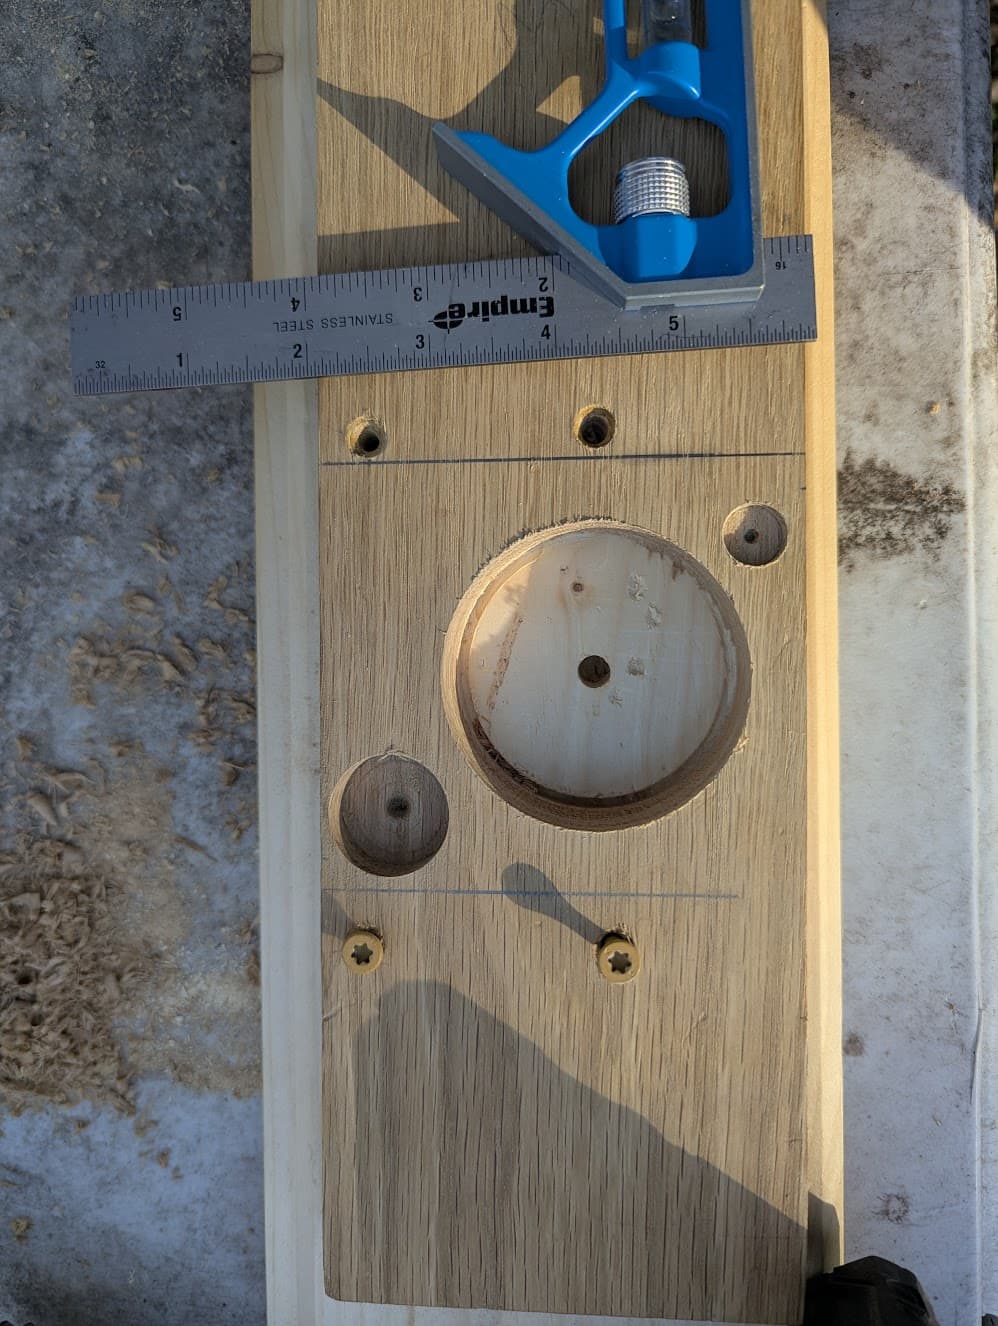
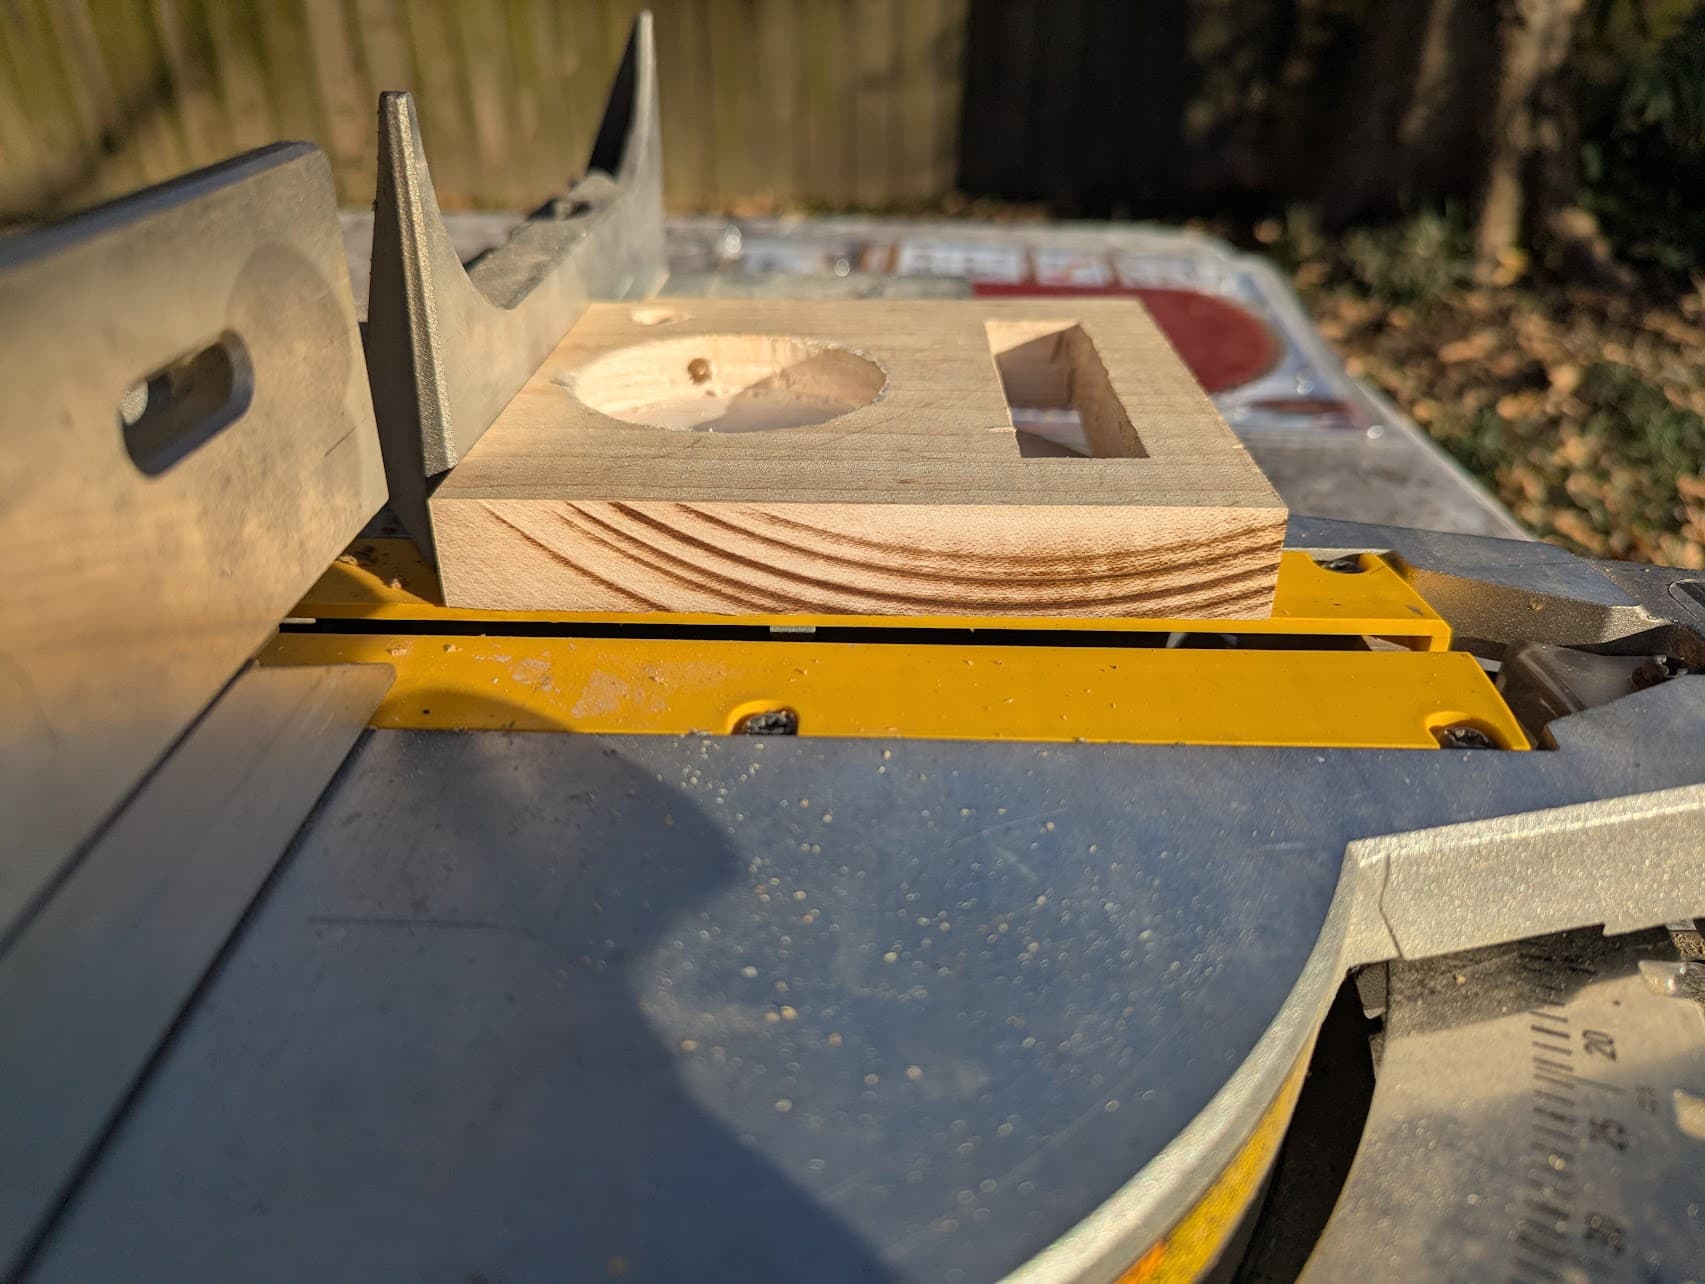
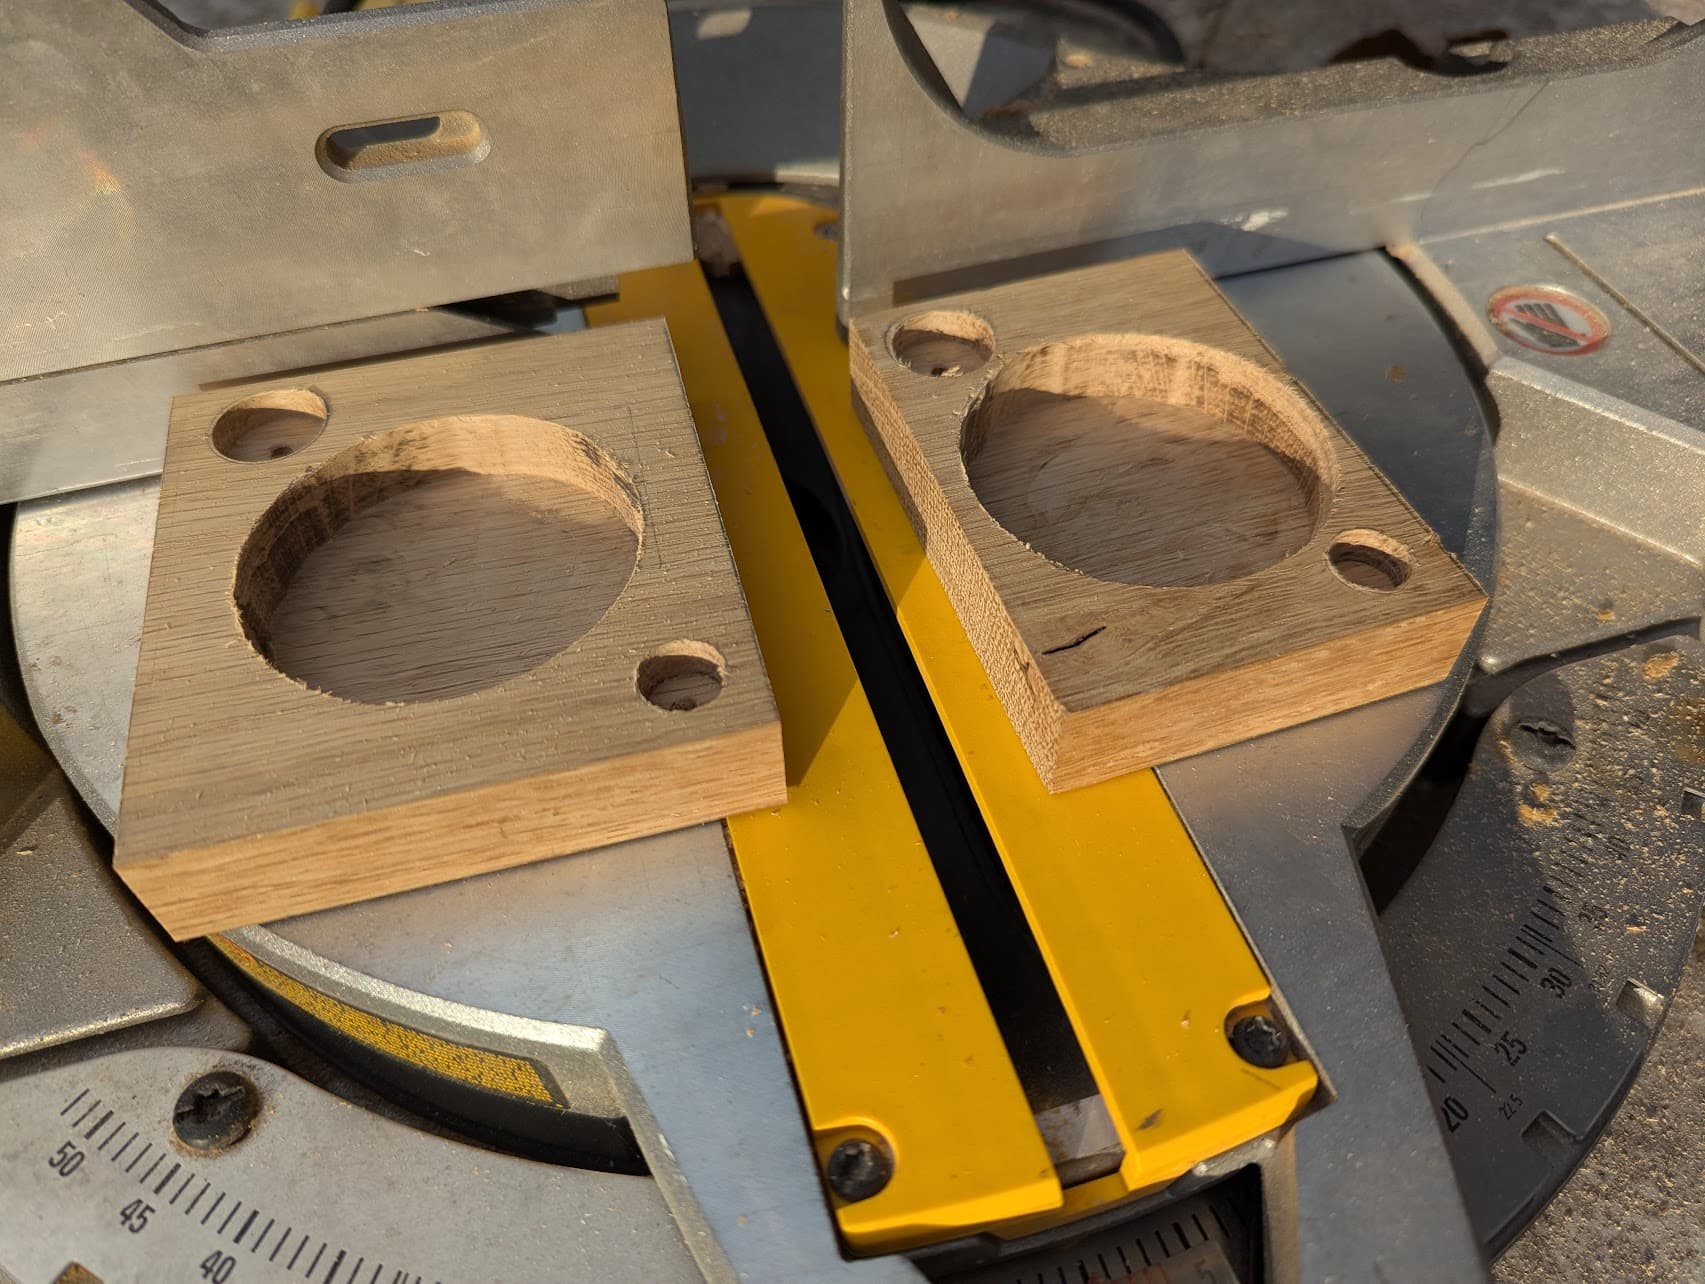
Cut time
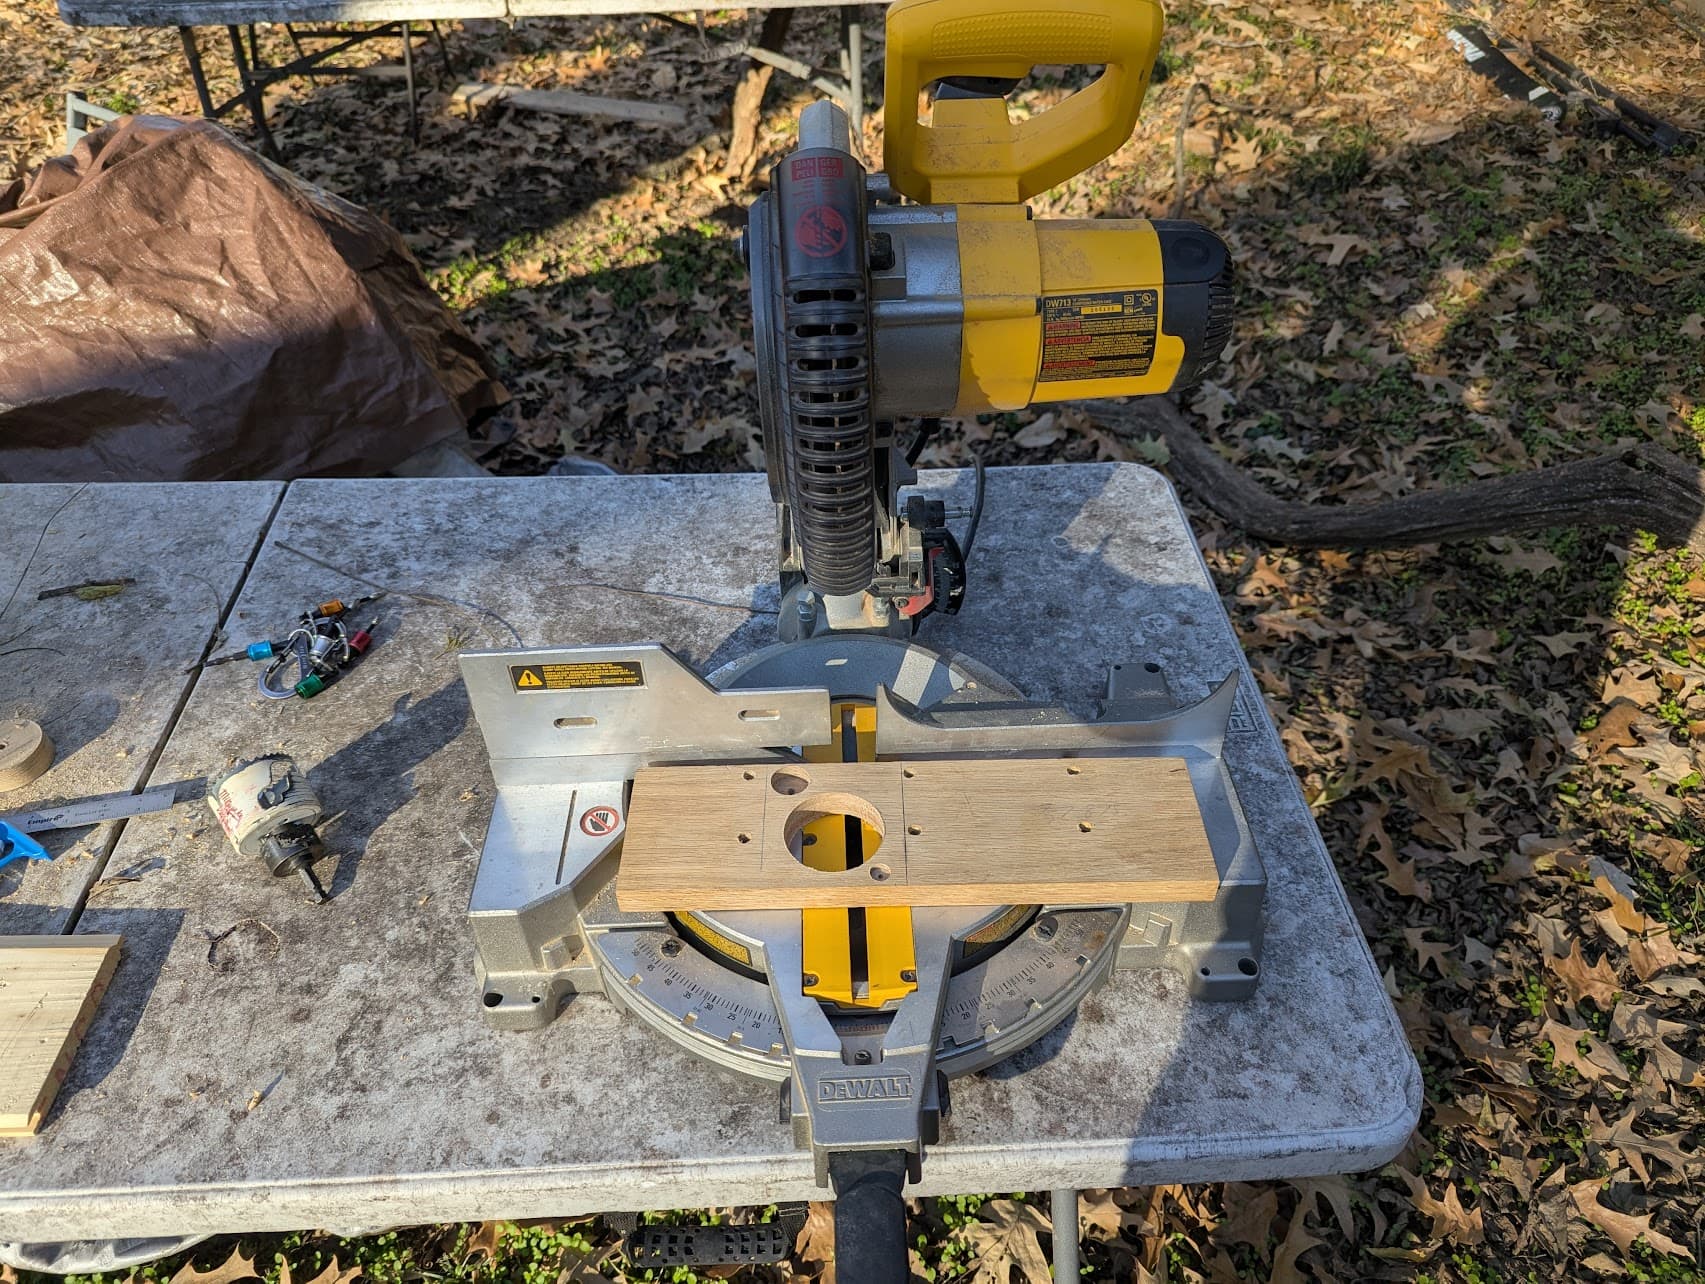
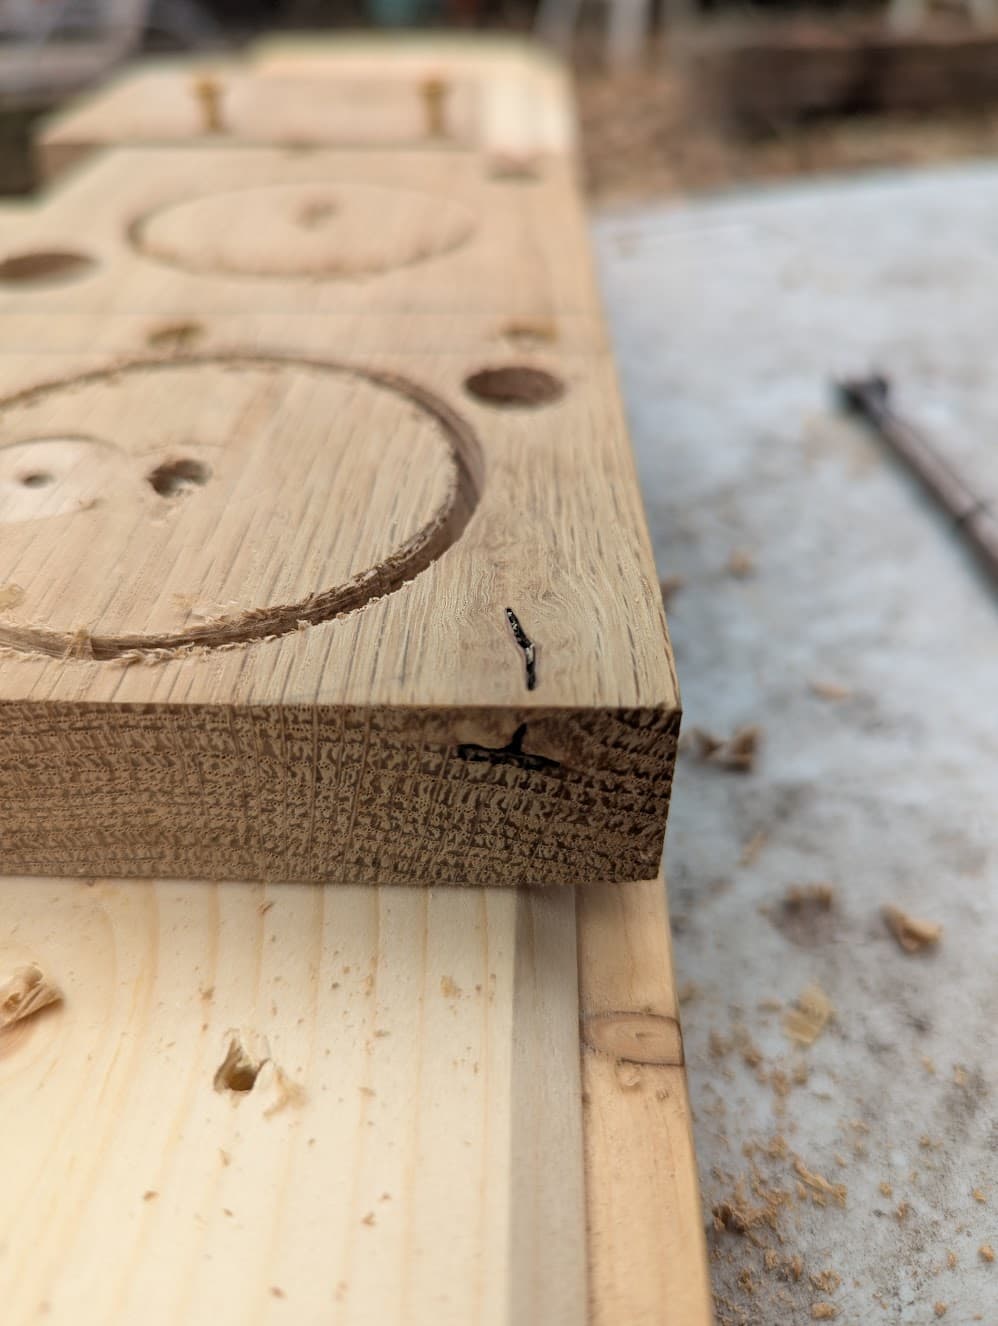
Pretty end grain!
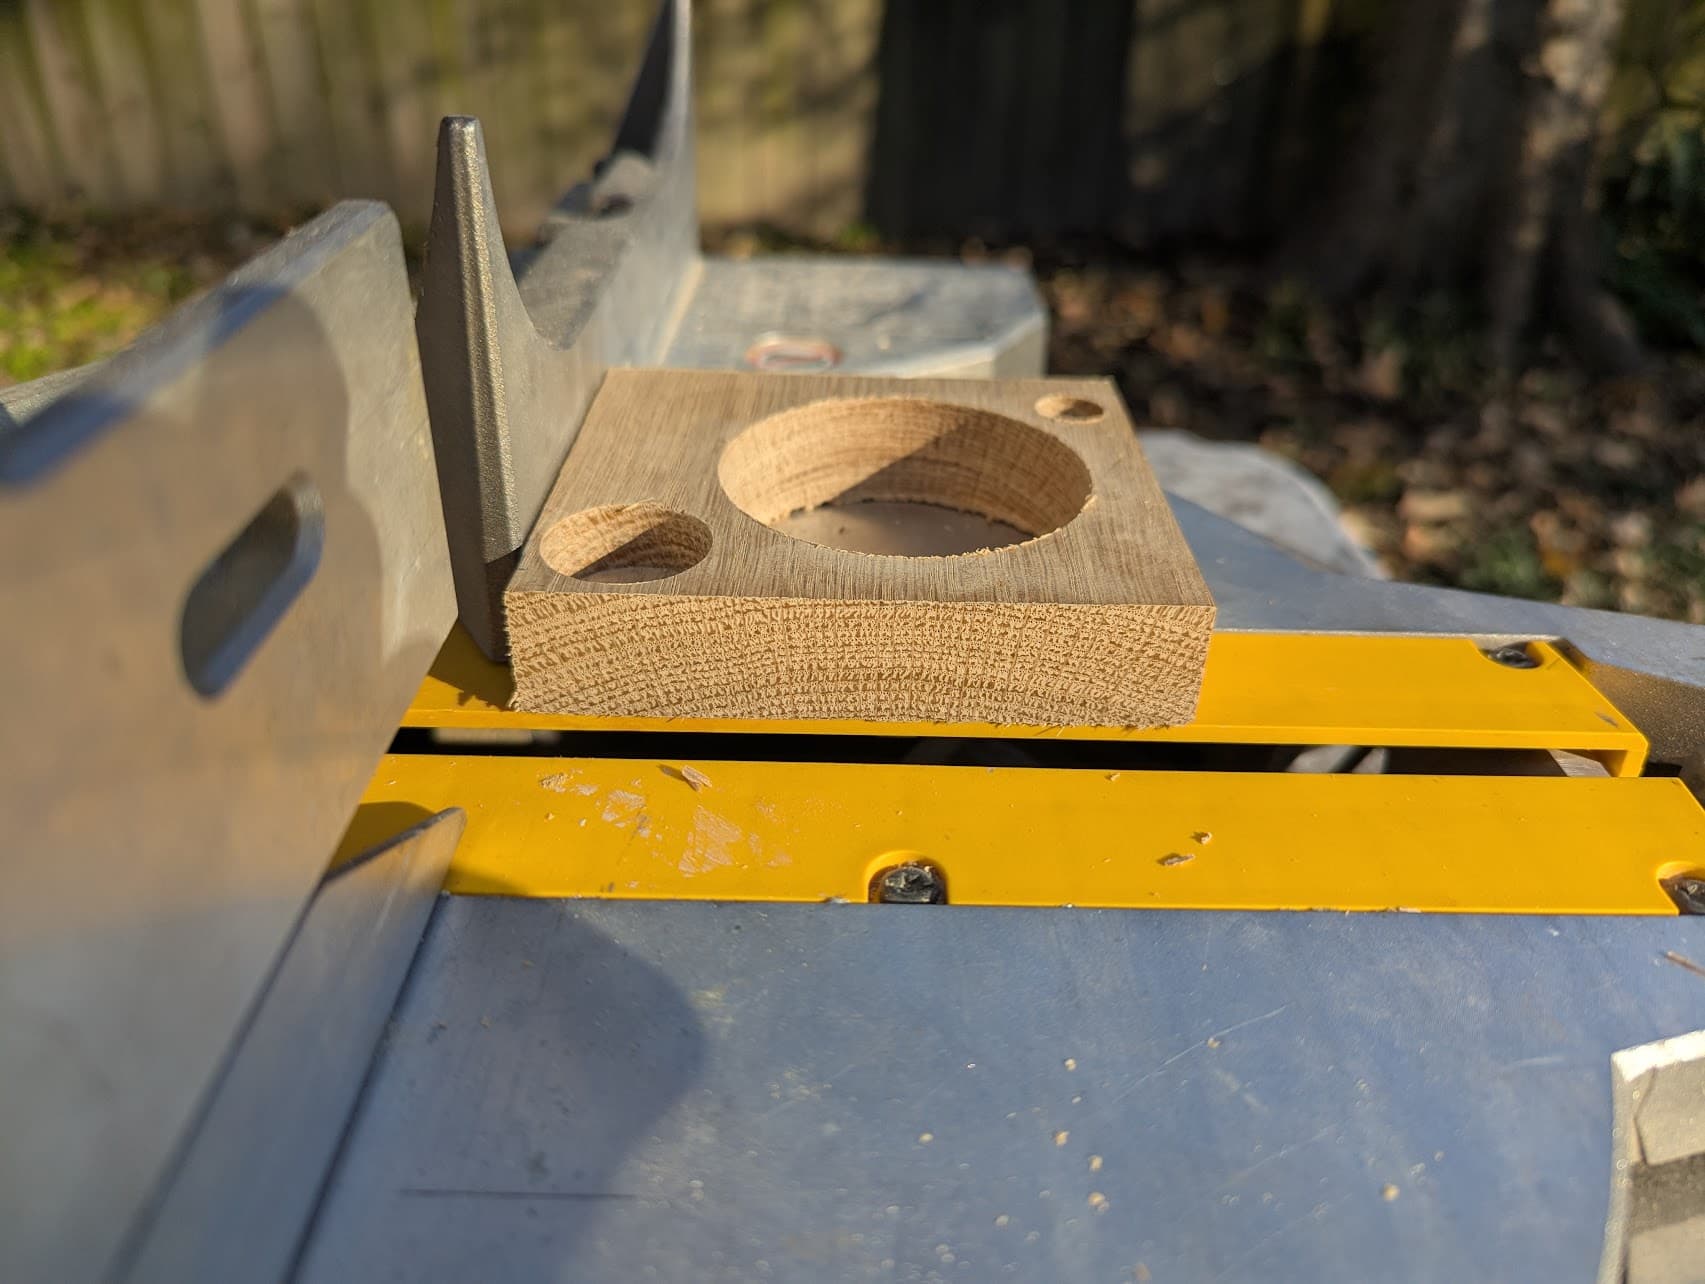
Blurry pic of driver layout - I drilled the space for the driver a bit small, with plans of enlarging it to a tight fit:
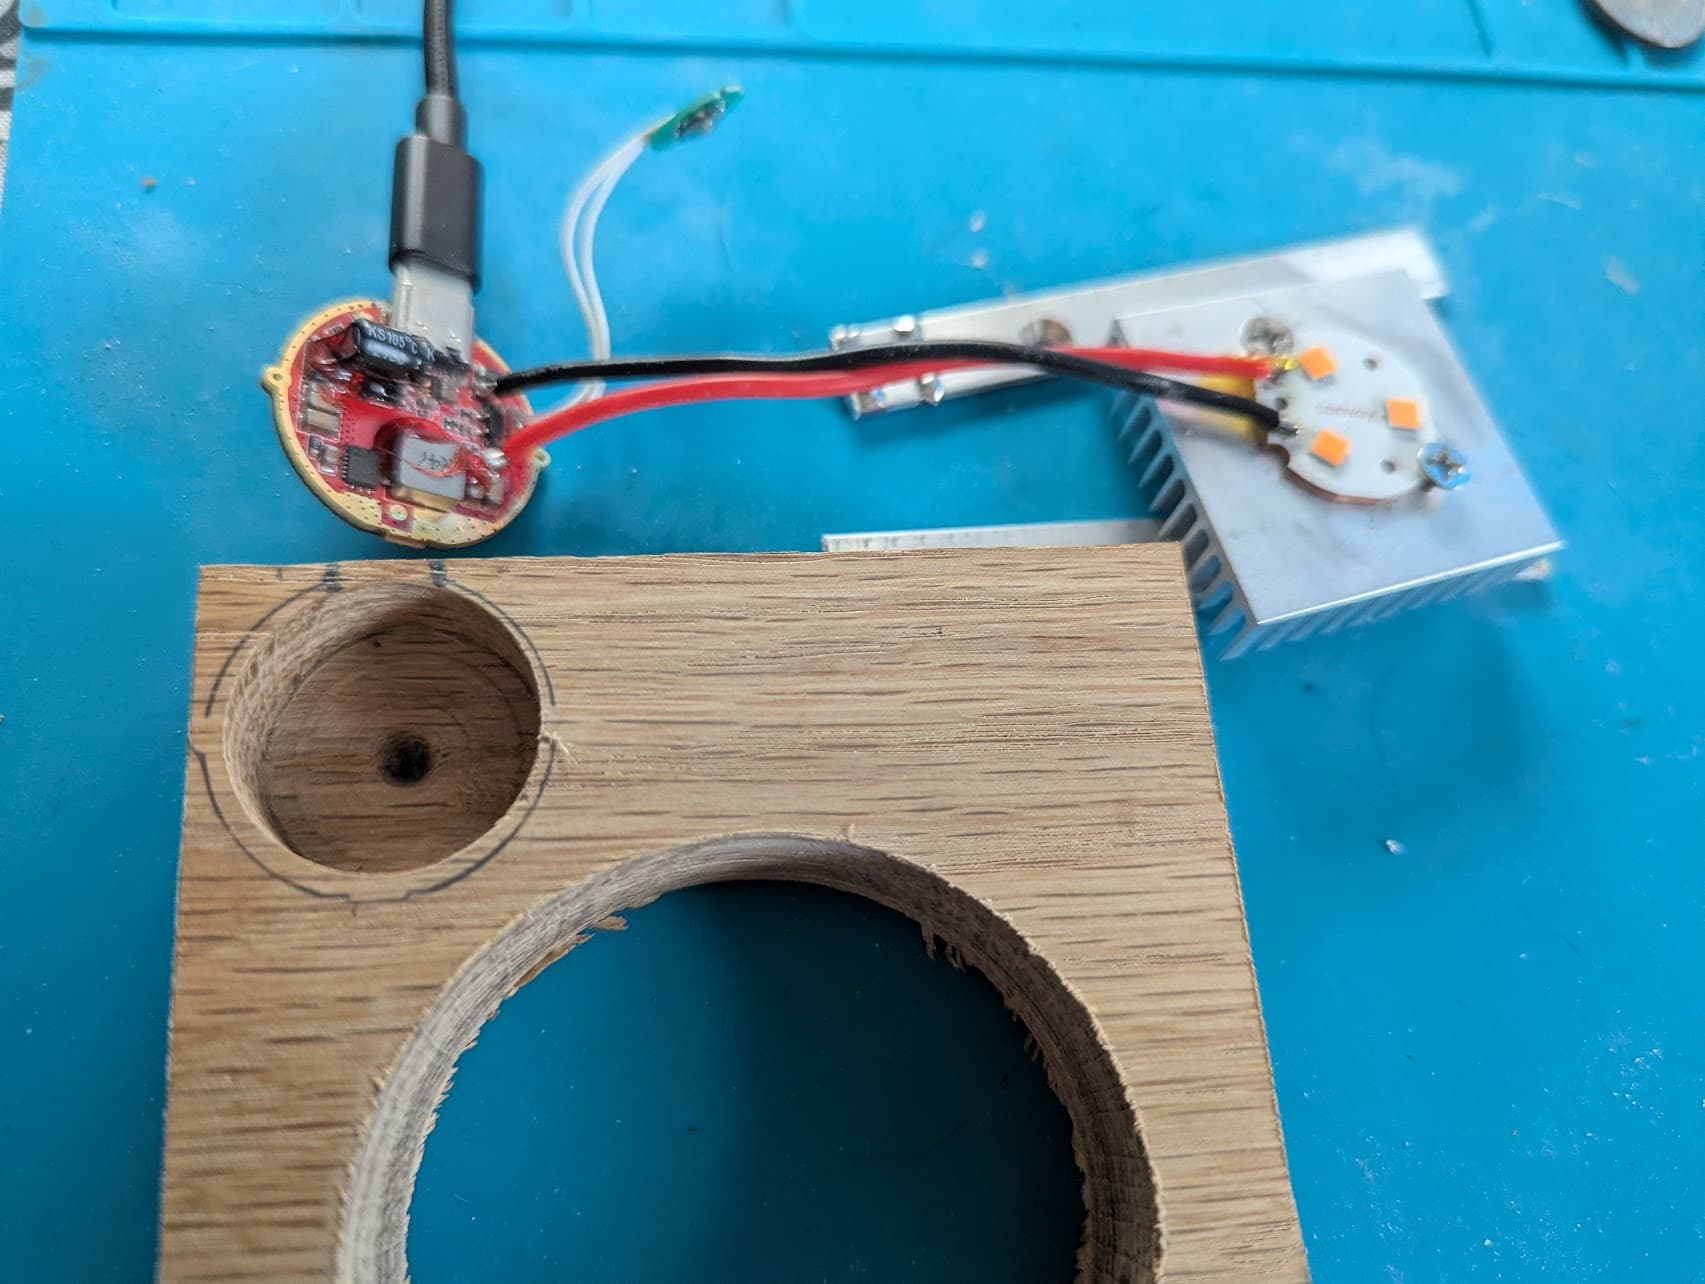
Tight fit secured:
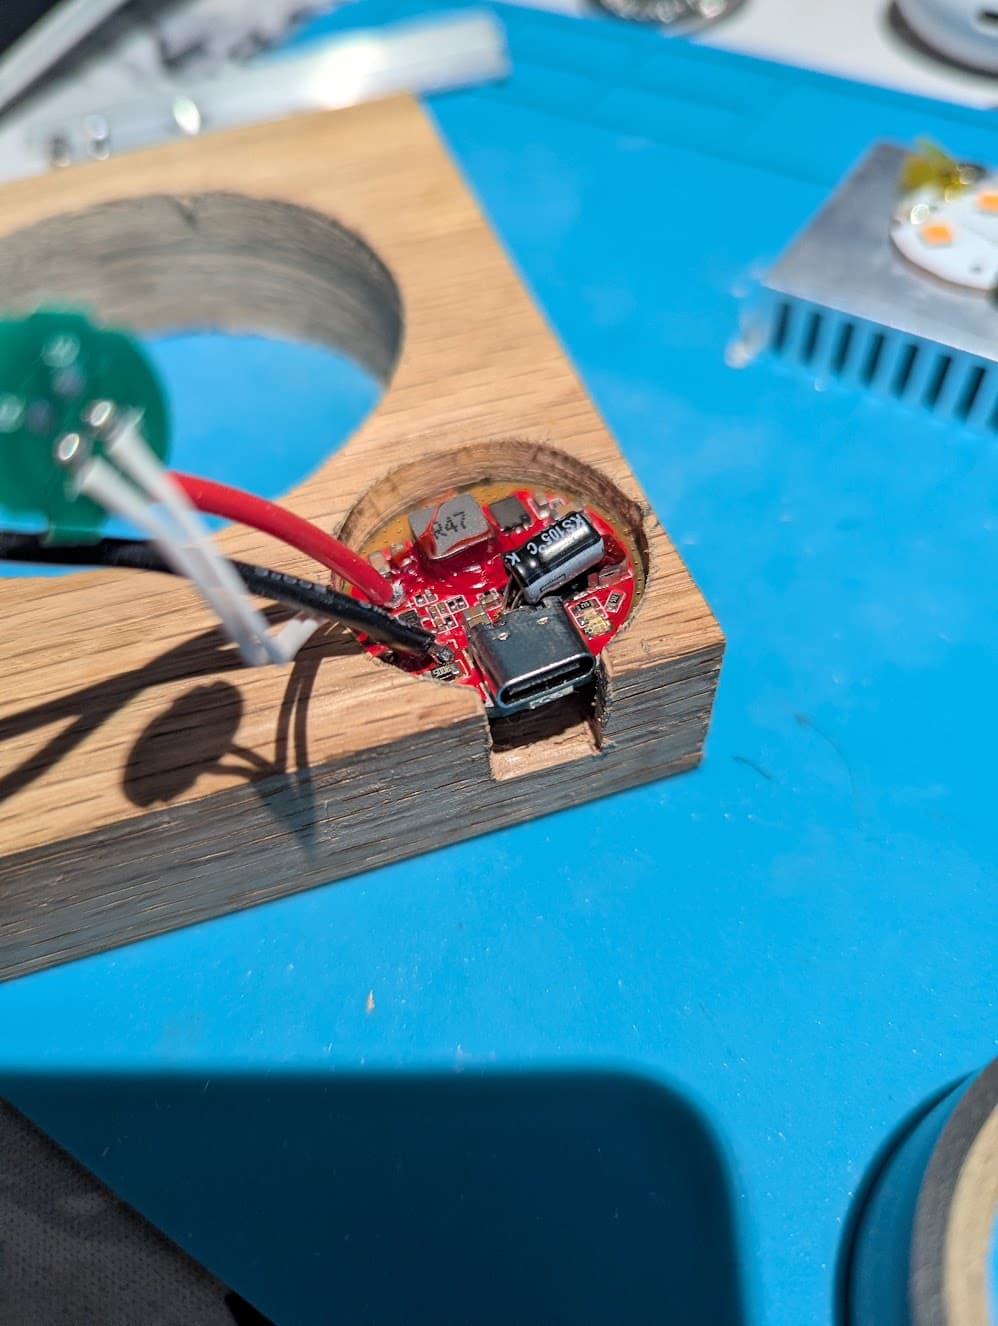
Sun had set, so I moved my work indoors to the living room! Drilling for wire routing:
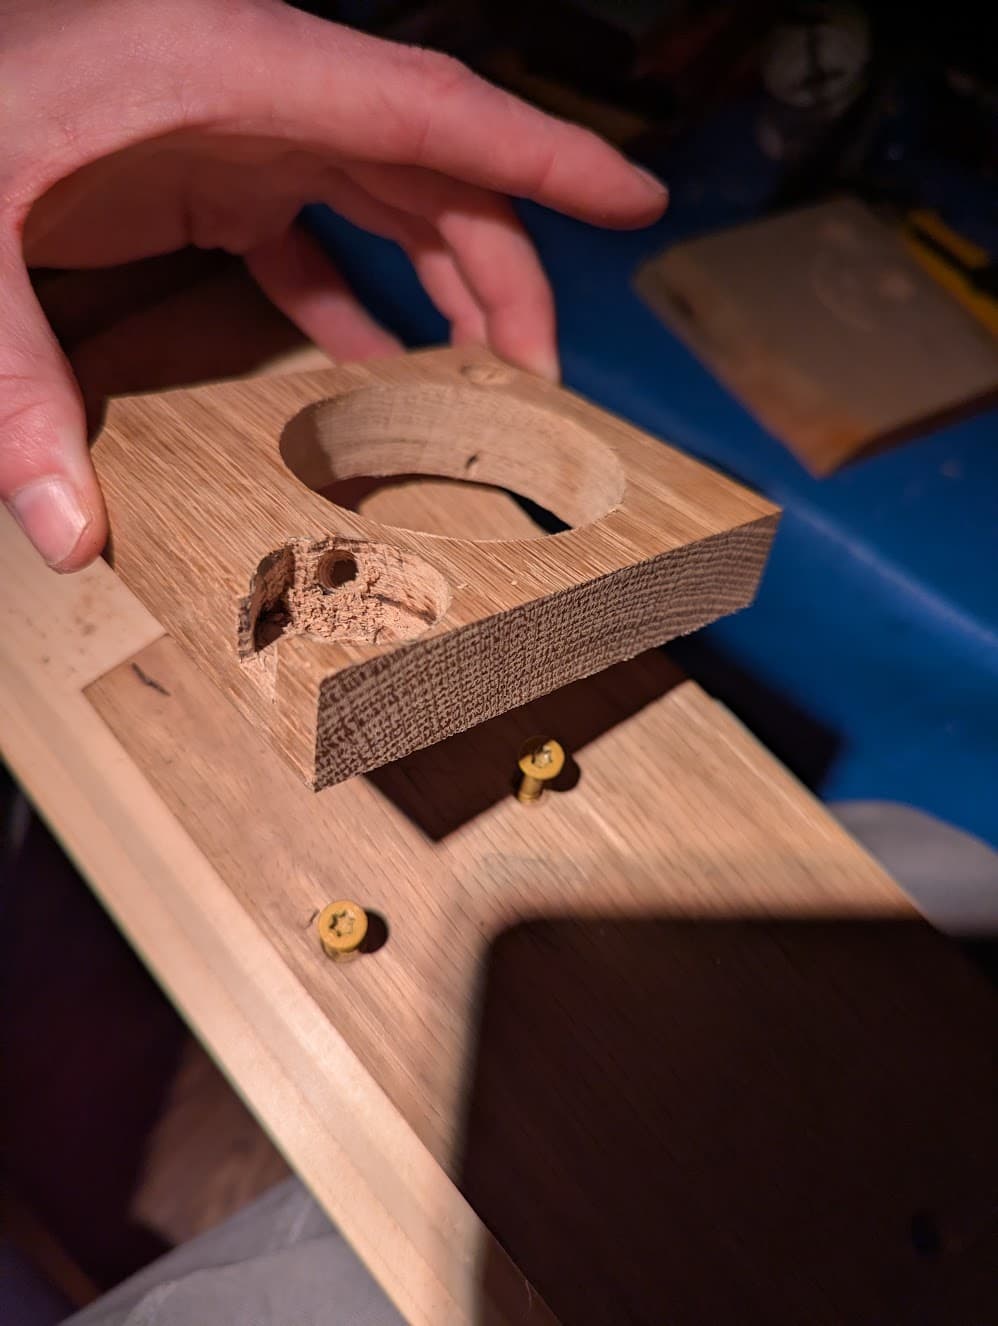
Wires routed!
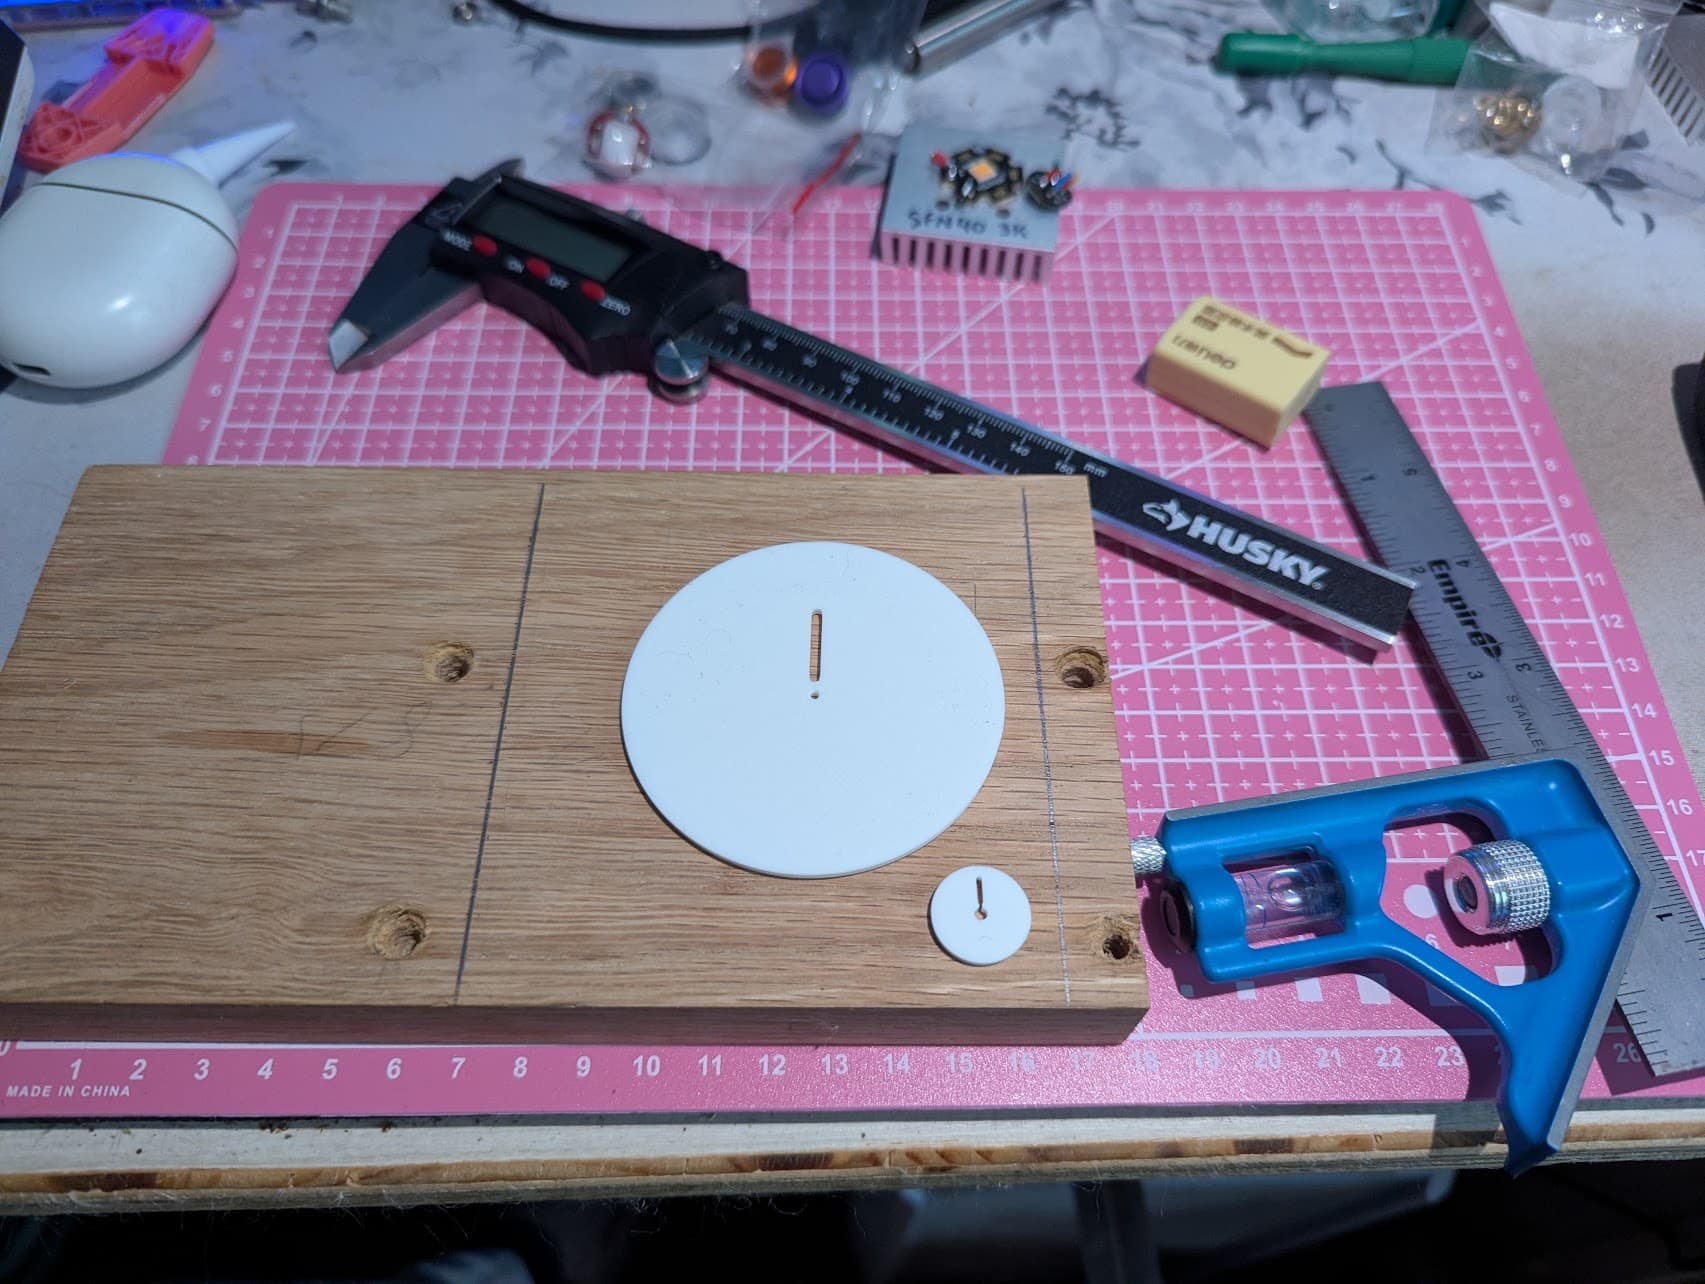
Printed a blank shade out of white PLA and a fitment ring to secure it:
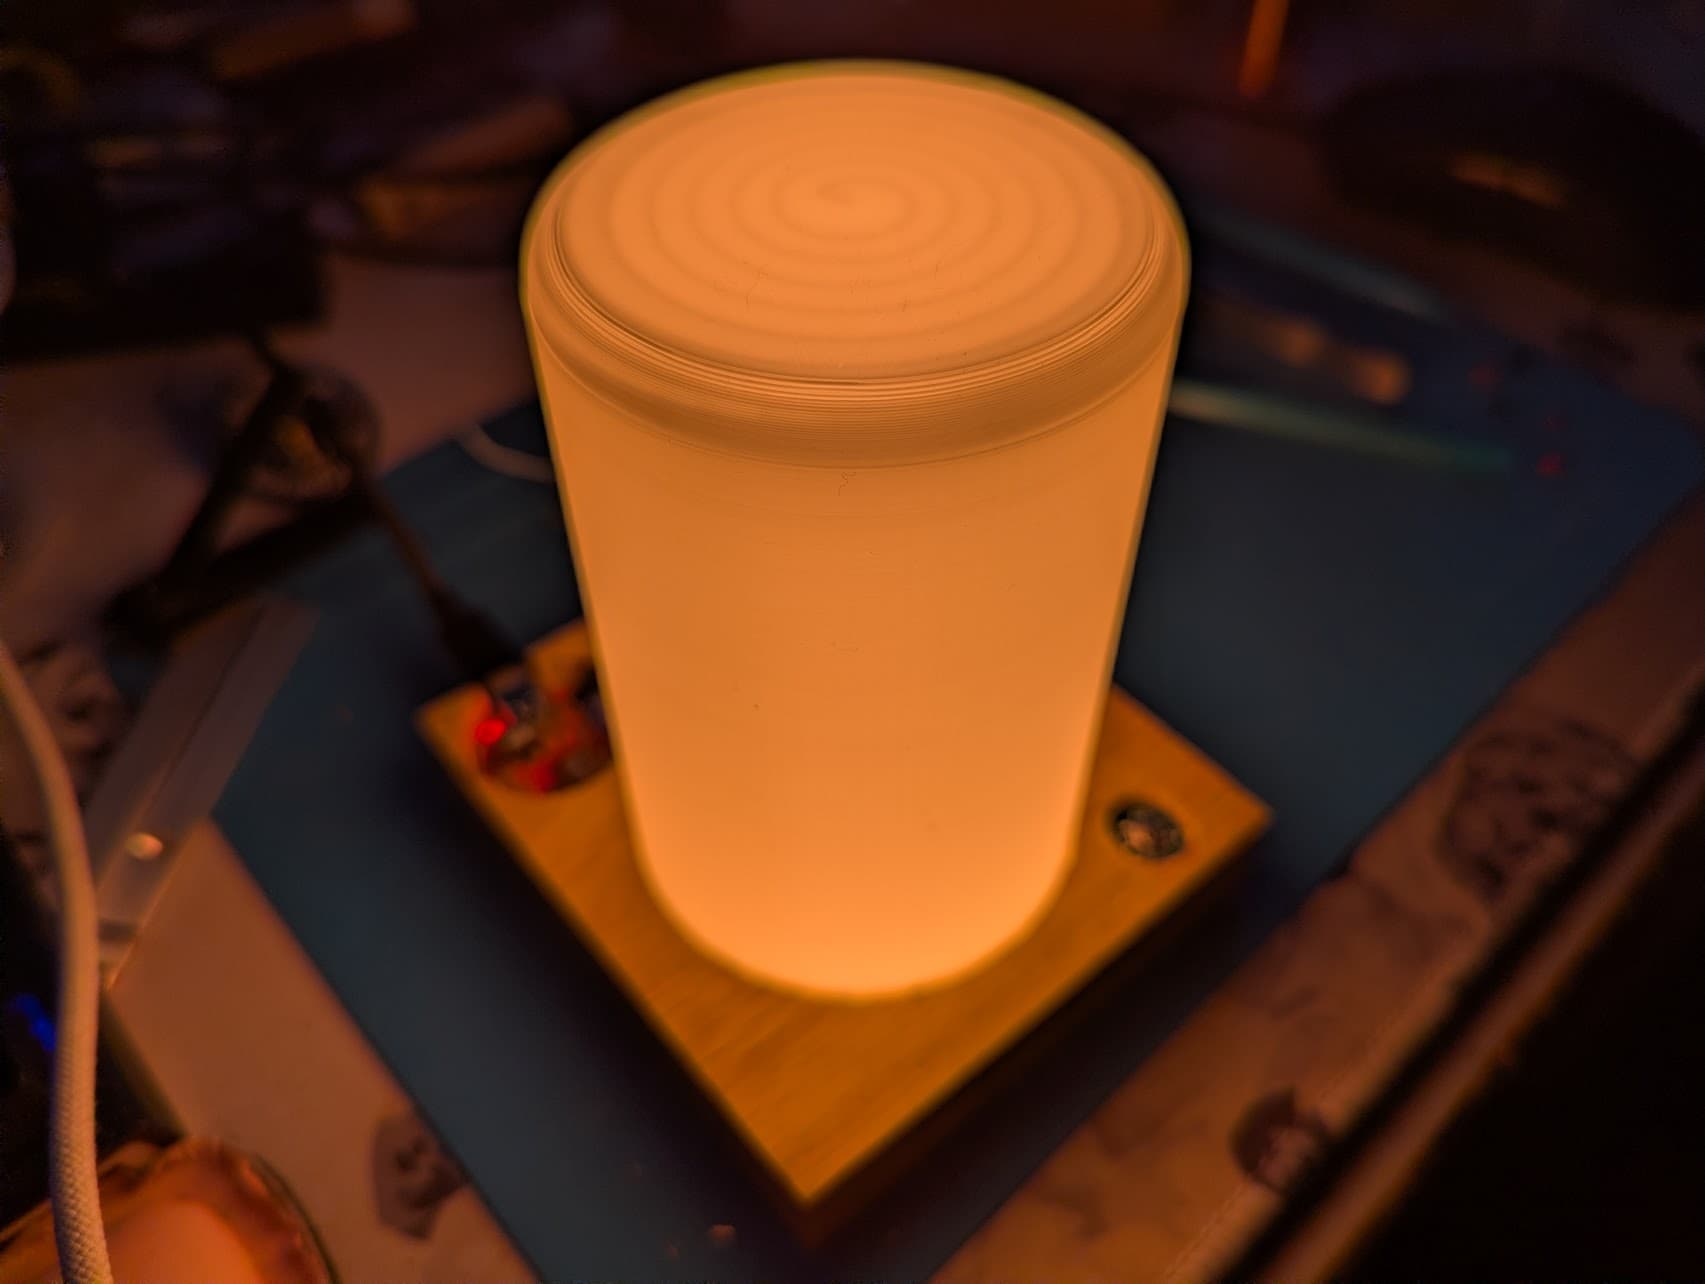
I’m not finished with this build, and I honestly think that I’ll do another/re-do the project, because I’m not quite satisfied with the finished product - and it’s fun to build stuff! I didn’t fully think through this notch, and I don’t like the look of it.
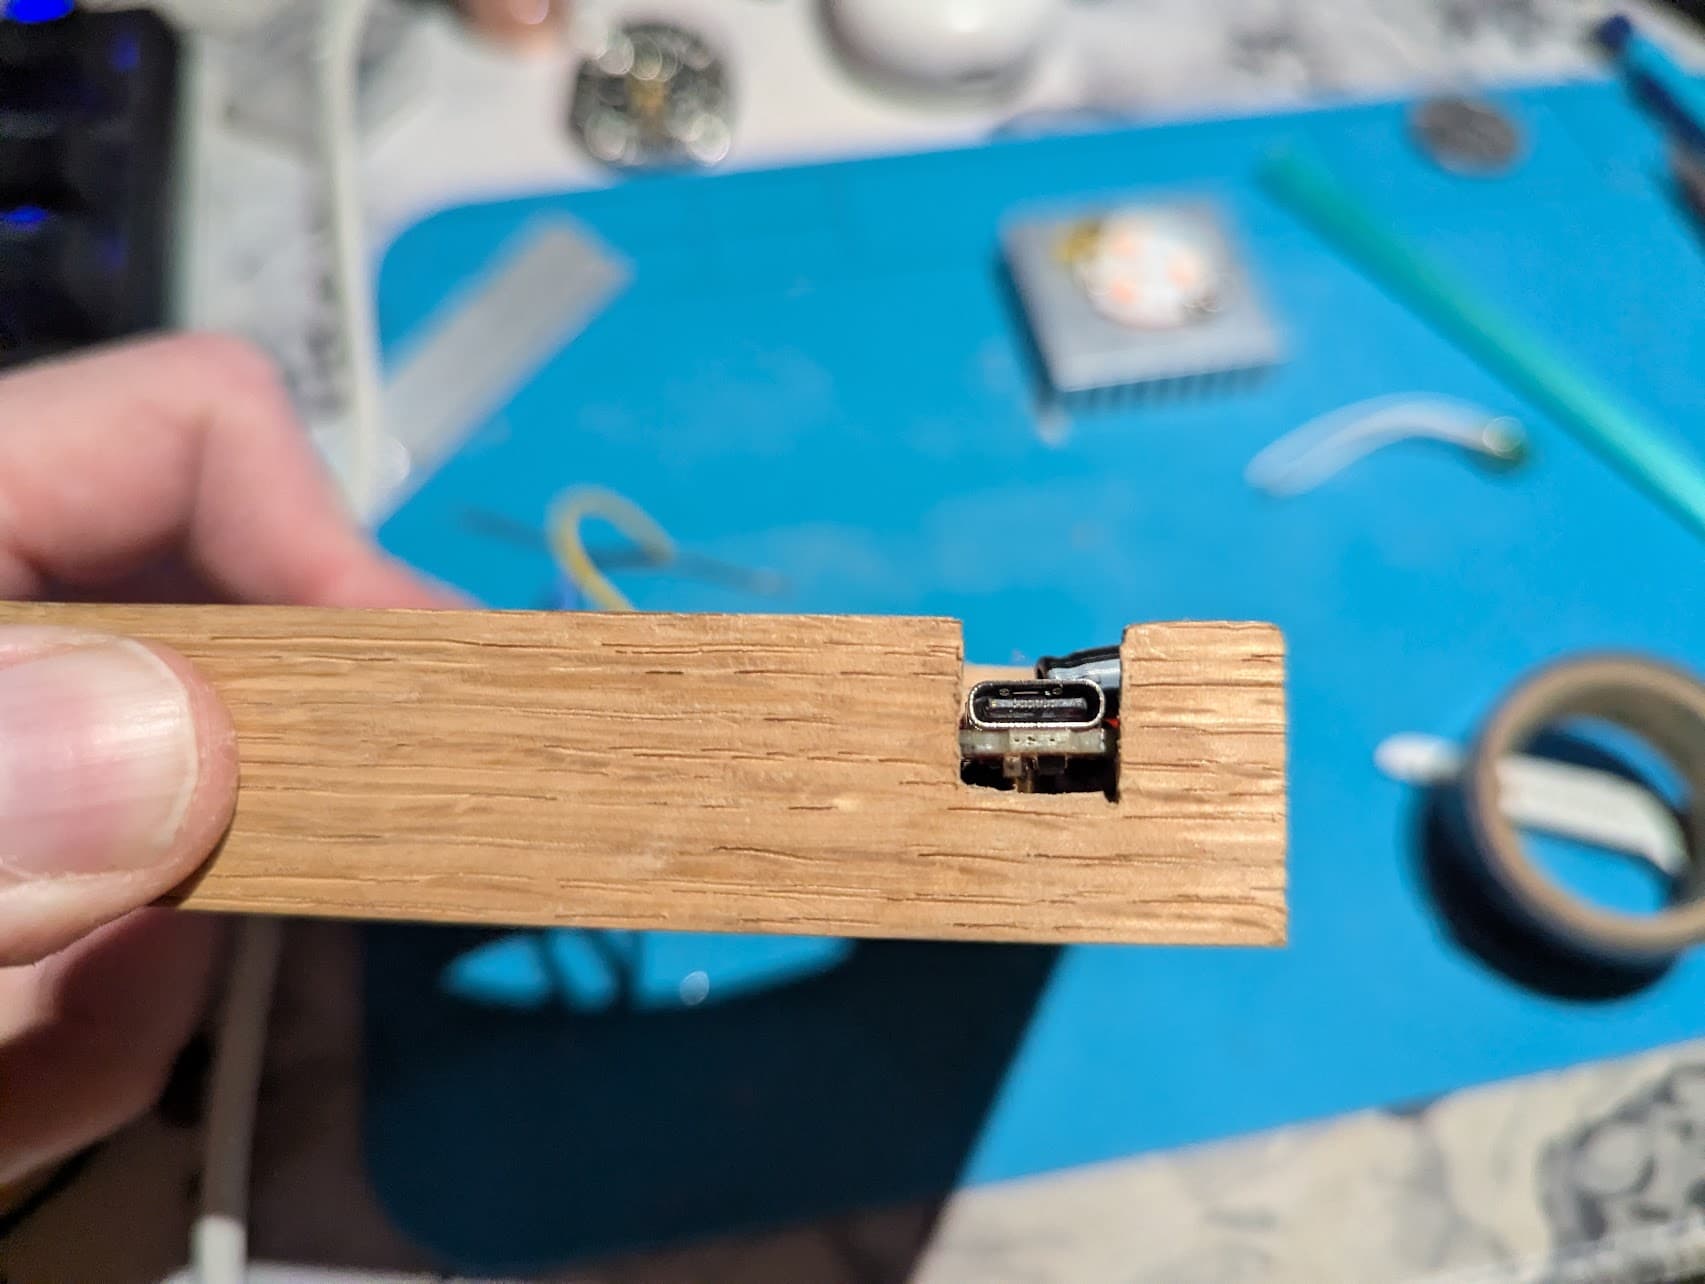
I am also still waiting on button covers and a variety of other parts and components for doing it again. I intend to sand the sharp edges of this piece, finish the wood with mineral oil, beef up the heatsink with some pieces of aluminum bar stock to increase it’s ability to sink heat, and I’ll also pot the driver in high temp silicone - as I intend to gift this to my niece, and I do not want to introduce any hazards into her world.

Thanks for reading along! Huge fan of this community. I’ve learned a lot by lurking, and have the want to learn a whole lot more! Thanks everyone!
5 Thanks

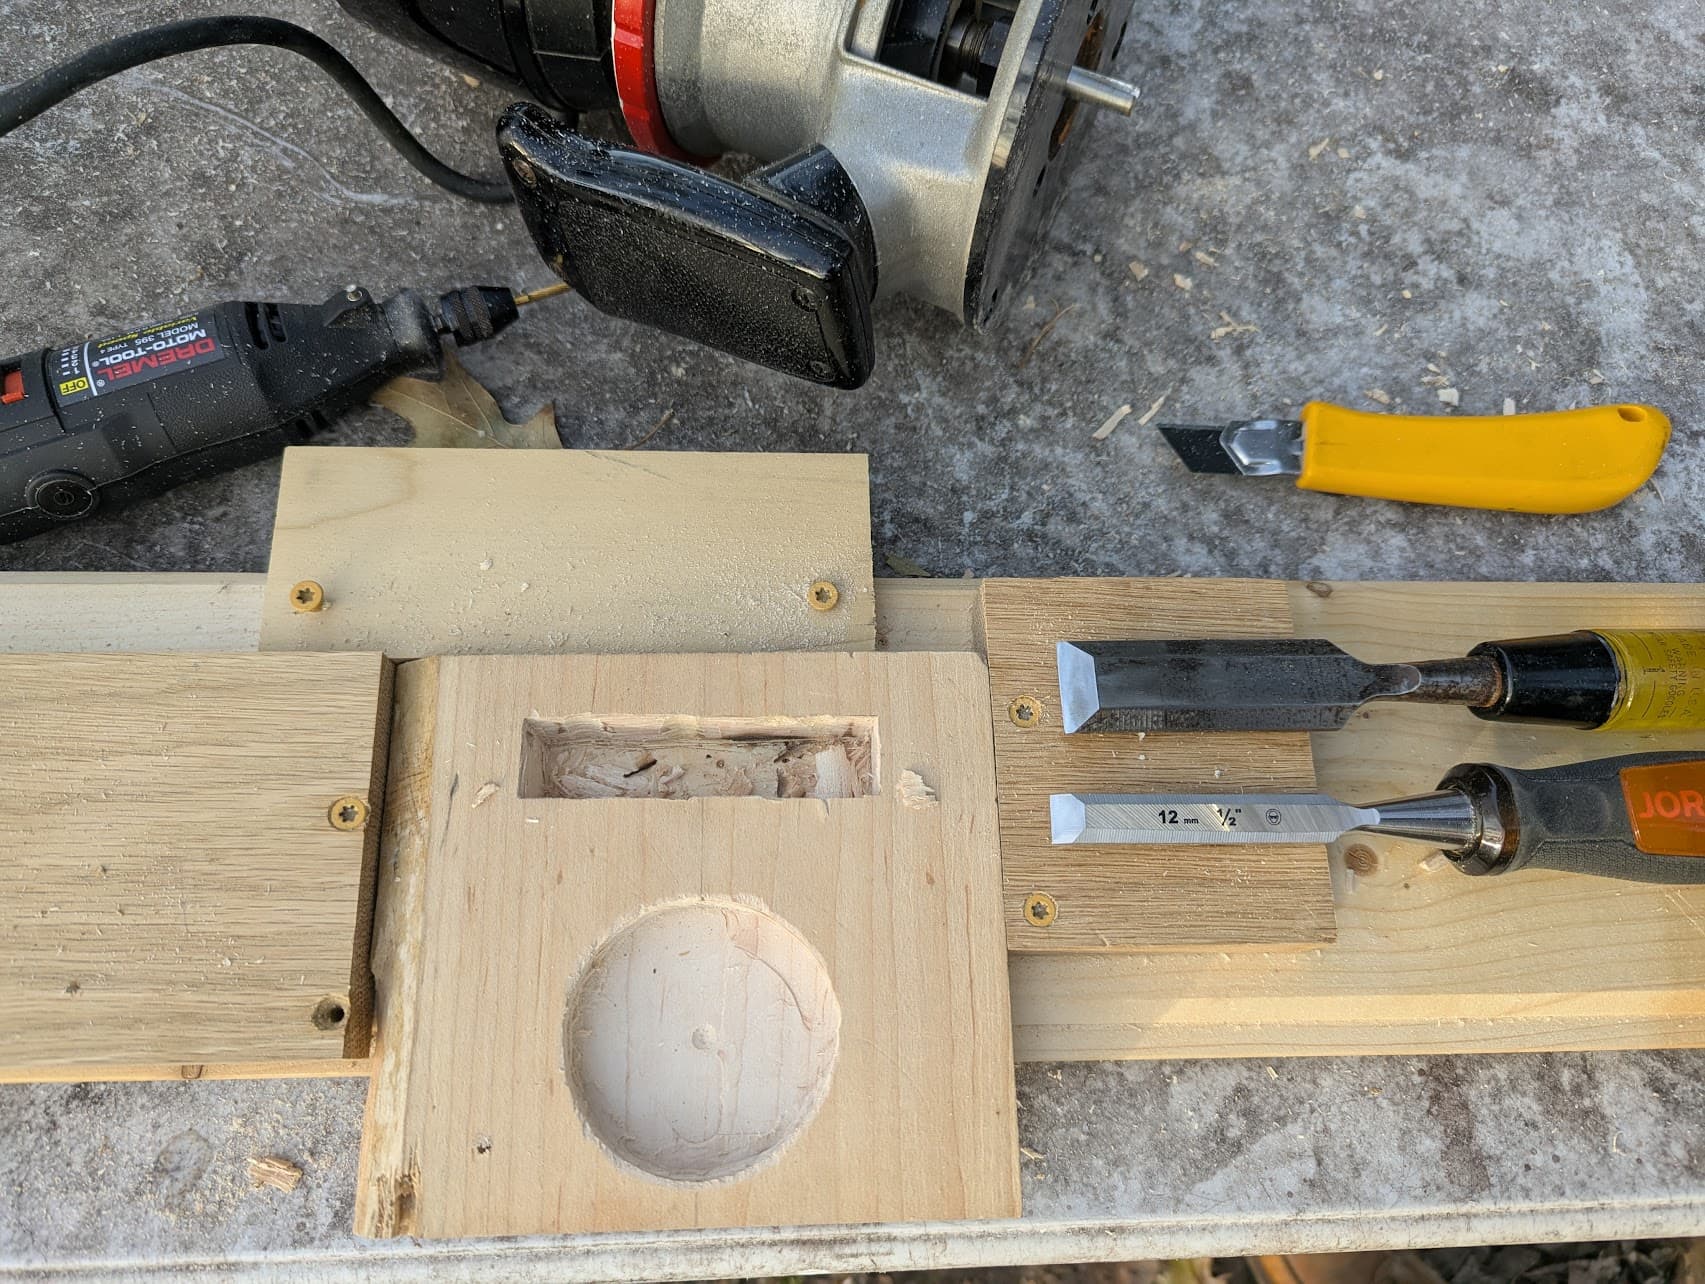
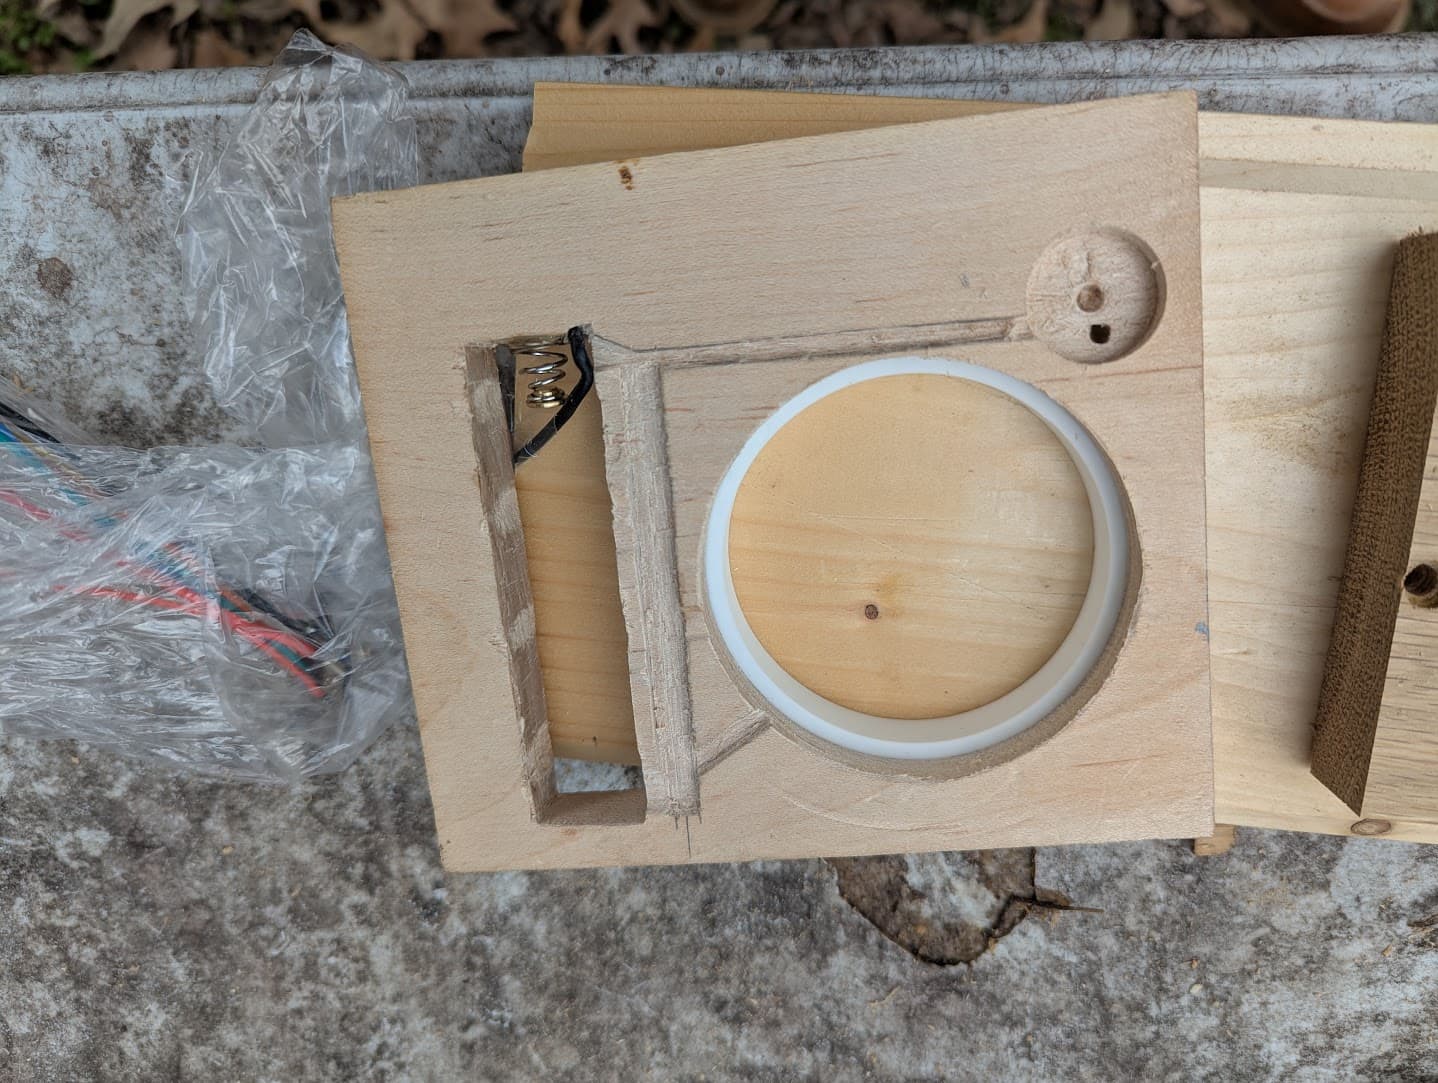
Here I’ve got the other “Jar Lamp” in it’s original form. I’d sharpened up some old hand chisels and went to town routing channels, but did not photograph the process:

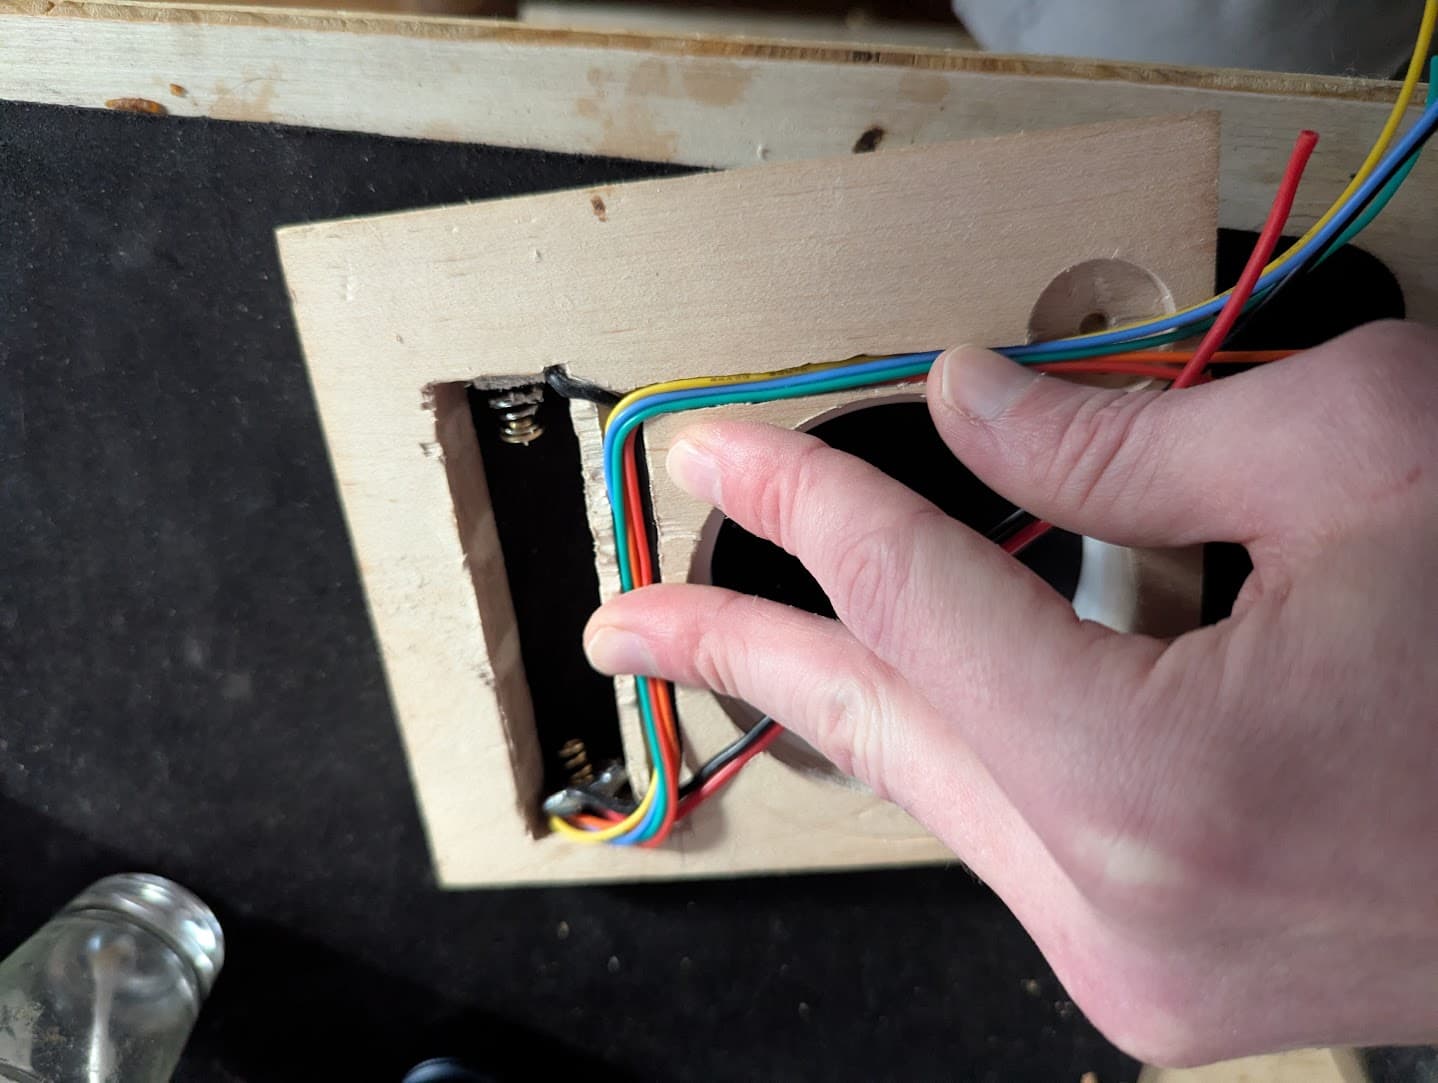
Took my newly repaired ancient dremel to work on it so that the channels would accommodate all of the wiring:

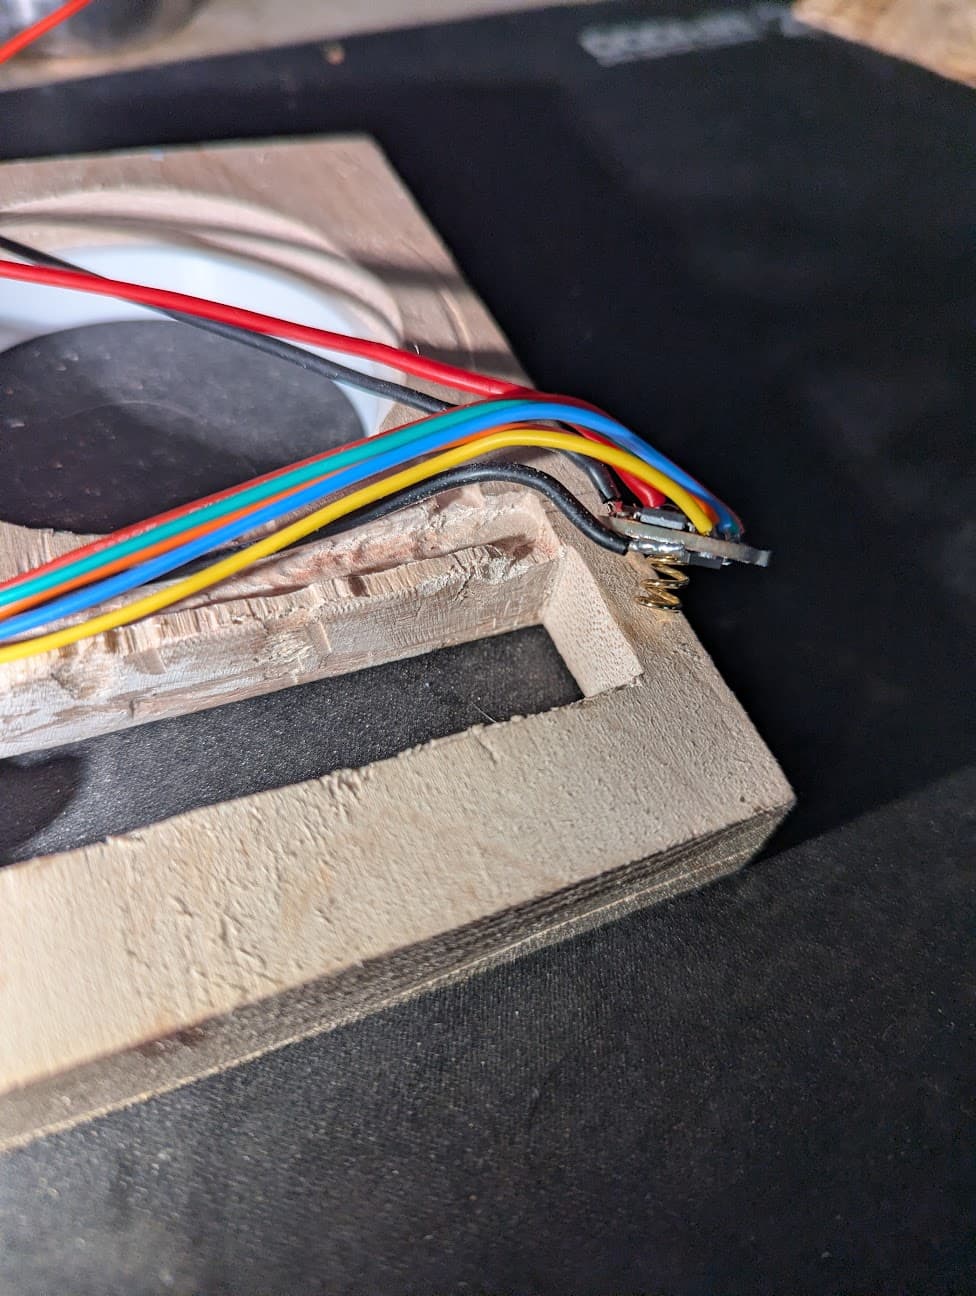
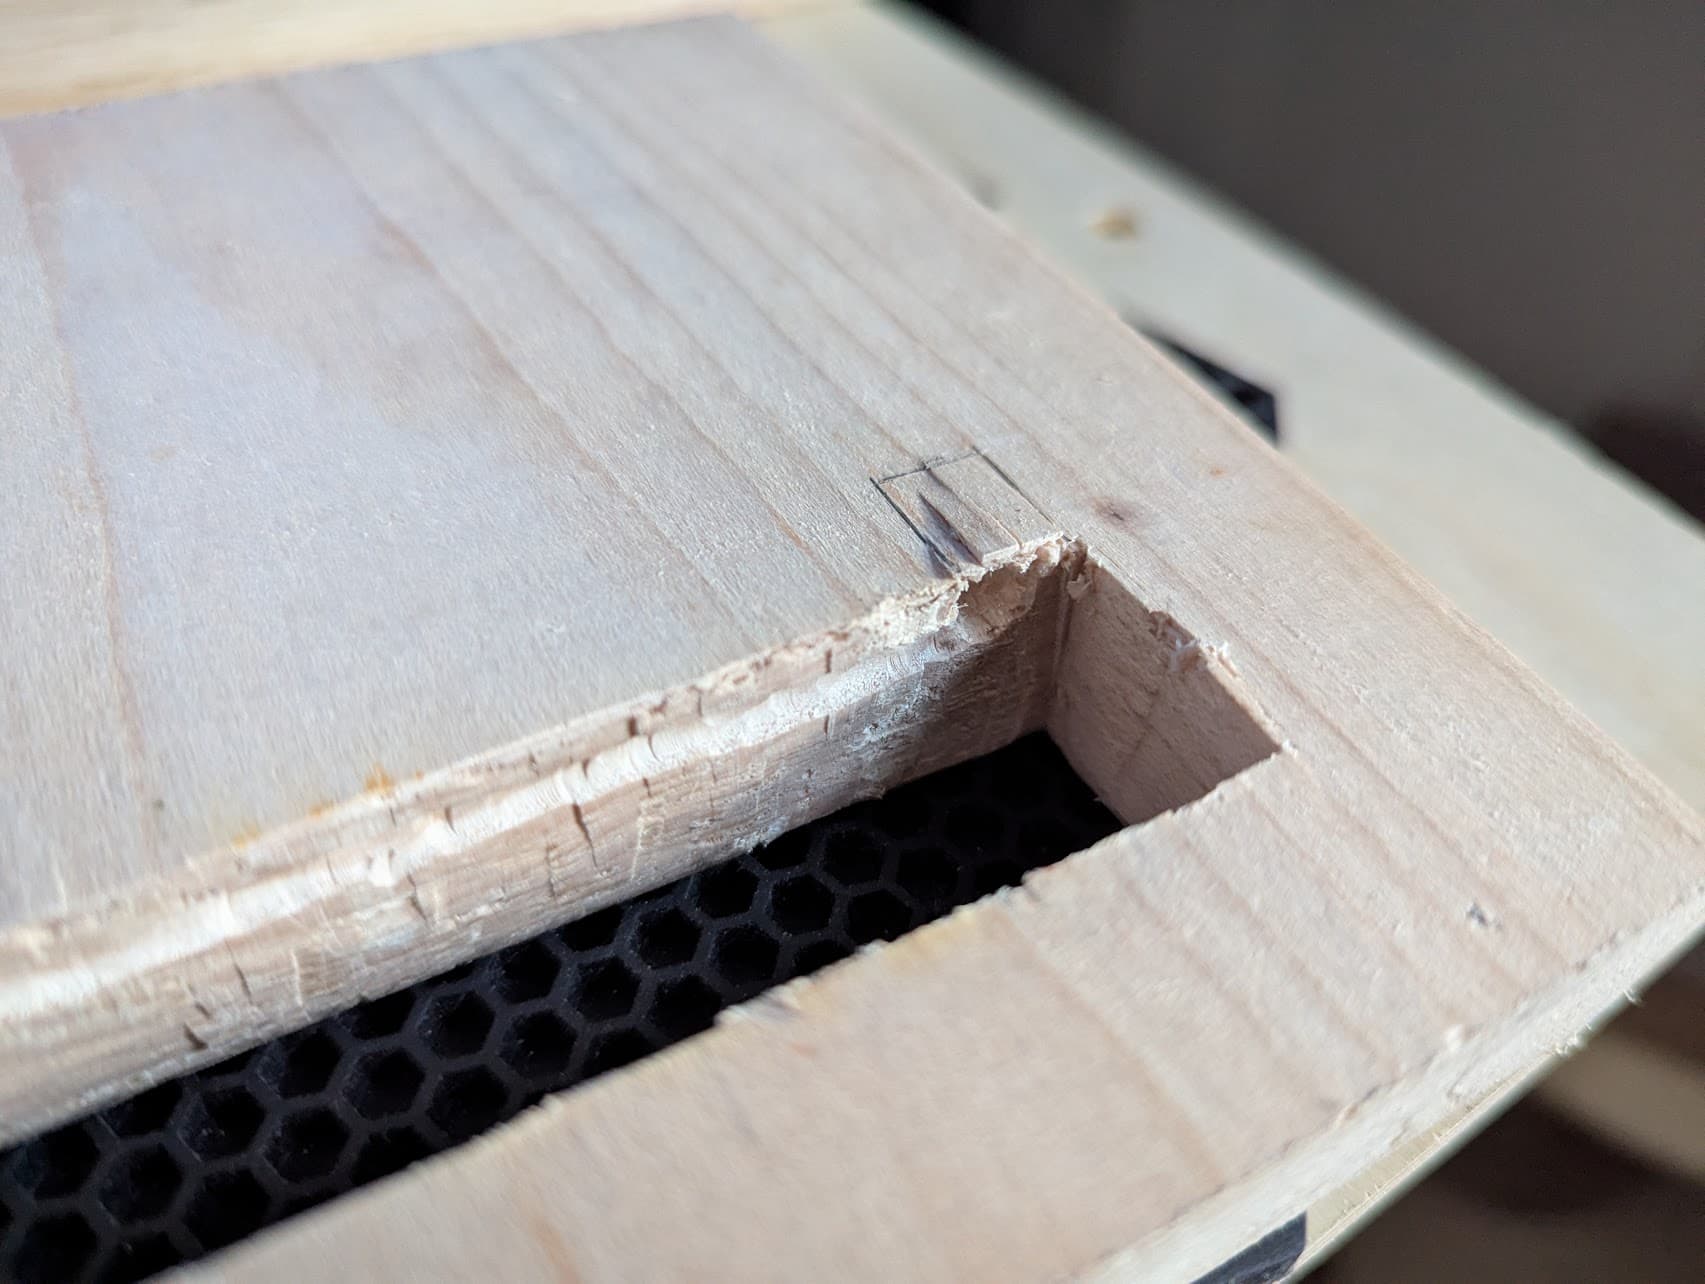
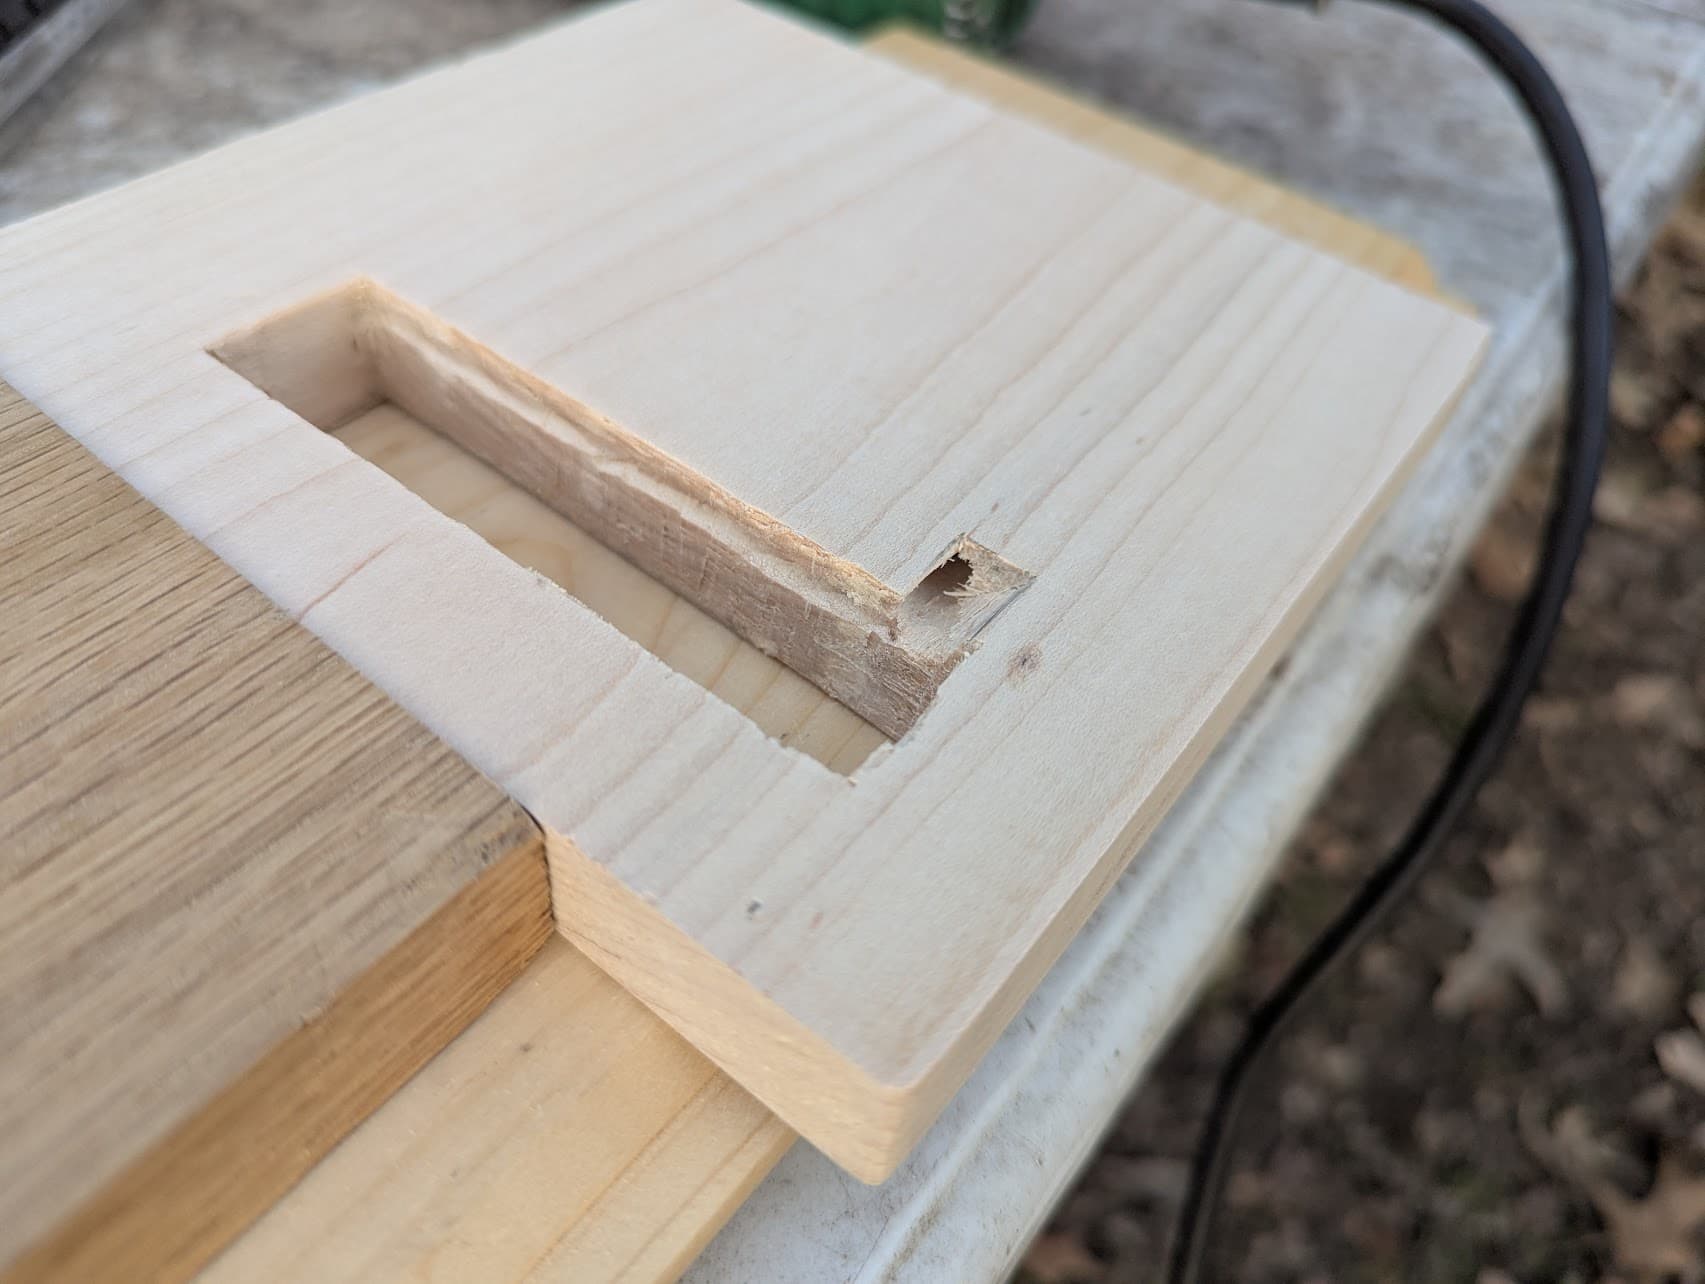
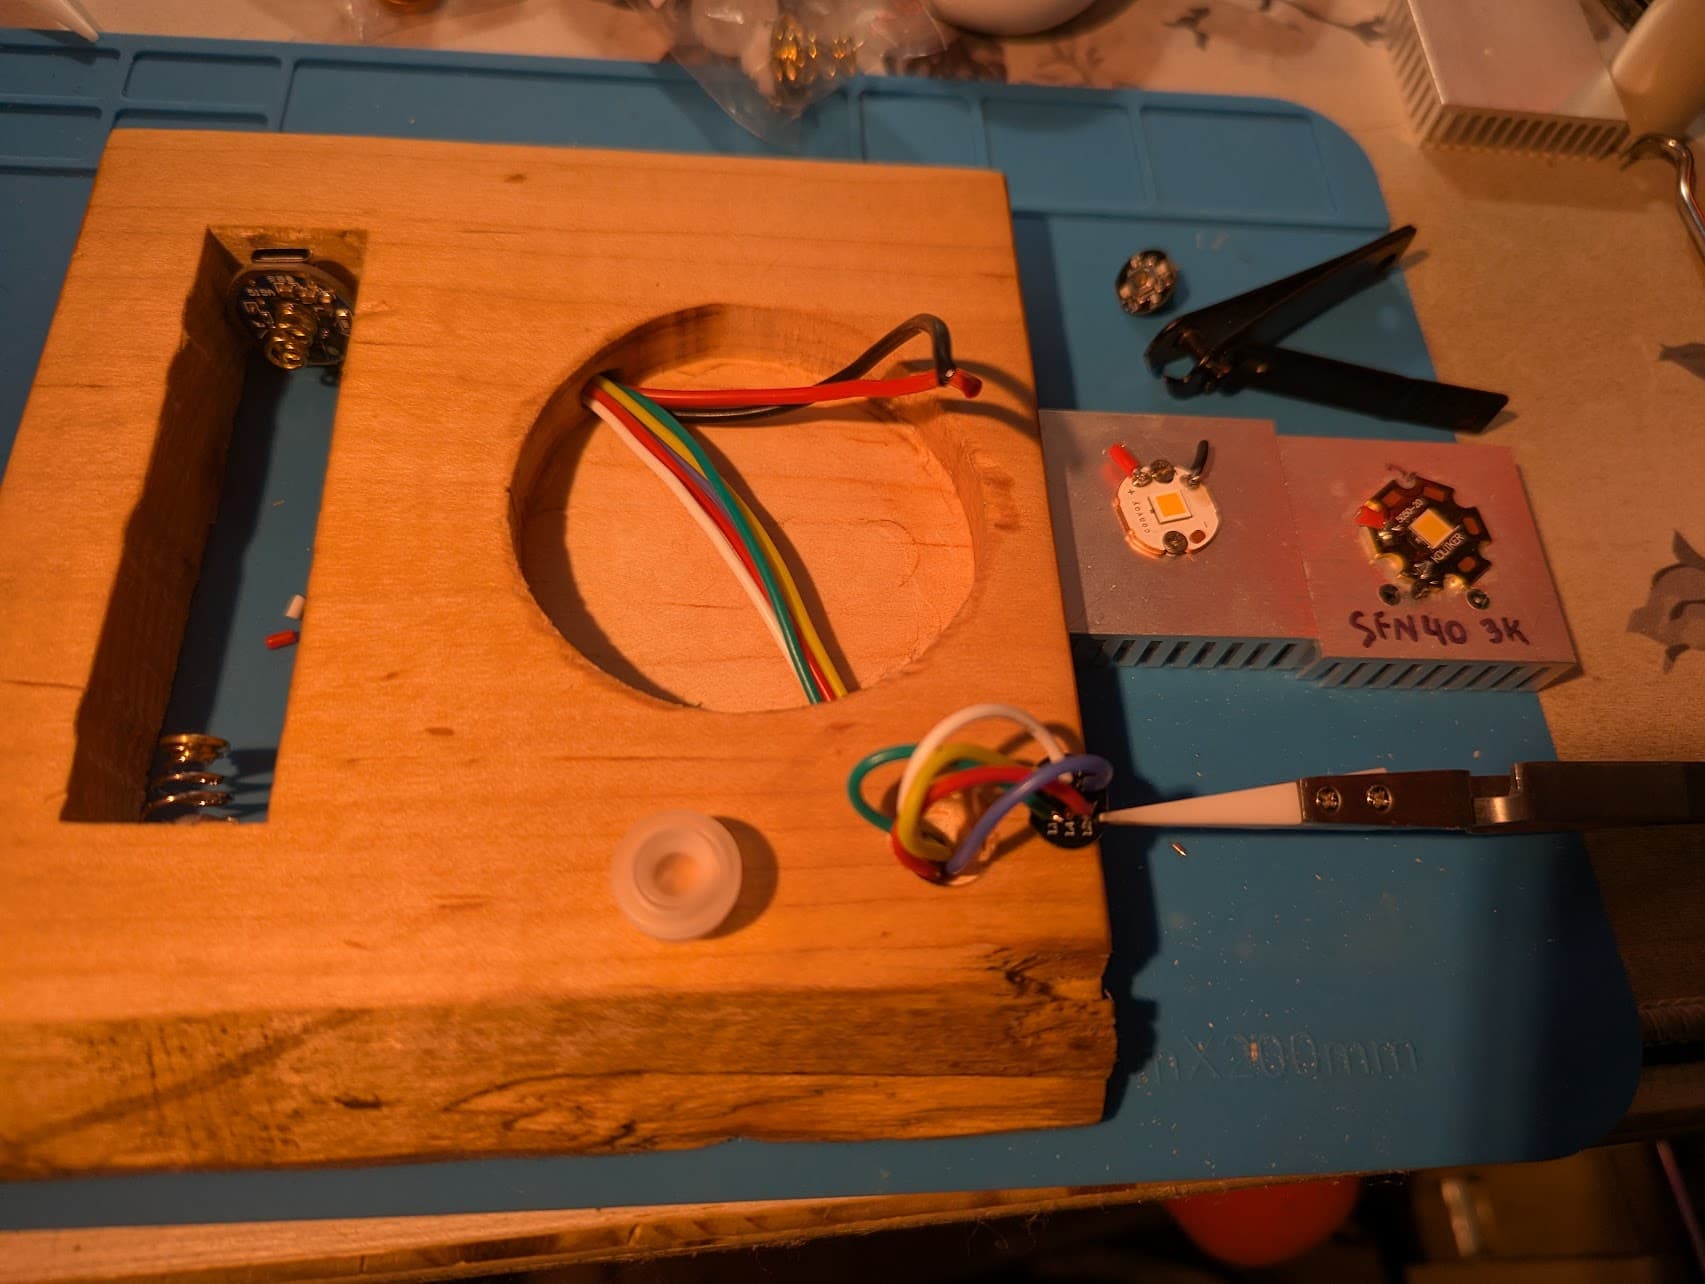
I didn’t properly layout this channel, and you can see where I blew out the grain when I went at it with a chisel, I notched this area at the driver end a bit more to also fit wires:

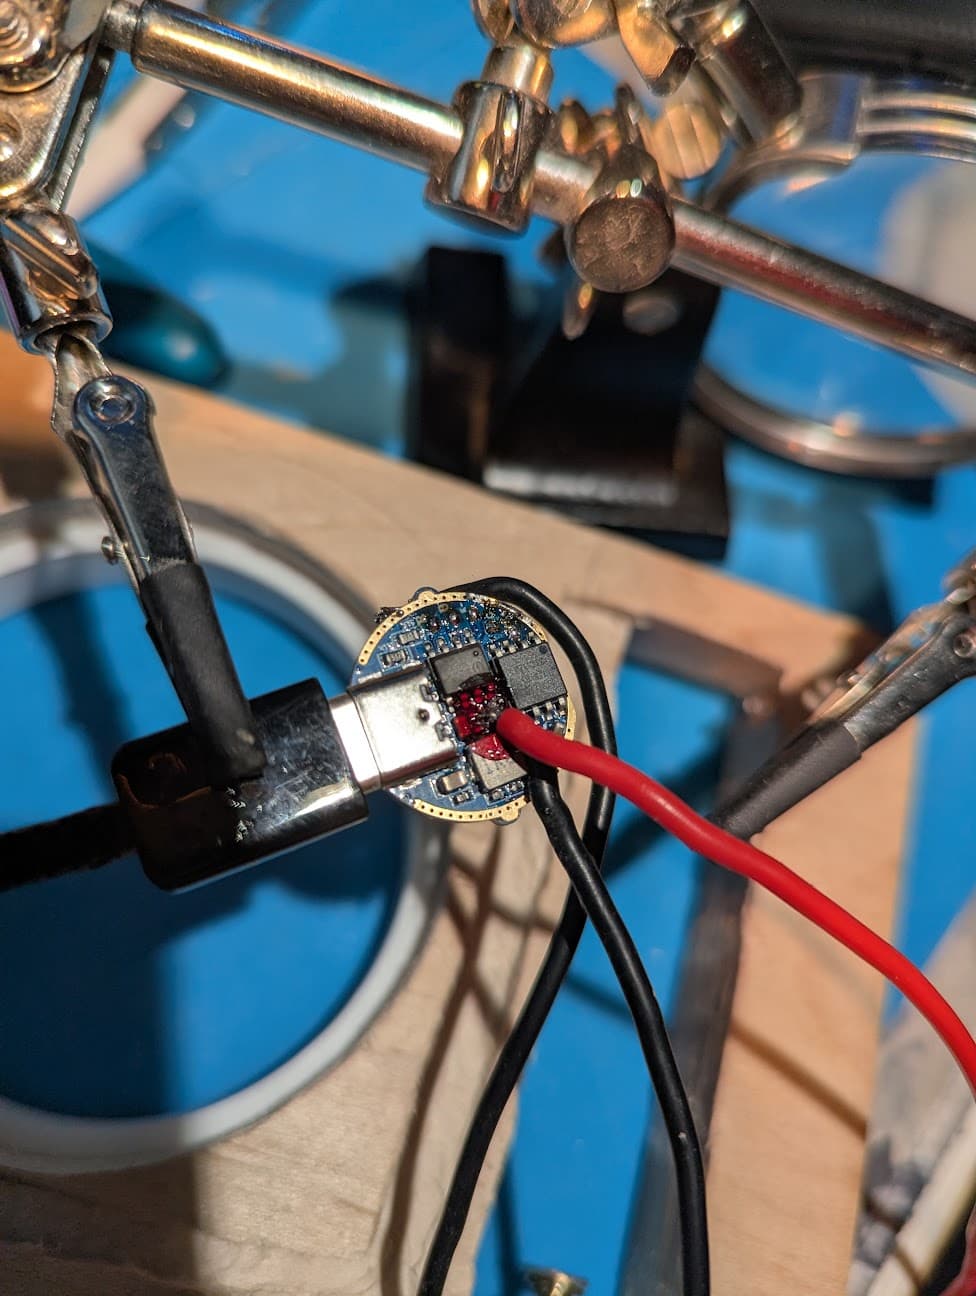
The pads for the switch wires gave me hell, and I thought that I ruined this driver at least once - I swear the + switch pad touches one of the IC legs and that red mess that the driver ships with is a nightmare.


I set the driver in place with UV glue, and intend to pot it with temp resistant silicone as well.

Not done with this jar lamp, and once again - am not satisfied with it.
I’ll make another!

2 Thanks

I’ve been playing with a few other ideas for lights, and built my first lamp when I was 11 or 12 at a summer camp. It is on my desk currently!

One of my early ideas for a lamp diffuser was a faceted mason jar, but it refracts far too much - so the next permutation was to be frosting the glass with etching cream.

That well might be a good idea, but I’m also going to try my hand at waxing some paper and seeing what I get.

Thanks for reading along!

2 Thanks

I’m working on a new build, but it’s on pause because I ought sharpen these chisels again and work on some other things.
Convoy order of more drivers and button parts has arrived - so that is very exciting.

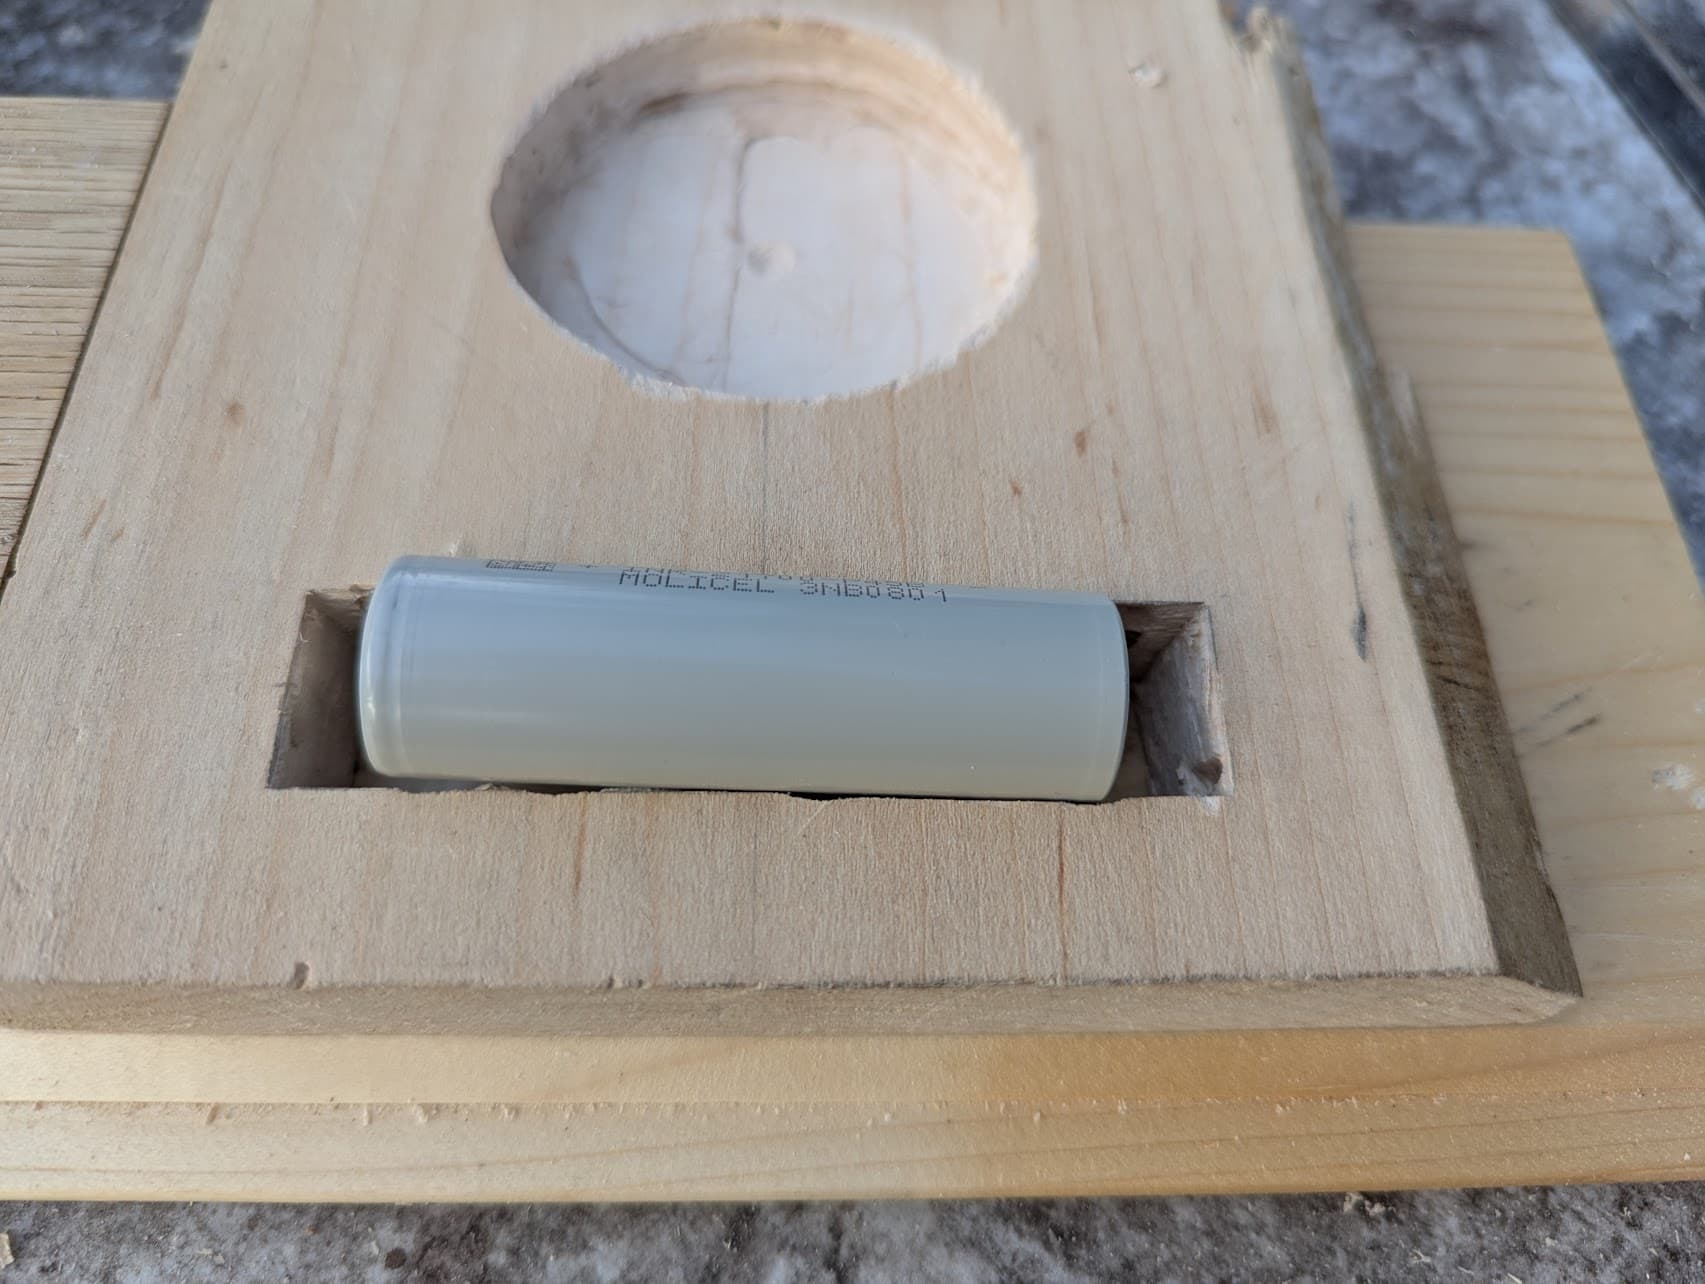
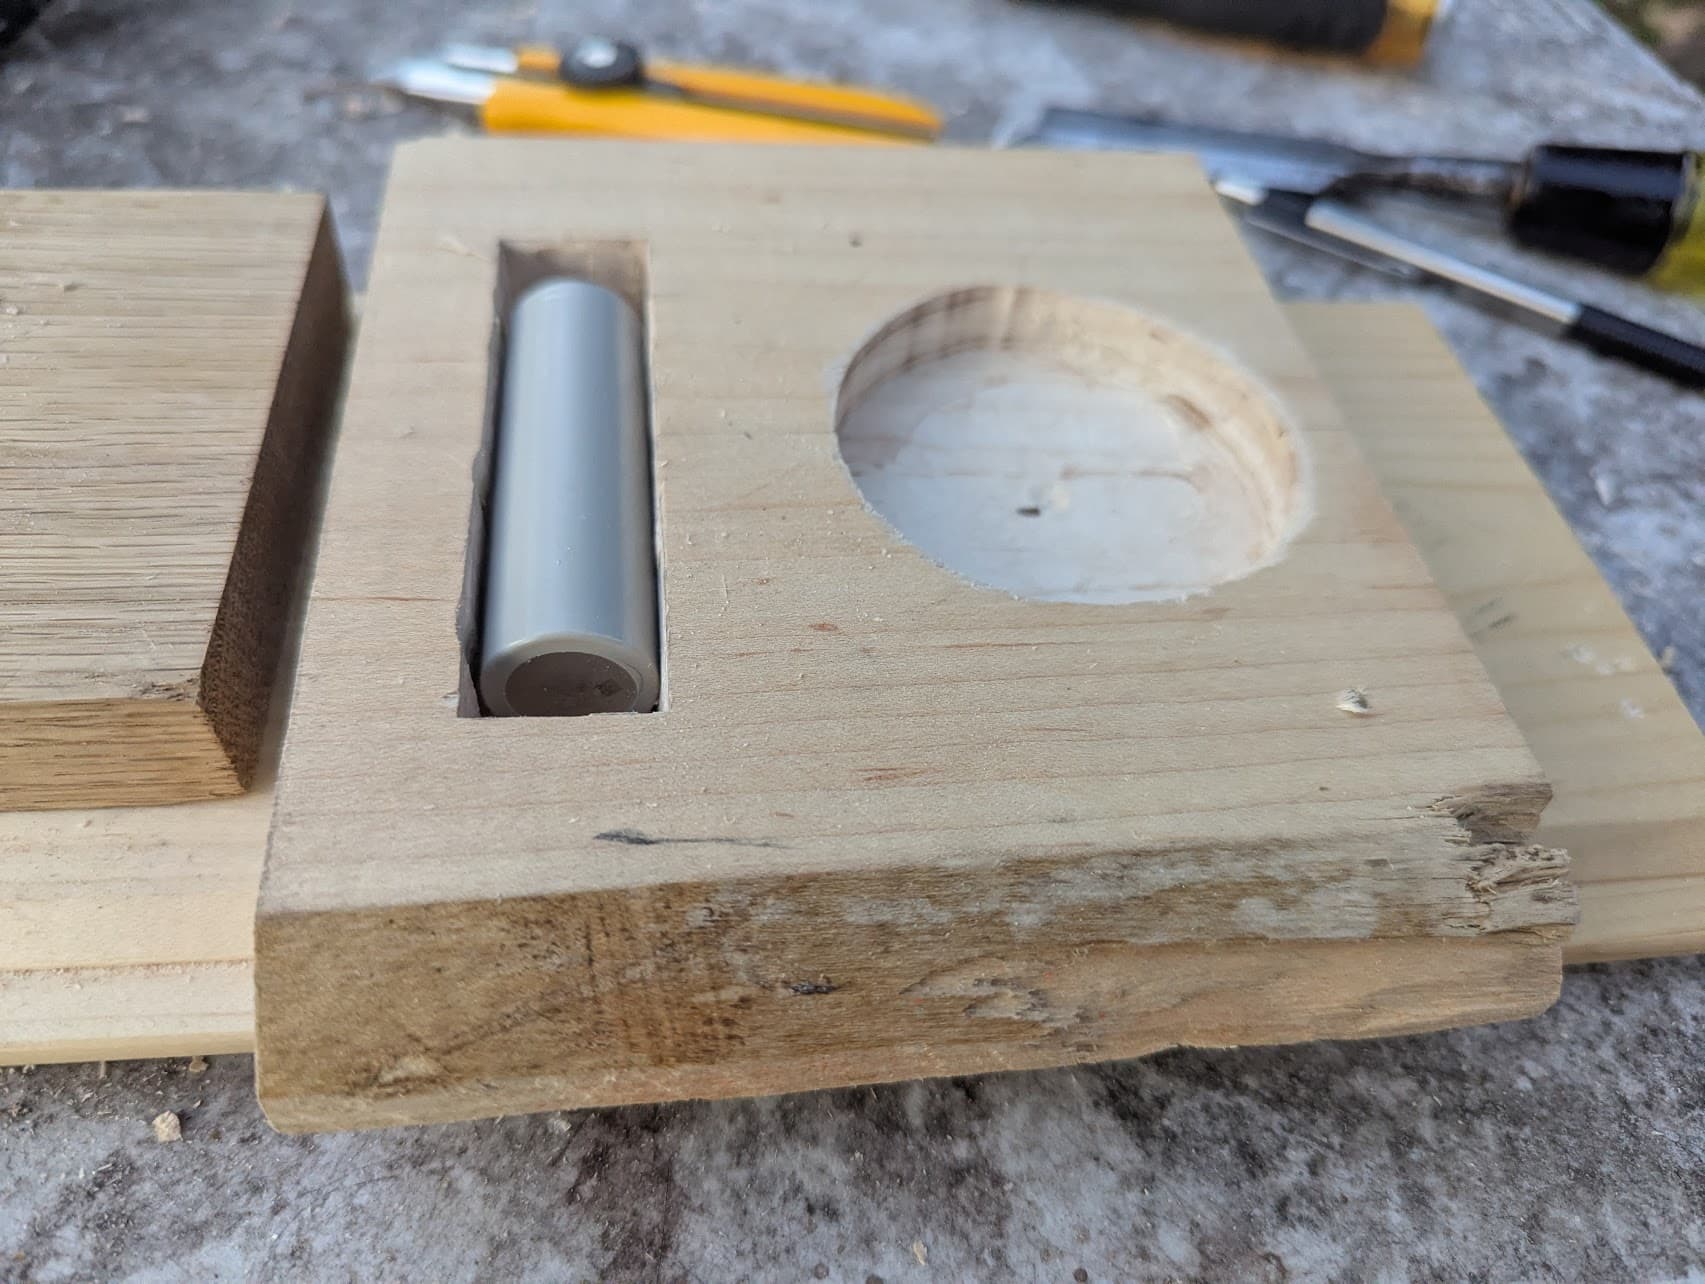
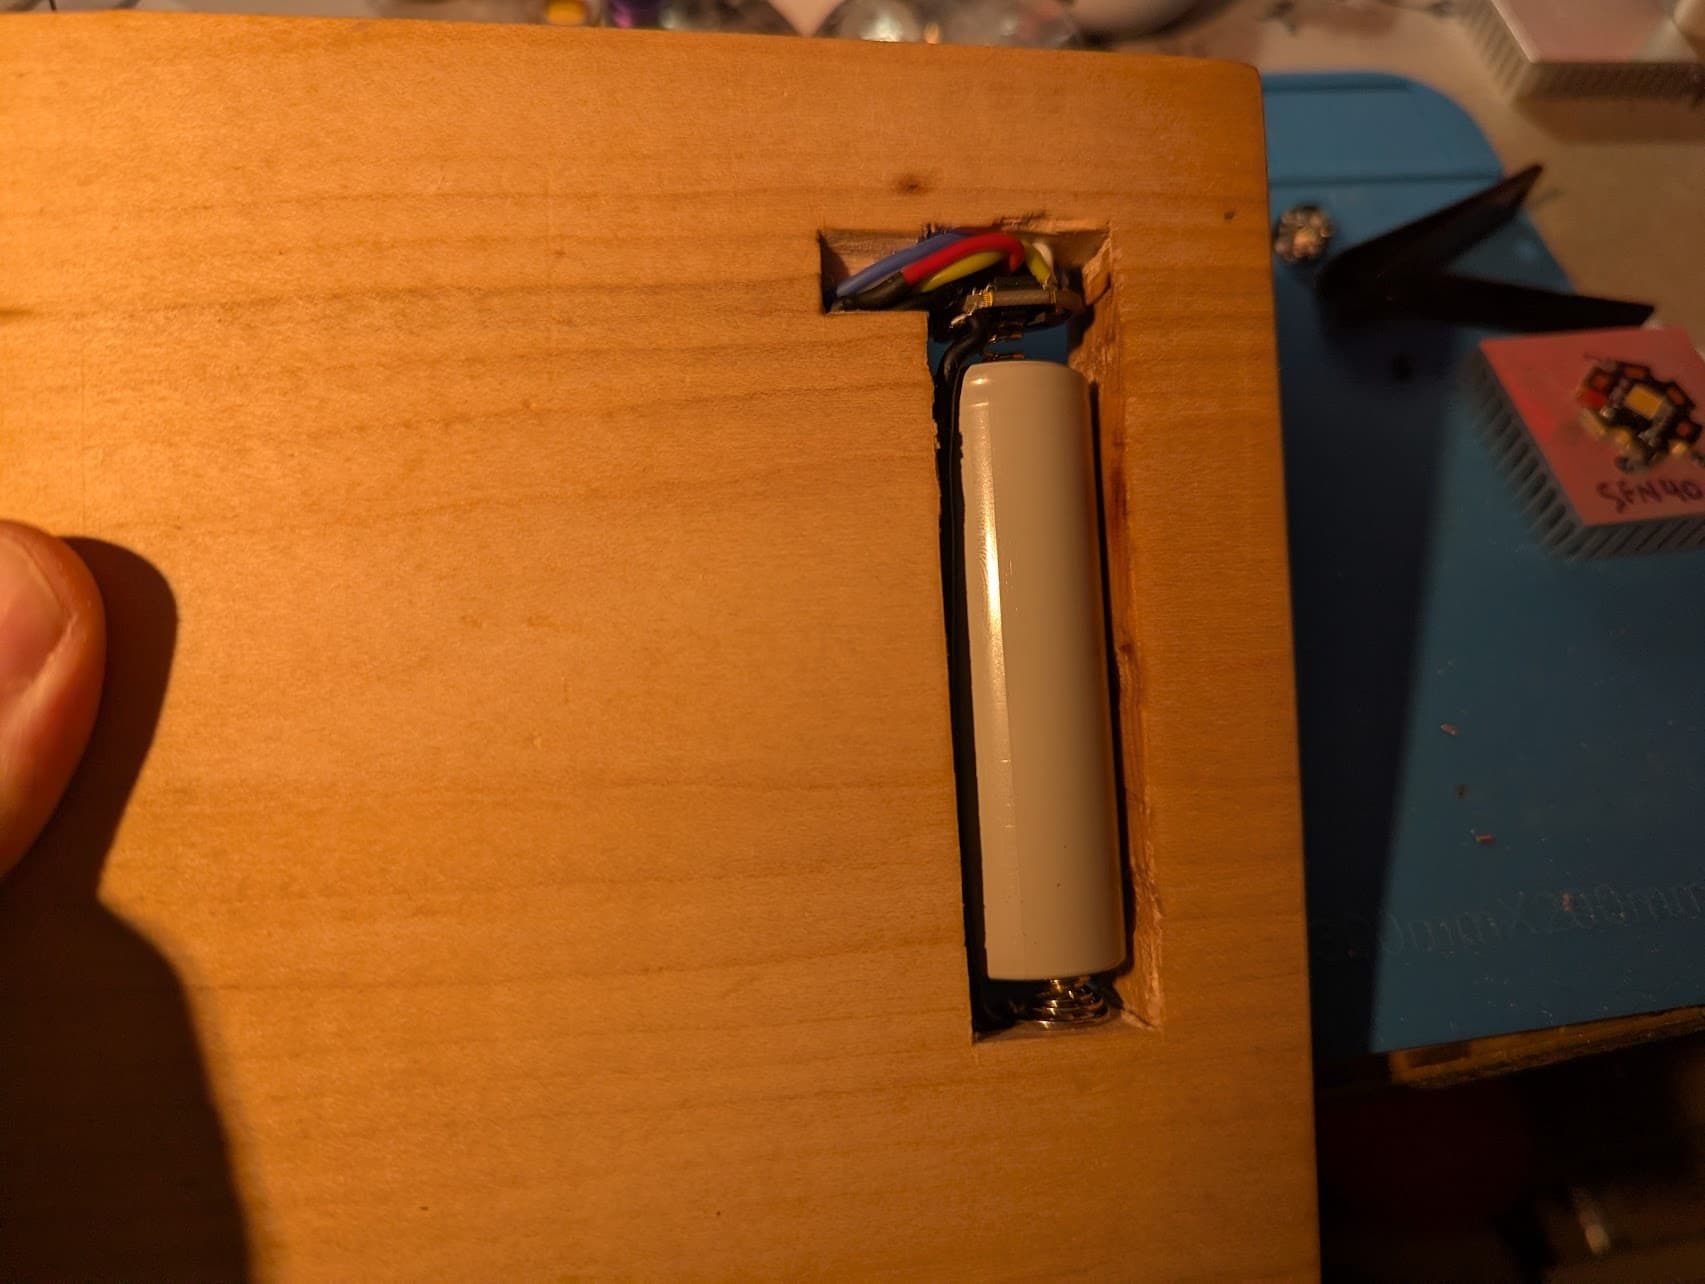
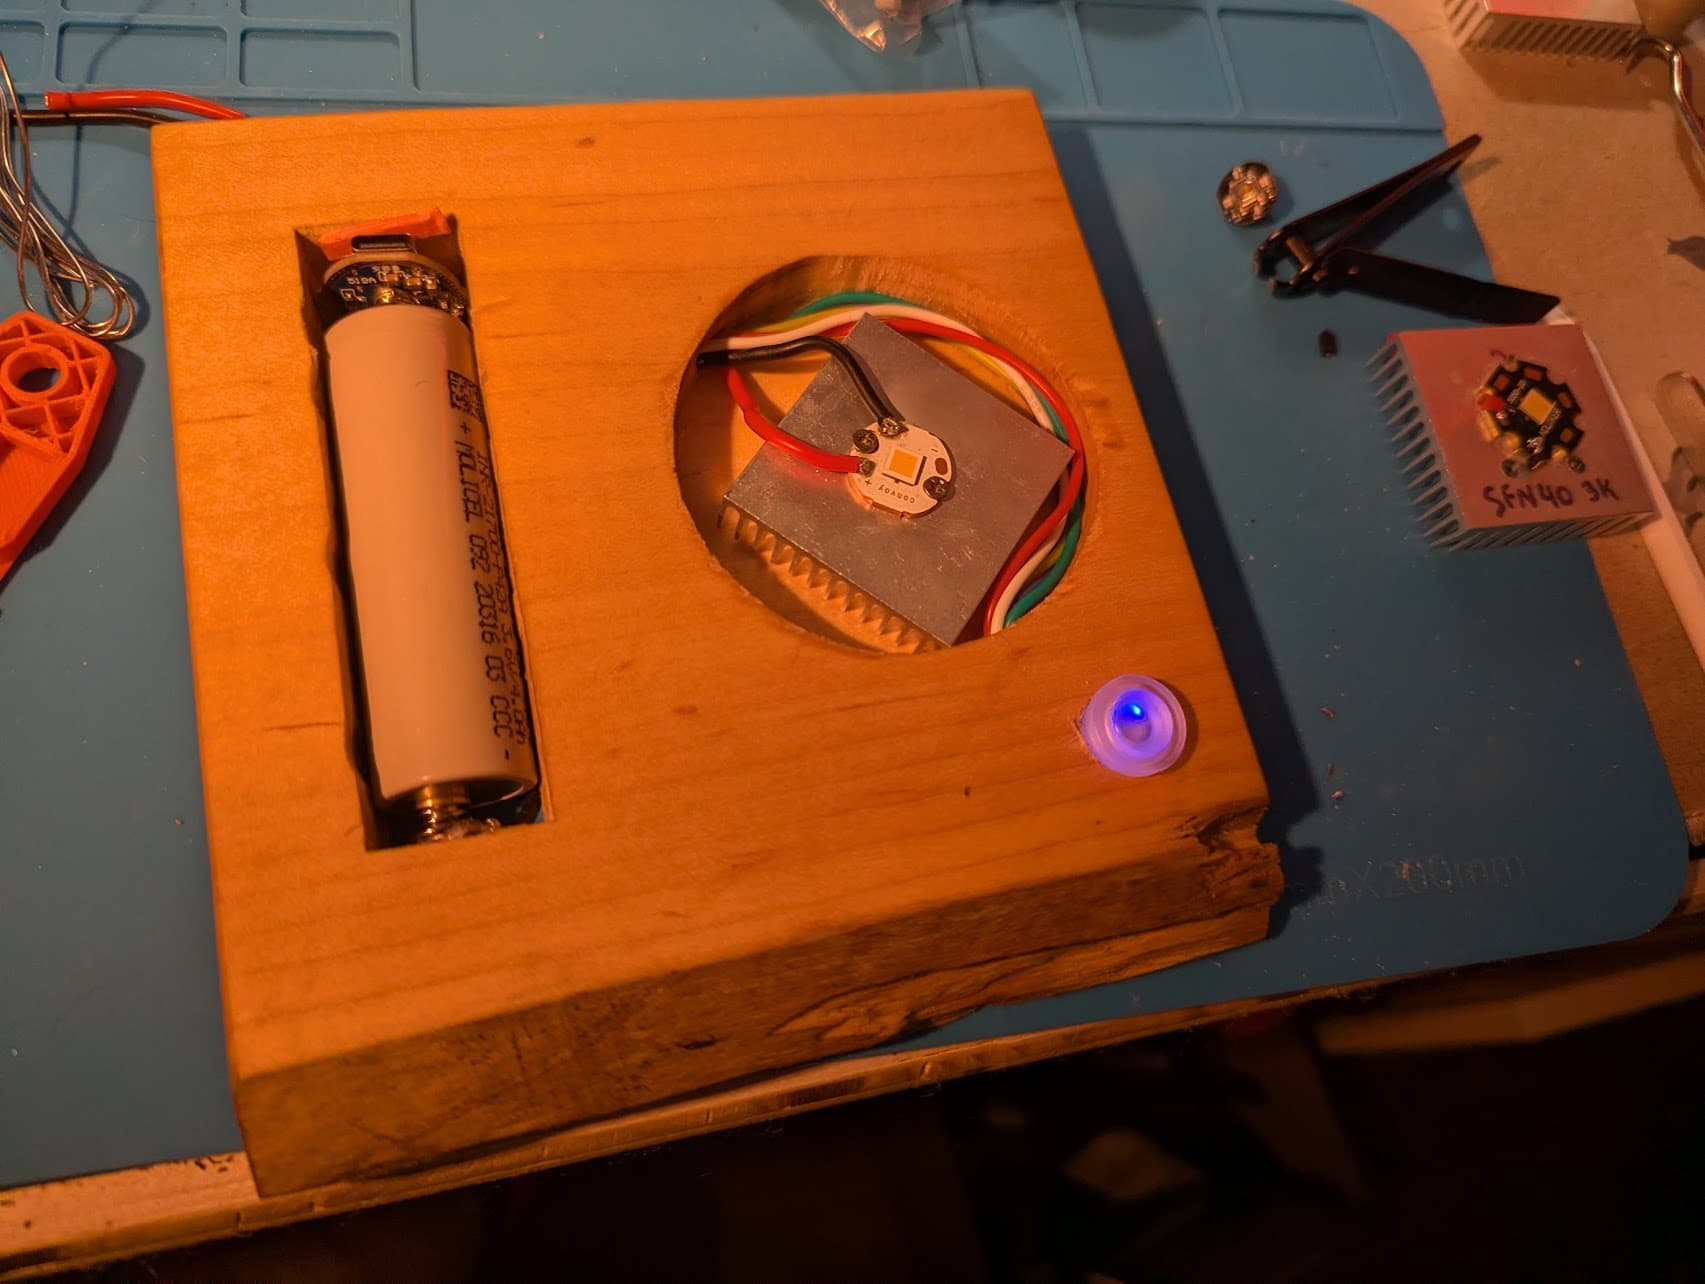
With this iteration I’m going to test leaving the cavity’s bottom intact for housing the emitter - I imagine that it’ll look more clean/finished in the end. The battery is larger in diameter than the wood is thick, so I’m going to test out shaping some small feet for the base. I would also prefer avoiding having the wires routed along the bottom in channels - it definitely would be cleaner if they’re hidden.

Still having a good time - here’s some pictures!

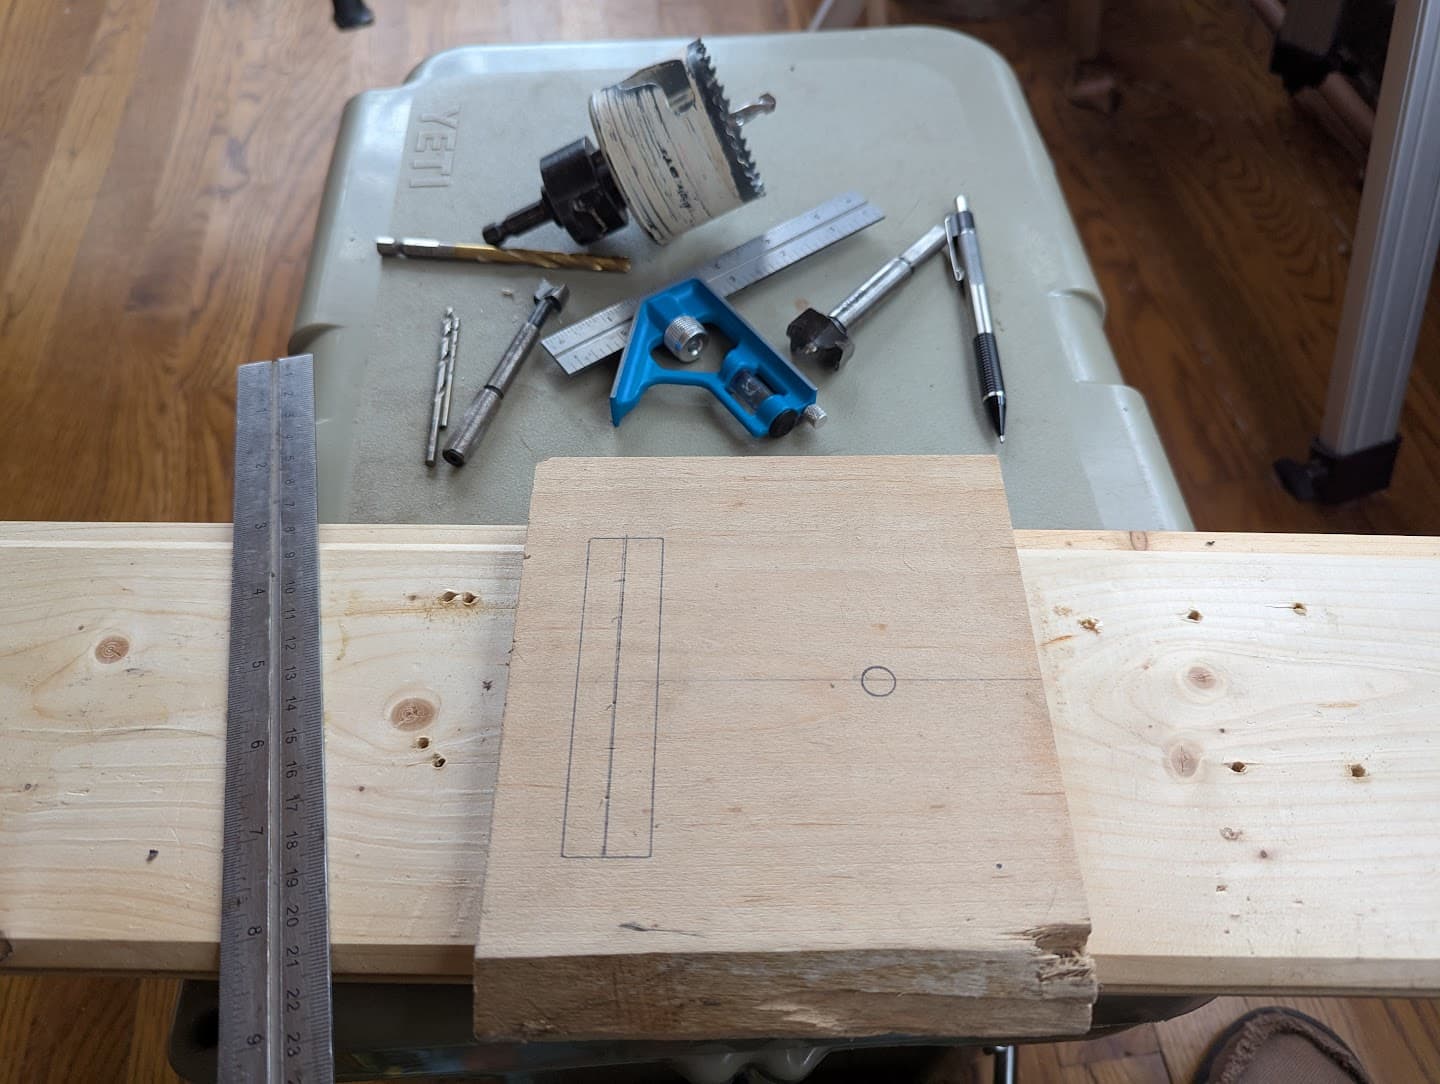
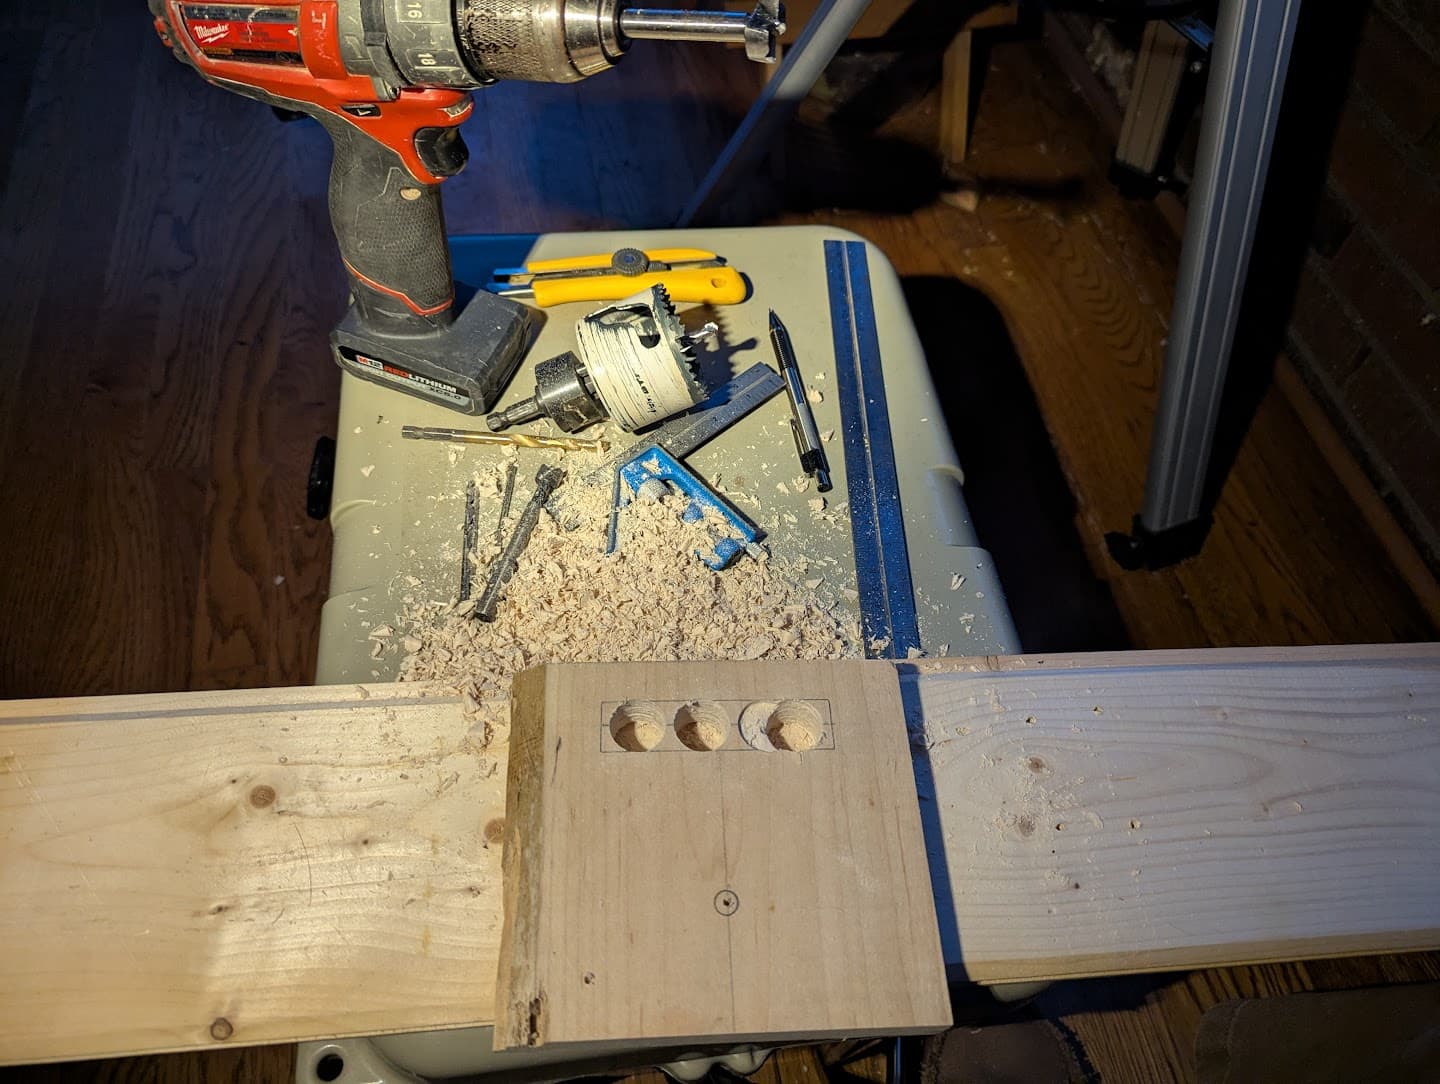
It’s raining outside, so today’s workspace is in the sunroom on top of a small cooler:

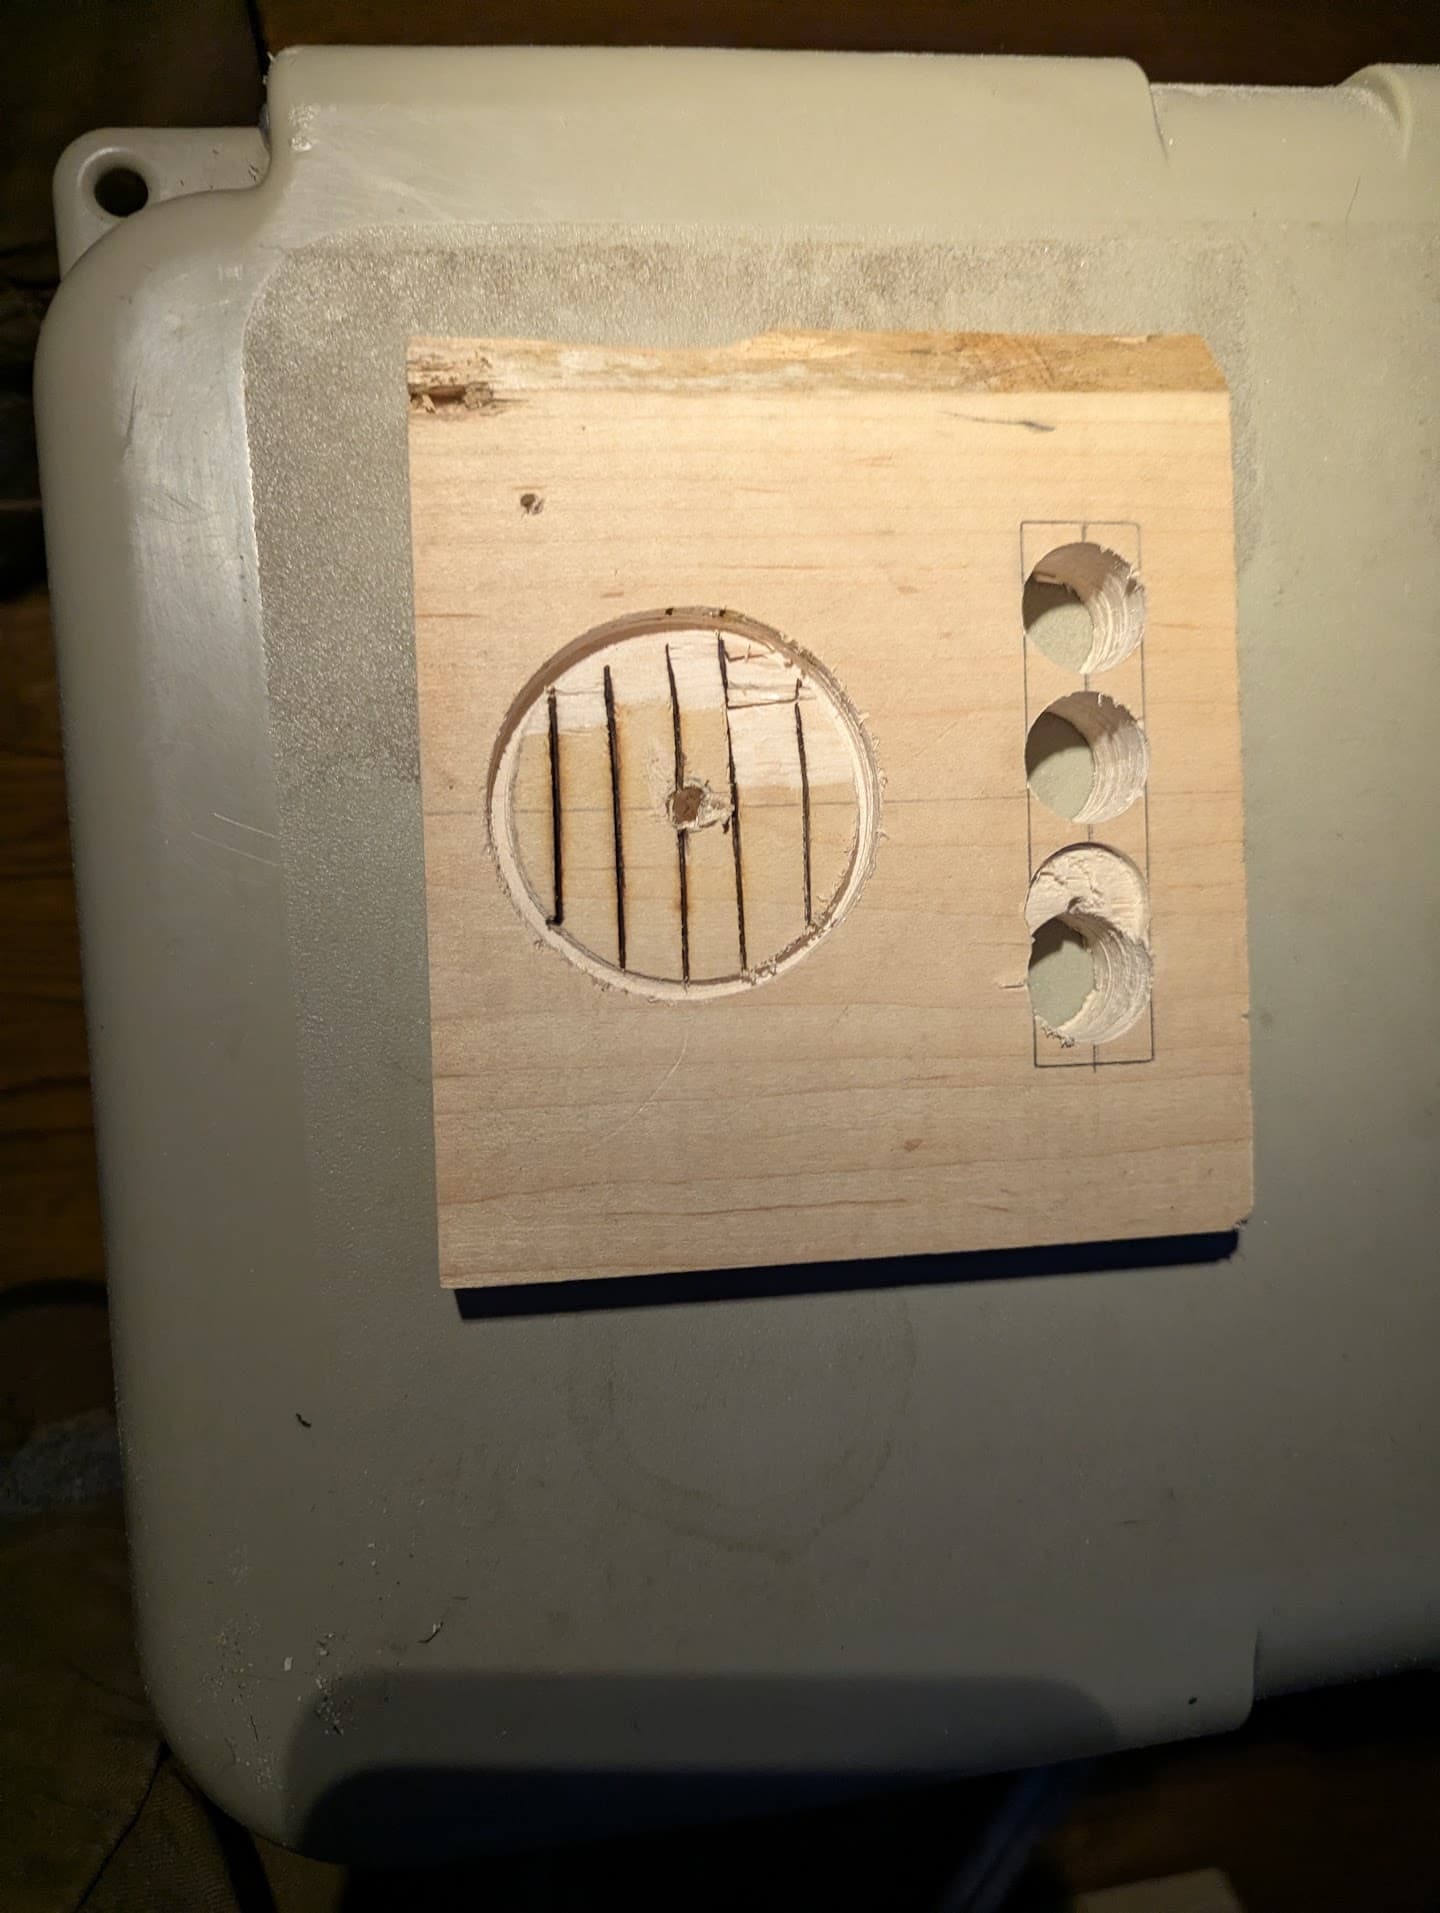
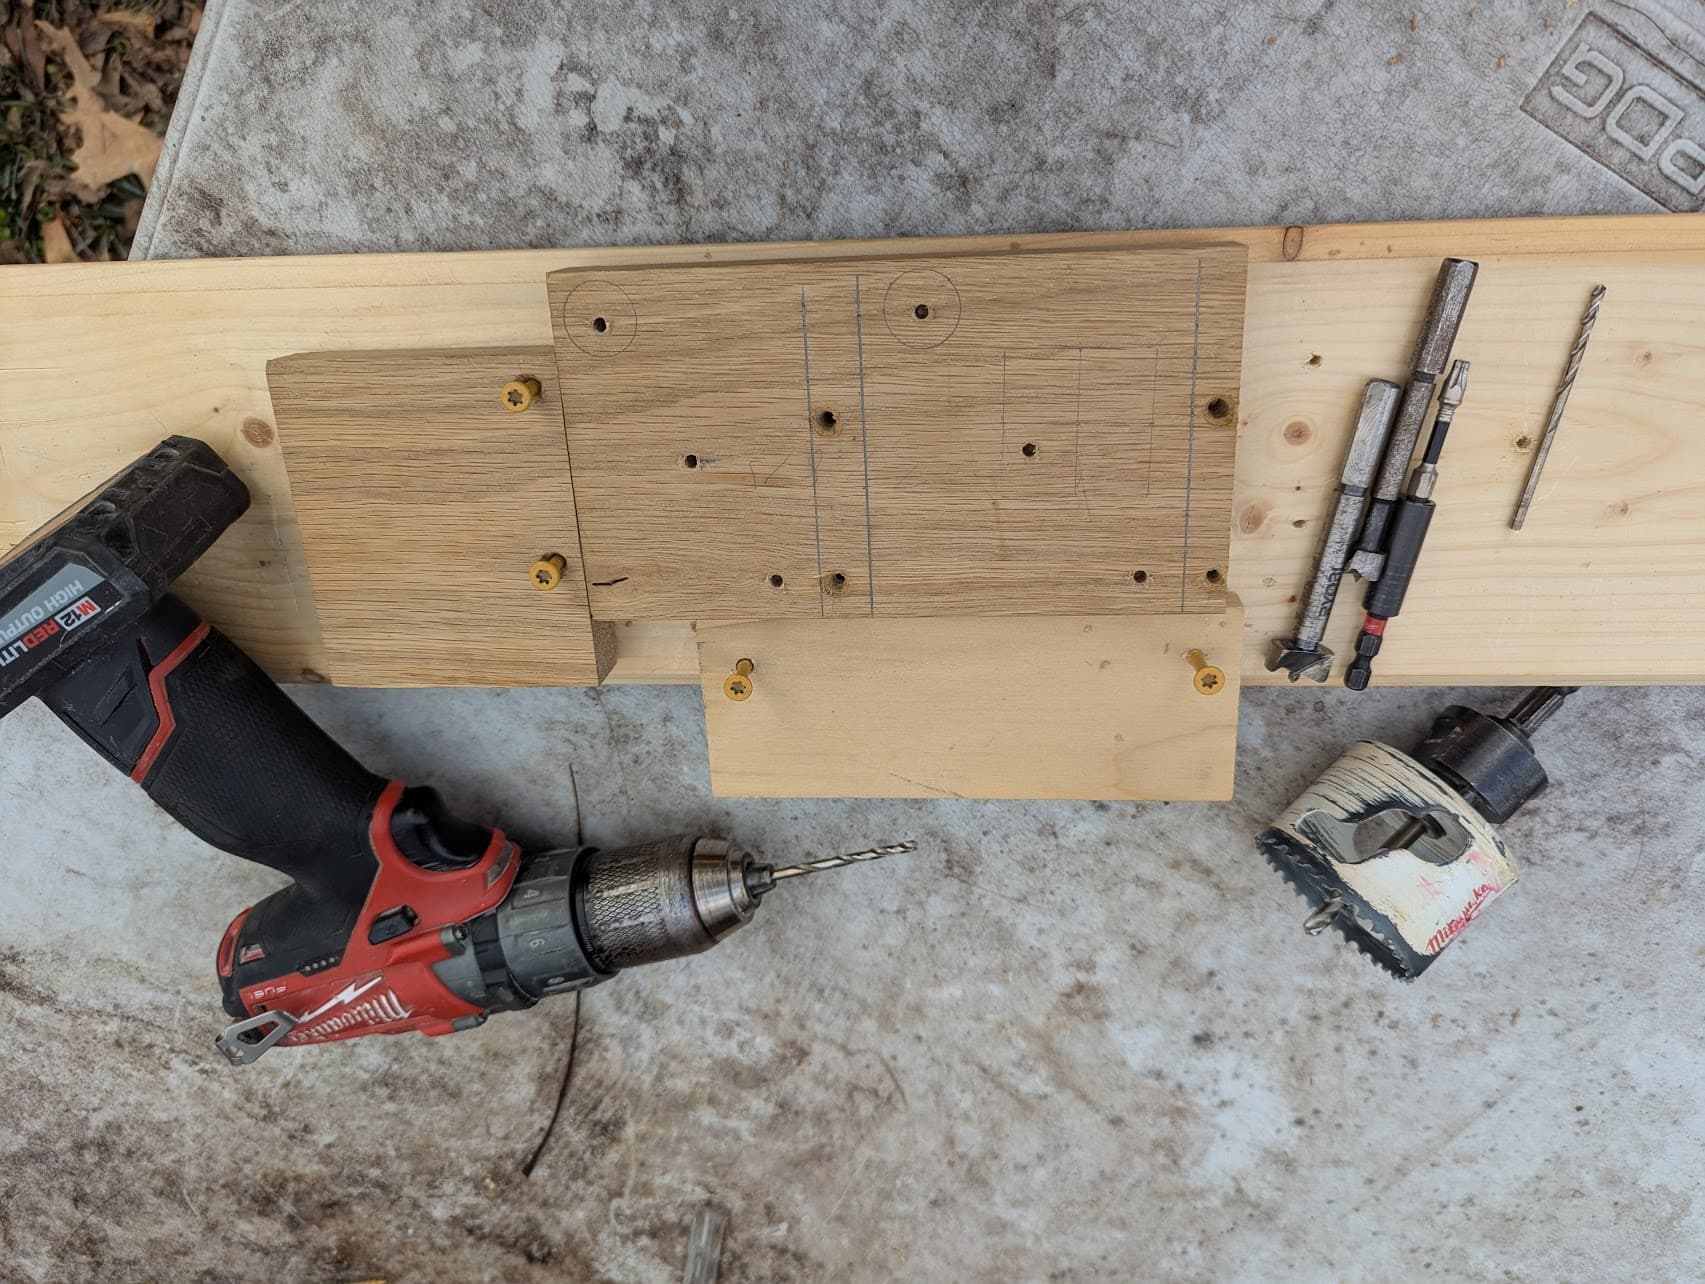
Marked some lines and drill’n some holes. Predrilling with a small twist bit, and then used a hole saw bit for the emitter recess, and a forstner bit for the battery/driver cavity:

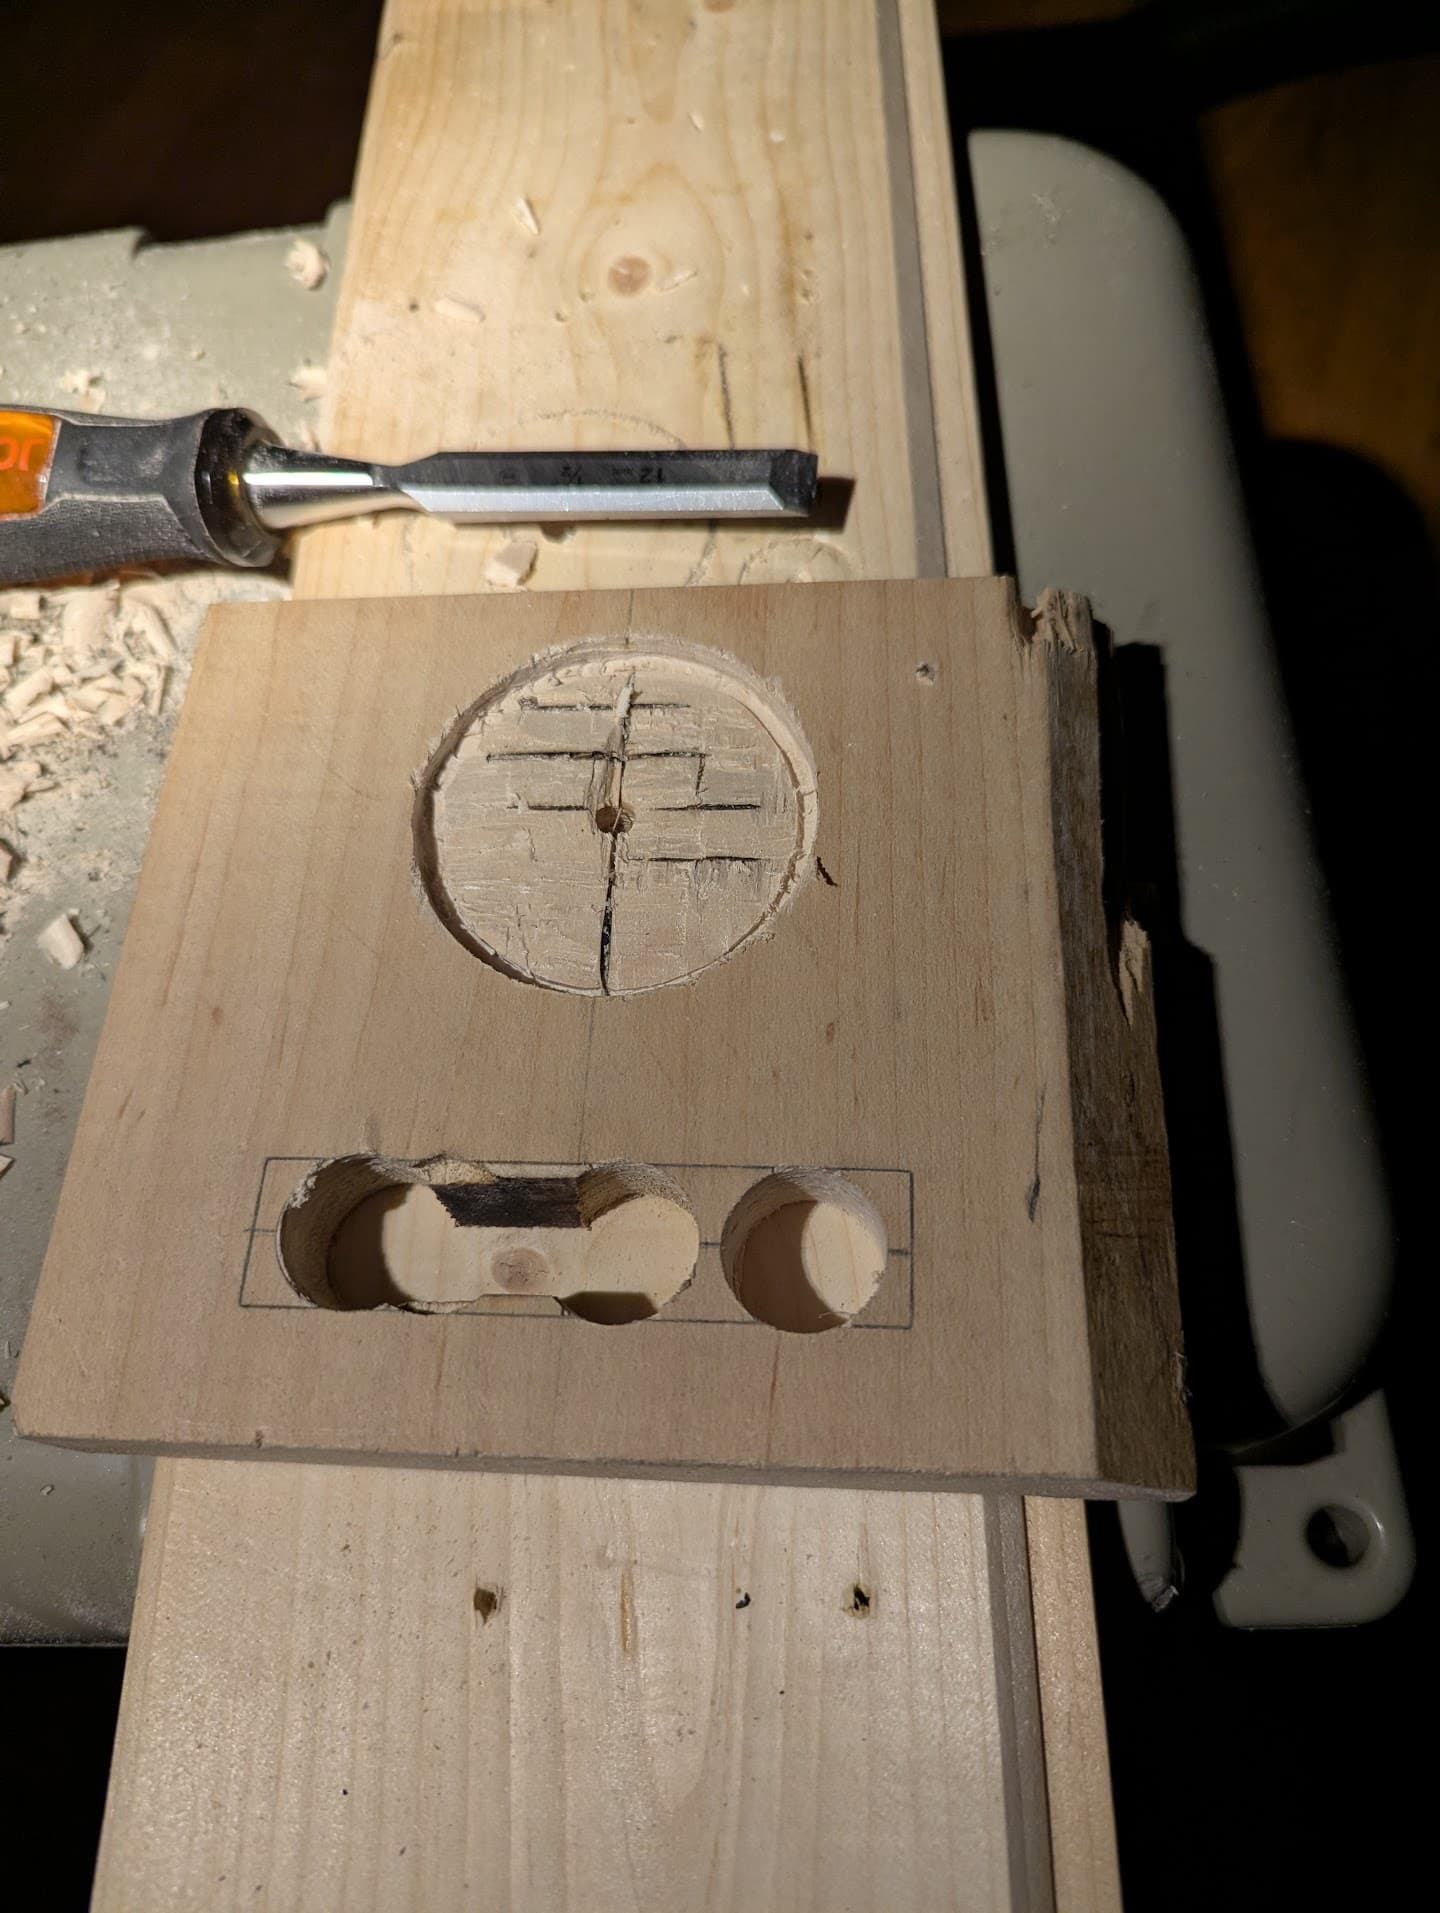
Scored some lines in the piece to assist with material removal/chisel’n:

Pausing here to put a fresh edge on this (and another) chisel.

Cheers!

3 Thanks

My fun continues. I’m not sure what it’ll end up submitting, still - but right now I’m enjoying refining my process/idea. And I think these will be received well as x-mas gifts.

I’ll mostly just photo dump here, as most of the pictures are self-explanatory. Once I figure out what I’m doing I’ll work up a more proper write-up. Feel free to ask any questions if ya got 'em.

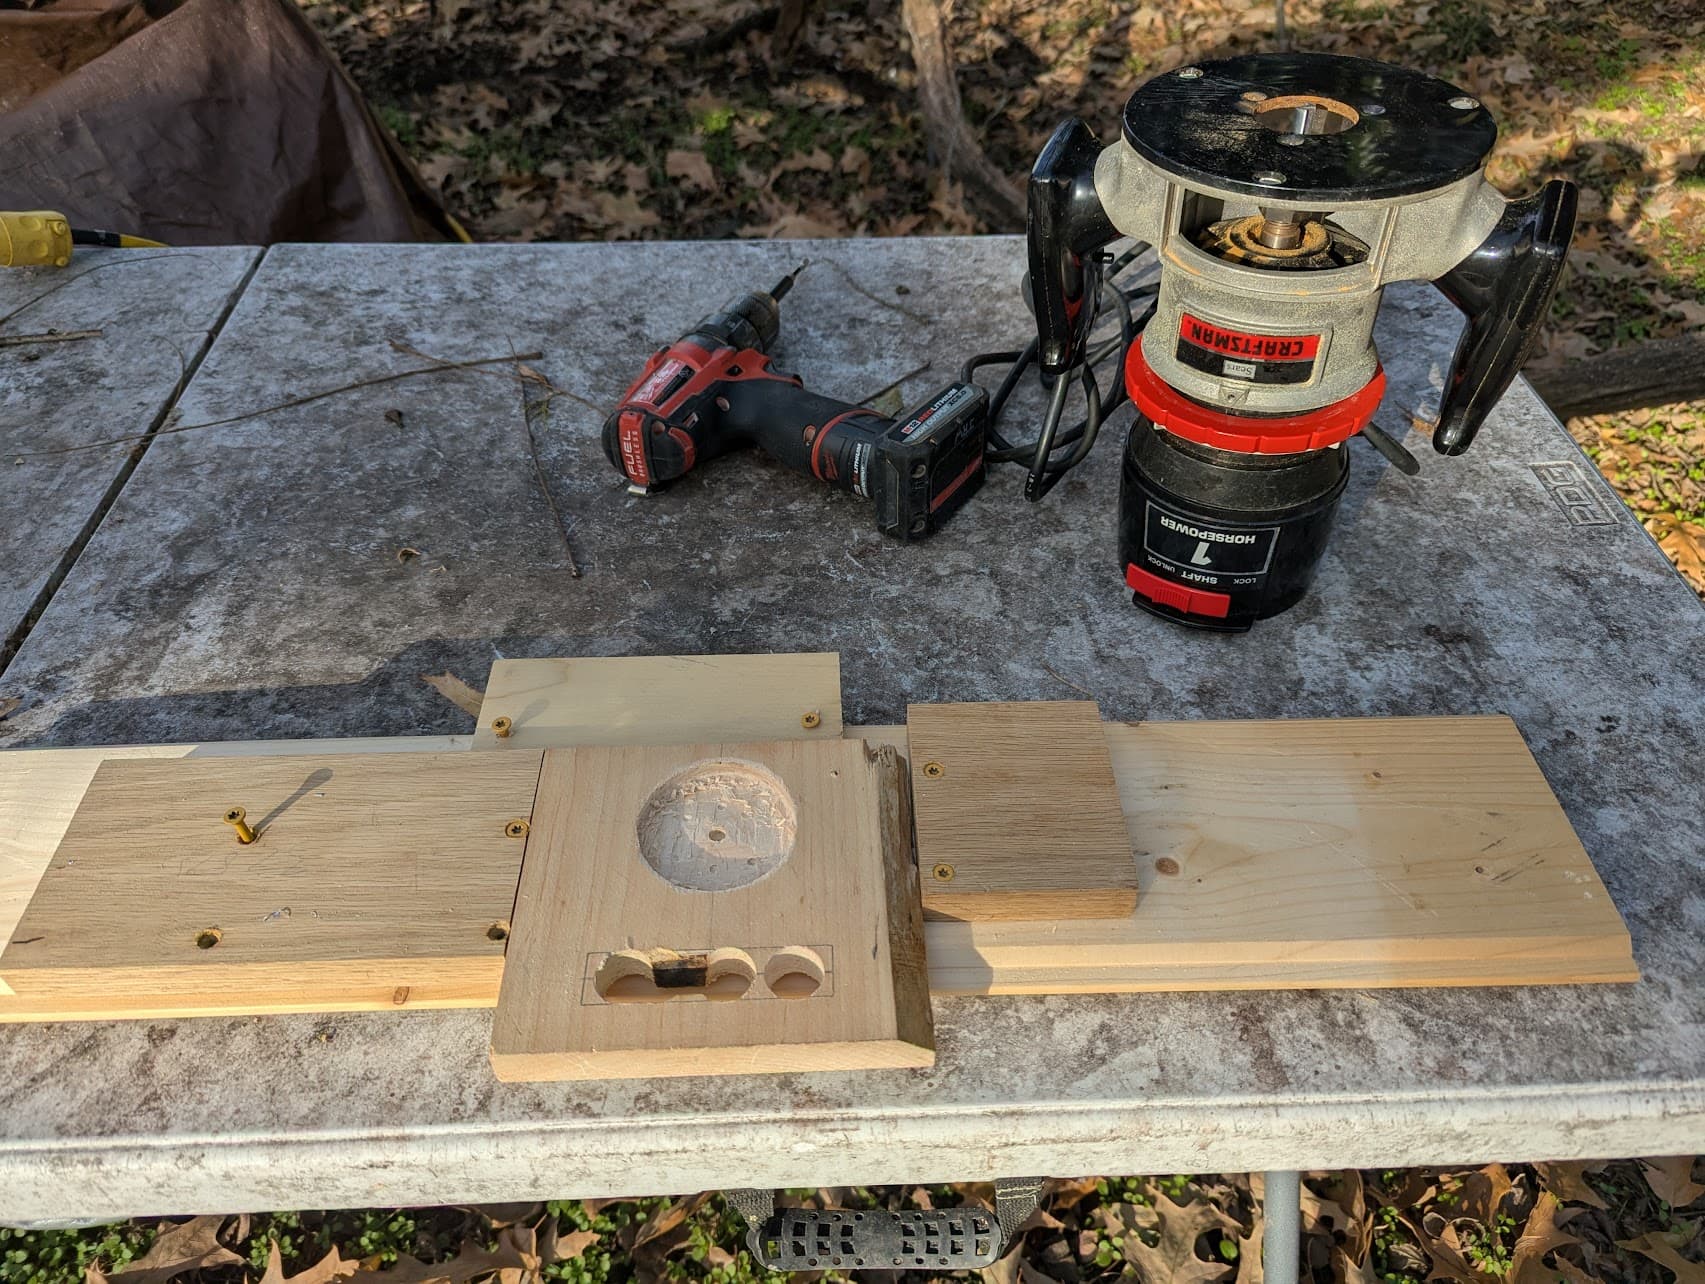
Playing with my chisels was fun and all - especially with this very dense/hard wood. But ancient dremel+router are far more effective.

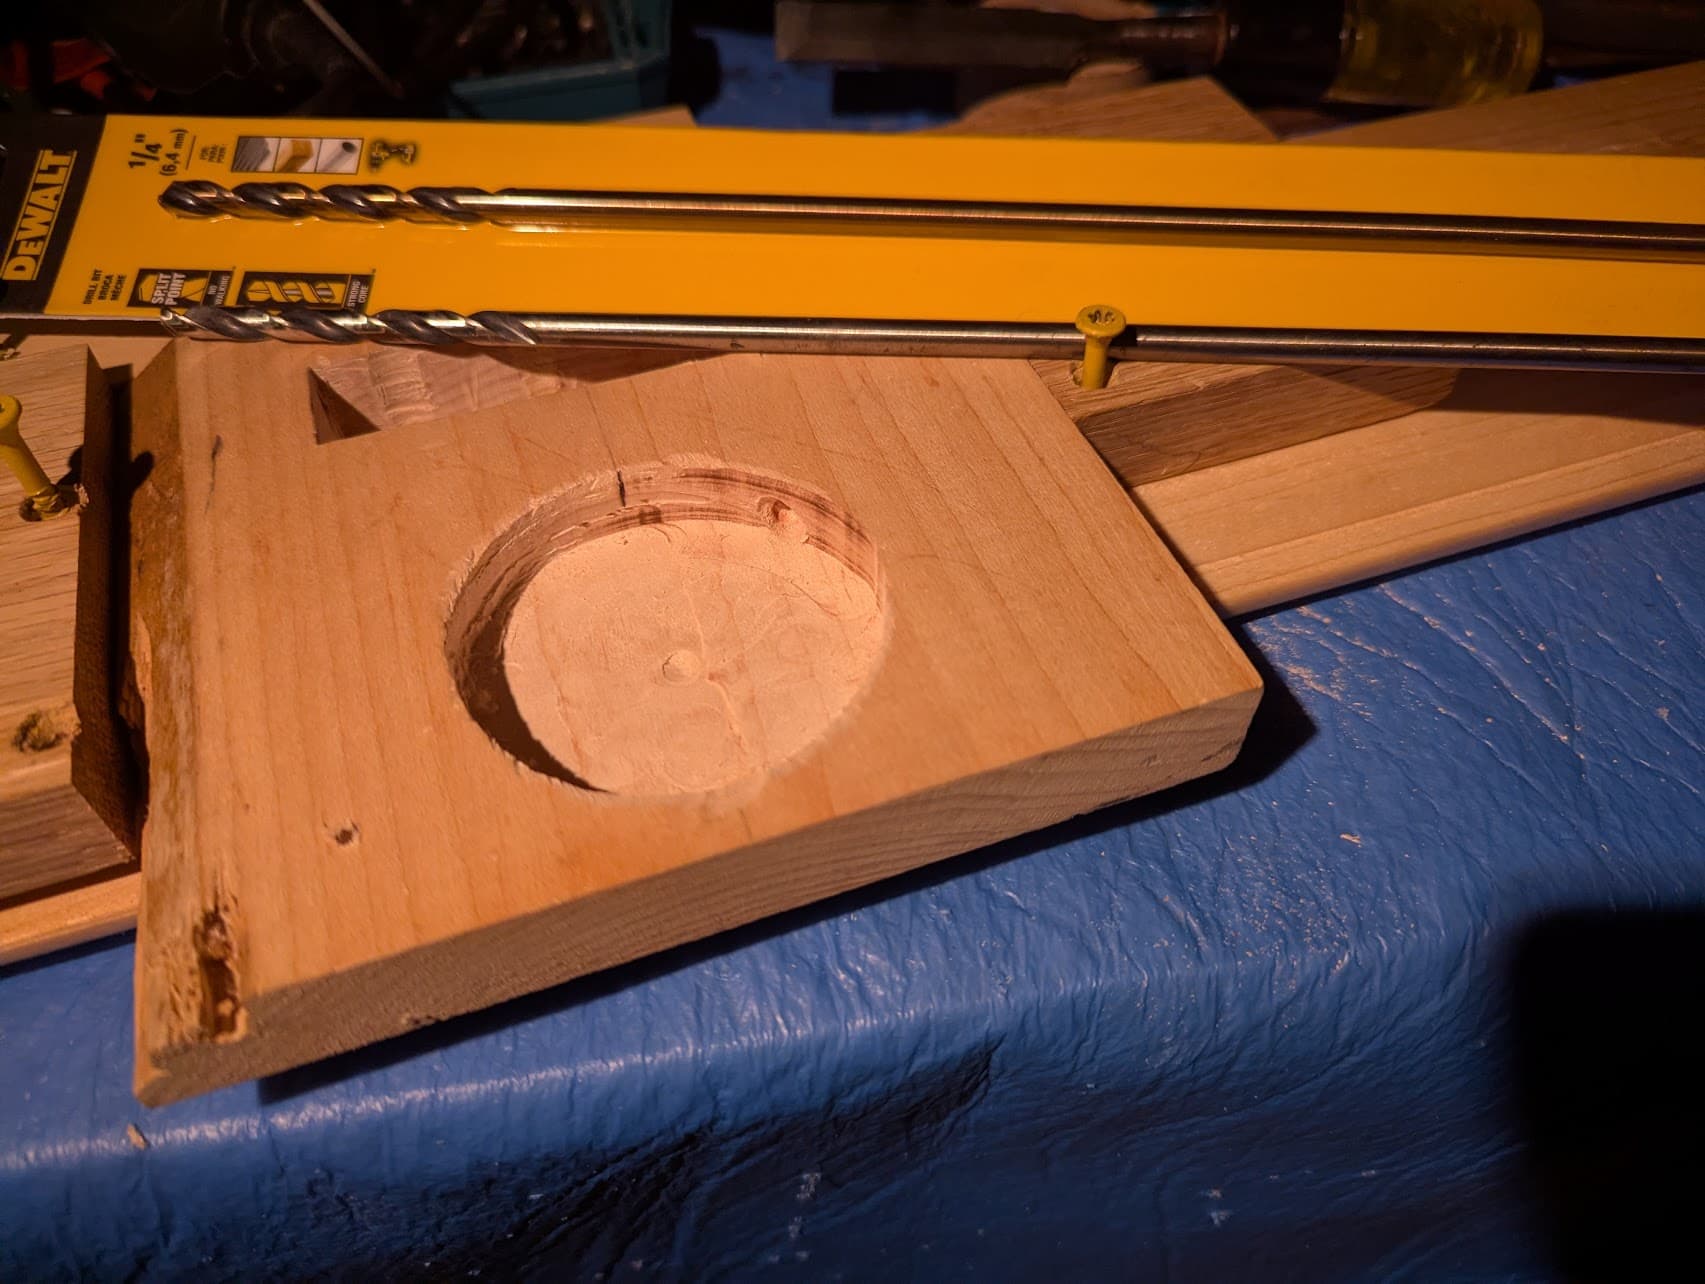
I had to buy a new bit, as my old used one was too dull to drill into this cherry. I can recall multiple times that I abused it on a jobsite drilling steel and the likes - so it has served it’s duty. One day I’ll master sharpening drill bits.

Also needed to throw a new blade on my miter saw - I used the last one to cut a whole lot of aluminum extrusions for LED channels

Blew out the grain on this wire routing hole that I’d drilled.

Mistakes into miracles, tho!

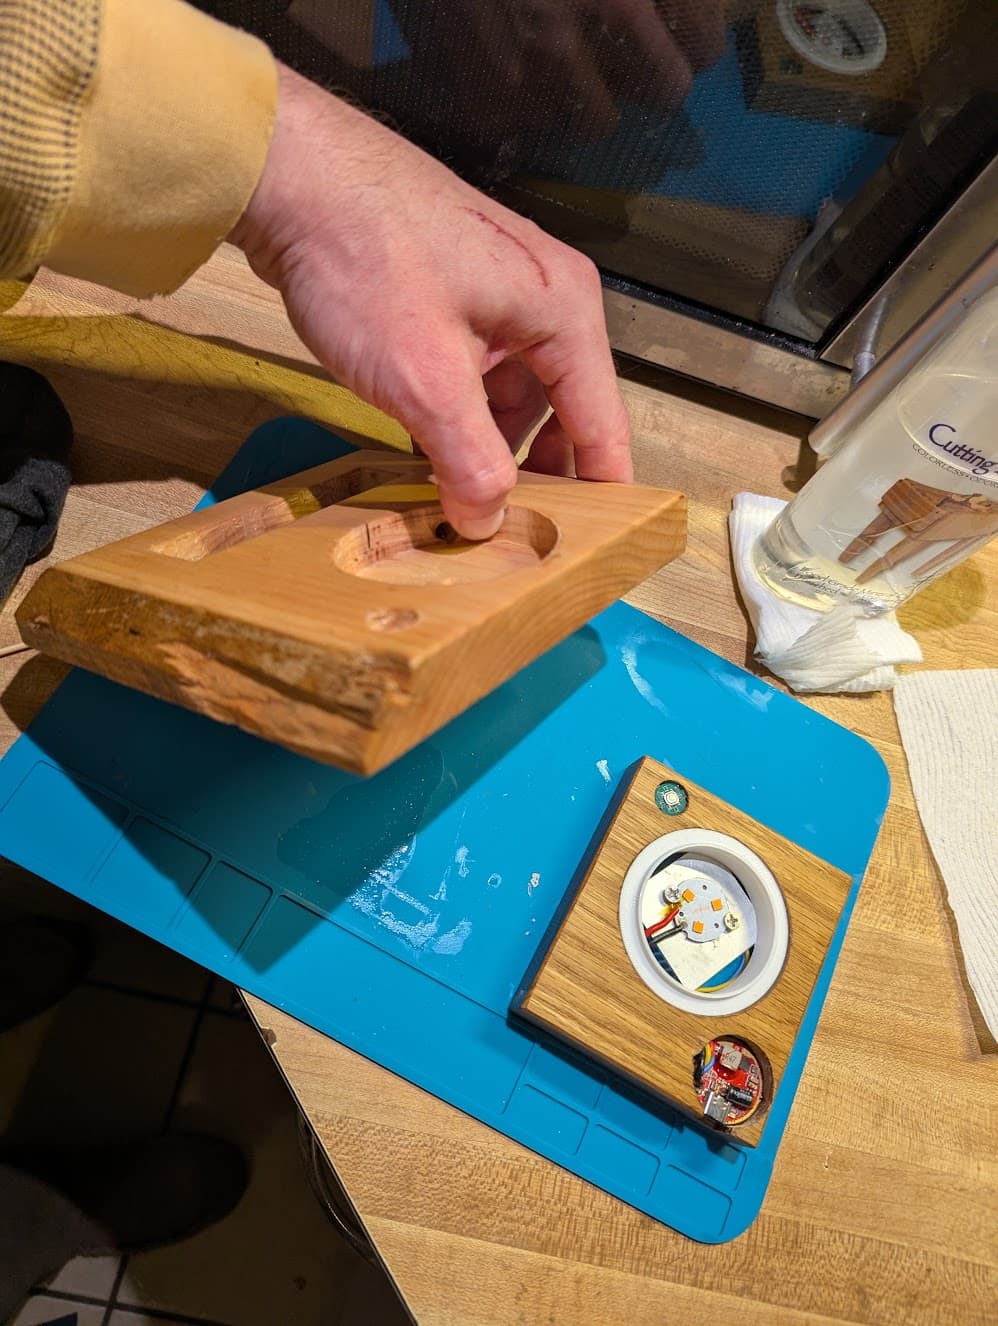
Pre-oil

Post-oil

Just potted the walnut driver and sized a new adapter ring for the 3d printed shade I made for it. Likely going to print out a different one so that the niece can choose whichever she prefers.

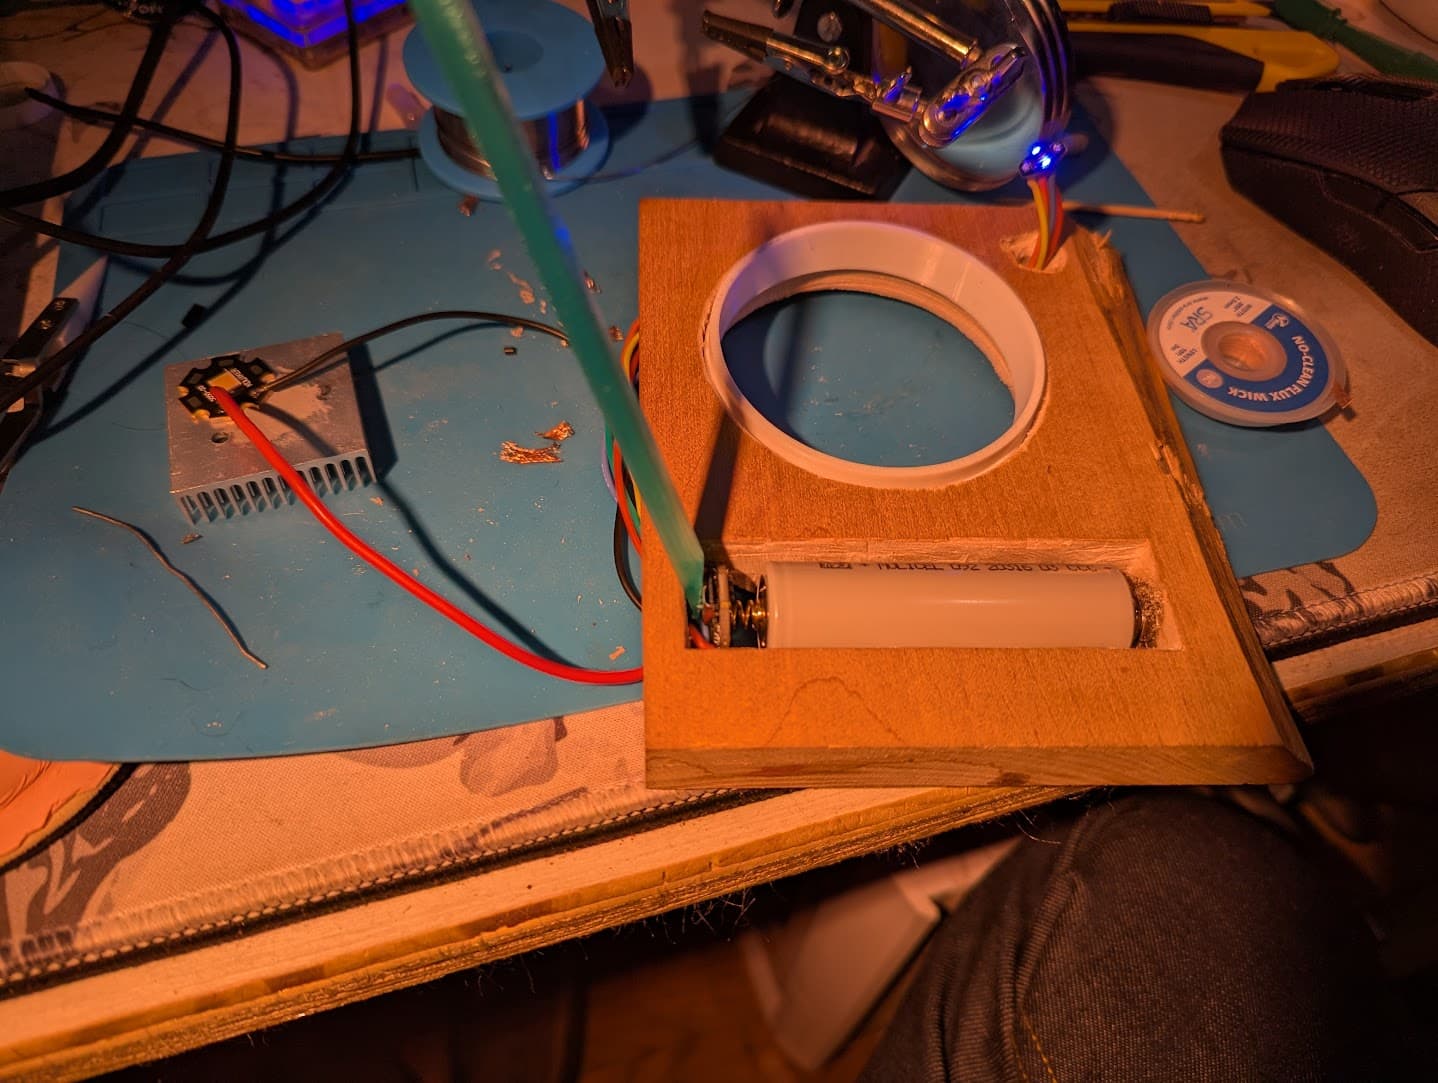
Here is unfinished v1 of this “jar lamp” saga. Just laid the wires down in their channels with uv cure glue - Will be making tiny lil feet for this (*out of walnut, most likely) as the wires slightly protude from the bottom/ it’ll keep it from ever being damaged - will likely cast some interesting light, as I drilled through the larger portion entirely, unlike with #3

Cheers! These are fun to make, and now that I’ve got my ideas more formed I imagine will be a lot easier to pump out copies for friends + family!

I’m waiting on 3 Lume drivers from Hank, and a spread of emitters and parts - so I will likely be able to kick this up a notch shortly. I have more materials and a few more drivers that are suitable for this idea - so I might work on churning out a few more - now that I’ve got the order of operations/plan worked out. And dusting off that old router was a game changer. I bet I can get my build time down to ~ 90 minutes or less for one of these. Fun stuff!
Thanks for following along.

5 Thanks

Those are looking great. If you will be making more does it make sense to create a template for your router?

1 Thank

It absolutely would, but I also have this in mind as a back burner project - so it might nullify that need completely: Using Ender 3 Pro As CNC / Engraving Tool : 5 Steps (with Pictures) - Instructables
I have an old ender 3 collecting dust - got the idea, googled it, and viola there’s an instructable to do what I was think’n!

For the time being I’m enjoying using hand tools freehand.
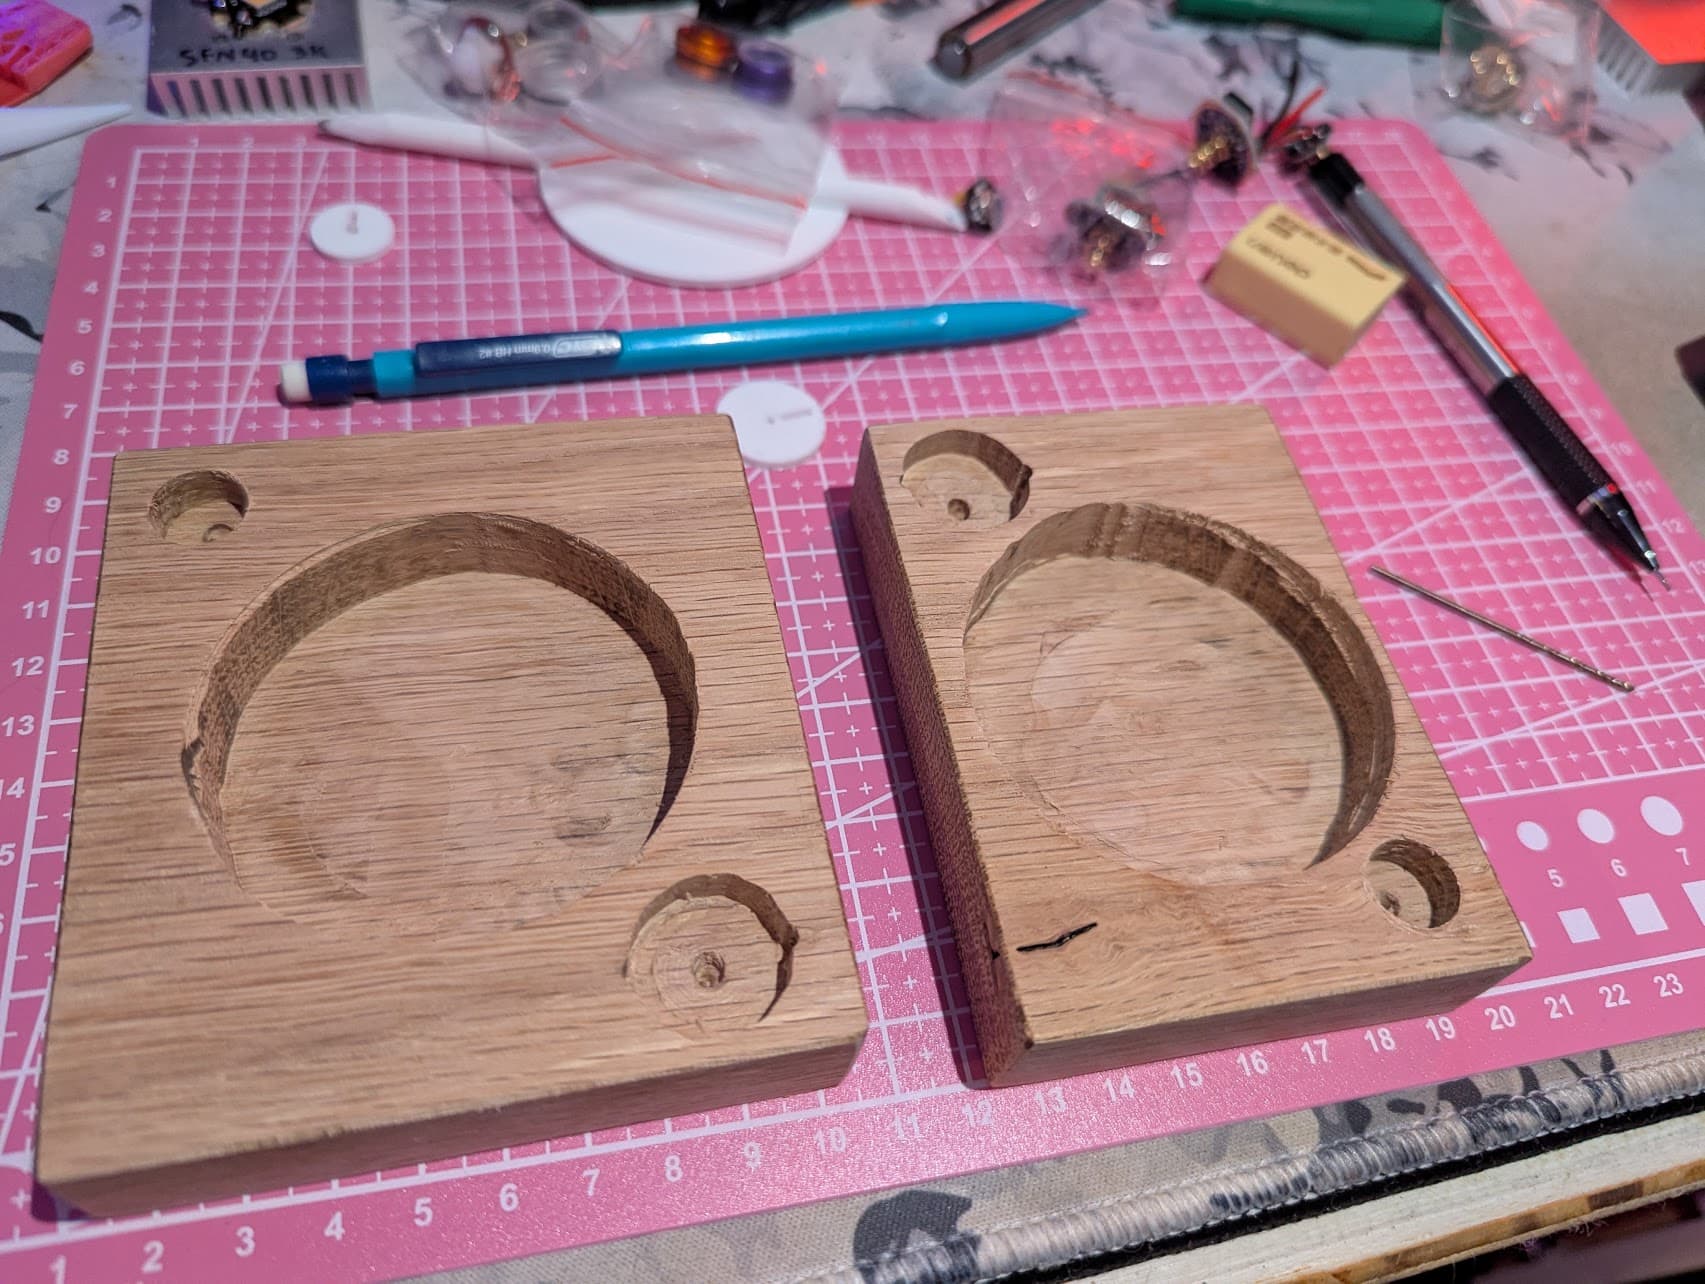
Here’s another walnut board in the layout stage - prob gonna whip out a few more for gifts.

I am gearing up for a cross country move soon - so my DIY CNC adventure truly will be a back burner for a bit.

More on that remainder of walnut that I threw some marks on earlier:

Excited about this knot and wavy grain in the walnut:

Now at the drilling for wires and fitment testing. Then we get to clean it up some more, oil it and build it. But I’ve only got 1 more heatsink on hand :cry:

Dropping this here - I’m pretty proud of it. Currently obsessing over the grain pattern in this piece of walnut:

4 Thanks