R150 is the sense resistor . The easy way is changing it to an R220 or .22 ohm axial resistor not hard to find and measure the current , if too low adding an 1 ohm in parallel to convert it at R180 …with 2,2 ohm go to R200…
Nope, it only ranges from 350ma to about 500ma.
That’s fine, but not with my hands, LOL. That’s why I was asking if anyone with the knowledge and skills wanted to tackle it.
No, the R050 resistor by his thumb is most likely the main sense resistor. It could be a 0.5 ohm or 0.050 ohm resistor depending upon who made it. The R150 may be used for the low level setting.
Yes , you’re right , the sense in the MC34063 is in the positive line , pin 7…also this is a step down driver therefore the emitter is at 2A or more…
You know, if I could remember where I put my memory....... LOL. I already did a Nichia 219 at 1.8A Here!
If I can make a good heat sink, I am just going to use the board I already have. Man oh man, I hate to think what a few more years will do. Probably won't remember that I like to modify flashlights.
I’d try it with the current heat sink. Within reason, extra mass does not affect the ability of a heat sink to get rid of heat. It just delays the inevitable rise in temperature. What does matter most is the surface area of the heat sink and its emissivity. Also, the thermal conductivity of the material. Cast materials can have less that half the conductivity of forged materials because of trapped microscopic air pockets.
Very thin materials (i.e. it bends) can be bad because of thermal conductivity issues. We did a test on a copper heat sink that started out with a 3/8” thick plate. Then it was milled thinner and thinner. It was just as effective at 1/8” as 3/8” (accounting for loss of surface area).
Ha! Because you need a red light to tell you that a flashlight is on!
-Garry
The “cast” part of it, is what I don’t like. That heat sink, as big as it is, only weighs 40grams. I know it won’t conduct well, so I am making a copper sandwich. I don’t have any photos yet, but basically, I am cutting out a section of the heat sink and I am replacing it with a thicker copper plug, with copper plates on either side, to sandwich it in. When it’s done, it will bring the weight to 85 grams. The copper will be what the star backs up against.
It’s done, new photos added in the original post.
looks like you’ve figured it out, but that trim pot is either a variable sense resistor (sort of unlikely unless Hi and Low were on separate circuits) or a variable voltage divider, so that Low is a variable %age of Hi.
A straight LED swap to something a little brighter (219 or XP-G2) looks like the best approach - the driver looks like a Buck driver, which should be pretty efficient and should keep the current draw from the AAs reasonable. That’s one seriously tight spot beam though - great for hunting/ wild life spotting/ dog finding, not so great for camping ![]()
Great! Can't wait for the Nichia beamshots! Let's see a mouseover of the original and then the Nichia!
-Garry
Yes it is a very tight spot. I would say that in it’s stock form, it would be good for wildlife spotting, but after I hacked it, it will be better for all round and the spot will be much larger than before, but I won’t know for sure till tonight.
This thing must not have a fast pwm either. When I went to take a photo of it turned on, with my camera, all I could see was the flickering. First time I have seen that with my camera.
I will try to do that.
Thanks for taking the time to share with us .
Sir !
I think the pot on the board is for adjusting the level of the low setting.
I did one of these with an XM-L and 7135 board-worked out fine.
Rich
Nice mod ![]()
Will
All of the mouseovers are done the same way. The first photo (mouseout), is the original light. The second photo (mouseover) is the modified light.
All of the settings are the same as in the original photos found in post #14.
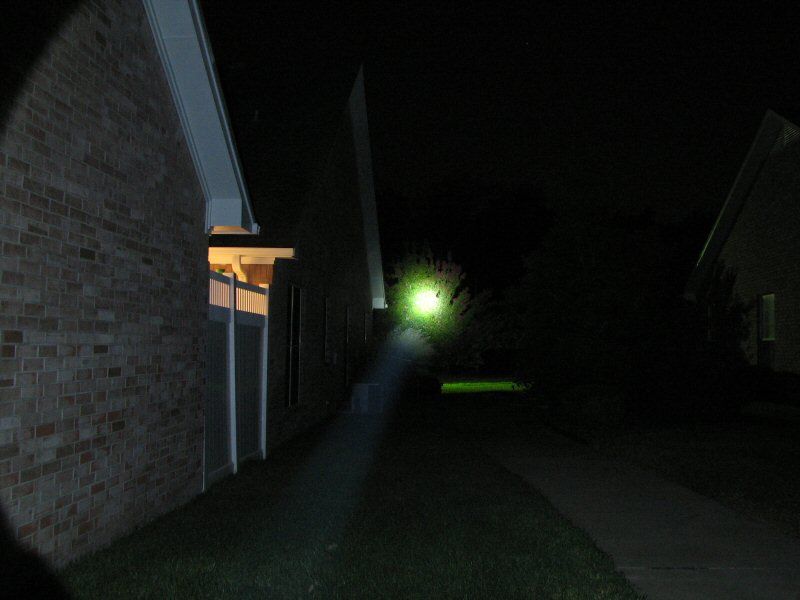
Side of house at one second shutter speed.

Side of house at two second shutter speed.
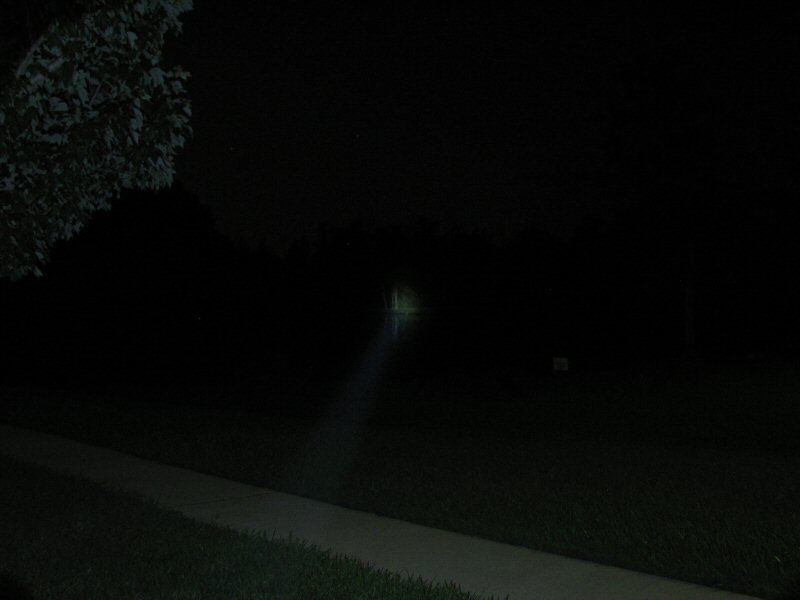
Pond shot at 1 second shutter speed.
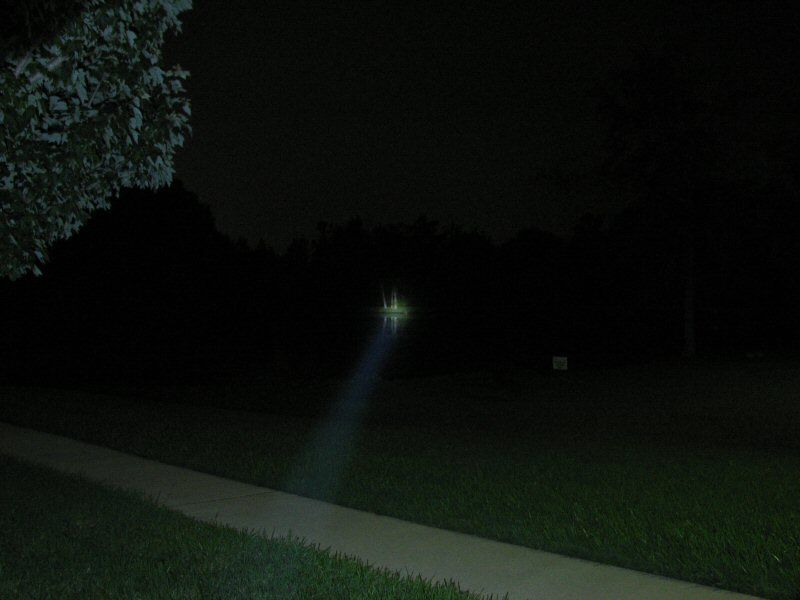
Pond shot at 2 seconds shutter speed.
As you can see, it's not a thrower any more. It's got a larger spot, that is good for about 40-50 yards and it has a lot more spill. That's the way I prefer it. Also you can see how the Nichia does a much better job at color reproduction. At least I think so.
What I really like about this light, is the weight. With batteries, it weighs in at a mere 14 ounces! It also fits in the cup holder, in the car. I set the light, head first, in the cup holder and it fits perfectly! What more could you ask for?
I sort of hate to give it up, but of course, no one may want it, then I will have to keep it. I will put it up for sale soon and see if anyone does want it.
what a huge difference in colour rendition! That immediately makes it a much better light IMO and the more practical less “WWII searchlight” beam is a big plus too. Any pictures of the new LED in the host?
Just out of curiousity, is it me or does the beam shape of the original LED change over distance? It looks like it gets narrower just after it goes over the water in the last shot then gets slightly wider. Pretty cool if it does.
I think you will find the elevation drops down and then levels out over the water causing the beam to look like it does.
Nice mod by the way. I'm not an expert on tints but I like how this has turned out. Cheers.