Does it make any sense to dedome the xp-e2 red?
I started work in my B158B.
I got a new LED and driver for it.
I replaced the switch already. Need to do something to make the switch post longer, now I need some tool to click. ![]()
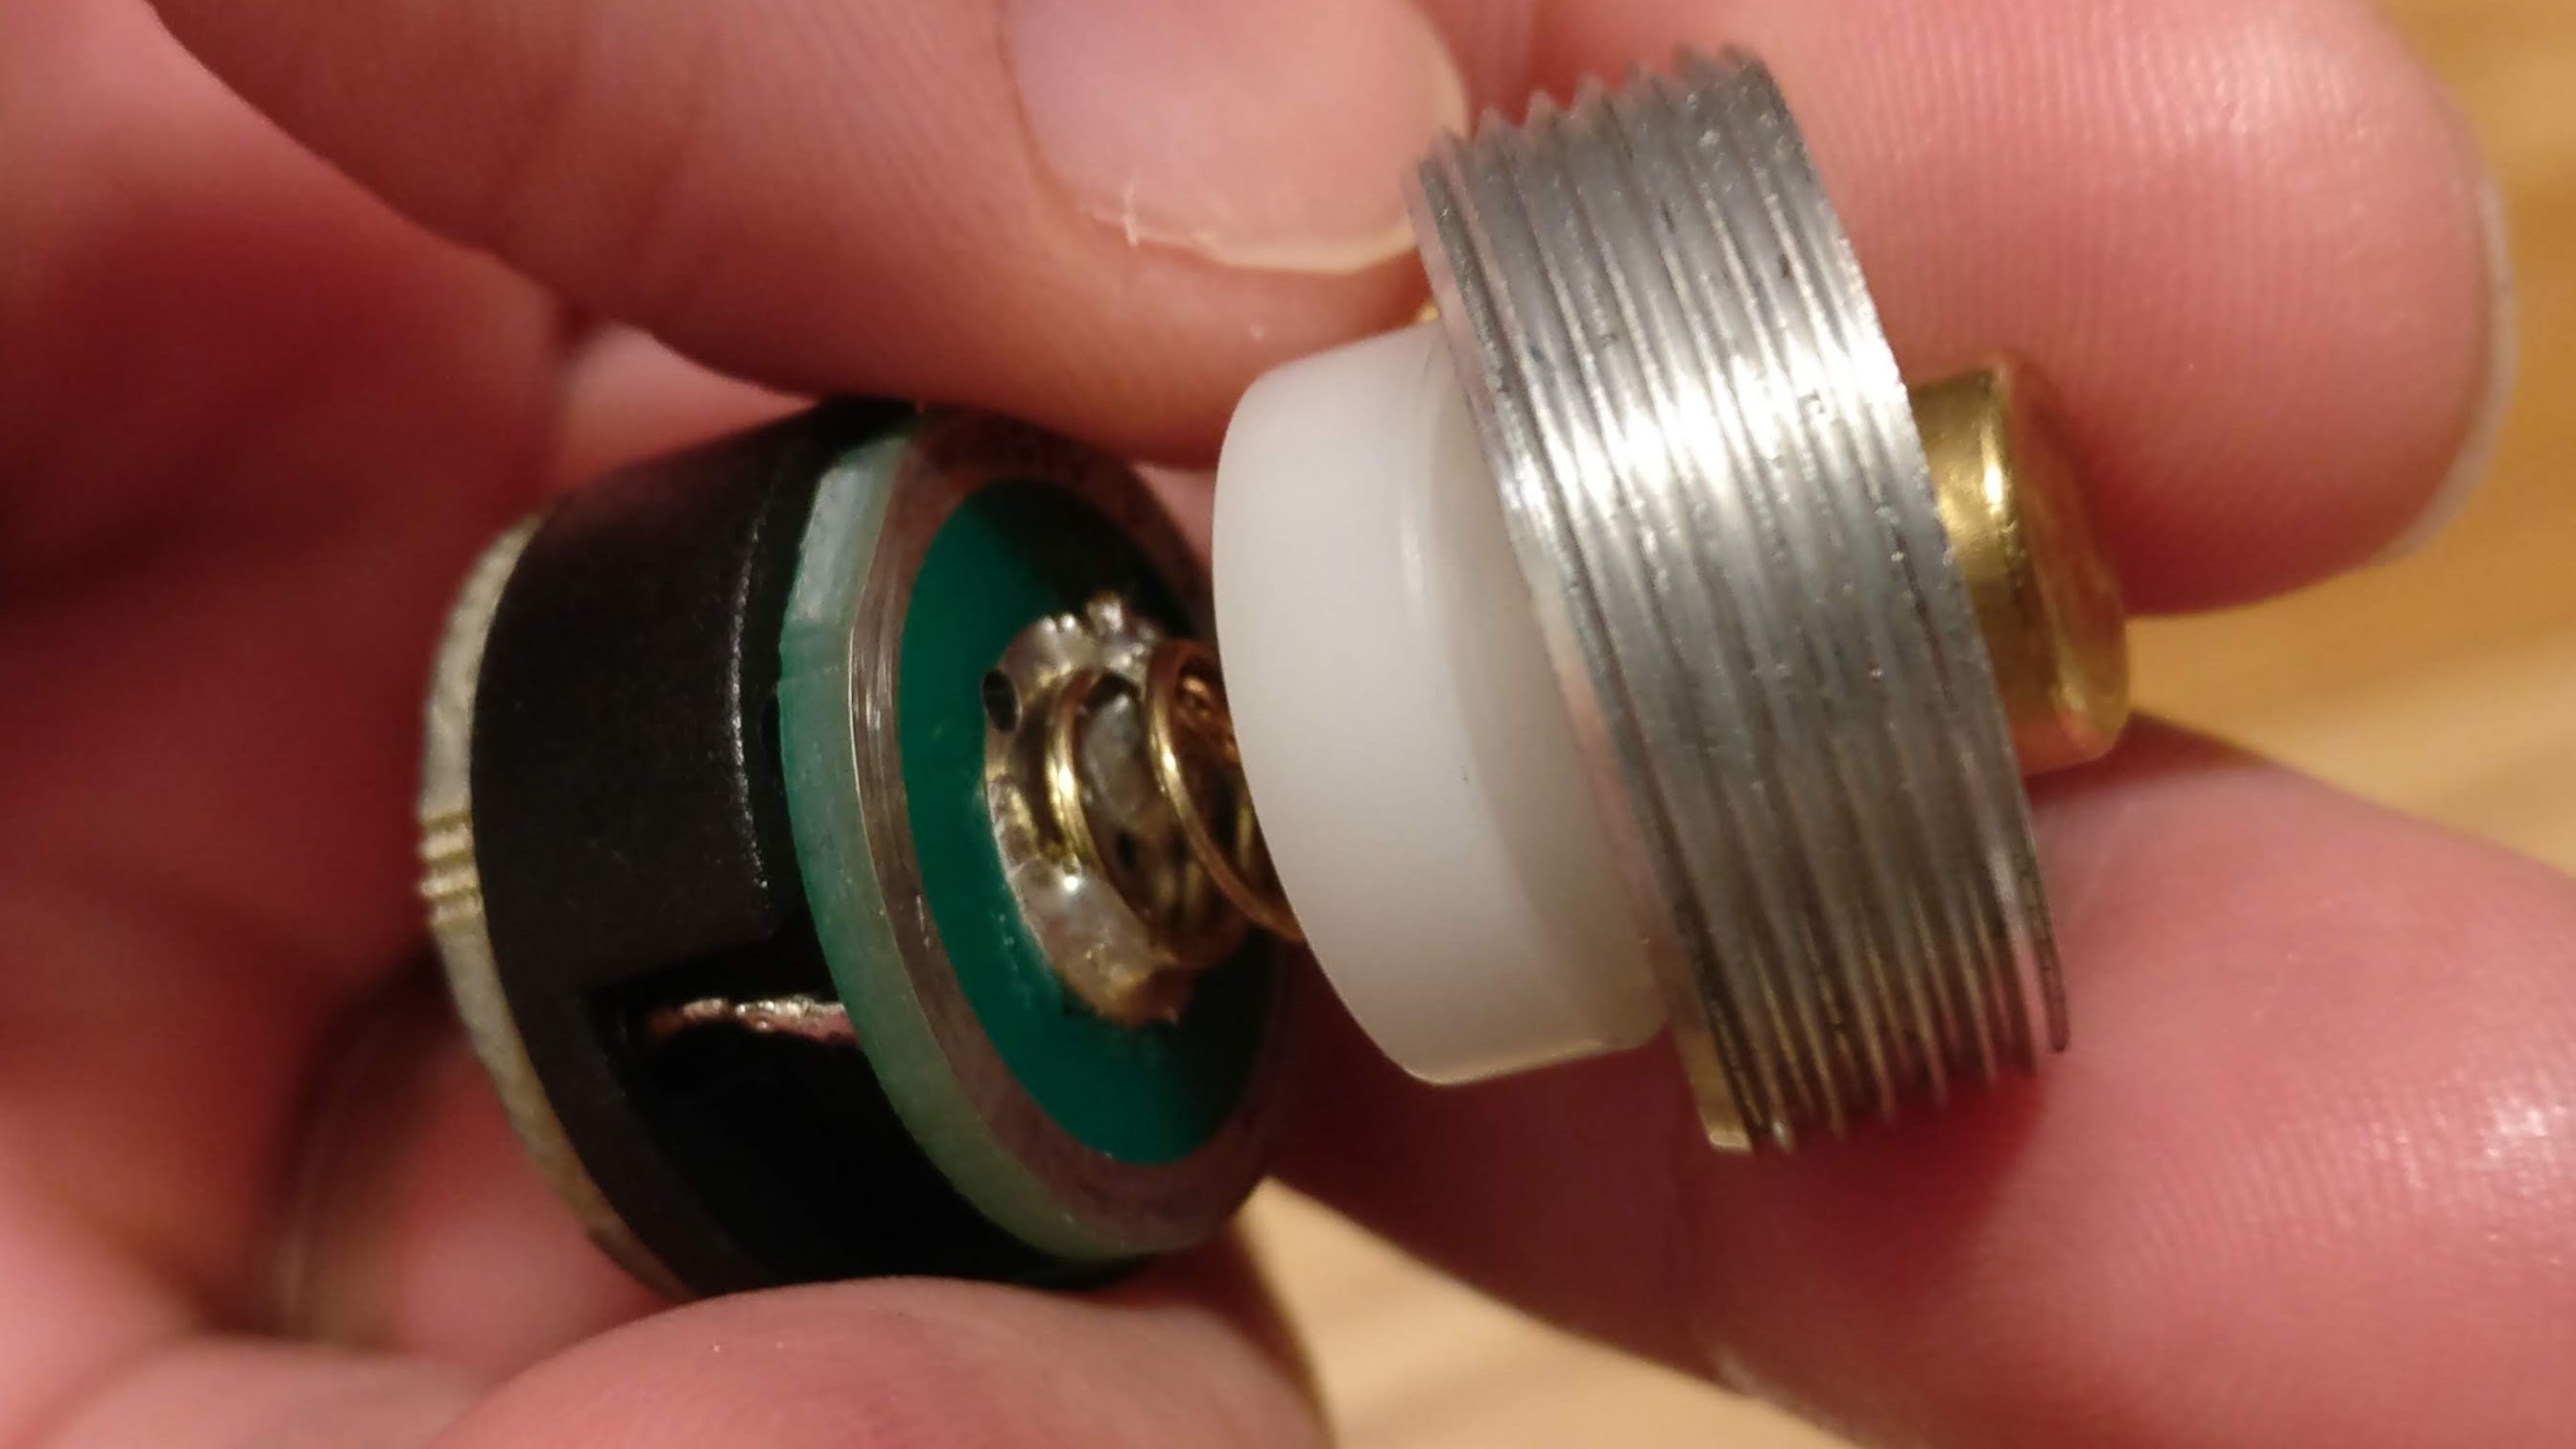
I opened the head and removed the MCPCB. Just put needle nose pliers in the cutouts, twisted and the glue failed.
The driver didn’t went so easy. I searched the thread and I saw several members complaining that it’s hard to get out, but only one actually stating how they did it: torched it until it unsoldered from the press-fit ring. OK, I’d like to try something less brutal first….any suggestions?
Also, what is the recommended technique to do bypasses on springs as long as the tail one?
You must use screwdriver, put into hole and hit hard to pop out a driver, you will damage it probably, but as far as I research there is no better way to remove a driver. Actually it is not driver that spring is attached to it, it is other board, driver is floating inside a pill.
I bypass it same way like I bypass driver one, twist conductor inside and solder it. I recommend to change driver spring since it is so bad quality.
Thanks for the hints. ![]()
Any suggestions for a better spring of such length?
Here are dimensions of that spring :
Height 8.5mm
Width of the base 7mm
Width of the top 4mm
Tickness 0.45mm
You can search and find a spring that suits or you can remind me in 5 days ( I order multiple and expecting it soon ) if I forget to tell you when they arrive…
The BlueSwordM springs would have been a nice upgrade. But they aren’t these dimensions. The height is the most important dimension, though, and the BlueSwordM small springs are almost there at 8mm height. But, since they are made of highly conductive but less strong Beryllium Copper, they will permanently lose a small amount of height after being compressed the first time. You will have to decide what is best for you. If you can make the BlueSwordM springs work (and if you can get one) then you will have almost as good as a bypass already, and even better if you do a bypass.
Agro does have my springs, and the small one would work very well for the job in this case as you said ![]()
The only problem is that the small spring is a bit tall in this case, although it shouldn’t be a problem since it can compress a lot.
It’s a potent spring, but since it’s wire diameter/diameter ratio is very high, it is very stiff, and requires a lot of force to compress, meaning there is more room for plastic deformation, which is why I designed them at 11mm height.
If you could find a way to fit dual springs in there, then that would be extremely potent, but perhaps a bit overkill. And it wouldn’t fit anyway ![]()
Oh, I thought I saw that your “small” spring was only 8mm height. If it is 11m height, then he could probably find a way to make that work, even if it means cutting off a coil or two to make it shorter.
After I decided on using a hammer to take that driver out, it went easy. Thanks vidramon!
The stock spring is about 17 mm long. Way longer than the blue spring….
Oh boy 17mm.
That is absolutely massive! Why use such a tall spring? Especially knowing it’s a steel spring, a ton of voltage must be lost in the spring alone.
I would just bypass it if it’s this long.
Yeah, just bypass it. Use a nice 22 gauge silicone insulated wire. Solder one end of the wire to the PCB under the base of the spring, and the other end with a brass button to the top of the spring.
Yeah, I was looking for the best bypass technique. Twisting the wire around the spring like TA recommends won’t work; there’s no space for it. Inside…I’ll try.
I struggle to find a good brass button source.
What is your favorite method of converting flat top batteries to button top? shows a few sources, but they have thick buttons. Aside from the expensive Led4Power button.
Suggestion? ![]()
These are the thinnest ones that I’ve found at 1mm:
https://www.ebay.com/itm/50pcs-Flat-Disc-Brass-Metal-Beads-Smooth-Donut-Loose-Spacers-3-Color-Beading-8mm/162280697899?hash=item25c8aef02b:g:Jl4AAOSwe25bC8-C:rk:1:pf:0&var=461268653427
I did more work on my B158B over the last few days.
It’s almost working, which already makes it my most successful mod so far.
I made it a twisty. As soon as I screw the tailcap in, it turns on regardless of what I do with the switch.
It means there’s a short in the switch, right?
OK, while I was removing the old switch I lifted one of the pads. I soldered the new switch there anyway, hoping it would work.
Is that the most probable source of a short?
Is it fixable or should I get a new switch board (from where?)?
Hmm, I’m not sure how that would have shorted it, but it sounds like it. Take it apart and put it back together? If that doesn’t do it, show us some pics?
The problem seems to be a short between the cell and the switch retaining ring. I disassembled and reassembled the tail twice, on some battery insertions it happens on some it doesn’t.
Did you happen to perform a spring bypass on it? I don’t see too many potential failure points, but I could see metal at the bottom of that spring perhaps reaching out too far and getting under the retaining “ring”.
For reference, here’s a pic of one of my B158’s, though this one has an illuminated tailcap board with it.
Interesting thought, thanks for the suggestion. I bypassed the spring. Just checked - it doesn’t short.
stupid question, but the cell wrapper isn’t torn, is it? the inside of the tube is anodized IIRC, so it shouldn’t really be shorting there but it’s possible
The wrapper is OK.