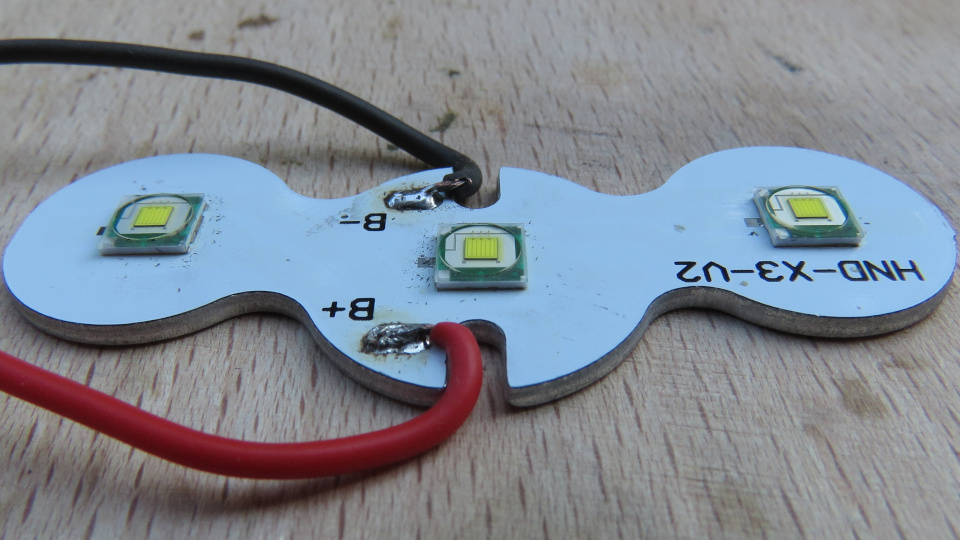
I have a lamp, something like this.
It looks like, that someone added the date to the output lumens ![]() The leds look like XM-L-s, but the chips are somewhat smaller through the dome, and the light is very cool white.
The leds look like XM-L-s, but the chips are somewhat smaller through the dome, and the light is very cool white.
Images are stored on ImageShack.
So, in the XHP70.2 dedoming topic, I mentioned, that what if I use a single bevel knife instead of a blade.
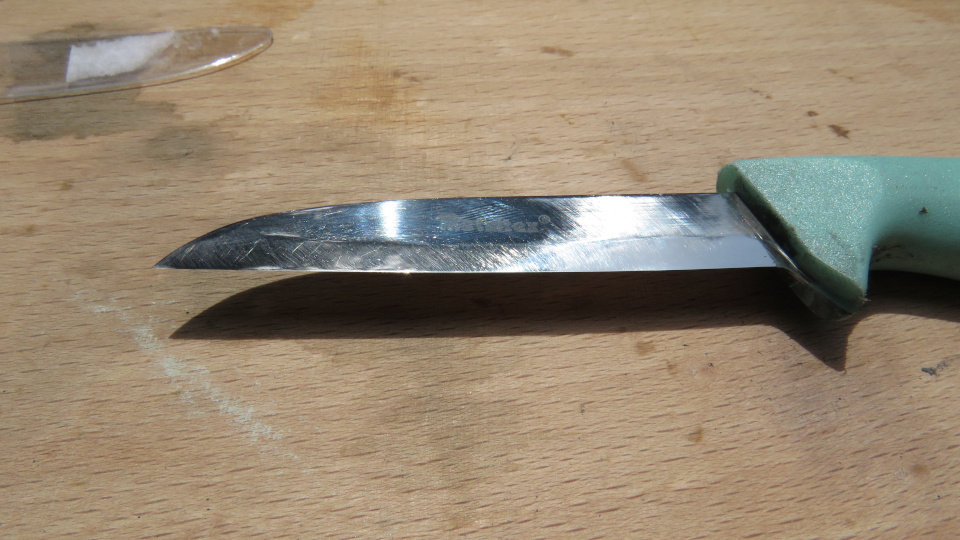
Well, the knife is ready … fair enough ![]()
Flat Side
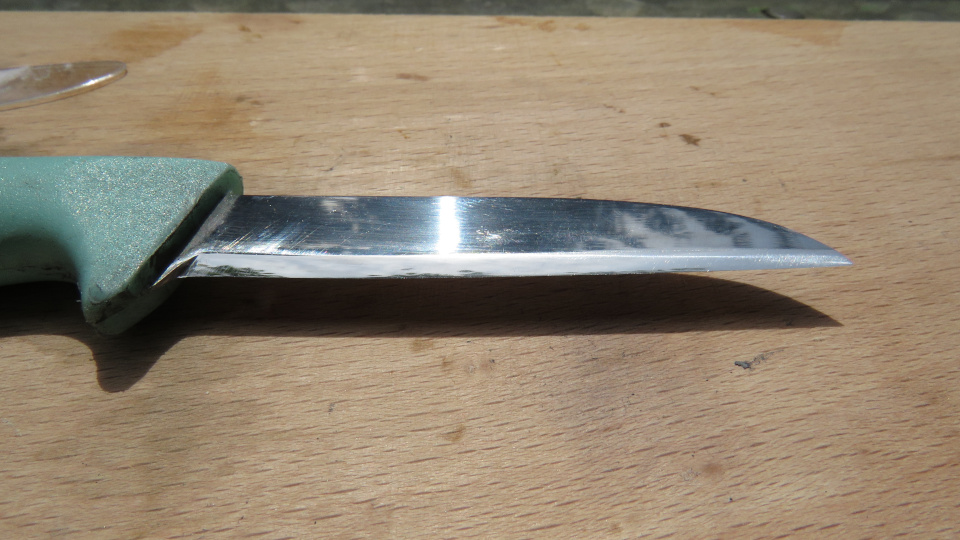
Bevel Side
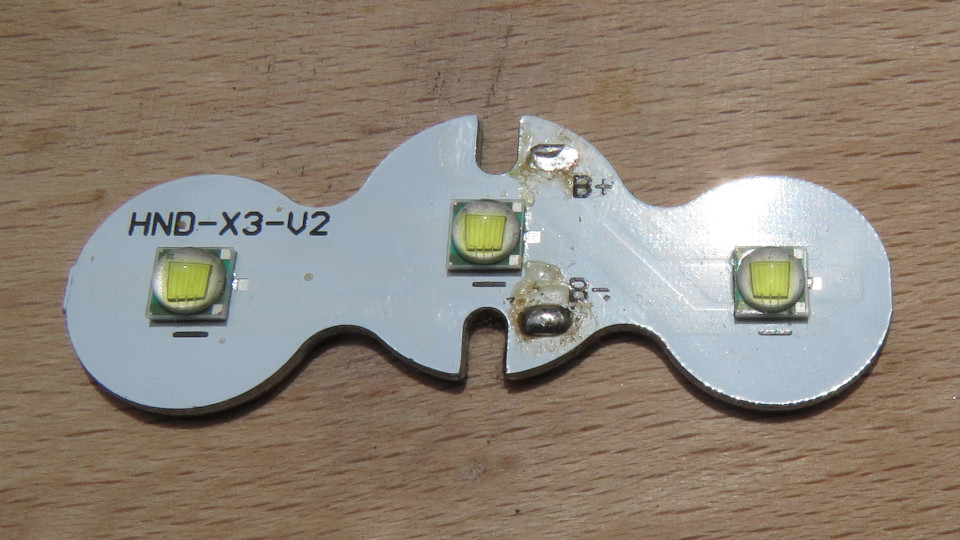
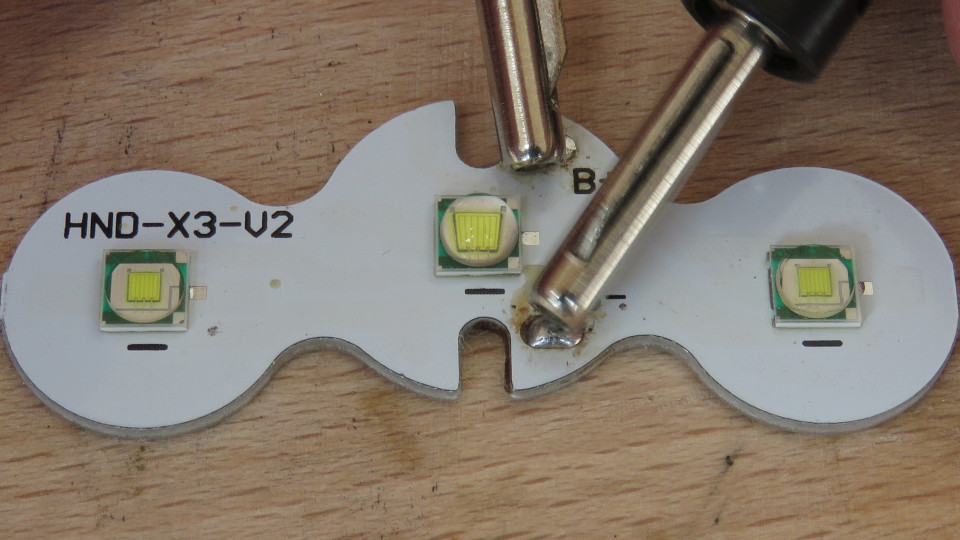
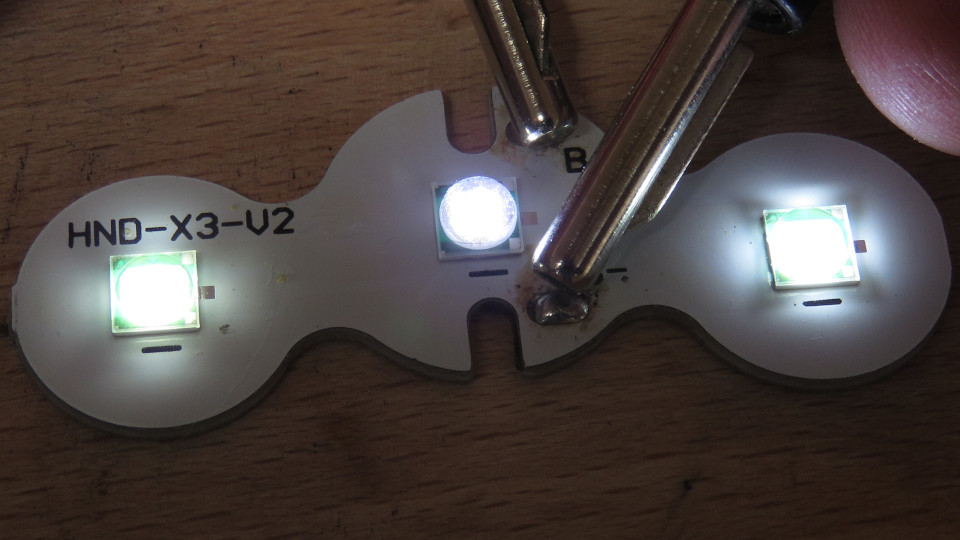
The LEDs in question
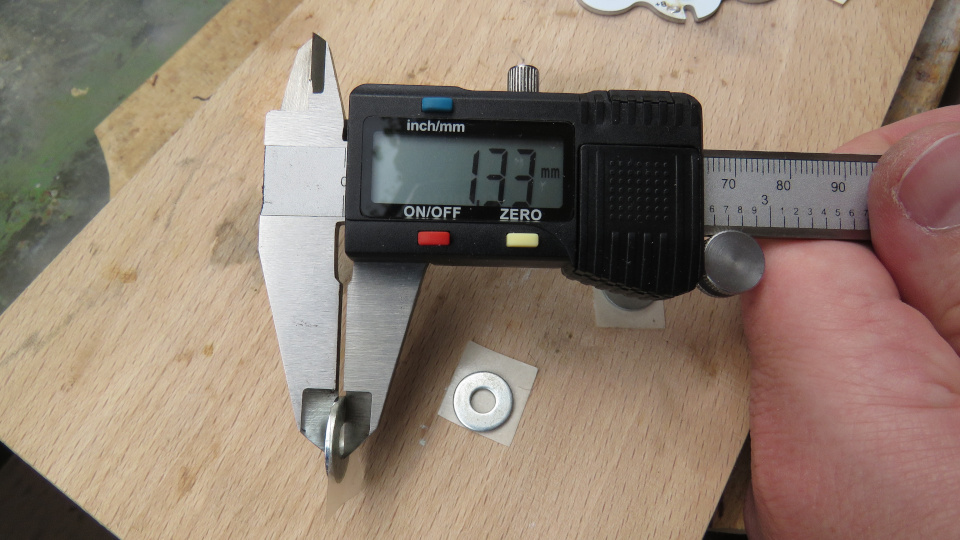
At first I have used a somewhat thick washer to level the knife
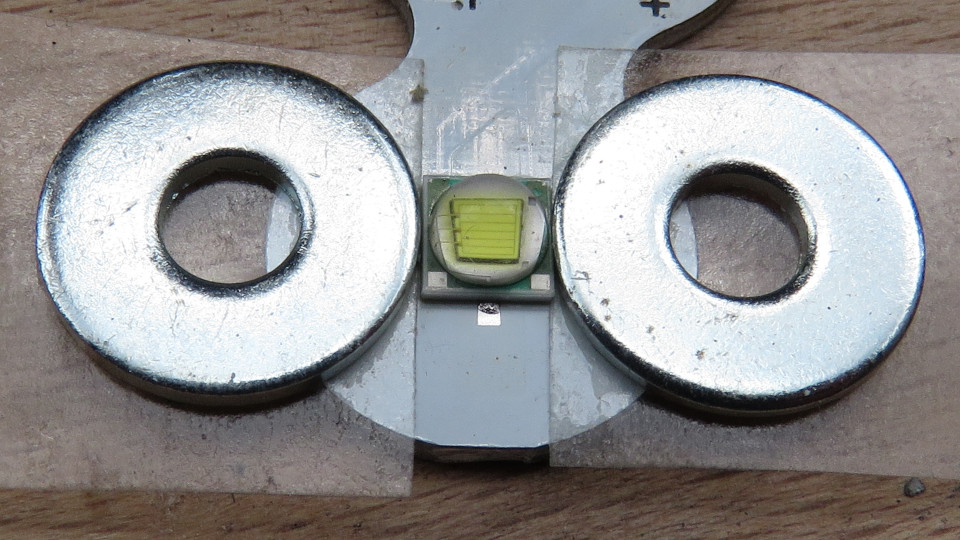
I just simply stuck them around the LED
That is the result. The lines prove that I can’t handle a knife, but at least I can sharpen them ![]()

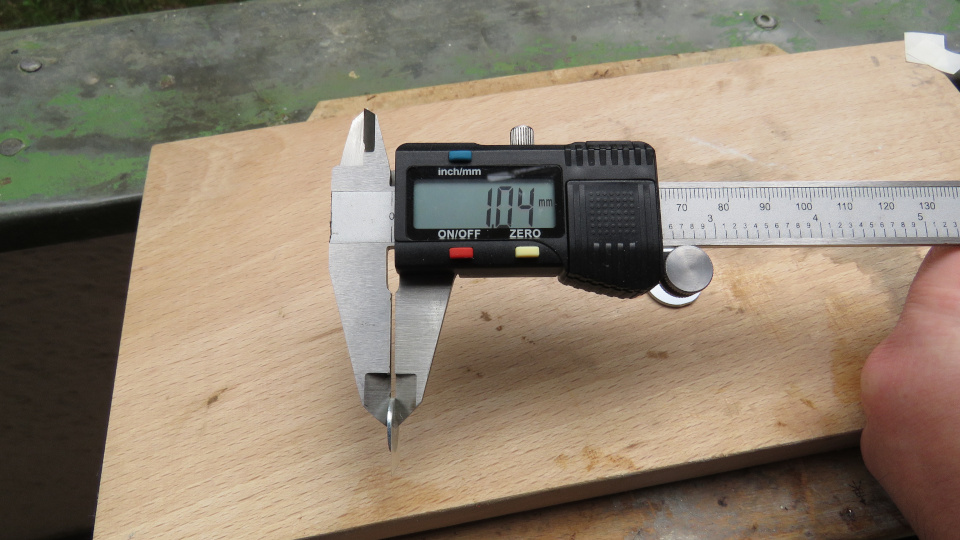
As I was not satisfied the result, I picket a thinner washer also.
Result

After cut scenery, when the thing does not want to light up
But I won! ![]()
It can be seen very well, that the flat surface reflects much light back to the mcpcb
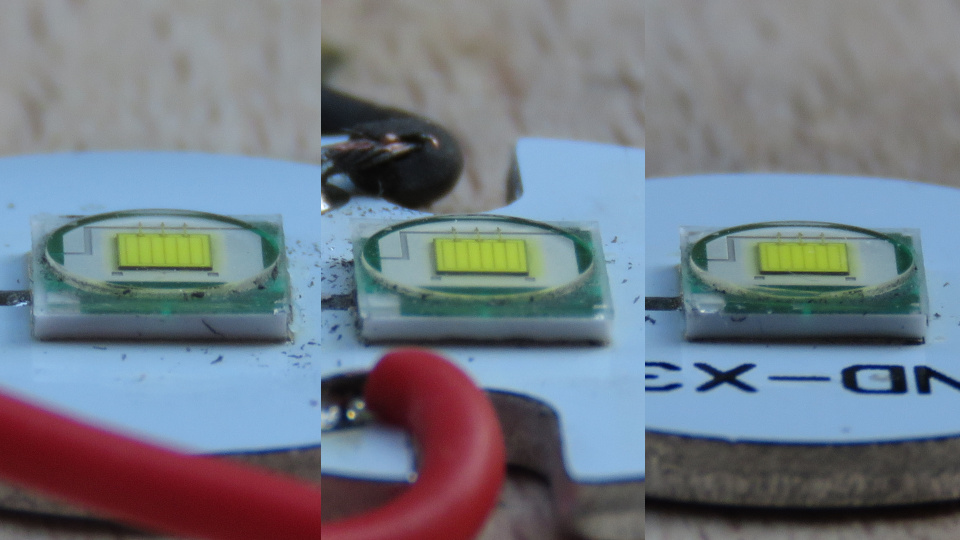
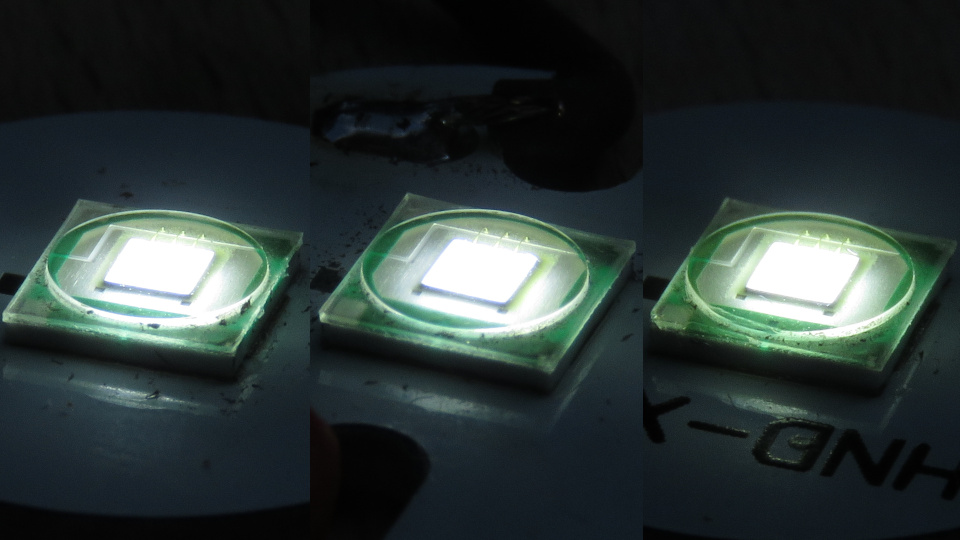
And now, the colour shift. These pictures were shot in manual mode, in Sun white balance setting:
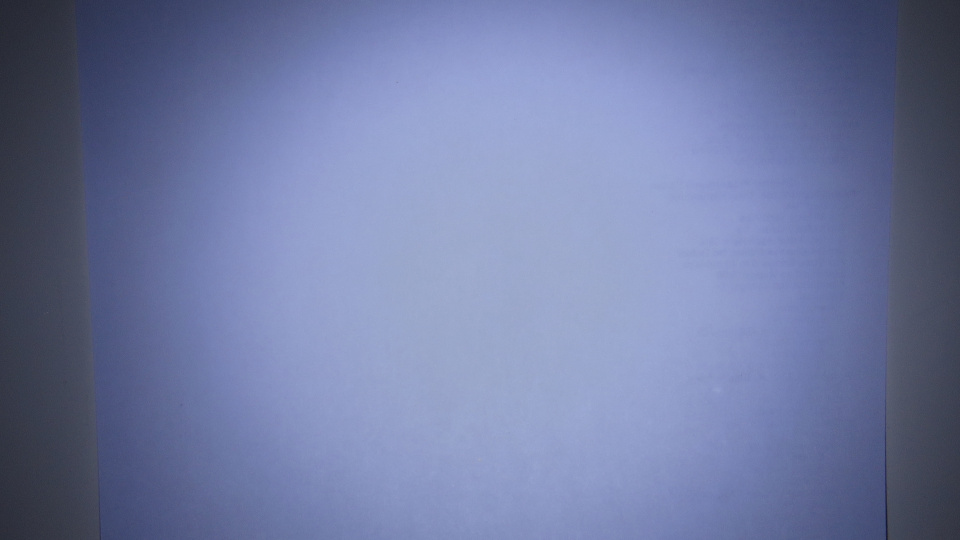
The untouched, very cold light:
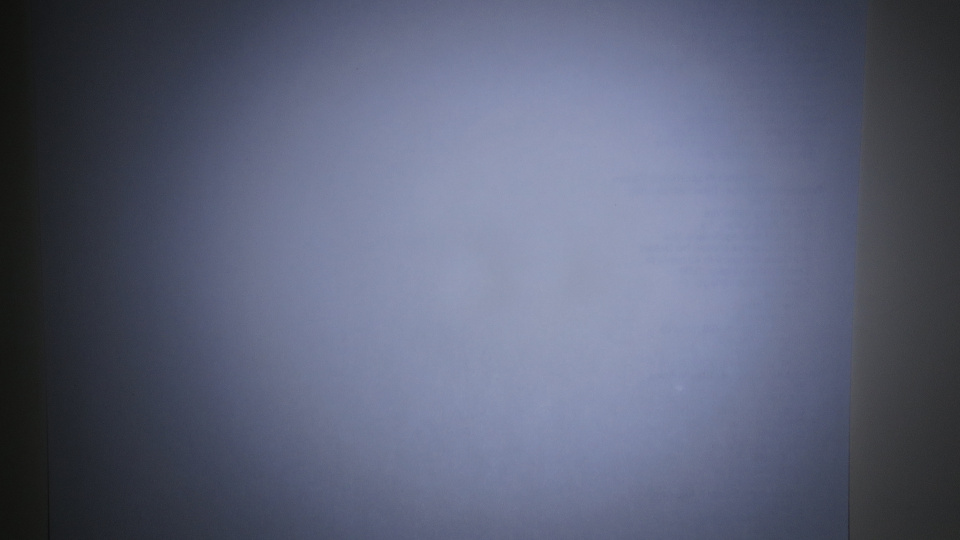
The thick cut, somewhat warmer (and darker, but it may be variance between LEDs):
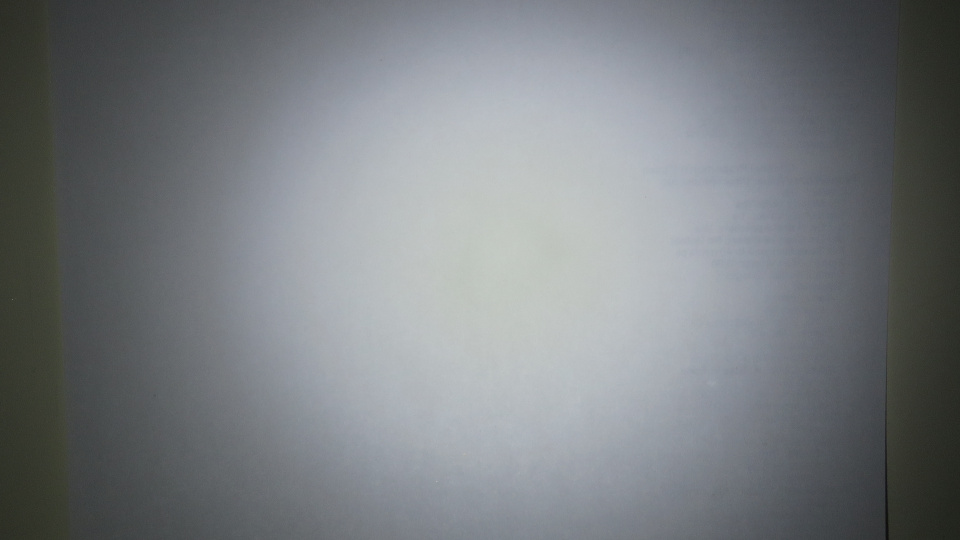
The thin cut:
This last LED has so nice colour, that I actually would like to by a new light (the electronics in my fried when I first tried to change the leds in it), and dedome them just to see the result ![]()
LATER:
I have dedomed all of the LEDs … well, it turned out that the color shift is not so strong as the above pictures suggest. I think that the difference between the LEDs were present to begin with, it just happened that I cut the LEDs in the matching order. :person_facepalming:
So, here are some more pictures:
The originally uncut LED:
The LED originally cut with the Washer 1 option:
The LED originally cut with the Washer 2 option for reference, should be exactly the same:
I made some comparison pictures, where the narrower beam and the much slighter colour shift can be seen:
Originally uncut:

Originally Washer1 cut:

Originally Washer2 cut for reference:
Note to myself: Next time, make pictures before the cut, if I want comparison pictures ![]()
2019-05-31
I have seen this thread, so I had to try it.
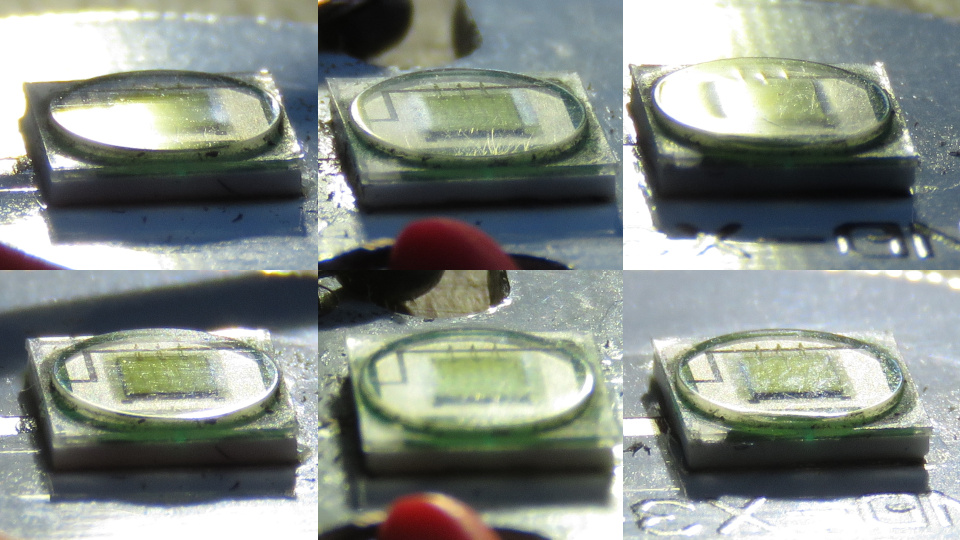
The LEDs after sanding:
Closeup. I wanted to show how smooth or not so smooth the result, but I didn’t catch it well.
Maybe, in shiny light. For some reason, where the die ends, and where the bond wires are, the surface is deeper. I didn’t dare to polish it more.
Still working
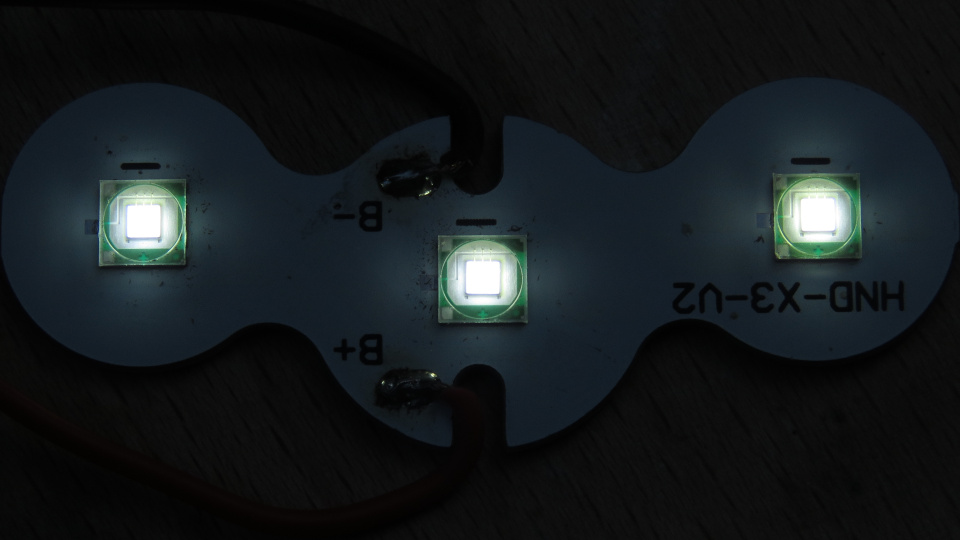
Close up:
Lessons learned:
1: Cut the LEDs a little bit higher to have material to remove
2: don’t mind the cut’s quality, it will be sanded away
3: I will have to make sure that there are some hard materials around the LED to level it nicely
4: Use just a tiny amount of water on the sandpaper. Too little or none makes the leds almost to stick to the sandpaper, too much makes unnecessary mess.
I have used these 2000-3000-5000-7000 sand papers (10000 is in some other notations, looks rougher than the 7000), and these 3-1-0.3micron lapping sheets. Maybe, next time the lapping sheets will do alone.