I see that the Brass tool with Nichia is available for preorder now.

T13 0.95x3mm Vials
tritium vials, tritium keychain, tritium key fob, titanium tritium key fob
I see that the Brass tool with Nichia is available for preorder now.

No glue, spare C01S LED board basically fits, needed to be filed down a little on both “arms”.
I did the same but just used a 4000k 95cri SST-20 I had laying around. VERY easy mod as the heat liquified the thermal epoxy under the mcpcb as well. Lost some output, naturally, compared to the xpg3 but its a very pleasant beam still. Hows the output of the Optisolis compared to the xpg3? Is it a direct swap or do you need to change the reflector/optic also?
Thanks for mentioning it, may do that.
The output of Nichia Optisolis was a bit lower but barely noticeable (at least to my eyes).
The optic is shorter than the stock reflector so I inserted a sanded aluminium pill (with extra thermal paste in between) under the current MCPCB to gain more height.


Drop Tool is on the right, the left was ReyLight Tool.
I just received my copper and its Cree led iso Nichia. ![]()
![]()

Congratulations on your nice Copper Host
maybe reach out to Lumenzilla for help w an LED swap?![]()
The LED swap is about as easy as they come. Just put the head in a plastic bag and dip in boiling water for 30 sec to 1min. When it comes out the pill unscrews easily. The heat also softens the thermal paste under teh mcpcb. Just unsolder the wires and then you can easily reflow any 3535 LED in its place.
You’ll never guess how mine arrived…submerged in water…Just how I like it! How did they know?!!


Ok seriously though how did they manage this? It came after nearly 6 weeks soaked in water. I think maybe they left it to dry cause the inside was wet but the outside wasn’t. Luckily the torch was in a sealed packet so the water couldn’t touch it. They also sent me the XP-G3 ugly cool beam version.
At first no modes worked, then 1 worked. Now there’s 3 but the third is the same as the second. Will the others start working as the capacitor charges?
yes
After 1 hour with the battery in my XP-G3 Cu Tool, there are now 3 modes.
I’m getting 4 lumens, 30 lumens and 130 lumens.
Check your batteries mine does the three modes fine, but if batteries aren’t the best med/high on mine is same output, High mode on mine only works properly with alkaline and Eneloops
I will reach out to him. Cheers.
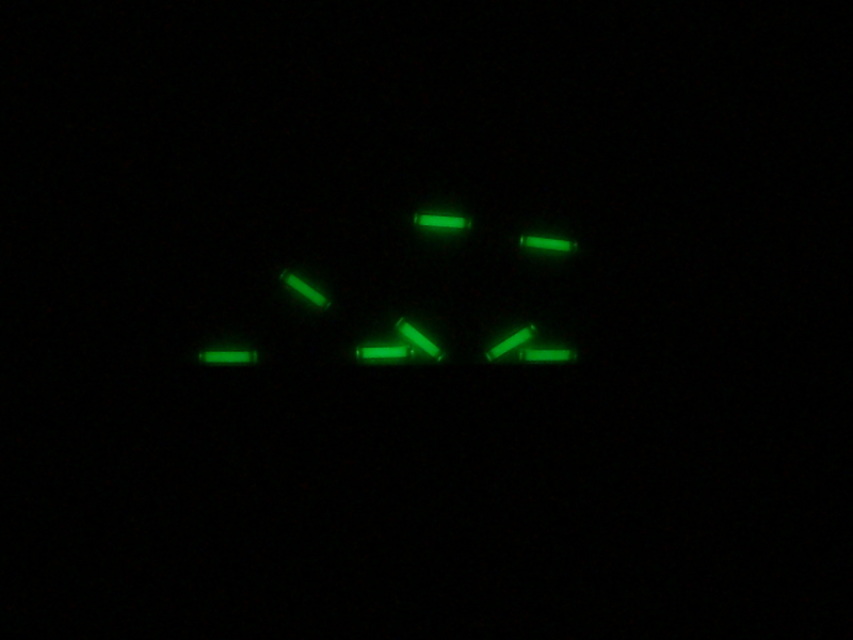
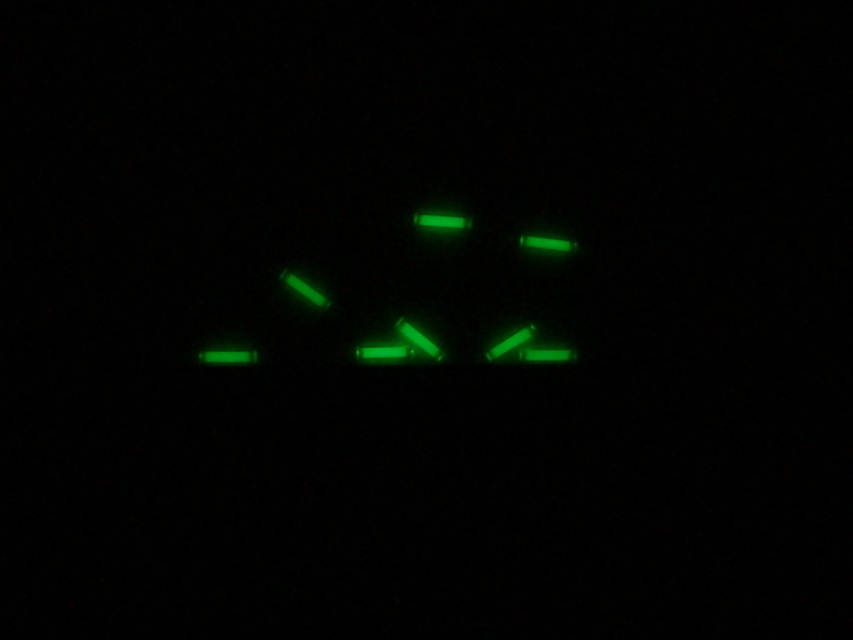
I bought some small tritiums for testing, along with the clear Norland glue and UV curing light mixglo sells.
I chose this size
T13 0.95x3mm Vials
so I could try both blue and green

tritium vials, tritium keychain, tritium key fob, titanium tritium key fob

I can barely tell green and blue apart in the middle of the night with my glasses off… my eyes just see the blue as dimmer…
if I did it again, I would probably just order this slightly shorter green (only) version:

0.9x2.4mm tritium vial, tritium tube
on such a small size, the color is less relevant than the brightness, to me.
This is my first experience installing trits. So far, so fun…
the installation does not prevent me using the keyring hole still, though I dont use AAA lights on my keys.
I hope it gets dark soon… Ive been playing with my Trits in a dark bathroom… which makes me wonder if Im being a bit weird… lol
Be careful, Jon. Safe tritium installation is usually a recessed slot where the vial is protected more than 180 degrees. In this case, 270 degrees is exposed. Vials are very fragile.
Be careful… 270 degrees is exposed. Vials are very fragile.
thanks for the safety awareness
the vials are embedded in adhesive, not just stuck to the side. But I took your warning to heart and added another drop of Norland to make sure the vial is completely encased in clear adhesive.
At this point I do not fear the vial breaking, but I will report back if the adhesive fails and the trit falls off or is damaged from pocket carry.

That’ll work — good going, Jon! :+1: Norland 61 optical adhesive is very tough stuff. I noticed how difficult it is to remove when I had to excavate it to remove a cracked vial (it was an old remnant of a bonehead job I did a long time ago, cracking it as I tried to seat it—finally replaced it). It’s expensive but totally worth using for this application.
I’m wondering if we can purchase spare metal button from ReyLight and replace Tool AAA’s stock button ![]()
For the sake of tritium.
I understand all this CRI stuff, but have to disagree a little with the below photo from jon_slider. ‘I prefer High CRI because it shows colors more realistically. Particularly things with Red in them.’
Chicken when raw is not red (clear/browny/pinky?) , it is not red when cooked at all. It’s ‘off white’ with browned edges/grilling marks. The photo on the top looks way more realistic to my eyes - the one on the bottom is overly red/pink by quite some amount, it looks more like cooked lobster than chicken. Just an observation, not a dig lol! Also the light shining on the top one appears to be much closer/brighter as the light is almost deleting the detail.
Which is best…… well none of them, they are both out (colour wise) but the bottom is worse by a country mile to my eye lol! maybe something in between would suit my eyes better? medium cri.
I do wonder now though - how do YOU see the photo…… maybe you see it differently to me? ![]() would be interested to know!
would be interested to know!

I noticed that the brass tool is back for pre-order. I also see another interesting light, the reylight aa brass. Looks like the drop for that is ending today! ReyLight Pineapple Brass AA Flashlight | Flashlights | Small Flashlights | Drop
Maybe if you would set the white balance warmer and with more green, the lower color seems natural. It seems the white balance is adjusted to the upper part of the foto. Setting it right to the high CRI neutral white light the cold white light will look green and cold. Generally the high CRI has more red and more vivid colors.