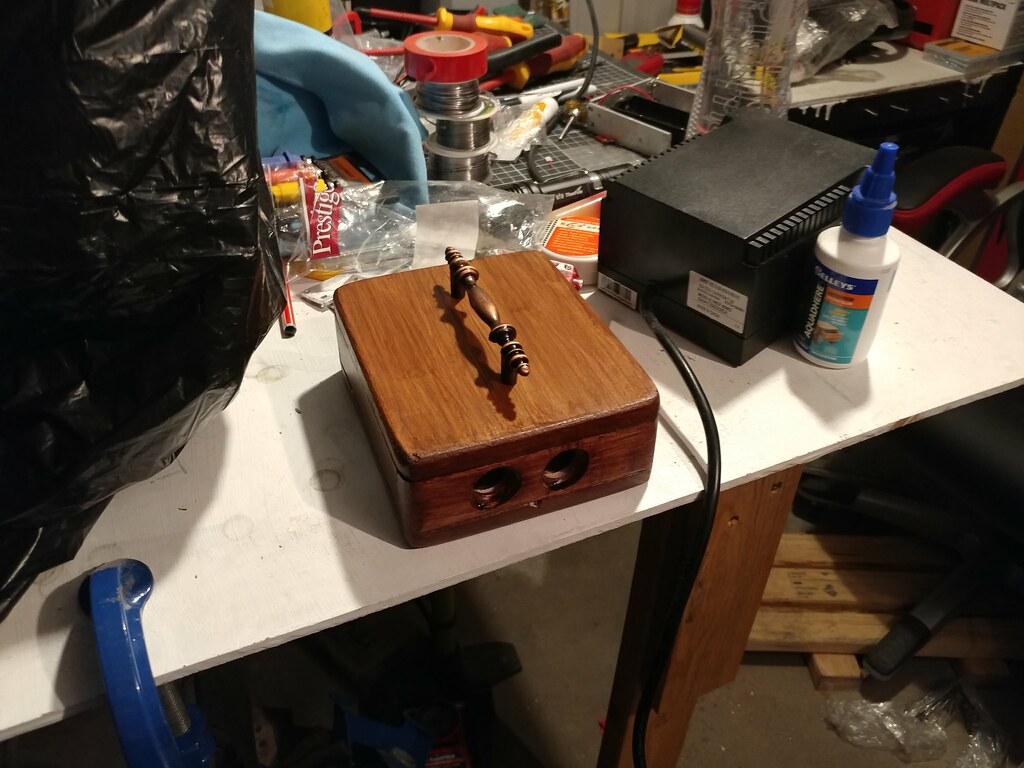
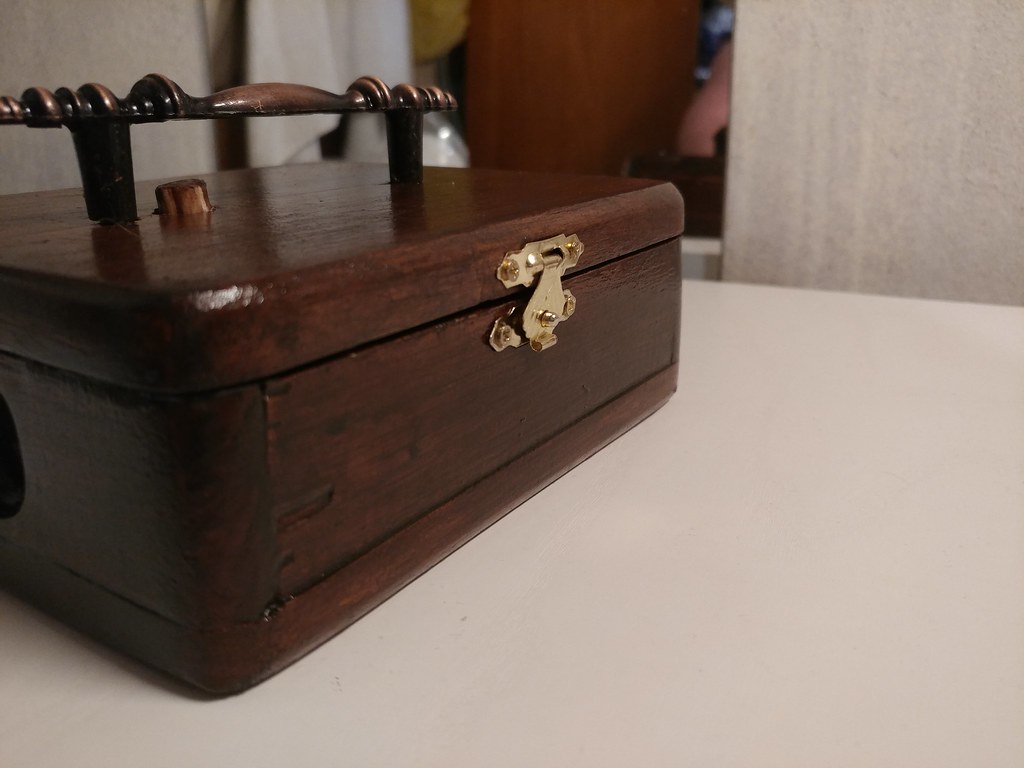
Okay no we are up to here. I am done in a sense either i add a TP charging module and glue the lid on or i add a hinge. I dont really want to leave to high drain cells inside cause i need them so i might hinge it.
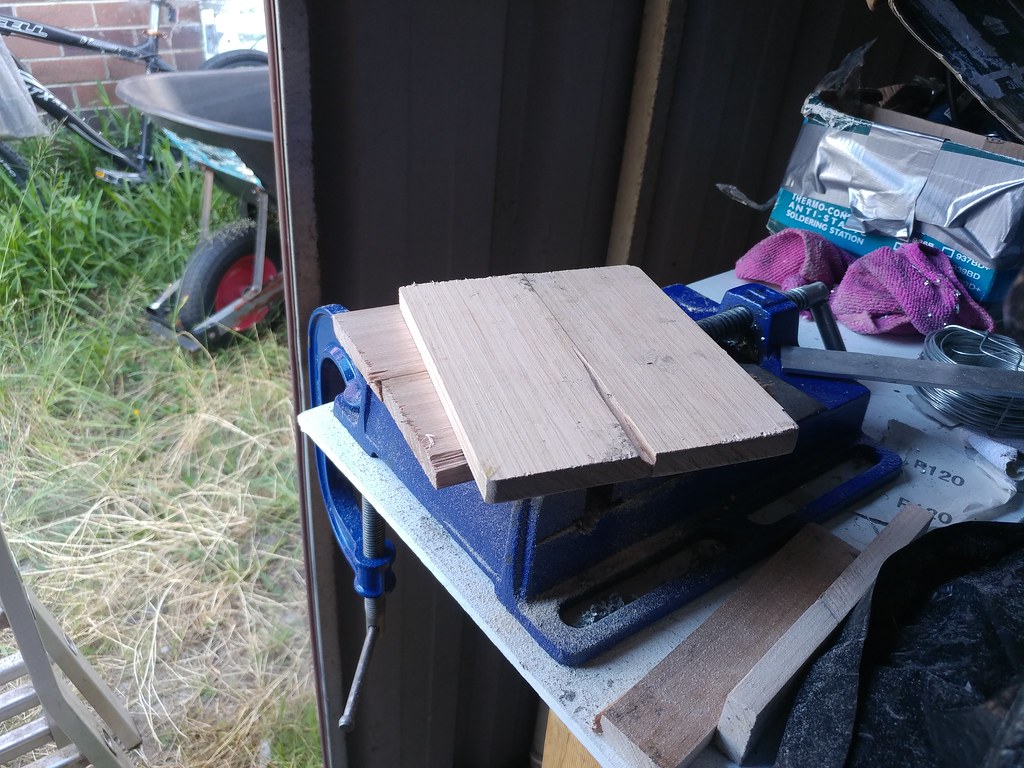
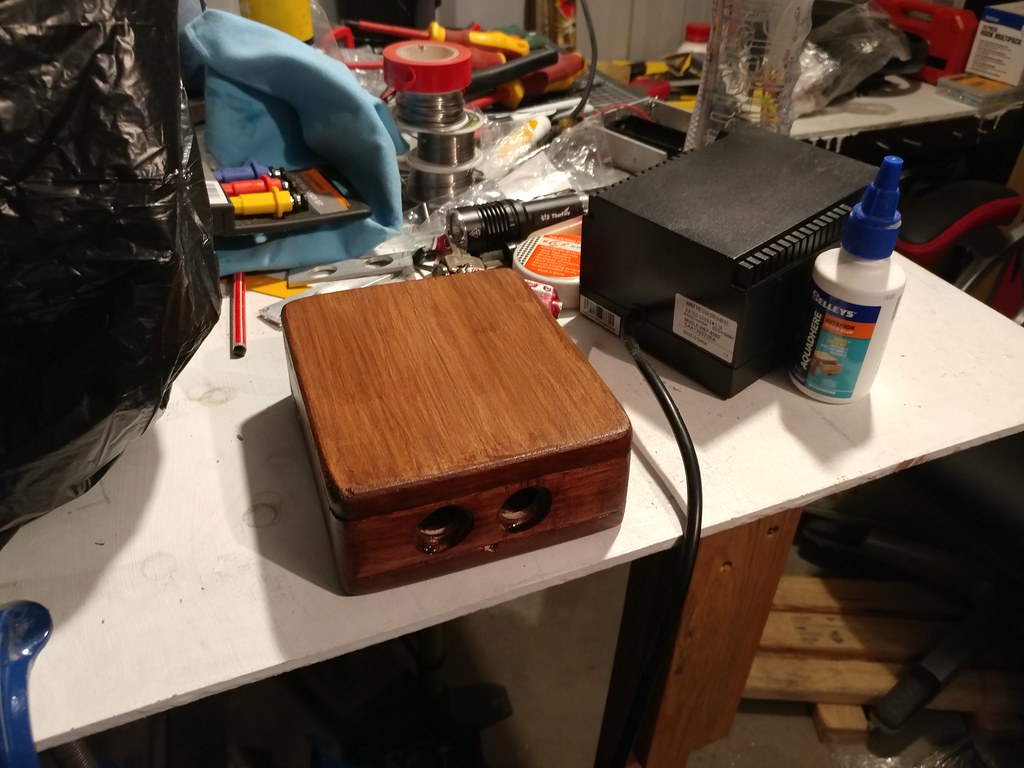
Honestly so many hours into this maybe 30-40 hours in total and i am not really happy i mean its nice but i wanted it a bit better if i can be honest. I am not a woodworker so all as i can do is try. Its what i wanted but maybe i should have cedar wood a bit thinner.
!
!
!
!
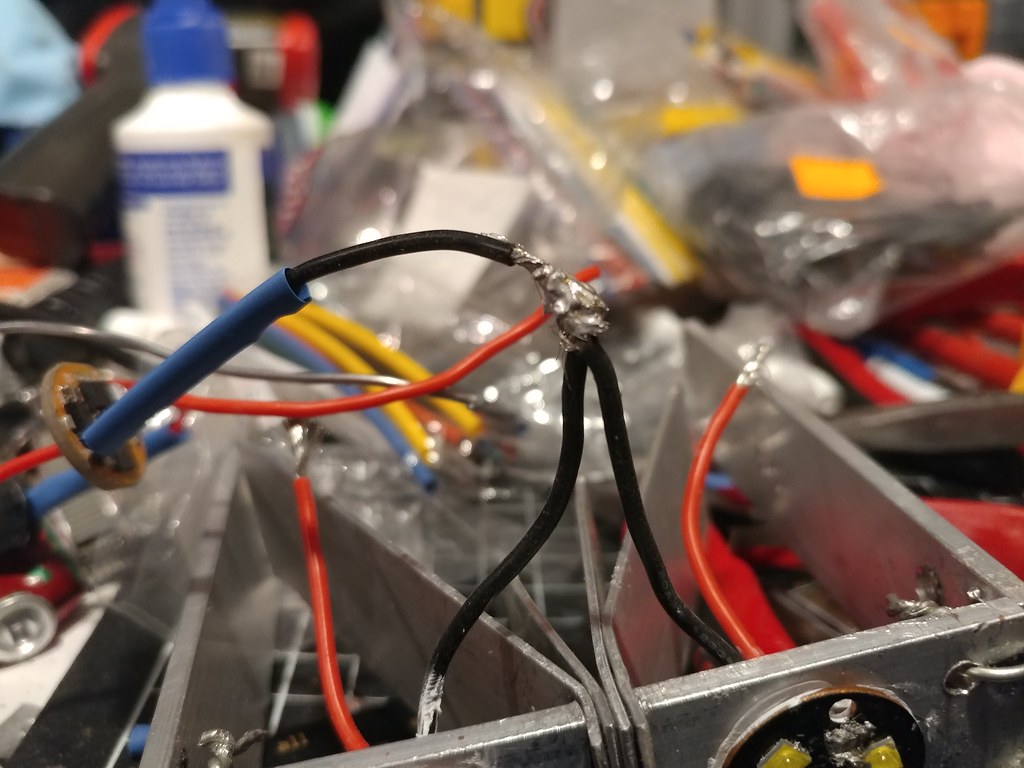
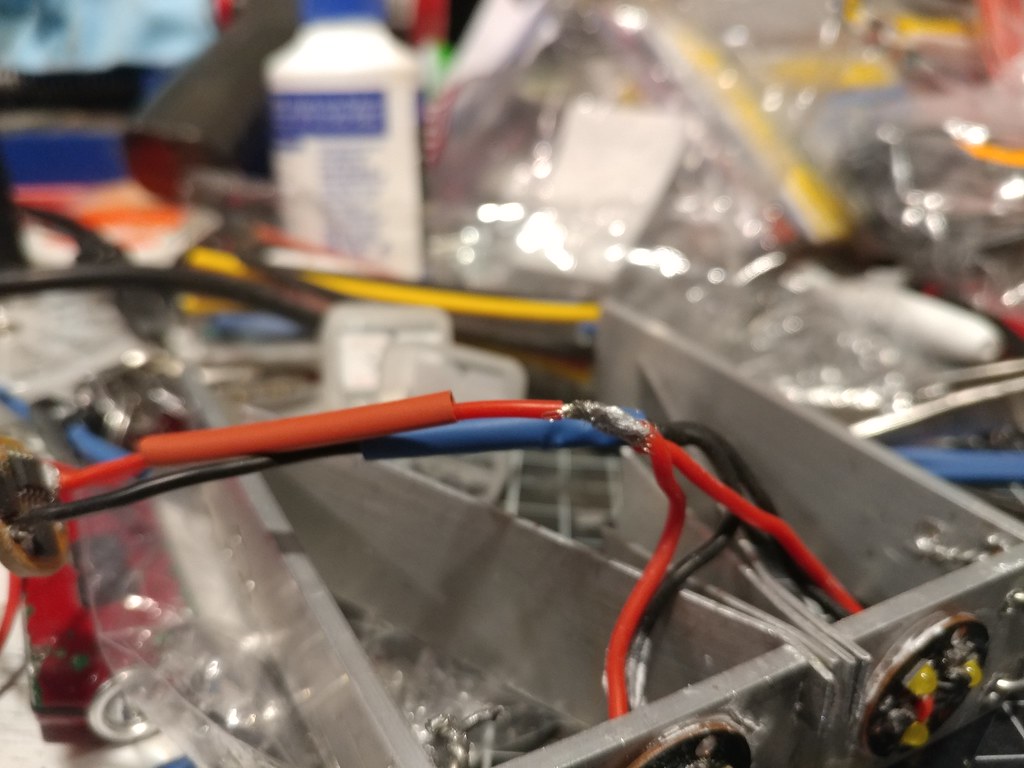
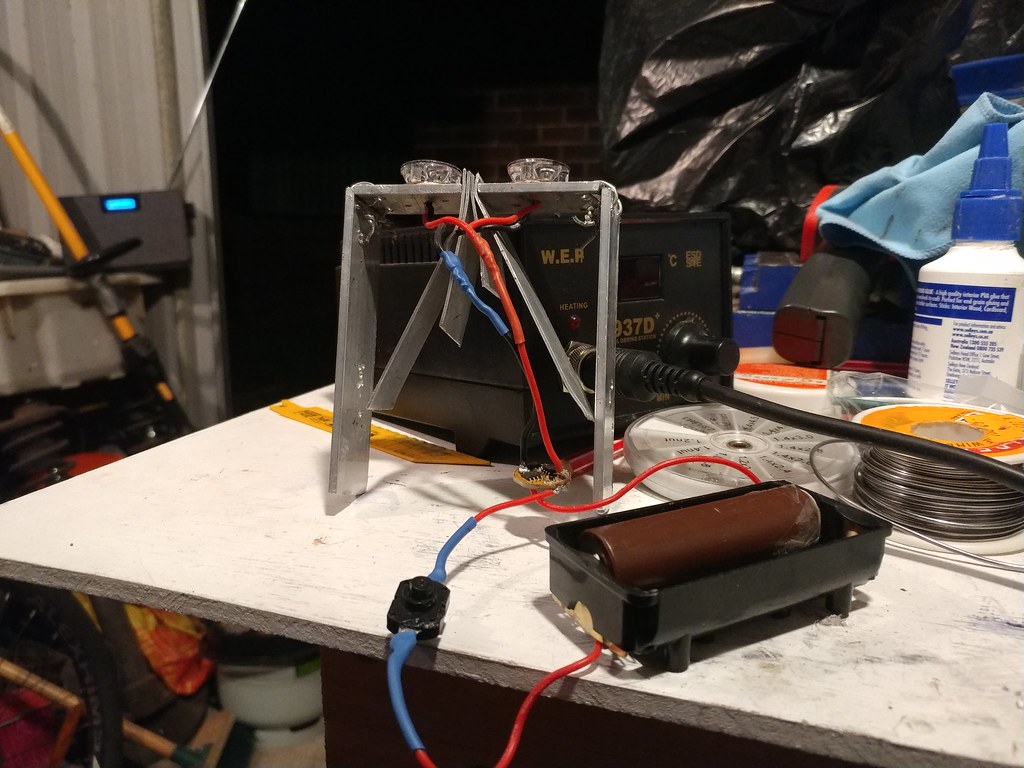
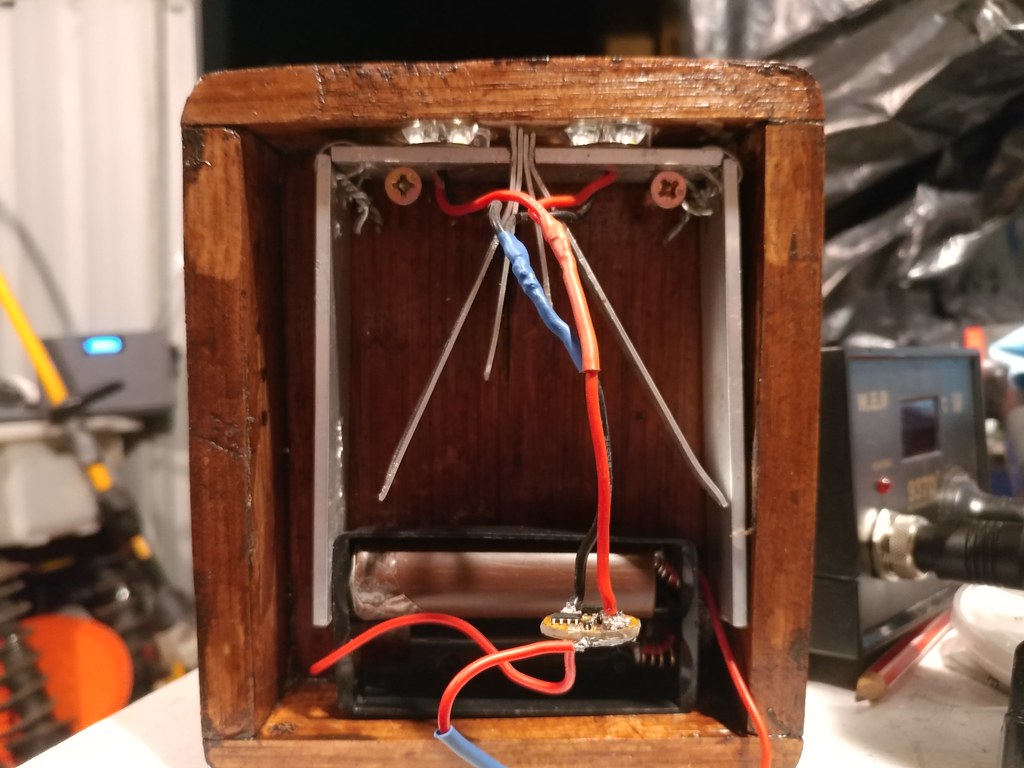
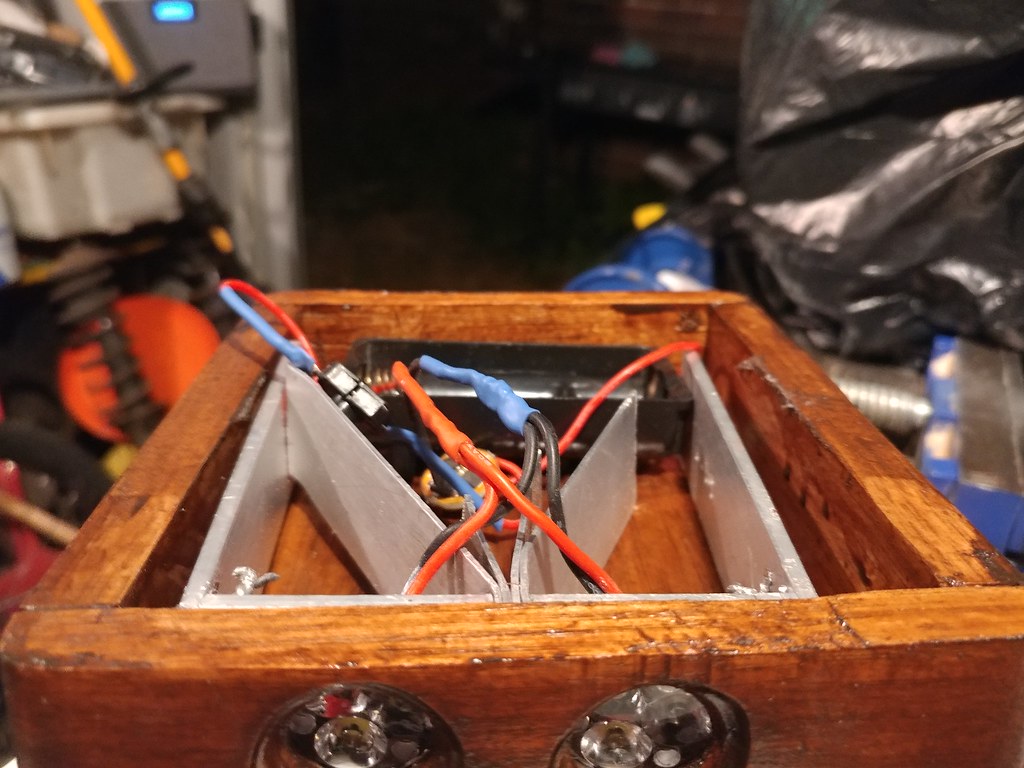
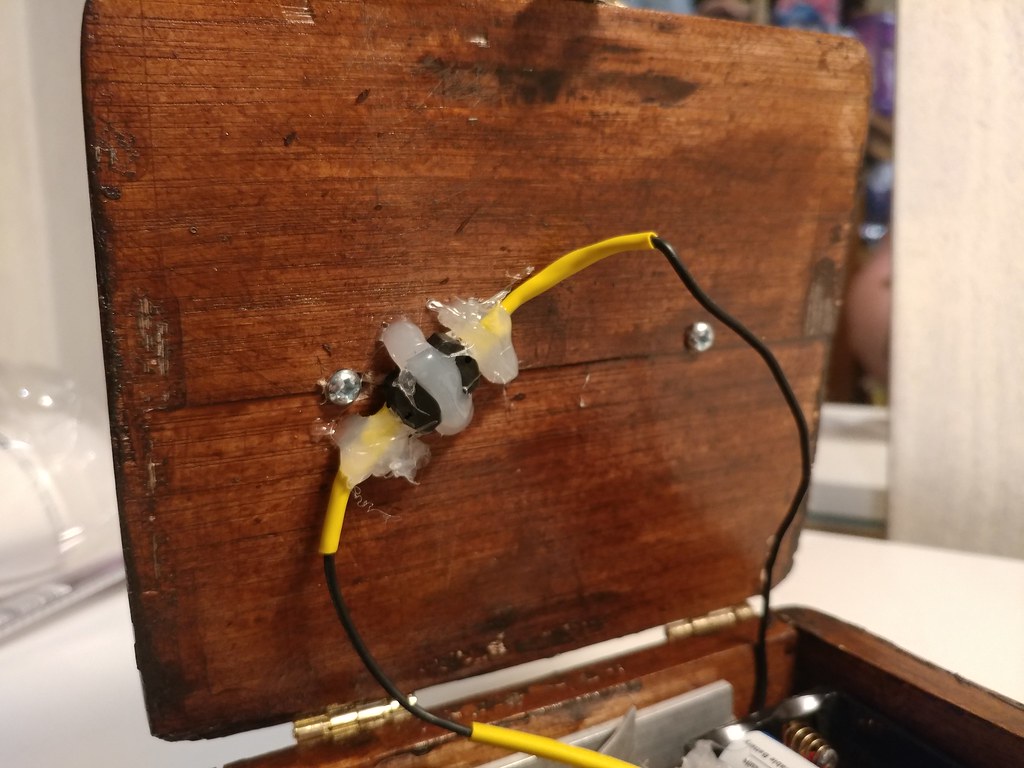
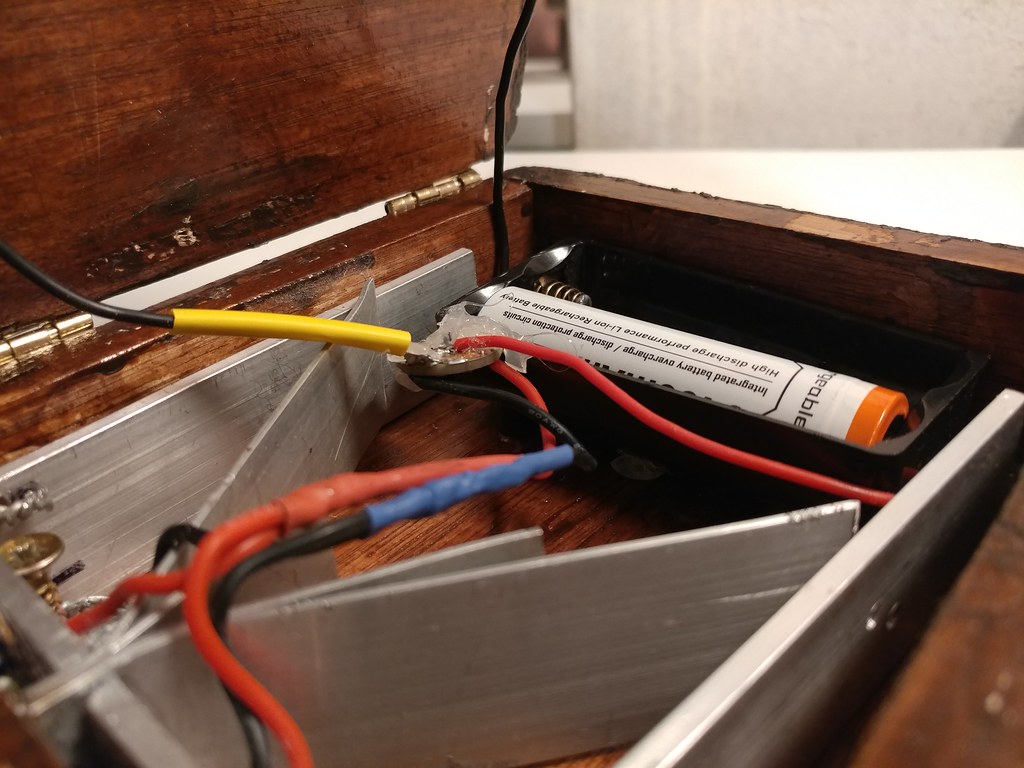
I heat shrunk all joint for safety or durability
!
!
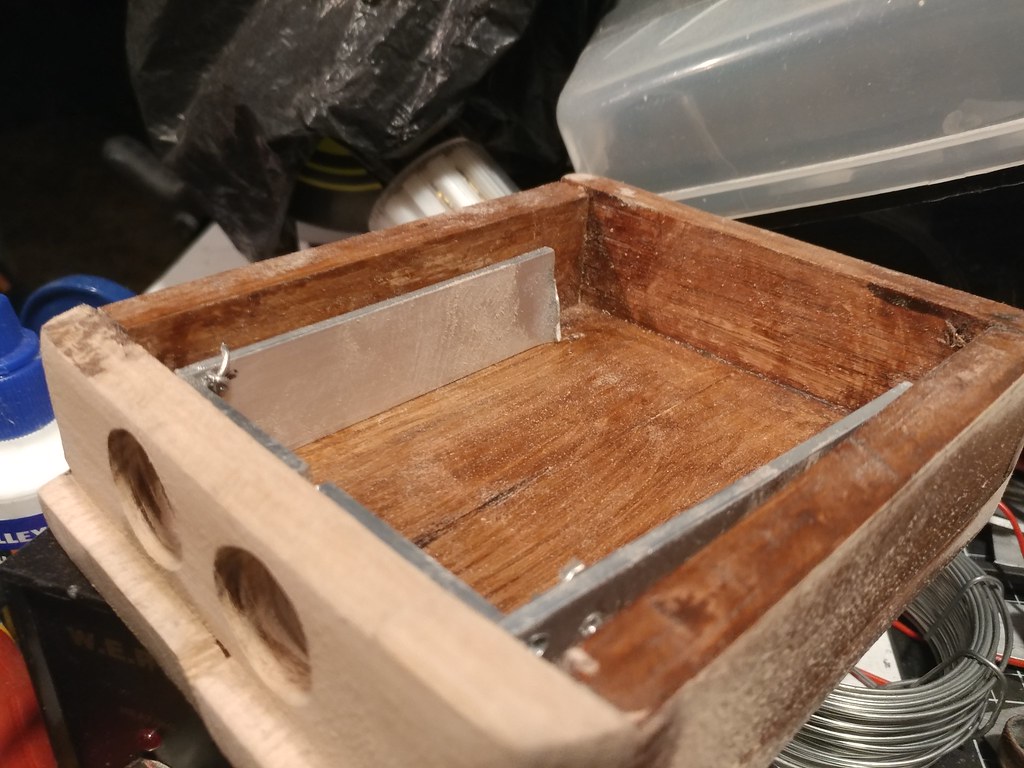
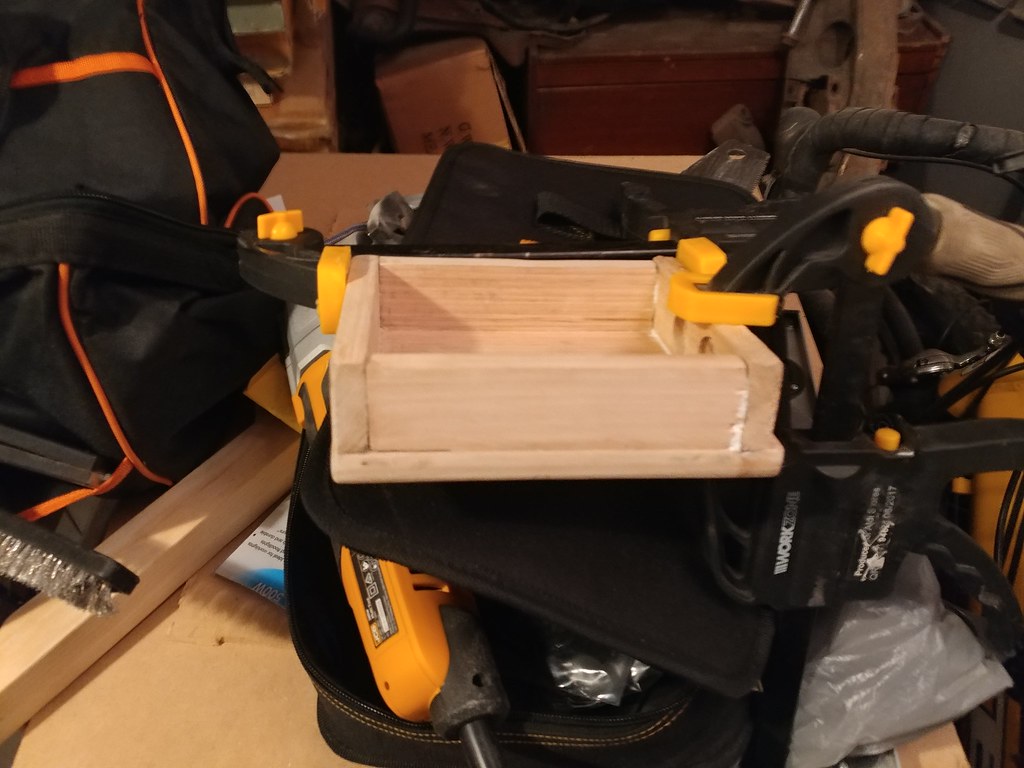
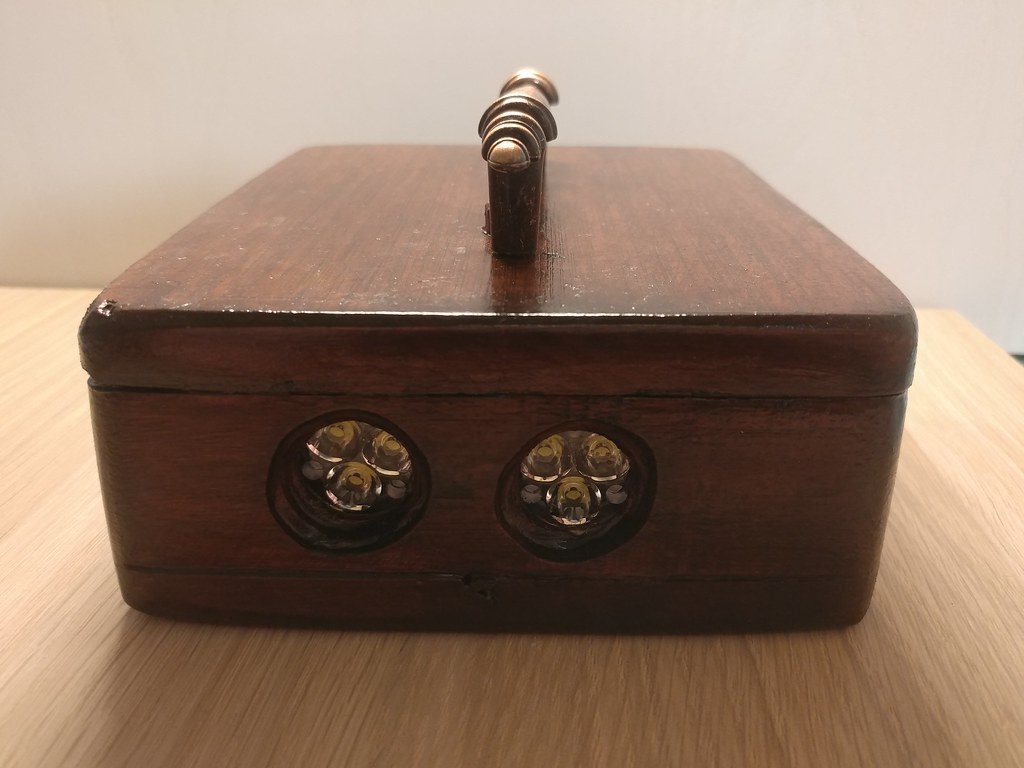
Everything is hooked up and screwed in but i might sand it back with like 600 grit sandpaper
!
!
!
!
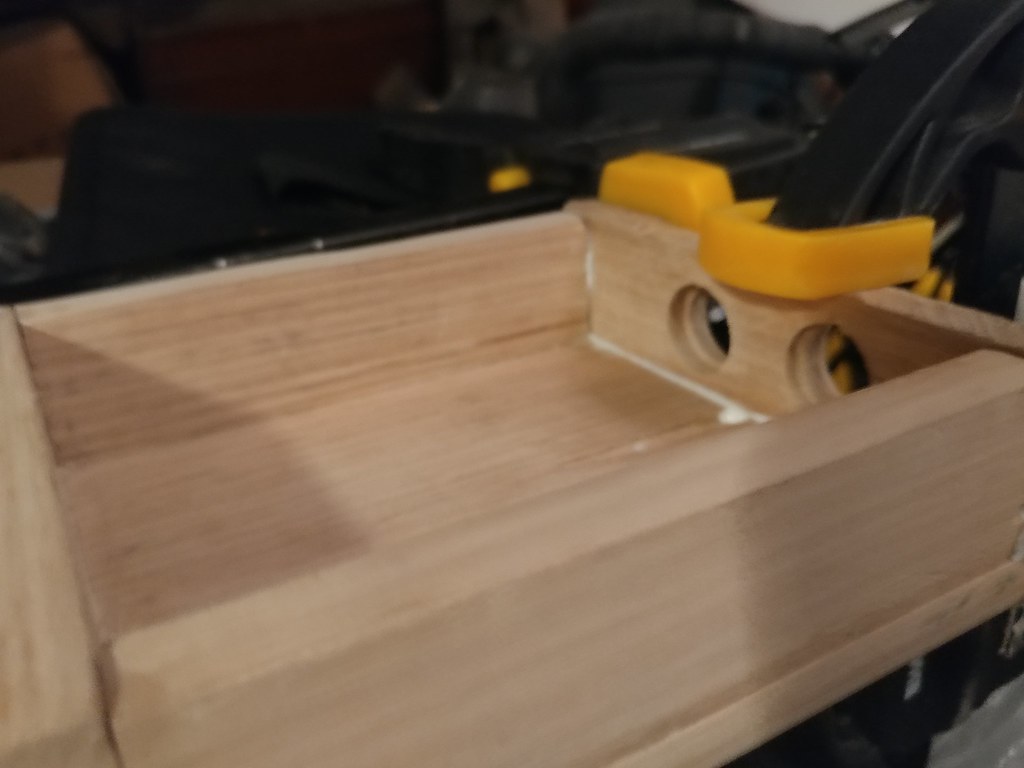
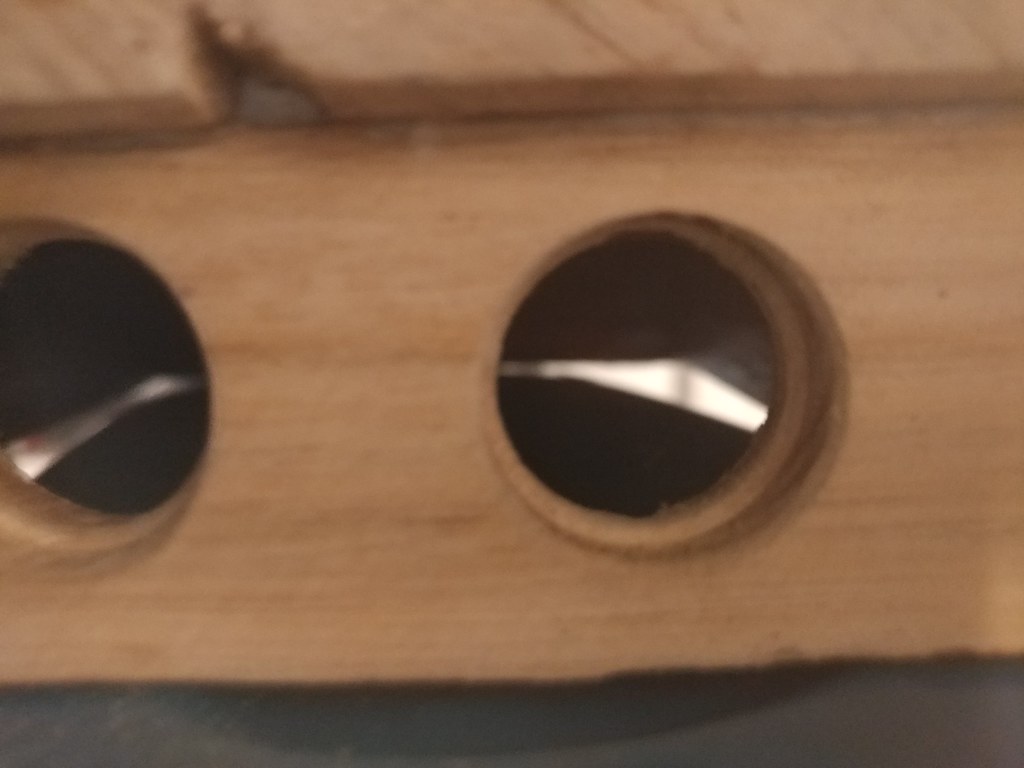
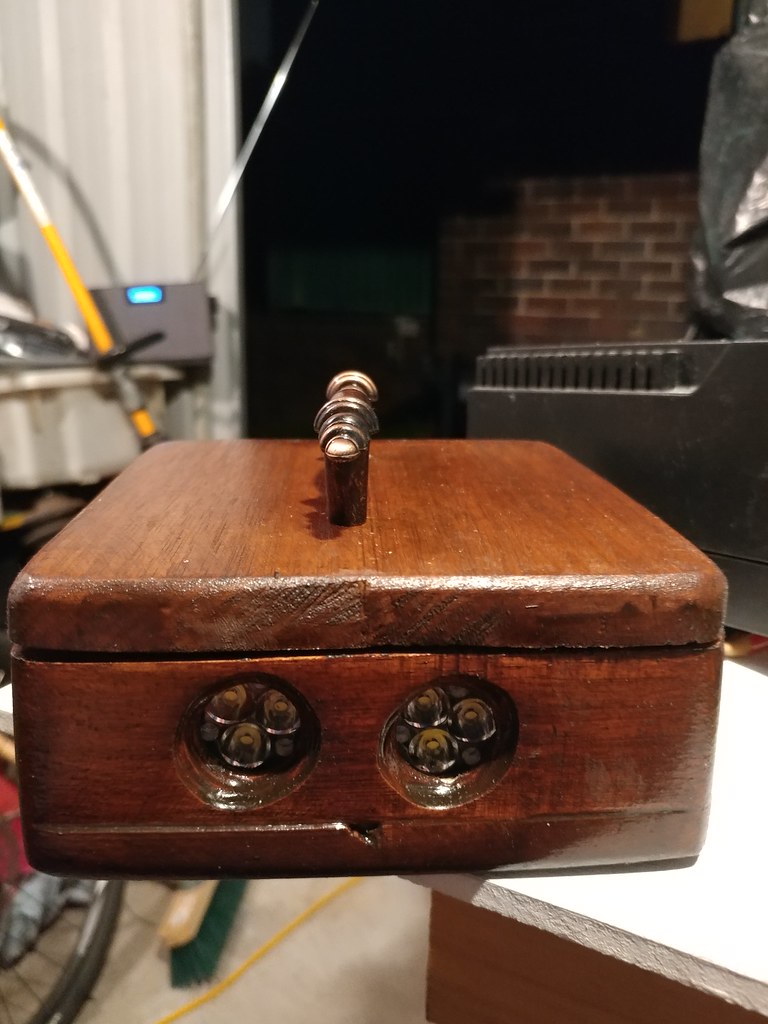
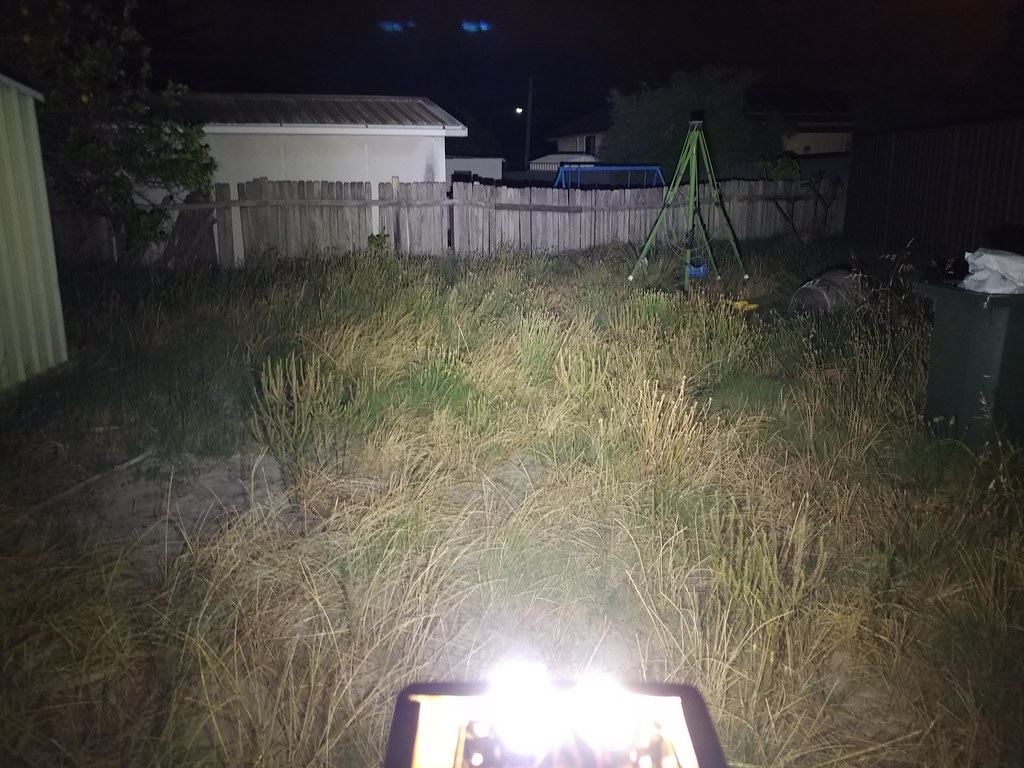
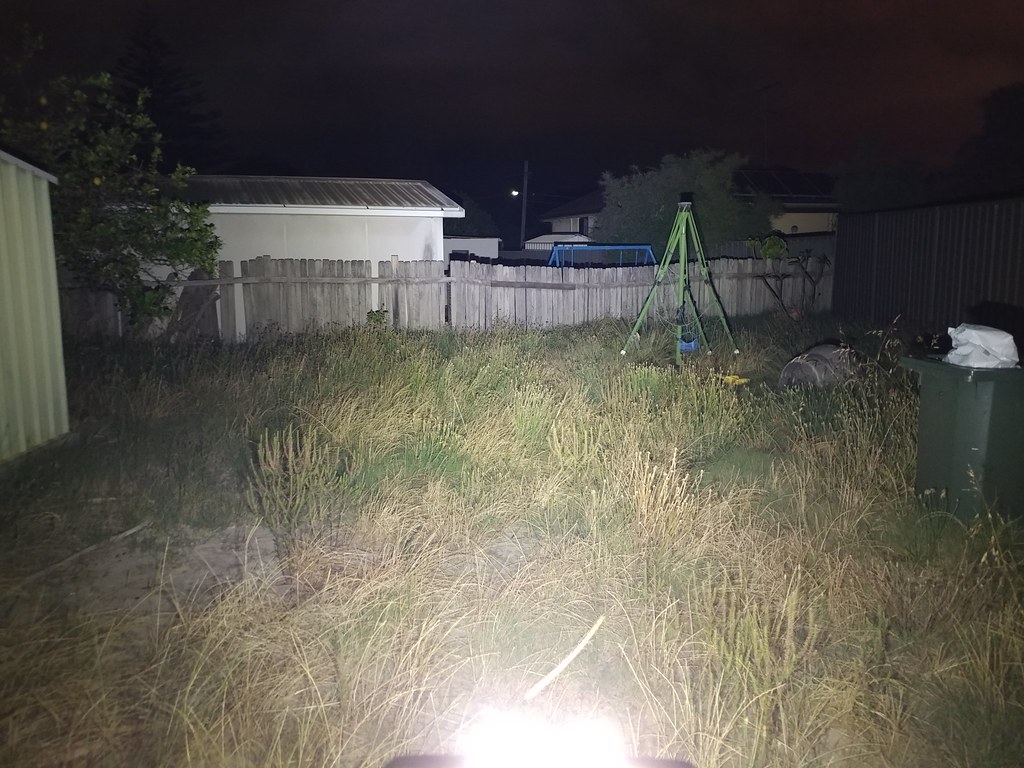
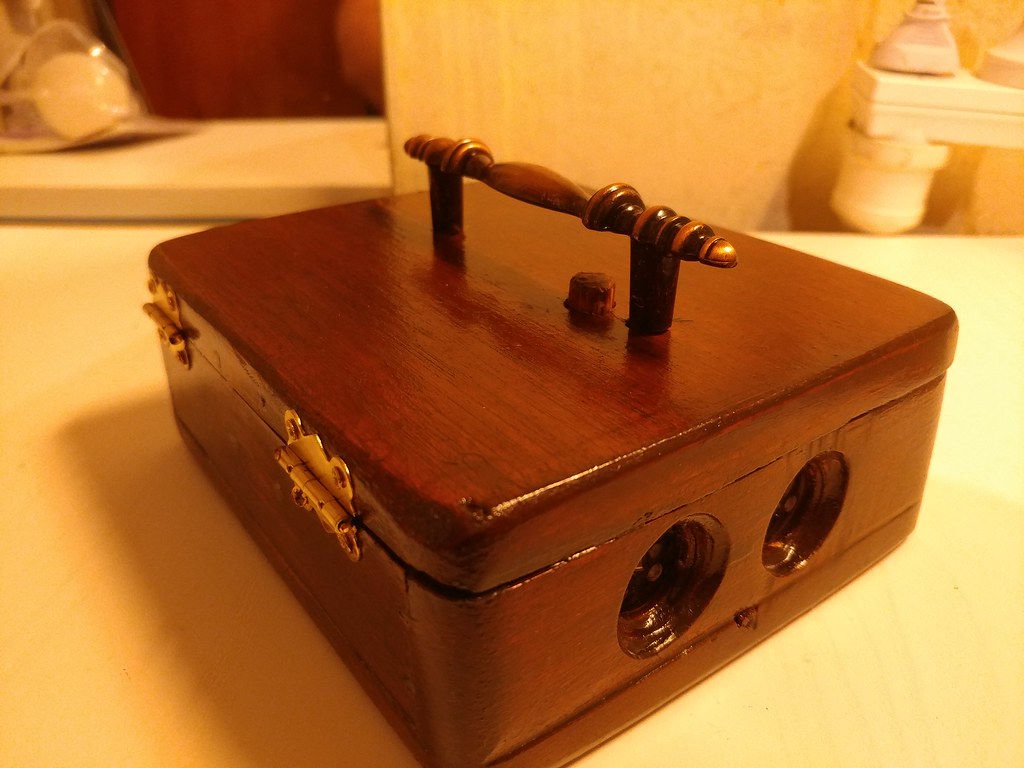
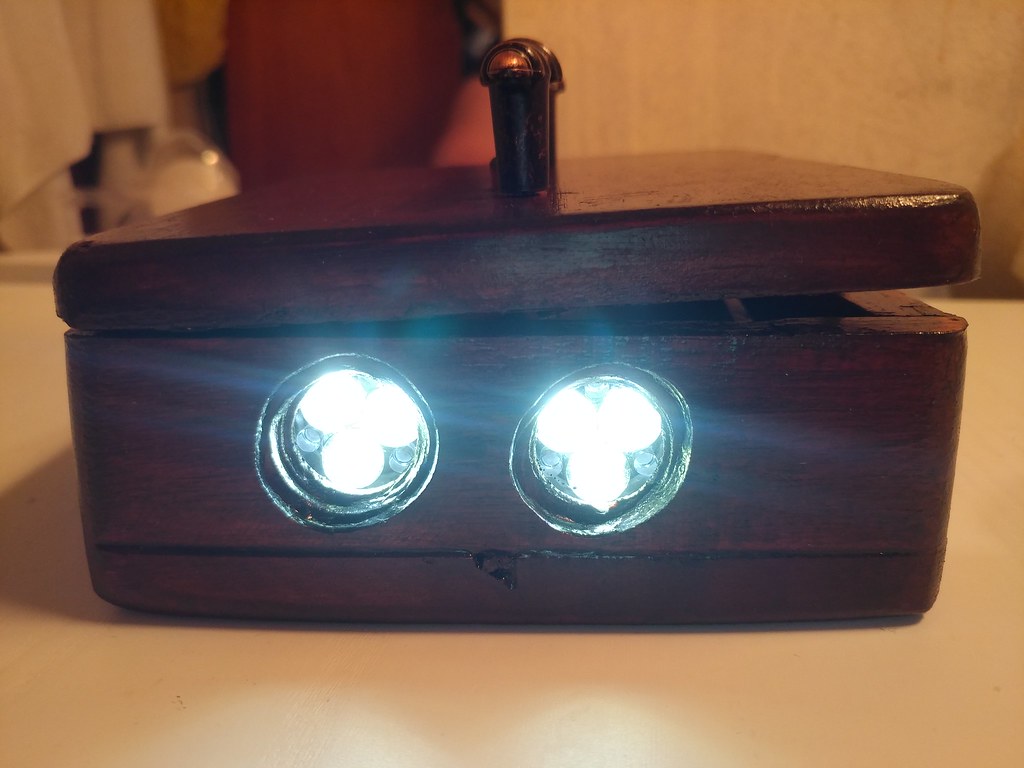
I will slightly widen the front end. I am loosing to much light.
!
!
!
!
!
!
!
!
!
!
I was about to chop the front of at 2am but i’ll be honest i CBF right now lol I think i need the front smaller so the optics sit at the edge.
!
!
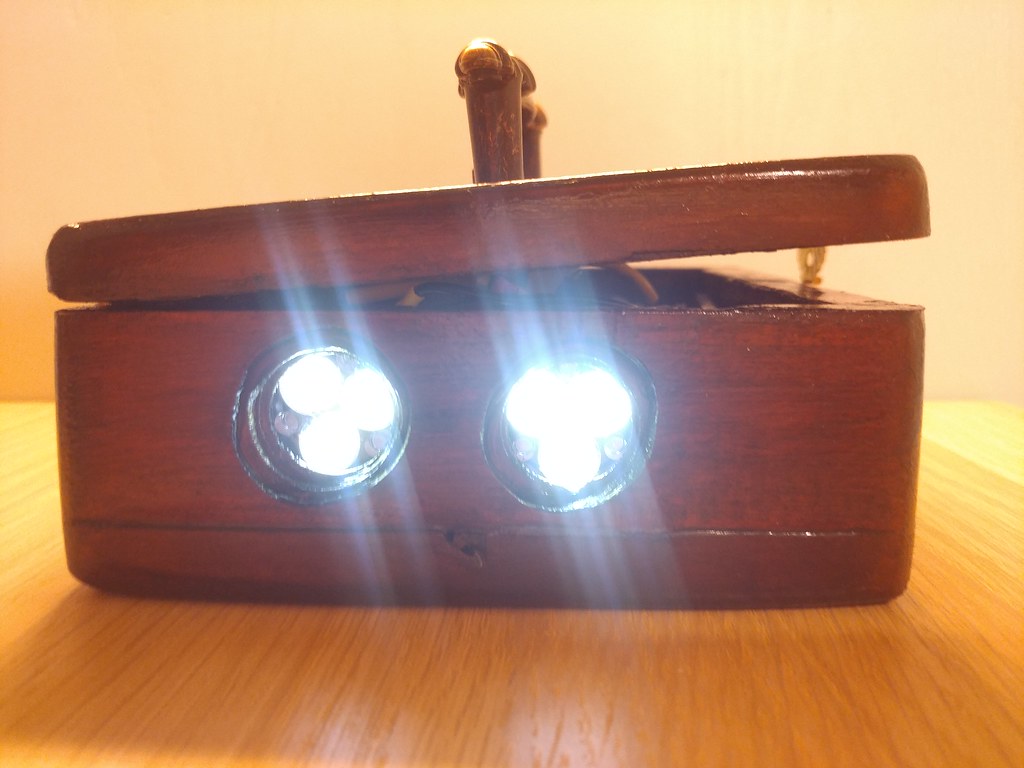
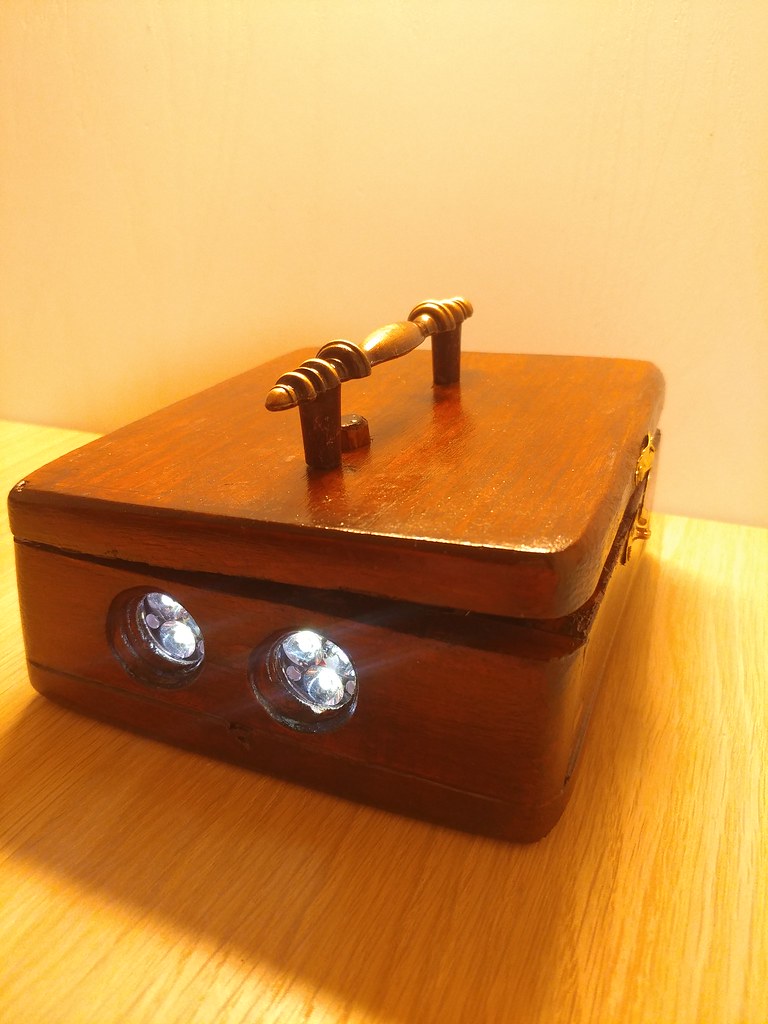
So much light comes out the top lol I’ll work it out i guess
!
!
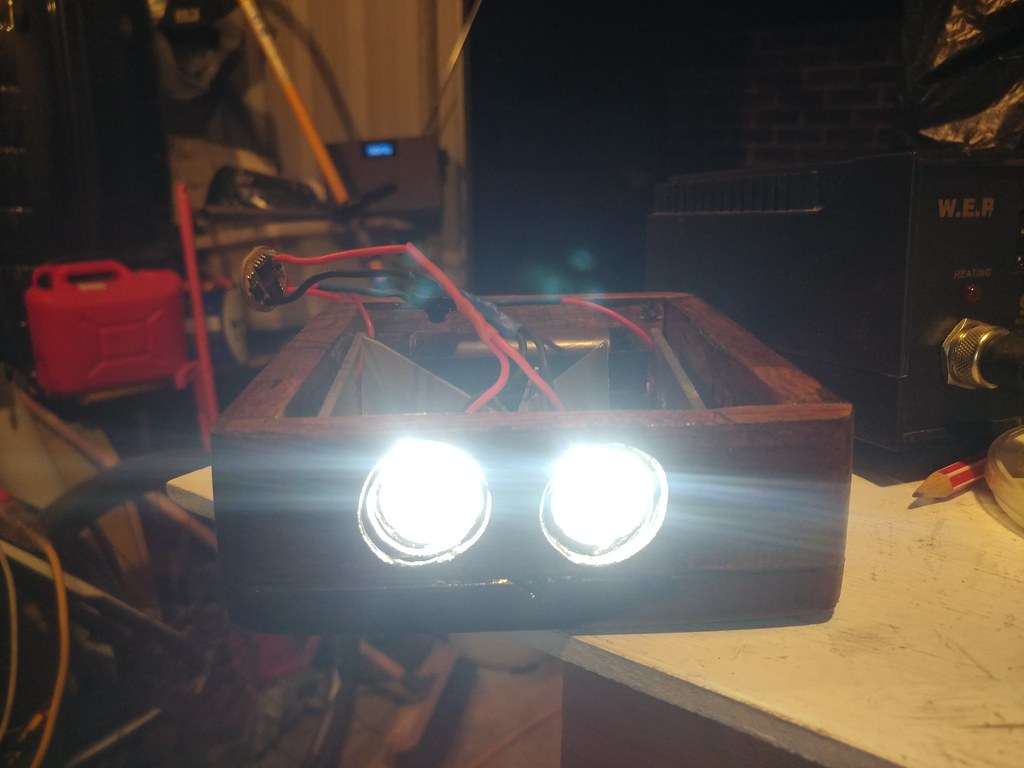
This is with a single run down HG30 cell. It is bright lol
!
Shout out to my girlfriend for puting up with me when i am grumpy from not doing things right working on this light and the fact i just wasted 1gb of her mobile uploads lol
Chris, I really admire your efforts and love the way your light has turned out. Well done.
I can only see one way out for you with the girlfriend. I bet she would love a wooden box like you have just built to put her jewelry in.
Hey lads id like to thanks every one for the support and encouragement again much appreciated.
I tidy up the thread and put all the pics together in thread number one but the writing is not copied so please read through the thread to see the proper story.
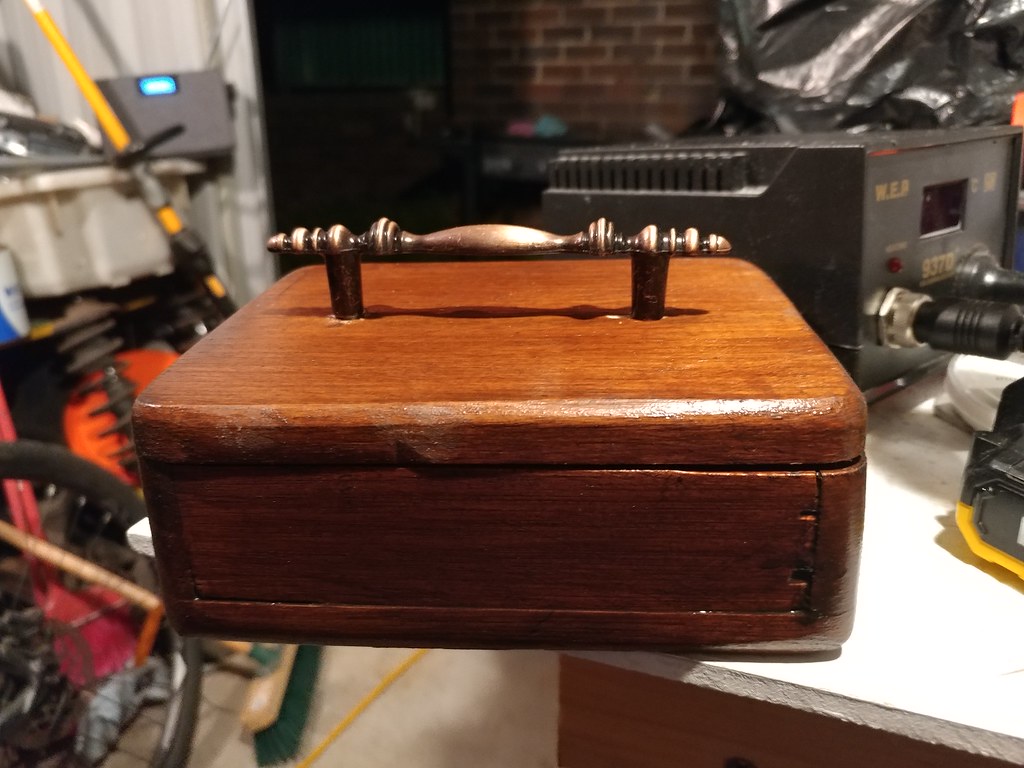
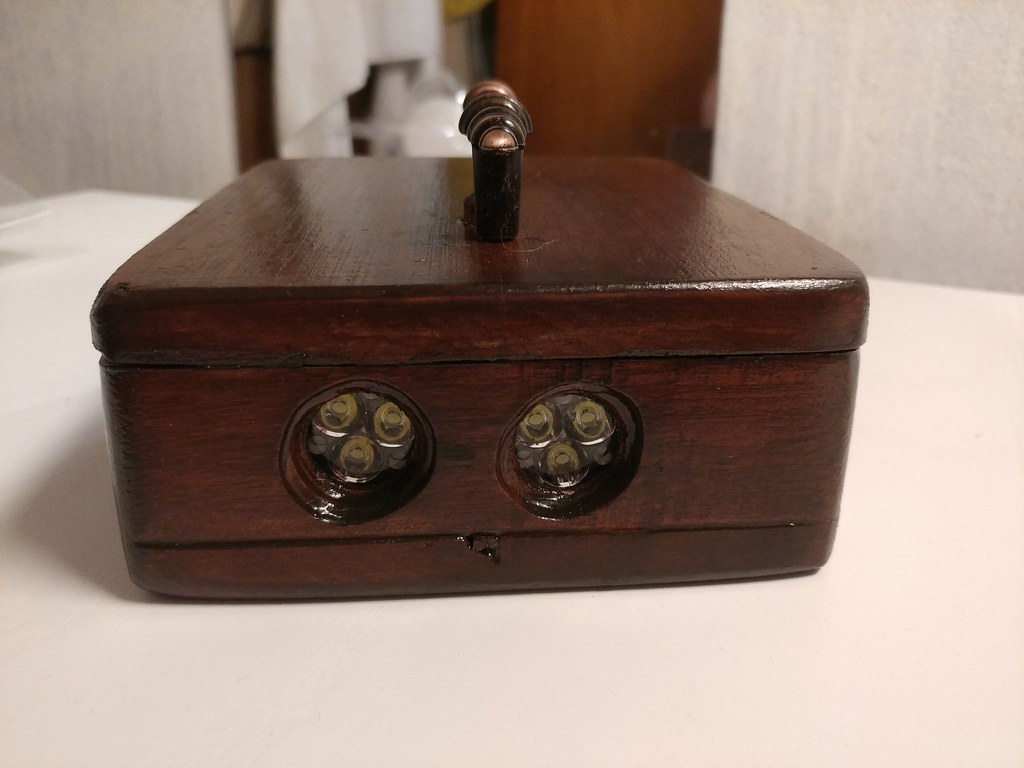
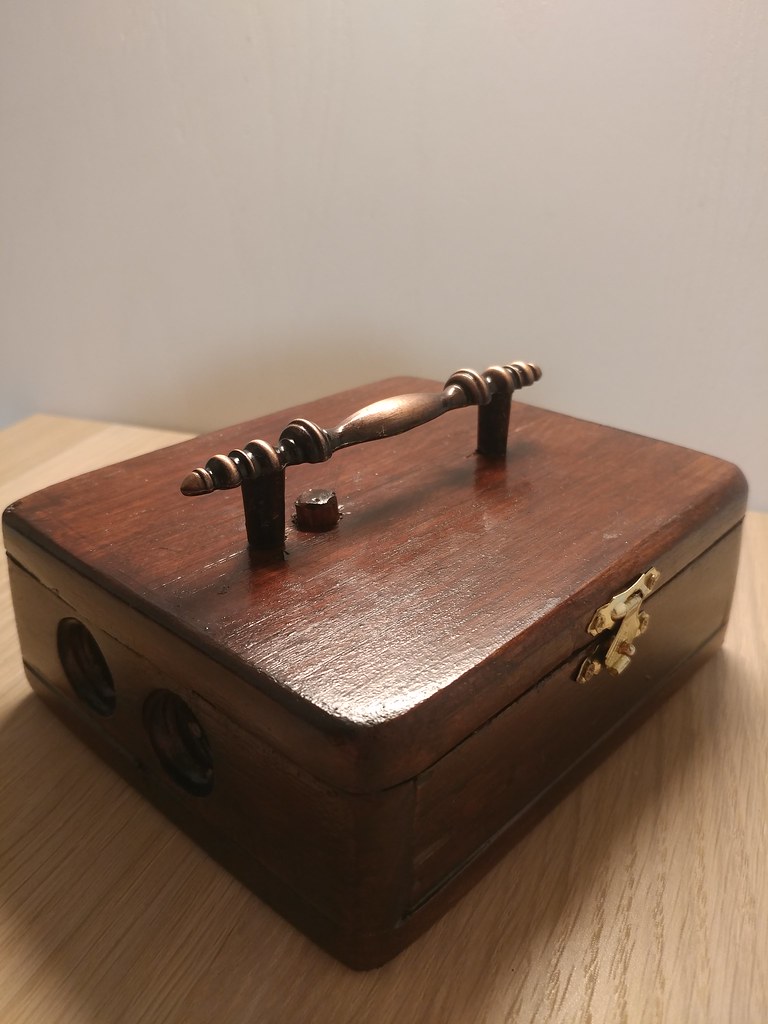
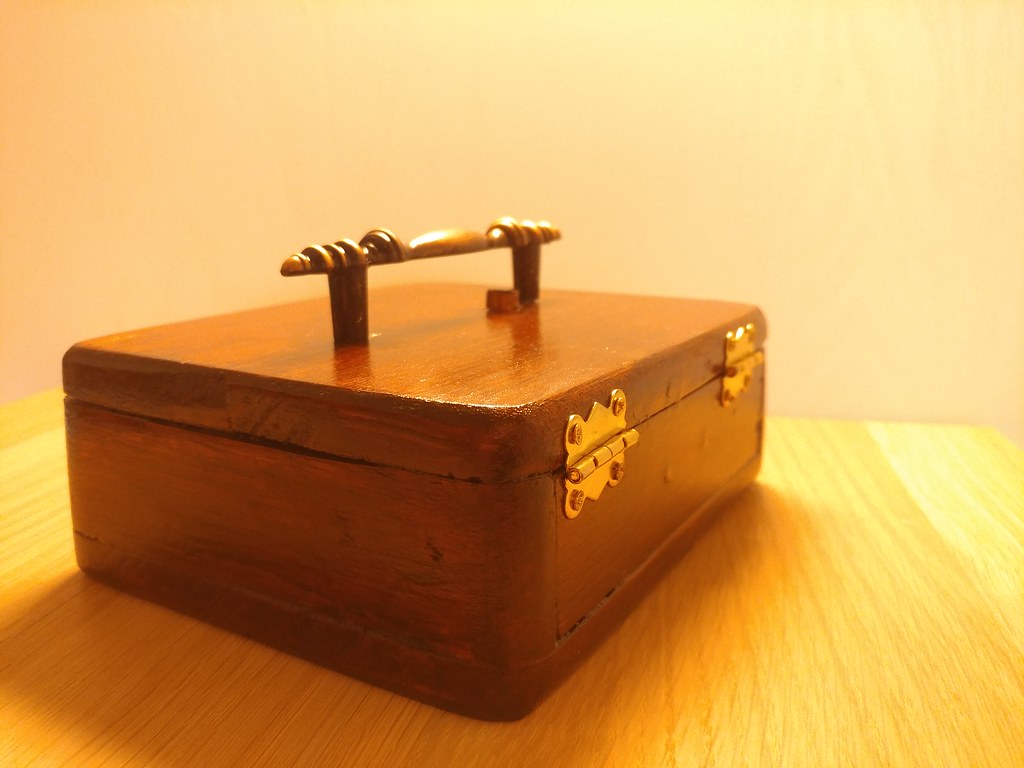
All as i done now was finish the button and touch up some varnish in spots and make the negative cable a little longer
The button is well blended i was going to make it flat but then it would be a pain to push in
!
!
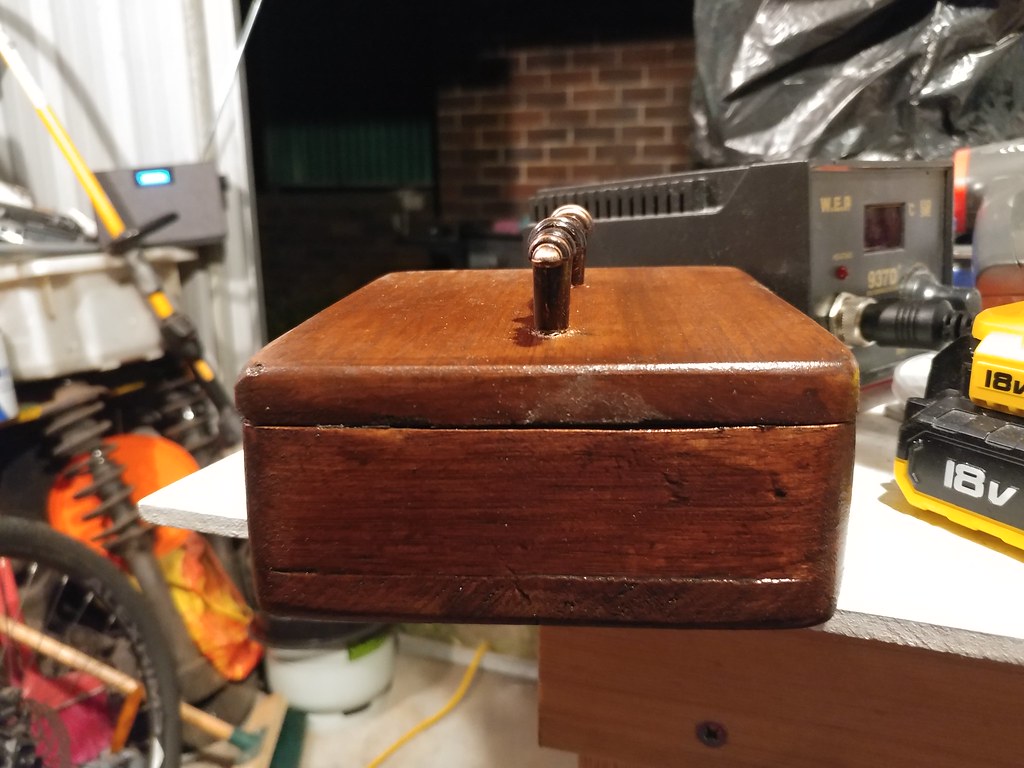
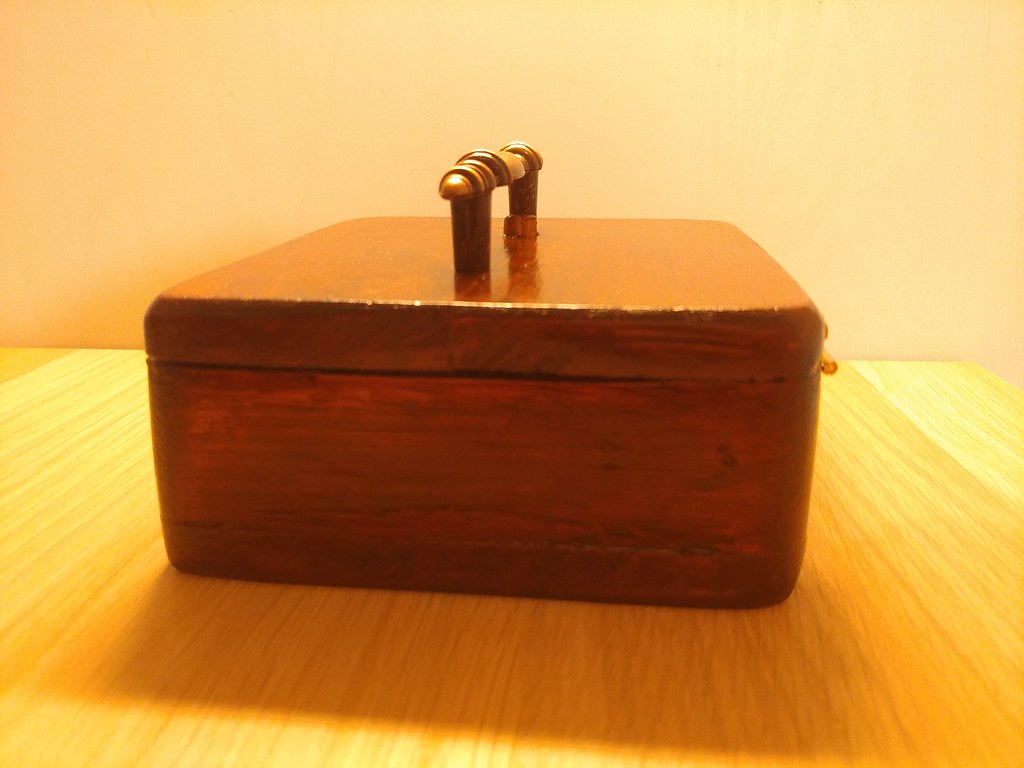
Front end is a bit more even now but i can’t really tell lol I think i was nitpicking with this issue
!
!
!
!
!
!
!
!
!
!
!
!
!
!
!
!
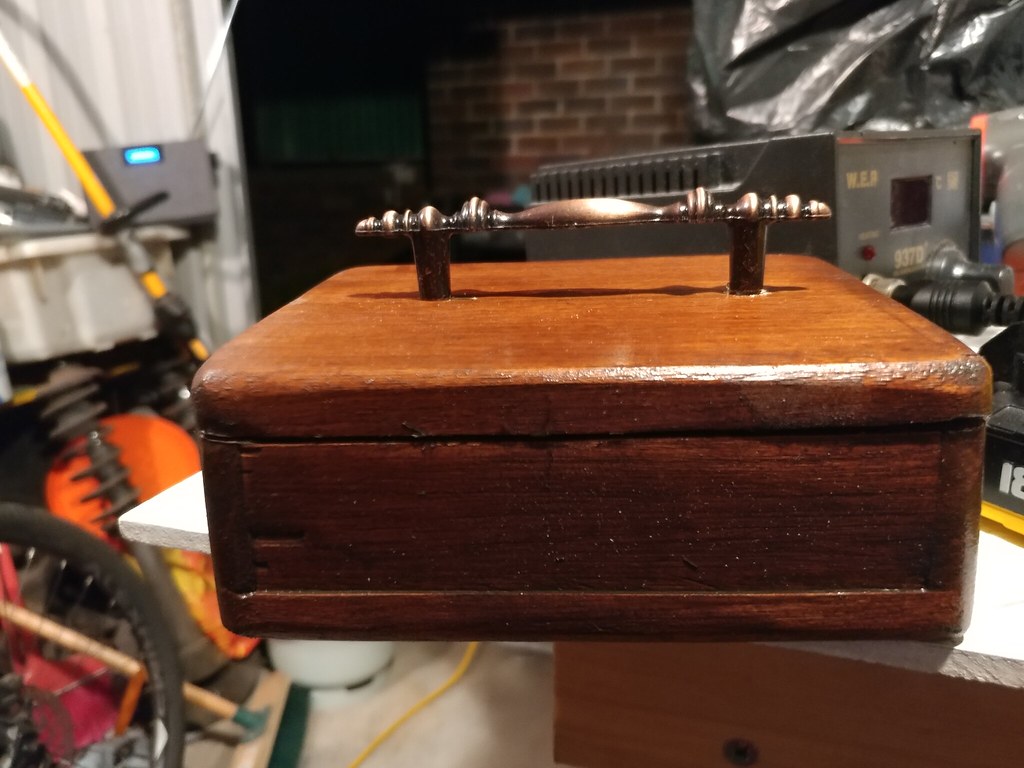
I made the back more even in tone
!
!
!
!
I mean i can look at this from two points of views i can nitpick and be a negative Nancy all i want. Al thought the light isn’t perfect its probably the best thing i have built from scratch before so i can’t complain to much. Except at school we had to make a box in wood work which i store my Pokemon cards in now that was decent also lol. The attention to detail i put into this was huge and yet it still has blemishes. Ill take that as it is i am not perfect.
Nice work. It might be too late for this suggestion but if you wanted to bling it up just a little, you could add brass cup insert to the led openings in te wood panel. It would turn it into a steampunk led lunchbox
Well done Chris. Against all sorts of adversity you came out with a winner.
I’m sure Old Lumens would smile if he could see the latch and hinges you used.
Congratulations mate and all the best for the rest of your recovery.