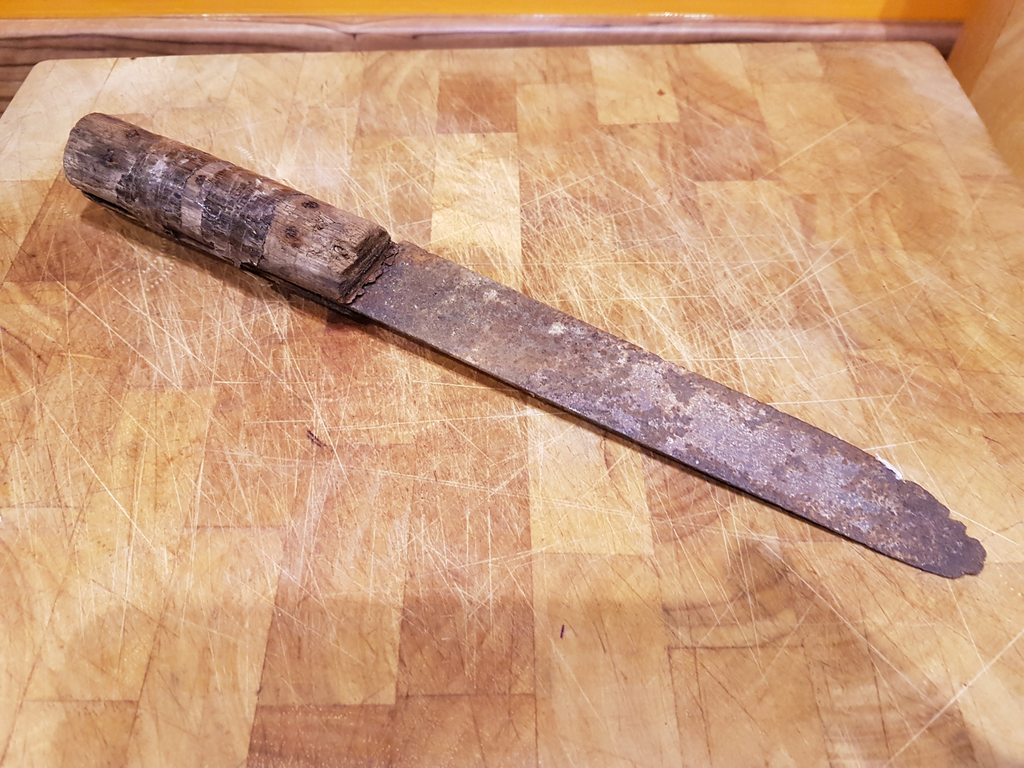
After some work…
EASY AND SAFE COPPER ACETATE PLATING
Material needed :
- Adjustable DC-DC Power Supply to create copper acetate the copper solution
- 5V DC Power Supply if the above is not available
- 1,0V-3,3V DC Power Supply for electroplating. Closer to 1,0V for all parts, and closer to 3,3V for very large parts.
- Alligator clips (1 red and 1 black for positive and negative)
- Any source of copper. Scrap copper wire, or a copper sheet will work well.
- 5-8% acetic acid. Vinegar is a good substitute.
- 30% Hydrochloric acid(muriactic acid)
- High grit sand paper (500+)
- Liquid soap.
- Glass jar or beaker that fits your part
- Small glass or plastic tray.
PROTOCOL 1 (PREPARING THE ELECTRODES)
- Prepare the copper electrodes by cleaning them mechanically with 500+ grit sandpaper.
- Wash the copper electrodes under water with soap.
- Fill the small tray with hydrochloric acid, and the electrodes in it for 60 seconds to clean them completely. Rinse with water to get rid of the hydrochloric acid. Keep it for later.
- Repeat the first 3 steps for cleaning the positive electrode for electroplating.
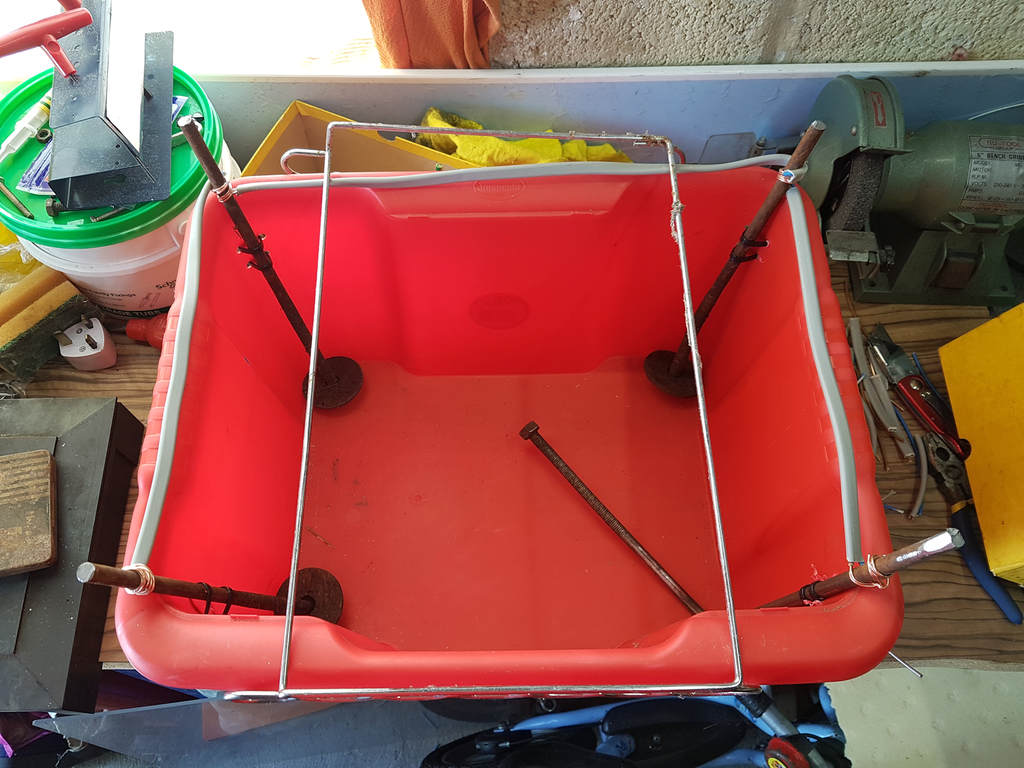
PROTOCOL 2 (MAKING THE COPPER ACETATE SOLUTION)
- Fill the jar with vinegar or 5/8% acetic acid.
- Connect the alligator clips to the cleaned copper electrodes. Note the polarity of each.
- Put the copper electrodes in the acetic acid jar.
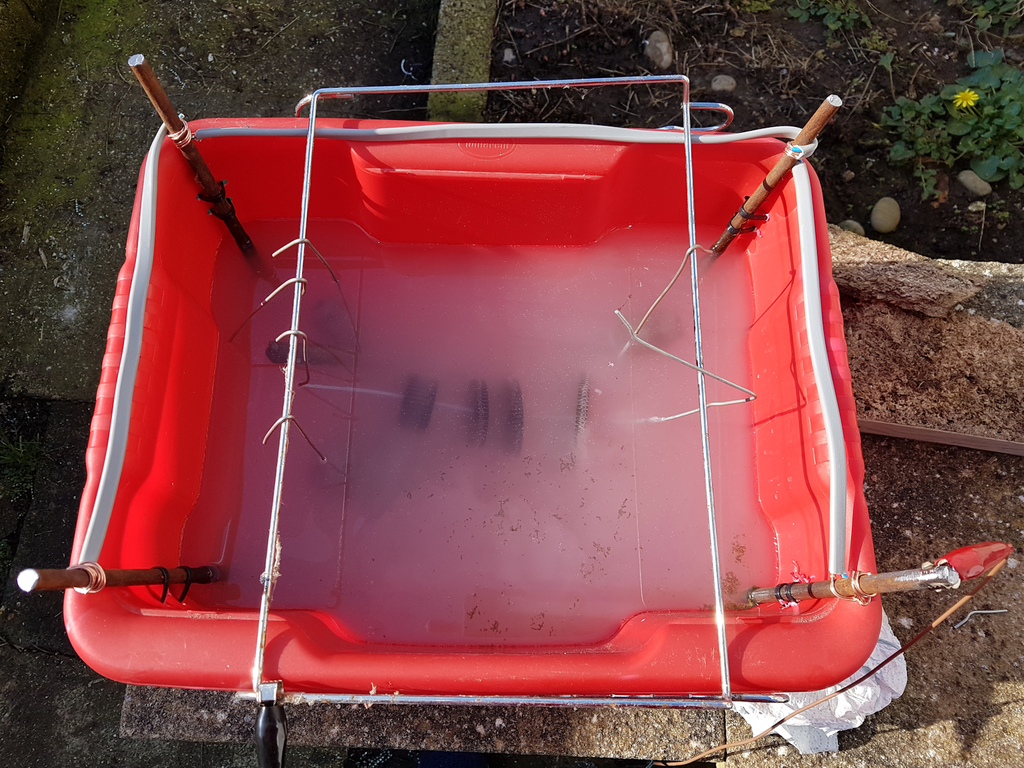
- Connect your 5V power supply to the AC receptable, or set your power supply to a voltage of 4,2-5V, 4,2V for slightly higher copper acetate concentration, 5V for faster creation.
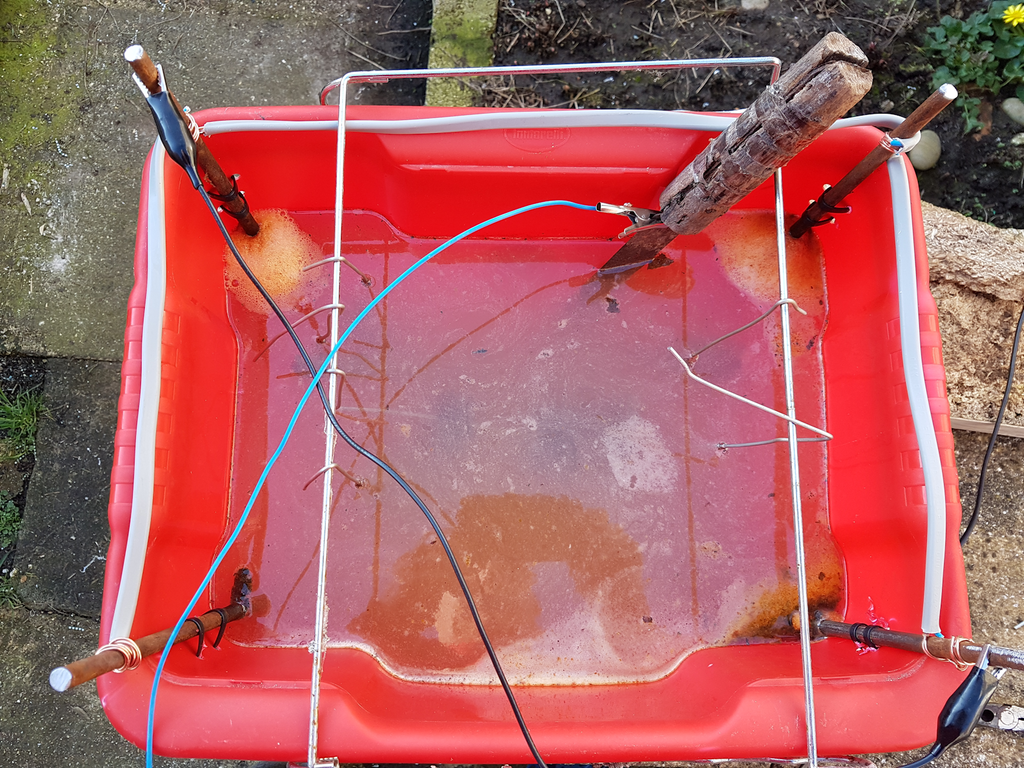
- Check if there are any small bubbles forming on the negative electrode. If there are small bubbles forming, but not floating up, that means the setup is working.
- Let the setup run for 8-12 hours, preferably during the night.
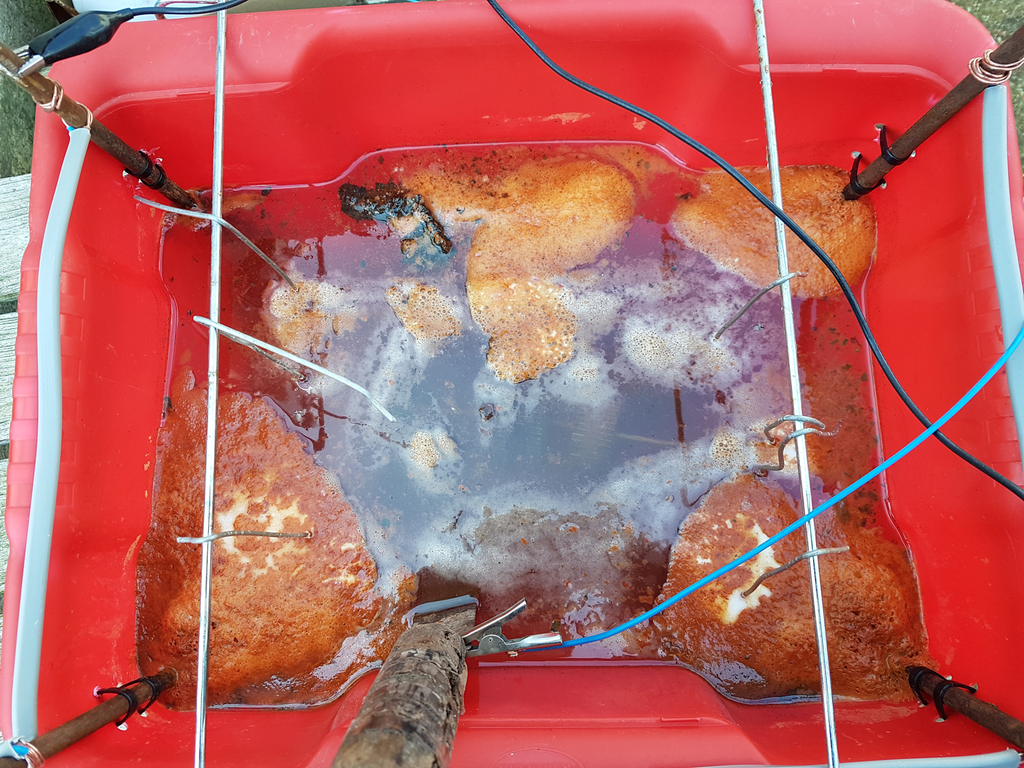
- Check the jar for any copper deposits. If there are any solid deposits on the bottom, filter out the solution via gravity filtering, or just empty the jar slowly into another container without the copper deposits transfering in the other container. Clean the jar. Put the solution back in the original container.
- Clean the parts/materials you’ve used during the copper acetate solution creation.
PROTOCOL 3 (ELECTROPLATING THE PART)
- Prepare the part by cleaning it mechanically with 500+ grit sandpaper.
- Wash the part with soapy water.
- Put in the part in the hydrochloric acid bath for 1 minute, then clean it in water.
- Connect the positive copper electrode previously cleaned to the positive alligator clip. Put it in the jar.
- Connect the negative alligator clip to the part you want to plate. Put it in the jar as far away from the positive electrode as practical.
- Plug the alligator clips to the preferably 1,2V adjustable power supply, or 3,3V power supply.
- Leave the setup running for 2 hours at 3,3V, and 4 hours at 1,0-1,2V for optimal results.
- Unplug or deactivate the power supply.
- Get the part out of the copper acetate solution.
- Clean it with water, and let it dry. You should have the copper plated part.
- Polish it with steel wool.
- Put the copper acetate jar somewhere safe, and label it as Copper Acetate Solution.
Final note : The jar can be placed on a temperature adjustable hotplate to 50C for faster and more durable plating due to the lower resistance solution and less hydrogen formation.
The 1,0V-1,2V setup will get thinner, but more much durable plating for small parts, while 3,3V will plate faster, but is not recommended to use on small parts like springs and connectors.