I didn’t see LuciDrv in there….
lucidrv programming instructions (copied from CPF)
This is the successor of lupodrv with a somewhat more intuitive programming UI; it also features two mode groups.
Two mode groups: You can have two mode groups for different situations (e.g. one for indoors with moon and low modes, and one for outdoors with high/med). Each group is fully configurable with up to 7 modes and it’s own memory type (see below).
Mode locking: Select any mode and use it for a second, then activate mode lock (see below). Then that mode is locked, it won’t change to next mode any more (unless you unlock it again). Good for tactical or signaling purpose.
Programming: You can change any mode to a different brightness, strobe or beacon; you can change the number of modes (1-7) in each group, and you can change the memory type for each group (see below)(no-memory, classic memory, short-cycle memory).
Configuration menu (programming mode): Select a mode and use it for at least a second. That mode is then the selected mode for some of the actions below. Then enter programming mode by 8 rapid taps (half-presses; the light must be <0.2s on each time). You have to be quite fast, however it’s no problem if you tap a few times more.
Shortly after those rapid taps a blinking signal will be shown. This serves two purposes: It indicates that the light is now in its configuration menu (programming mode) and awaits further input, and it also serves as battery level indicator: The number of blinks indicates battery voltage, about one blink for every 0.1V above 3.0V without load (~12 is full, ~4 is pretty empty). If you let them pass without tapping the button again, the config menu is exited without any change.
If you want to change the configuration, you need to ‘input’ more taps while the blinking signal is active, the number of taps specifies the action. Note that the timing is more relaxed in the config menu; you have to be swift and uninterrupted, but by far not as rapid as the 8 taps above. However you must hit the exact number of taps.
Once you entered the config menu (by 8 rapid taps) and see it’s signal, tap the button a number of times to do the following:
1 tap: Mode lock; lock the selected mode (see above). If locked, unlock.
2 taps: Switch between the two groups (also lifts a mode lock).
3 taps: Set brightness. The light will ramp the brightness up and down twice in 16 visually linear steps (the output doubles/halves every 2 steps). Tap once when the desired brightness is reached to change the selected mode to this brightness (constant brightness).
4 taps: Change the selected mode to strobe.
5 taps: Change the selected mode to beacon (a blink every ~10s)
6 taps: Delete the selected mode.
7 taps: add a mode; the new mode is inserted at the position of the selected mode. Example: If you have 3 modes, L/M/H (with M selected), then add a mode, the result is L/M/M/H, i.e. the selected mode is doubled, and the first of them is selected. It can then be changed by entering the config menu again.
8 taps: Set the memory type for the active group to no-memory.
9 taps: Set the memory type for the active group to classic memory (cycle through all modes).
10 taps: Set the memory type for the active group to short-cycle memory (after memory kicked in, skip to first mode; see above).
Battery monitoring: Whenever the battery falls below 3V under load, brightness is reduced (about half). The reduced load usually brings up the voltage a bit. When it drops below 3V again, brightness is halved again - and so on, down to a very low level. It will not switch off and leave you in complete darkness though.
PWM frequency is 18 kHz.
Note: The brightness ramp hast 16 steps, from #16(100%) downwards the output halves every 2 steps. The lowest modes however deviate from that due to limited PWM resolution, also the actual output on the lowest modes depends on hardware variations like LED forward voltage.
The levels (in %) are: ~.2 .7 1 1.5 2 3 4 6 9 13 18 25 35 50 70 100
New features for lucidrv drivers sent since September 2013:
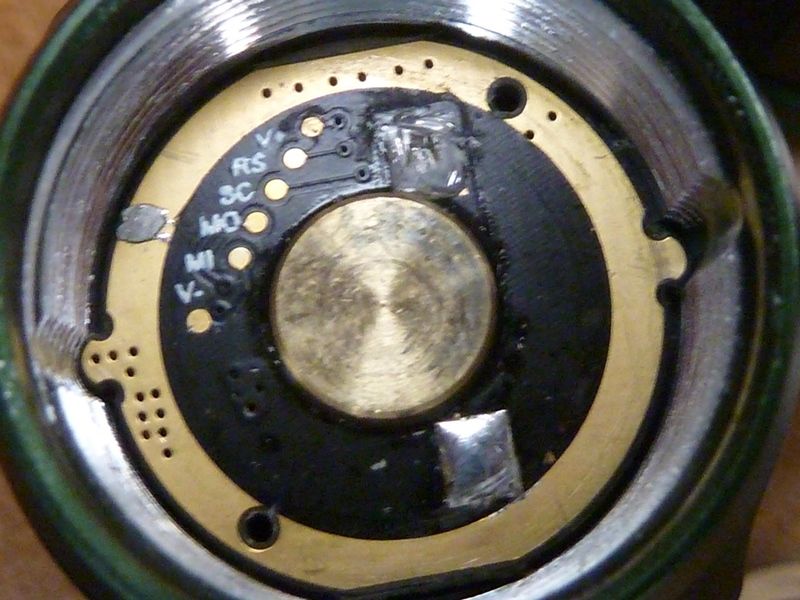
Disable programming (proglock): Solder a connection from the 4th star (the rightmost one on the images below) to the outer ring to disable programming (some conductive paint etc. might work, too). Mode locking and switching between mode groups (1 or 2 taps in the config menu) will still work, but all config options below that won’t. Remove the solder bridge to enable configuration changes again.