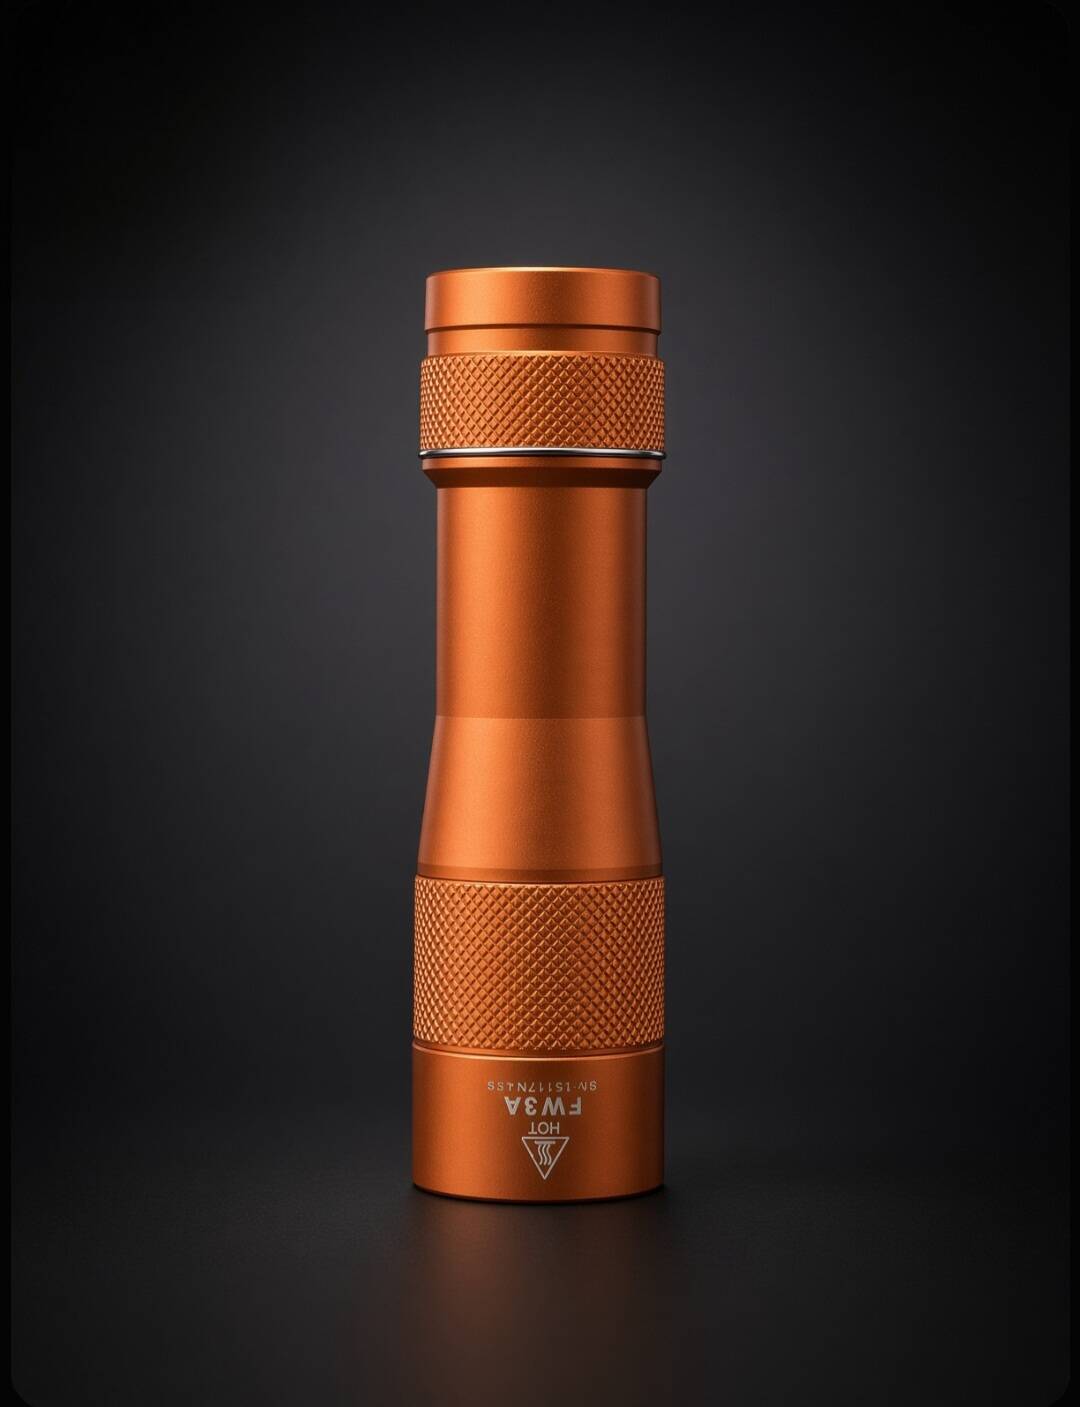
I recently scored a couple FW3A’s from Nealsgadgets with intentions on modding them. Orange and TI Stonewashed models.
I started on the Orange one lastnight.
The bezel was pretty tight. I had to use debonder and 2 strap wrenches to get the front opened up.
*Sorry, I am lacking some pictures of assembly. I was crunched for time and didn’t take several pics.
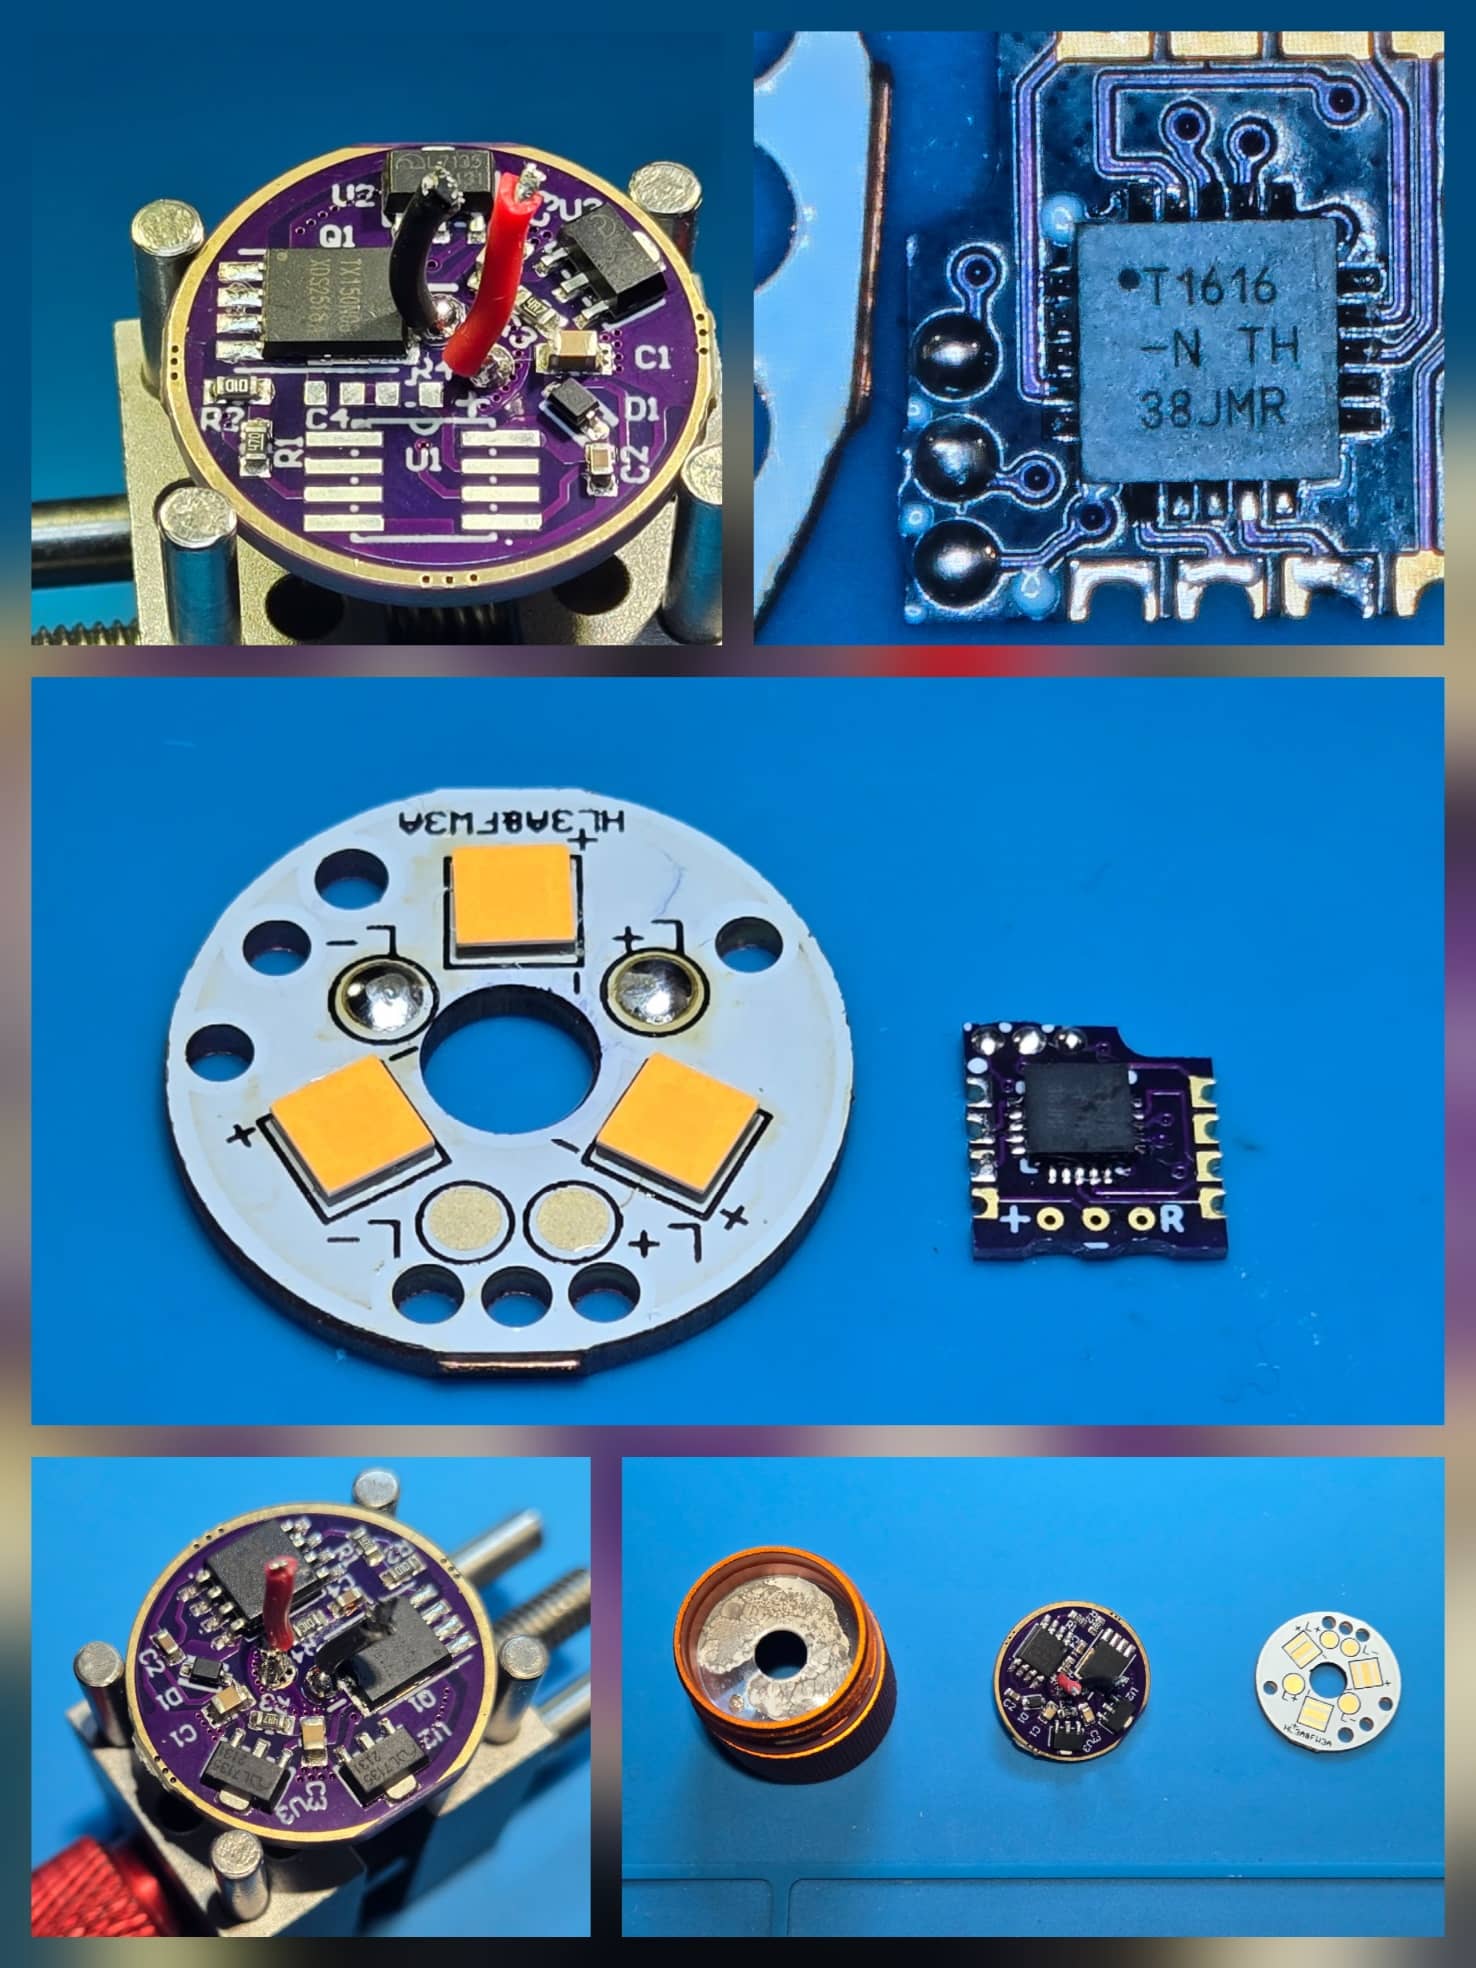
I had a brand new mcpcb ready to go, so I didn’t need to desolder the original emitters.
I started with the driver mods.
Desoldering the T85 mcu, R4 and C4 with hot air. I used a 7mm nozzle, 840c and about 40% air speed. I was able to get the components off without removing the emitter wires. The positive wire is very nearby, so that took some precision.
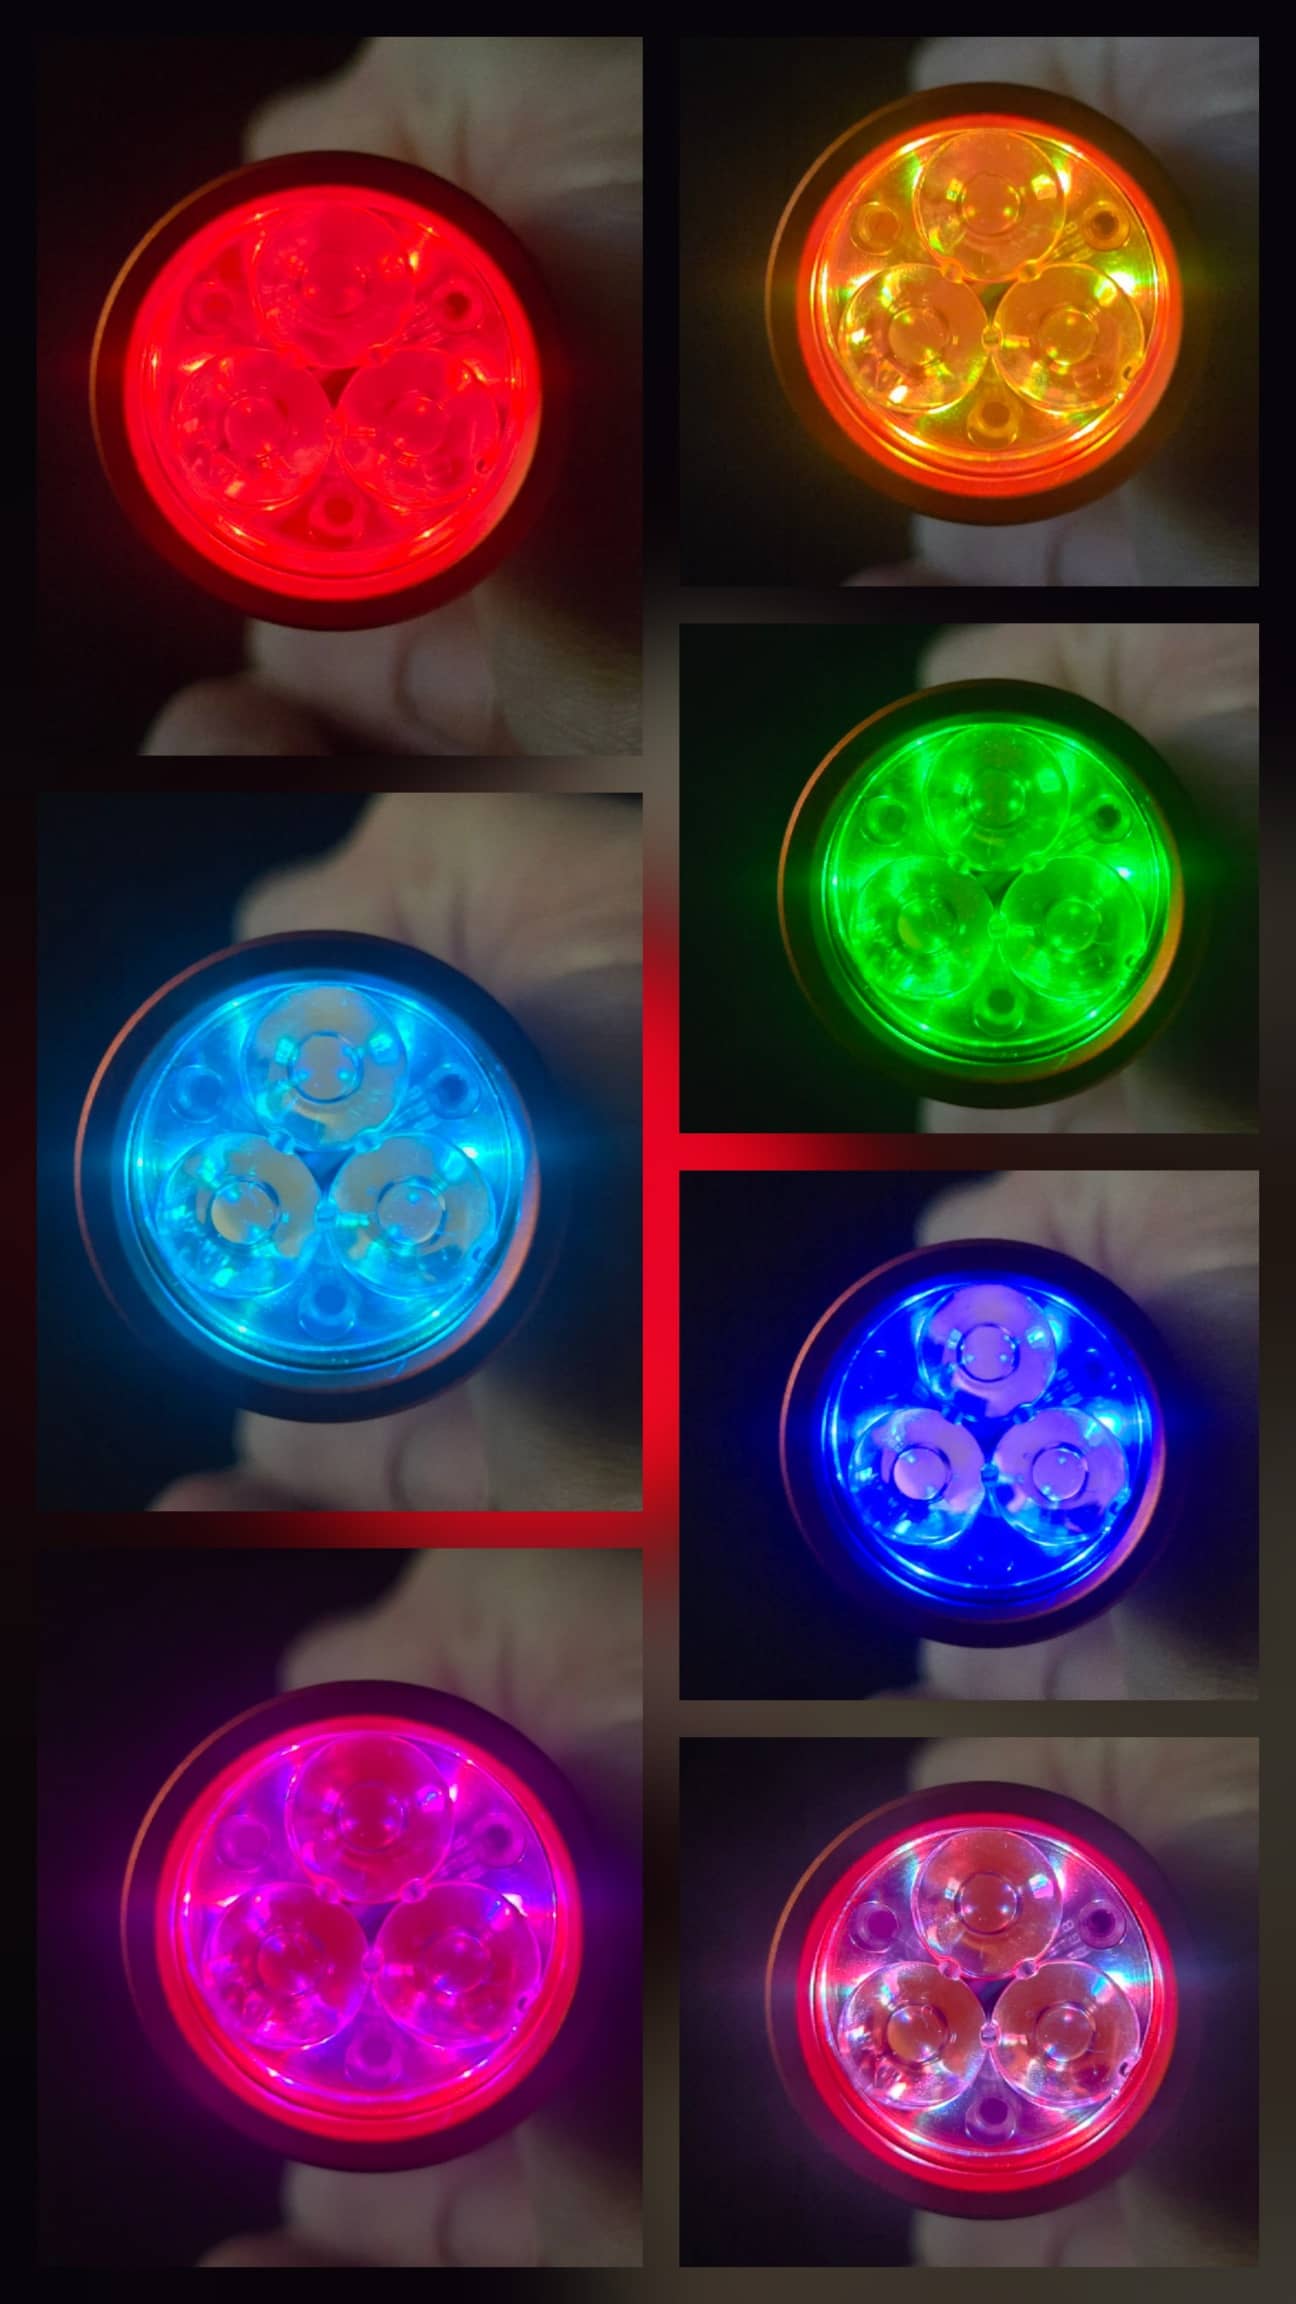
Next I flowed the T1616 to the adapter pcb, emitters to mcpcb and built the RGB Aux board.
I flowed all 3 items at the same time on the hot plate @ 220c.
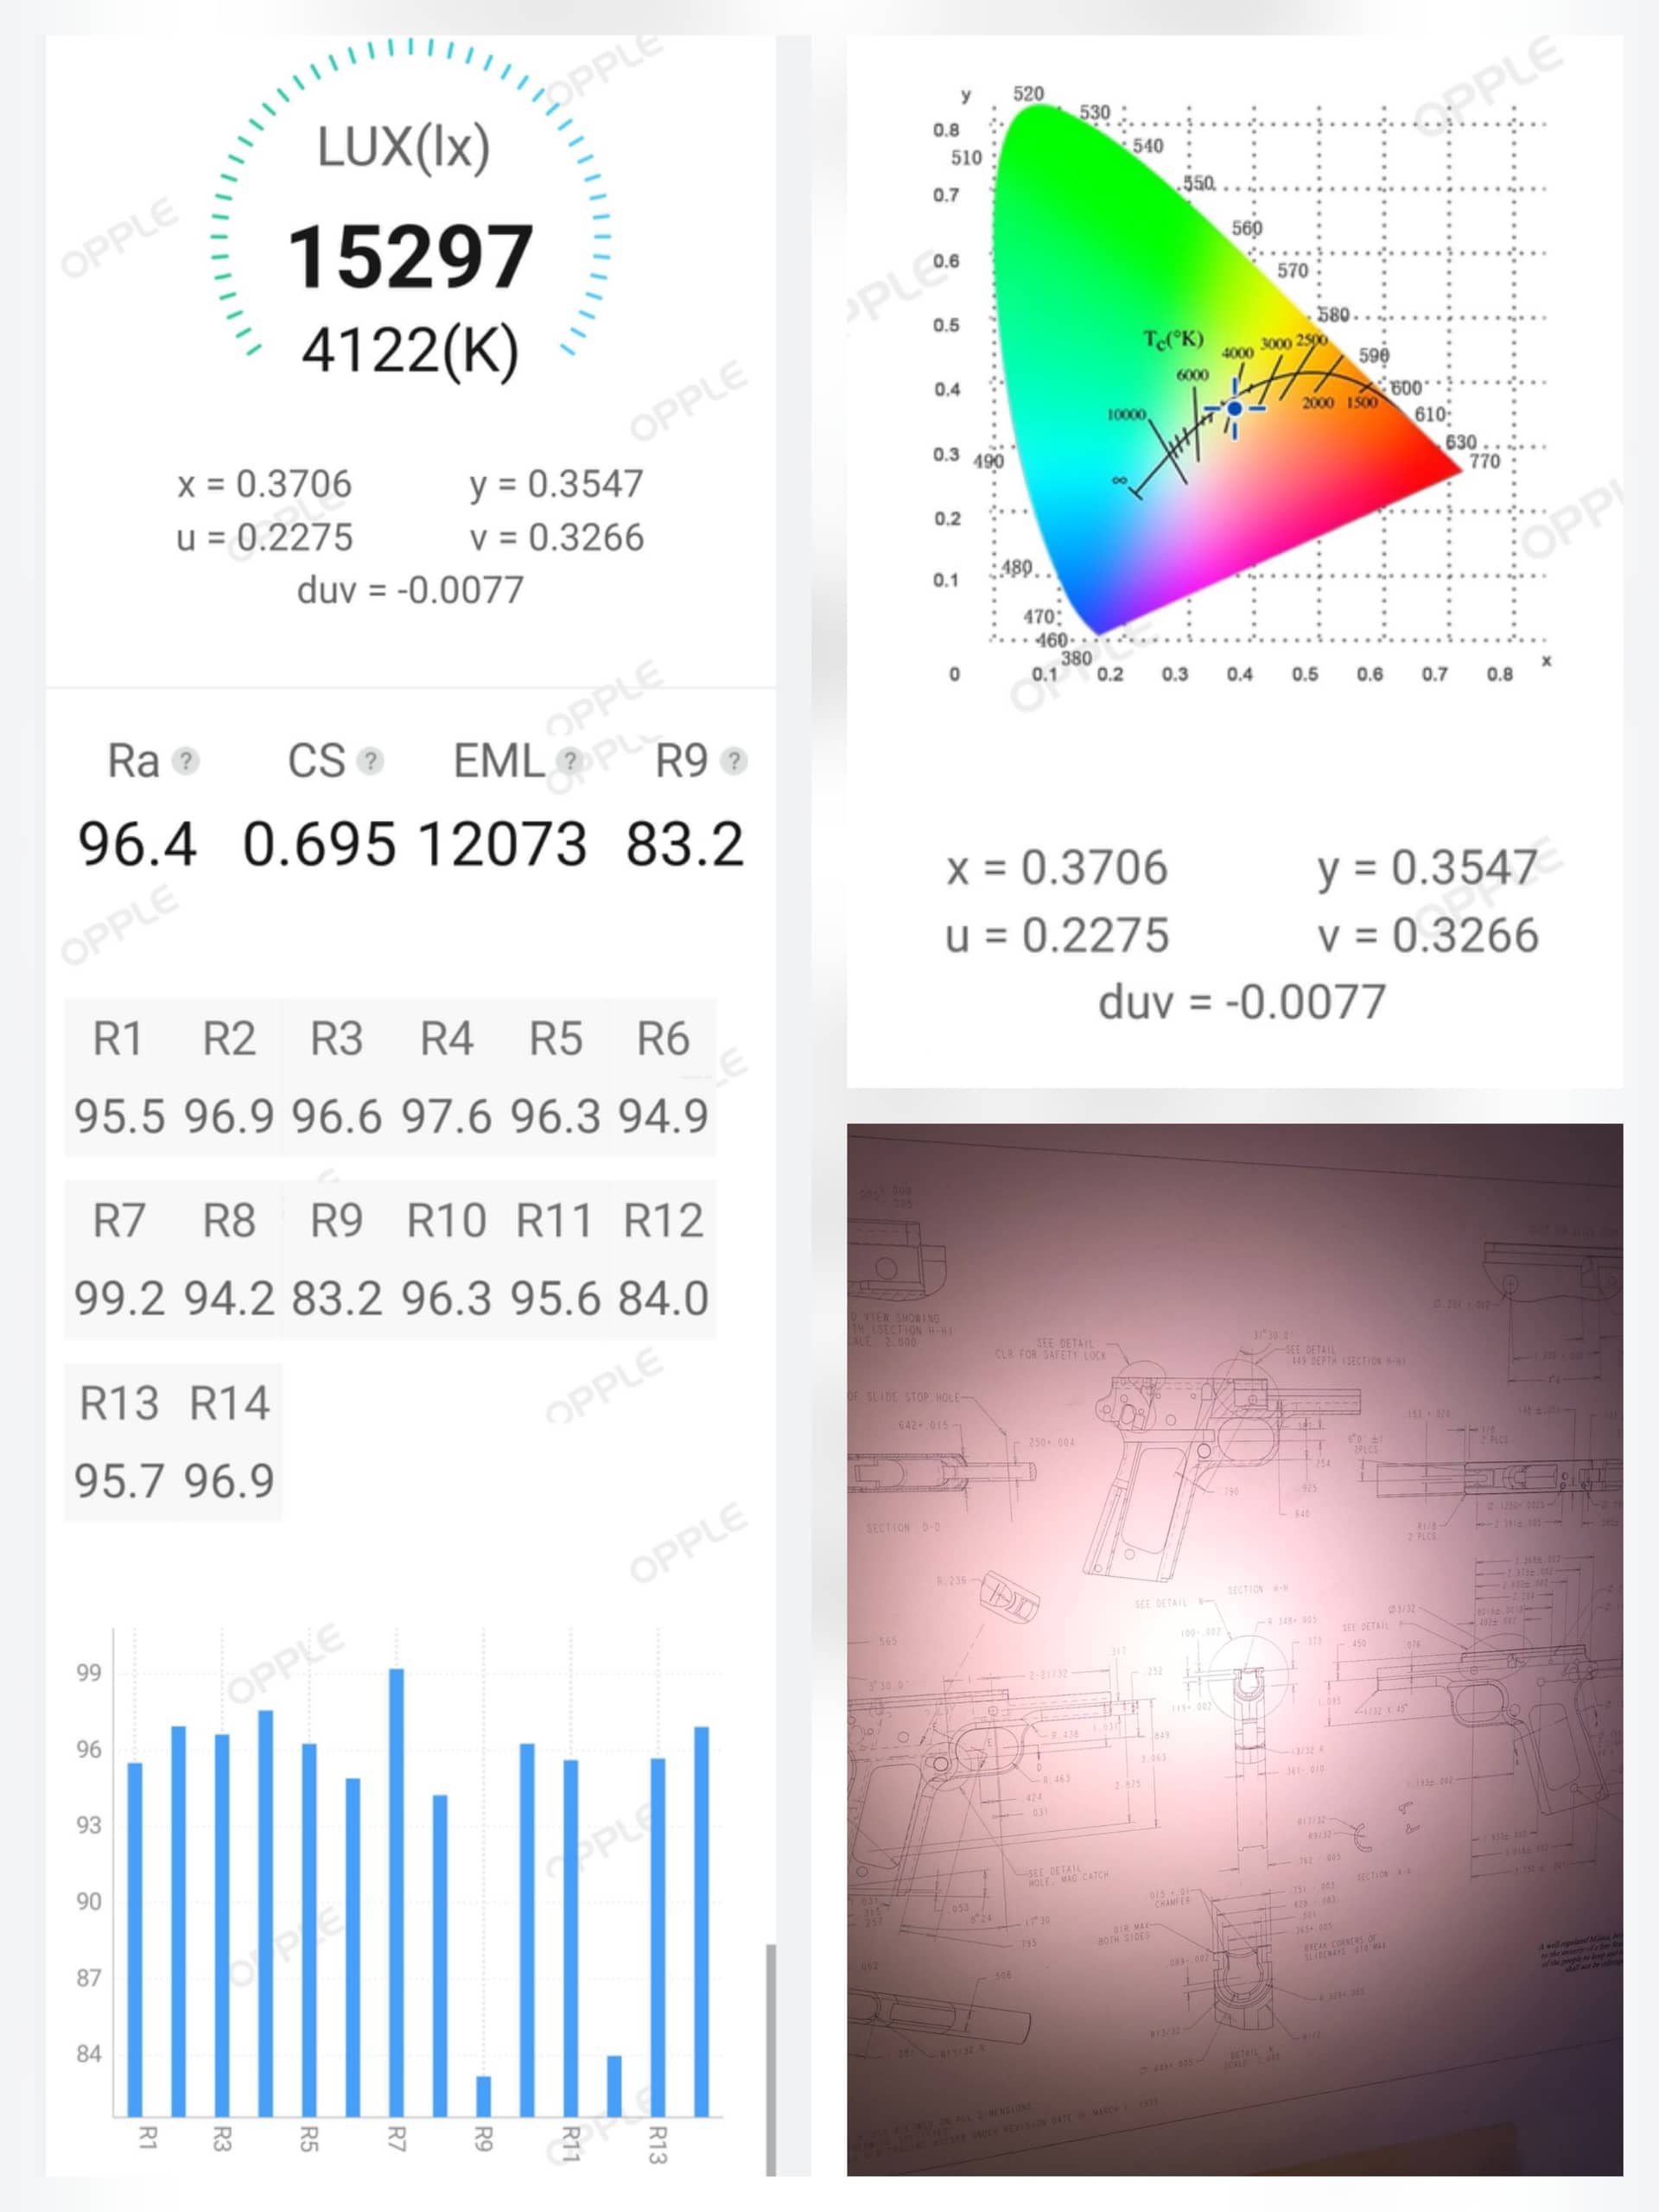
I chose FFL351A 4000k Rosy for this build.
Next I flashed Anduril 2 to the mcu to be sure my flow was good.
I used solder paste to fix the mcu adapter to the driver, then soldered the RGB wires to the board. Negative lead was soldered to the middle leg of the FET.
I cut the RGB wires about 5mm longer than the existing emitter wires, stripped and tinned the ends.
Next up was to finish assembly.
Soldered the emitter leads, then RGB leads to AUX board.
At this point, I hooked up a battery to test function. All was good.
I struggled a little with getting the optic to sit properly. 1 leg didn’t want to fall into place. I couldn’t figure out where the interference was. I’m suspecting negative RGB wire was standing proud.
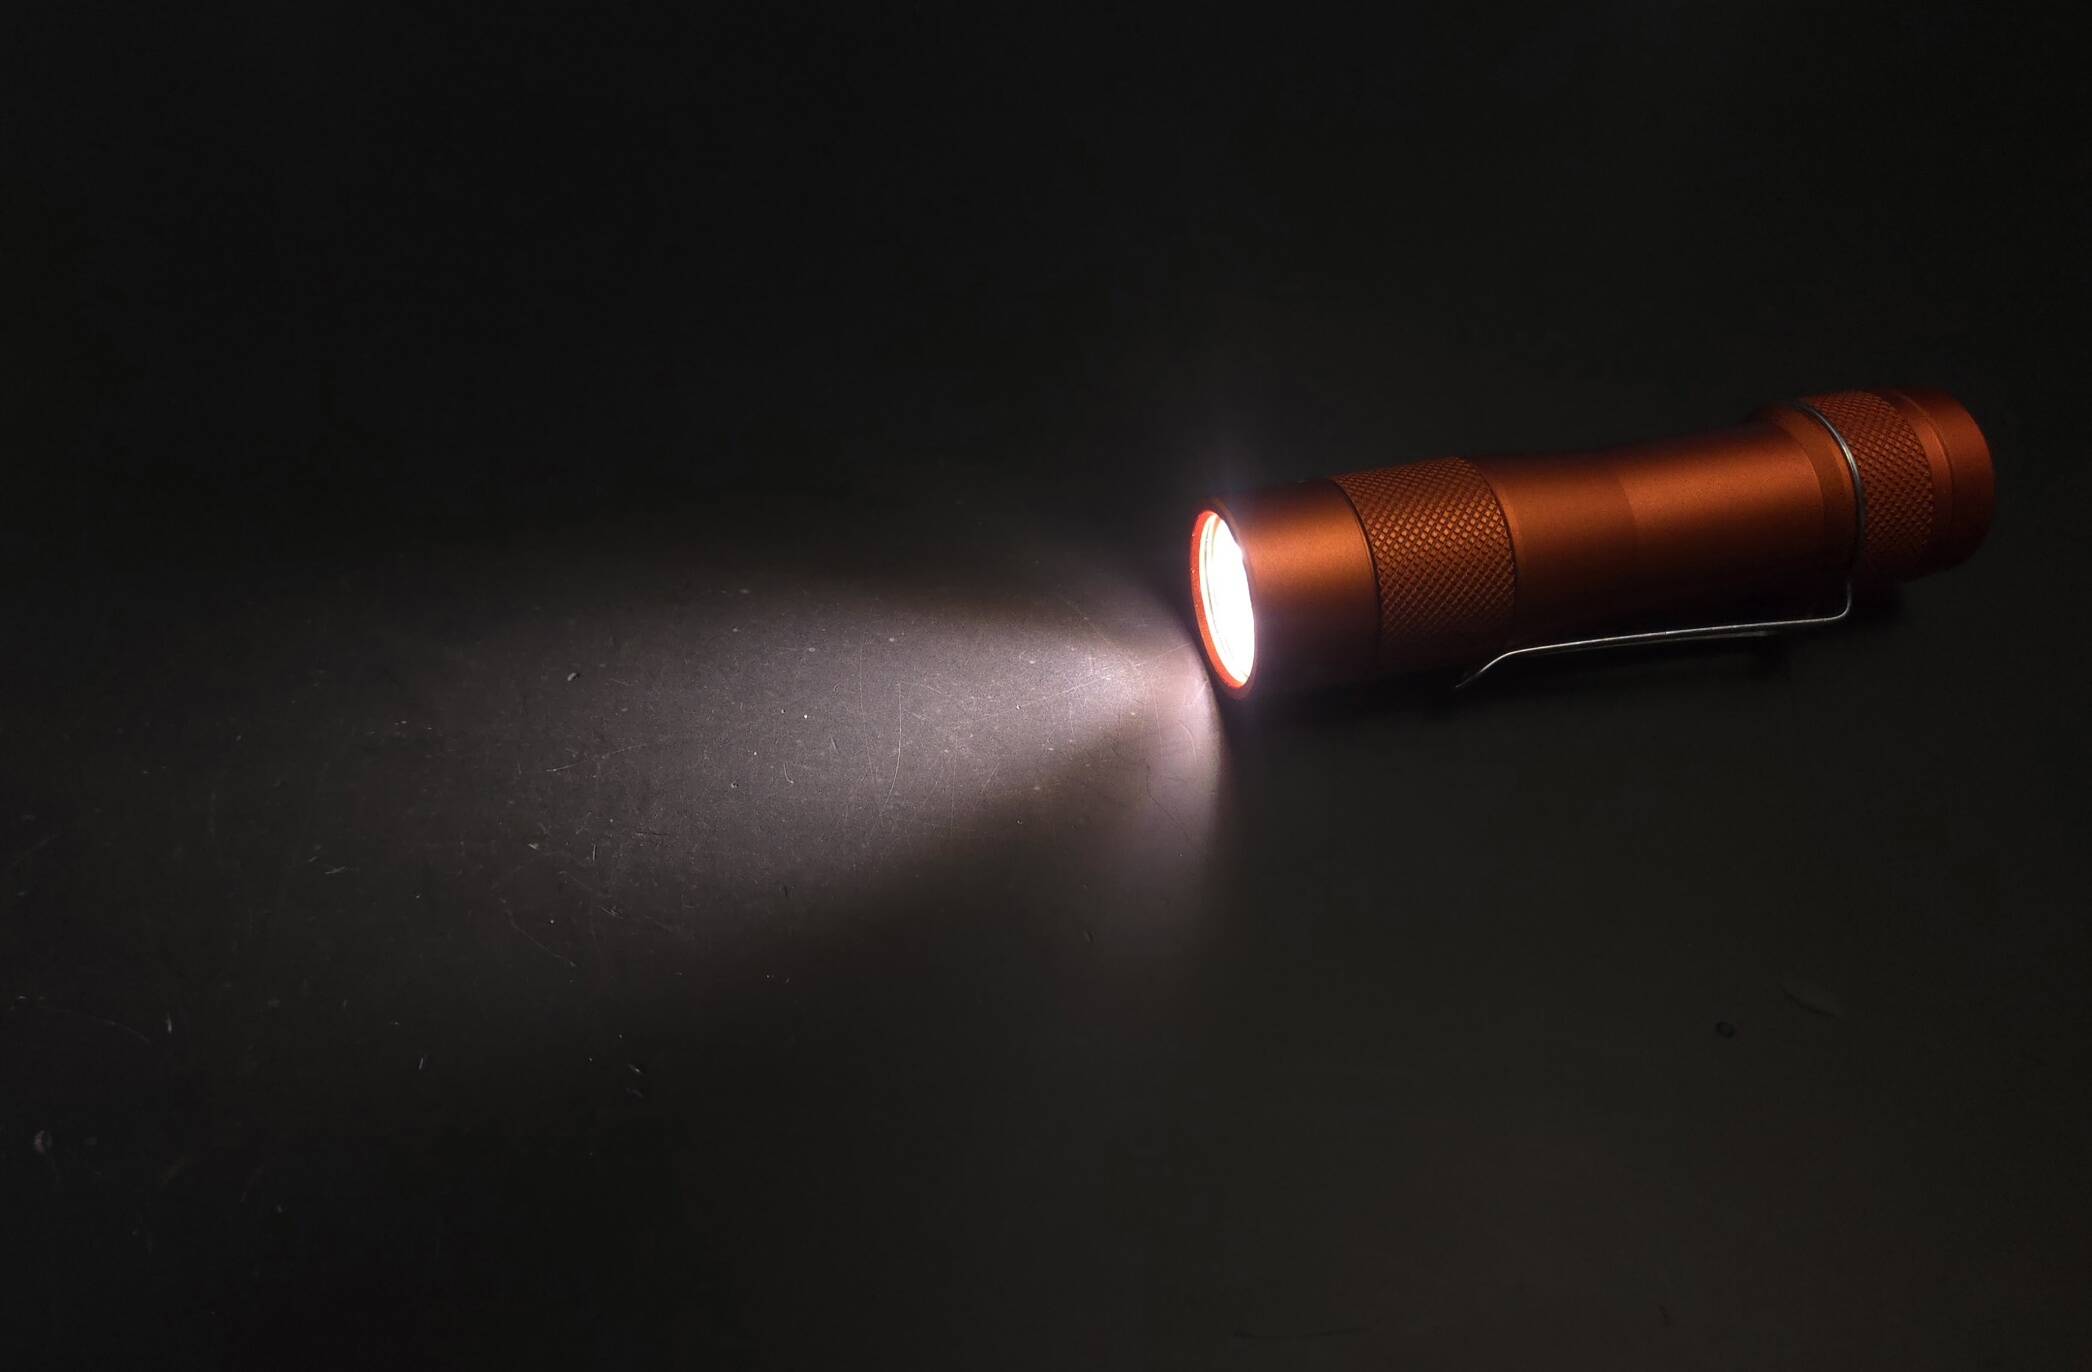
It came out pretty good, and I’m really liking these emitters.