Package arrived today, once I’m back from vacation I’ll try assembling one and hope it’ll work ![]()
5 Thanks
Enjoy your vacation!
1 Thank
Please, enjoy your mod when you will do.
I want to do another FWAA with the freeman but i have to order all the components plus the aux and flex board
1 Thank
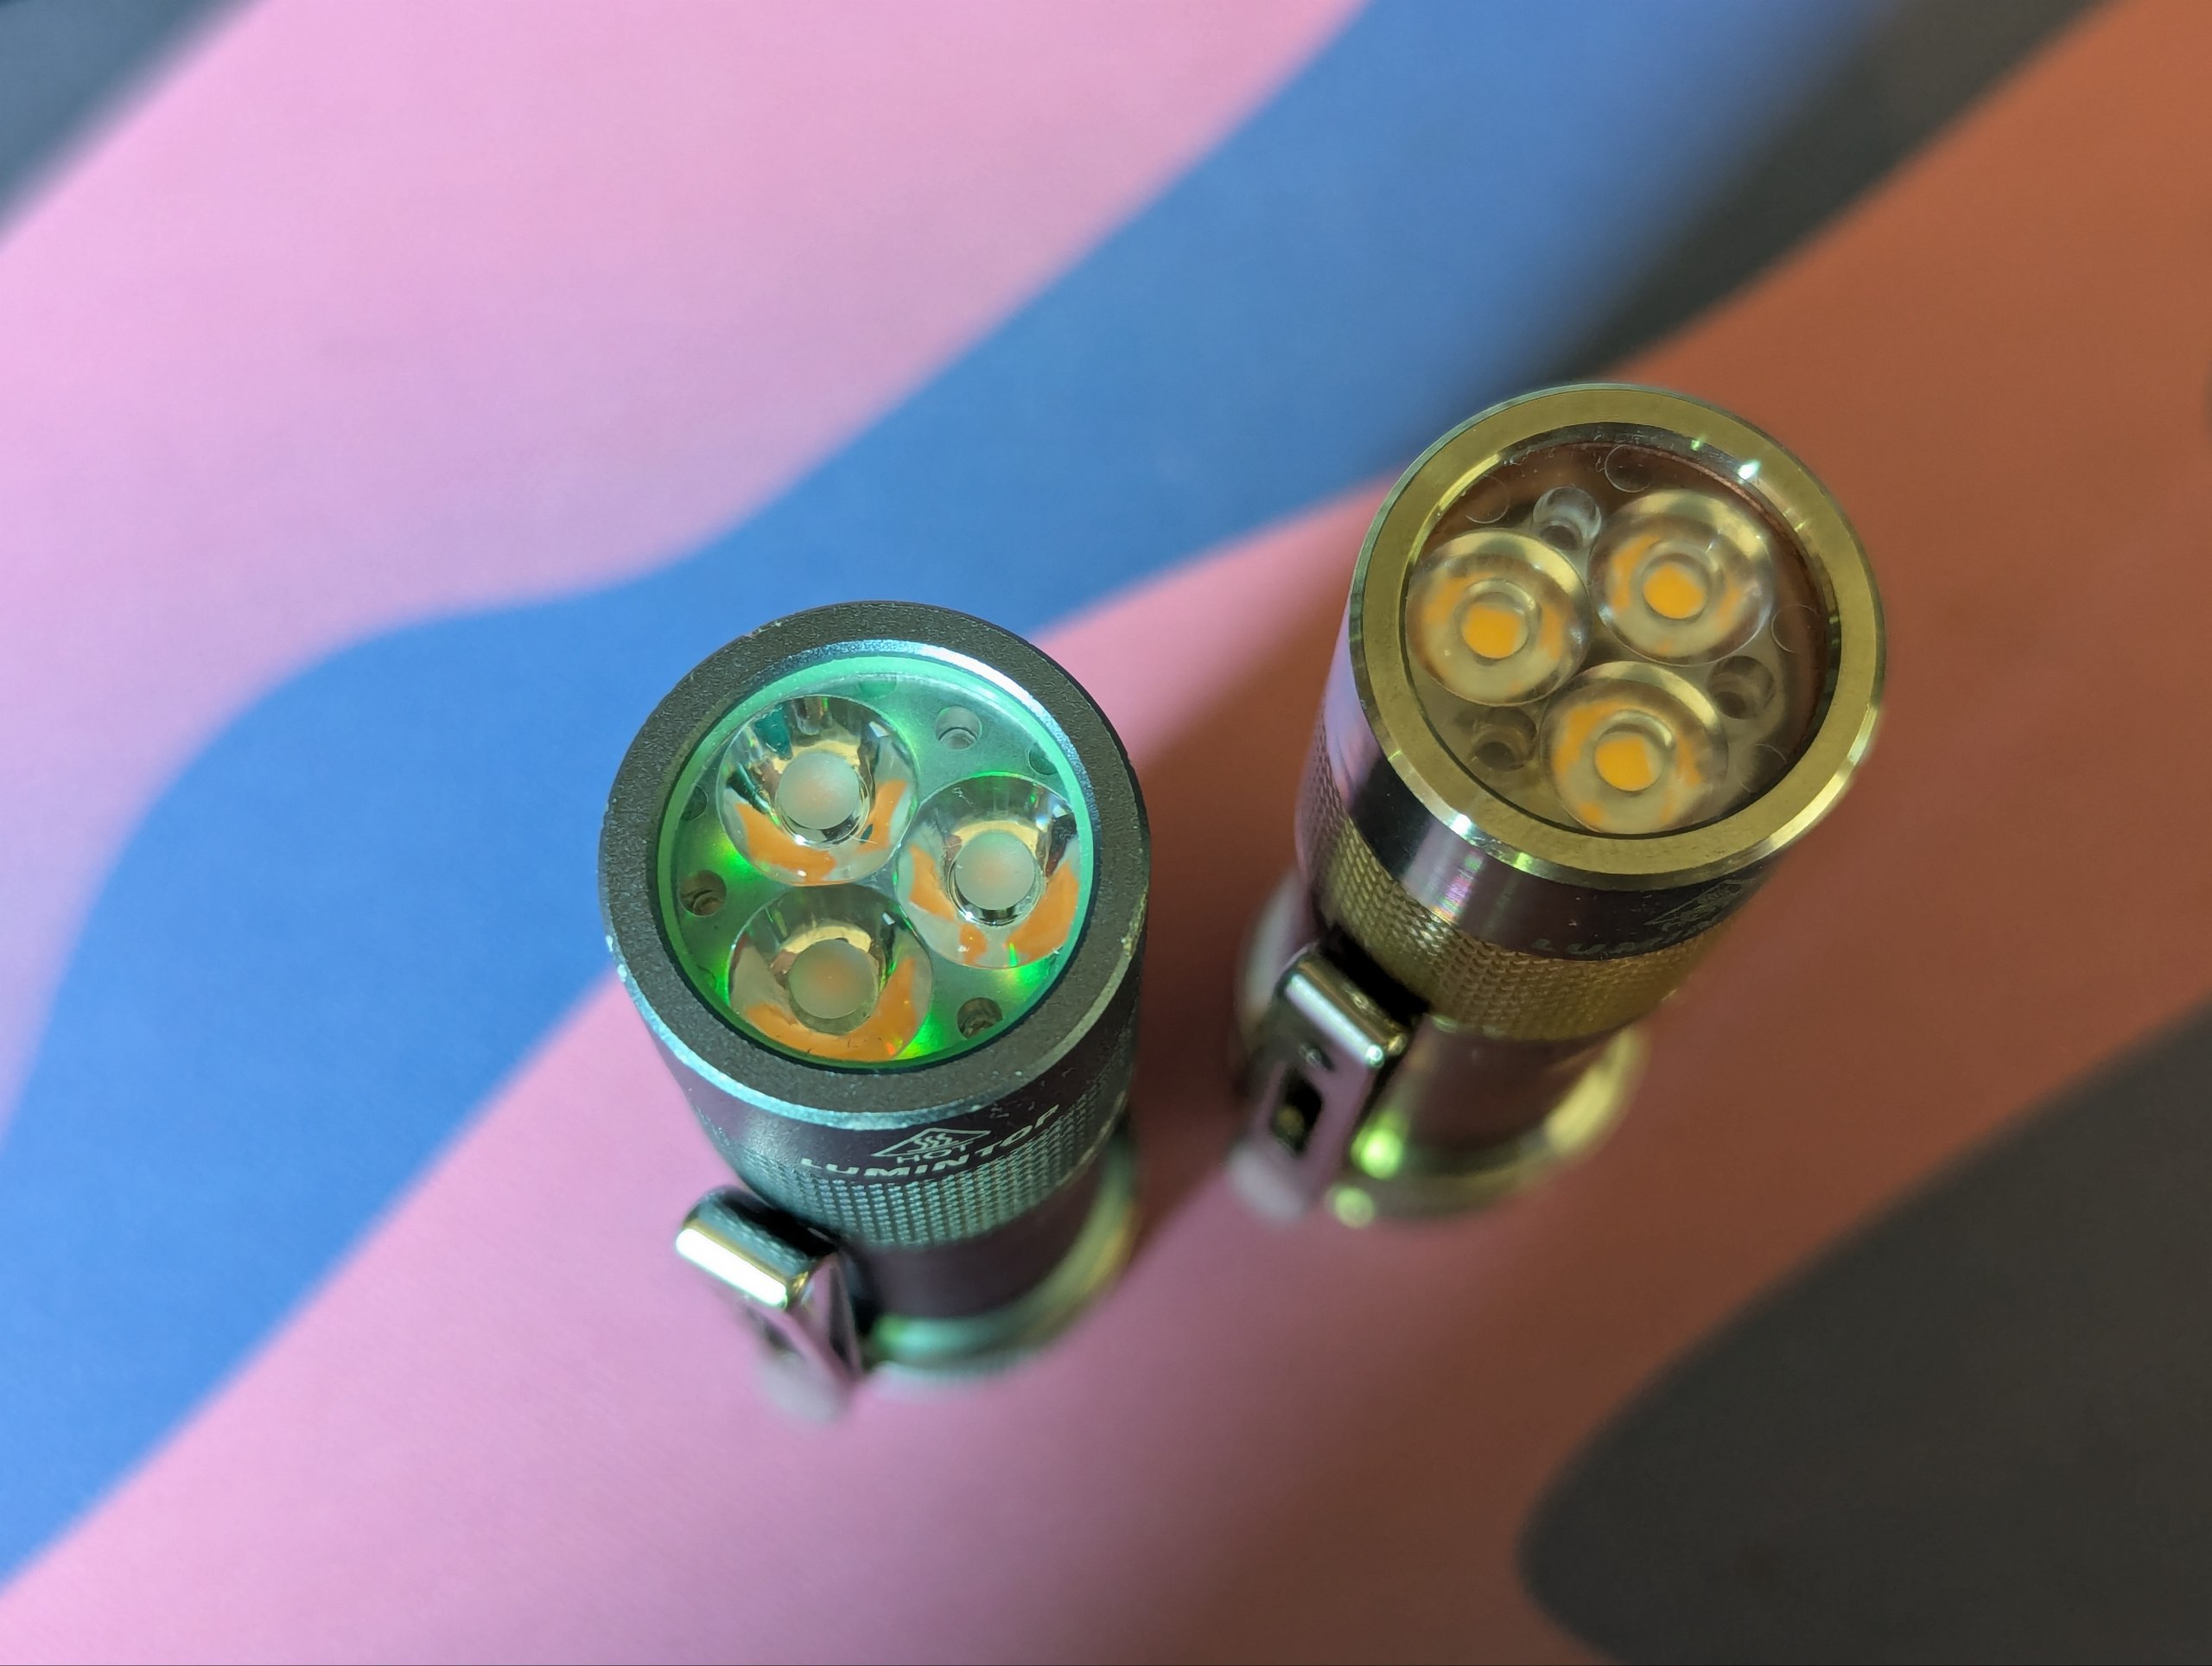
I’ll publish my aux + MCPCB on GitHub once I’m done - it should allow a TS10 optic with regular 3535 LEDs (even domed) in 3S config with his driver.
I wanted the TS10 lens as it is a bit more throwy. IMO the FWAA stock is too floody for the brightness it has.
2 Thanks
Agree
My dream is a website where i can buy only awesome drivers by the best developers in every measure.
For now i have only one BOM and is for the FWAA.
But i am afraid of this project…it needs some time!
2 Thanks
Me too… Also because i was dumb and forgot to order a stencil… ![]()
1 Thank
I don’t use a stencil ![]()
1 Thank
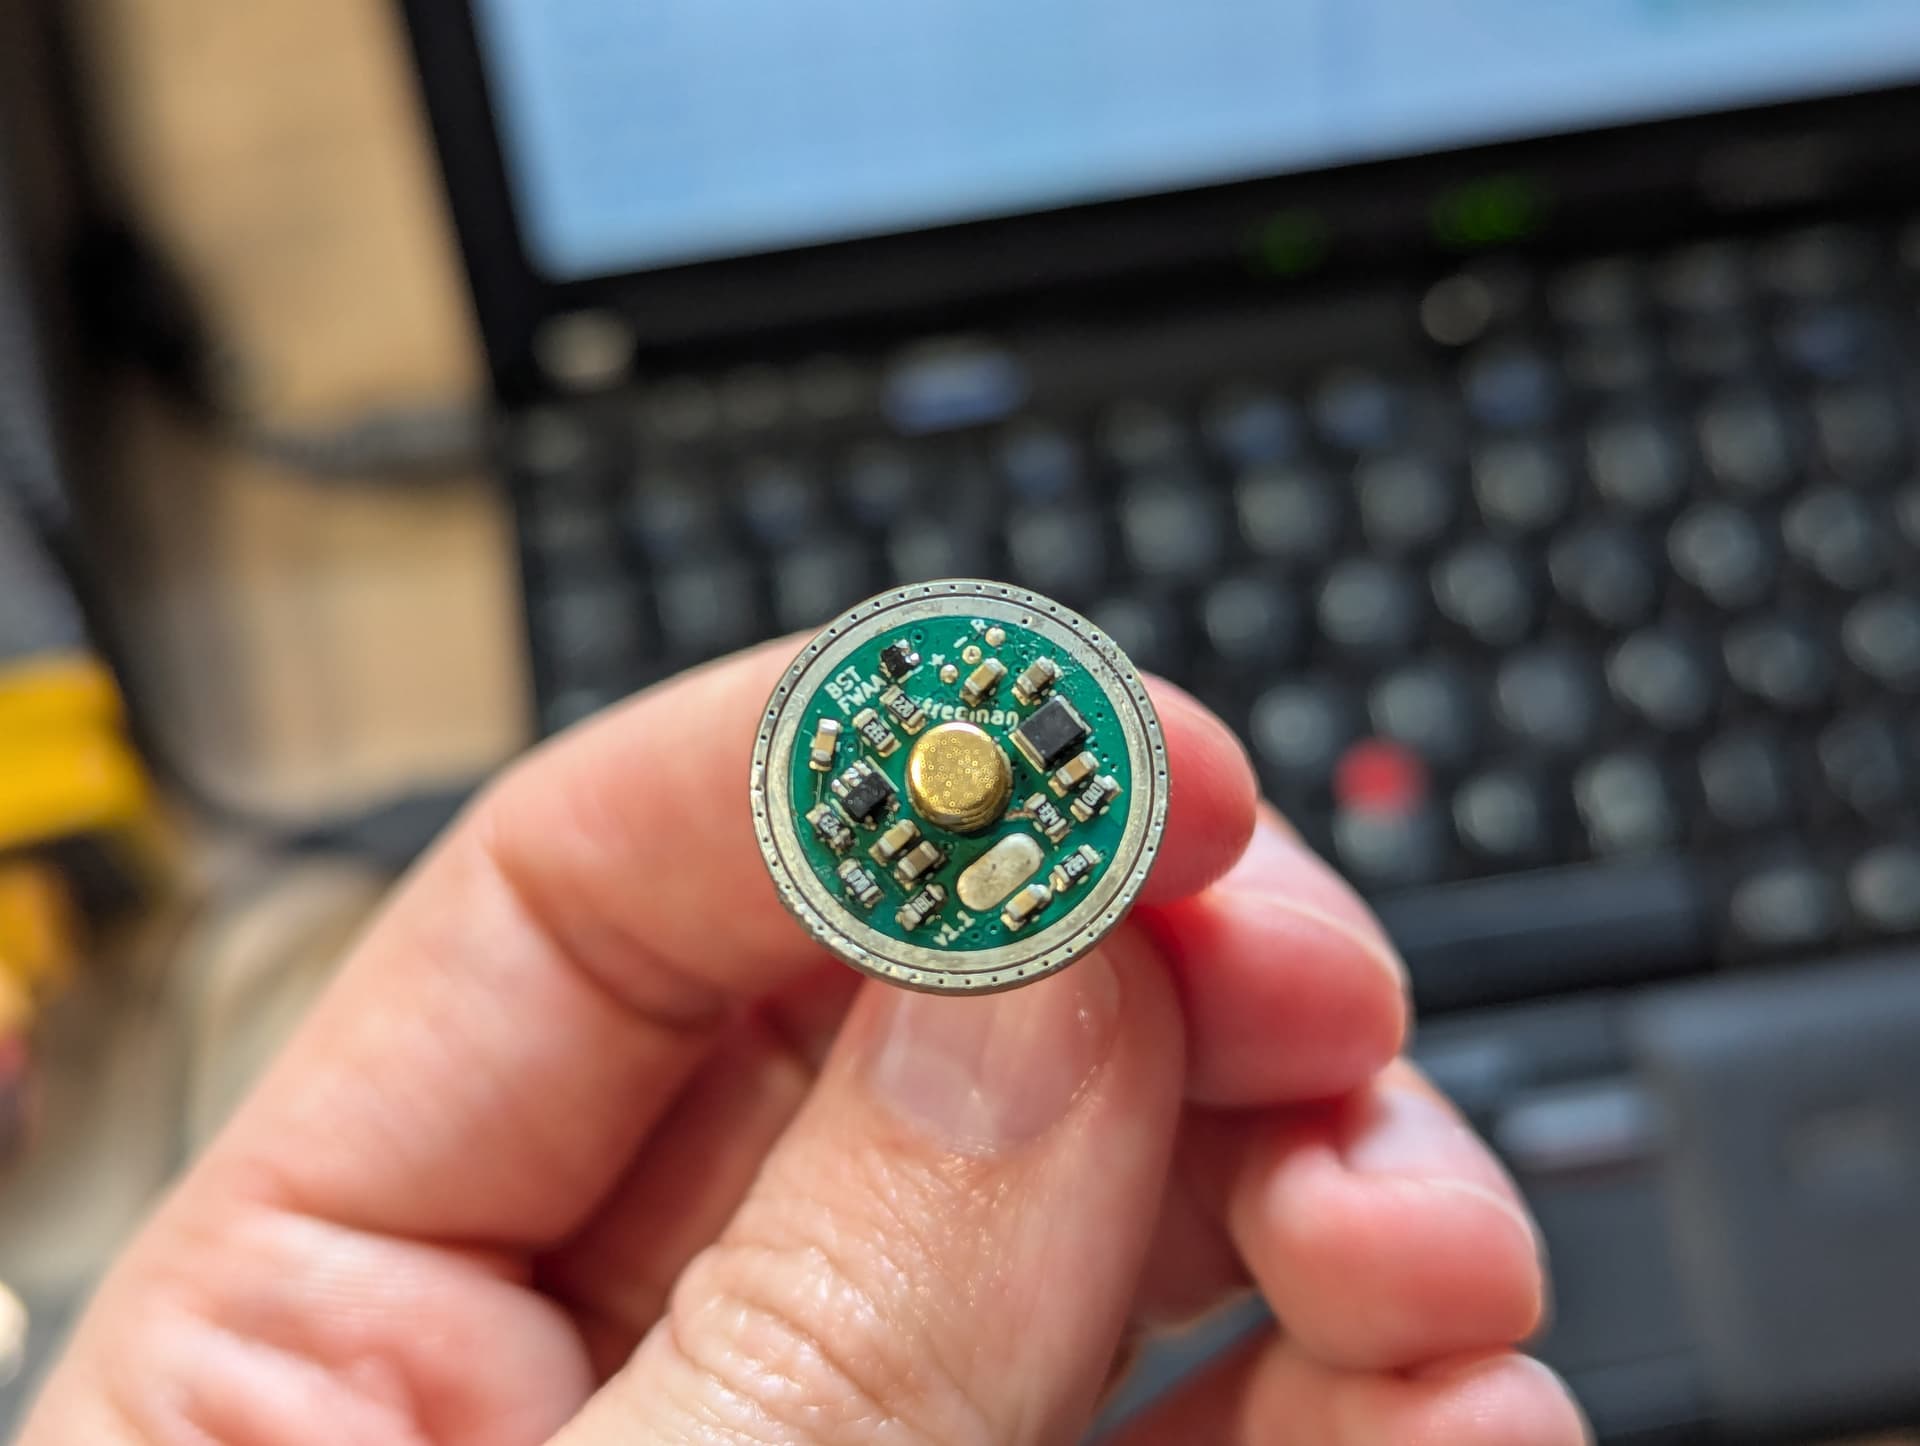
I finally took the time to solder one of these today. Absolutely annoying work lol.
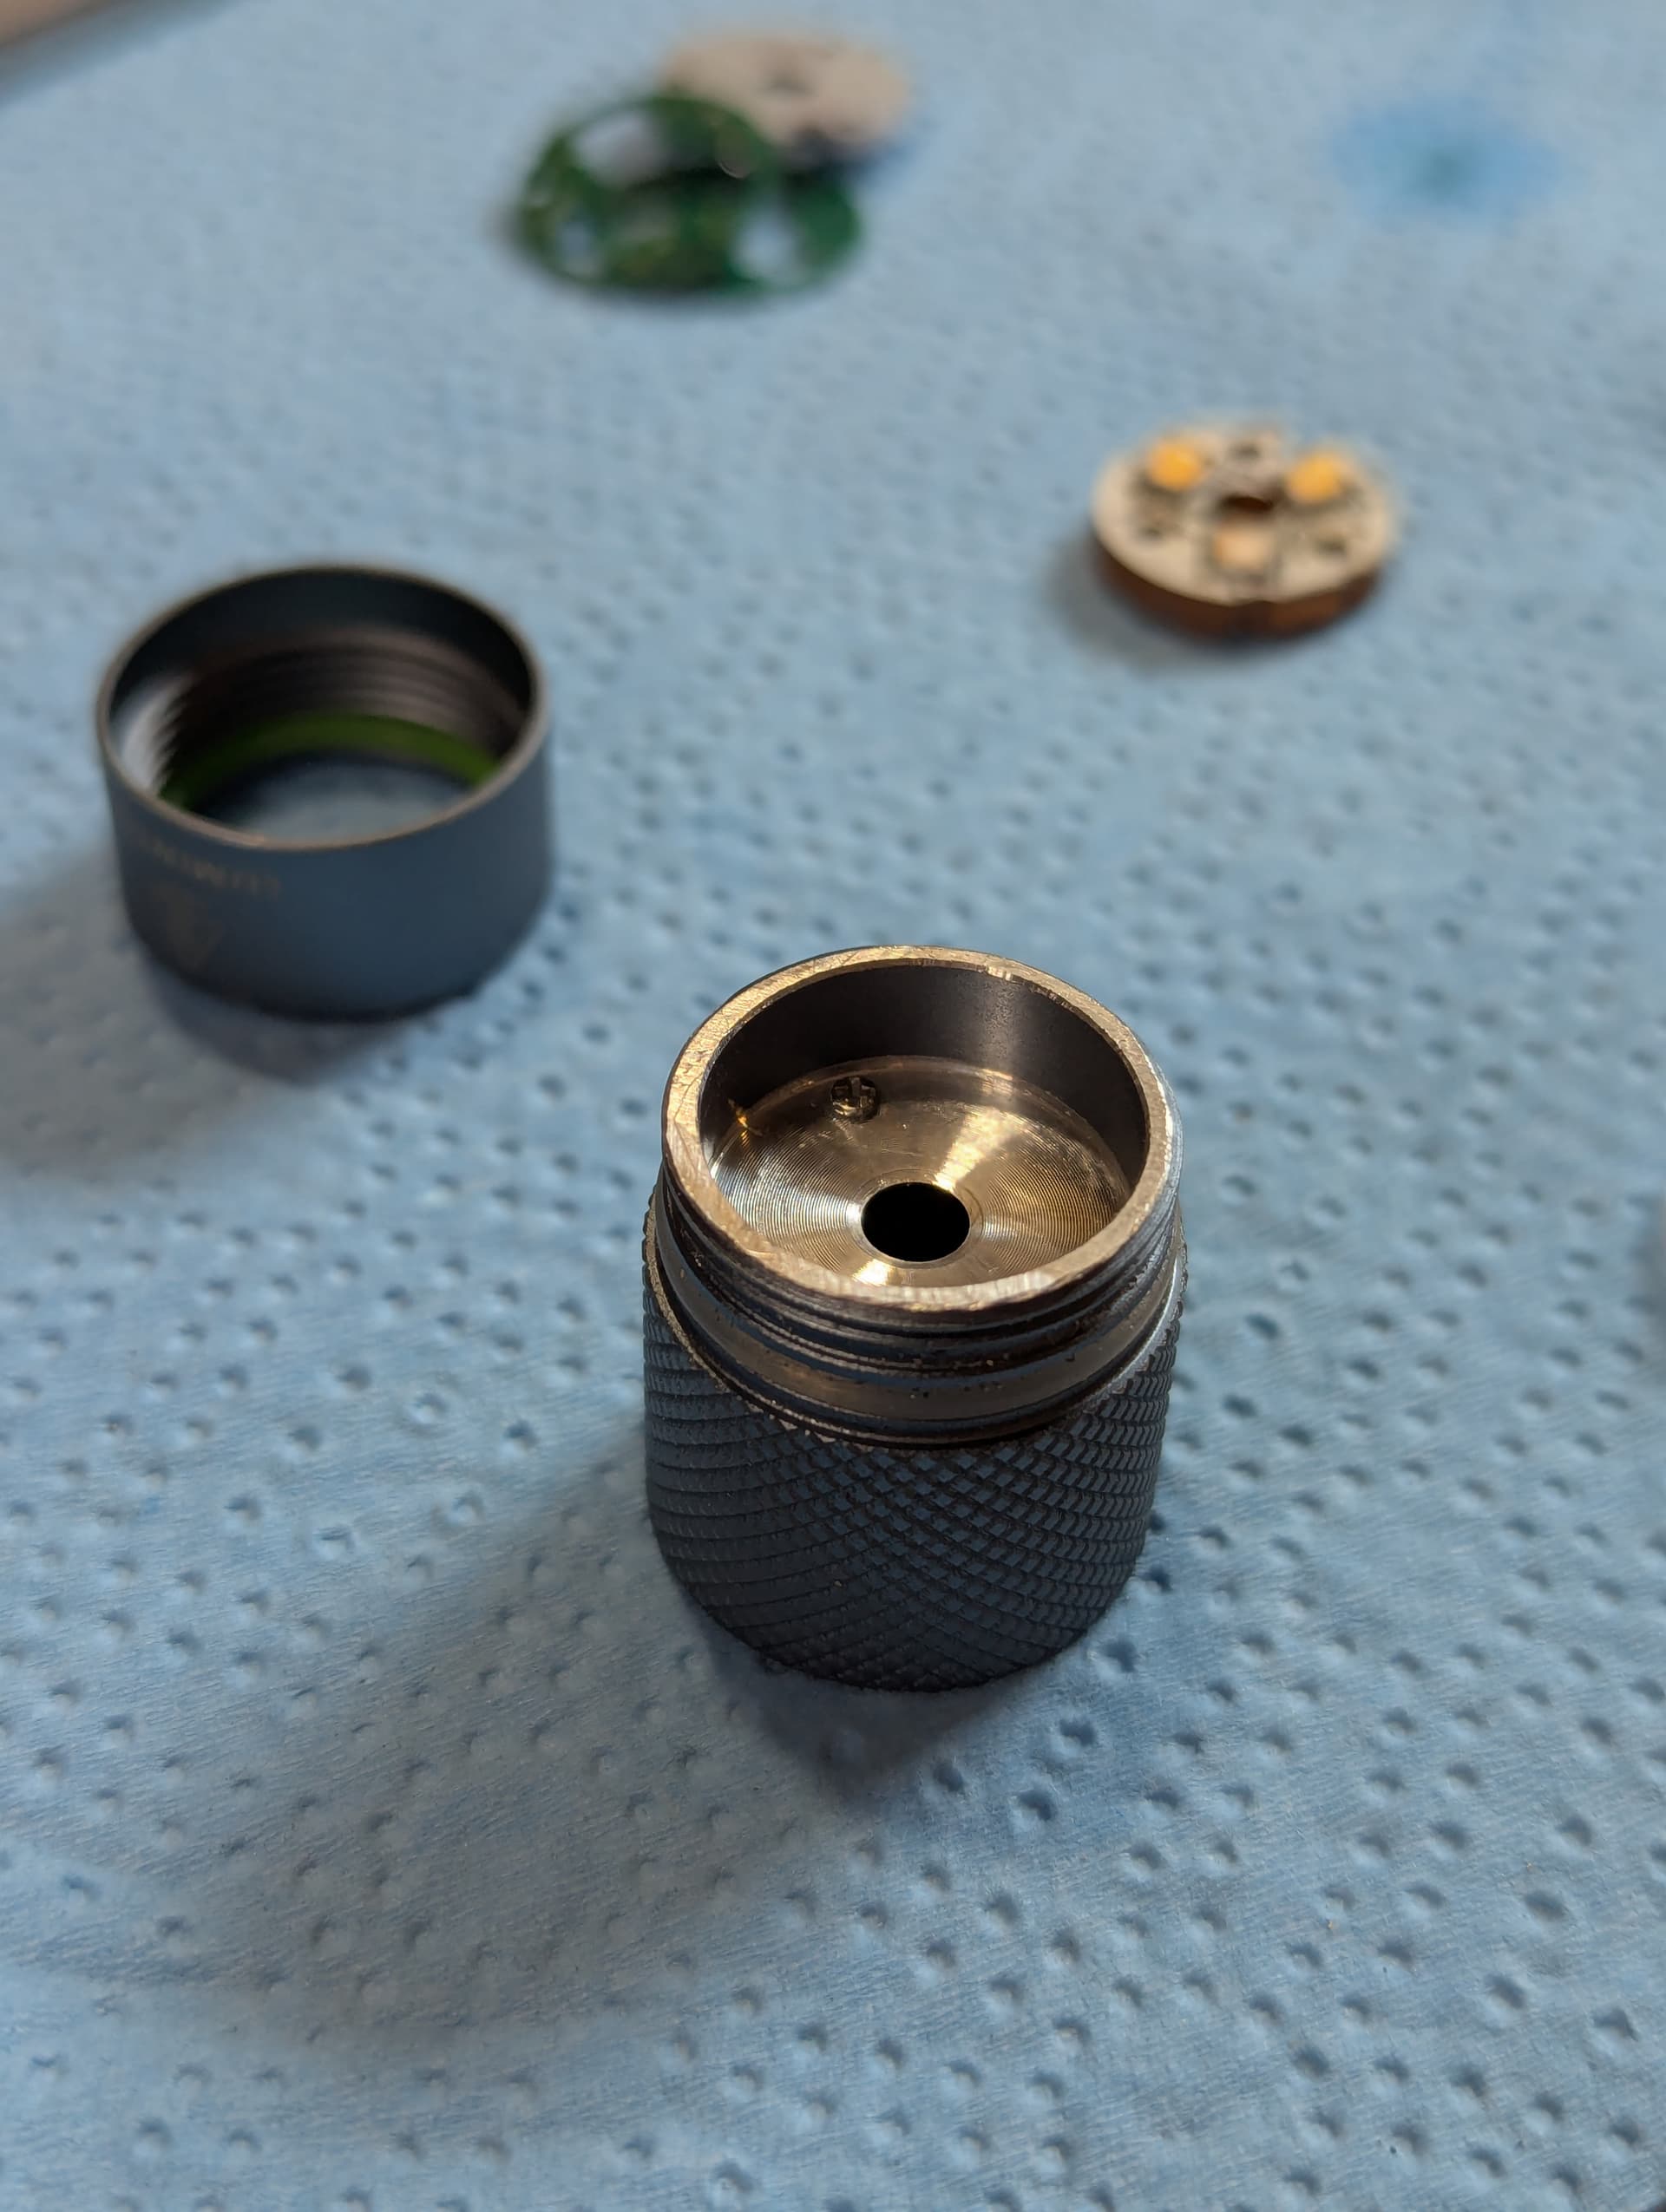
Then I realized some idiot (spoiler: I am said idiot) mis-measured the MCPCB diameter by about a mm, so I had to file MCPCB and aux PCB down manually for them to fit. Glad I only ordered alu for now and not copper.
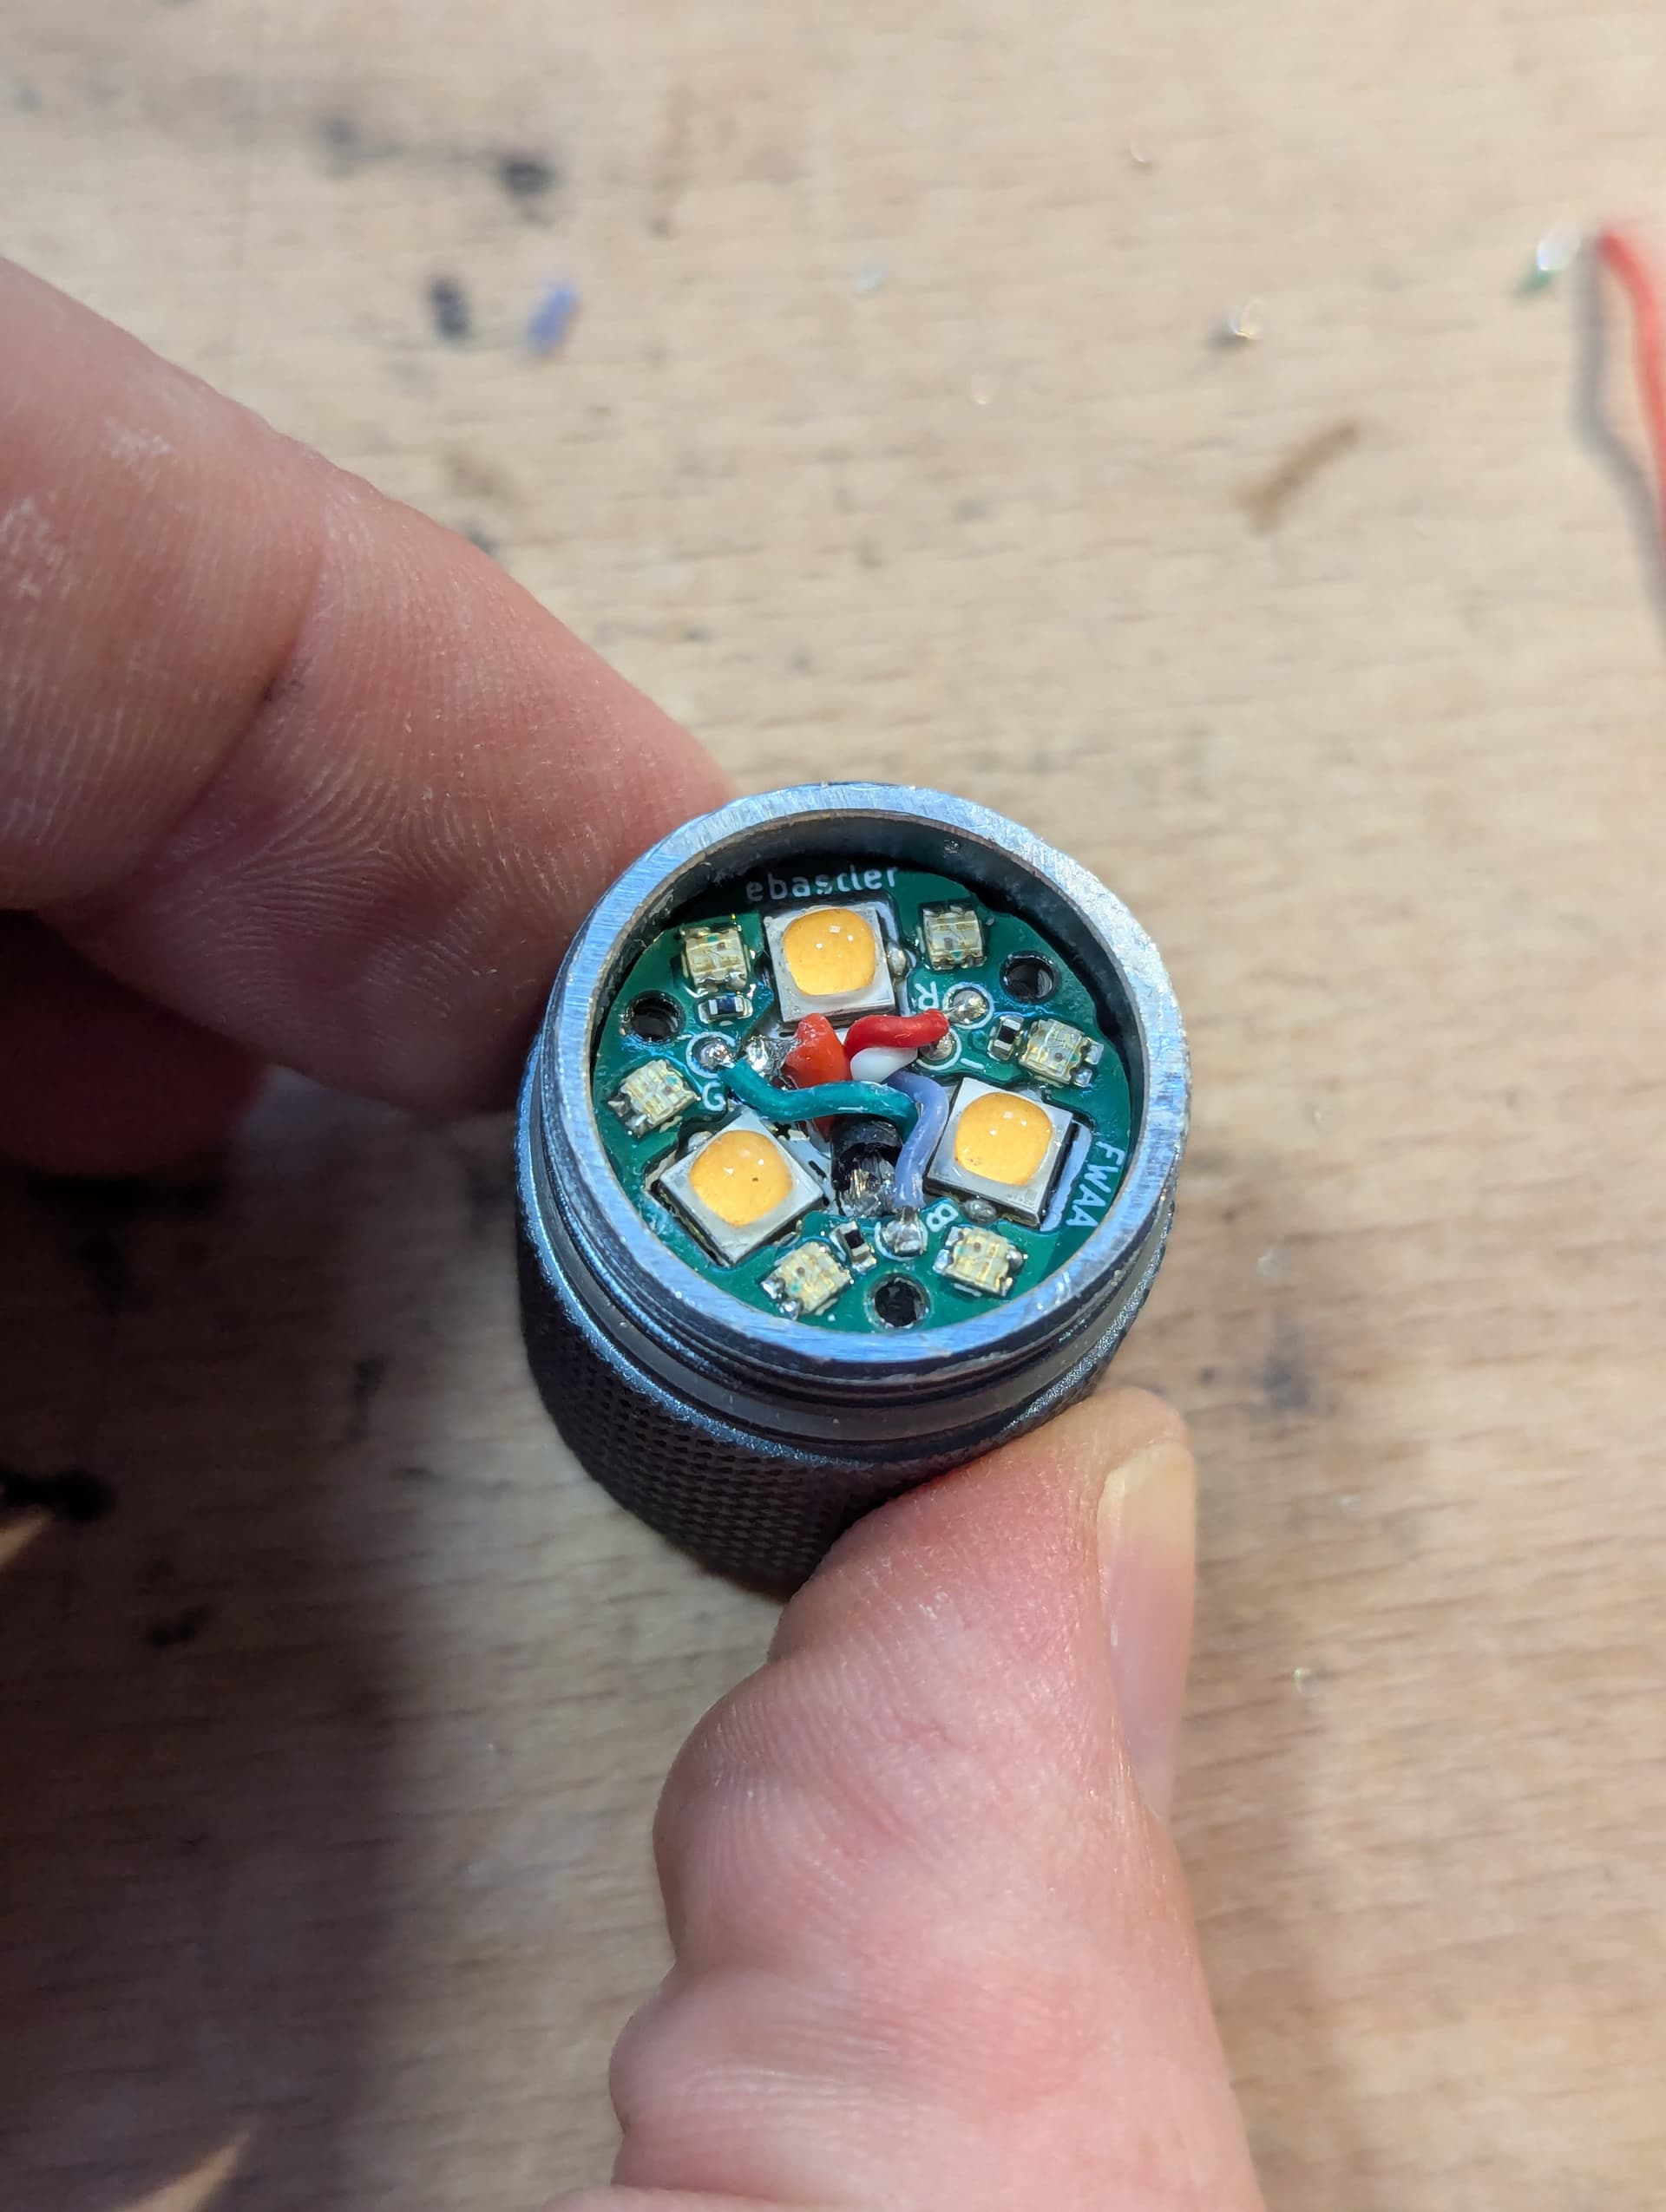
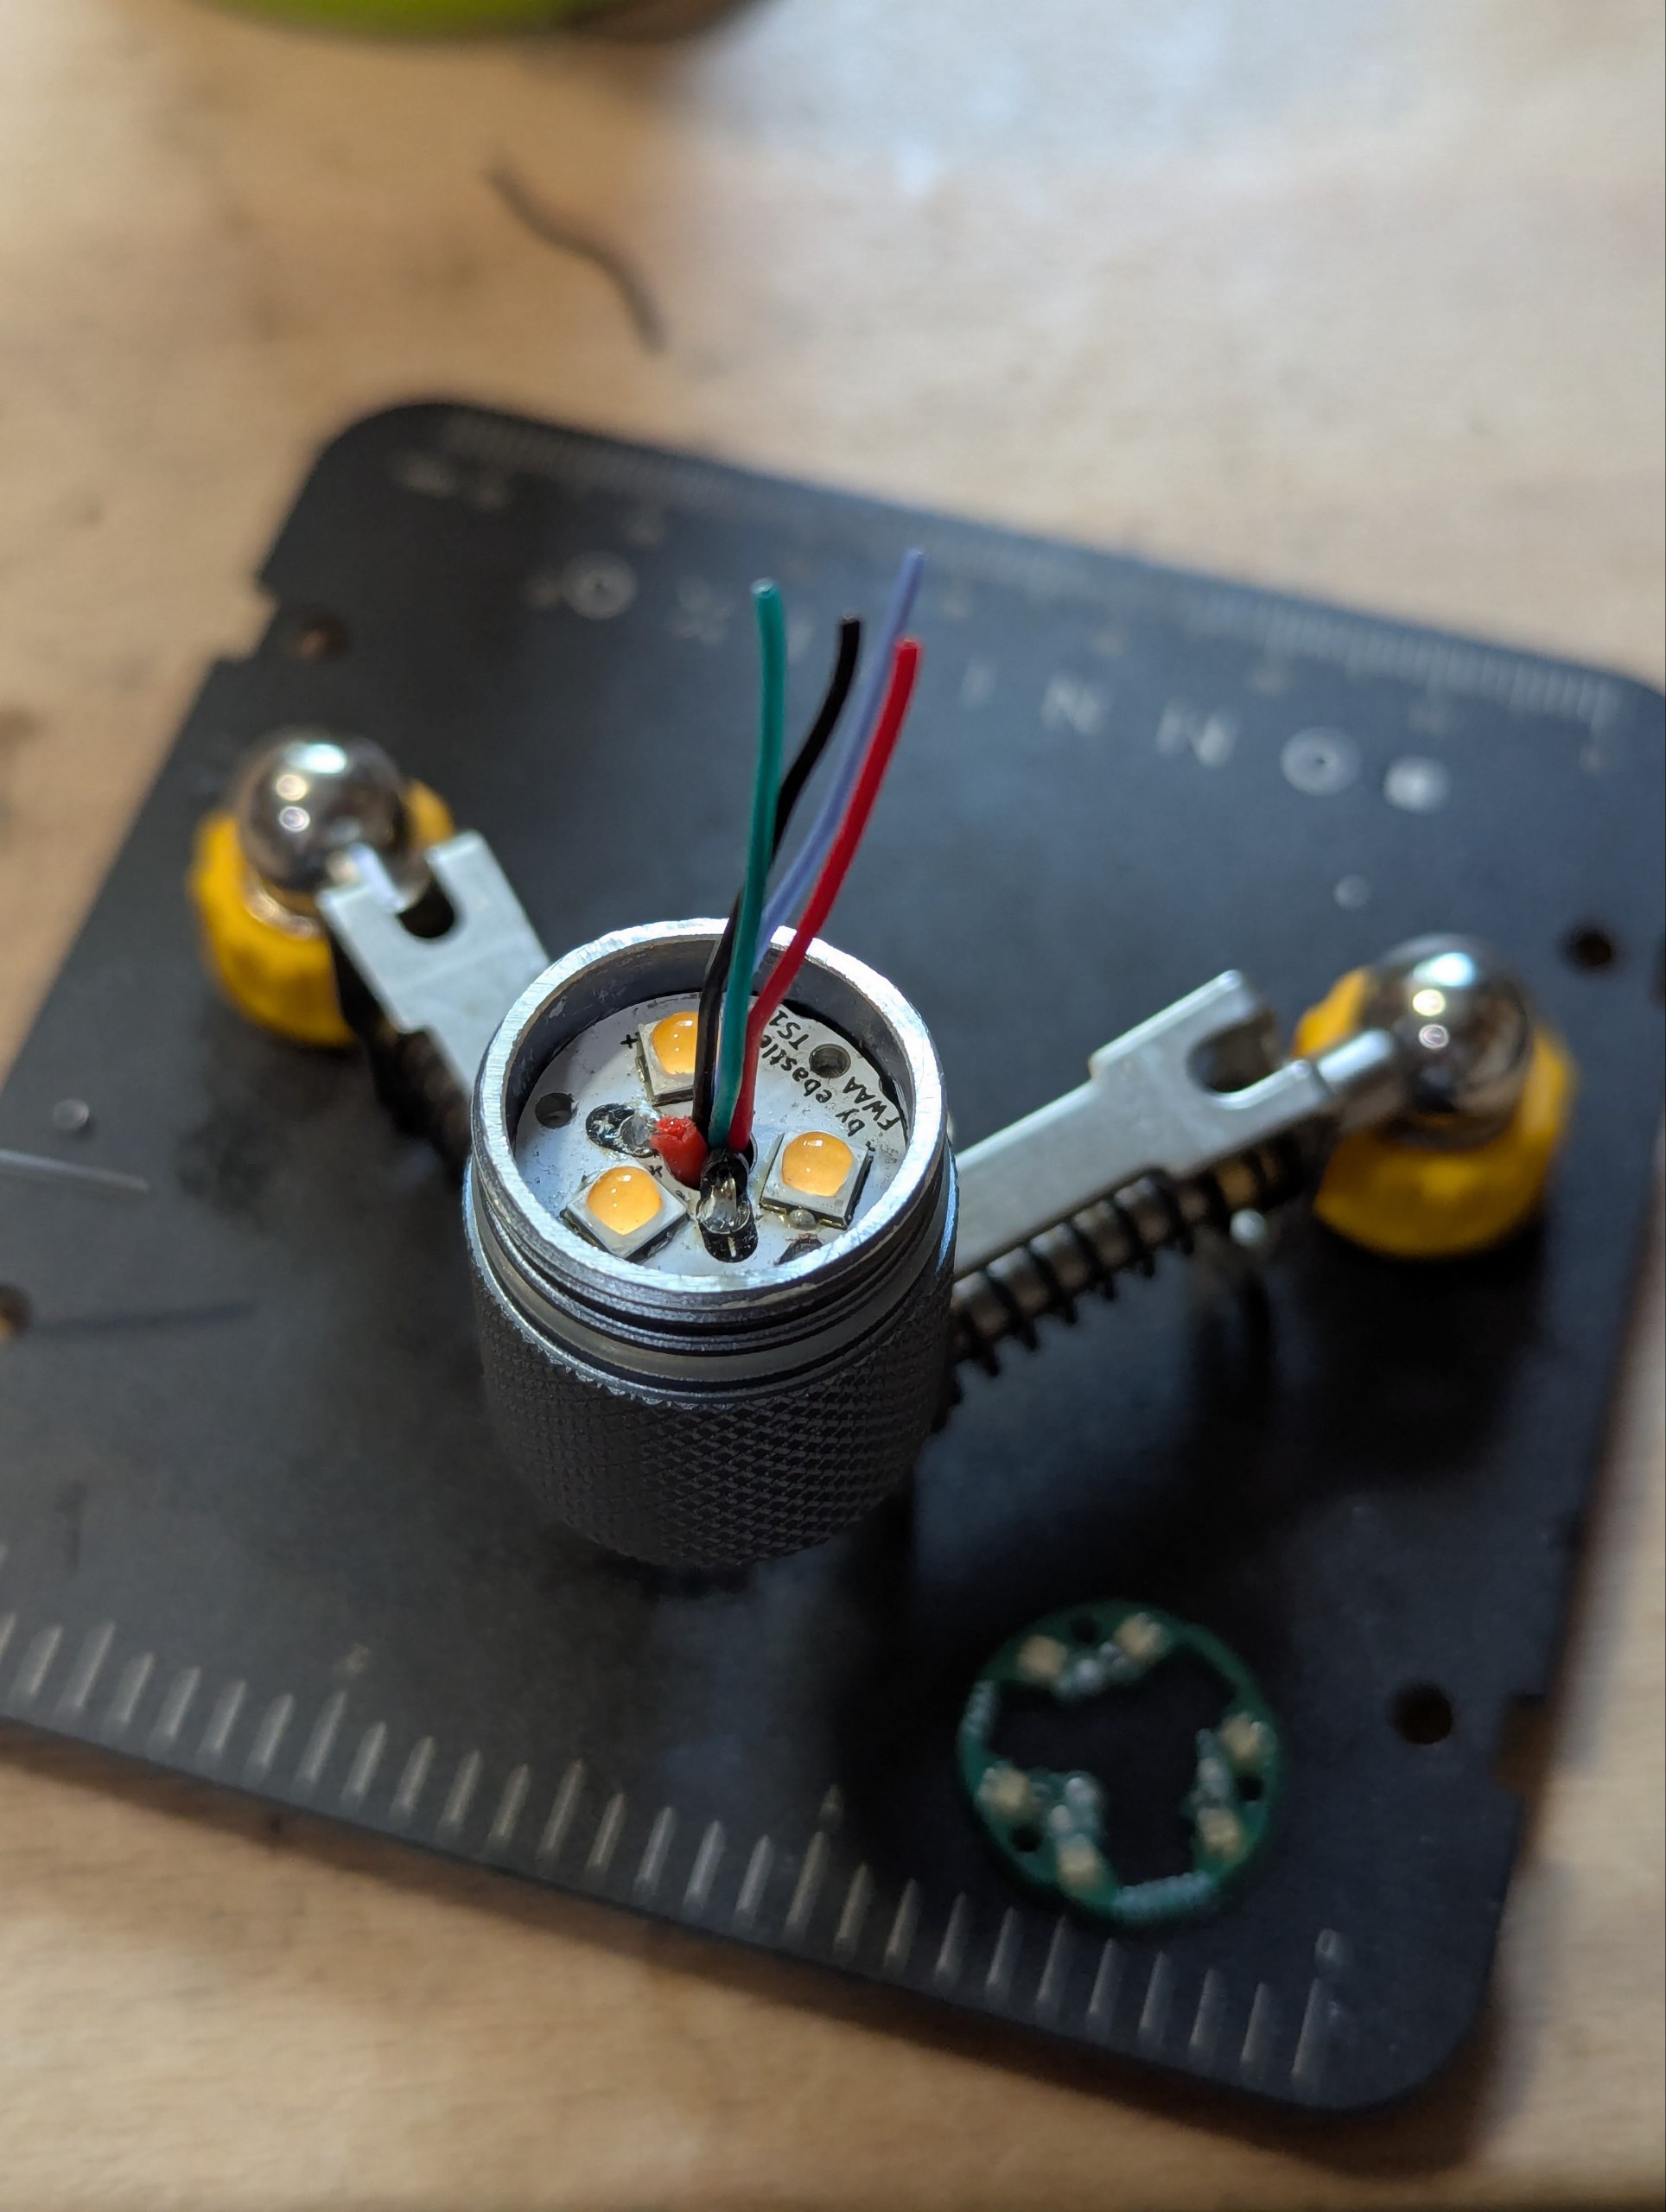
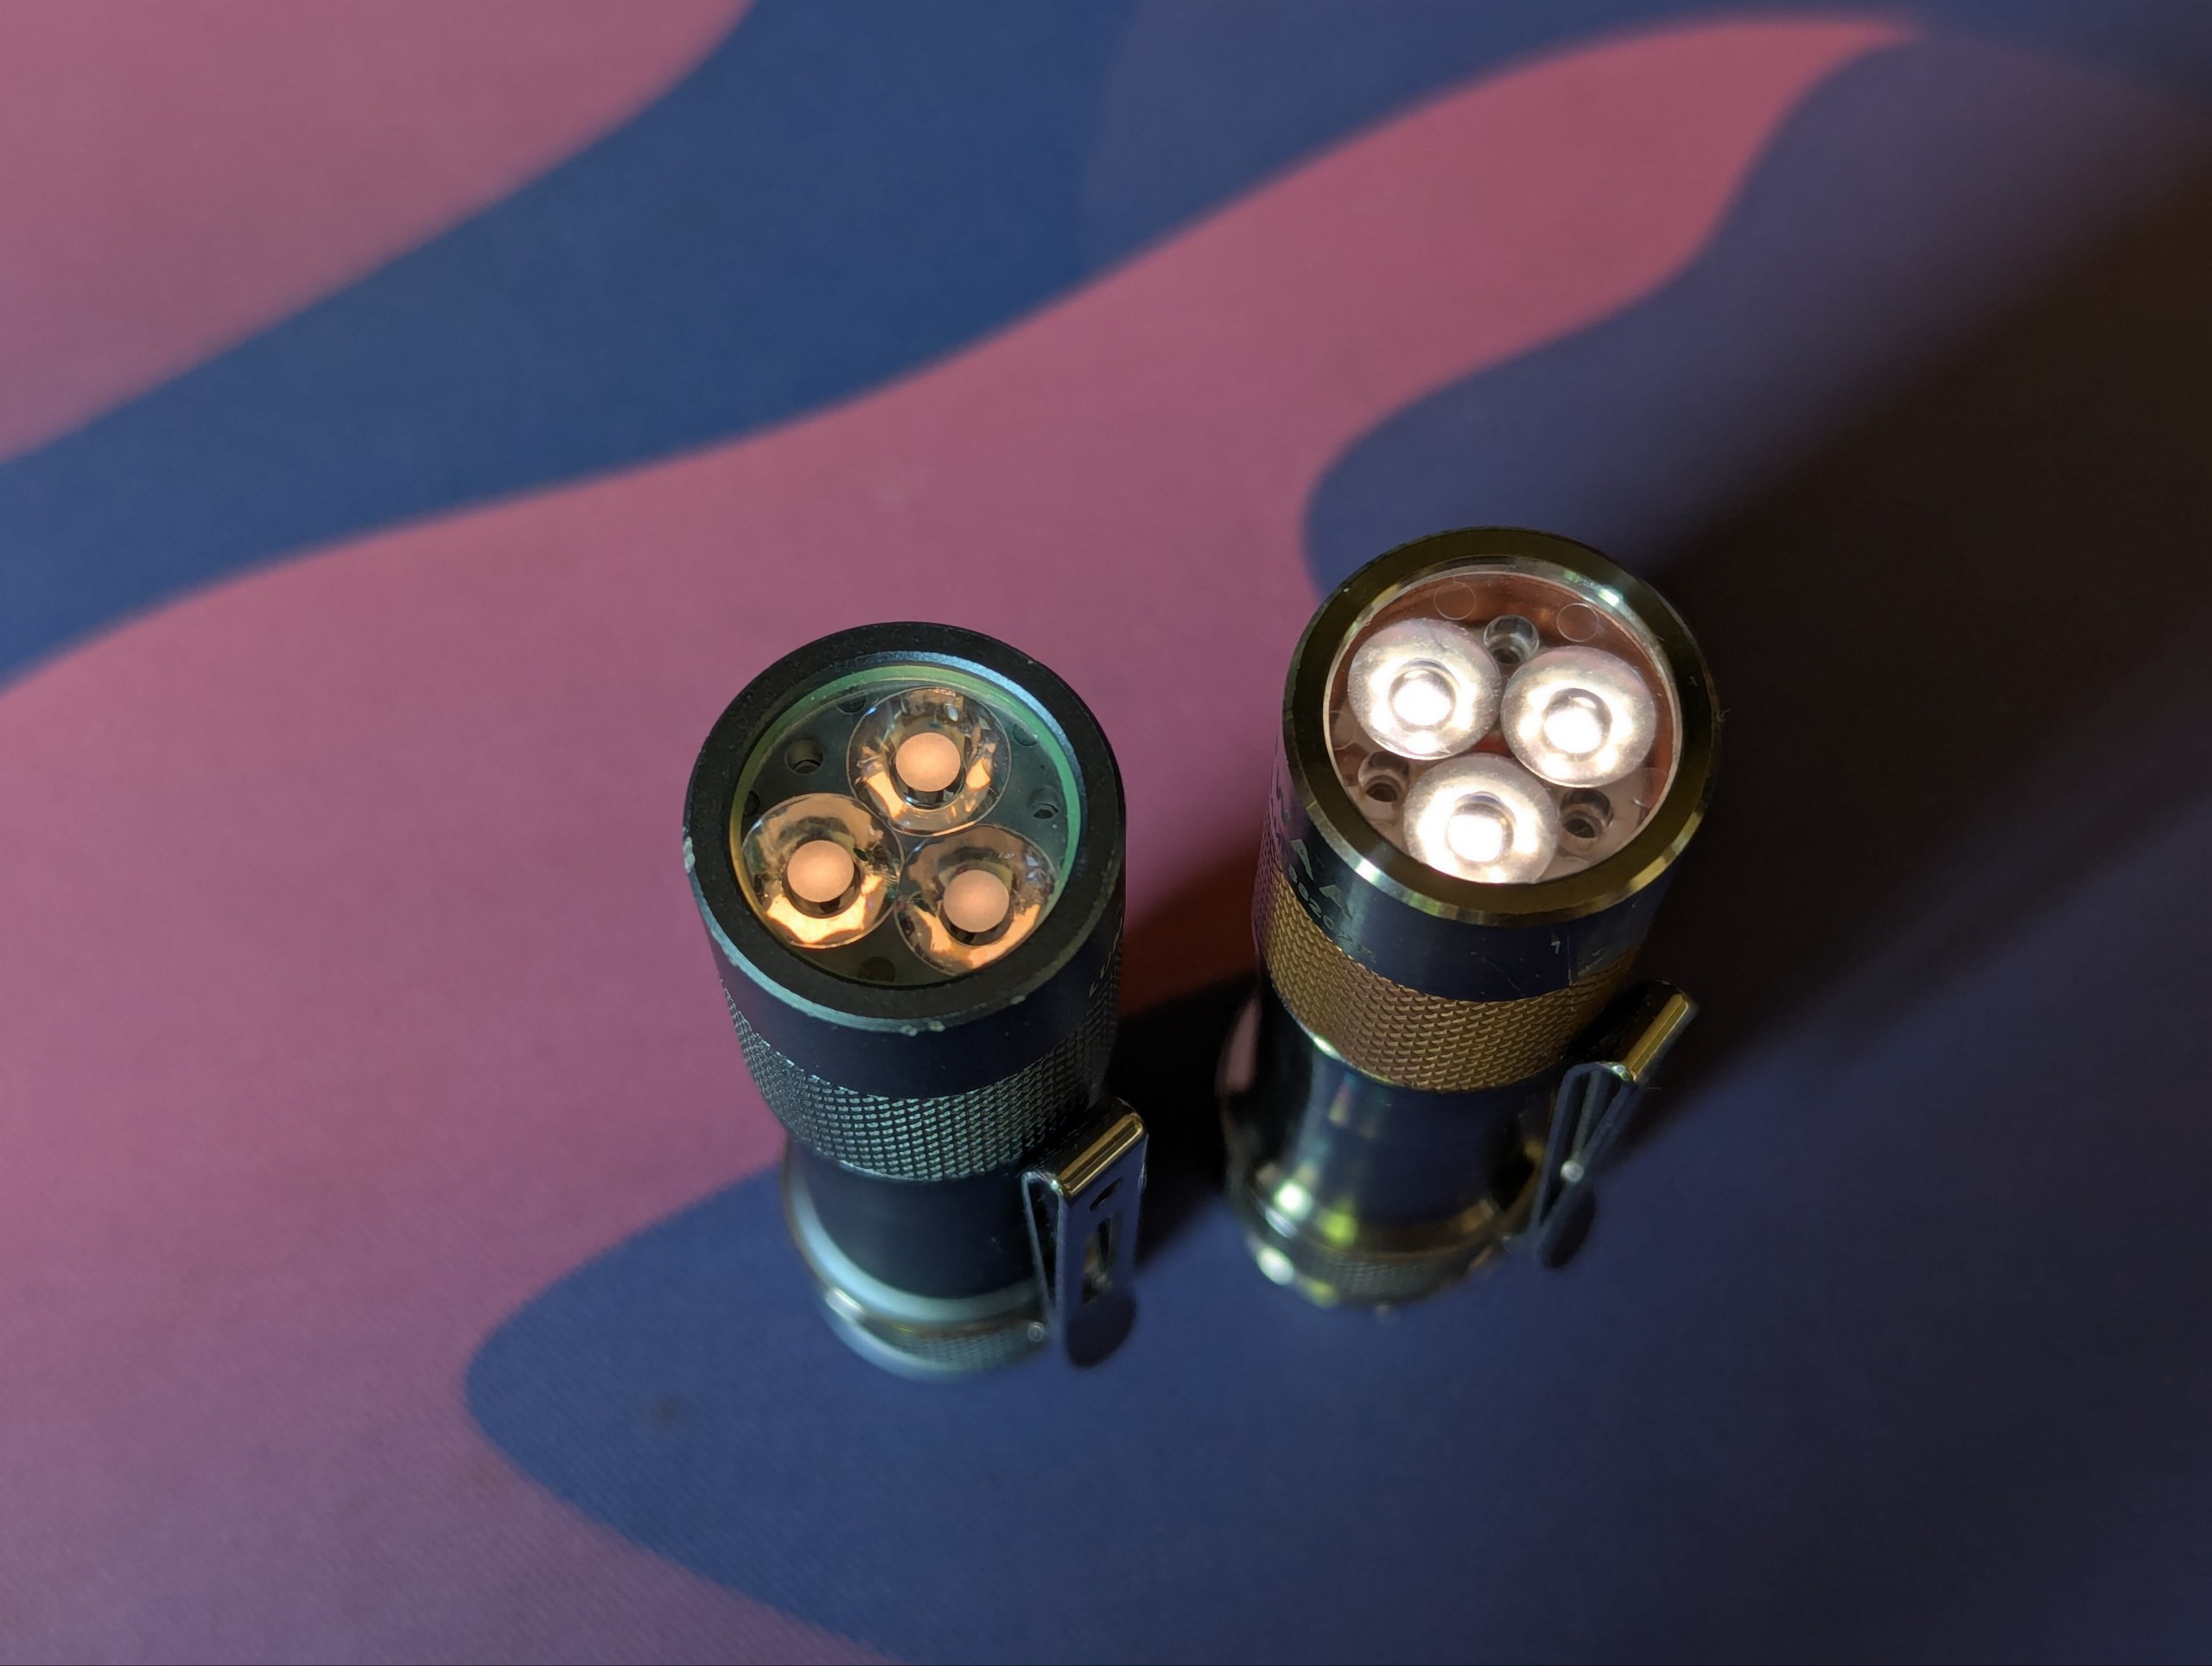
The TS10 optic sits on top of the aux PCB, this gives it enough clearance not to squish any domes. The TS10 lens however has a thicker flat front part, so I had to file down the front of the head by a bit more than a mm to make it fit. Since the alu is pretty soft, this can be done quickly. Same on a TiCu. I would not want to do this mod on a titanium head…
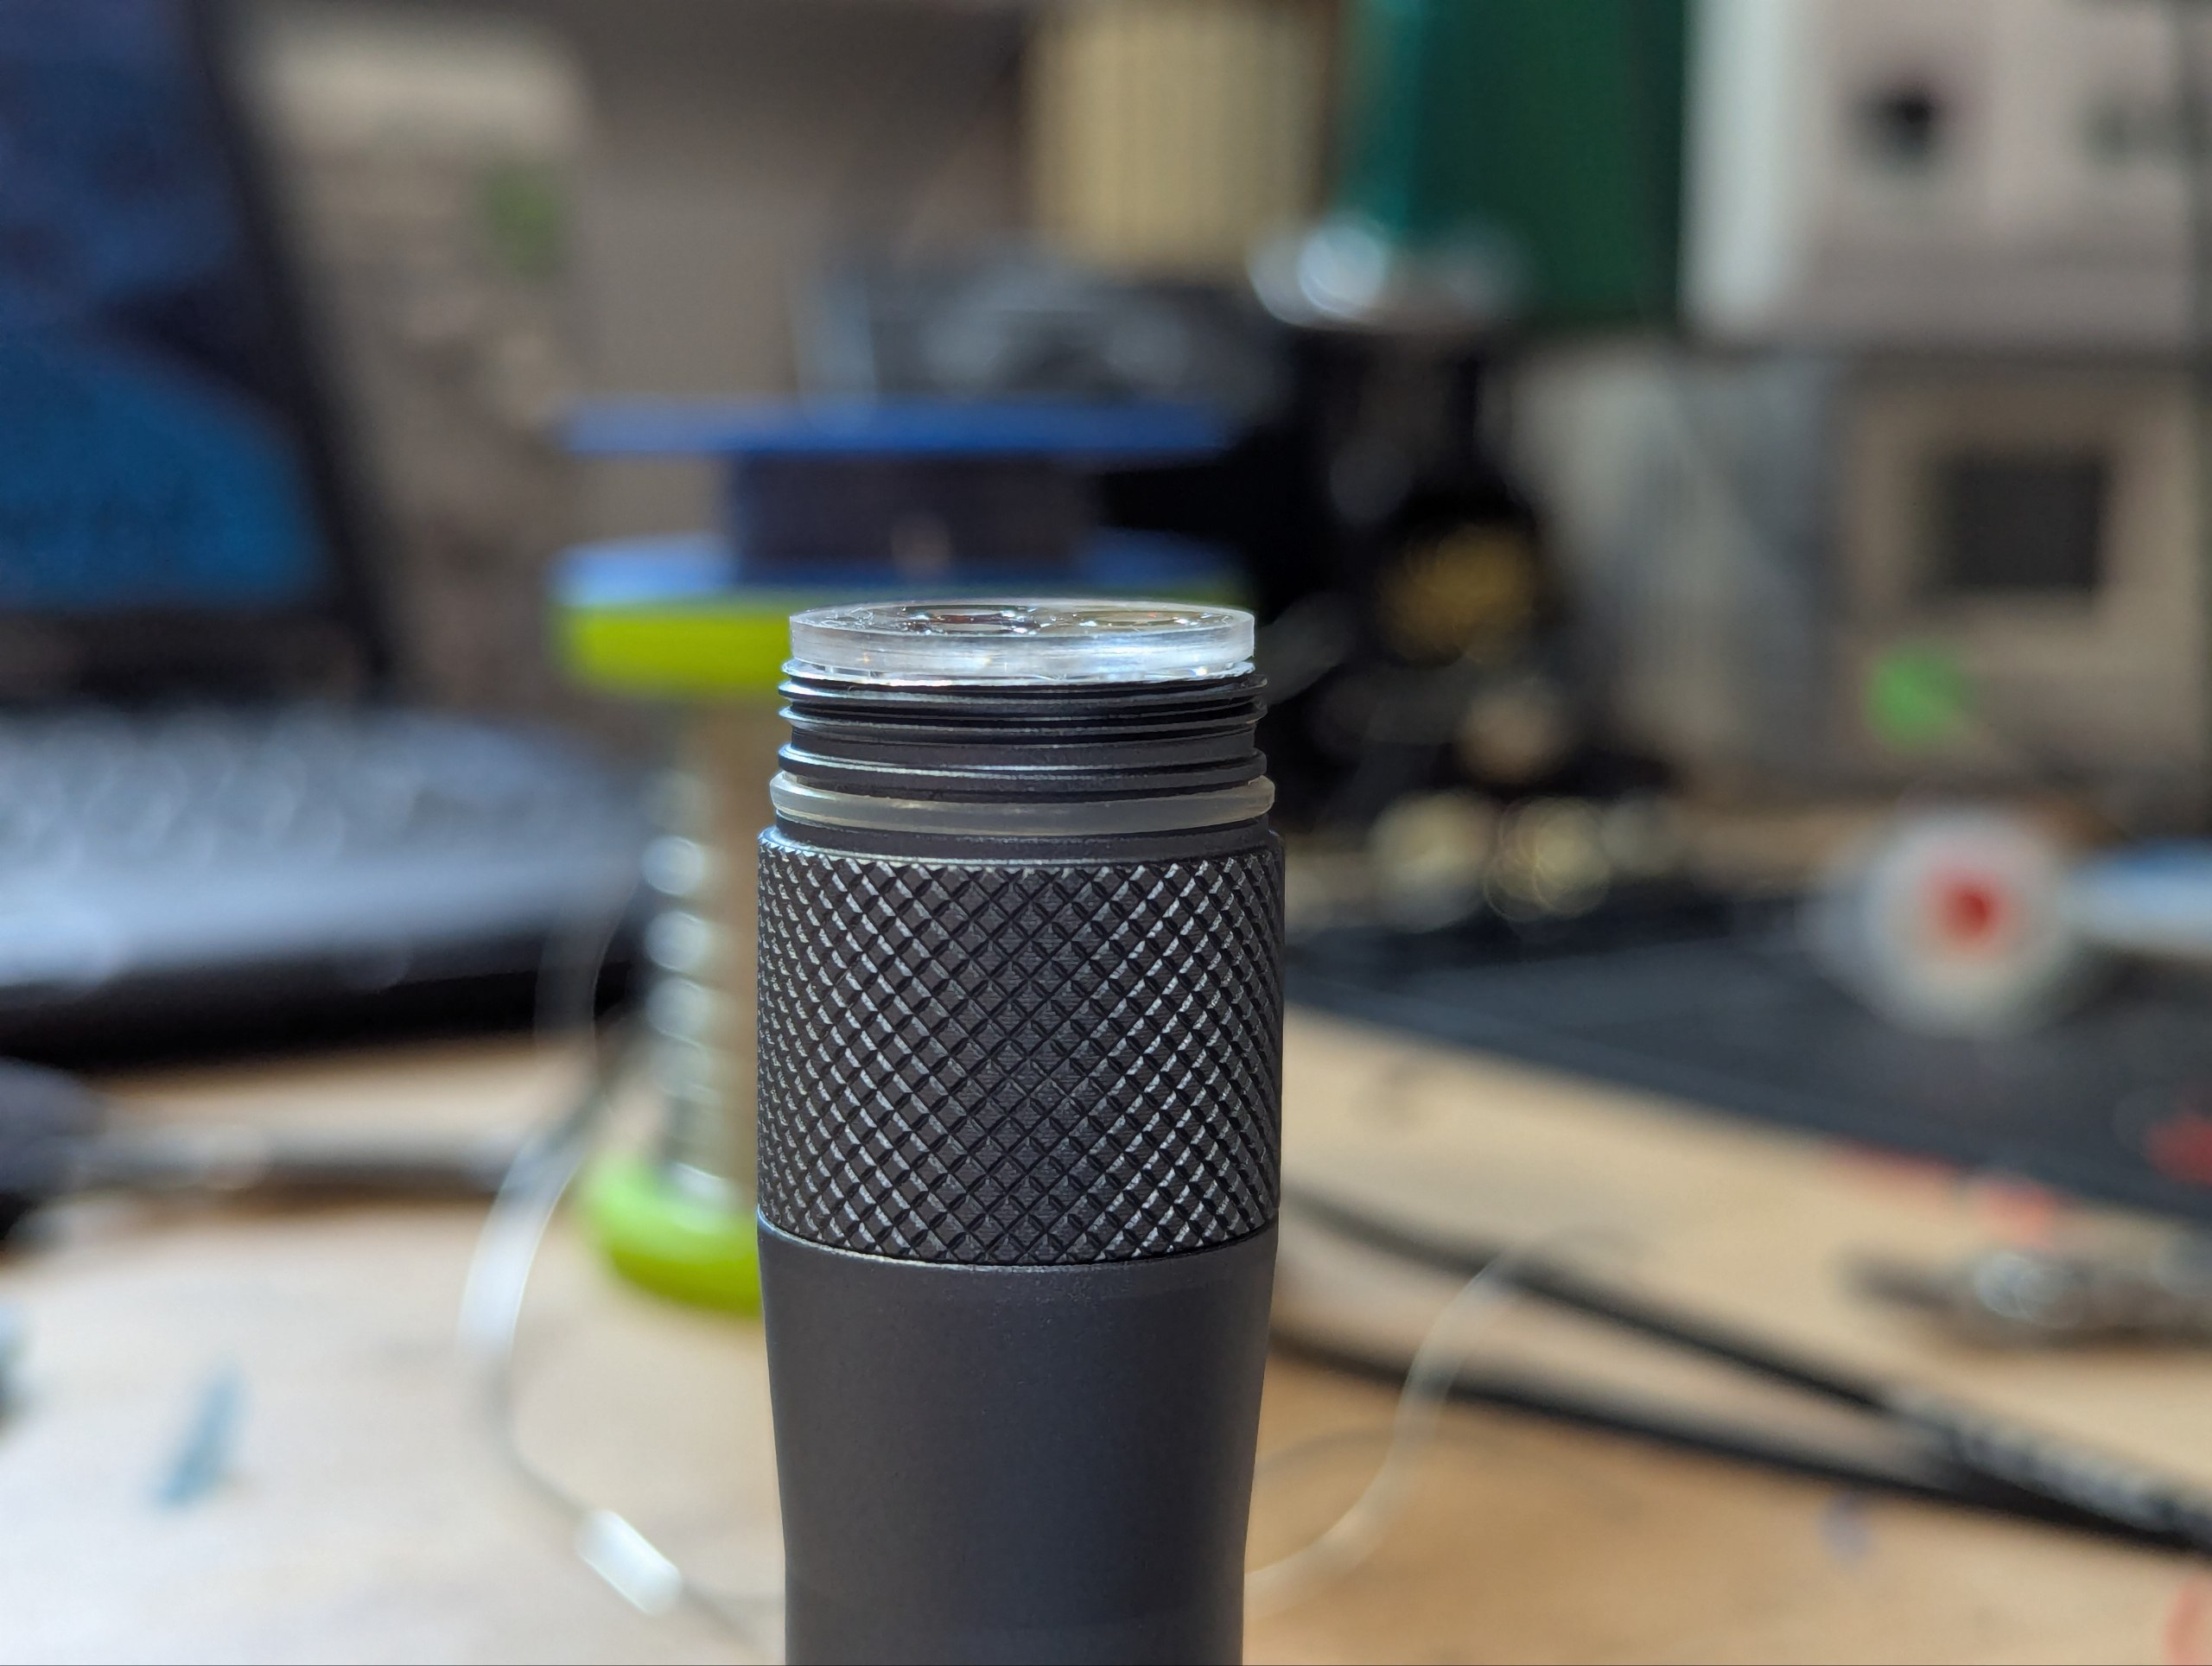
The TS10 lens is topped off with a 1.5mm green AR coated lens which I ordered from Convoy, I think, and a 1.5mm GITD o-ring. All together this adds up just to the right height that the bezel closes nicely, without a gap to the head, if you tighten it well.
So, I assembled everything, but because I was so excited I forgot to test the driver BEFORE assembling. Yup, guess what. I had to tear it all apart again. I am pissed. I did not figure out what’s the issue today. Will debug tomorrow, I am tired.
5 Thanks
It’s annoing reflow with micro parts but when is on and all work well is a nice emotion!
Compliments!
I remove the mini screw inside the head and i don’t understand what is for…
It’s to prevent the MCPCB from rotating when you’re screwing the bezel back on
I lost mine but i don’t think my board rotate… but i can do the same work for another FWAA ![]()
Oh…another reflow…
I finally got the driver working today, MCU needed a new soldering. If I do not have stencil, I usually manually apply paste, then hot-air parts on. Before assembling this driver I read and people online said it is better to manually tin the pads, then hot air on instead of using paste. This resulted in me having to remove most ICs, add paste, and solder them again. Next time I’m doing it my way from the start haha.
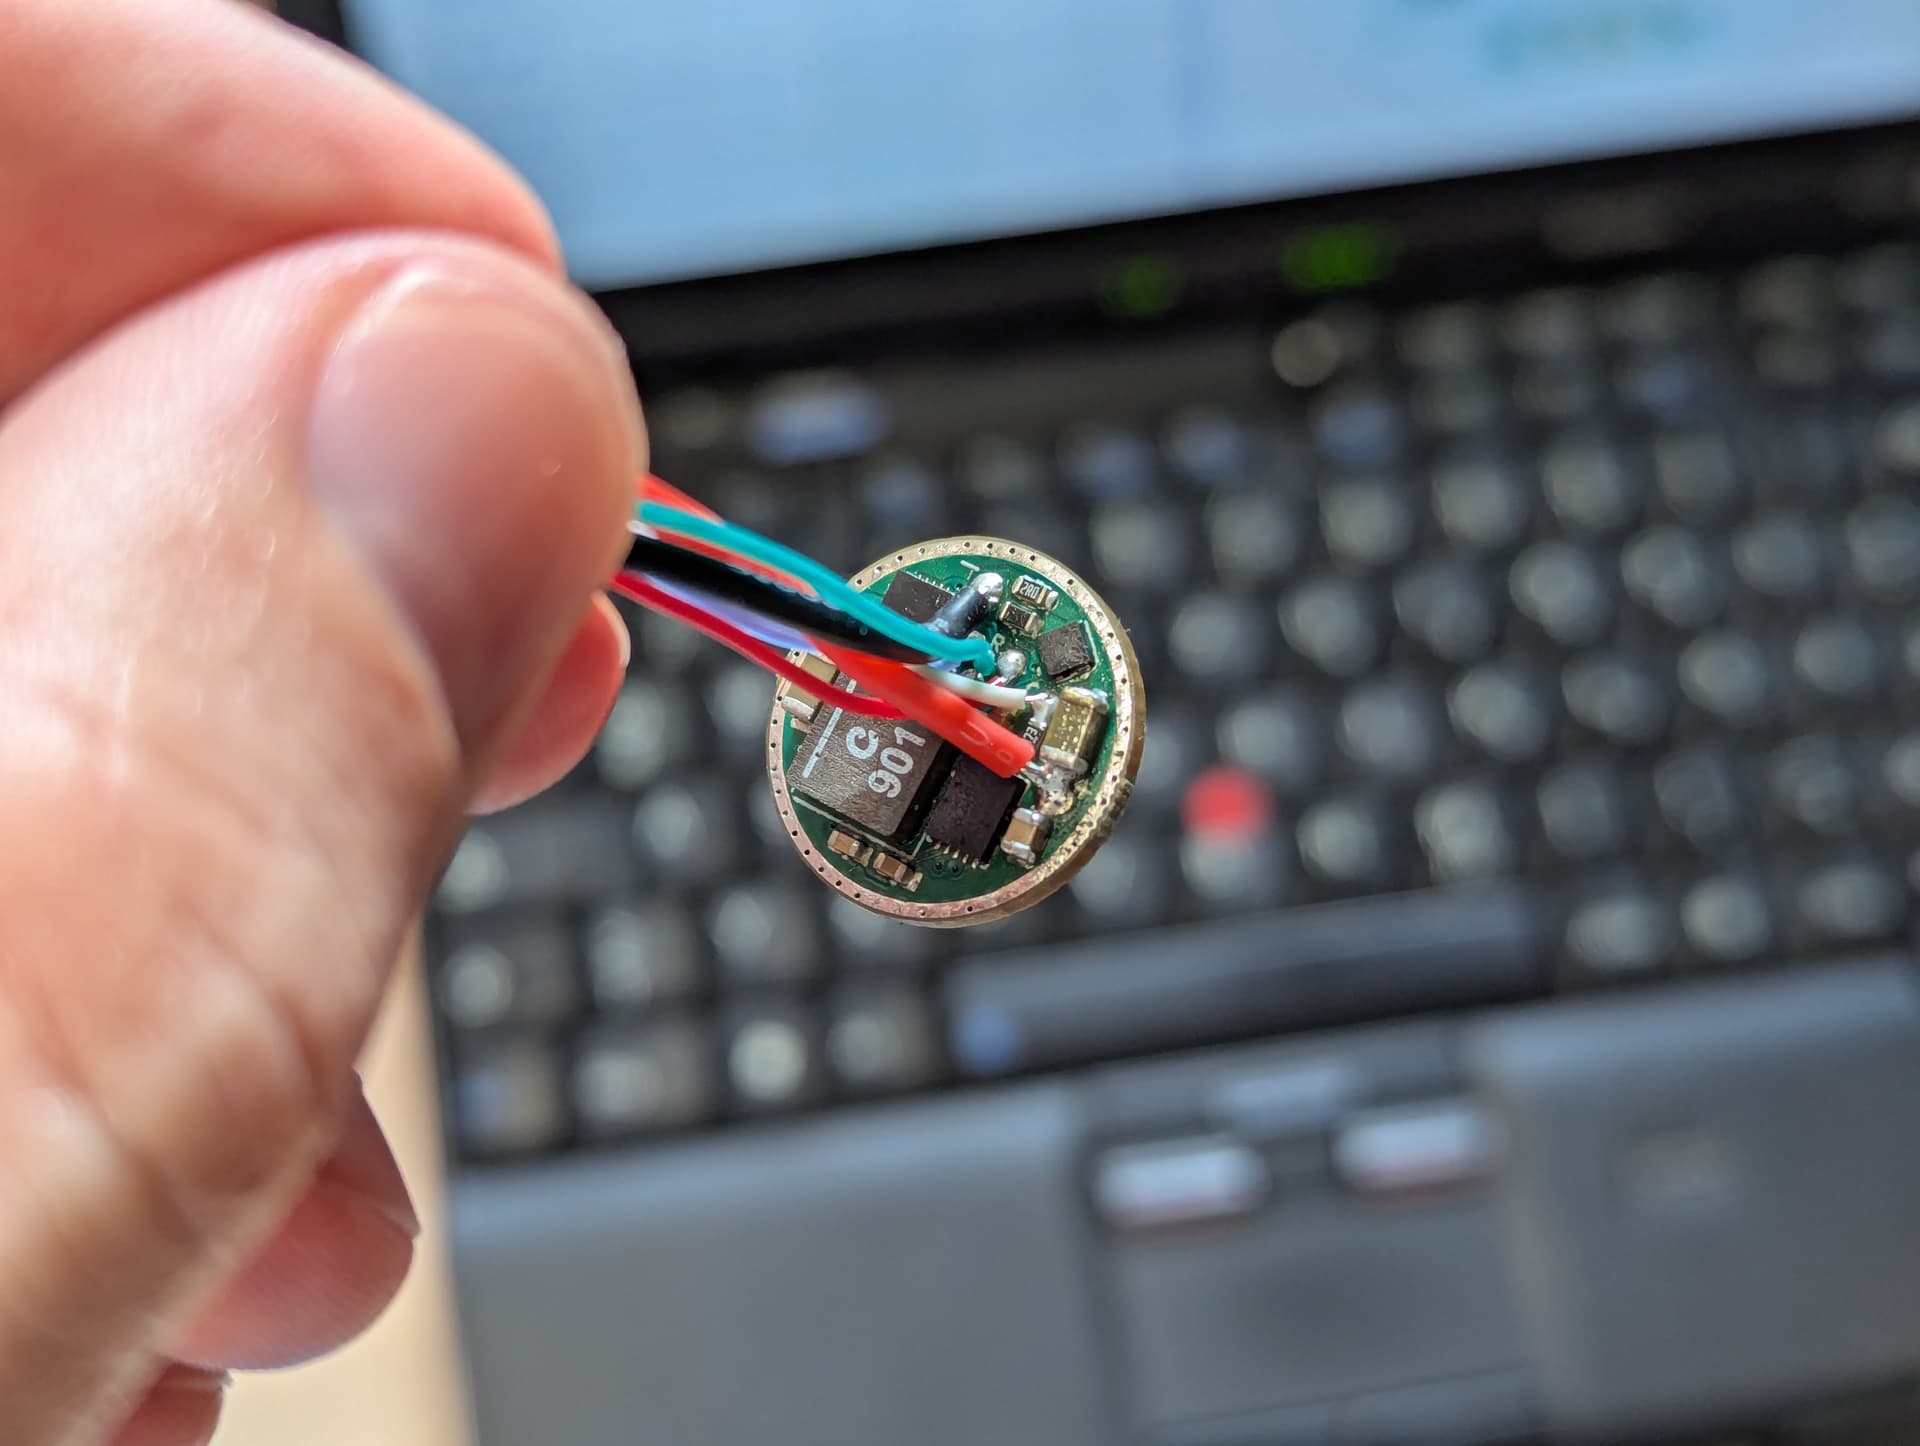
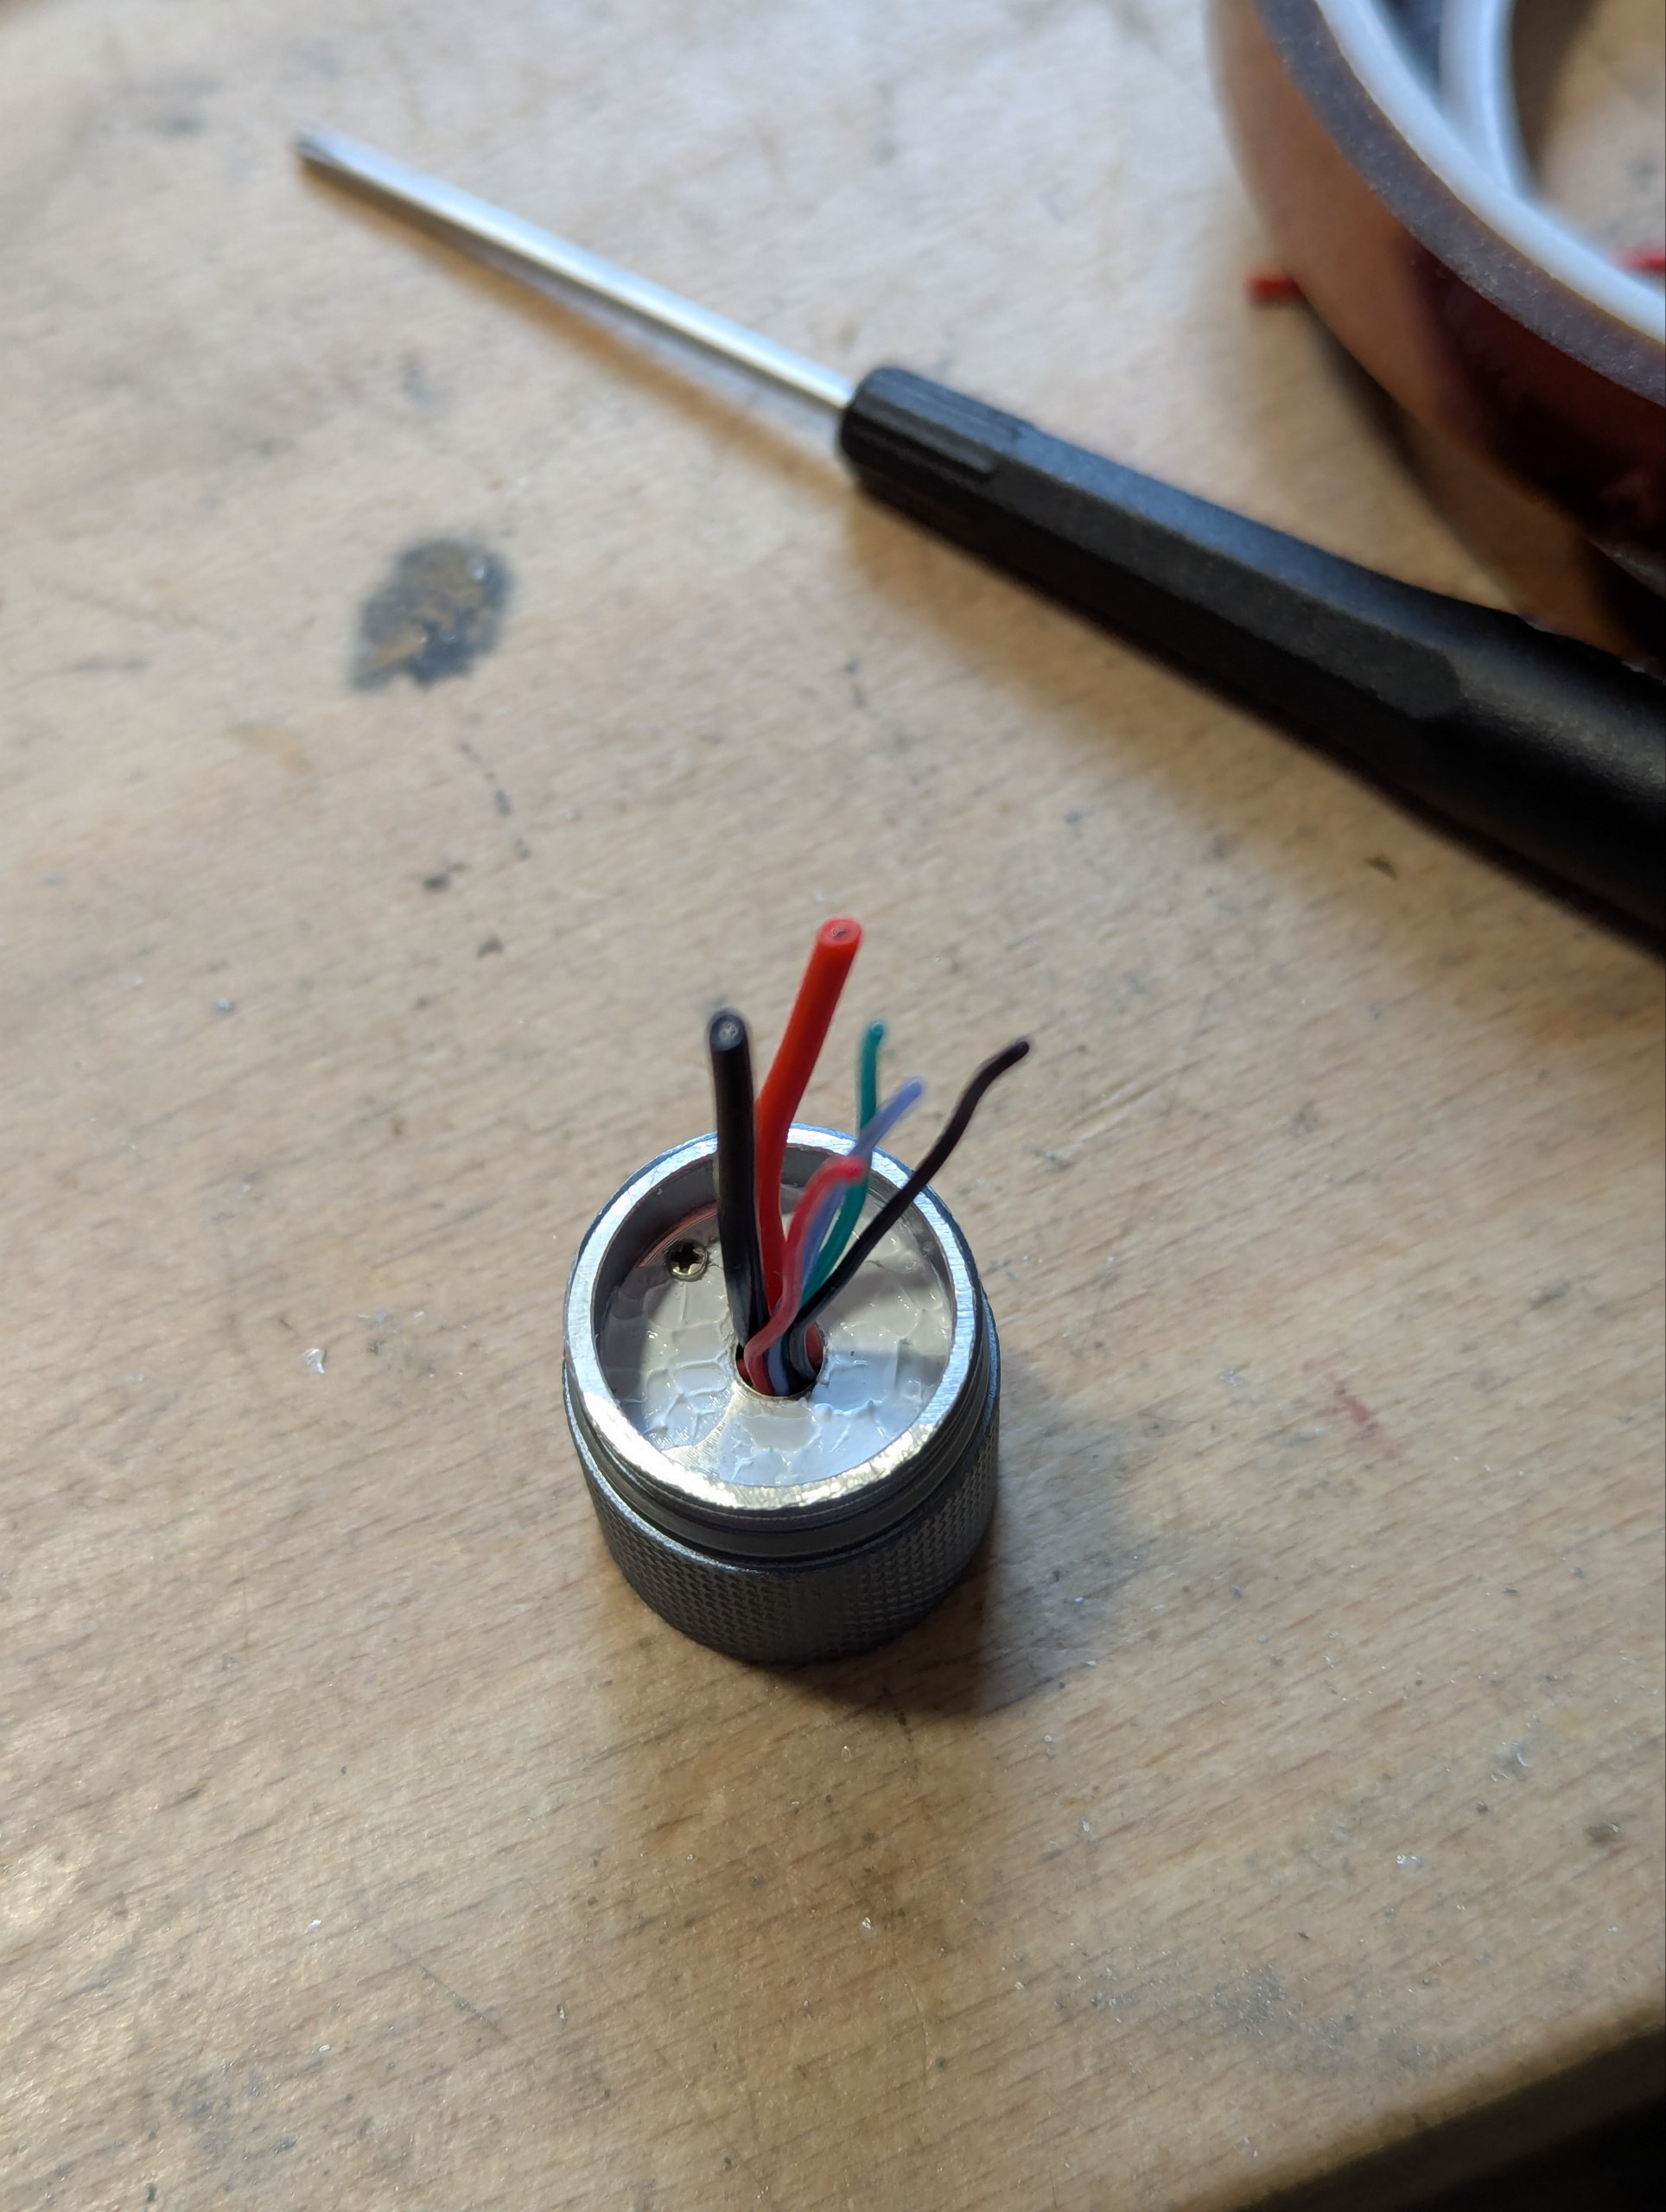
The hole is almost too thin for all these cables… ![]() Pain in general. Too many cables, too small pads, too little space.
Pain in general. Too many cables, too small pads, too little space.


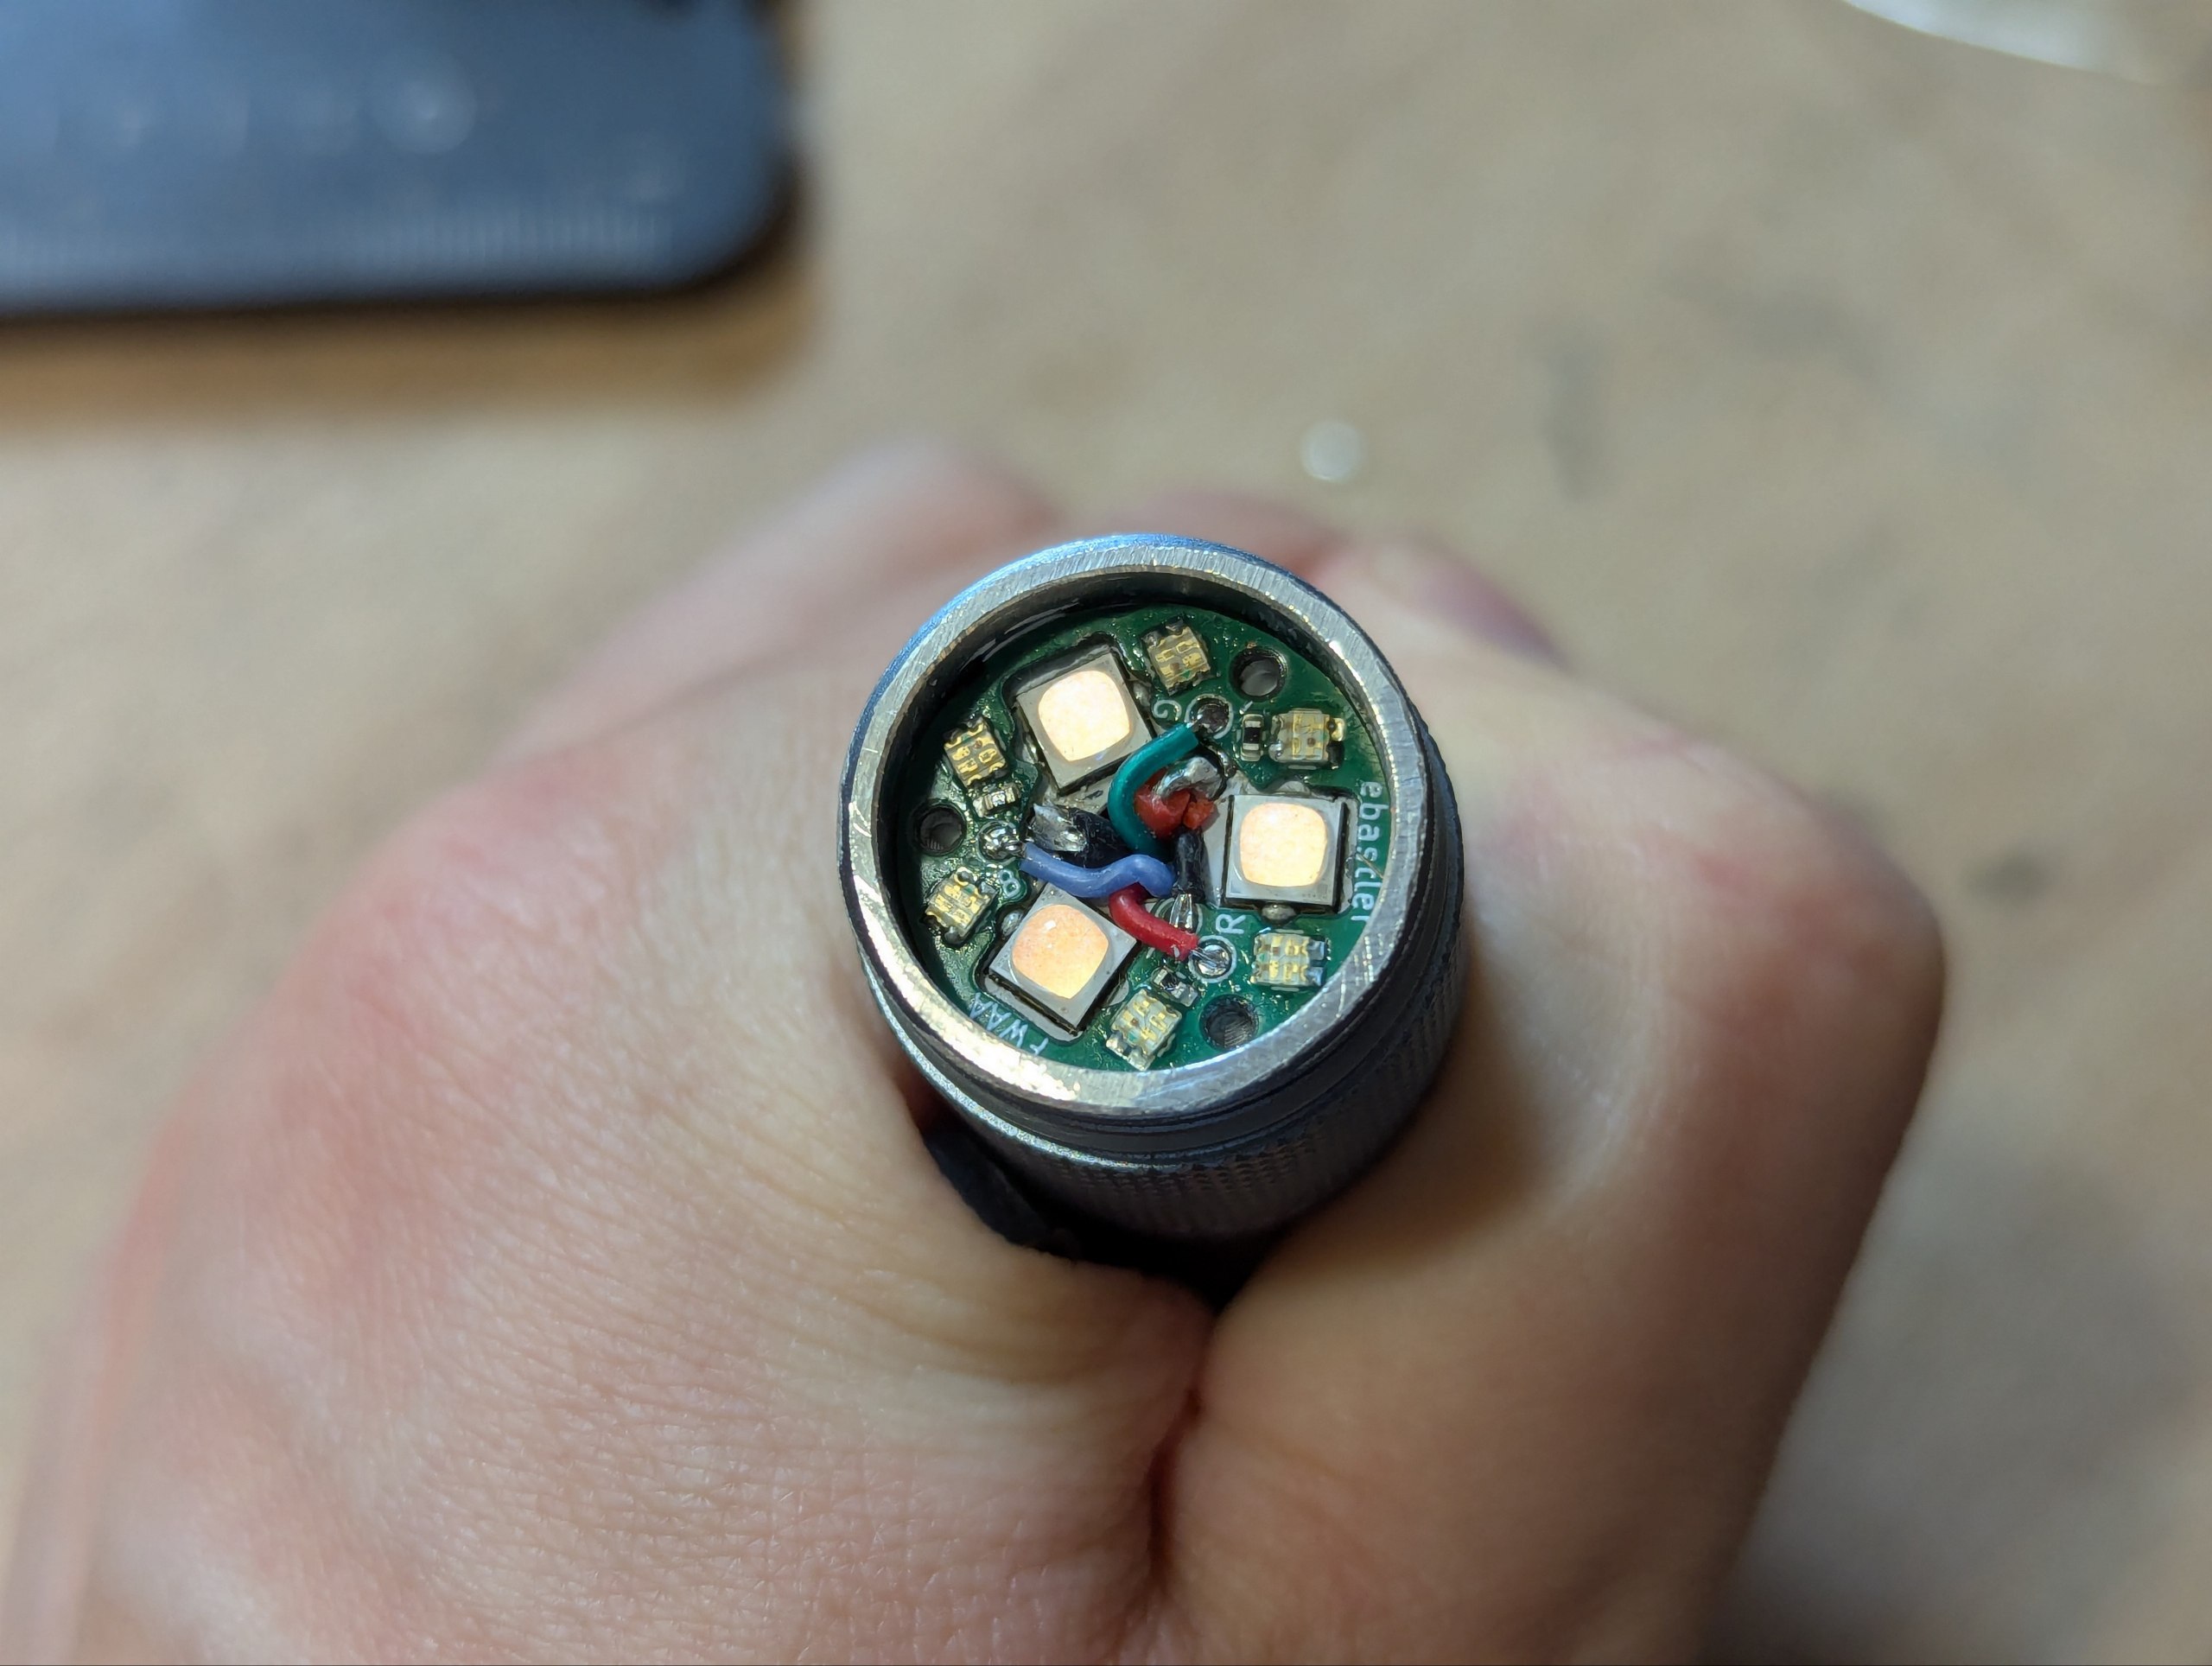
Quick test, looks good. Note the “dimmer” 519A… When snipping a too long negative cable, I accidentally bumped the dome with the flush cutters. I was planning to keep this light domed, but ended up having to dedome them all due to this.
Here you can see what I had to modify to fit the TS10 lens with the thinner LED/aux PCB stack. I had to file about 1mm off the front of the threads of the head to make room for the TS10 lens. Note the (slim) gap between lens and frame, which is necessary for the lens to press the MCPCB down onto the paste.

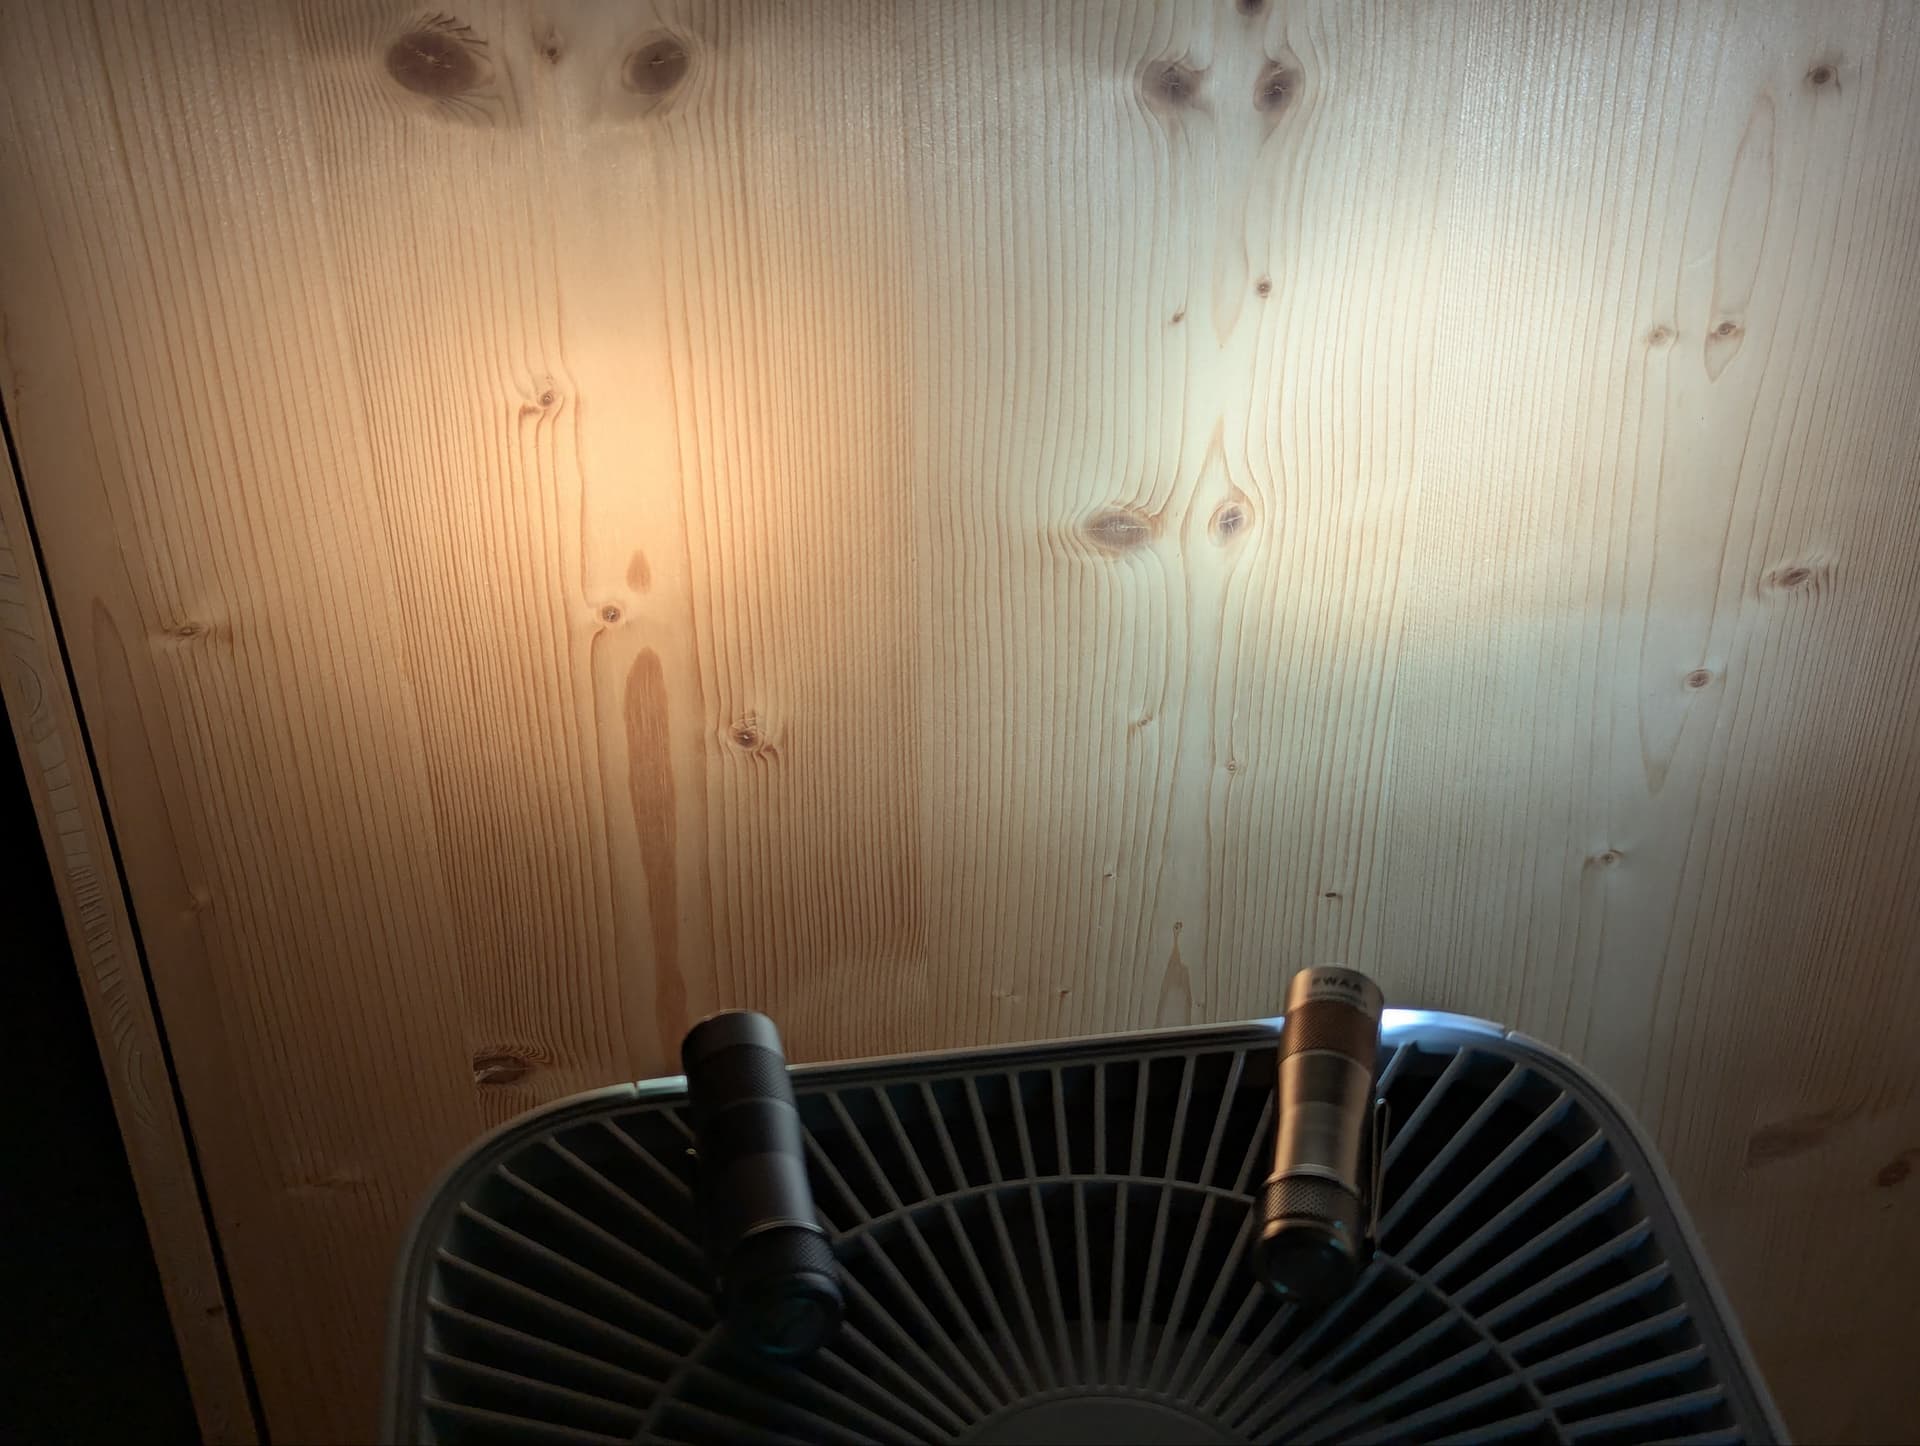
Here is a few omparison pics with a stock optic (also 519A) FWAA with the FET driver. Aux (not present on the OG), moon (somewhat present on the OG driver, much better now) and some medium mode. Sadly turbo is quite a lot brighter on the OG (with an H10), but in return the modded one can now sustain it for much, much longer.
The beam got quite a bit throwyer as I hoped it would with the TS10 lens. I’m not happy about the accidental dedome though. I really wanted the added efficiency as a EDC… I guess I will replace the LEDs later on. Maybe together with a proper copper MCPCB.
I think I will drop these LEDs into the TiCu, and the LEDs from the TiCu into the Alu eventually… TiCu is more of a fancy collectible where the warm LEDs with gorgeous tint are perfect. The alu is my EDC beater, and I want higher efficiency and more neutral light.
7 Thanks
Nice work!
I don’t have hot air but I’ve reflowed several T1616 on my hot plate.
I didn’t have much luck with a stencil and I no longer use it.
How many Lumens did you get with the original driver?
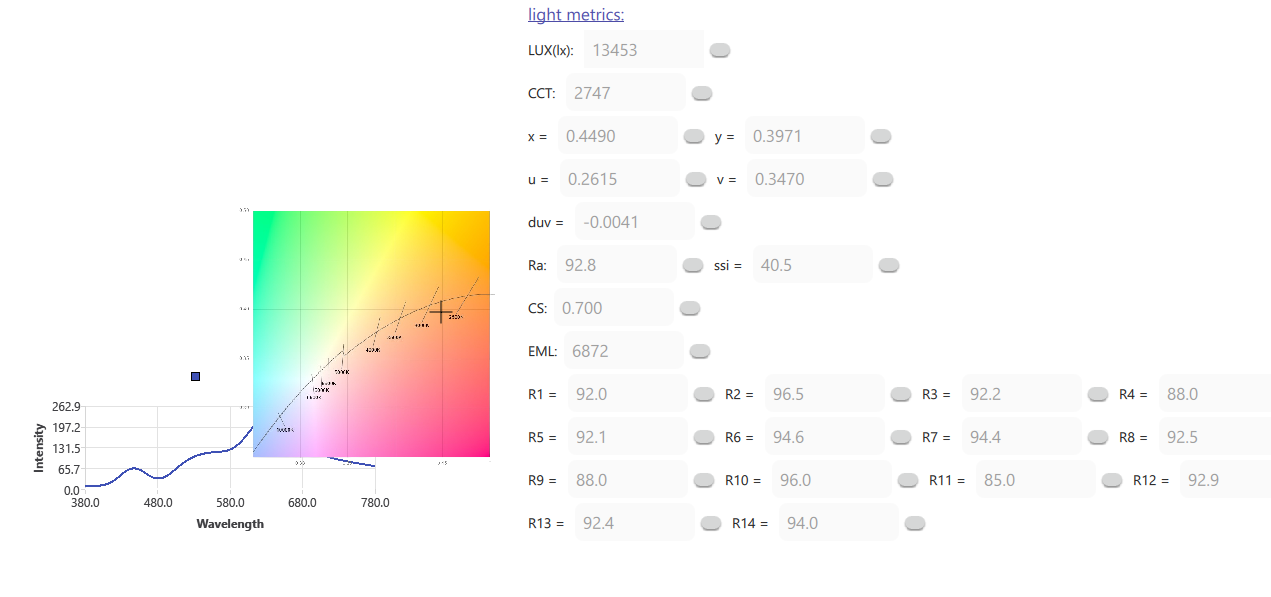
I measured 3,150 lumens @ power on with my modded FWAA with a freshly charged H10 battery and Dedomed 519A 5000K.
I have no way of measuring lumen, so I don’t know, sorry!
The light now draws approx. 3.5A from a Lumintop 14500 USB-C cell if I remember correctly. A bit less than expected (thefreeman’s HDR Anduril 2 high efficiency drivers - update : FWxA boost driver - #319 by thefreeman), but I have yet to see if it is not the cell.
My button top H10 is too long, the damn light does not close with it ![]()
2 Thanks
On another topic, the aux looks really nice with 6 LEDs and the TS10 lens. One is high, one is low mode.
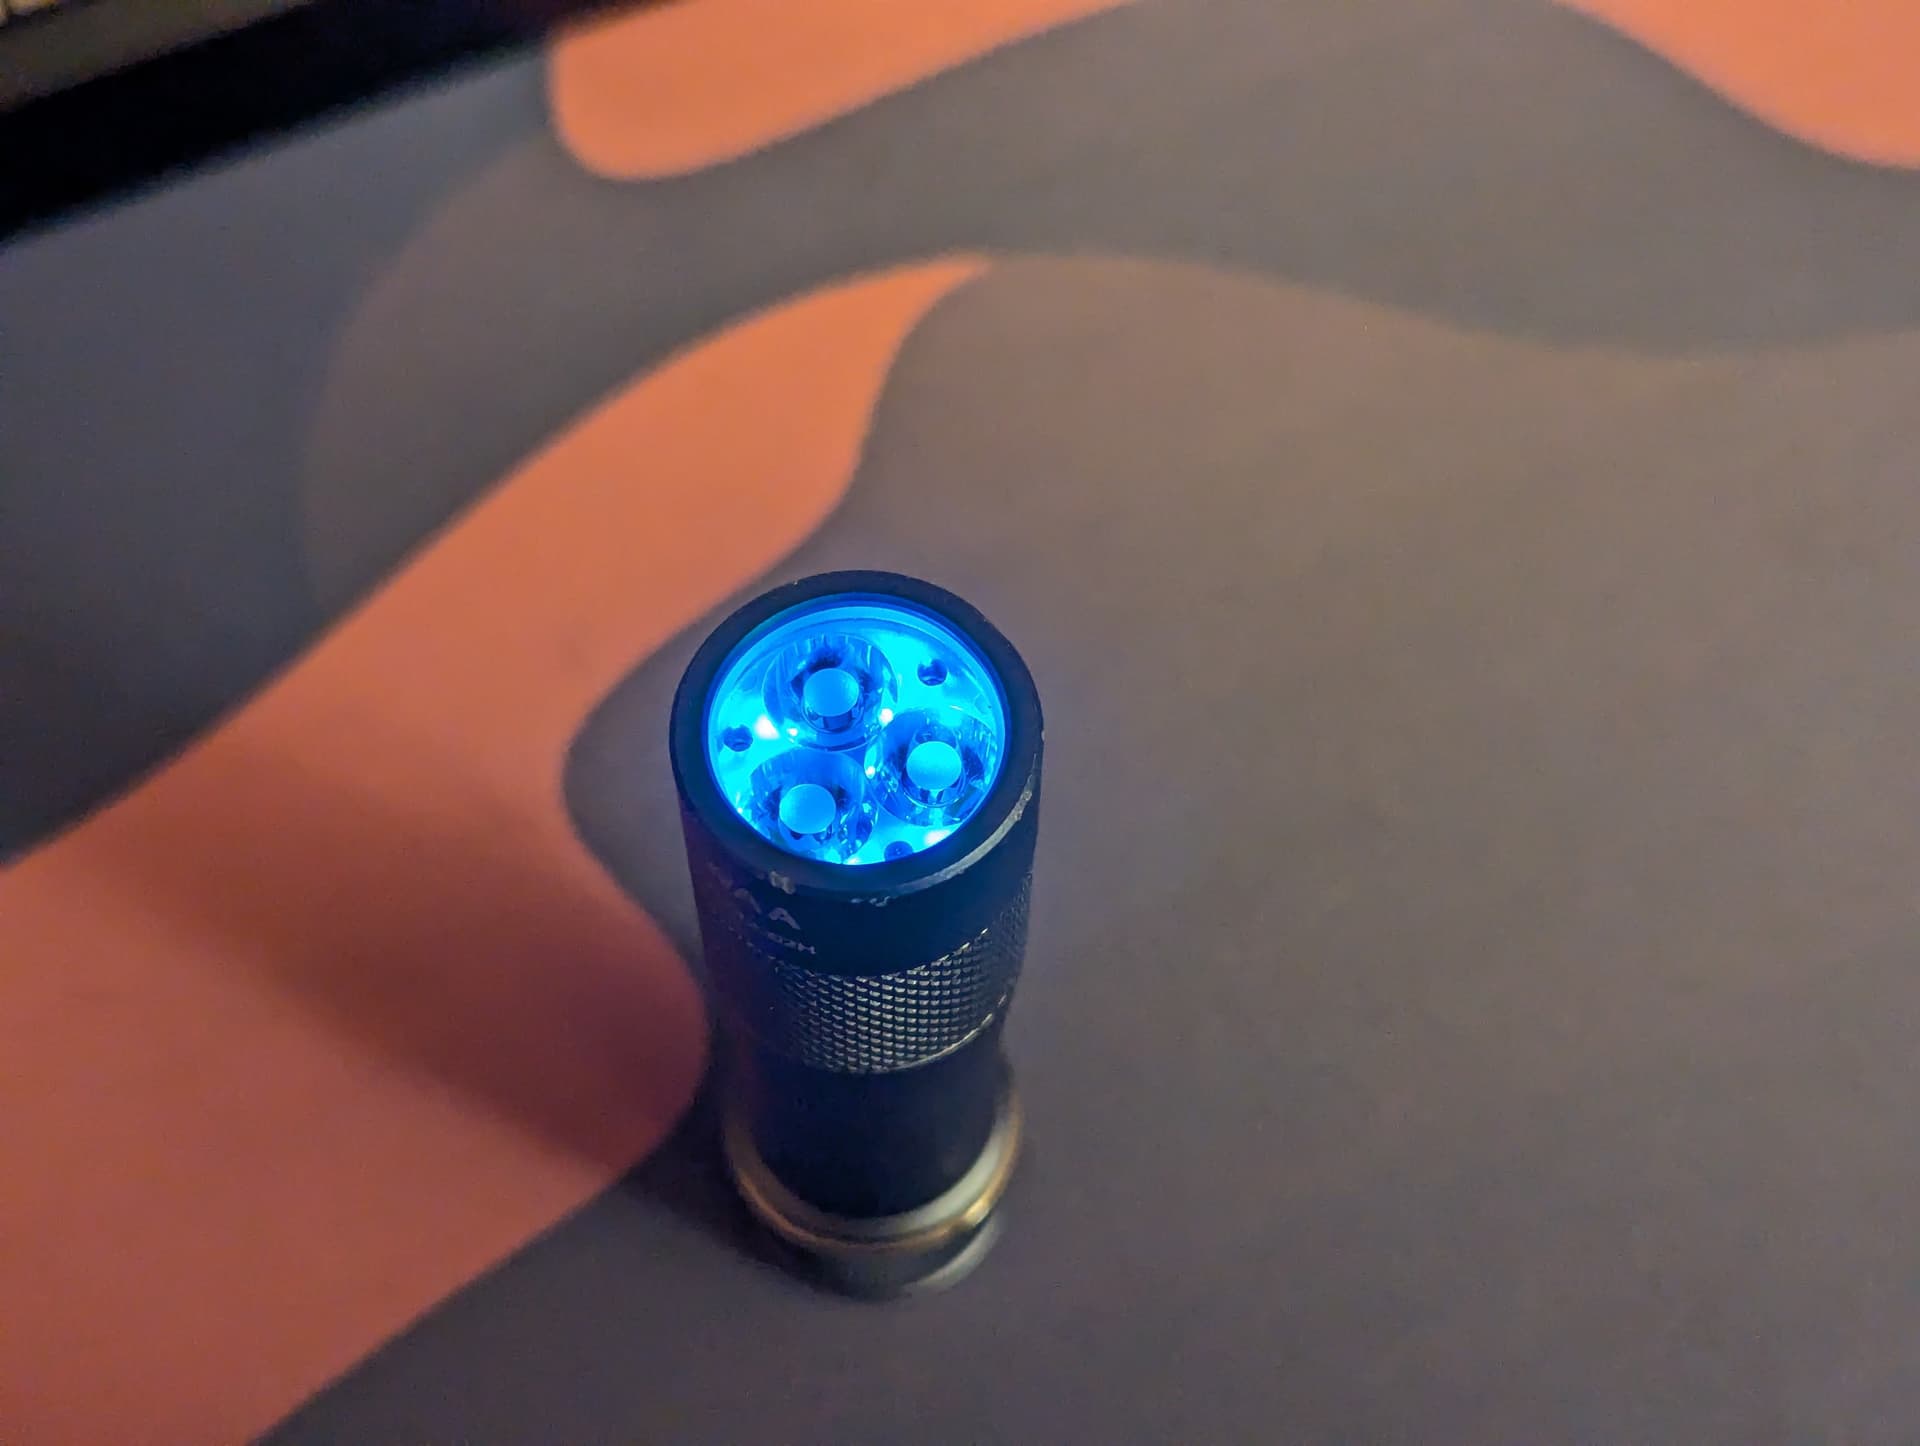
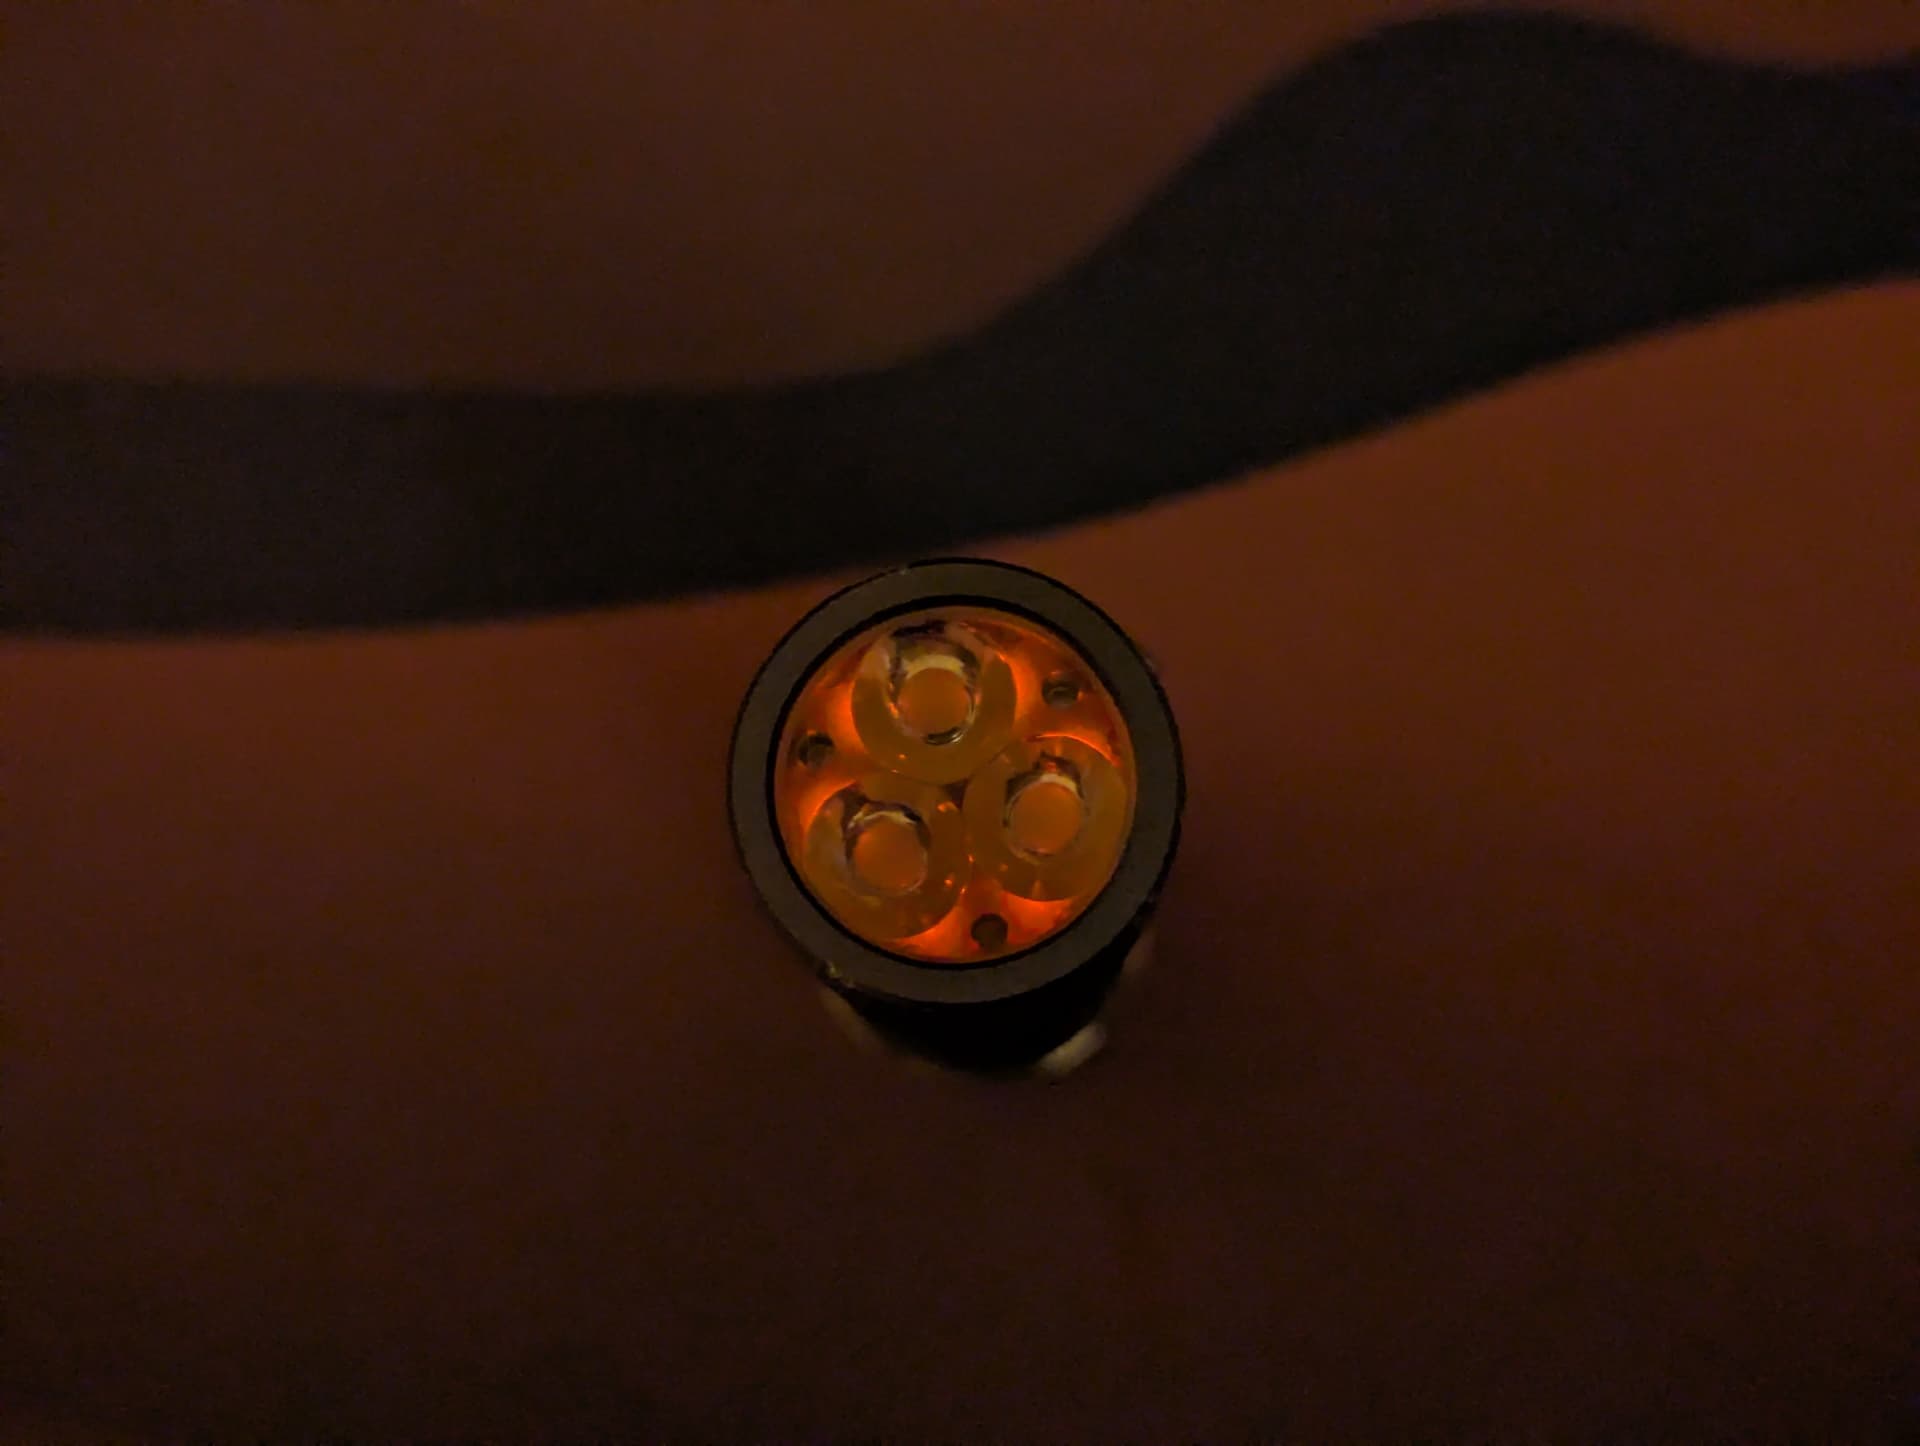
5 Thanks

I’ll publish the aux PCB these days, can order yourself a pack of 5 for 2$ + 3$ shipping at jlcpcb ![]()
EDIT: Oops. it will not fit in a stock FWAA, needs my custom MCPCB and TS10 lens, too.
2 Thanks
The last time I looked the cheapest shipping option for me was $10+
Looks so good indeed ![]()